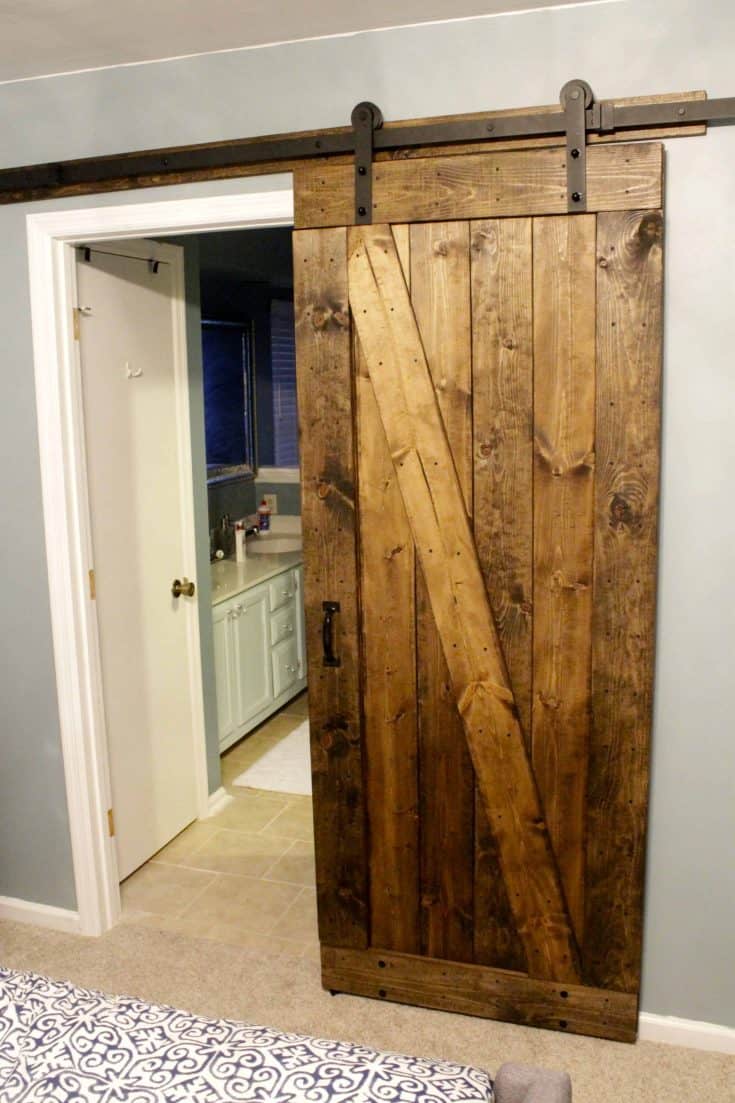
Yesterday we shared with you how to build a rustic barn door like the one we constructed to go between our master bedroom and bathroom. Building the door was super easy, but when it came to mounting it, that was a different story.
We ordered the TCBunny Sliding Door Hardware from Amazon and had a lot of problems with it. Luckily, we are super crafty people we managed to work around them. Here's how to mount a barn door and work around any problems you have with the TCBunny sliding door hardware.
Here is how we lock our barn door!
First off, we didn't read the comments. That's our own fault. We usually always read comments, but didn't this time (it has four and and half stars!). Basically, anyone from America said that this product was the worst. That's because the holes on the TCBunny system don't line up with studs in American homes.
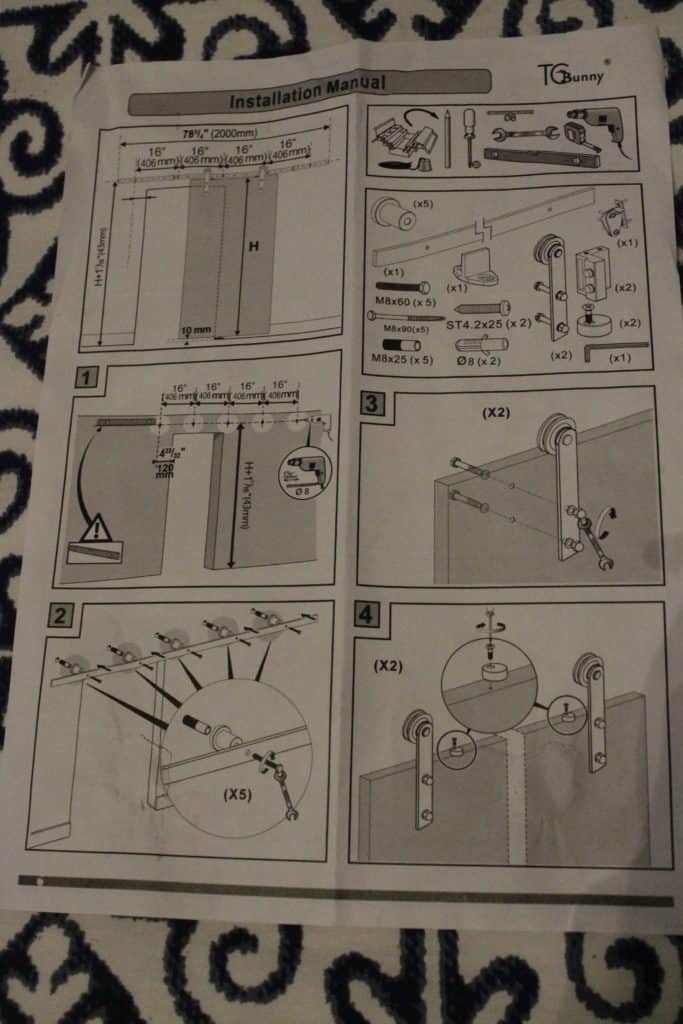
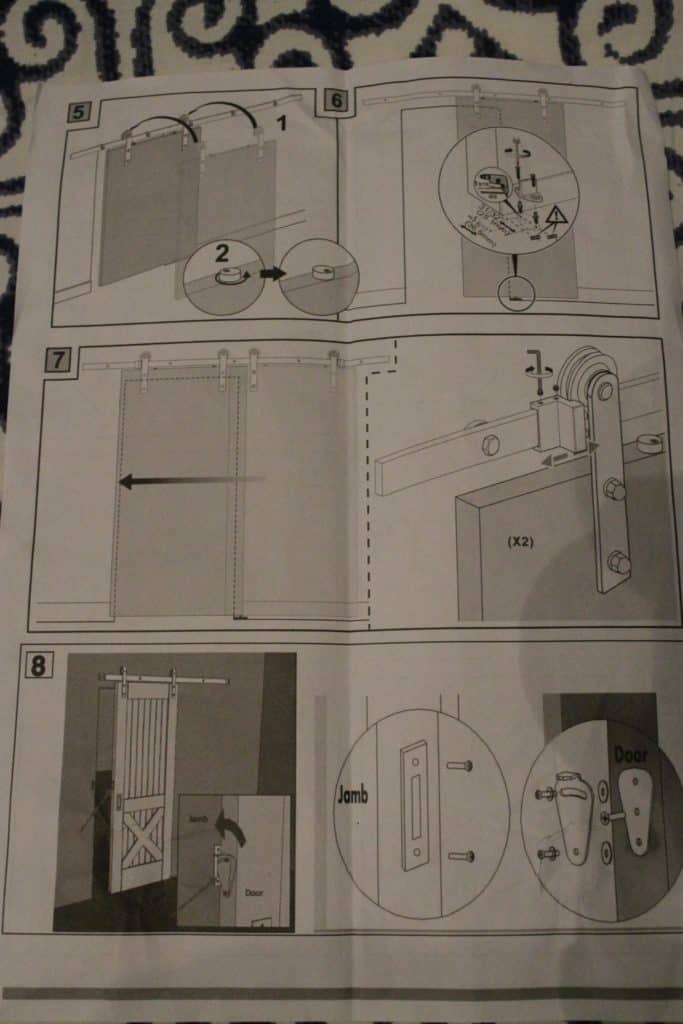
This causes it to be unstable. Luckily, TCBunny includes anchors for the screws. Unluckily, those anchors are the worst and do nothing. Just take a look at these instructions:
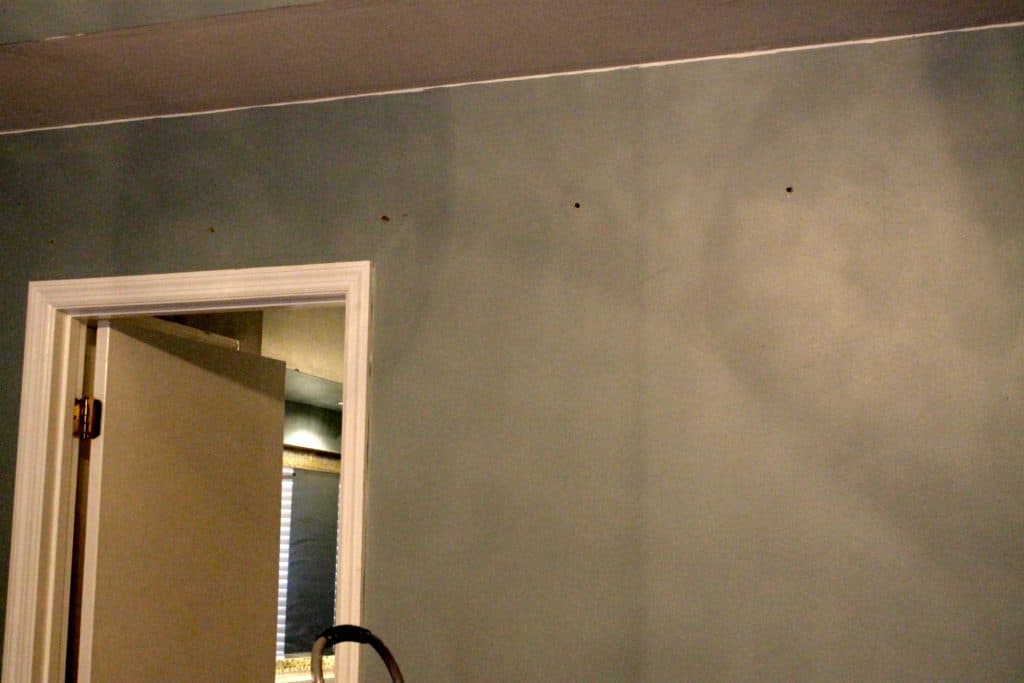
These instructions are of a lower quality than the pictures that IKEA gives you. These instructions skipped steps and didn't label parts and went out of order. They were basically worthless. Unfortunately, I drilled five holes in my wall before I realized how crappy the system and anchors were.
So, backup plan. We went to Lowe's and talked to them about whether or not we should try to use professional grade anchors, but the guy there highly voted against it.
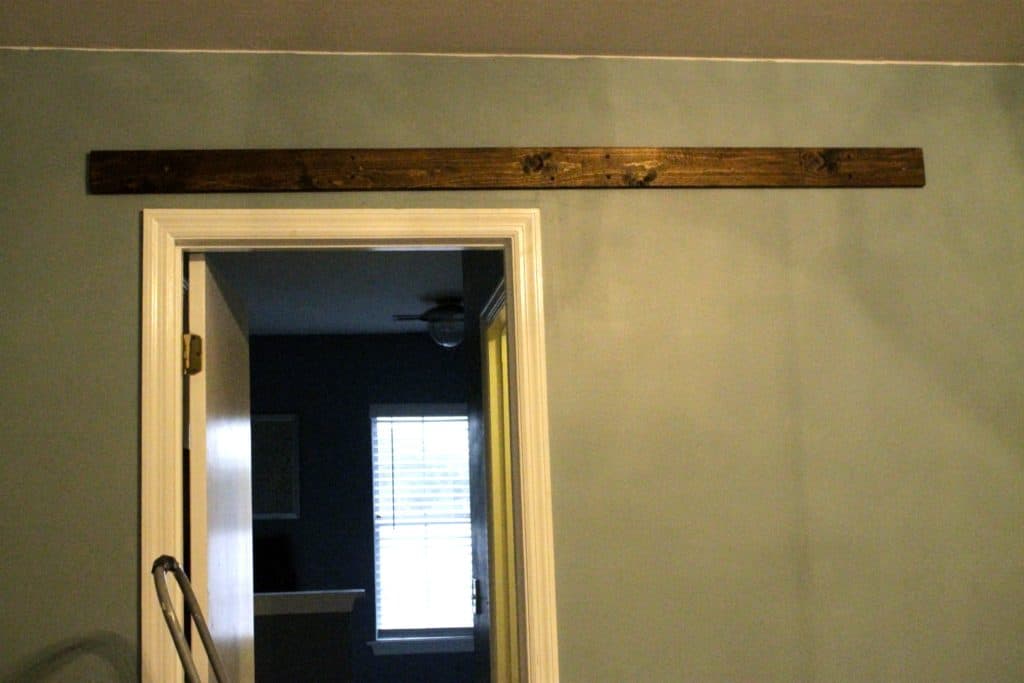
He confirmed my other idea, which was to attached another piece of wood to the studs of the wall and attach the sliding door system to that piece of wood. Also, it would cover the big holes I just drilled.
So, I got another 1"x6" piece of pine and went through the same staining process that I just did for the door. The other option was to paint the wood the same color as the wall so it would blend in, but thinking that it would still be obvious if we did it that way, we decided to stain it to make it look purposeful. So, after the stain was dry, I used my stud finder and then used 3 ½ inch wood screws to attach the board to the wall.
Then, we were finally able to start using the TCBunny sliding door system. Keep in mind, I'm about to make up the names for most of these pieces because they don't have real names.
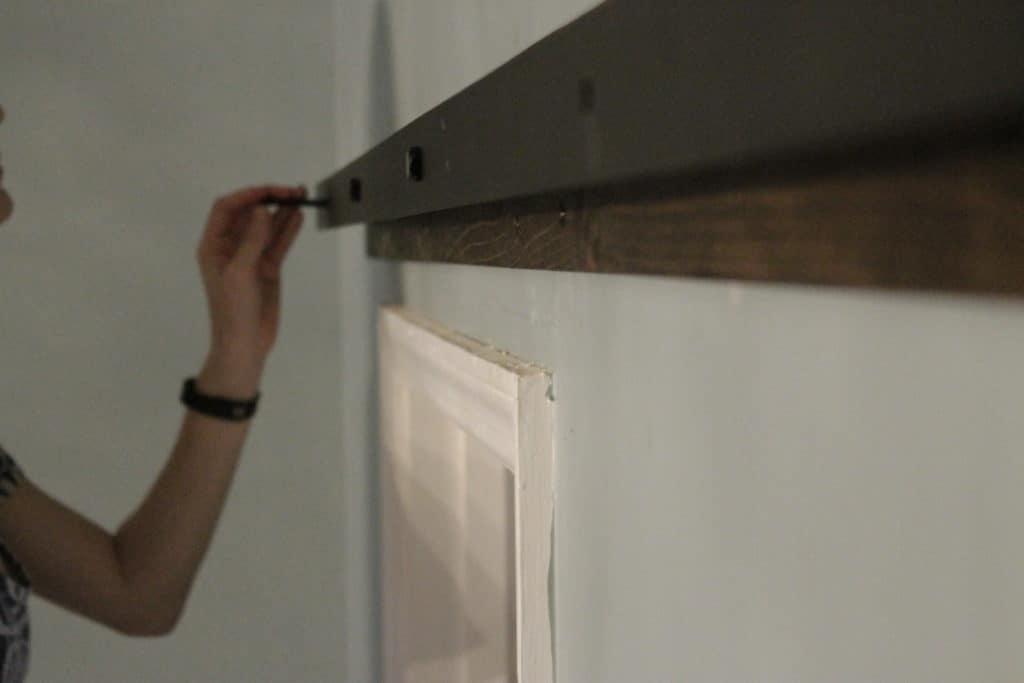
So, first off, line up the rail bar on the board and mark your five holes. The rail is really heavy steel, so you're going to want a friend to help.
Then, attach the rail to the wall using the separator nubs and the long black wood screws. Start with the one in the middle, then do the next ones on each side.
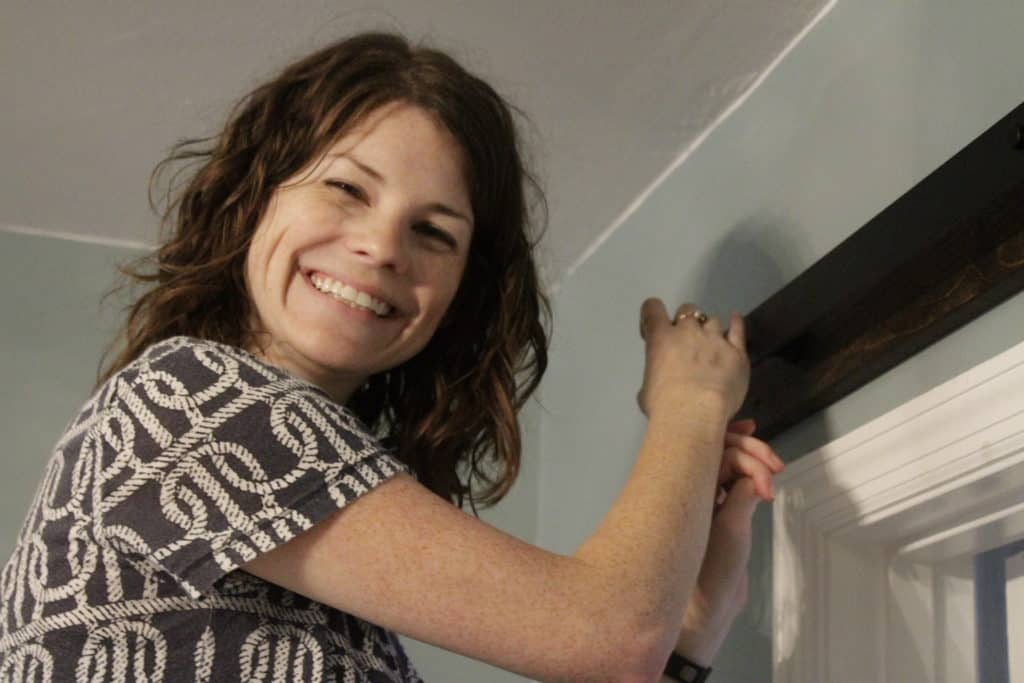
These are tough because you have to put the screw through the rail before going through the nub, but you have to hold the whole thing up. Again, use a partner. You'll need a ratchet set for this.
Try to screw it in a little bit and then move on to another before getting it all the way tight. Then it will be holding itself up.
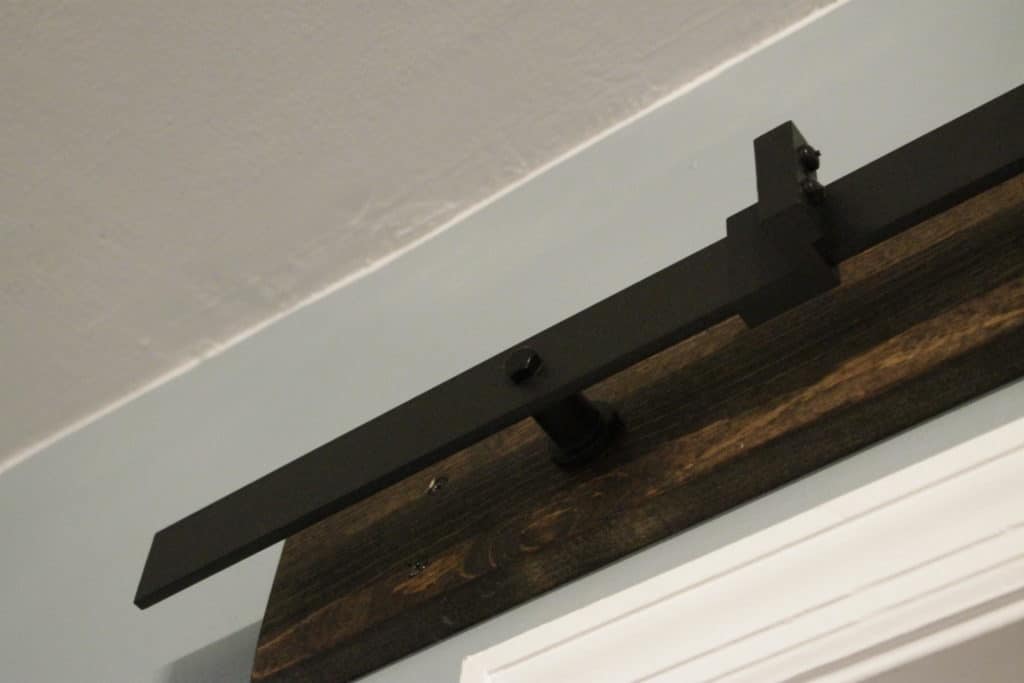
Once you have those first three up, PAUSE. There is a step at the very end of the instructions to add the bumpers, buuuuut in order to do that, we had to remove two of the nubs and slide the bumpers into place.
So, do yourself a favor and add those in between nubs 1 and 2 and nubs 4 and 5. You'll need a really small allen wrench to tighten the bumpers.
Now, you're getting close. Attach the sliders to the top of your door using the black nuts and bolts. If you've done it all right, now's the time to place the door up on the rail using the rail wheels.
Your door should now be rolling freely, assuming you measured the proper height for the door. You're almost done. The last step is to install the bottom guide.
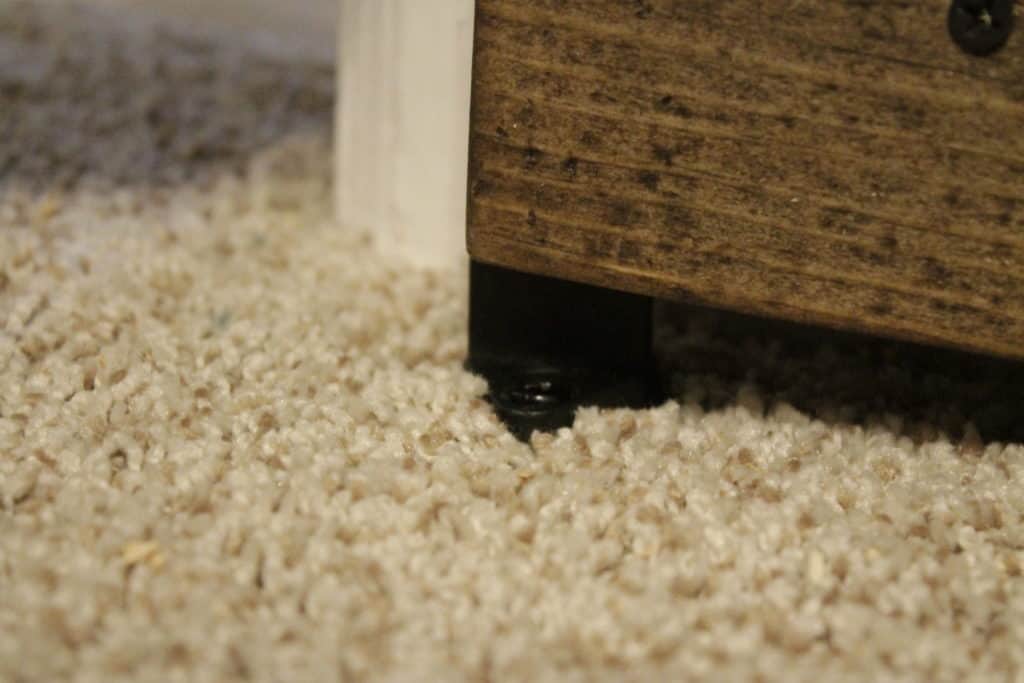
If you haven't noticed, your door is swinging back and forth from the top and needs something to hold it in place. This little guide requires a track to be cut into your door.
This is easy to do by running the bottom of your door twice across a table saw. Make sure to place the bottom guide in a spot that it will be in the door when it's at both ends of the track.
That's it. This TCBunny sliding door hardware system comes with really bad instructions and extra parts that literally don't mean anything, so don't worry. But if you follow our hacks, you should be in a much better place.
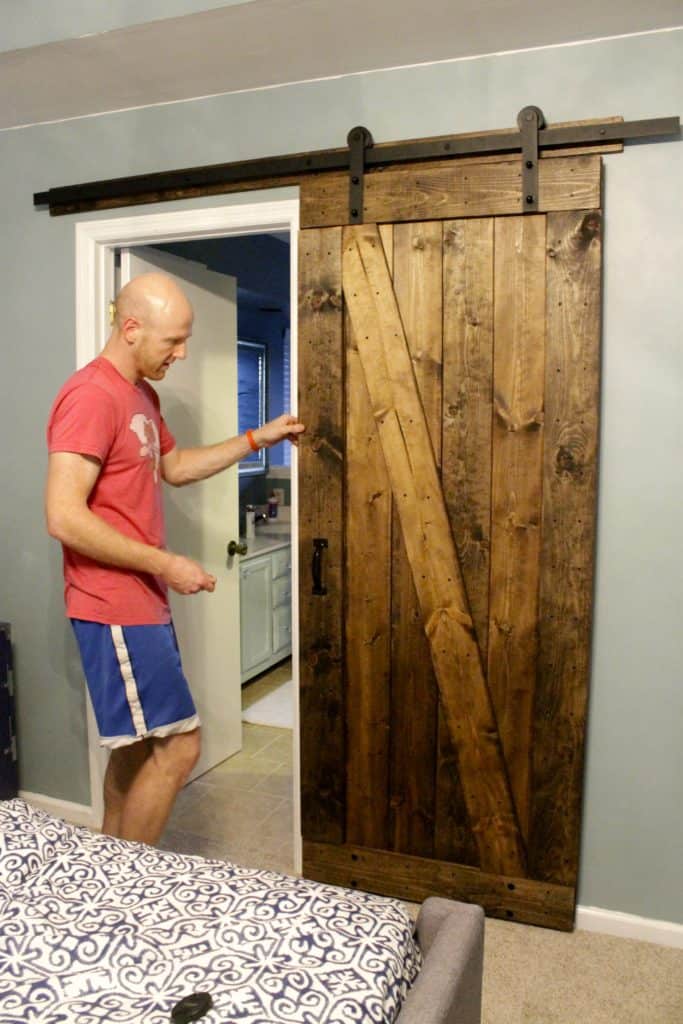
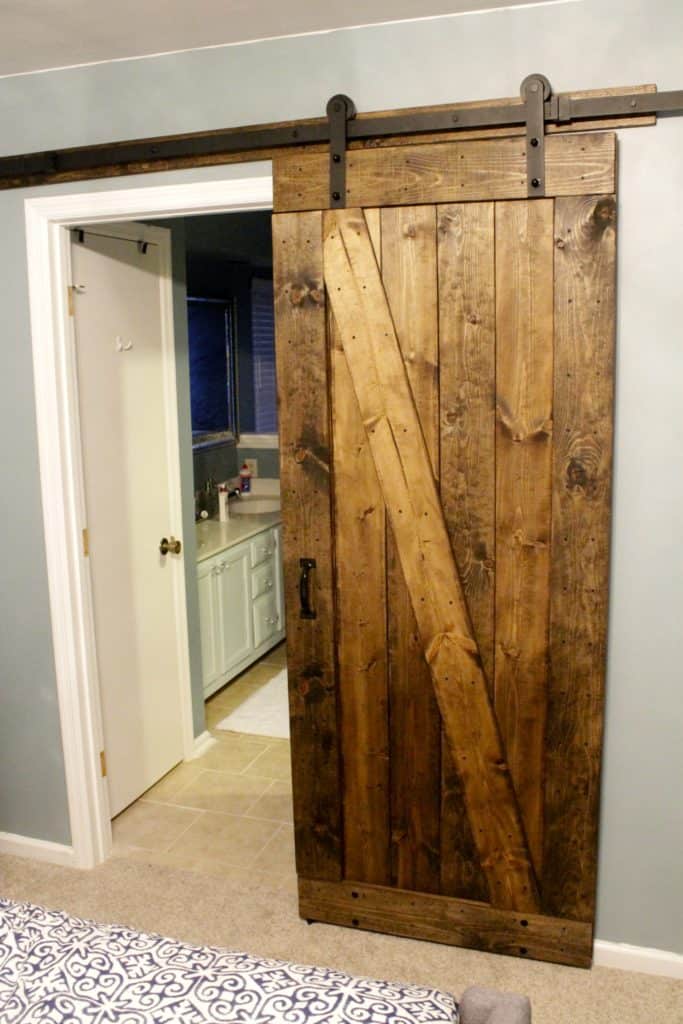
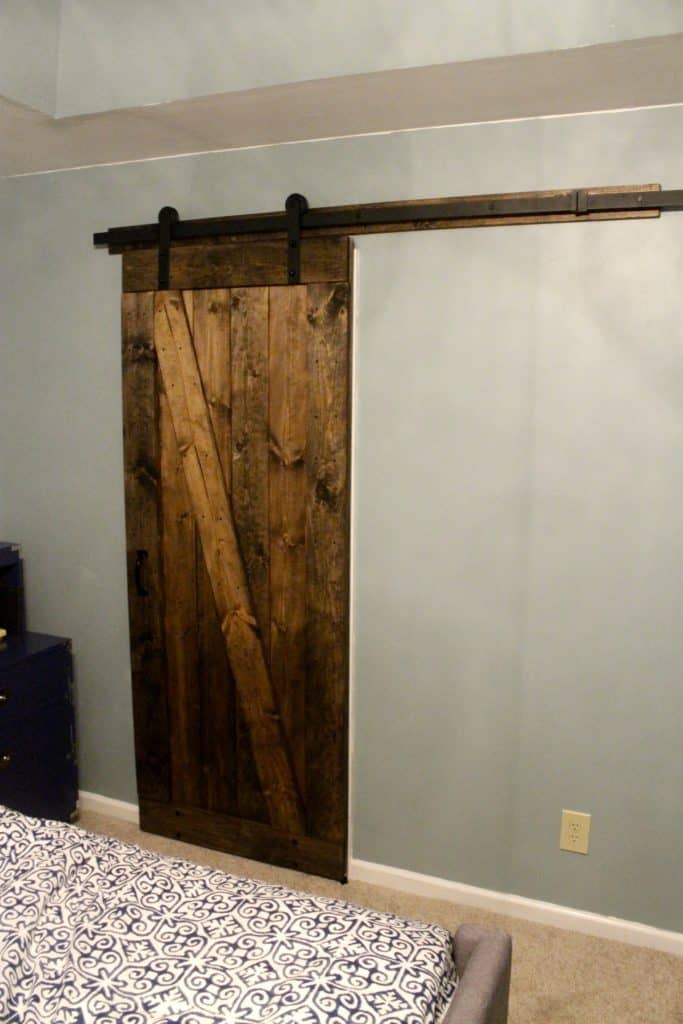
Now we have a beautiful sliding barn door to close off our master bathroom from our master bedroom and it's also an art piece on the wall when it's open. It turned out perfect and looks super rustic. Plus, we did it all ourselves and can always be proud of that.
Want more barn doors? Click here for all of our barn door content!
I really hope these instructions for how to mount a barn door help you out!
Want more barn door goodness? We wrote an eBook all about Barn Doors - and you can get it for free!
 |
|||
 |
 |
 |
 |
How to Build and Mount a Barn Door
Barn doors are trendy and fashionable and can add a rustic flair to your space. Here's how to build a barn door and how to mount a barn door.
Materials
- Roughly nine 1x6 boards
- Screws
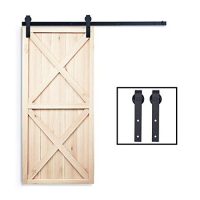
- Barn door hardware
Tools
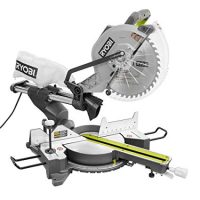
- Miter saw
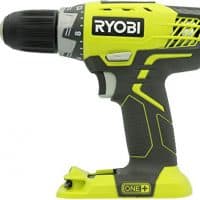
- Drill
Instructions
How to Build a Barn Door
- Measure the space you want to cover
- Design your door. Use two layers.
- For the back layer, use as many 1x6 boards as needed to cover the gap of your door.
- For the front layer, cut two 1x6 boards to span the width of your door space and attach at the top and bottom of the back layer. Then cut 1x6 boards to span the gap between those two boards vertically. Finally, cut a board to go diagonal from the top corner to the bottom corner.
- Use 1 ¼" screws to attach all the boards from the front layer to the back layer.
- Stain or paint your door to fit your decor.
- Add a pull for a door handle.
How to Mount a Barn Door
- Order barn door hardware. Different brands will differ slightly, but the idea is the same.
- Attach a 1x6 board to your wall in the studs if your doorway has a frame that you need to go past. If your doorway doesn't have a frame, you can mount your rail bar directly into the wall.
- Mount your rail bar.
- Add bumpers for the barn door rollers to hit where you want to door to stop on each end.
- Attach the rollers to the top of your door and hang the door on the rail bar.
- Add a bottom guide for your barn door so that it doesn't swing back and forth.
Recommended Products
As an Amazon Associate and member of other affiliate programs, I earn from qualifying purchases.

Hello, I'm Morgan, half of the creative force behind CharlestonCrafted.com! With a passion for DIY that dates back to 2012, I've transformed three homes and now I'm dedicated to helping others craft their dream spaces. Let's turn your house into a home together!



Bill says
Thank you for taking the time to post this. However, the instructions nor your info covered the dimensions of where to install the slider hangers (pulleys) on the door. I assume you hung the flat rail on the wall, basis the over-all height of your door plus the 1-11/16" noted on the instructions. Then set the door against the wall with a 3/8" spacer on the bottom, then set the slider hangers on the rail and marked the drill holes on the door. I am going with the 1x6 header as well. Thanks. Today is 9/11, take a moment.
Sean says
Hey Bill, thanks for checking in. I apologize for the confusion. I ended up not really including measurements on that stuff because I think everyone has different heights to deal with, both with the door opening and the door they build. I can tell you that I did put it higher than the 1-11/16" in the instructions because the instructions didn't work for my situation. I think that measurement is for if the track wheels are much closer to the top of the door than I had mine. I had to hang mine higher on the door based on my design. As for the spacer on the bottom, it's mostly about measuring it out far enough so that the door doesn't rub against the wall. I was initially worried about adding the header because I thought it might push the door out too far, but it actually worked perfectly because of the door jamb. If I hadn't installed the header, the bolts on the back of the door would have hit the jamb and it wouldn't have slid back and forth. So yes, I would aim to have about 3/8" out from the jamb. If you're adding a 1x6 header, that should be about flush with the jamb, so the door will slid outside of it nicely. Let me know if you have any other questions!
Russ Means says
Hey Sean. Thanks for posting this. I was so confused until I saw your post.
You didn't use those 2 round pieces they have on the top of the door. What are those for? Thanks! Russ
Sean says
I tell you, Russ. I have ZERO clue what those two round pieces were meant to be for. According to the little toddler illustration they provided, they were supposed to be screwed to the top and twisted?? No clue what for. I thought originally that was for the bumpers to stop, but no, the bumpers hit the slides. So I actually used one of them to prop up the track slider at the bottom (because it was too low once it was screwed in) and used the other one as a "handle" on the inside of the door, because it needed to be something flat enough to avoid hitting the door jamb when sliding open. Hope that helps! Glad the post was able to help because I was super confused myself!
Jamie says
Those two round pieces are for the top of the door so that it locks it into the track. If for some reason the door starts to come off track those two stoppers won't allow....As long as your spacing isn't too great between door and track.
Steve says
Thank you so much for posting this info!! It was very helpful to me today. If I had another one to do, I bet it would look better. But this one is functional, so I am going to score it is a WIN, even though I ended up with a bagful of extra parts. Thank you for posting this webpage as I don't think I could have made it work with the "toddler instructions", as you called them!
Morgan says
I'm glad they helped! Those instructions really were bad.
Paul says
Found your blog when looking for how far down the door to drill the holes. Good information about the ledger board, putting the bumpers on before you lag bolt on the two end spacers, and info on what the round things are. Glad I looked at the directions before starting!!!
Morgan says
Thanks so much for stopping by! It was tricky to hang so we definitely wanted to share our tips!
Susan says
Thank you so much for this information! Very helpful! I am in the process of installing my track and am wondering, is there a specific reason why the bumper/stopper bracket must be placed on the track between the nubs? Because of my space, I think I will need to place each one outside the nubs. It seems to me that if it is secured to the rail, it shouldn't matter but I may be missing some detail. Any insight would be so appreciated! Thanks in advance!
Sean says
Hey Susan! Actually, the spacing of where the bumpers need to go is actually based on where you slider bars are. You need to have the bumpers set up at the exact spot where your sliders are when the door is covering your opening and when it is fully out of the way. If for you that lines up outside of the nubs, then yeah, you want the bumpers outside of the nubs. Hope that makes sense!
Thomas says
Would like to know how to measure where to install the rollers on the door. The instructions doesn't give how high above the door the rollers should be or how far from the edge of the door.
Sean says
Hey Thomas, so the main thing to consider when installing the rollers on the door is that the two bolts fit well onto the door and aren't near the edge. If the top bolt is too close to the edge it might break out. Based on the board that I used, the rollers fit perfectly lined up with the bottom of the board. You can have the rollers closer to the top of the door, just make sure there is enough clearance for the bar to go between the rollers and the top of the door.
Thomas says
Thanks Sean, I have 2 doors to hang and only ordered 1 set of hardware which is the TCBunny. I am debating whether to order the TCBunny or try looking for a set that looks the same and hopefully with better instructions. You would think that as many bad reviews they have with the instruct i ns they would correct the problem....Thanks again
Thomas says
Ok...I've finally got the rollers attached to the door....now..I have an 84" door...how far up from the floor should I measure in order to mount the roller bar...do I measure to the bottom of the roller groove and add a 1/2 in or....not sure how to proceed
Tom
If your wondering why I havent gotten done yet...been under the weather..
Sean says
So you want the bottom of the door to be hovering just slightly above the floor. So I would measure the space from the top of the door to the bottom of your roller wheels and add that to the 84 inch door height you have. That length, plus whatever gap you need at the bottom, is the height you should mark as the TOP of your rail bar. Remember that the bottom of the roller wheels sit on the top of the rail bar.
Laurie Solheim says
Is your header a literal 1" thick or 3/4?
Sean says
It's a common 1 inch, but an actual 3/4 inch.
Tracy says
Hi Sean, thanks for the post on the instructions, mine came only in mm, no inches at all. I was able to figure out most everything with the help of YouTube. My issue is that the drilled holes in the mounting board seem to be too big, but after checking many sources 5/16" bit should be right. My package didn't come with anchors, although from what I've read, sounds like the would be not have been of much use. Any ideas? I've only put in two of the screws, thought I should quit, and get some advice.
Sean says
Hey Tracy! Yeah, I thought about using anchors as well, but considering how much weight they would be holding up, I didn't trust them. My suggestion would be to do what I did, adding a piece of wood to the wall and attaching that piece of wood to the studs in your wall. Then just mount your screws into the holes that are on the mounting board where you need them and don't have to worry about them lining up with the studs. Does that help?
Tracy says
Hi Sean - I put up the mounting board, into studs, but the holes that I have drilled into the mounting board to hole the rail, seem too big and the the 5/16 screw is just floppy in the hole... I talked to a carpenter friend and he basically told me that he would drill holes into the rail to match with the studs and take down the mounting board. Truthfully this project has turned into one obstacle after another... sigh.
Brad says
Hi -- I have the same product, and the same problem with the screws not aligning with the studs. I like your solution (using the board stained the same as the door) BUT -- doesn't that make the door stick out further from the door/doorway/wall, because you have added the extra depth of the wood panel?? How did you account for this? Without the wood panel (ie. screwing straight into wall) my door will be perfectly close to the door frame.
Sean says
Hey Brad. So yes, it would add extra depth. For me, that actually ended up being exactly what I needed because of the door frame that the barn door was going to cover. In my initial plans, I hadn't even taken that into consideration, so it turned out to be a blessing in disguise. For you, I'll say that you could probably go with a little thinner of a board to mount it on, or you could put up a faux frame around the door frame or inside of the barn door that would fill the gap that would be caused by the extra depth.
Brad says
Thanks -- yes, the depth issue is important for us. As is, it fits perfectly. I think what I am going to do is build a wood frame around the metal slidy-bar (I make up my own terms, too 🙂 ) so that the bottom of the frame is snug to the separator nubs and screwed into the studs to add strength to the two slidy bar screws that don't align with the studs. Will use same wood as door with same stain, and hopefully it will look like it is supposed to be this way lol.
Dave Winstanley says
Regarding the slot needed in the bottom of the door for the guide, you say "...This is easy to do by running the bottom of your door twice across a table saw." I'm not sure how that is easily accomplished. Can you explain further?
Sean says
Hey Dave. So basically what I mean is that we took the fully completed door and then stood it up on it's end. We set the table saw fence so that the blade would run right through the middle of the thickness of the door. Then we ran the door through the saw standing up, so the blade carved a notch right down the middle of the thickness of the door. Does that make sense? Another way to do it would be to run a palm router through that area instead. You just need to cut out a gap for the guide to go through.