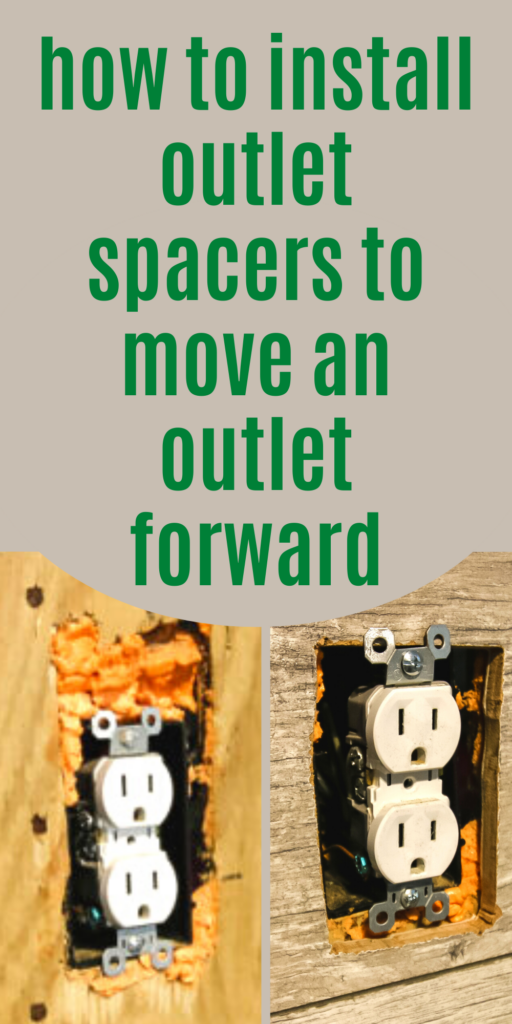
Looking for how to install outlet spacers to bump out your outlet and make it flush with the wall? Take a look at our post and video to show you exactly how to do it.
It's easy to install outlet spacers to bump out an outlet to make it flush with the wall.
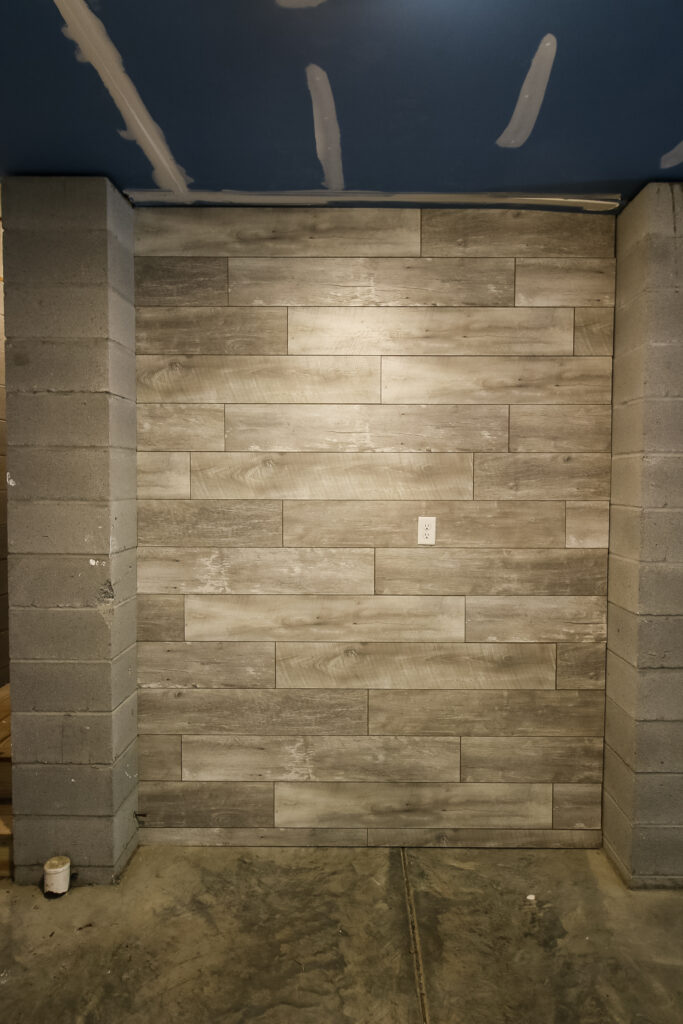
Outlet spacers are a great solution if you're installing an accent wall with panels or adding tile around an outlet in a bathroom or kitchen.
Outlet spacers allow you set the outlet out further so it's flush with the new surface of the wall.
If you need to fix an outlet on an accent wall or fix an outlet on a tile backsplash, outlet spacers are easy to install and we'll show you how here.
Installing outlet spacers to make an outlet flush
Installing outlet spacers to make an outlet flush with the wall is a great way to make a job look more complete and finished.
Outlet spacers will move your outlet out and takes about five minutes. Here's how to do it.
Reminder- if you aren't comfortable doing electrical work of any kind, call a licensed electrician to take care of this for you.
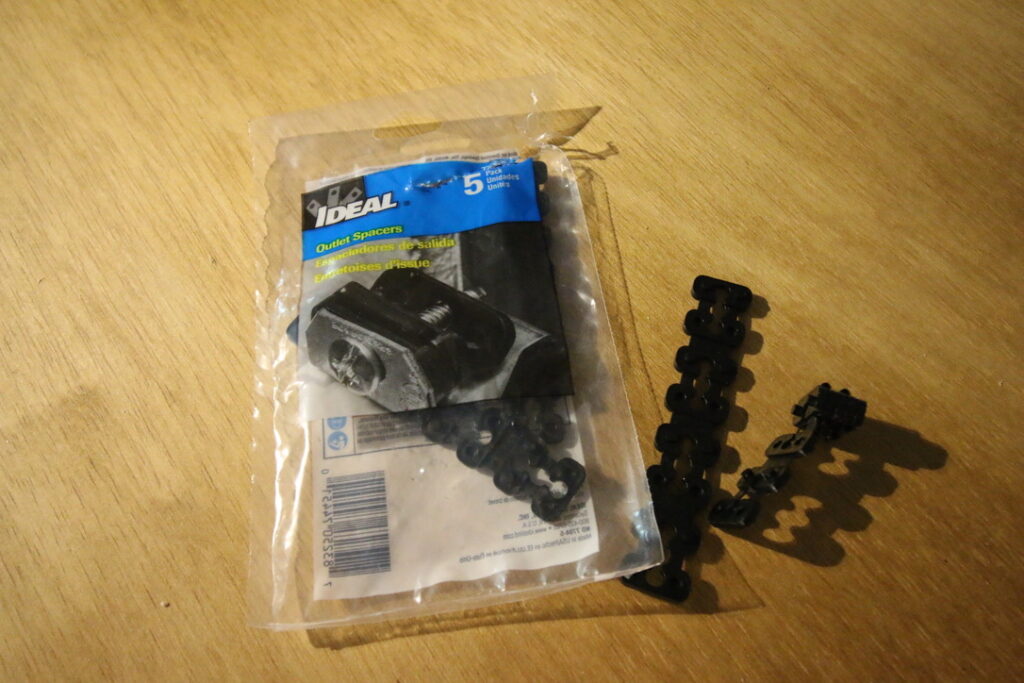
What is an outlet spacer?
Outlet spacers are small plastic pieces that go onto the screws holding an outlet in place in the wall to push it further off the outlet box.
Outlet spacers are used to move out outlet further out, which is most commonly needed when adding tile or planks to the wall around the outlet and needing to move it to be flush with the new surface of the wall.
You can also use outlet spacers if you have a loose or sunken electrical outlet. These will tighten up the existing outlet to the outlet box in the wall and make it more secure.
There are two kinds of outlet spacers, bending prong and groove spacers or tube spacers.

Bending prong outlet spacers allow you to bend plastic pieces over each other to achieve the increase in thickness that you need. They snap together with prongs and grooves and then you tear off the excess.
Tube outlet spacers can be cut to achieve the increase in thickness you need for your outlet.
Outlet spacers are an affordable solution for making your project look finished and complete.
How to move outlets forward
With outlet spacers, the goal is to gain additional depth off the outlet box for your outlet to be flush with the wall.
To install an outlet spacer, first turn off the power to the outlet at the electrical box.
If you hate your ugly electrical box, try hanging art or a large photo collage to cover it up!
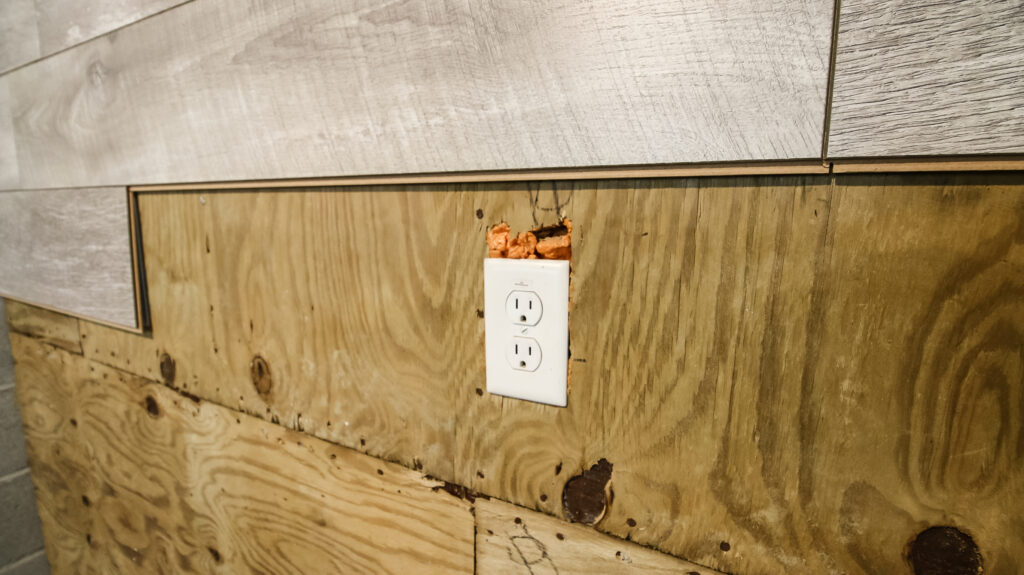
First, remove the outlet cover plate and unscrew the outlet from the wall.
Determine the additional space you need to get the outlet flush with the wall. That can easily be done by measuring the thickness of the material you're adding to the wall around the outlet.
If using prong outlet spacers, bend over the amount of spacers you need and then cut off the rest for another time.
If using tube outlet spacers, cut the tube to be the depth you need.
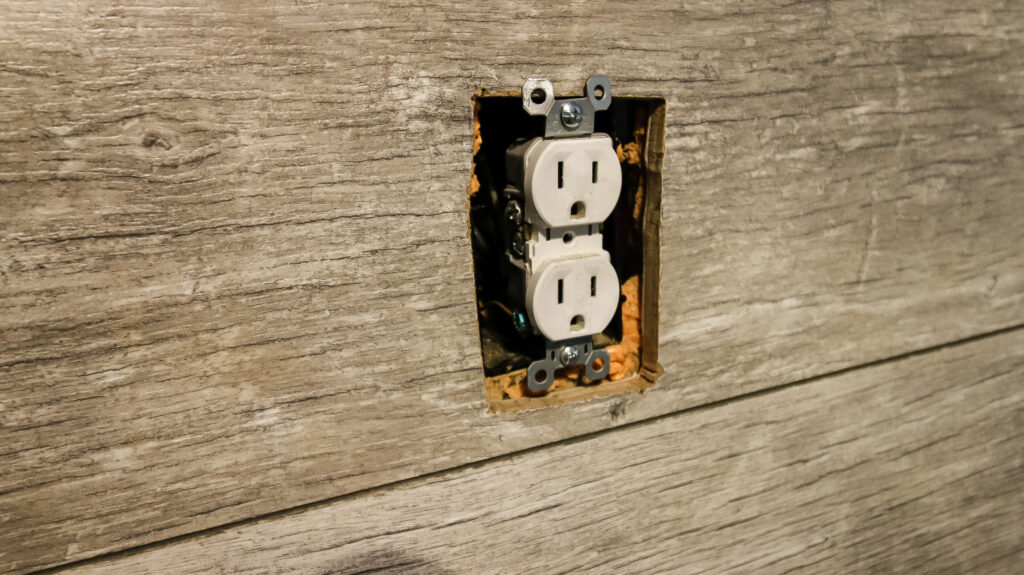
In both cases, once the spacer is the width you need, you slide it over the screw on the outlet and then screw the two screws back into the screw holes in the outlet box.
Depending on how much space you've added with the outlet spacer, you may need to get a longer screw to reach the outlet box. Make sure you use a screw long enough to pull the outlet tight with the wall box so it doesn't move when plugging things in.
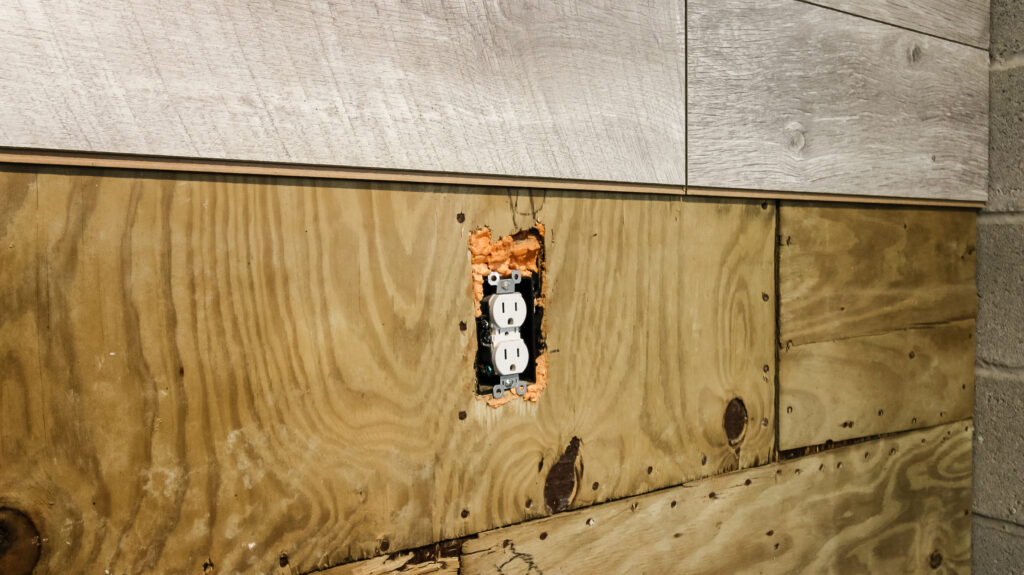
Once the outlet is back in place, reattach the outlet cover and you're done!
Now, the outlet and cover should be flush with the new wall and you'll love the finished look.
Can outlet spacers be used on light switches?
Yes! Outlet spacers can be used on light switches in the same fashion as described above.
Light switches use the same basic layout as an outlet, so you can unscrew them, insert your outlet spacer, then tighten the screw back to pull the light switch forward.
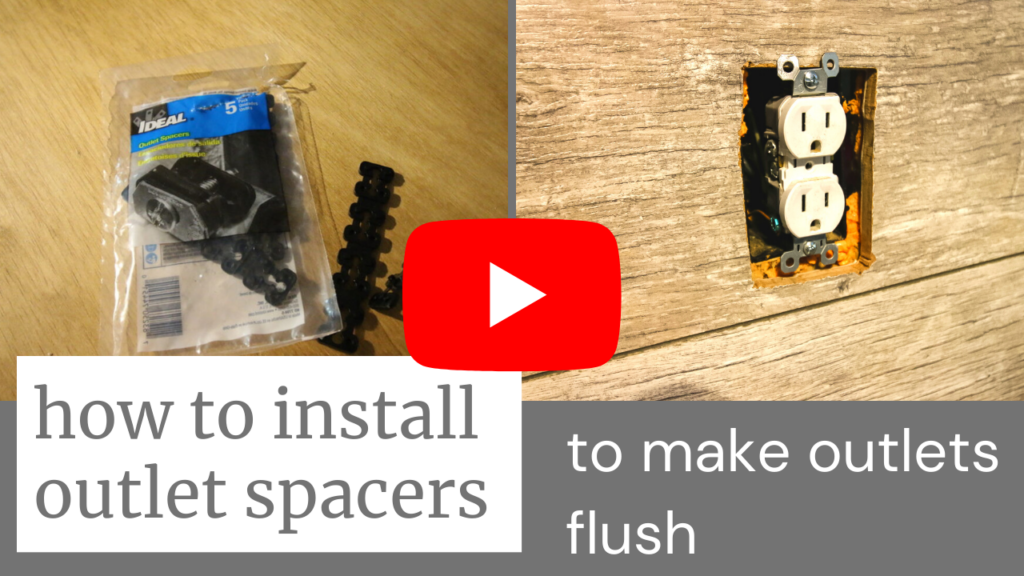
Video Tutorial
This project is well suited for a video tutorial. This video will show you how to bend prong outlet spacers to make them as deep as you need, then install them onto the outlet box.
If you still have questions about how to install outlet spacers, make sure you check out our full video on the process by clicking the picture below!

Looking for something?
We've been doing this since 2012 so we have a LOT of blog posts!
Search stuff like: Ceiling Projects | DIY Plant Stands | Thrift Flips

Hey there, I'm Sean, the woodworking enthusiast and builder behind CharlestonCrafted.com! Since 2012, I've been sharing the magic of turning raw materials into beautiful creations. I love teaching others the art and satisfaction of woodworking and DIY. I try to inspire fellow crafters to make something extraordinary out of nothing at all.