Want to create a beautiful wooden silhouette to frame and hang on the wall? They make great gifts! Here is how to create and cut a wooden silhouette with a Cricut Maker.
For our fifth wedding anniversary, I had to come up with a wooden gift to give Sean. This is harder than it sounds - he is a woodworker! I can't compete with that.
I contemplated buying him a woodworking tool, but we usually go for something more sentimental for anniversary gifts.
I was trying to think of a project that I could do that he couldn't (or really, wouldn't) do, and I decided to try cutting wood with my Cricut!
Read all about how to cut wood with a Cricut Maker and how to cut wood with a Cricut Explore Air 2 machine!
I was inspired by this project that my friend Anika made to try to layer two types of wood for a 3D look.
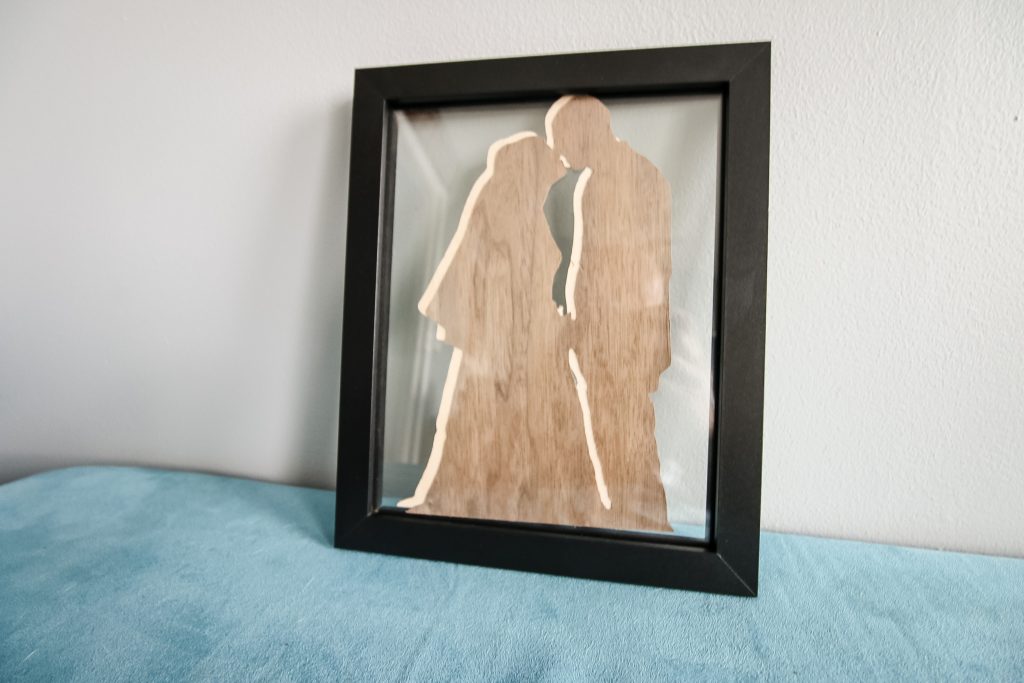
In the spirit of our wedding anniversary, I decided to take one of my favorite wedding photos and turn it into a wooden silhouette.

How to make a photo into a silhouette with Cricut
First, you need to pick the right photo. It needs to have a clear outline with the least- busy background as possible.
Upload your photo into Canva. Create a canvas the size of your choice and add your image to the canvas.
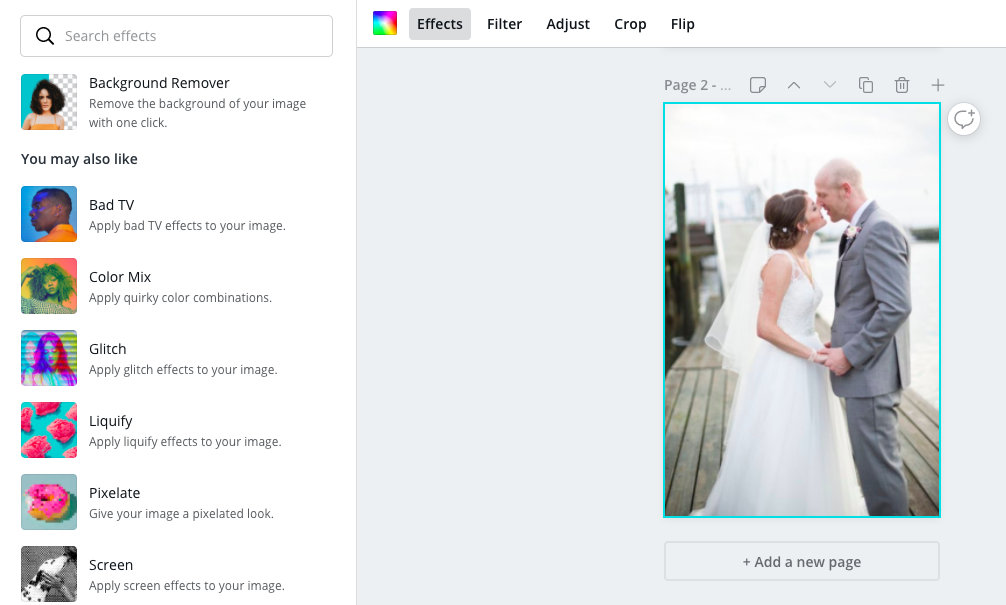
Select the image and hit EFFECTS. Choose "Background Remover".
This should remove the background instantly!
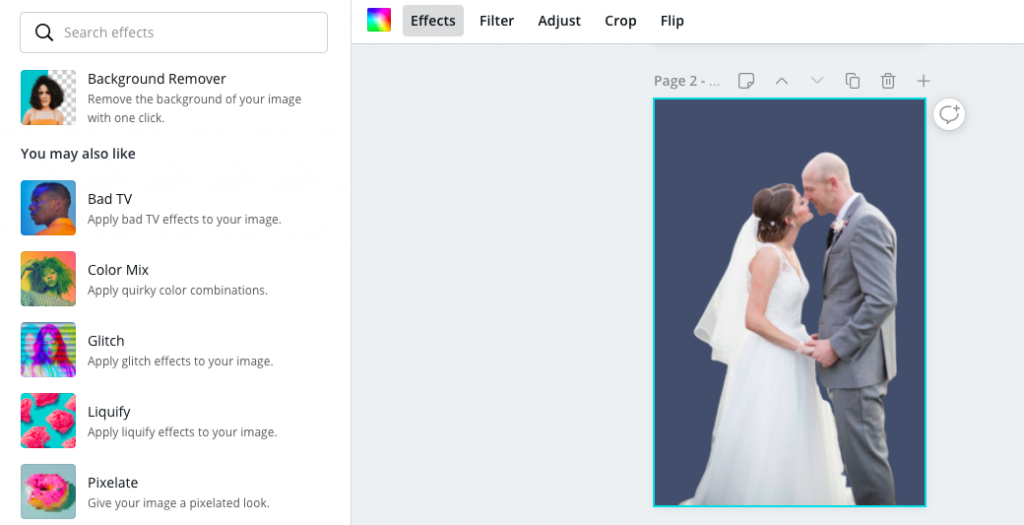
Note: because my photos contained a lot of white, I changed the canvas background to a color that doesn't appear in your photo. This will make it easier to upload into Design Space!
Export your file as a JPG and let's get it into design space.
How to upload your design as a silhouette into Design Space
Create a new project in Design Space.
Select UPLOAD and upload your Canva JPG file as an IMAGE.

Select SIMPLE and then de-select your background. This is when it comes in handy to have made your background a color other than white!

Save as a CUT IMAGE. You are ready to save, insert into your project, and cut on the material of your choice!
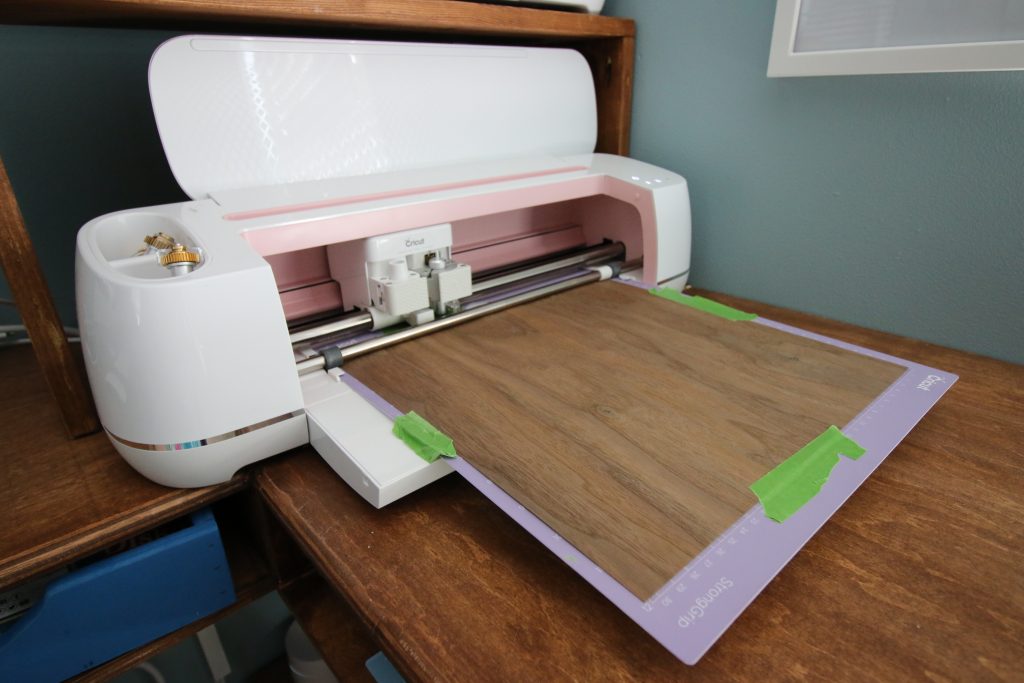
Making the wooden silhouette on my Cricut Maker
I wrote all about cutting wood with my Maker in this post. But, use a Strong Grip mat and tape the material down on all 4 sides.
To make this design, I used 2 types of wood for a layered, 3D look.
The darker wood is a Walnut veneer.
Note: I cut 2 of the exact same shape out, one of each wood, and sort of offset one over the other. Retrospectively, you could make one about ½ an inch bigger than the other, if you want to see the back layer all the way around the top layer.
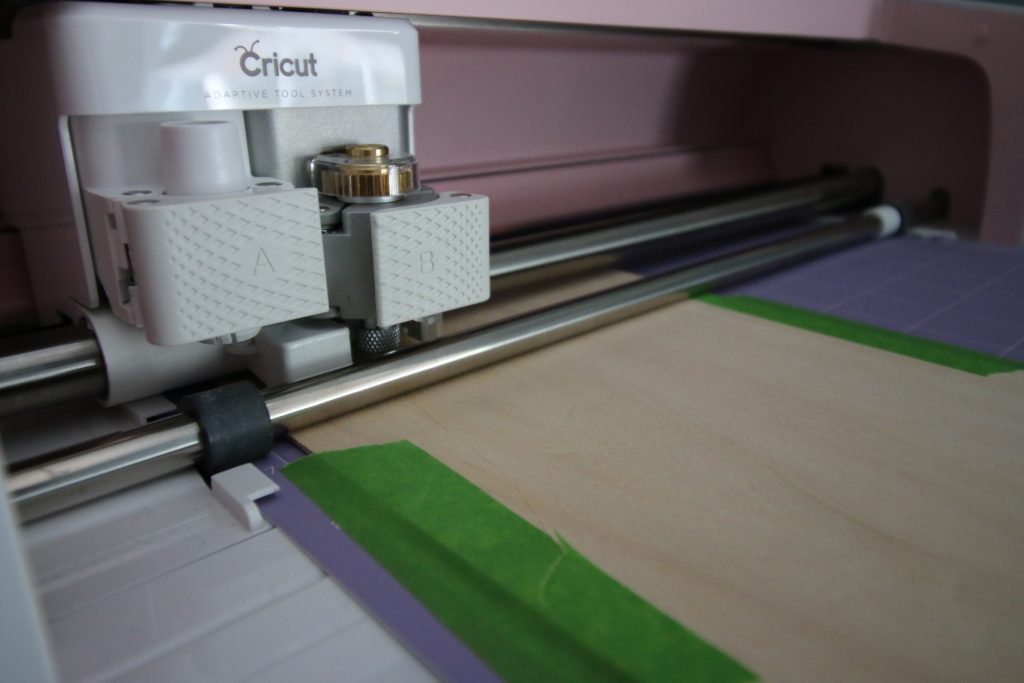
Be prepared that it will take a LOT of passes - I like to watch one pass to make sure it's staying in line and nothing weird is happening, and then walk away!
I used double sided tape to attach my wood cut outs to each other and to attach them to the back of the frame. This is a floating style frame so it's 2 pieces of acrylic instead of a traditional cardboard backer.
This gift was a big hit! It is simple but special, and incorporated that wood gift idea!
Any questions about this project?

Looking for something?
We've been doing this since 2012 so we have a LOT of blog posts!
Search stuff like: Ceiling Projects | DIY Plant Stands | Thrift Flips

Hello, I'm Morgan, half of the creative force behind CharlestonCrafted.com! With a passion for DIY that dates back to 2012, I've transformed three homes and now I'm dedicated to helping others craft their dream spaces. Let's turn your house into a home together!
Yale says
Thanks that's a great idea. Our 40th is coming up in August so now I have one idea.