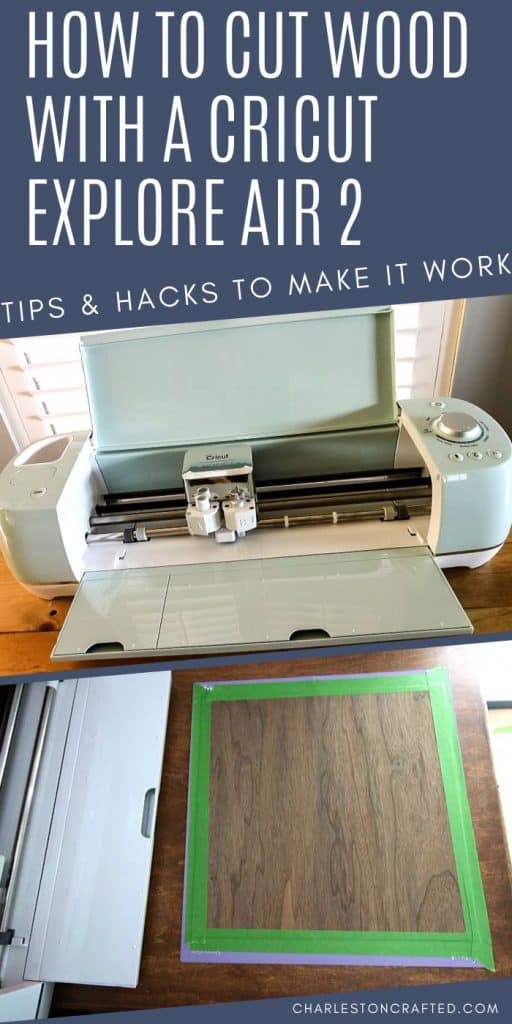
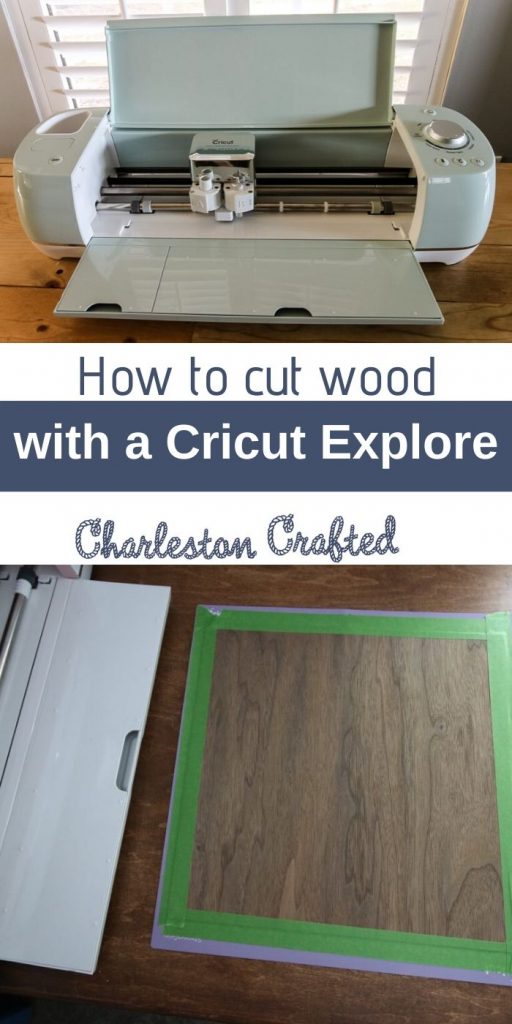
Want to cut wood with your Cricut Explore Air 2? It’s not impossible! You just need the deep-cut blade and a little hacking. Here’s how to do it!
The Cricut Explore Air 2 is known to cut materials like paper, vinyl, and cardstock, but did you know it can cut wood, too? It's true!
With a touch of creativity and some adjustments to your settings, cutting wood with the Explore Air 2 is as simple as cutting paperweight materials.
In this article, I'll guide you through the process of cutting wood with the Cricut Explore Air 2, from choosing the right materials to adjusting settings in Cricut Design Space.
How to Cut Wood With a Cricut Explore Air 2
When cutting wood using the Cricut Explore Air 2, make sure it's 1.4mm thin or less. Cutting thicker wood may strain the machine and result in incomplete or imprecise cuts, potentially damaging the material and affecting the overall performance of the device.
Here’s a step-by-step guide to cutting wood with your Cricut Explore Air 2 machine:
- Create your design in Design Space.
- Set your machine's dial to CUSTOM and adjust the CUSTOM MATERIAL settings to 331 pressure with a cut range of between 4 to 8.
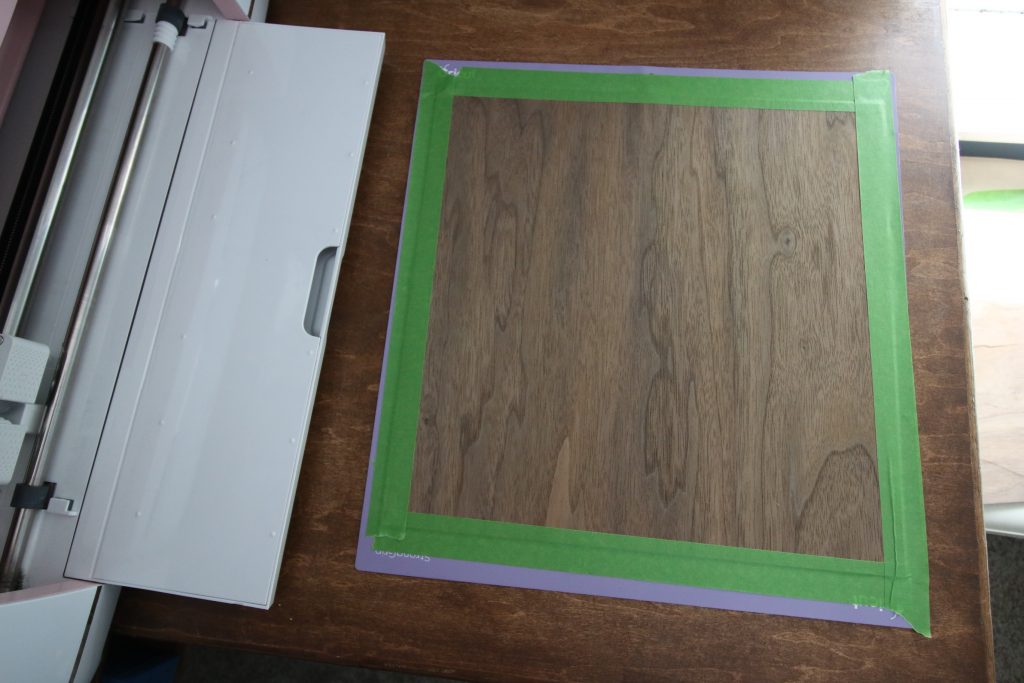
- Place your material on a strong-grip mat and tape on all four sides.
- Load the mat into the machine and hit GO.
- Once done, examine the cut. Did it cut all of the way through? If not, press GO again and re-run the cut.
- Remove the mat from the machine. Place the mat wood-side down on a table and peel the mat gently from the wood.
Cricut Maker vs. Cricut Explore Air 2 vs. Cricut Joy: Similarities and Differences
Cricut has several different cutting machines available for purchase. Among the most popular include the Cricut Maker, the Explore Air 2, and the Joy. While all three help with creative projects, each has its own special features for different user preferences and crafting needs.
Similarities
All three machines are great for crafters looking to make precise cuts and create crafts that surpass the typical “handmade” aesthetic.
They can effortlessly cut and write on simple materials like paper and vinyl, and use Cricut Design Space as their primary software to create and customize projects.
The Cricut Design Space is accessible via computer, tablet, or phone. Once you create a design, it can transferred to the connected Cricut machine for cutting, writing, or scoring.
Differences
The biggest difference among these machines is the materials that they can cut.
The Cricut Joy comes with a single fine-tip blade, so it can only cut basic, thin materials like paper, vinyl, and cardstock (65 lbs or less).
The Cricut Explore Air 2, on the other hand, features a dual-carriage system that allows you to use multiple tools simultaneously. It also lets you cut a broader range of materials, including fabric, leather, and thicker cardstock (80 to 100 lbs).
The Cricut Maker can support a variety of blades and tools due to its Adaptive Tool System, making it the most versatile Cricut machine.
It can easily go through dense materials up to 2.4 mm (3/32″) thick, so you can use it to cut thicker materials like chipboard, balsa wood, leather, and fabric without backing.
Read my full comparison of the Maker and Explore Air 2.
Read my full review of the Cricut Joy!
Which Cricut Can Cut Wood?
You can cut wood with both the Cricut Explore Air and the Cricut Maker.
The Explore can cut basswood and balsa wood of up to 1.5 mm thick. Other materials you can cut with a Cricut Explore include matboard, chipboard, and foam board (up to 2 mm thick).
The Cricut Maker takes it a step further with its adaptive tool system. It can cut balsa wood, basswood, birch, and wood veneer up to 2.4 mm thick.
Can a Cricut Explore Air 2 Cut Wood?
Yes, you can cut some wood using an Explore Air 2. Just like the Explore Air, the Explore Air 2 can cut through materials like basswood and balsa wood with a thickness of up to 1.5 mm.
What Kinds of Wood Can the Cricut Explore Air 2 Machine Cut?
Here’s what you can cut with an Explore Air 2:
| Wood Type | Wood thickness | Cut pressure | Passes |
| Heavy Chipboard | 1.4mm | 331 | 8x |
| Basswood | 1/16" | 230 | 10x |
| Balsa Wood | 1/16" | 220 | 8x |
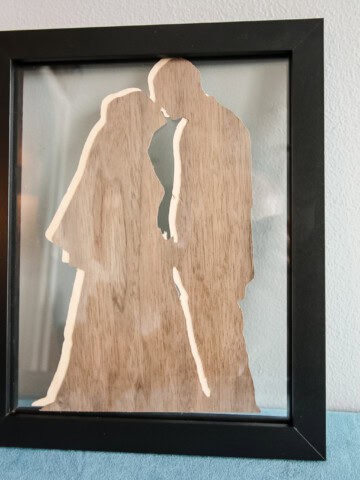
Check out my tutorial for how to make wooden silhouette art with a Cricut!
What Blade Do I Need to Cut Wood With My Cricut Explore Air 2?
To cut thicker materials using an Explore machine, you need to use a Deep Cut Blade.
The Deep Cut Blade blade is designed specifically to cut through thicker materials. It has a steeper blade angle (60 degrees vs. 45) and harder, more durable steel.
It works with the Explore and Maker machines.
If you want to cut wood veneer, you can do so with a Fine-Point Blade.
What Mat Do I Need to Use to Cut Wood With My Cricut?
Thick materials should be used with StrongGrip mats, and taped down on all four sides with painter’s tape.
Even if the mat is sticky, the force of the cut can move the wood around. So, tape is best!
Can the Cricut Explore Air 3 Cut Wood?
The Explore Air 3 is Cricut’s latest Explore machine. It’s much like the Explore Air 2 except it cuts faster and can use smart vinyl—no mat needed.
You can use the same settings as the Explore Air 2 detailed below—it will just work even faster!
What Setting Do I Use to Cut Wood With My Cricut Explore Air 2?
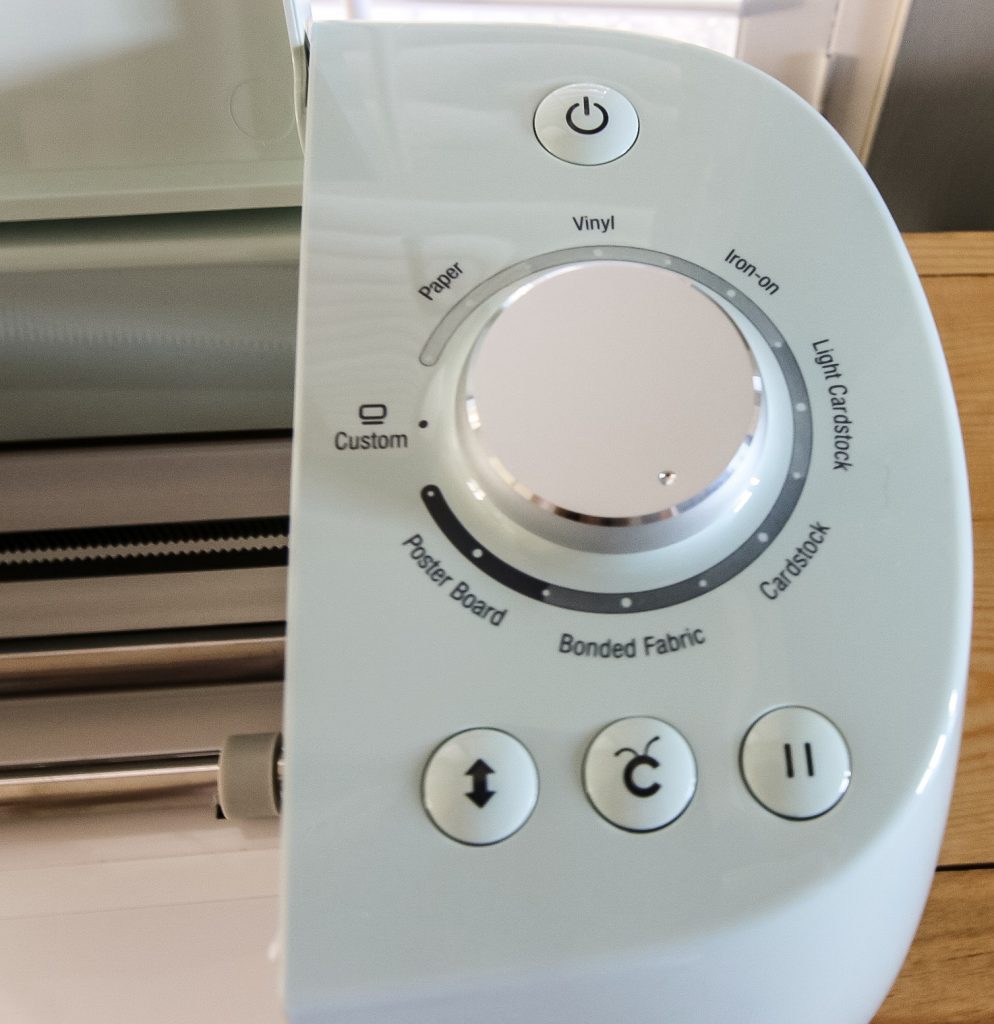
To cut wood with the Cricut Explore Air 2, you need to set a custom setting. You can do this by changing the dial on your machine to CUSTOM.
- In Design Space, select CUSTOM MATERIALS.
- Look for one that looks pretty heavy; for example, “Chipboard heavy.“
- Click on it to pull up the dropdown and adjust the PRESSURE and MULTI-CUT settings.
- Try a pressure of 331 and the multi-cut to somewhere between 4 and 8, depending on the thickness of your wood.
- After cutting, do NOT eject the mat. If you eject the mat, it’ll be difficult to re-line the project correctly.
- Carefully examine your wood and see if it cuts the material all the way through. If it didn’t, just hit GO and re-run the cut.
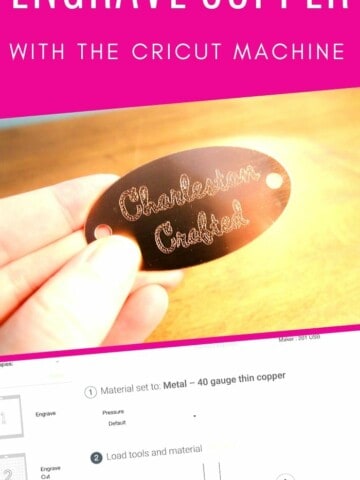
Can You Engrave With Cricut Explore Air 2?
Unfortunately, no. Unlike the Cricut Maker, the Explore Air 2 doesn't come with a dedicated engraving tool.
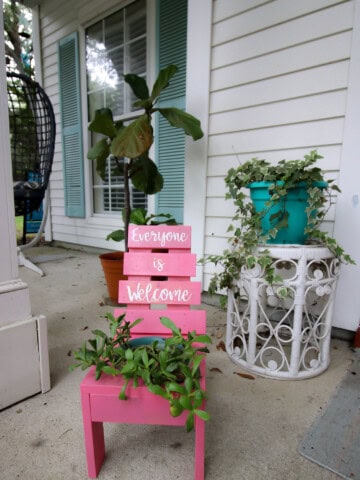
Cricut Explore Air 2 Wood Projects
Here are some beginner-friendly wood projects you can tackle with the Cricut Explore Air 2. You can design your own or find templates in the Cricut Design Space:
- Custom wood signs
- Wooden coasters
- Wooden photo frames
- Wooden ornaments
- Wooden bookmarks
- Wooden wall clock
- Wooden jewelry organizer
How to cut wood with my Cricut Explore Air 2
Want to cut wood with your Cricut Explore Air 2 machine? You'll have to hack it a little bit, but it is doable! Here is how.
Materials
- Thin Cricut wood
- Painter's tape
Tools
- Cricut Explore Air 2
- Deep cut blade
- Stronggrip mat
Instructions
- Create your design in Design Space, being sure it's set to CUT. MAKE the design.
- Set your dial to CUSTOM.
- Change the CUSTOM MATERIAL drop down on your computer to 331 pressure and somewhere between 4-8 passes.
- Place your material on a stronggrip mat. Tape it on all 4 sides.
- Load the mat into the machine and hit GO.
- Check your cut. Do not remove the mat from the machine but see if it cut all of the way through. If not, hit GO and cut again.
- Remove the mat from the machine. Remove the tape. Place the mat wood-side down on a table and peel the mat gently from the wood. Enjoy!
Recommended Products
As an Amazon Associate and member of other affiliate programs, I earn from qualifying purchases.


Any more questions about cutting wood with the Cricut Explore Air 2?

Looking for something?
We've been doing this since 2012 so we have a LOT of blog posts!
Search stuff like: Ceiling Projects | DIY Plant Stands | Thrift Flips

Hello, I'm Morgan, half of the creative force behind CharlestonCrafted.com! With a passion for DIY that dates back to 2012, I've transformed three homes and now I'm dedicated to helping others craft their dream spaces. Let's turn your house into a home together!
Becky says
You're tutorial is great but I did find you were interchanging the deep CUT blade and the Deep POINT blade. These are 2 different blades. The Deep CUT blade is for an older machine and shouldn't be used for the Cricut Explore Family cutting machines. This has a blue protective covering for the blade and uses a blue housing.
Sean says
Thanks so much Becky for the point of clarification.
Cheryl says
Tried this several times and could not cut through the wood. Left the wood in the cutter and tried a second time and it didn’t line up. Circuit Explore Air 2 set on 8 passes at 331 pressure with deep cut blade in black housing. Any tips?
Sean says
Hey Cheryl - I am sorry that happened. If it's not lining up, the wood must be shifting between passes. Do you have it taped to the mat? I like to use painter's tape to secure it since it can shift if the mat isn't sticky enough.
Tara says
I'm a new owner of the Explorer Air 2 with zero experience. I was unable to choose the Heavy Chipboard option. It was greyed out for me but when I reviewed the details of all materials I could select, I found the Natural Wood Veneer option fit the criteria in this tutorial pretty well. I used the Natural Wood Veneer setting, Deep Point Blade with the pressure on "Default" and it cut a 1/16 Basswood almost completely through! I did have to use a utility knife to release some of my pieces but it wasn't hard at all. I think if I used the "More" pressure option it might have gone all the way through or maybe given it a couple more passes. Even still, this saved me so much time and effort. I am so happy with the outcome. This tutorial was very helpful! Thank you so much!!
Morgan says
Hi Tara! Thank you for sharing your experience. These are excellent tips! I'm sorry the chipboard option was grayed out, that's strange! I'm glad wood veneer worked for you!!
Julie says
@Morgan, I just bought a cricut 2 weeks ago. I had the same issue with the Heavy Chipboard option. So, far I haven’t been able to get it to cut through but, I’m going to try again soon. It got late and I was tired last night LOL!!
Lysa Robles says
Hi!
I order some supplies to try this tomorrow. I wanted to ask what you used once you cut the wood to seal it. Any recommendations?
Can’t wait to try this!
Thanks!
Morgan says
Hi Lysa! I didn't seal mine but I would suggest a spray sealant (in a can like spray paint, but clear) for wood this thin!
Nieves says
Hi! This is a great post! Thank you for sharing all the information.
I want to create something for my wedding, and I am using your tips. I have one question, though. When you explain the types of wood that can be used, what do you mean by 'passes' on the last column? Thank you in advance!
Morgan says
The Cricut goes over the outline several times, or "passes," to get all the way through. It doesn't cut all the way through the wood on one pass.