Want to use a gel wood stain on your DIY project but not sure what you're getting into? Here's a complete step by step tutorial on how to apply gel wood stain!
Whether you are refinishing a piece of furniture or building something from scratch, wood stain has the ability to totally change the look of a piece.
There's so many different colors and types of wood stain to choose from, I know that it can be super overwhelming.
Today I want to talk about one specific type of wood stain that we have been experimenting with lately – gel wood stain.
Gel wood stains are super thick - they almost have the consistency and coverage of paint, but the slightly transparent wood toned look of a stain.
I love that gel wood stains can go right over existing finishes. That's right, if you hate sanding wood, gel wood stain might be the solution you are looking for!
Let's take a look at everything you need to know about when and how to apply gel wood stain on your next project.
HOT TIP: Staining wood furniture vs. staining wood boards
We often get the question of if you should stain wood before or after building a project and if there are differences between staining boards vs staining wood furniture.
While it seems like it would be easier to stain flat boards and then assemble, we usually do not recommend this. This is because wood projects usually need to be glued and sanded after being assembled for a flush, finished look. Both of these thing would mess up an existing stain.
How to pick the right wood stain
When choosing a stain for your project, you need to pick the right type of stain and the perfect color for your project.
Gel Stain vs Traditional Stain
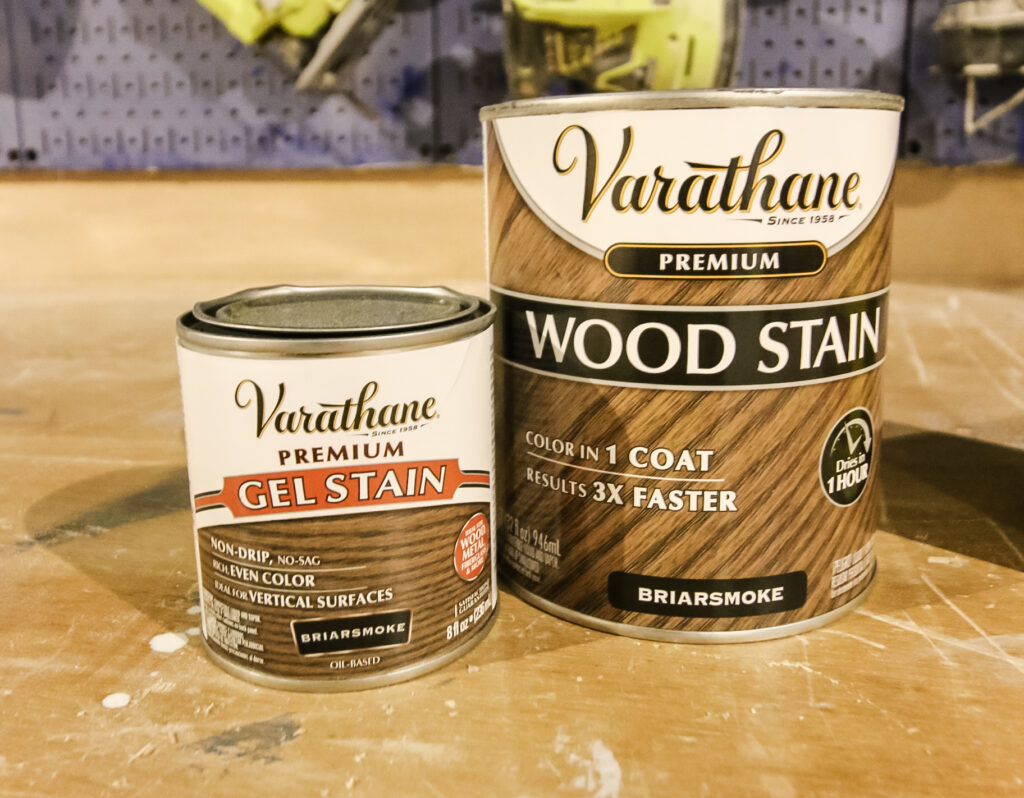
There are several types of wood stains that you can choose from for finishing your project, but for the purpose of this article we want to compare gel stain and a more traditional wood stain.
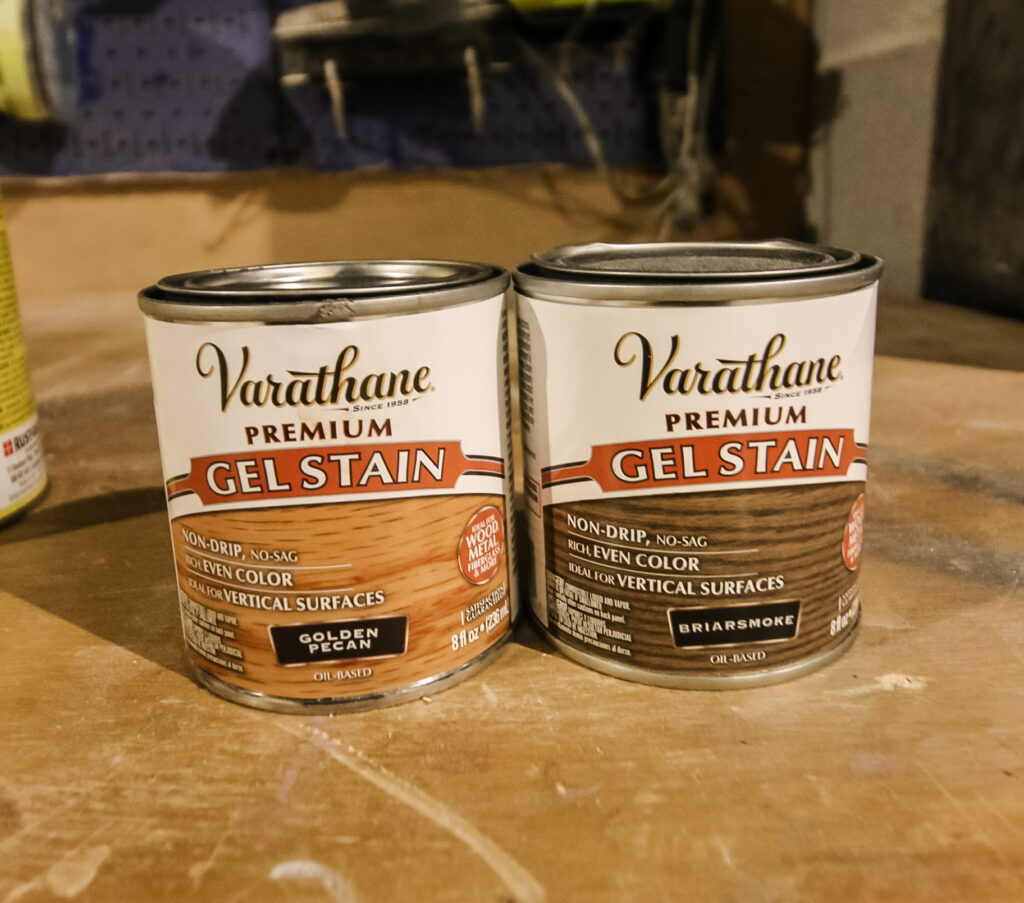
Gel stain is a type of oil-based stain that is super thick - about the consistency of honey.
This type of stain is designed to sit on top of the wood surface instead of absorbing into it. Because of this, it is great for non-porous surfaces, finished wood, and softer woods that tend to get a blotchy finish with traditional wood stain.
We love using gel stain on:
- Wood that already has a finish on it or it's hard to remove 100% of the existing finish
- Soft woods like pine or white wood where you want a super dark stain color (traditional stains tend to look blotchy in this case)
- Painted wood that you want to give more of a wood-look
- When staining vertical surfaces - like cabinetry - where you don't want drips. Gel stain is so thick it doesn't really drip!
- Projects that involve metal or fiberglass elements that you also want to stain.
But, in all other cases, traditional stain is usually the way to go. It is cheap, easy to apply, and gives a great color in most traditional use cases.
Remember: gel stain can give quite an opaque finish. Don't use it on wood with beautiful grain that you want to show off!
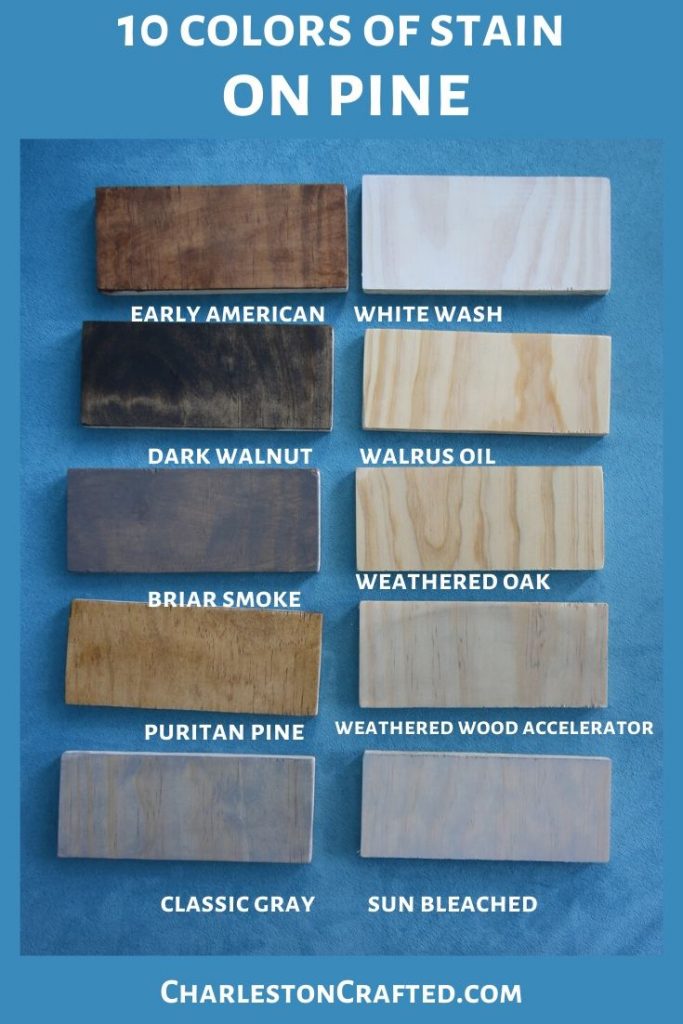
How to choose a wood stain color
Color is generally a matter of personal preference and aesthetics. What look are you going for?
Light colored stains are typically better for coastal, farmhouse, or casual spaces.
Dark colored stains tend to feel more traditional or formal. Black wood stains feel more modern.
Also consider if you want full coverage of the wood grain or a lighter coverage, which lets more of the grain shine through.
In general, stains come in transparent or semi-transparent. Transparent is going to show more grain while semi-transparent will give more complete coverage.
How to Prepare Wood for Gel Wood Stain
One of the major benefits of using a gel wood stain is that it can go over wood that already has a finish on it.
This is in complete contrast to traditional stains which need the wood surface to be completely clean and stripped to adhere properly and evenly.
But, you still might need to do a bit of prep work on your piece before staining it.
Even gel stains don't stick well on super shiny or slick surfaces. If your wood has a thick varnish on it, rub it down with a fine grit sand paper - something around 220 grit - to rough it up.
The goal is not to remove the existing finish, but just to open up the pores so that it is a bit grippier for the stain to adhere to.
Then, you are going to want to clean the surface well. Anything left on there will be glued on by the stain. If there's a lot of dust, you can even vacuum it with a shop vac. Then, wipe it down with a clean rag until you are satisfied that it is clean.
Now you are ready to stain!
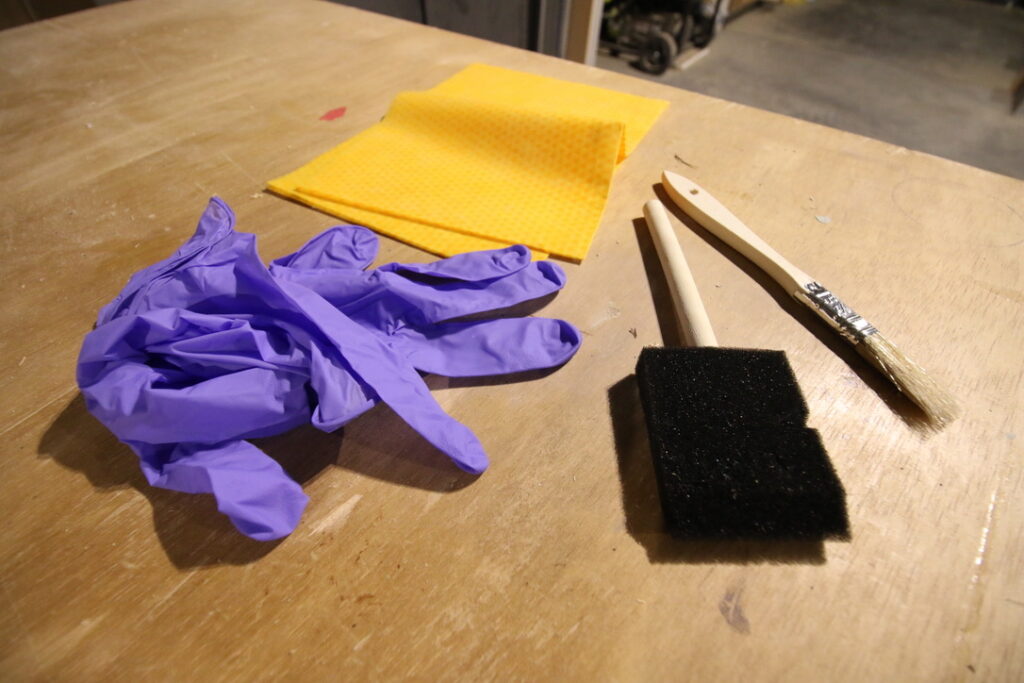
Materials Needed to Stain Wood with Gel Stain
Here are the supplies that you need to stain wood.
- Fine grit sandpaper
- Gel stain of your choice
- Brushes or cloths for application
- Gloves and safety goggles
- Stir sticks for stirring the stain
- Drop cloths to protect the surrounding area
What to apply stain with
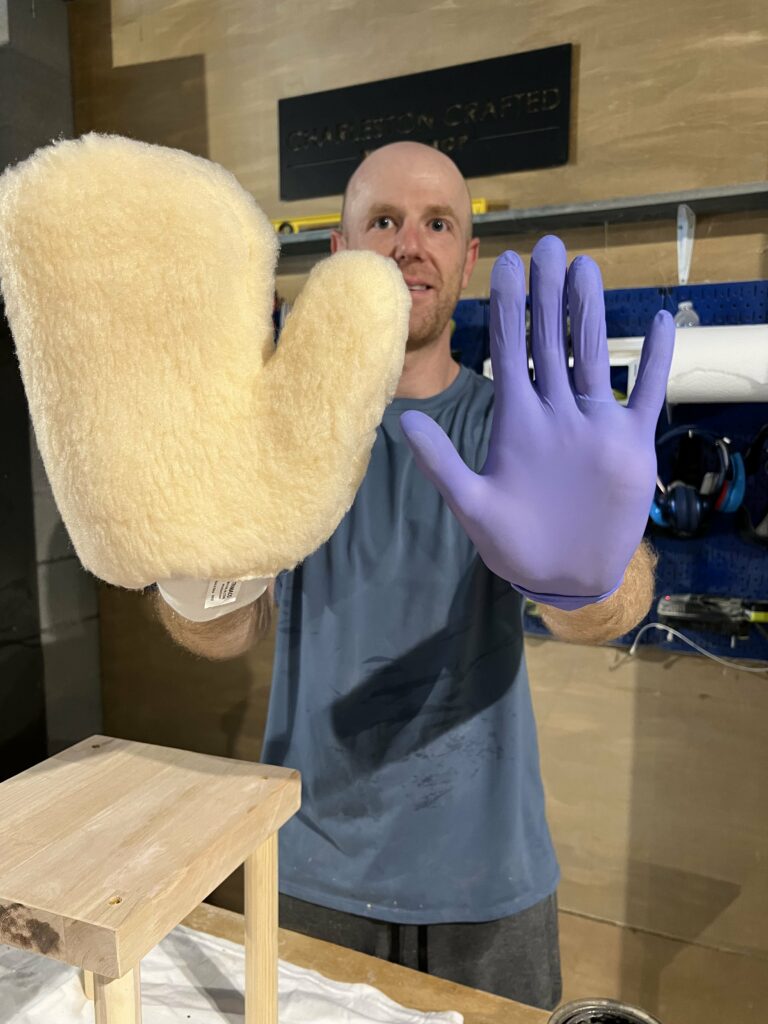
You have a few options as for what tool to use to apply stain with. We have tried a few options and here are our favorites:
- Lint-free rag - our preferred way to stain is with a tack cloth. Wear gloves while you use these, and you can easily dip them in the stain and wipe on just enough. They are also perfect for wiping off excess. A great bang for your buck, disposable option.
- Paint brush - You can always use a paint brush to apply stain. I prefer an angled brush for getting into inner corners.
- Foam brush - A foam brush is great because it can hold a lot of stain and they are disposable so clean up is easy. However, be careful - since they soak up so much stain, they can lead to pools of splotchy stain if you don't press down evenly!
- Stain glove - these stain gloves are an option if you are staining something with irregular curved lines, like balusters. You can see our test of a stain glove here - it isn't our favorite option for most uses, but it is good for staining long rods.
Safety precautions when working with wood stains
Wood stains are not as obviously dangerous as a power saw, but they can cause skin or eye irritation. Make sure to follow these safety best practices when staining wood:
- Ventilation: Work in a well-ventilated area. Stains can release harmful fumes, so ensure proper airflow by opening windows and using fans. Consider working outdoors if possible to minimize inhalation of potentially harmful vapors.
- Protective Gear: In addition to gloves and safety goggles, wear a mask or respirator designed to filter out chemical fumes. This helps prevent inhalation of harmful particles or vapors while working with stains.
- Skin Protection: Stains can irritate the skin. Wear long sleeves, pants, and closed-toe shoes to minimize skin contact. If stains come into contact with the skin, wash the affected area immediately with soap and water.
- Eye Protection: Safety goggles or glasses with side shields protect eyes from accidental splashes or spills. Chemicals in stains can cause severe irritation or damage to the eyes.
- Read Labels: Familiarize yourself with the specific hazards and safety precautions outlined on the stain's label. Understanding the product's properties and potential risks helps in taking appropriate safety measures.
- Avoid Ingestion: Stains contain chemicals that are harmful if ingested. Never eat, drink, or smoke while working with stains. Wash your hands thoroughly before eating or touching your face.
- Proper Storage: Store stains in their original containers in a secure, cool, and dry place away from children and pets. Ensure lids are tightly sealed to prevent spills or leaks.
- Cleanup: Clean tools and equipment immediately after use. Dispose of used rags, brushes, or applicators properly to prevent spontaneous combustion. Rags soaked in oil-based stains can pose a fire hazard and should be laid flat to dry or stored in an airtight container filled with water before disposal.

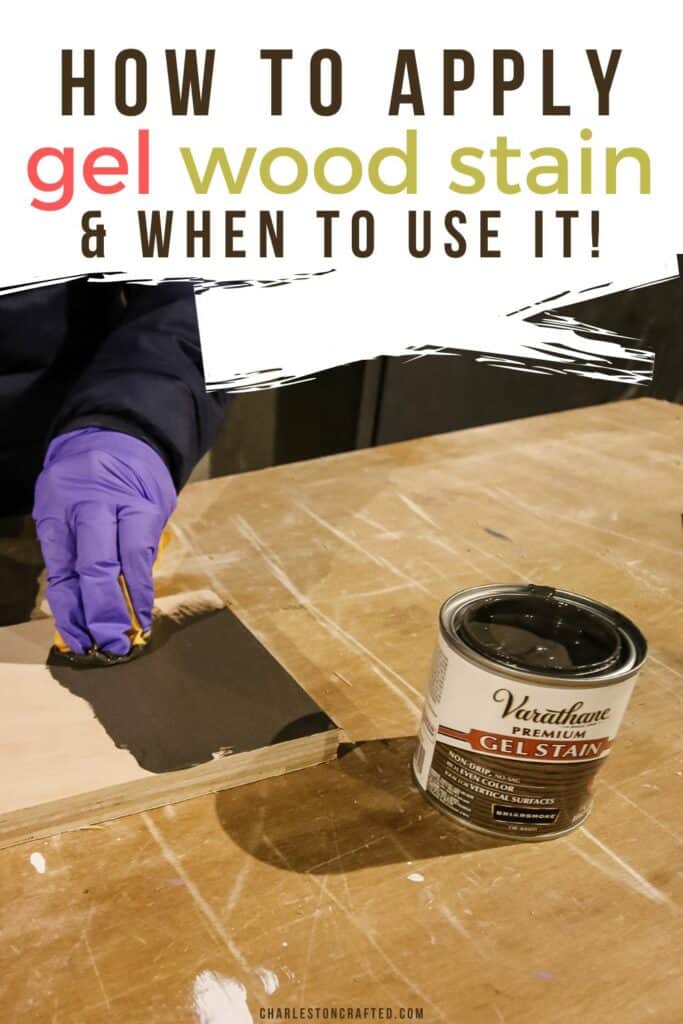
How to Apply Gel Wood Stain - Step by Step
Here's the best way to stain wood with gel wood stain!

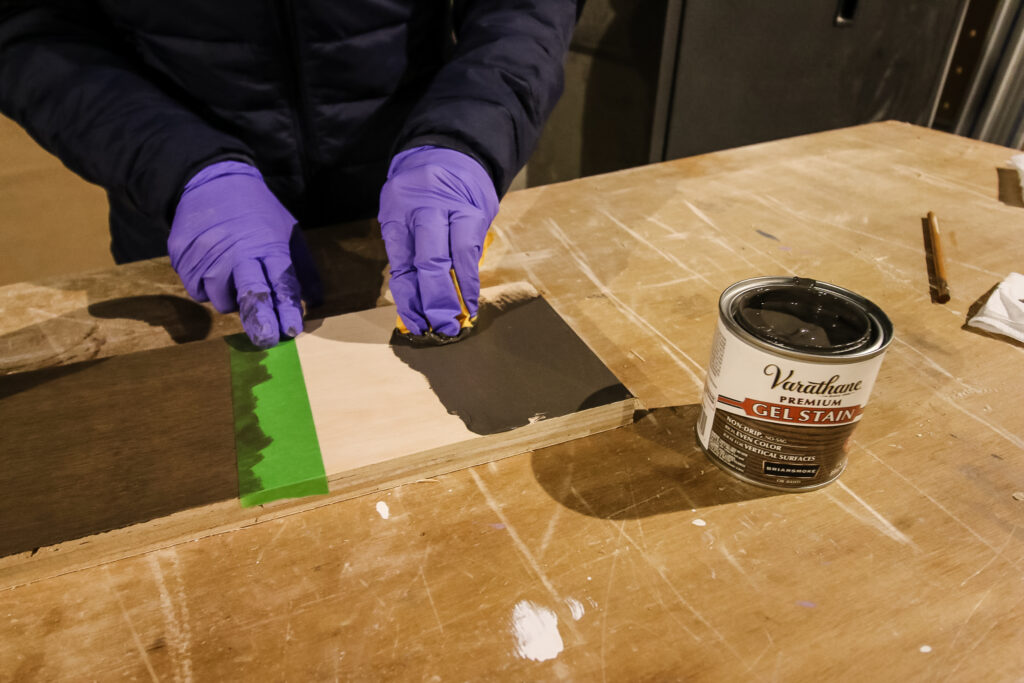
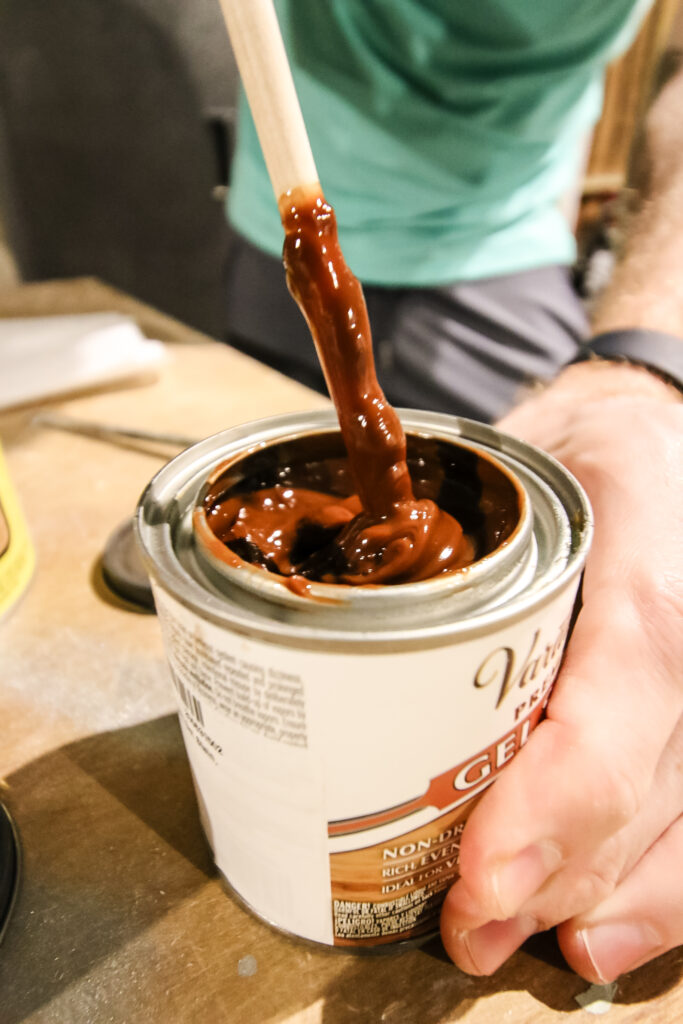
- Stir Well: It is important to stir your stain well in case it has separated. Use a stir stick or wooden dowel to do this. Never shake wood stains.
- Test the Stain: Always test a swatch of your stain on a small, inconspicuous area to ensure you like the finished color before staining the entire piece. Remember: stains can look wildly different than the picture on the can, in real life!
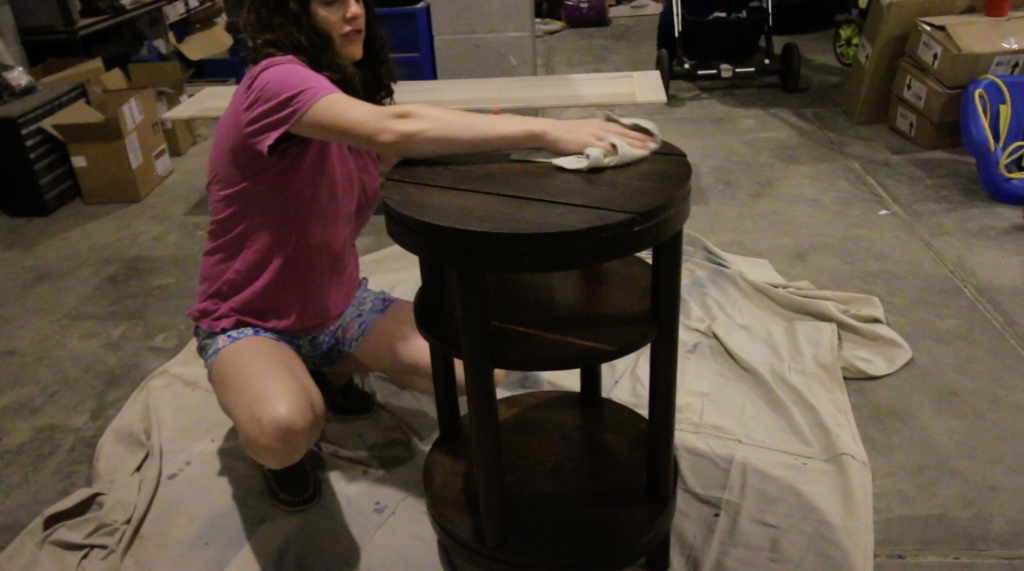
- Apply Stain: Using a brush or clean cloth, apply an even coat of stain following the wood grain. Gel stains actually recommend that you apply in the direction OPPOSITE of the wood grain, which is different from most products. This is so you can really work it into any grains or grooves. Be careful not to let it pool in any spots, which will lead to dark splotches.
- Wipe Excess: After a few minutes, wipe off any excess stain with a clean cloth. Leaving pooling stain is what leads to a blotchy finish. Do not wipe too hard - remember, this stain sits on top of the surface!
- Assess: Assess the color depth and decide if you want to apply a second coat. Allow it to dry according to the manufacturer's instructions between coats - gel stain often has a long dry time.
- Apply Additional Coats (if needed): For a darker shade, apply additional coats after allowing the previous one to dry completely. Ensure each coat is evenly applied and wiped to maintain consistency.
How to Finish Stained Wood
Once your stain has fully dried, you will most likely want to seal your wood project with a topcoat.
Once the stain is fully dry, apply a protective topcoat or sealant to preserve the finish and add durability.
Your options include polyurethane, lacquer, or varnish. Generally, with oil-based gel stains, you want to use an oil based top coat. There are options by General Finish, Waterlox, and Varathane, amongst others.
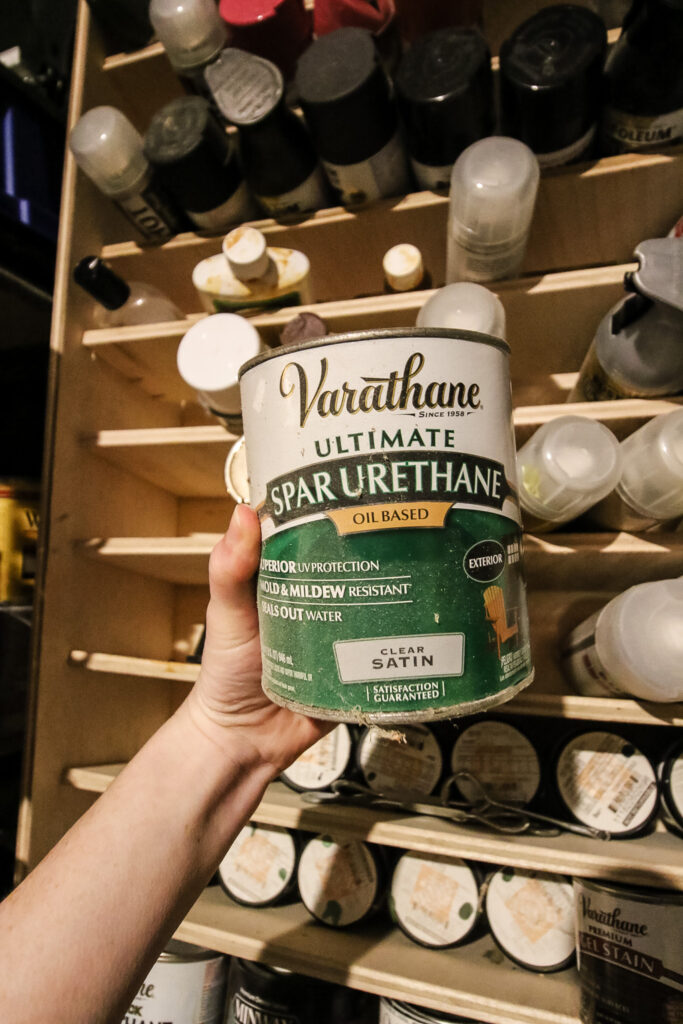
Follow the manufacturer's instructions for application and drying times.
For a smoother finish, lightly sand between coats of sealant with fine-grit sandpaper. This will get rid of any tiny bumps or grittiness to the finish.
Let the final coat cure completely before using or placing any objects on the stained wood surface.
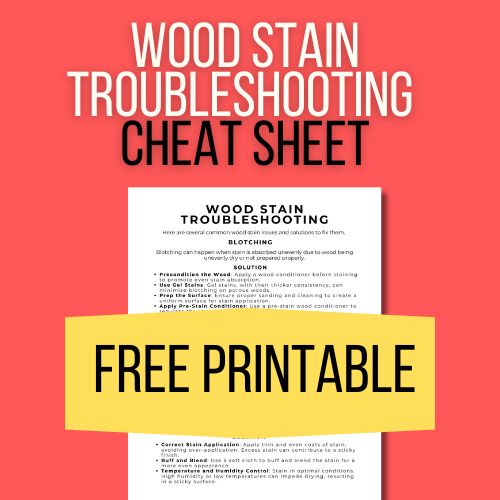
Want help getting the perfect wood stain finish?
Be sure to grab our FREE wood stain troubleshooting cheat sheet, with the top staining problems + easy solutions for each!

Looking for something?
We've been doing this since 2012 so we have a LOT of blog posts!
Search stuff like: Ceiling Projects | DIY Plant Stands | Thrift Flips

Hello, I'm Morgan, half of the creative force behind CharlestonCrafted.com! With a passion for DIY that dates back to 2012, I've transformed three homes and now I'm dedicated to helping others craft their dream spaces. Let's turn your house into a home together!