This post will show you how to add a slide to a backyard deck so your kids can have a great time all year long! Get the basics here and then click over at the end to the full post on The Home Depot Blog for the step-by-step!
This post was sponsored by The Home Depot. All opinions are our own and our opinion is that we love The Home Depot. Thank you for supporting the brands that make Charleston Crafted possible!
We love our new house so much, but one thing we don't always love is the stairs... especially with a toddler. There are so many stairs for him, even when he wants to go into the backyard.
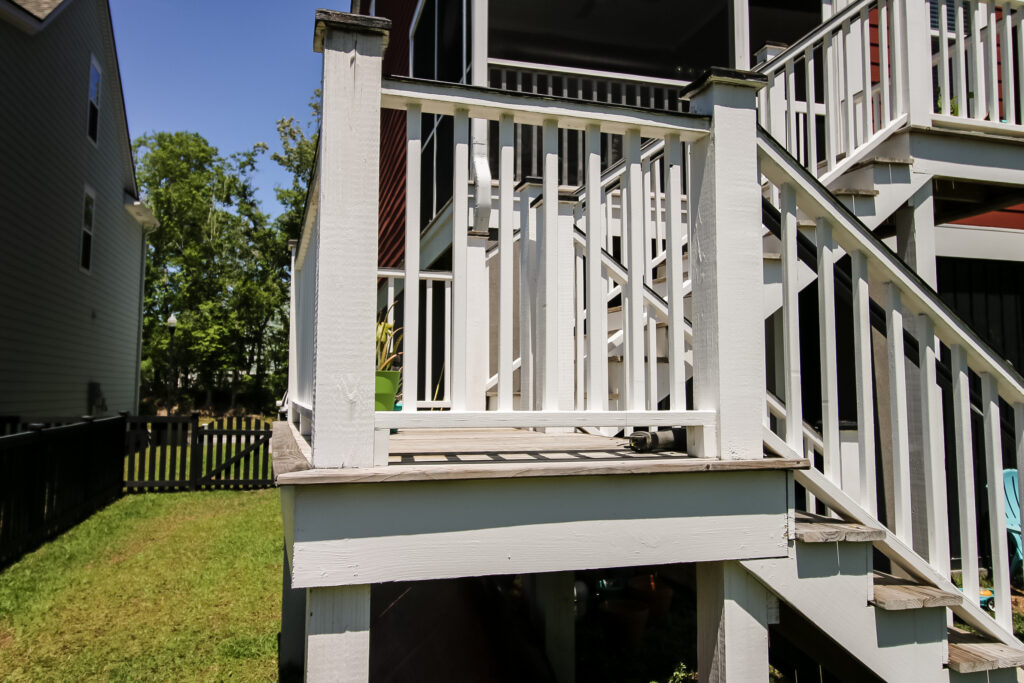
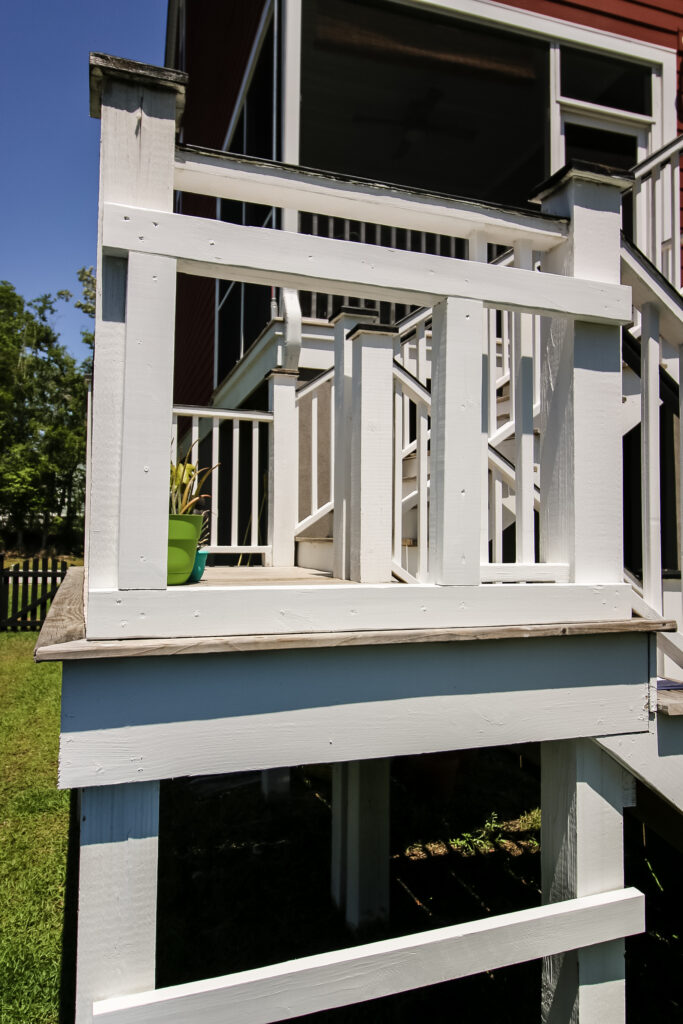
We have a raised house, so coming out of our living room is the screened porch and off that is a set of switchback stairs down to the backyard.
In the middle of the stairs is a nice wide landing that we determined would be perfect for an element of fun. To do that, we added a slide off the landing down to the backyard grass!
This is a super fun way for our toddler to get started on his outdoor play right away. Usually, it ends up that that's all he wants to do!
Here's how we added a slide to our backyard deck and how you can do the same!
Adding a slide off the deck
This was a great project thanks to The Home Depot. They have a wide selection of play sets and accessories that make it easy to customize your child's play experience.
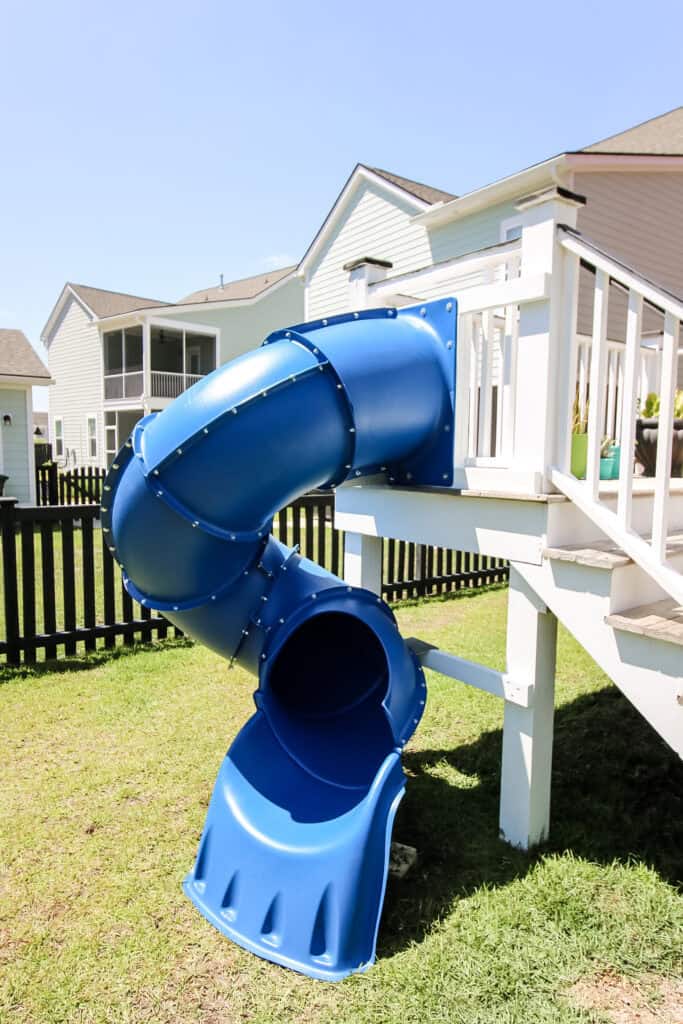
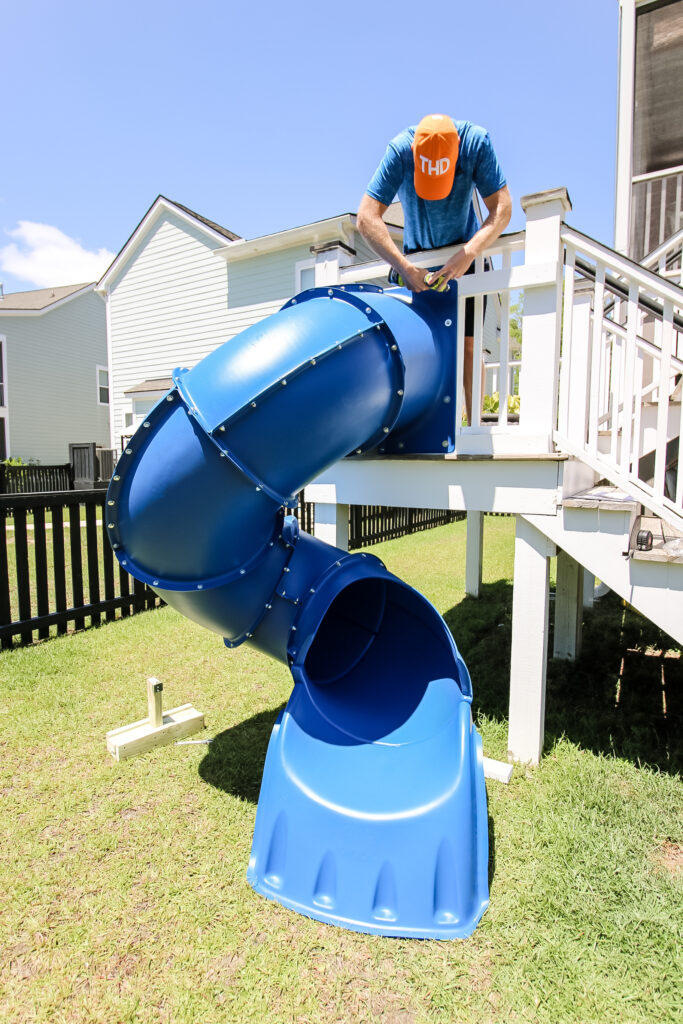
We bought a 5 foot Blue Turbo Tube Slide from Swing-N-Slide Playsets to send our son over the edge and into the yard! This slide comes in blue, yellow, and dark green. We let Luke pick and he picked the blue!
This twisty tube slide is an awesome, sturdy slide that matched up perfectly with our 5 foot deck height.
This project took some time, but was absolutely worth the effort. We'll show you how to do it now.
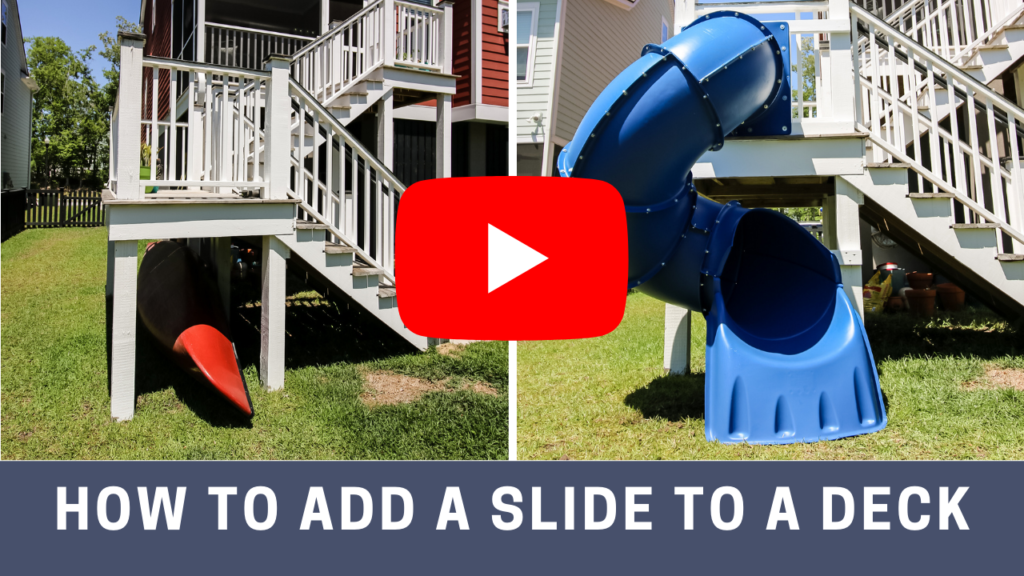
Video Tutorial
If you want to see a video tutorial of how we assembled the slide and attached it to our deck, make sure you click the photo to head to YouTube!
Assembling the slide
Assembling the Turbo Tube Slide was by far the most time-consuming part of this project.
There are literally hundreds of screws and bolts and 13 large plastic slide sections.
You need a good amount of space to assemble the slide and will need to make sure that space is available for a few days. This is not a one day project.
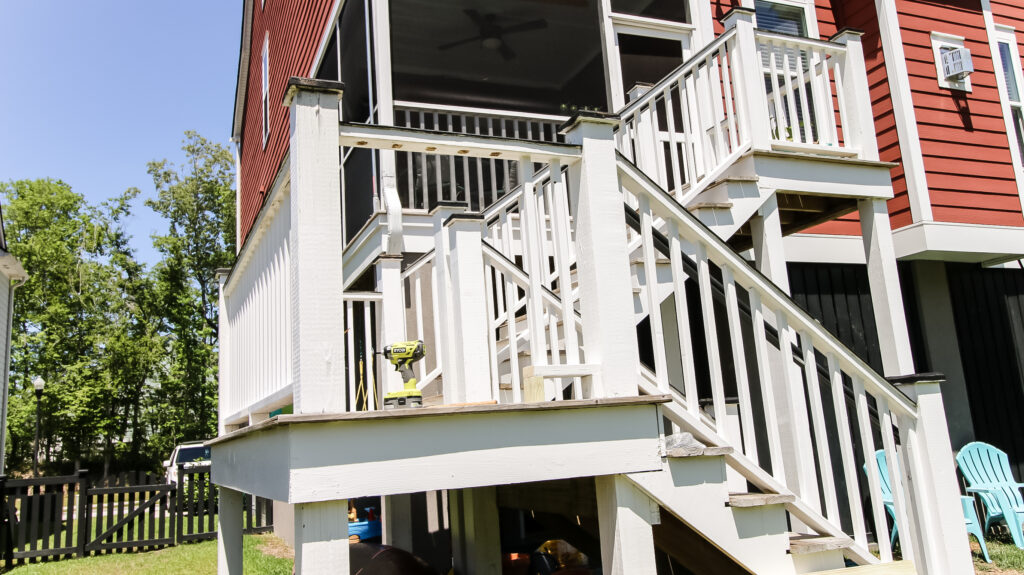
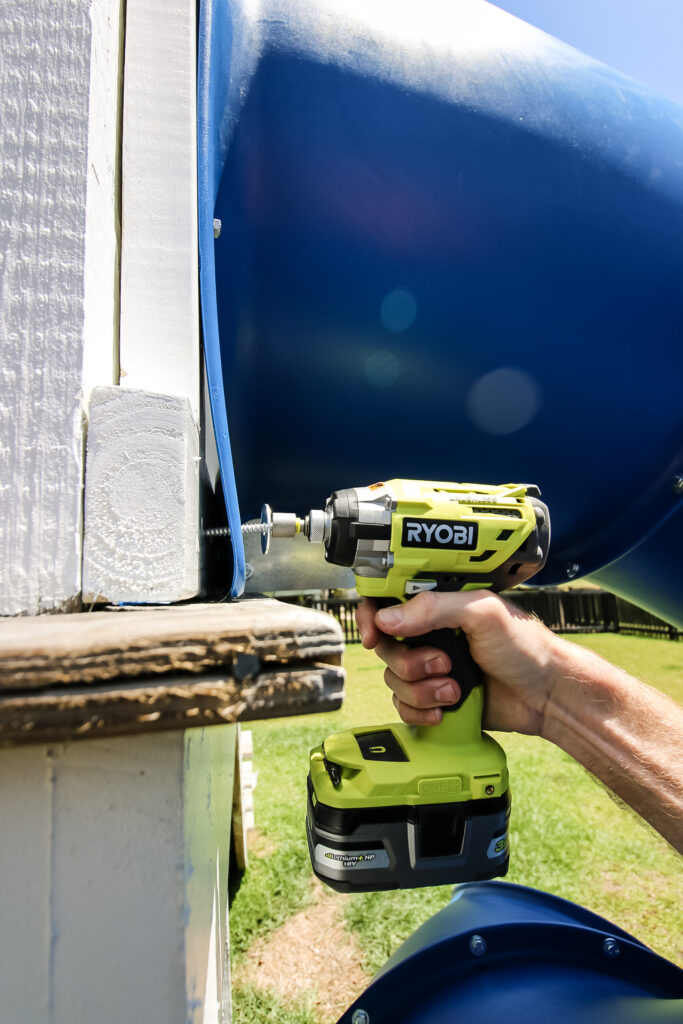
One thing that made this project a lot easier was finally upgrading to an impact driver. We grabbed a Ryobi 18V brushless impact driver and a 70 piece impact driver set.
This set included a lag bolt adaptor that made it much quicker to put all those bolts in place. If I'd had to twist all of the bolts by hand, the assembly would have taken weeks. Definitely get an impact driver if you plan to assemble a slide!
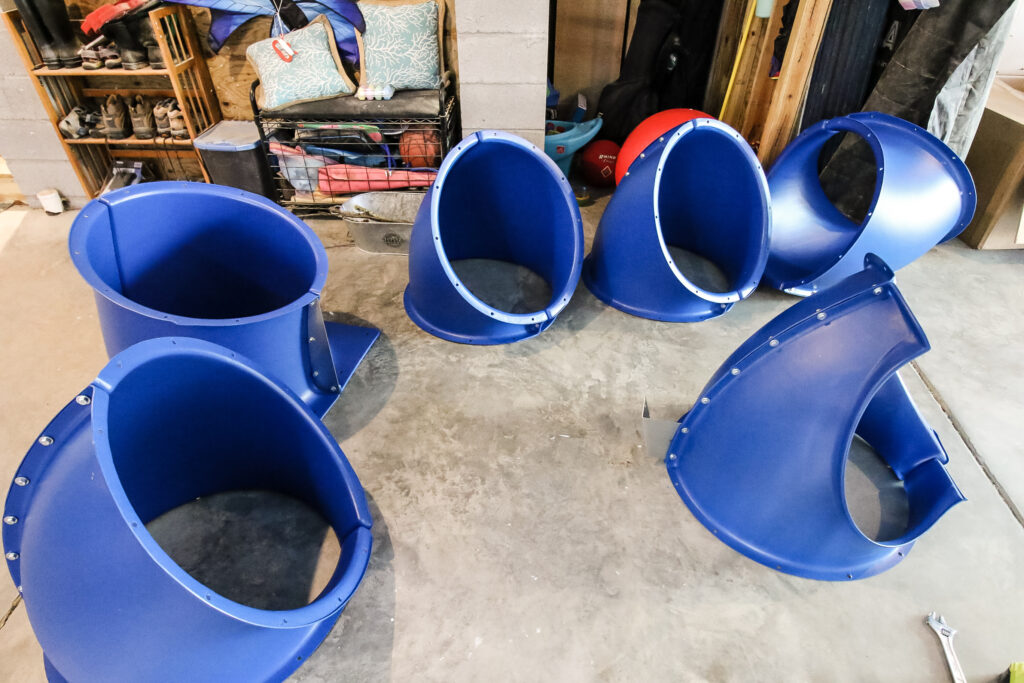
The slide assembles with sets of two sections being put together. There's an entrance, five elbows, and an exit.
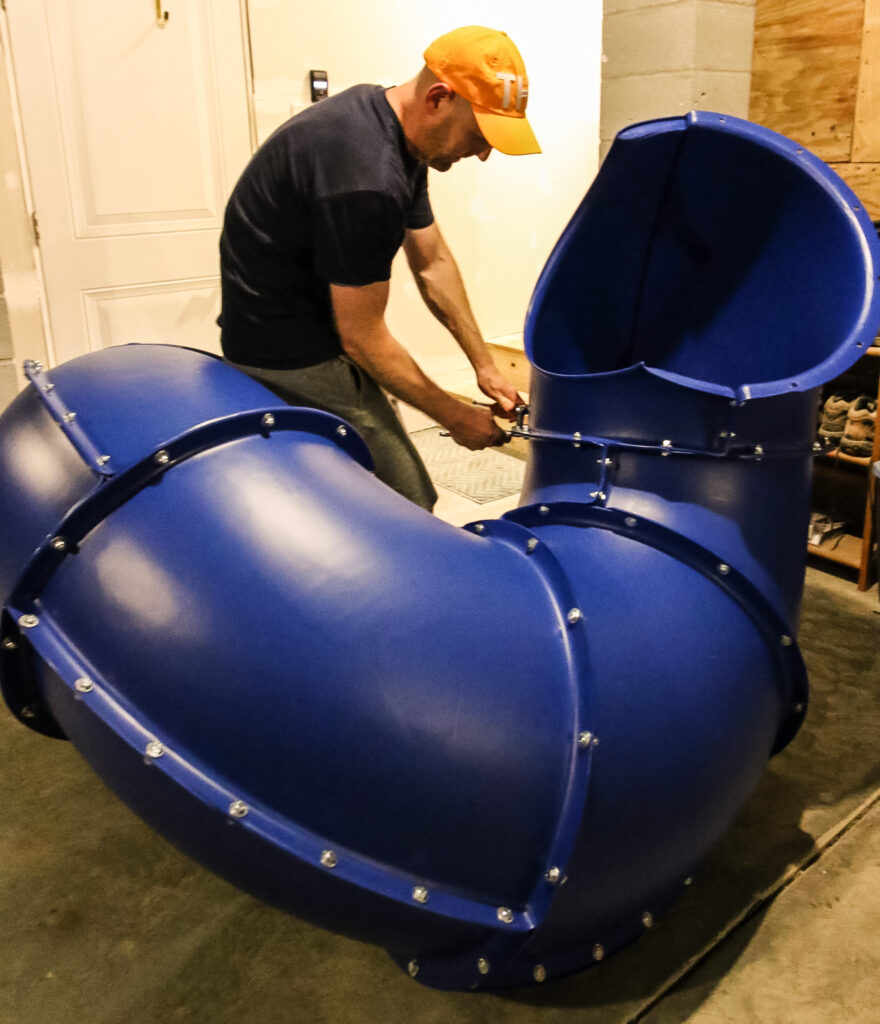
Each of the sections are built individually and then are connected at the same shifted angle to create the twist to the bottom.
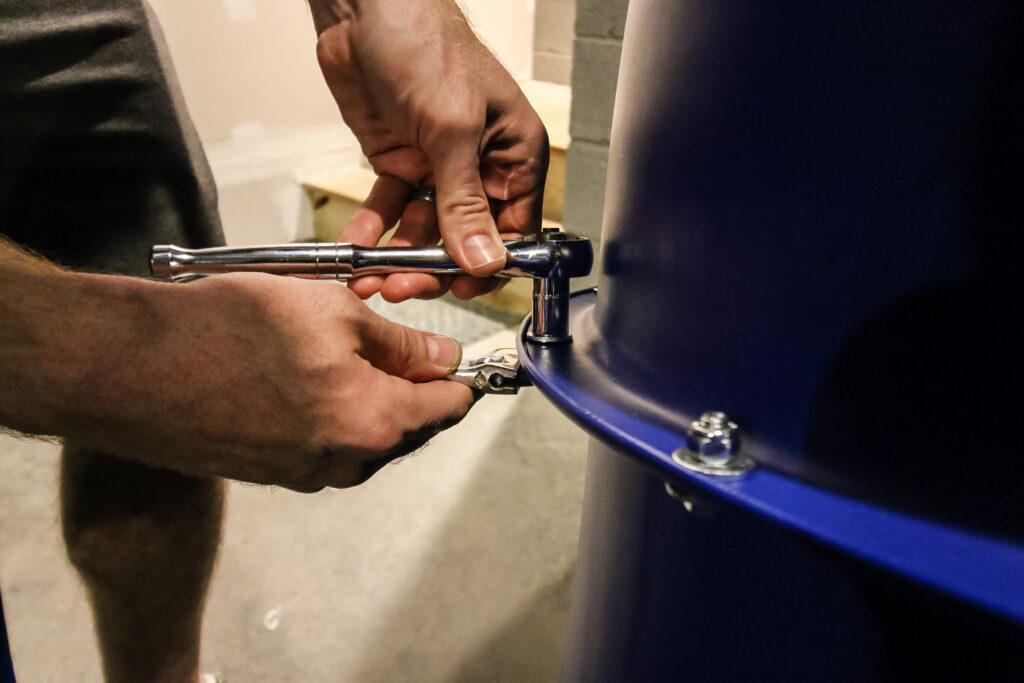
All of the nuts and bolts need to be securely attached between each piece to ensure safety.
Assembling wood components
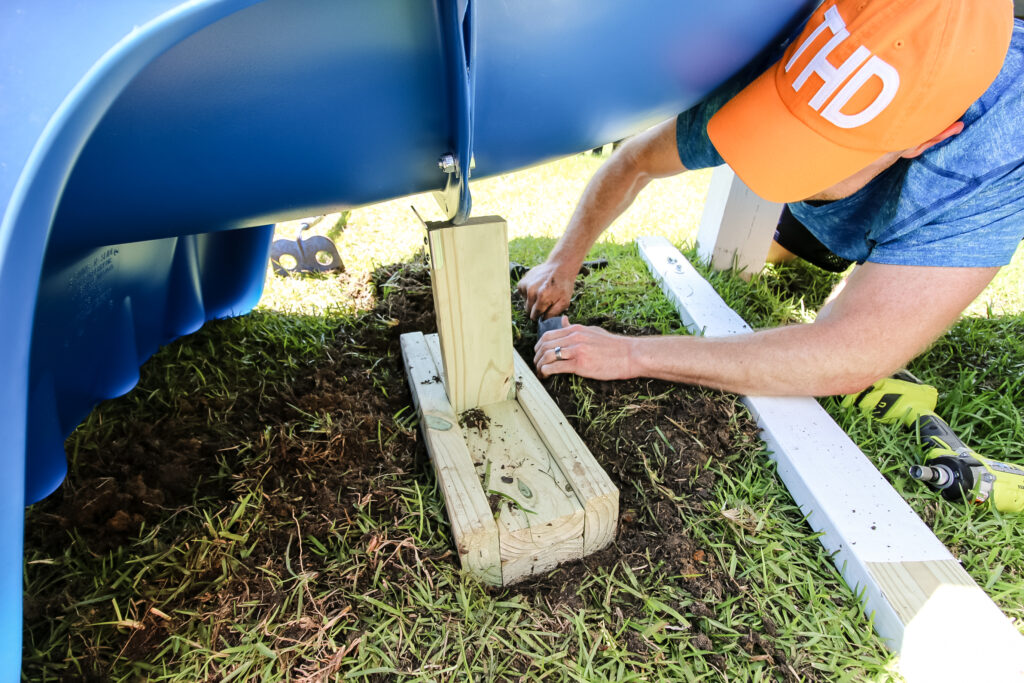
After the slide was constructed, there's a few wooden elements that had to be cut an assembled.
One is the base that holds the end of the slide in place and keeps it solid. This is a few pieces of 2x4s screwed together with a support bracket.
The other wooden part is the section that attaches to the deck and the slide.
In the instructions, you'll see that you're supposed to build this section into a play set in individual pieces. Since we had to adapt this a bit for attaching to the deck, we assembled the entire unit as one piece.
Preparing the deck for the slide
Preparing your deck to attach the slide will be dependent on your deck situation.
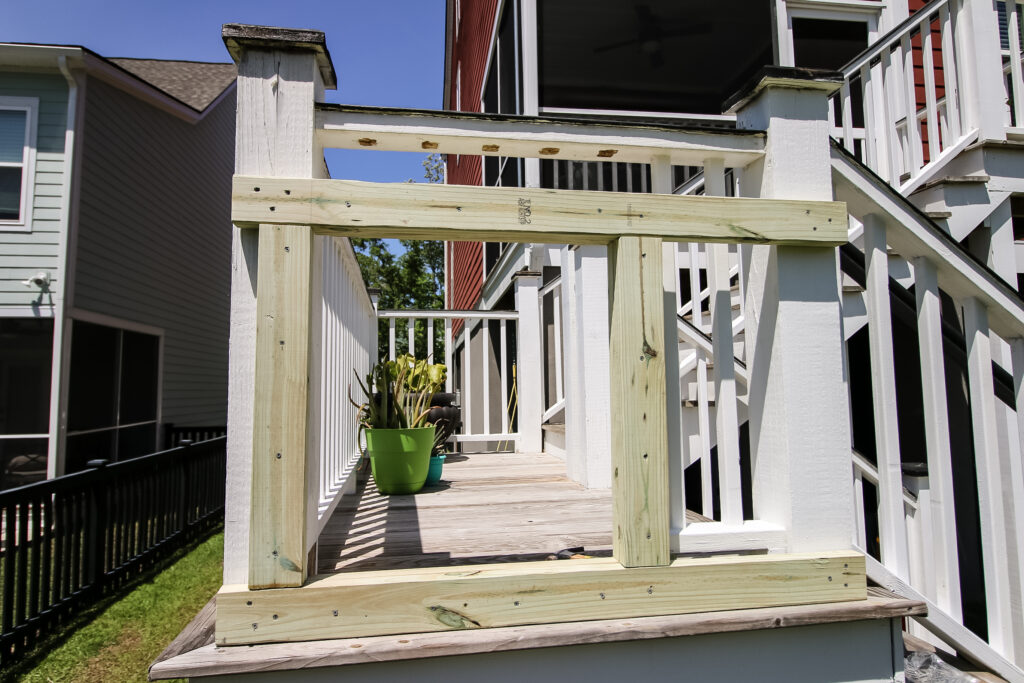
As mentioned, we have a switchback landing on our staircase that we were going to be attaching the slide.
For us, we needed to remove the balusters that were in place. This was similar to when we replaced the balusters in our stairwell at our old house.
We simply used a reciprocating saw to cut the balusters in half, then twisted them out. Any remaining nails were easily pulled out with pliers.
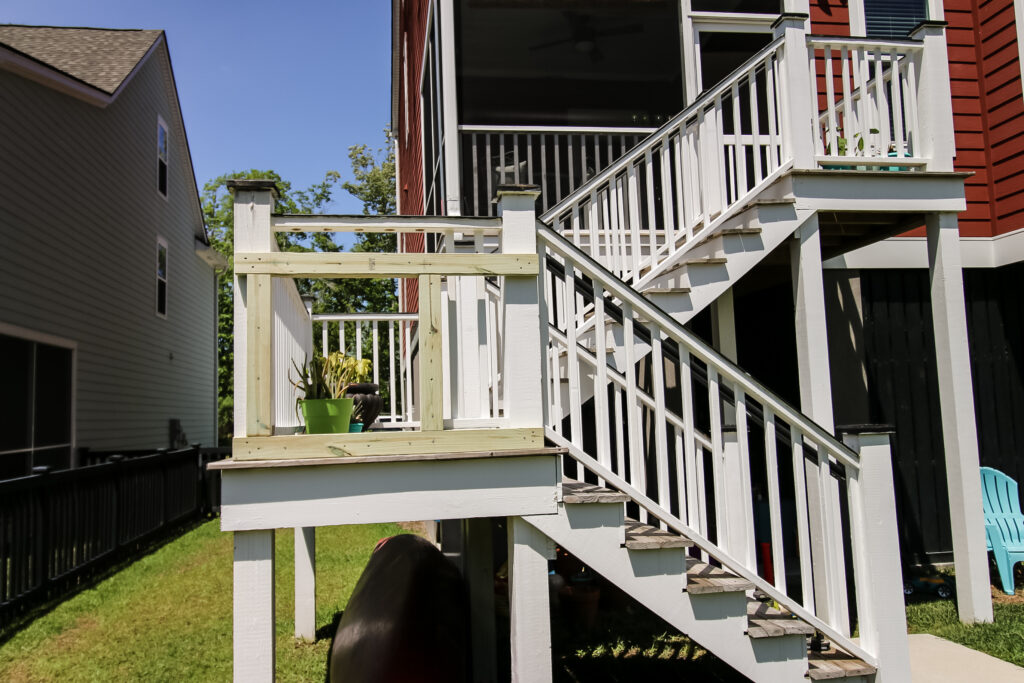
We applied wood filler anywhere needed and then attached our wooden slide entry assembly directly to the posts on the deck.
After everything was in place, we painted/repainted everything with a matching exterior white paint.
If your deck railings are looking bad or rotten, here's how to replace them!
Attaching the slide to the deck
Attaching the slide to the deck was the easiest part of the entire project.
With the slide fully-assembled and the entry ready to go on the deck, this was an easy process.
We both lifted the slide vertically into place and then attached two placeholder screws quickly. Then we finished off the remainder of the screws around the entry.
We attached the base wood support component and the last railing and it was ready to go.
Final results of the Turbo Tube Slide
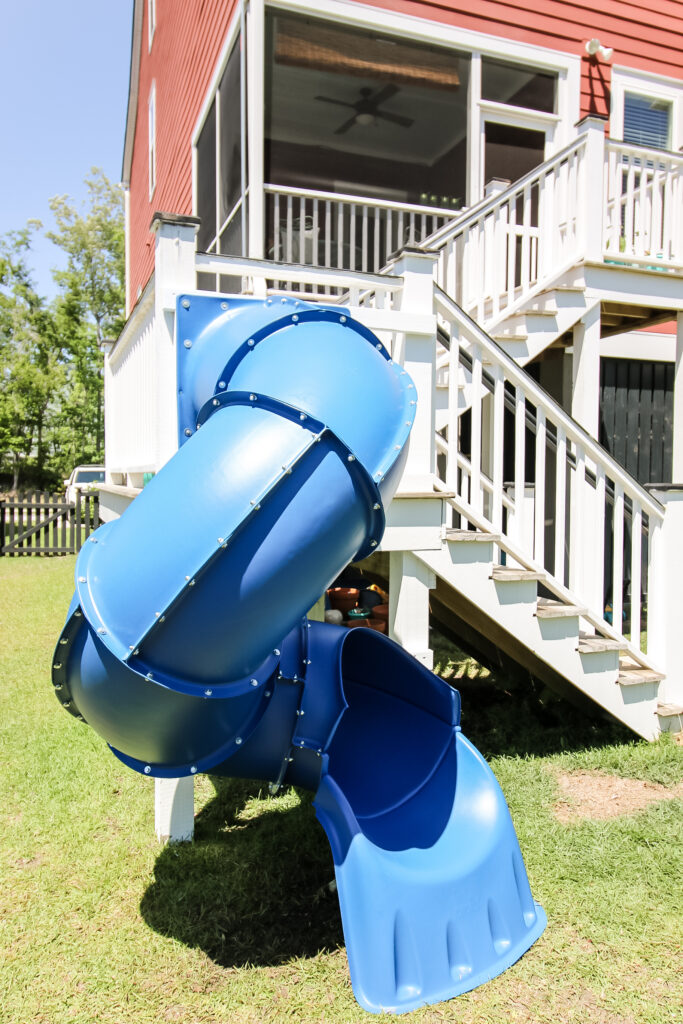
We love how cool and unique it is that we have a slide off our back porch!
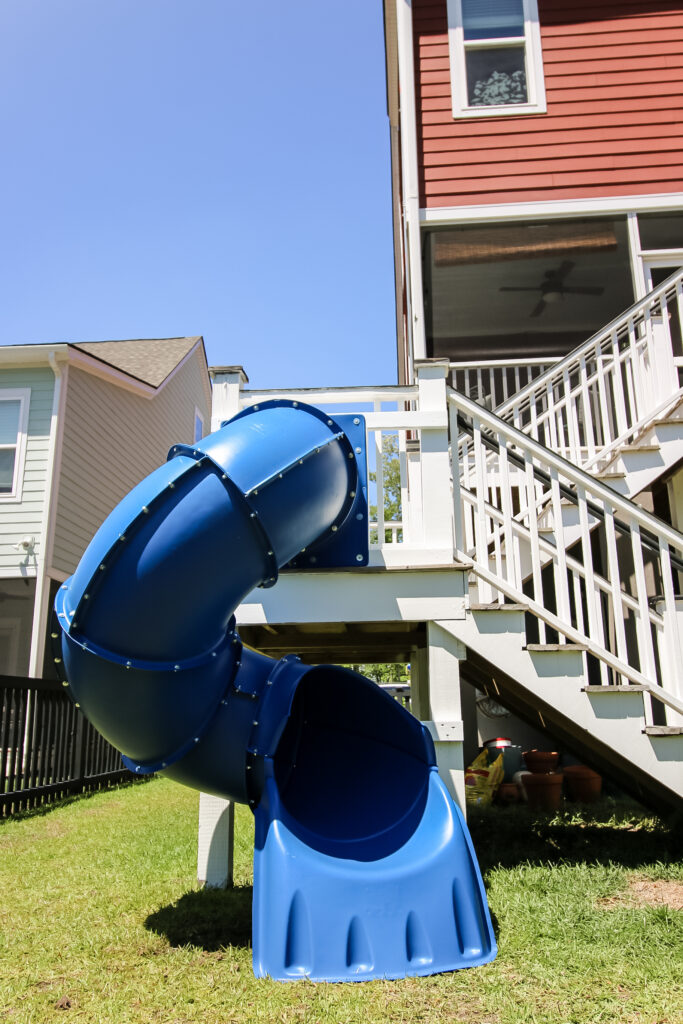
Our toddler loves to slide down, walk up the stairs, and slide down again. We have three playgrounds in our neighborhood, but this is his domain now.
This slide is step one of making our house the envy of the neighborhood kids and it was all thanks to The Home Depot.
Make sure you click over to the Home Depot Blog to see the full step-by-step instructions for assembling and attaching the Turbo Tube Slide to your deck and get yours today!

Looking for something?
We've been doing this since 2012 so we have a LOT of blog posts!
Search stuff like: Ceiling Projects | DIY Plant Stands | Thrift Flips
This post is sponsored by Kreg Tool. All opinions are our own and our opinion is that we love Kreg Tool. Thank you for supporting the brands that make Charleston Crafted possible!

Hey there, I'm Sean, the woodworking enthusiast and builder behind CharlestonCrafted.com! Since 2012, I've been sharing the magic of turning raw materials into beautiful creations. I love teaching others the art and satisfaction of woodworking and DIY. I try to inspire fellow crafters to make something extraordinary out of nothing at all.