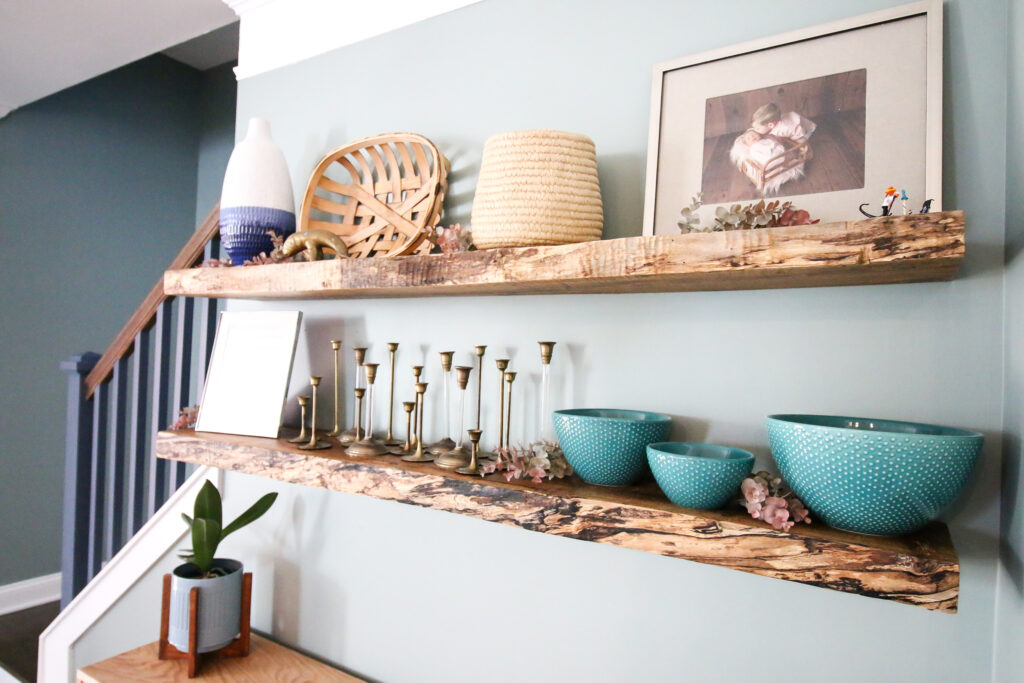
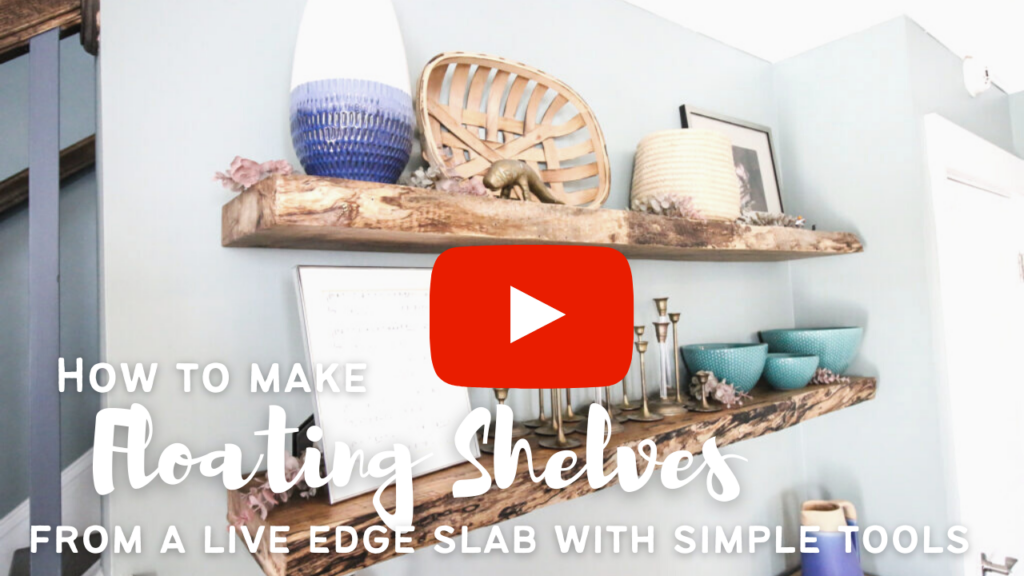
This post will show you how you can make DIY live edge floating shelves from a large slab of hardwood using simple tools. Live edge shelves are a great way to add a bit of rustic flair to any design style!
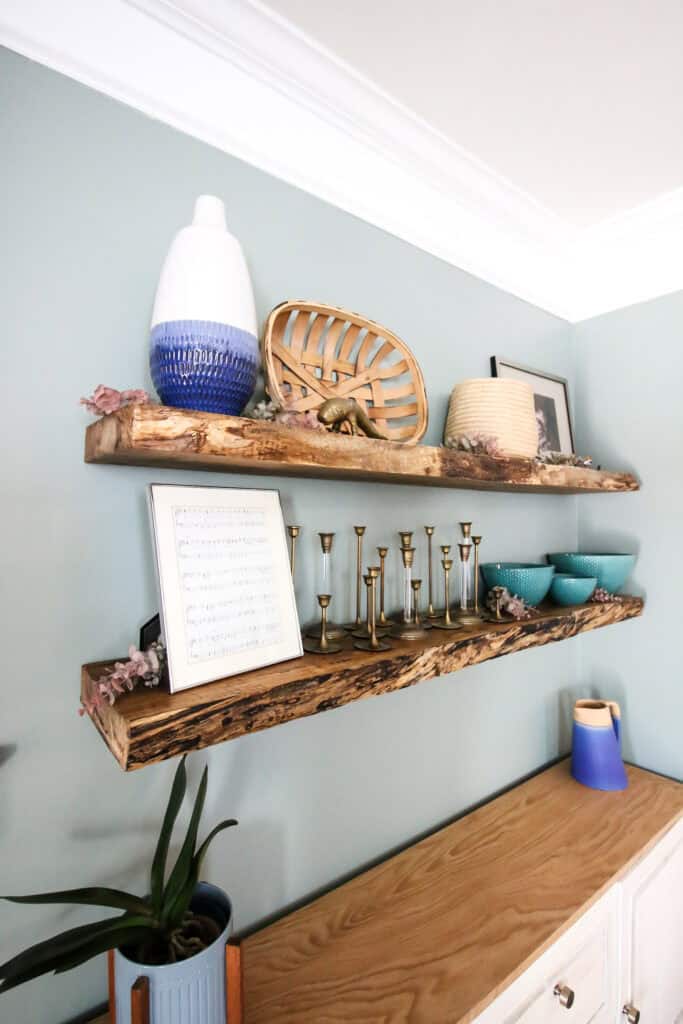
In our new home, we've been designing around a more natural, boho style compared to the coastal vibes of our first home.
This includes lots of warmer colors, like greens and blue, and natural elements, like wood.
We've been working on the entire first floor of our home and centering it around our new shiplap fireplace and accent wall.
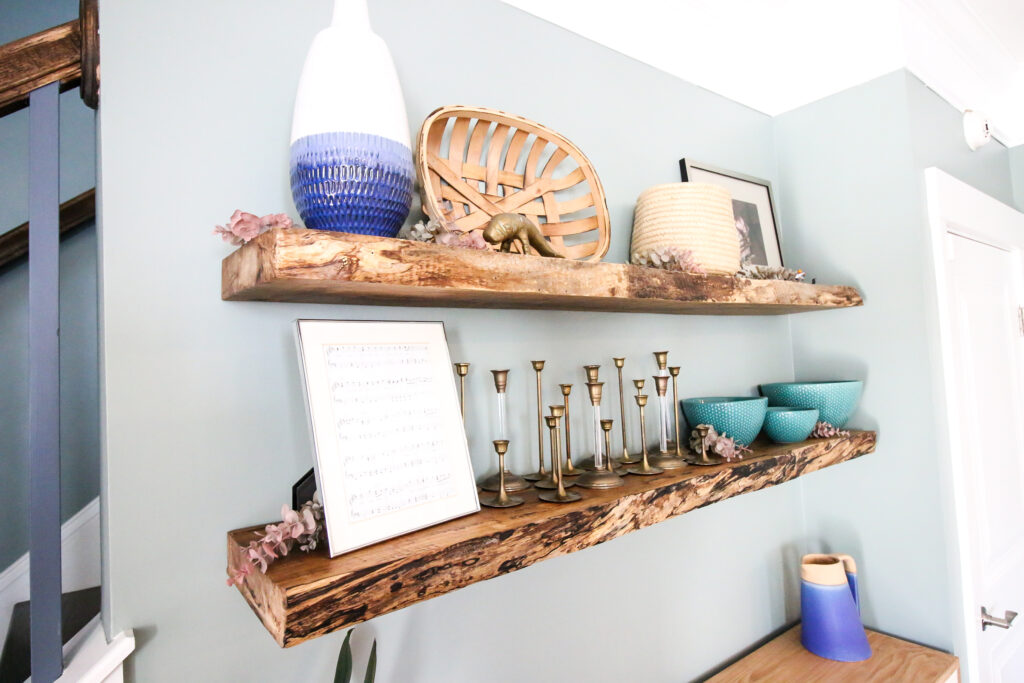
On the fireplace, we hung a slab of curly maple to be our new mantel. Next to that wall, we have two black walnut live edge shelves that we moved from our old house.
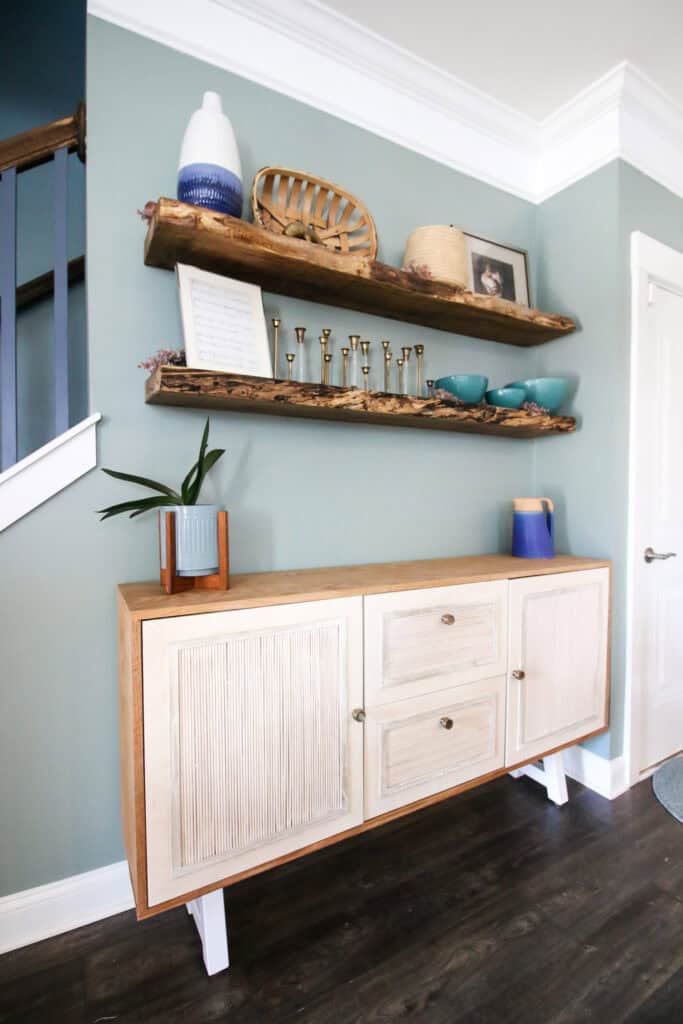
We recently built a buffet table to fit in the space behind our DIY angled dining table (click to get the FREE woodworking plans!) to replace the old IKEA display cabinet we had before.
The old cabinet was tall and helped draw the eye up. With the buffet table there now, we needed to add that visual height to the space, so we added some new live edge floating shelves!
Want to make simpler floating shelves? Get our complete guide and woodworking plans here!
How to make live edge DIY floating shelves
On a recent trip to Asheville, NC, we swung by the Antique Tobacco Barn, one of our staple stops when we're in the area. While there, we picked up a massive slab of maple hardwood.
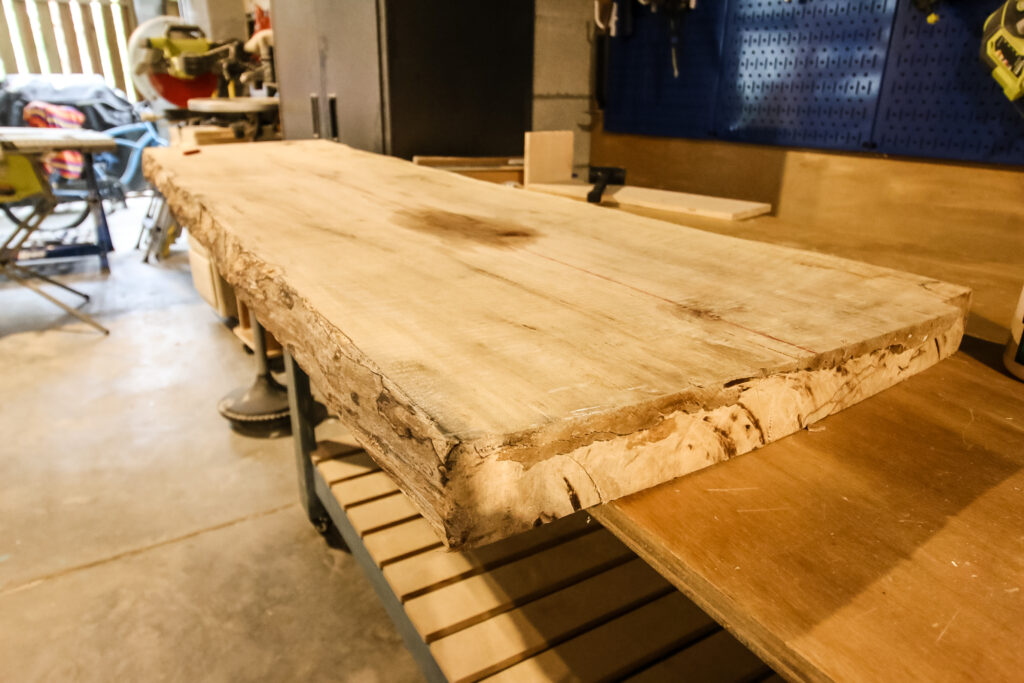
This piece of wood was more than 20" wide in some spots, but at least 18" wide everywhere. We knew this would be the perfect piece to cut in half to make two floating shelves.
Here's how we took this hardwood slab and used basic, standard woodworking tools that most hobbyist woodworkers would have to turn it into two beautiful floating shelves.
Click here to see how to build and install basic box-style floating shelves!
What is a live edge shelf?
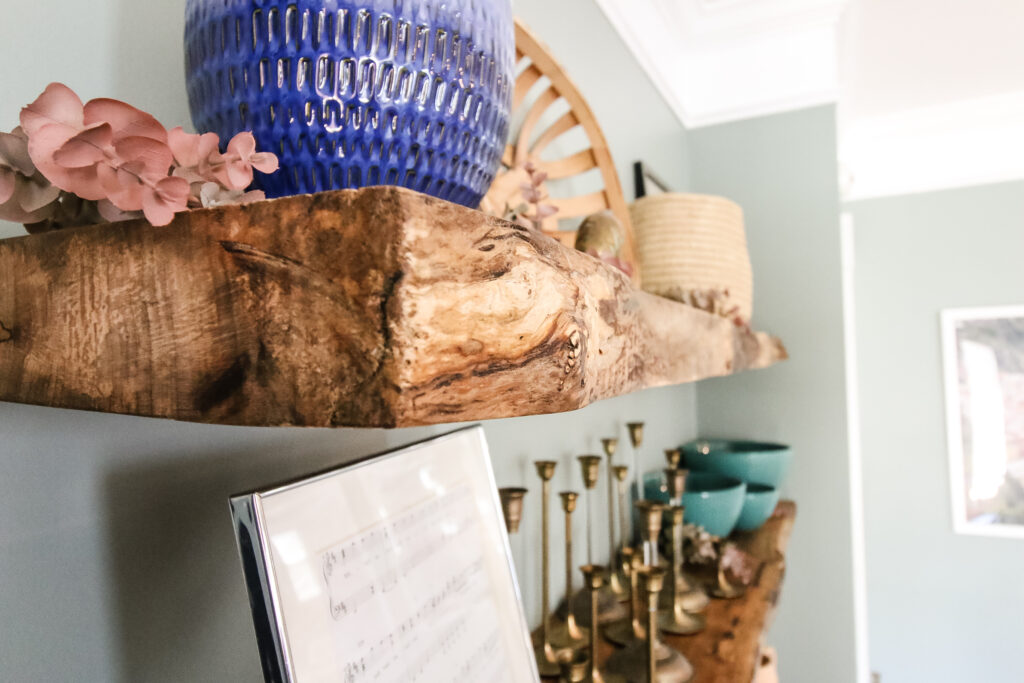
A live edge shelf is a piece of rustic wood attached to the wall as a shelf.
Live edge wood will show a raw, uncut edge of a tree on the outer side of the shelf.
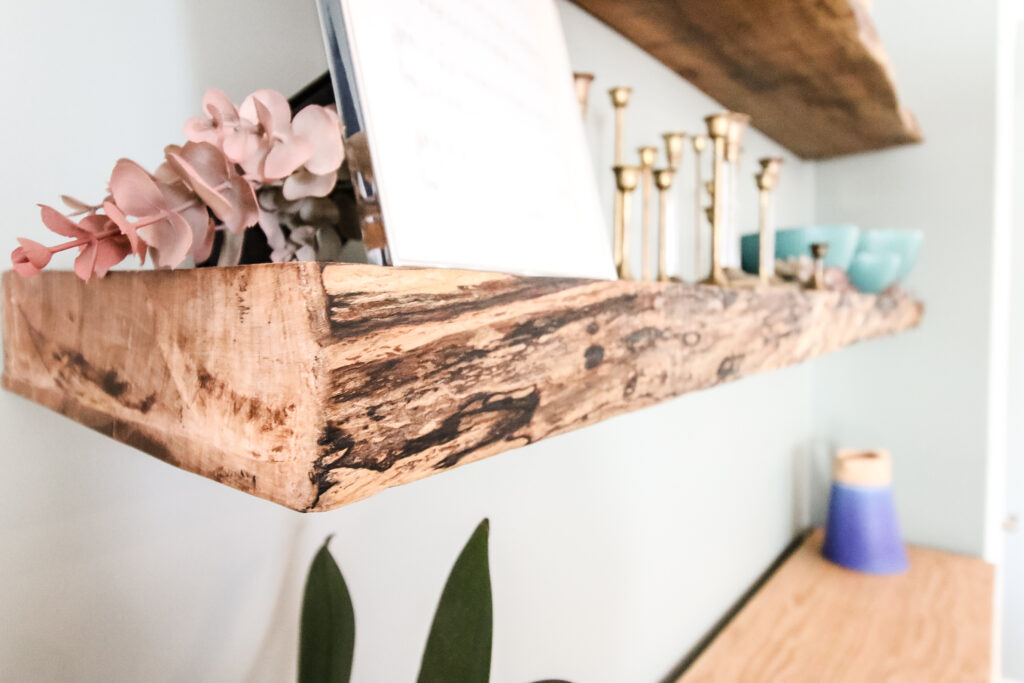
Cut as a slab of wood, rather than as a manufactured plank bought at the hardware store, live edge wood looks rustic and natural in your home.
Live edge wood is often cut into thick boards and turned into floating shelves to give your wall the appearance of having a real piece of wood coming straight from the wall.
Basic materials needed to build DIY floating shelves from a live edge slab
If you are looking to make live edge floating shelves, the basic materials you need are:
- Live edge wood slab
- Floating shelf brackets
- Mineral or other natural oil
- Cutting, sanding and drilling tools (see below)
What wood do you use for floating shelves?
You can technically use any wood for floating shelves. Generally, people choose to use live edge hardwood slabs for floating shelves.
Some good wood choices for floating shelves include maple, oak, walnut or ash.
You can use thick pieces of any type of wood, including pine and poplar, as long as it is thick enough and wide enough to be a shelf.
How thick should a live edge shelf be?
A live edge shelf should be at least 1 ½" thick, but preferably at least 2".
Most floating shelf hardware is going to include a bar or backer to the bracket that is 1 ½-2" wide, so the piece of wood should be thick enough to cover that.
We're going to show you how to cut out the holes and grooves for floating shelf hardware in just a bit.
The thickness of the slab is important because if you want it to truly look like it's floating, you don't want to see any hardware. Plus, if it isn't thick enough, you can easily crack the wood when drilling for the brackets.
How to cut a live edge slab with basic tools
Not everyone has a bandsaw and a planer and a bunch of fancy woodworking tools. However, most people doing a project like this will have a miter saw, table saw and sander.
If you have access to a band saw, that is the easiest way to cut through a thick slab of hardwood to make floating shelves.
However, if you only have standard household woodworking tools, here's how you can cut that live edge slab.
As mentioned, our slab is huge and we were cutting it in half to make two shelves. If you are only trying to cut off a bit of one side of a board to make it flush, these instructions work for that too.
How to cut thick wood with circular saw
For cutting a board in half, mark the center point on in five or six places on the board, then draw a line straight through those points.
If just making a flush edge, find the narrowest point of the board and mark a straight line from that to each edge.
Depending on how thick the slab is, you may be able to just run your slab carefully through the table saw or use a circular saw or plunge saw to follow your line.
Our slab was so thick, it jammed up the table saw. So, we started by using a plunge saw to cut through the line about halfway deep into the wood, then pushed it through the table saw to finish it up.
Once your boards are cut and flush on one long edge, use a miter saw to cut off the ends to clean them up or cut them to length.
When using a miter saw on a thick hardwood slab, make sure the board is secure along the back fence of the miter saw, then use repetitive slicing motions by pushing the blade from the front to the back until you've cut through.
Don't try to push a miter saw blade straight down through a thick piece of wood! This could result in the blade getting caught or jumping or any number of issues.
Once your shelf/shelves are finished, using an orbital sander to sand off the loose bark on the edge of the slab, and use progressively higher grit sand paper to reach a super smooth finish.
Admittedly, this was a tough project to get photos of the process, so the best way to explain this process is to see it on video.
Click the link the check out the video of how we did this to help explain everything we just laid out!
How to use floating shelf brackets
Floating shelf brackets are great for hanging heavy, live edge shelves on the wall.
Generally, there are two types of floating shelf brackets: individual rods that attach straight to the wall, or rods that attach to a bracket that attaches to the wall.
With either type of floating shelf brackets, mark holes on the back edge of the shelf where the rods will go. The back edge is the flat, non-live edge side.
The rods should go where you'll be encountering studs in the wall. When at all possible, hang floating shelf brackets on studs!
With the holes marked, use a long drill bit or drill extender to drill a 6" deep hole to fully submerge the rod in the hole.
A drill press is best for this if you have access to one, but you can also hang floating shelves with basic tools use a cordless drill. You'll need to ensure you can keep your hands steady and be able to press the drill bit down perfectly straight.
Drill out each hole and, preferably, notch or route out a space for the bracket to go. If you're using individual rod brackets, you'll just need to carve out the hole for the individual bracket like we did when we hung the mantel on our fireplace.
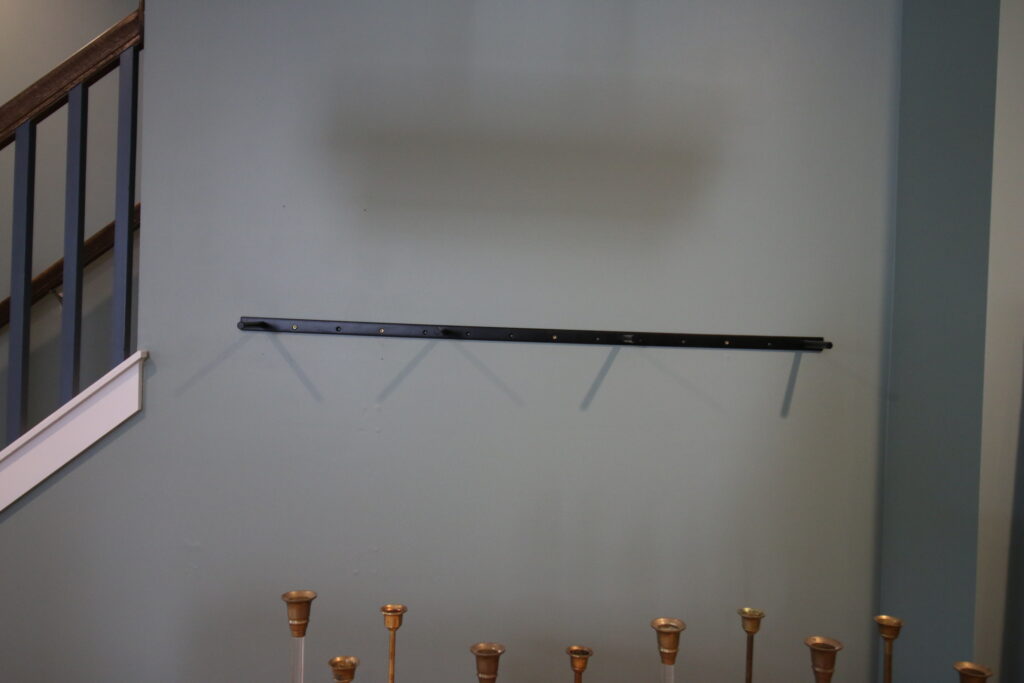
For these live edge shelves, they were extremely heavy and thick. So, we used floating shelf brackets from Semi-Exact.
The floating shelf brackets from Semi-Exact are four rods on a steel bracket that attaches to the wall.
The rod locations are marked on the shelf, then the rods are screwed into the bracket, making it all one heavy-duty piece. The bracket is then screwed into the studs in the wall.
With the steel bracket, we used a palm router to notch out a rectangle to fit the bracket so that the entire shelf went entirely flush with the wall.
How do you finish live edge shelves?
Once live edge shelves are cut and sanded and ready to go, you need to finish them with oil to bring out the natural wood color and keep them protected.
We generally choose to use Walrus Oil cutting board oil for most finishes like this because it is a natural product, is environmentally safe, and brings out the color in the wood.
You can also choose to use mineral oil or your favorite product.
No matter what oil you use, finish live edge shelves by pouring a little bit of oil across the length of the live edge slab, use a gloved hand and smooth the oil into the wood.
After letting sit for a few minutes, if there is excess oil, use a microfiber cloth to wipe it up.
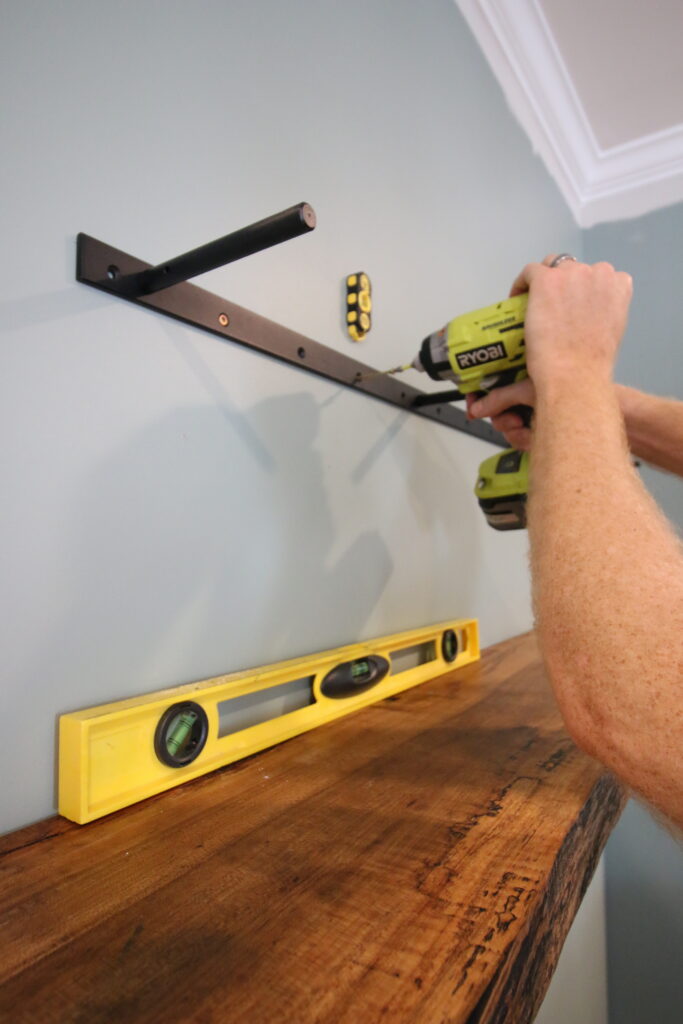
How to hang floating shelves straight
Hanging floating shelves straight is as simple as using a good level when attaching your brackets to the wall.
Use a stud finder to find the stud locations and attach the bracket and rods there. If at all possible, use studs and not drywall anchors because live edge wood slabs are very heavy.
The important thing is to make sure your rod holes are aligned perfectly straight and that the brackets are hung in the correct place on the wall.
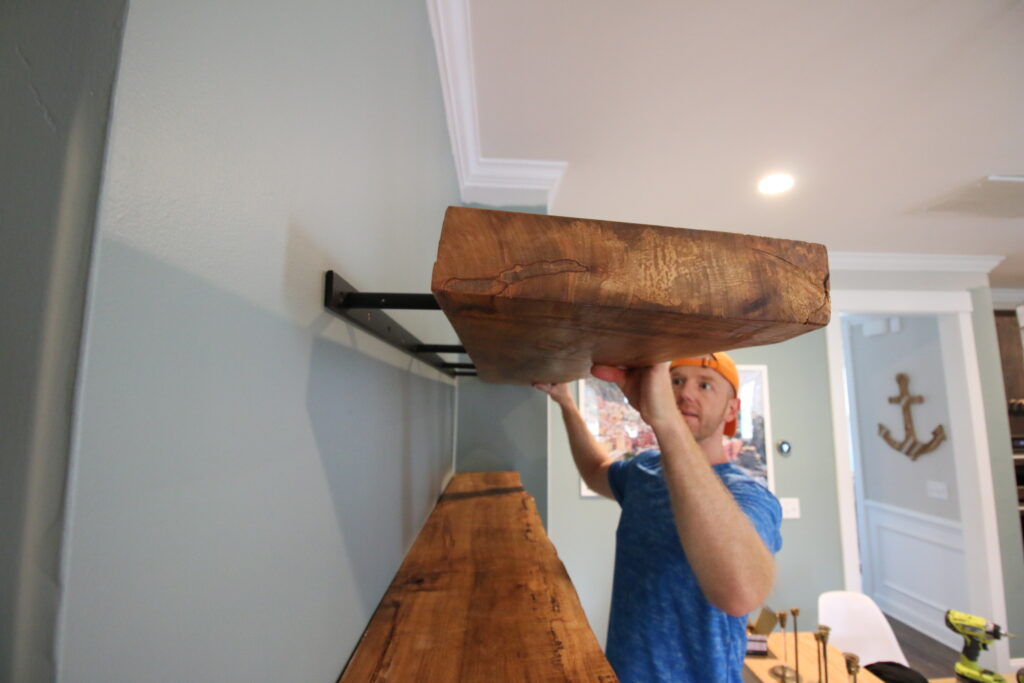
Once the floating shelf hardware is in place, slide the shelf onto the brackets and flush against the wall.
This will ensure your shelf goes up flush, straight and beautiful!

Looking for something?
We've been doing this since 2012 so we have a LOT of blog posts!
Search stuff like: Ceiling Projects | DIY Plant Stands | Thrift Flips

Hey there, I'm Sean, the woodworking enthusiast and builder behind CharlestonCrafted.com! Since 2012, I've been sharing the magic of turning raw materials into beautiful creations. I love teaching others the art and satisfaction of woodworking and DIY. I try to inspire fellow crafters to make something extraordinary out of nothing at all.


Michael says
Nice
Morgan says
Thanks Michael!