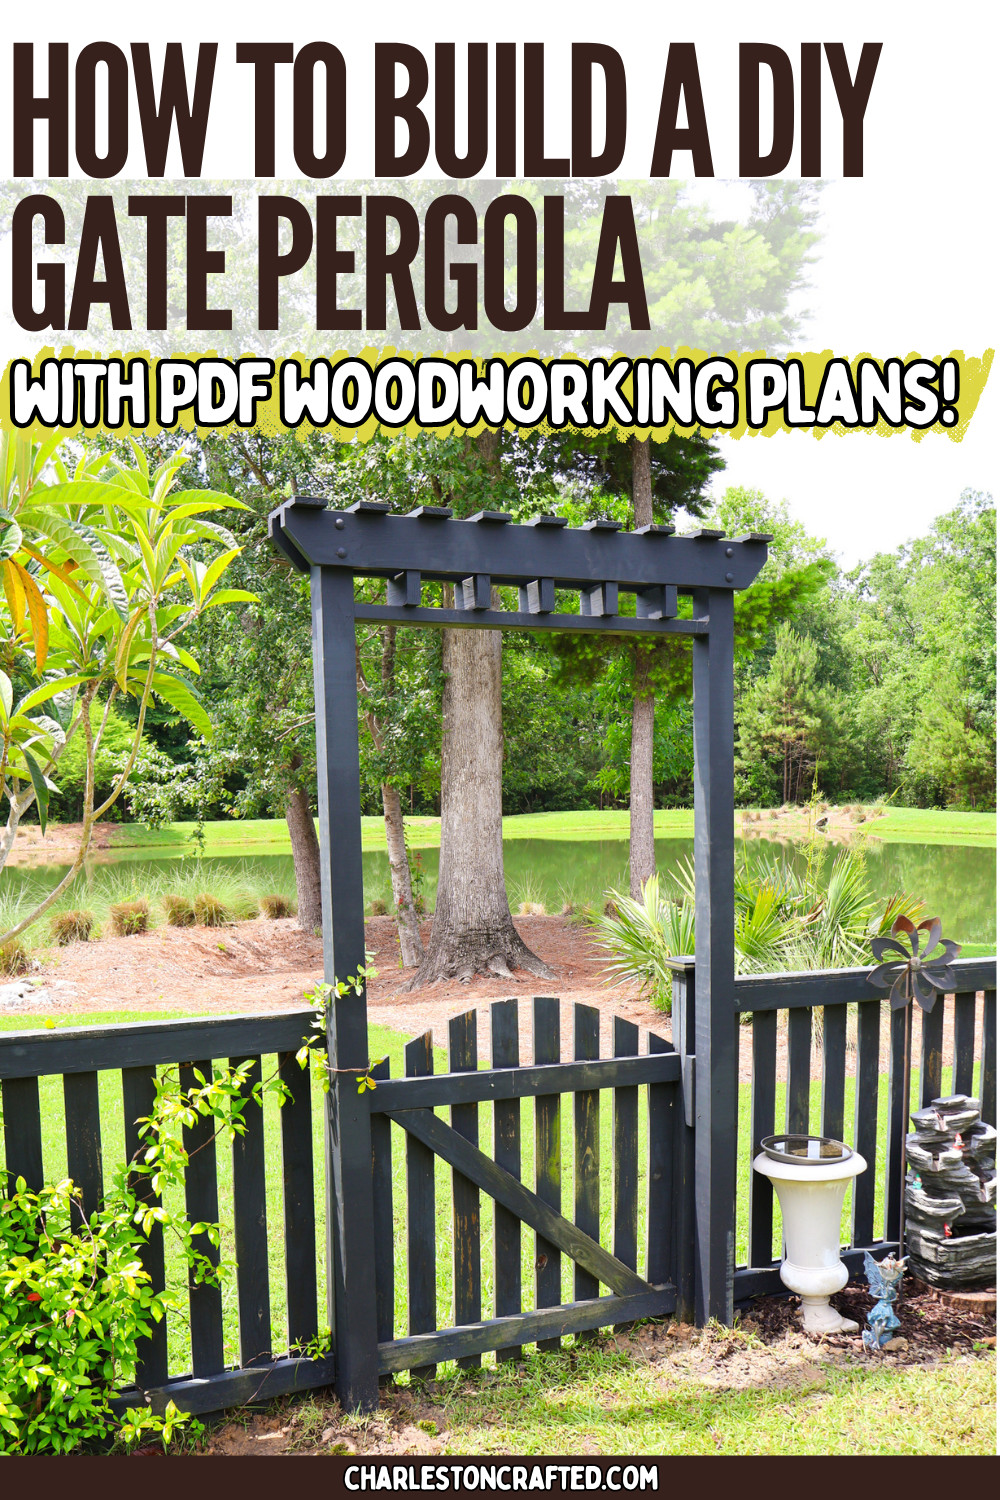
Looking to add a beautiful detail around the gate to your yard? This simple DIY gate pergola is a great plan to follow!
I love working on outdoor projects in the summertime that enhance our yard and make it look nicer! I can't do a ton of permanent structures in the yard just because we don't have a ton of room, so most things tend to end up along the edges of the yard.
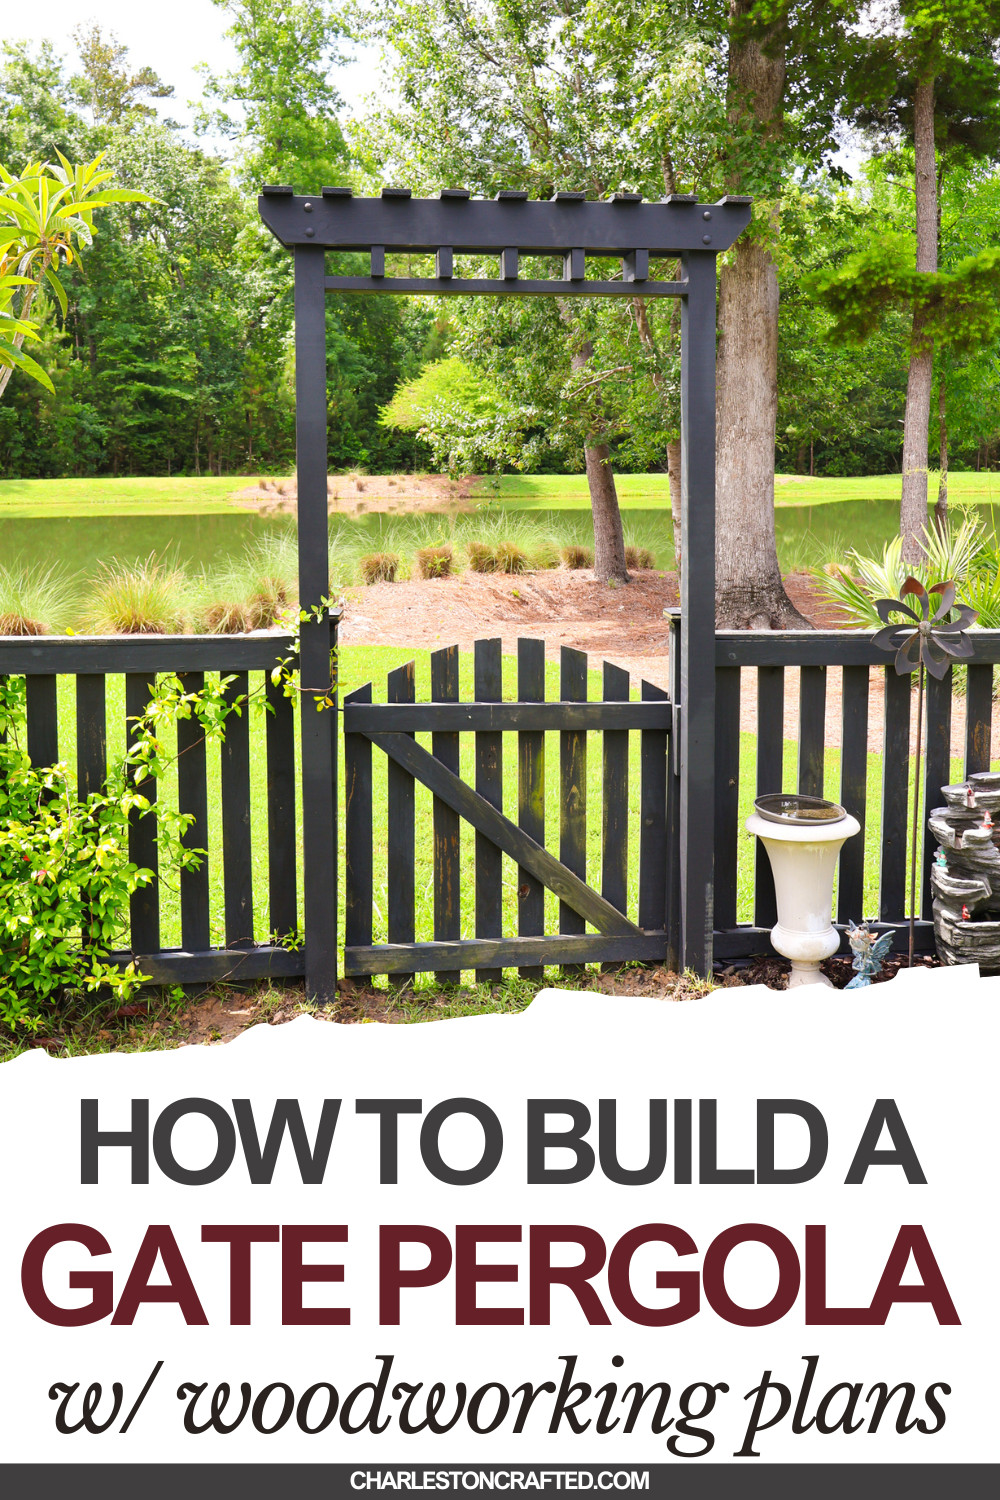
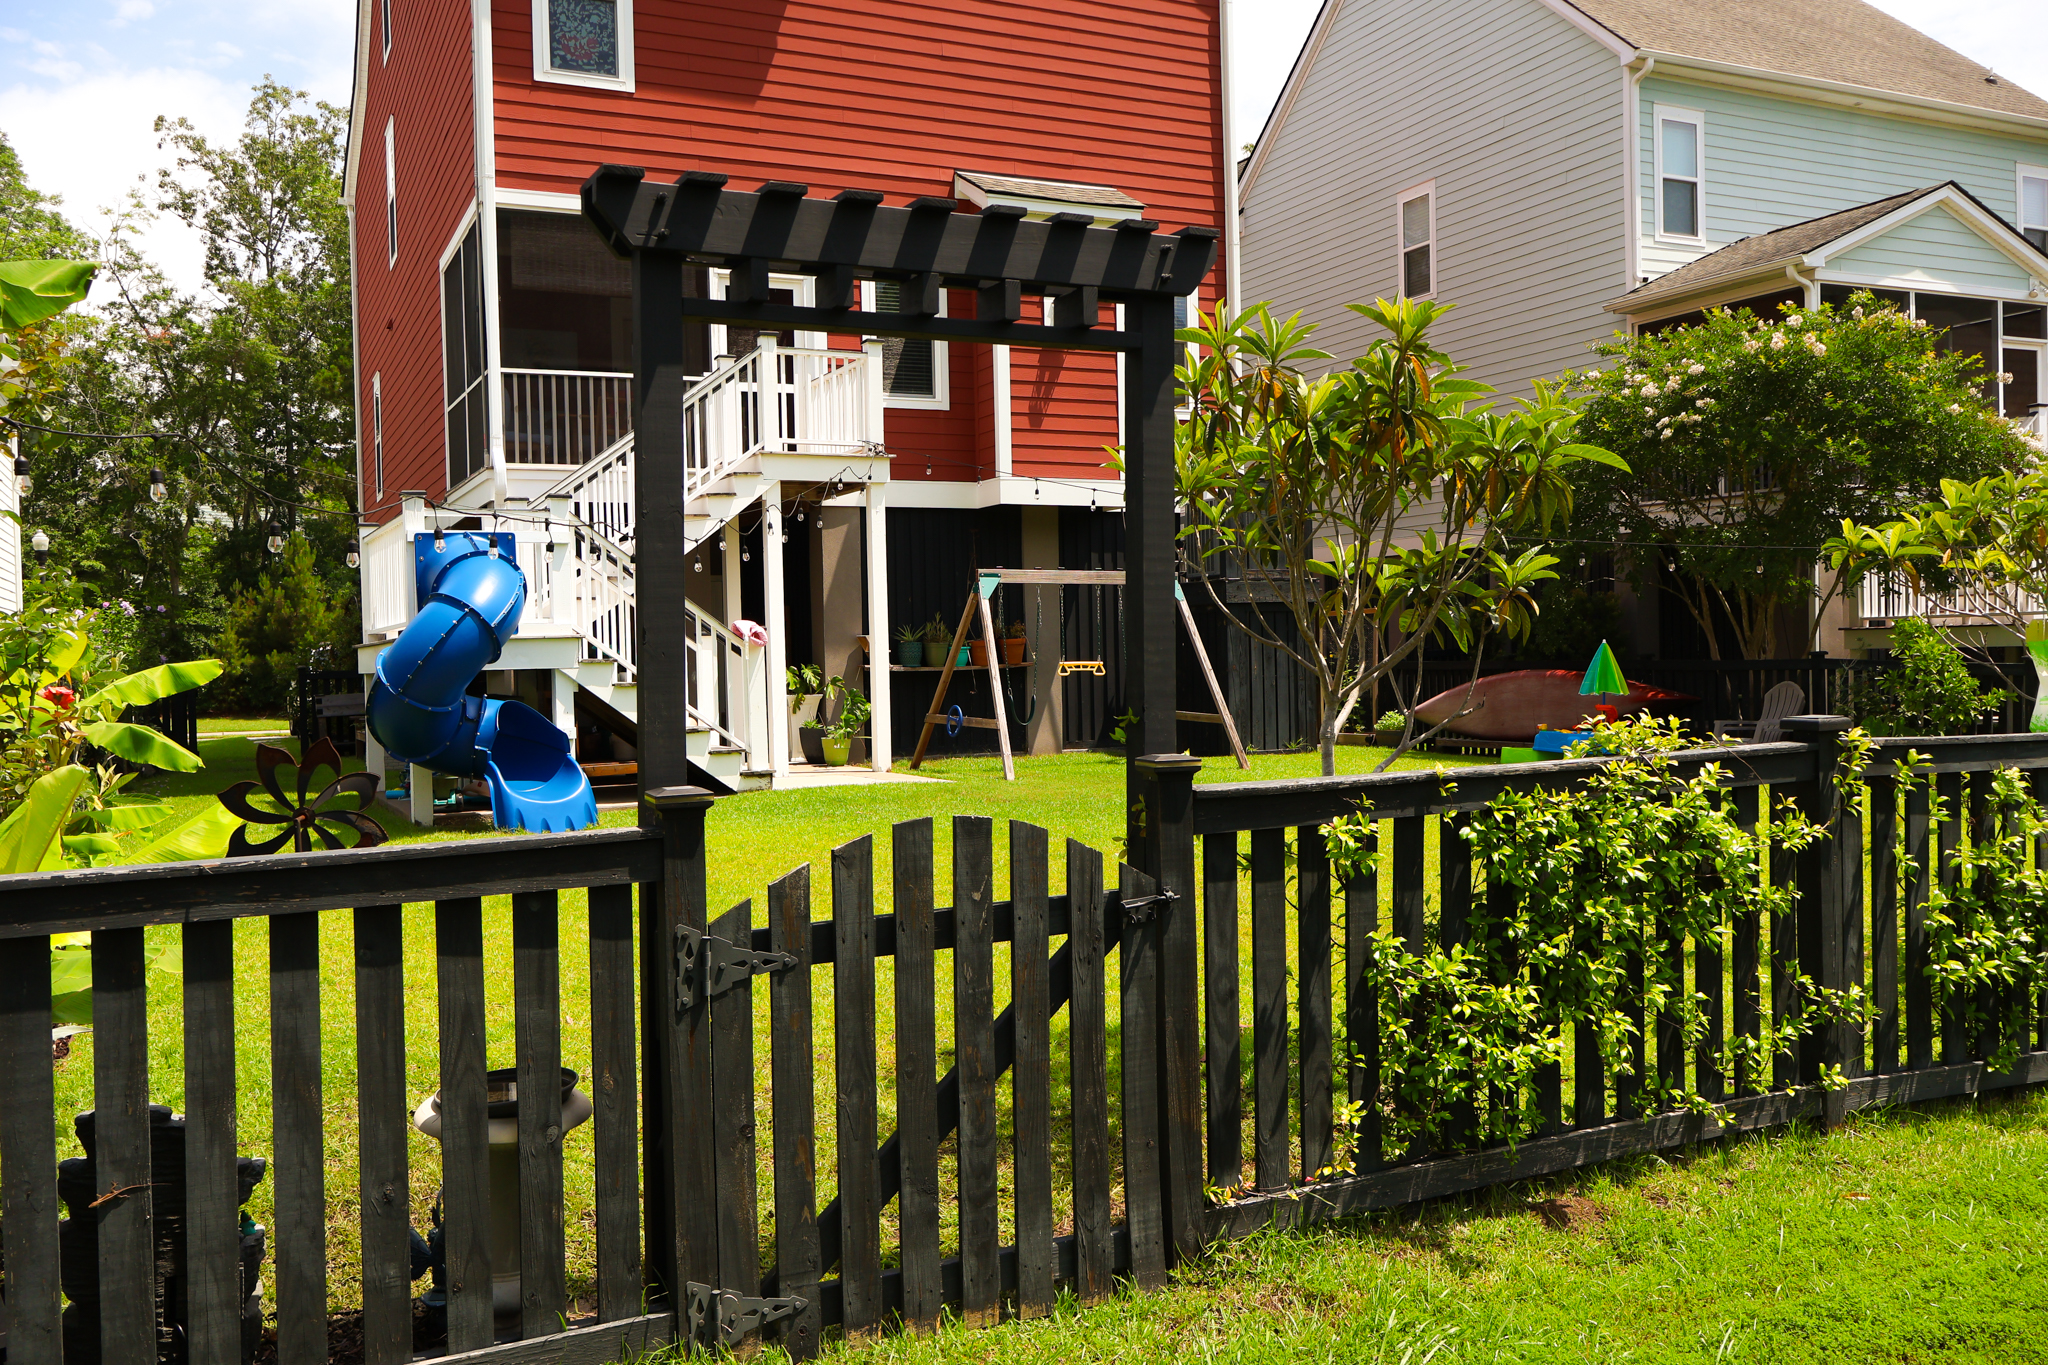
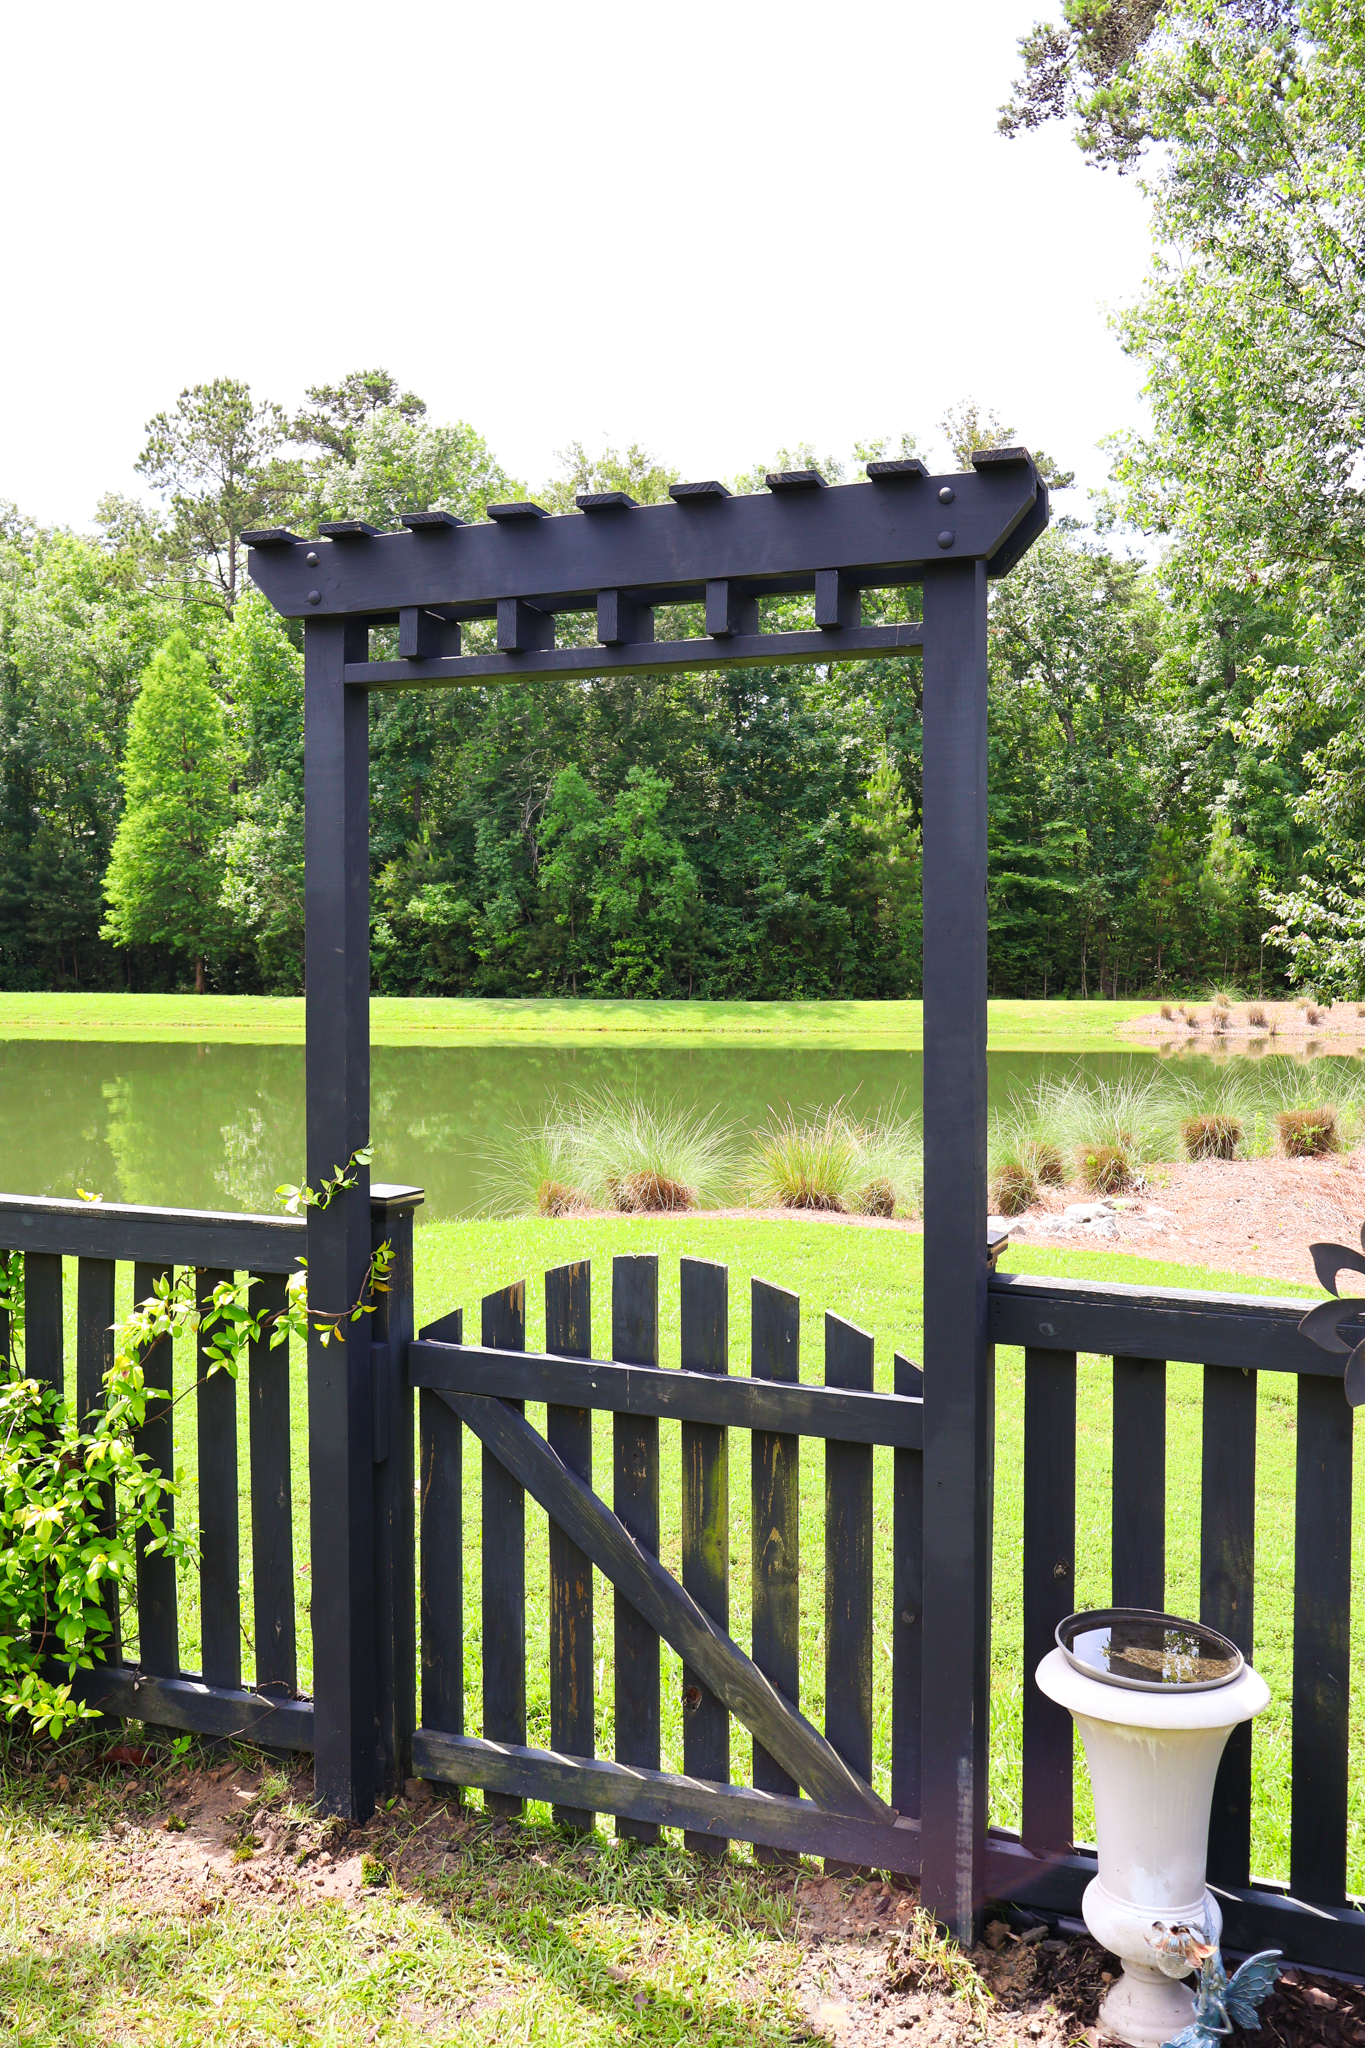
My wife had the great idea to add a gate pergola around the gate that leads out the back fence of our yard to the pond. We have access this way to the pond, common area, and our neighbor's yards.
We have jasmine planted along the back fence that has been growing really well for two years and she wanted something that the jasmine could climb up and over.
So, I built this simple DIY gate pergola that is an easy addition for anyone who wants to jazz up their yard gate!
DIY gate pergola
At our old house, I built and installed a massive DIY garden arbor arch to go around the gate to our backyard. It was huge and looked beautiful, but we wanted something more slim for this yard.
I designed this with only a few boards and a low profile, so take a look at how I built it and grab my DIY gate pergola woodworking plans to build it yourself!
Materials needed to build a gate pergola
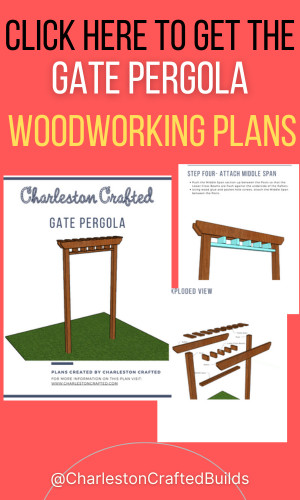
Here's the basic materials you'll need to build this DIY gate pergola. But make sure to grab my printable PDF woodworking plans for the project to get the exact material list, cut list and step-by-step instructions for all the details!
- 4x4 posts
- 2x6 pressure treated board
- 2x4 pressure treated board
- 1x4 pressure treated board
- Paint or stain
- Screws
- Circular saw
- Cordless drill
Step one: build lower cross beam
I started by building the lower cross beam for going under the main rafters and between the posts. The length of this board should be the width of your gate entrance.
On this, I laid it out and added cross beams in a perpendicular direction that would sit directly under the rafters. I used wood glue and deck screws to attach the cross beams so they would be solid because I won't screw the top of them into anything later.
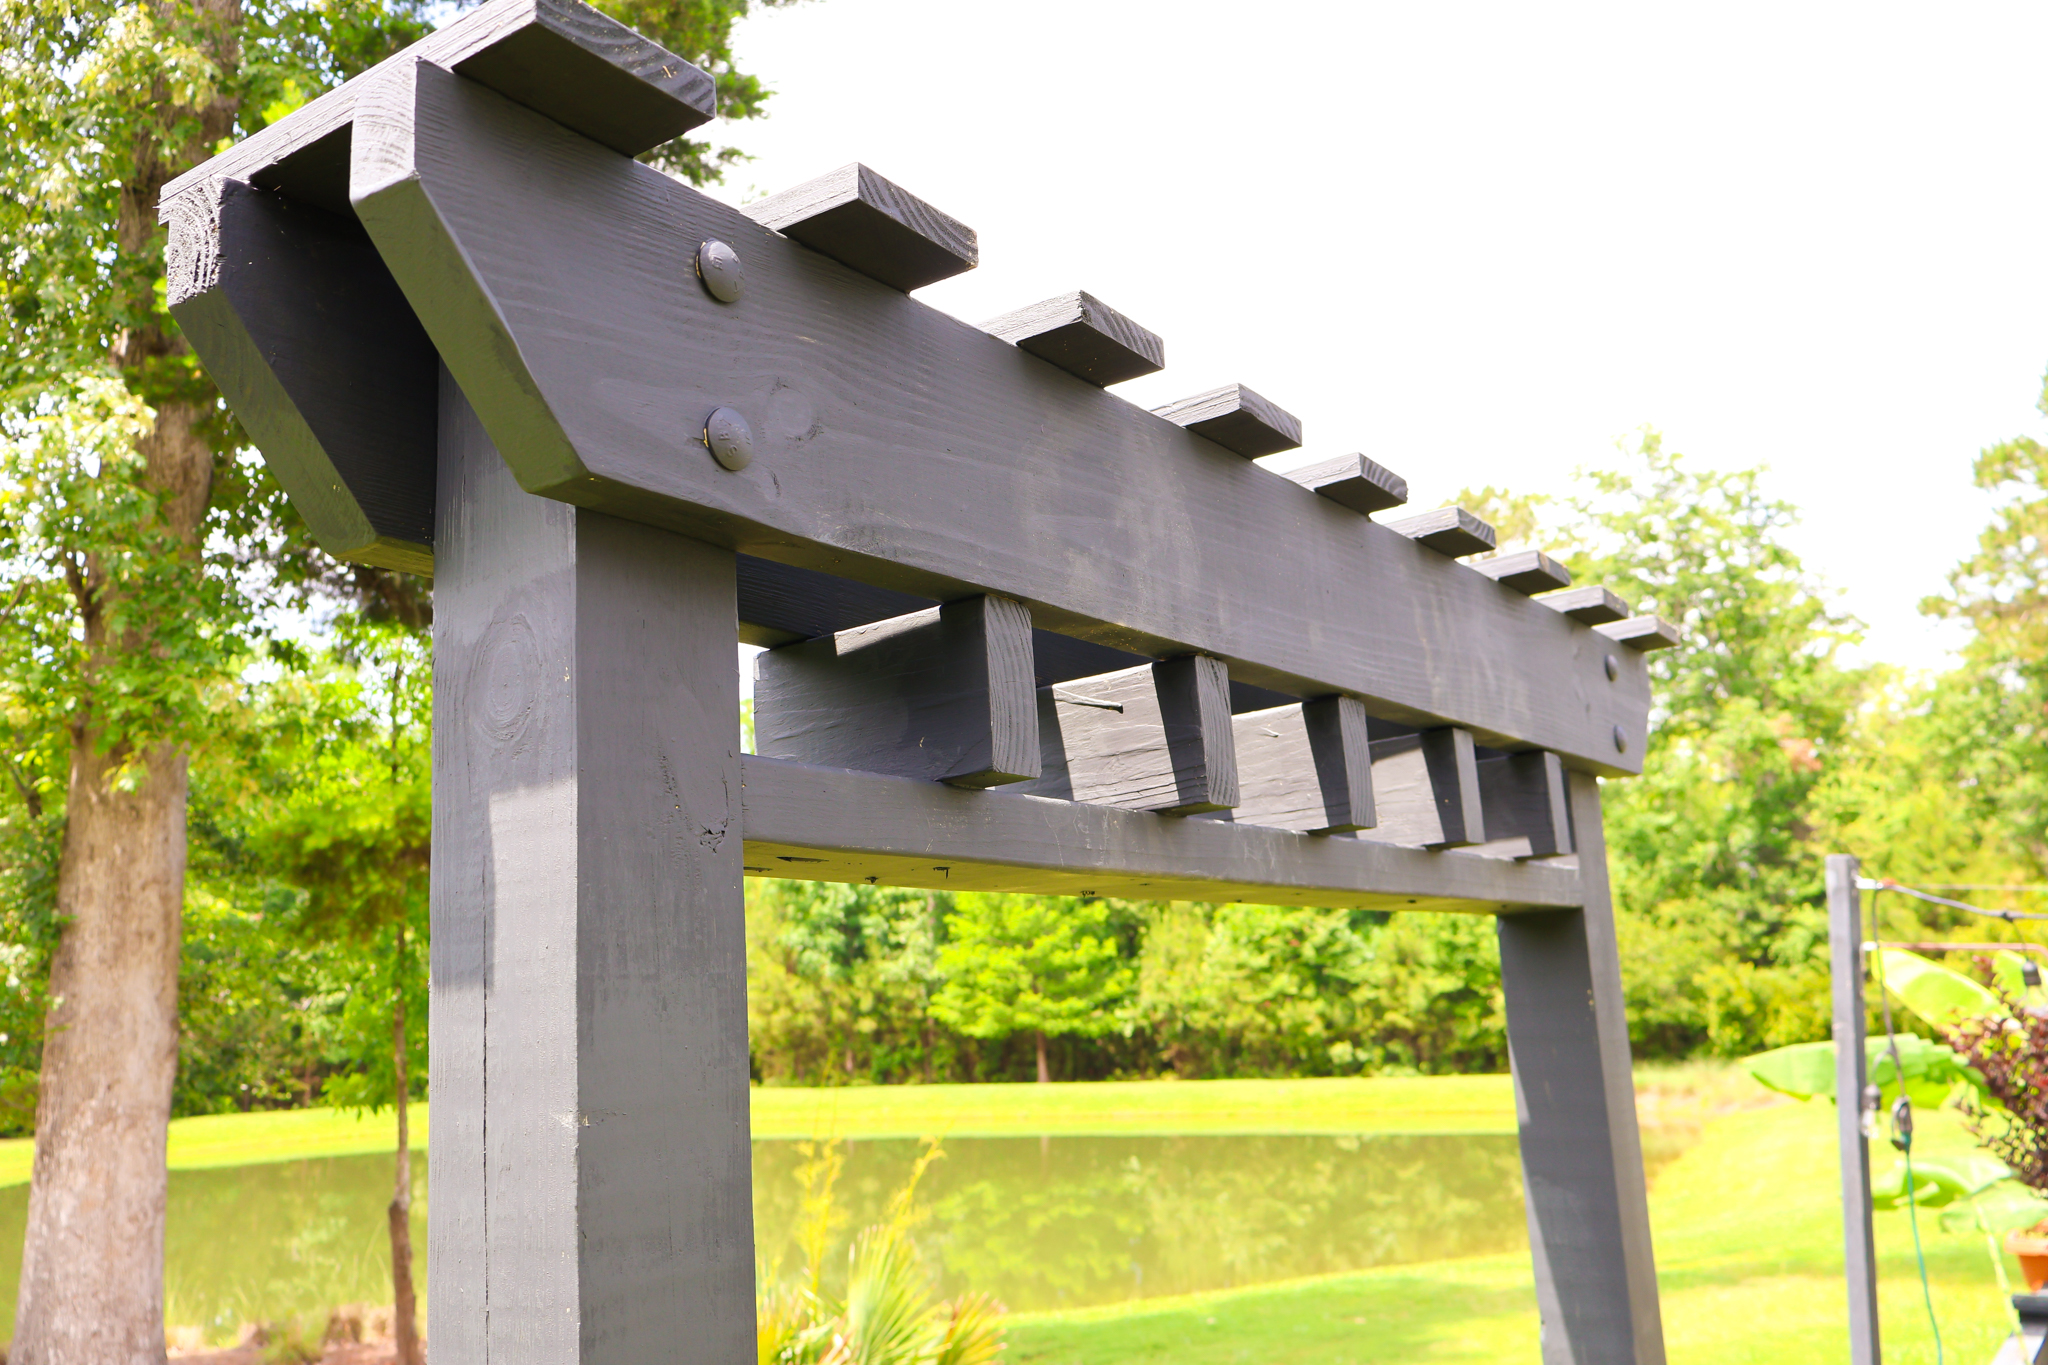
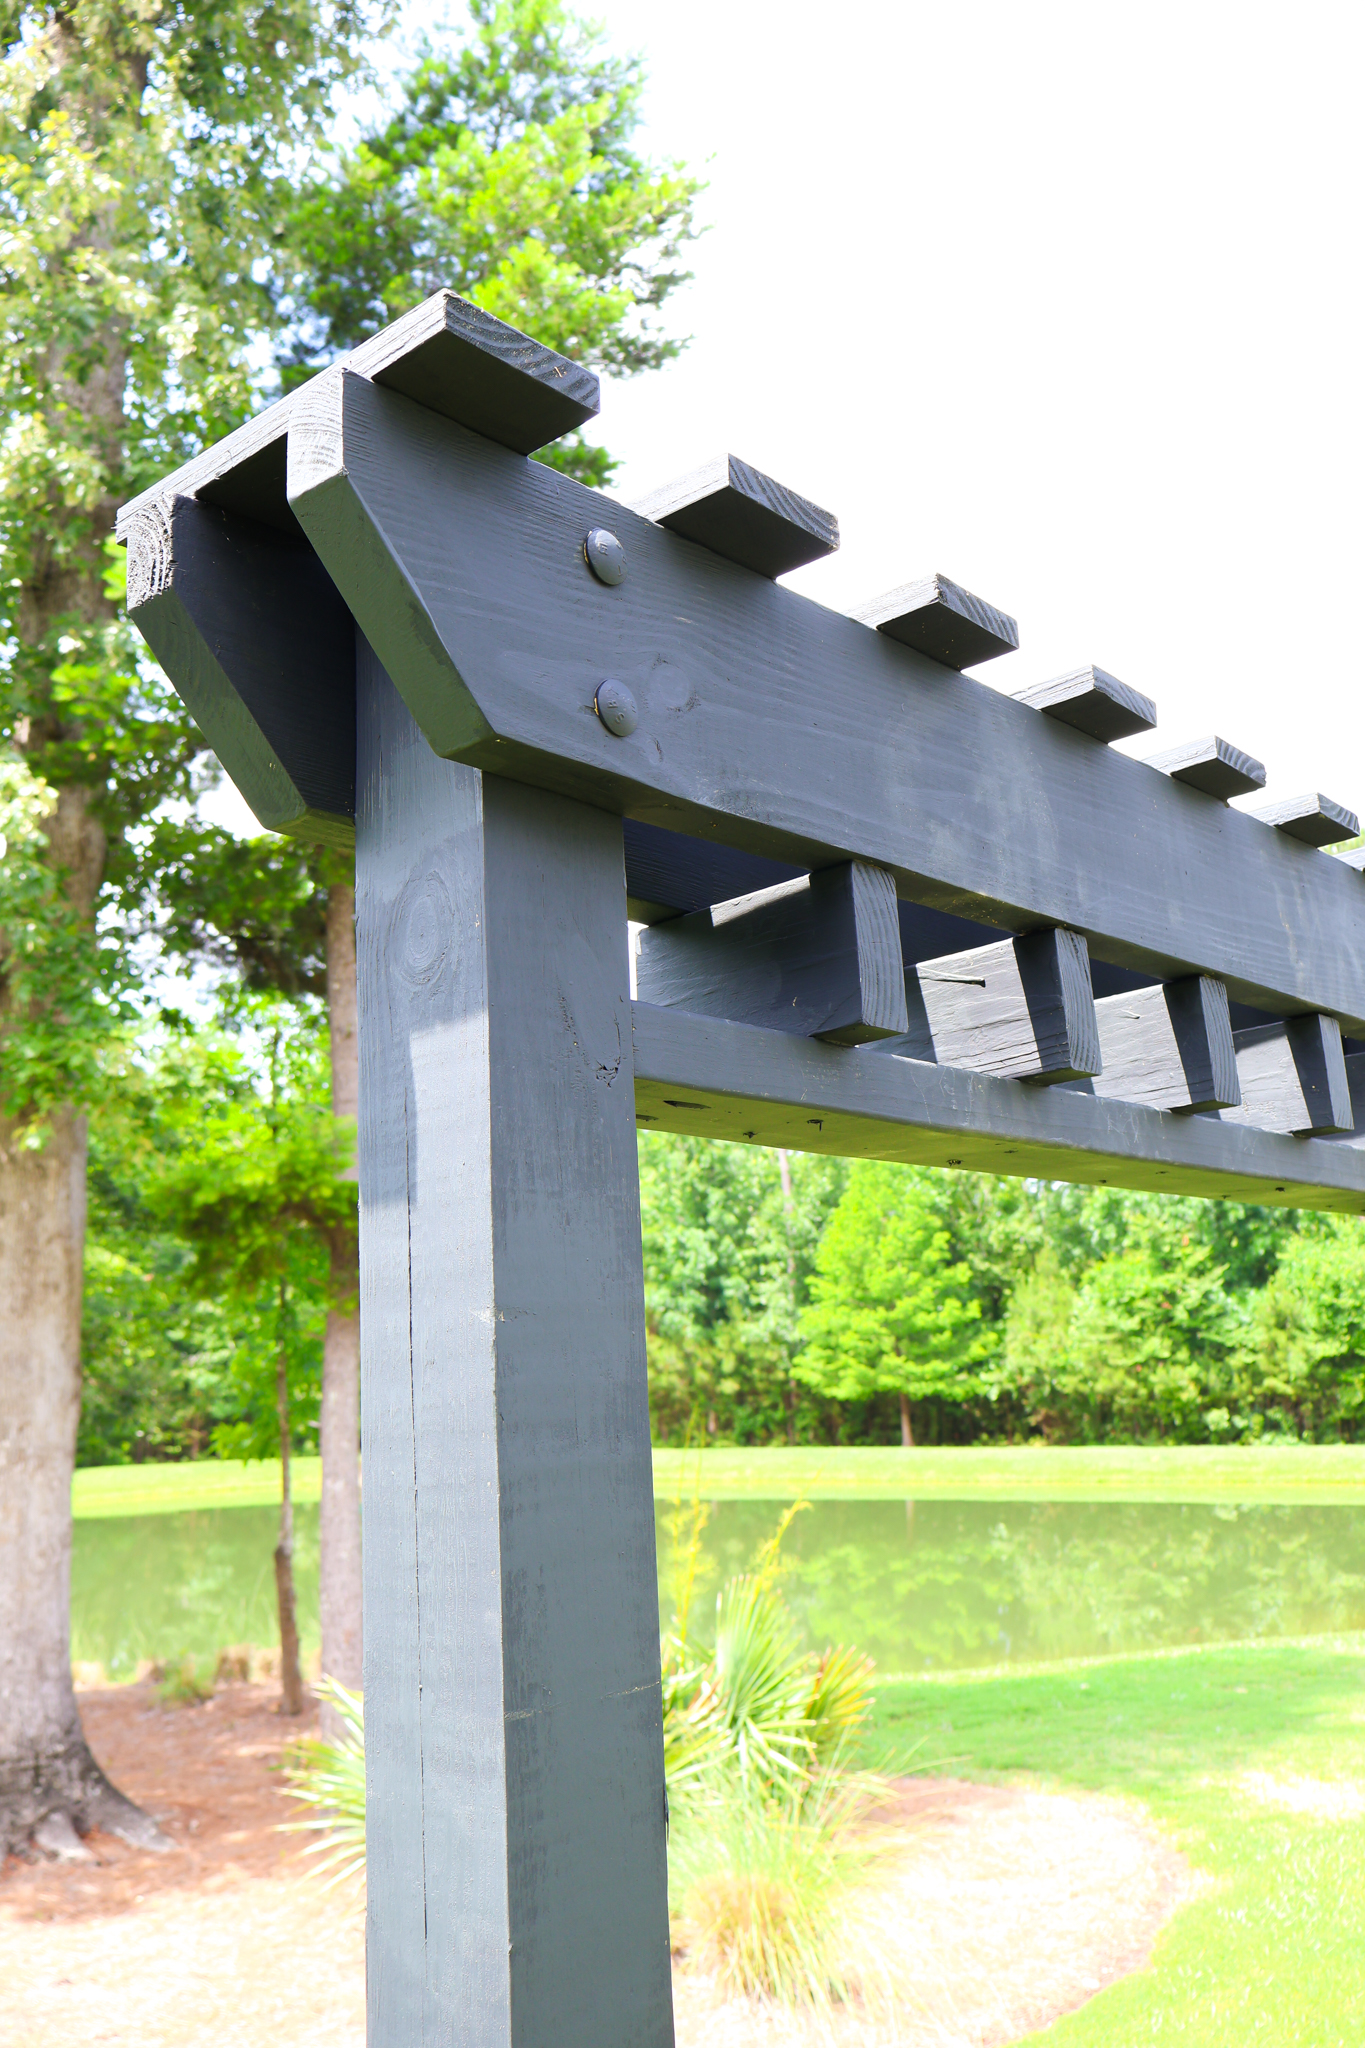
Step two: attach rafters to posts
Next, I cut and attached two rafters to each of the posts. Just like I did when I built our DIY hammock stand pergola at our old house, I cut the corners off the rafters to give it the classic pergola look, which you can see how I did here in this Instagram.

I drilled through the rafters and the posts to line up the holes for the bolts to hold them in place. I used clamps to get them lined up and in place so the holes would be perfect.
Then, I dropped the bolts through the holes and tightened the nuts on the other side.
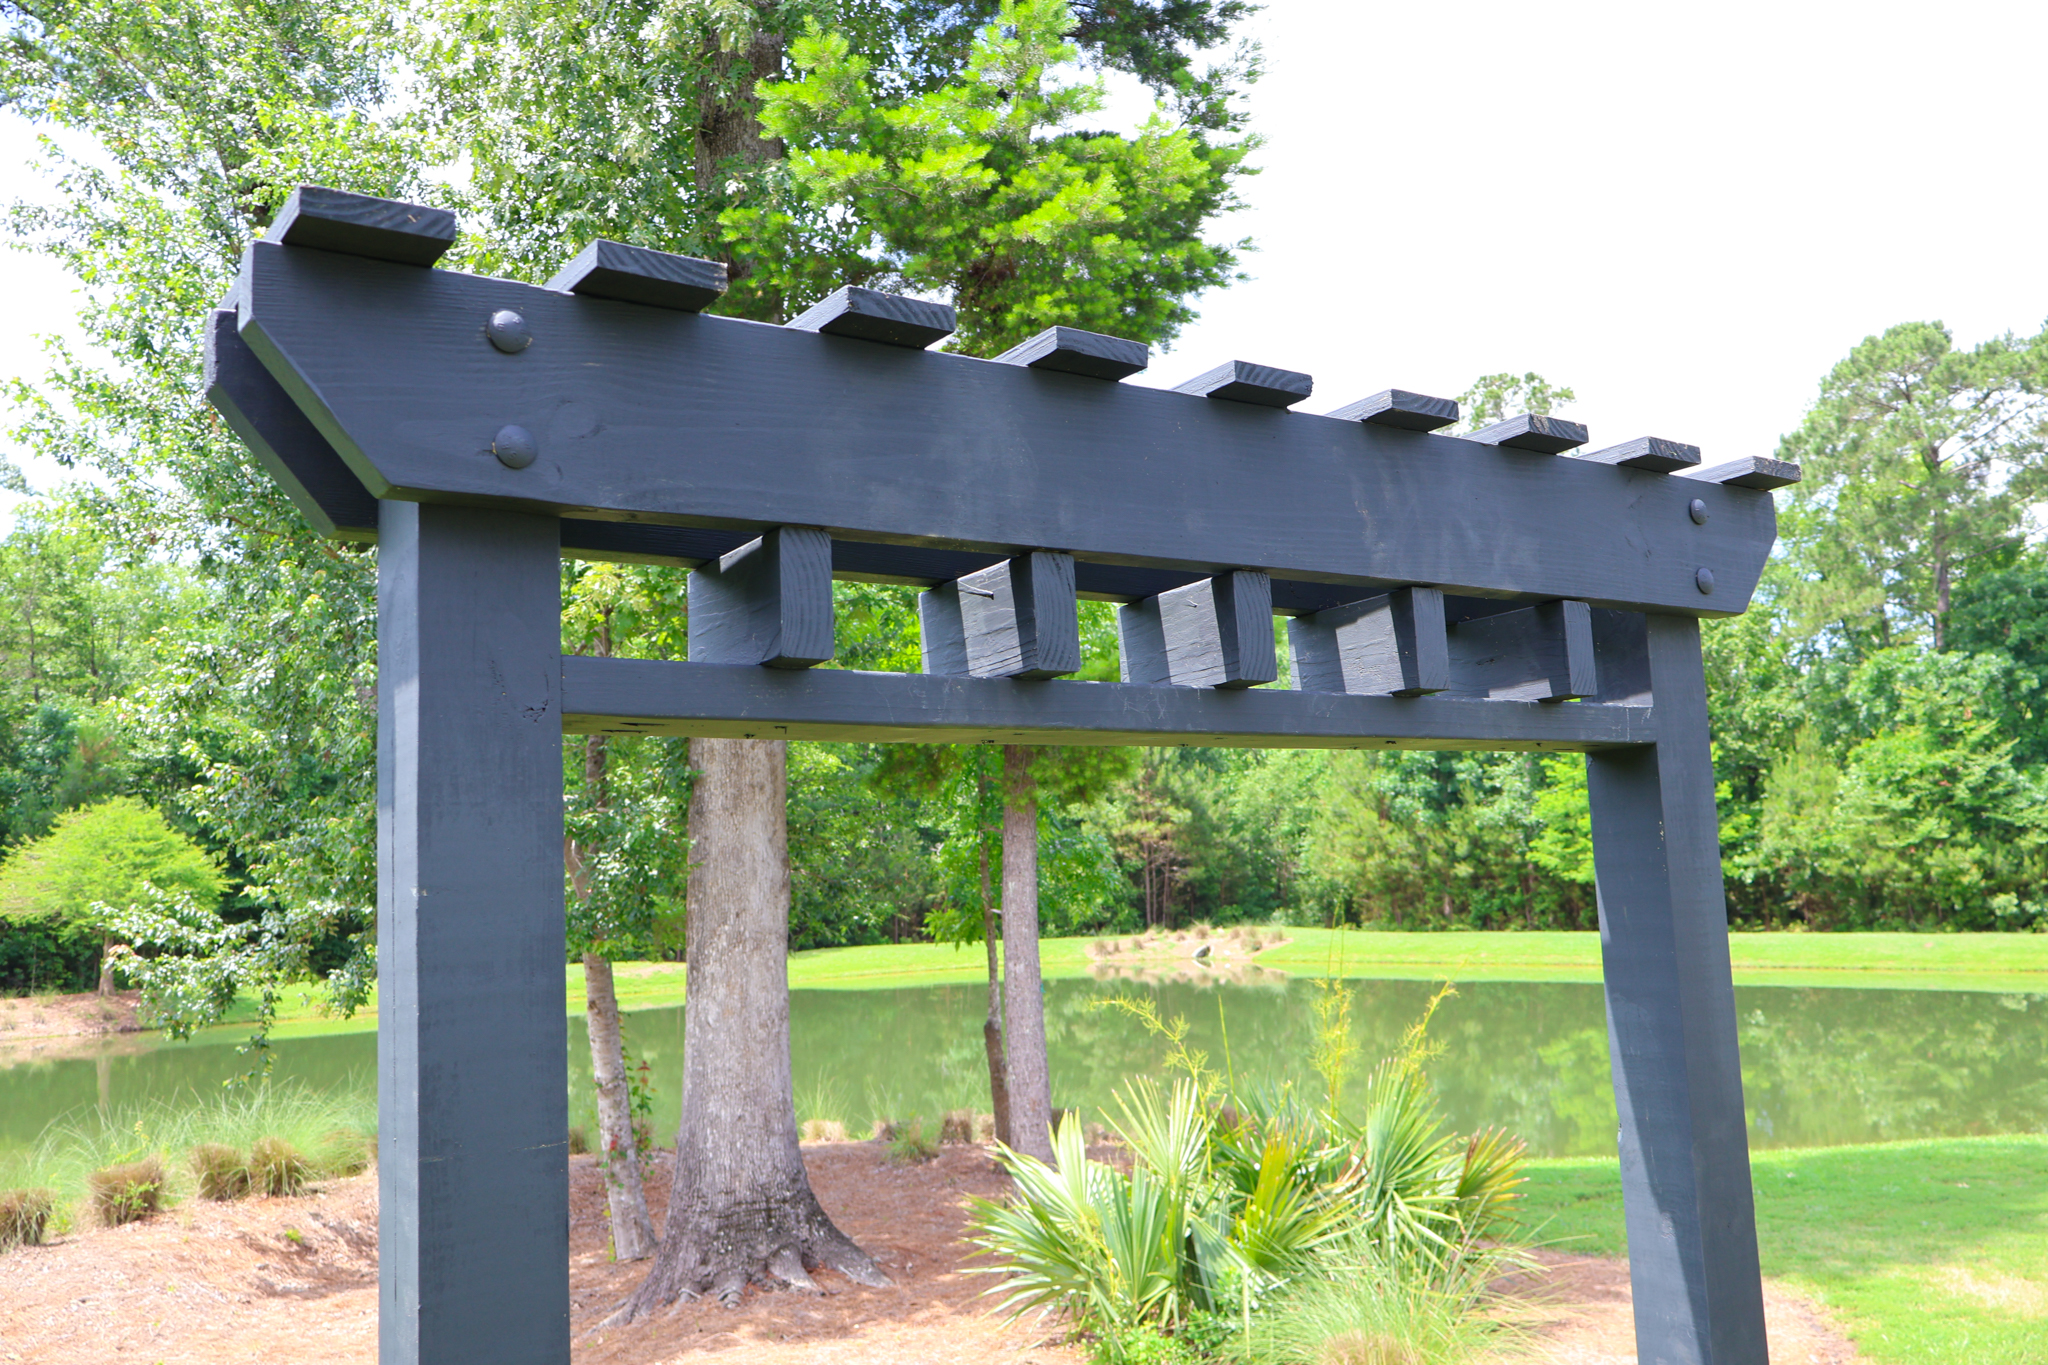
Step three: attach lower cross beam
Next, I attached that lower cross beam I built in the first step. I drill two pocket holes in each end of the beam and pushed it up between the posts and under the rafters.
Then, I used wood glue and pocket hole screws to attach it between the posts.
Step four: attach trellis rafters
Finally, I attached the trellis part of the pergola. This is just 1x4 boards cut to length and attached with wood glue and brad nails.
After attaching the trellis, I painted the entire pergola. In hindsight, I really wish I would have painted everything first because it was very difficult to get inside of the pergola with a brush.
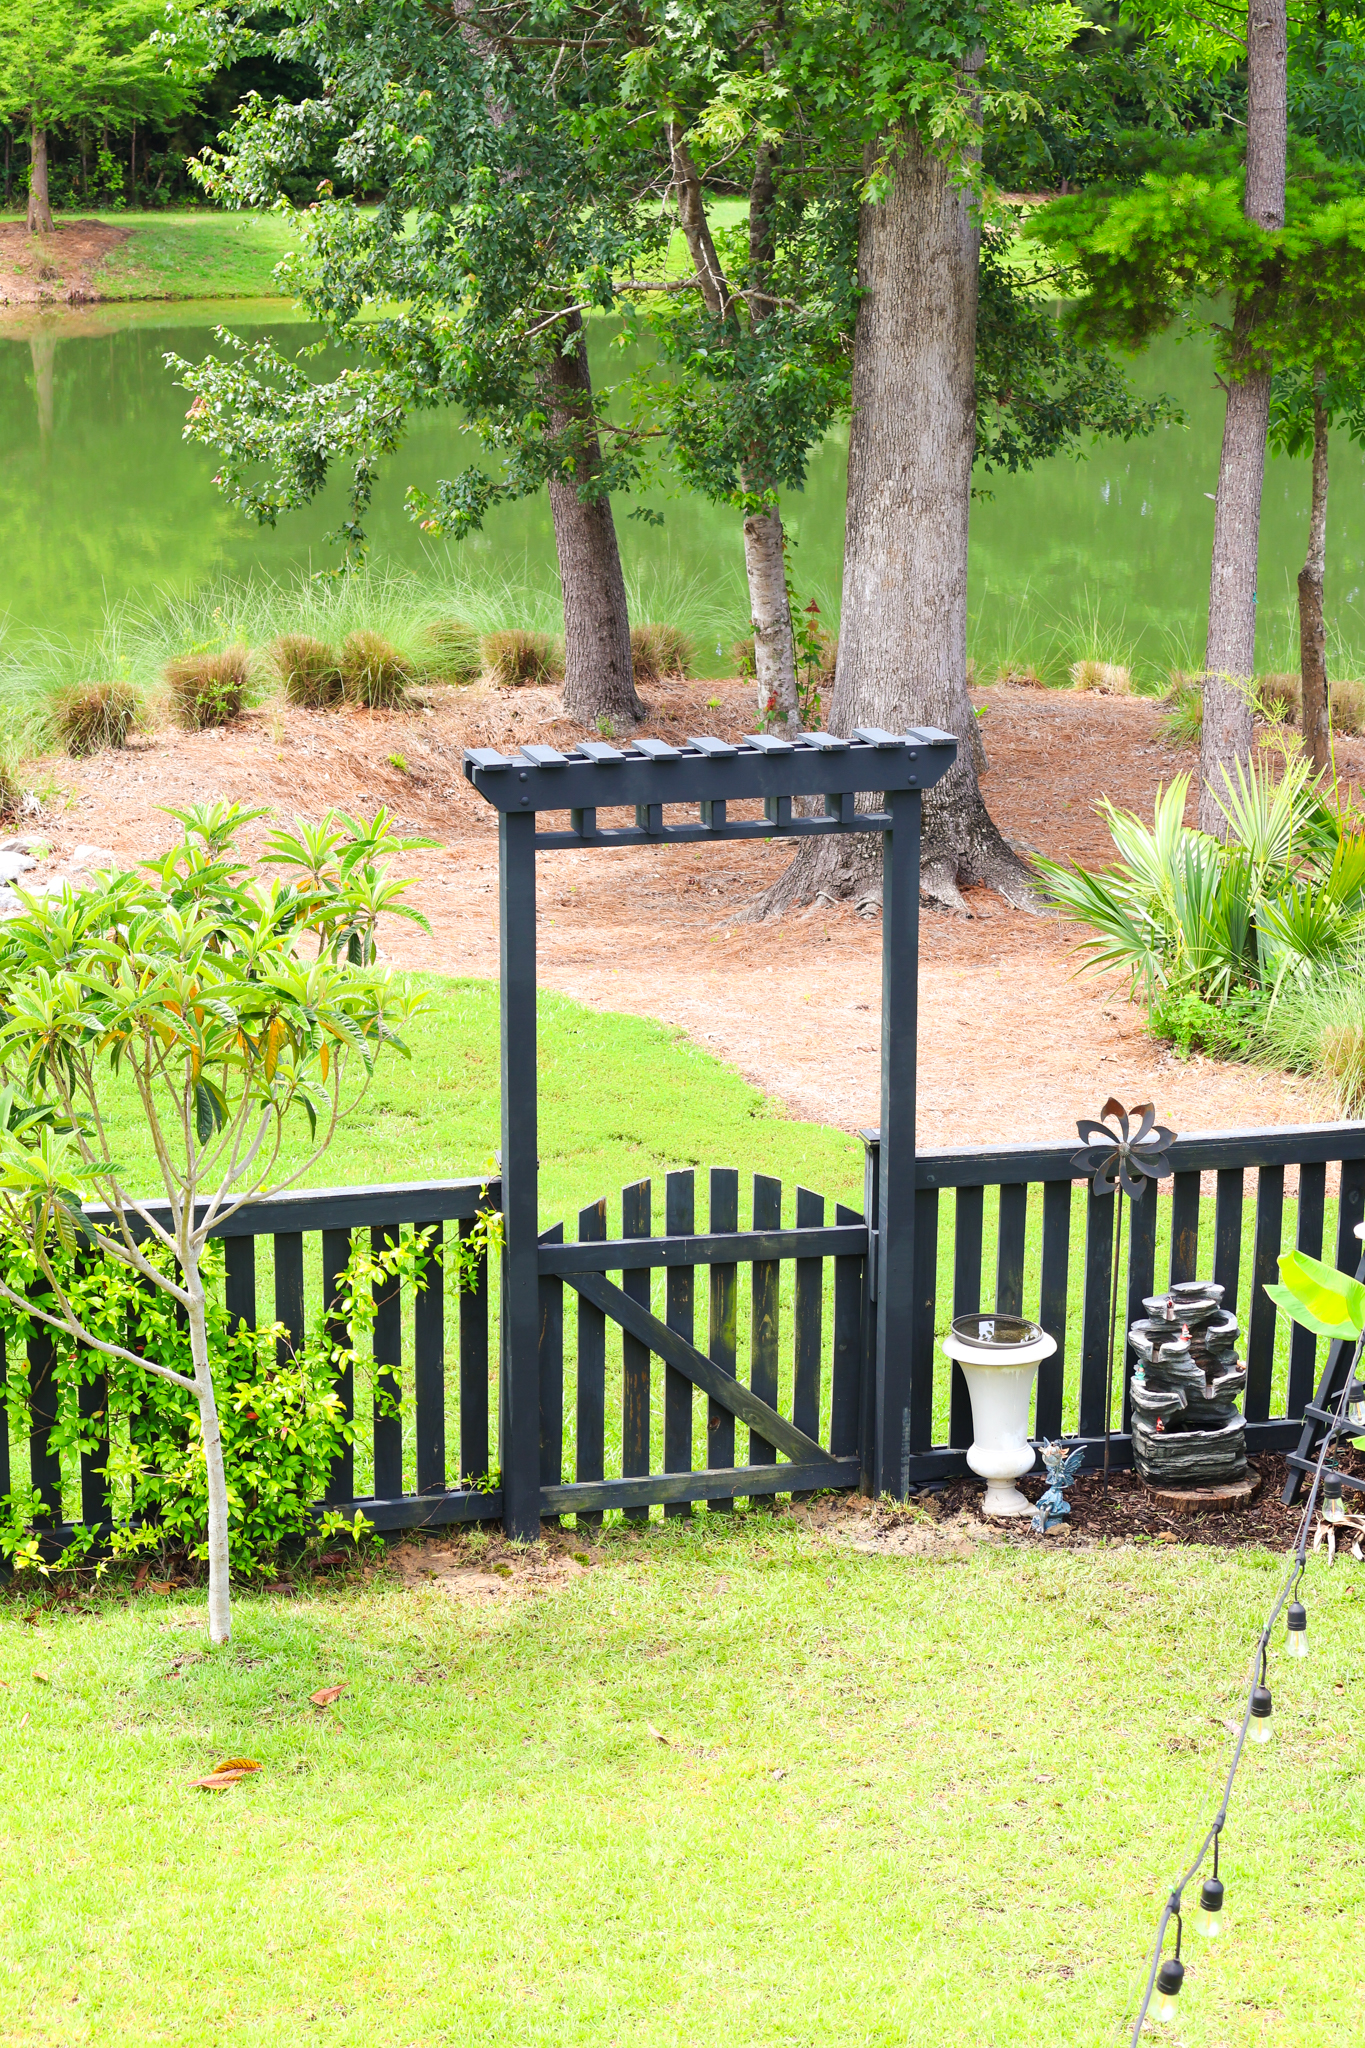
Step five: install in the ground
Lastly, I installed it into the ground. I dug a 2' deep hole on both sides of the gate and dropped the posts into the holes.
After making sure everything was good and level, I attached the posts to the gate posts and filled the holes back in with dirt.
You could definitely concrete these posts into the ground, but I wouldn't say you have to. It's not that heavy, it's deep in the ground with dirt, and it's secured to the gate posts. But whatever you feel most comfortable with.
DIY gate pergola woodworking plans
Love this project and want to give it a try? Grab my DIY gate pergola woodworking plans!
My plans are downloadable, printable PDFs that come with a full material list, cut list and step-by-step instructions with computer model images. I designed and built the pergola myself and the measurements are exactly what I used.
This is a great addition to any backyard or garden gate that even the most beginner woodworker can build!

Looking for something?
We've been doing this since 2012 so we have a LOT of blog posts!
Search stuff like: Ceiling Projects | DIY Plant Stands | Thrift Flips

Hey there, I'm Sean, the woodworking enthusiast and builder behind CharlestonCrafted.com! Since 2012, I've been sharing the magic of turning raw materials into beautiful creations. I love teaching others the art and satisfaction of woodworking and DIY. I try to inspire fellow crafters to make something extraordinary out of nothing at all.