Check out how we made this giant freestanding garland arch to go around our garage! This is a great option if you don't want to hang your garland directly onto the house!
Our yard is always so filled with Christmas decor, but the way it's situated, half of our yard is garage, so it doesn't get much holiday love.
In order to spread some cheer to the darker part of the house we decided to make a large garland arch to go around our garage door.
This is an easy project to make and doesn't require too many materials, but it's easily scalable for whatever size garage you have. You could also do this around your front door, over your sidewalk or just as part of a scene in your yard!
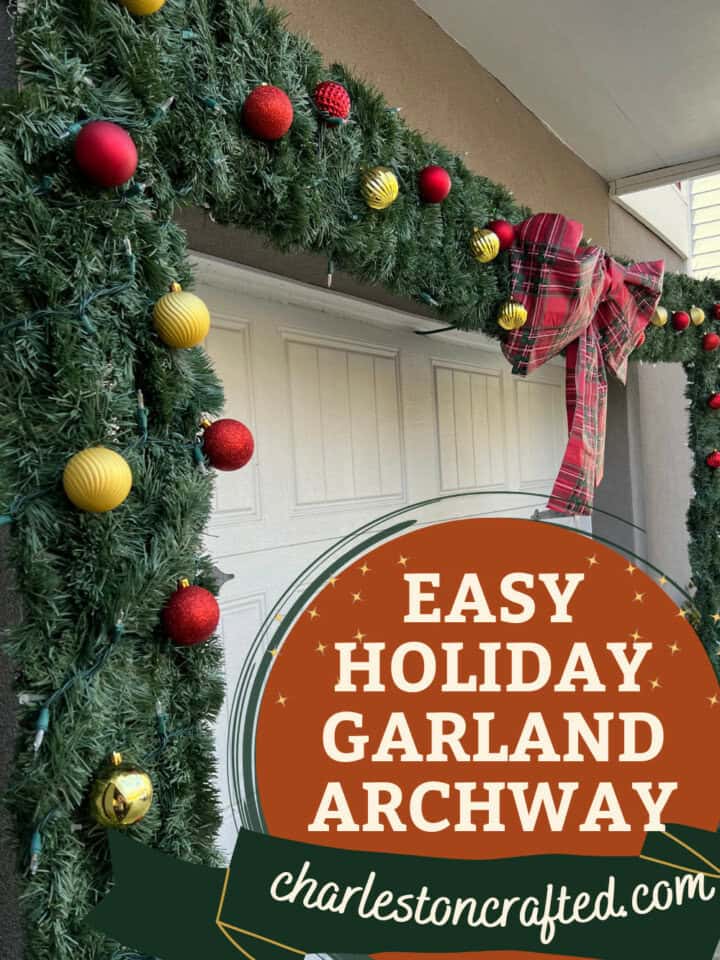
Christmas garland archway
This is a fun project to make and its a great alternative if you can't, or don't want to, attach garland straight to your house. We opted for this because I didn't want to drill holes in the stucco around our garage.
Here's everything you need and what you need to do to make it!
Check out the oversized Christmas lights we made for the front yard too!
Materials needed
Here's everything you need to make this project!
- (6) ¾" PVC pipes
- (2) ¾" PVC T-joints
- (4) ¾" PVC 90 degree elbows
- Concrete
- (2) plastic pots
- Chicken wire
- (5) 50' roping garland
- (3) strands of string lights
- Ornaments
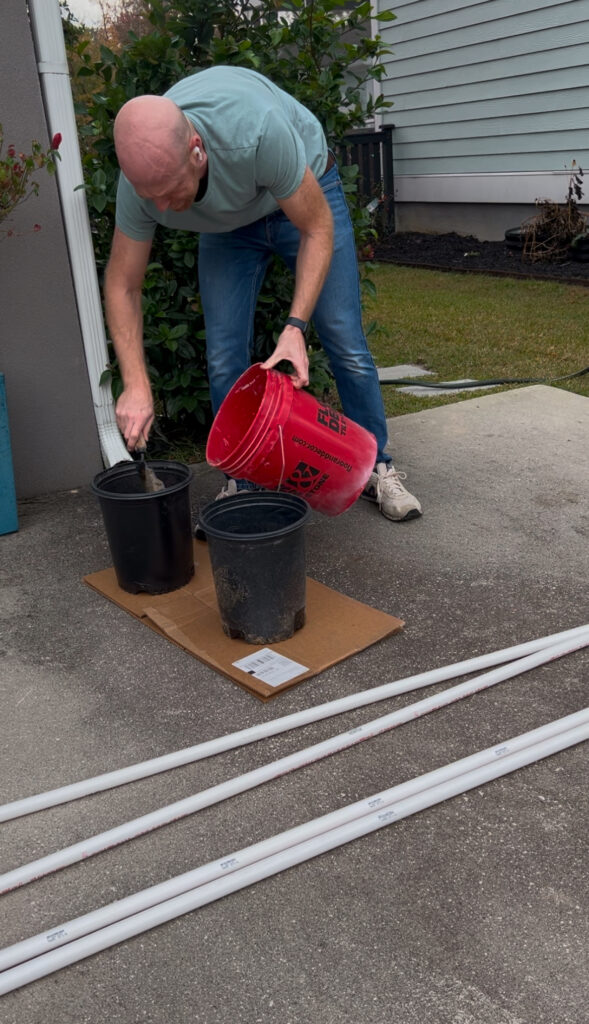
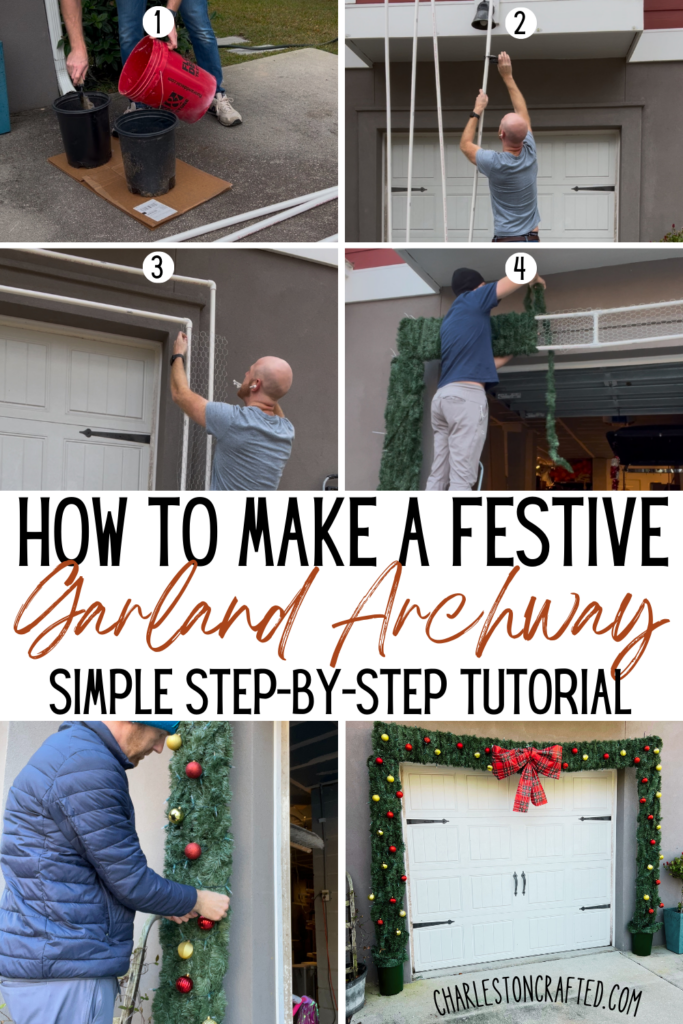
Step one: set concrete
Start by mixing your concrete in a bucket and then pouring it into two plastic pots. The pots don't need to be all the way filled up with concrete, just enough that they can support the weight of the stand.
Then, stick two PVC pipes into each pot of concrete about 5 or 6 inches apart, depending how big of a pot you used. You may need to put some scrap wood blocks around the top of the pot to hold the pipes in place vertically.
Wait 24 hours for the concrete to fully set and then you can move on to step two!
We used this same technique for our pumpkin topiaries at Halloween!
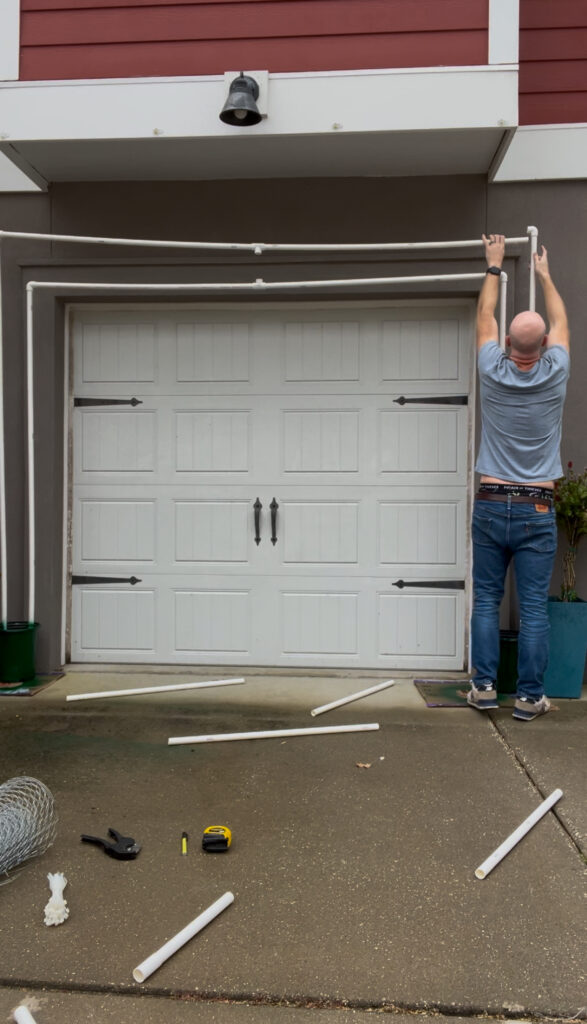
Step two: build frame
Once the concrete is set, it's time to build the PVC frame. Measure up to the bottom of your garage door (or whatever height your want the arch to be) then mark that point on the two inner PVC pipes.
Use PVC cutters or a hack saw to cut the inner pipes off at this height. Then, take the distance you spread the pipes apart in the pots and measure up that much on the two outside pipes and cut them off.
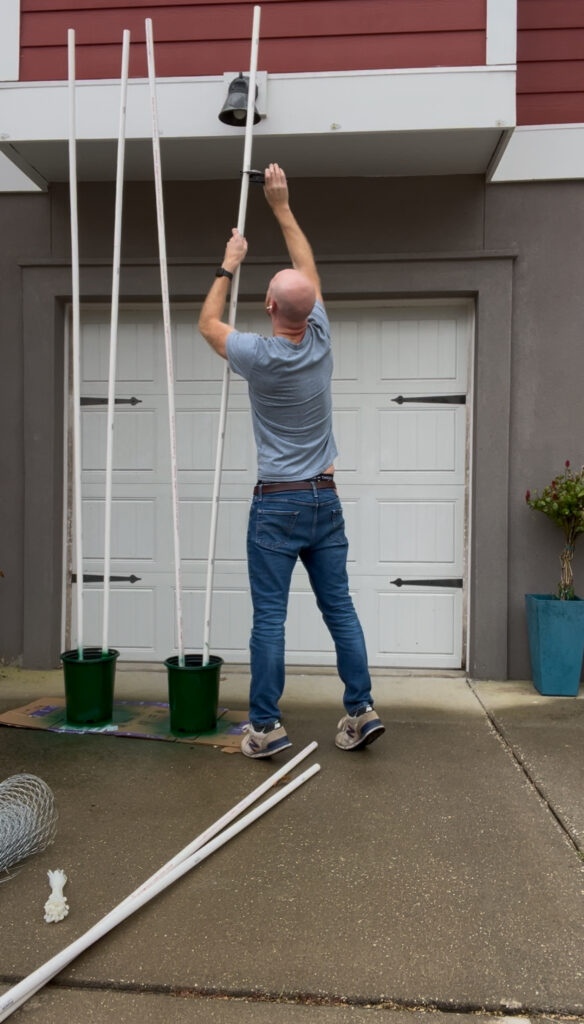
Add a 90 degree elbow to the top of each pipe pointed inward and then attach a long PVC pipe between each of them.
If you are spanning a longer distance, cut the two horizontal pipes in the middle and add a T-joint with a scrap piece of PVC pipe to connect the two in the middle and stabilize them.
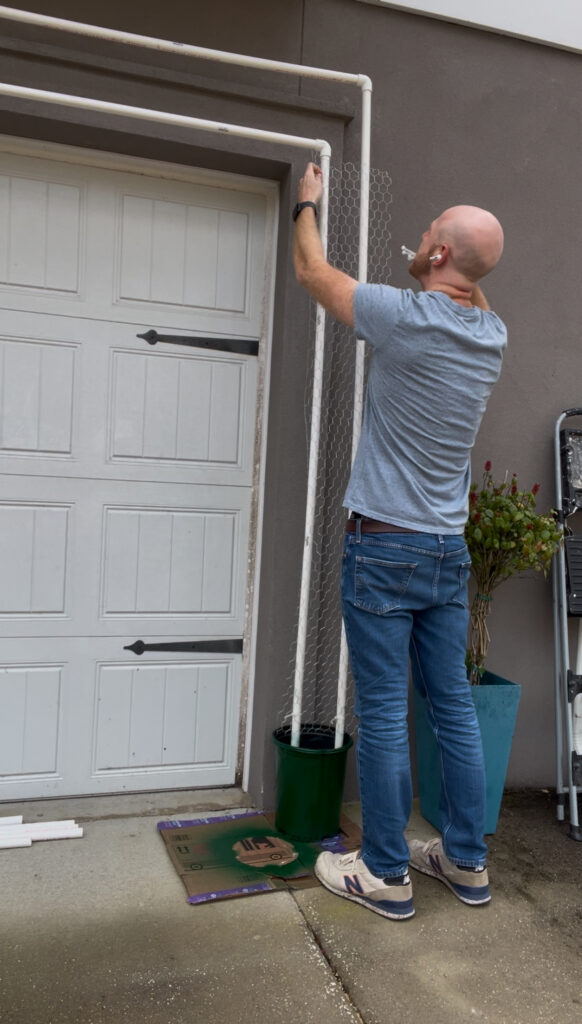
Finally, cut some chicken wire into 10" wide strips the length of the three sections of your frame and attach it to the poles with zip ties.
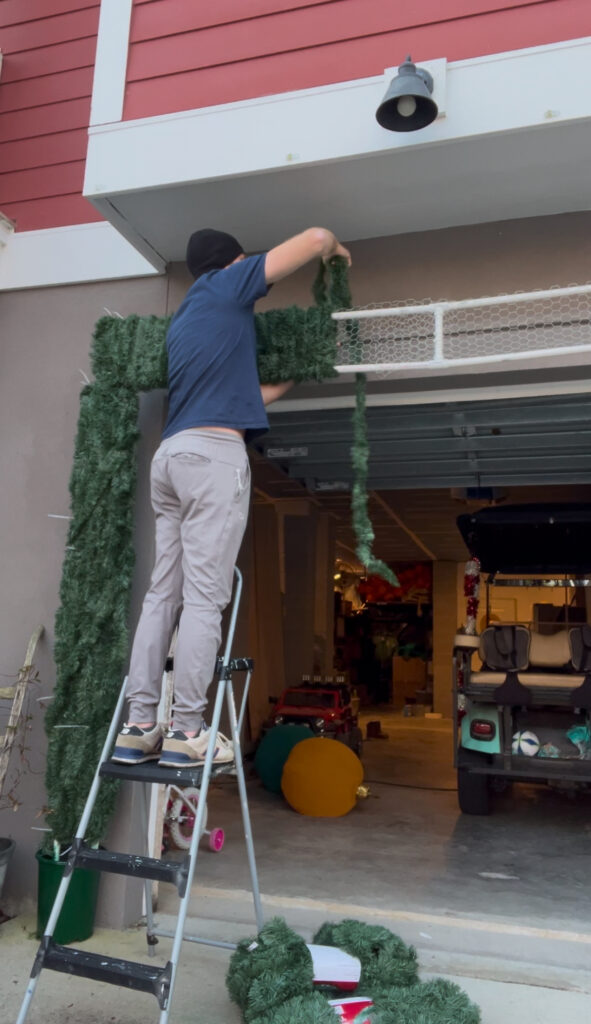
Step three: wrap garland
Now that the frame is set up, you can add the garland. There's two ways to attach the garland to your chicken wire.
The first is to go horizontal back and forth. Start on the bottom left corner of the wire and go up to the top left, then drop it down zig zag to the bottom and back up until you fill the whole front of the chicken wire.
The other option is to totally wrap the poles. Start in one corner and just wrap it around the front and the back with no gaps.
I tried both and the wrapping definitely takes significantly more garland than the zig zag up and down, but it does give you full coverage. Go with that option if your arch will be out in the open and not against a wall.
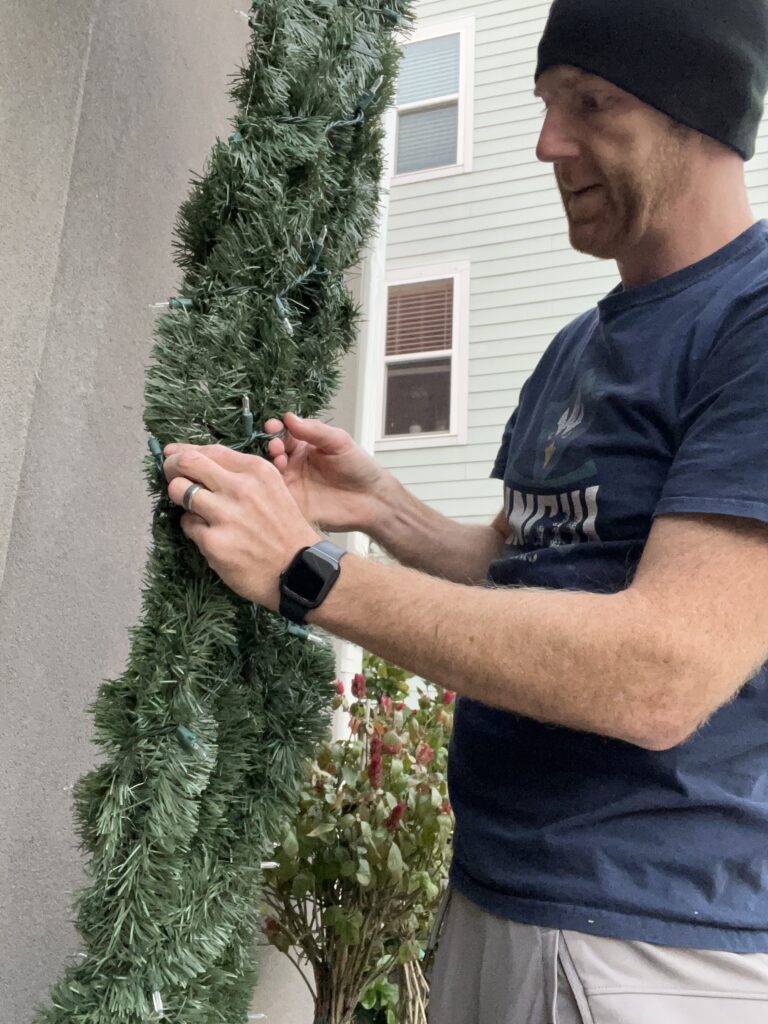
Step four: wrap lights
Next grab some string lights and wrap them around the garland. Again, you can go up and down or wrap around the entire fixture.
Remember to plug in your lights in the bottom corner so you are sure that they are going in the right direction, then work from there.
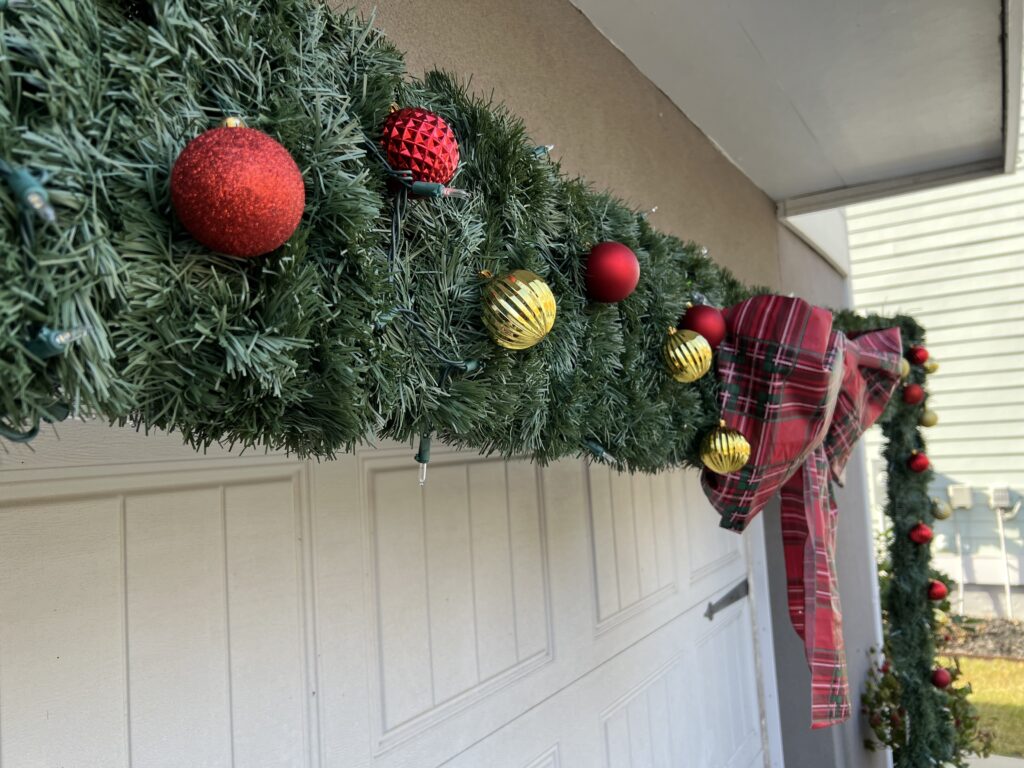
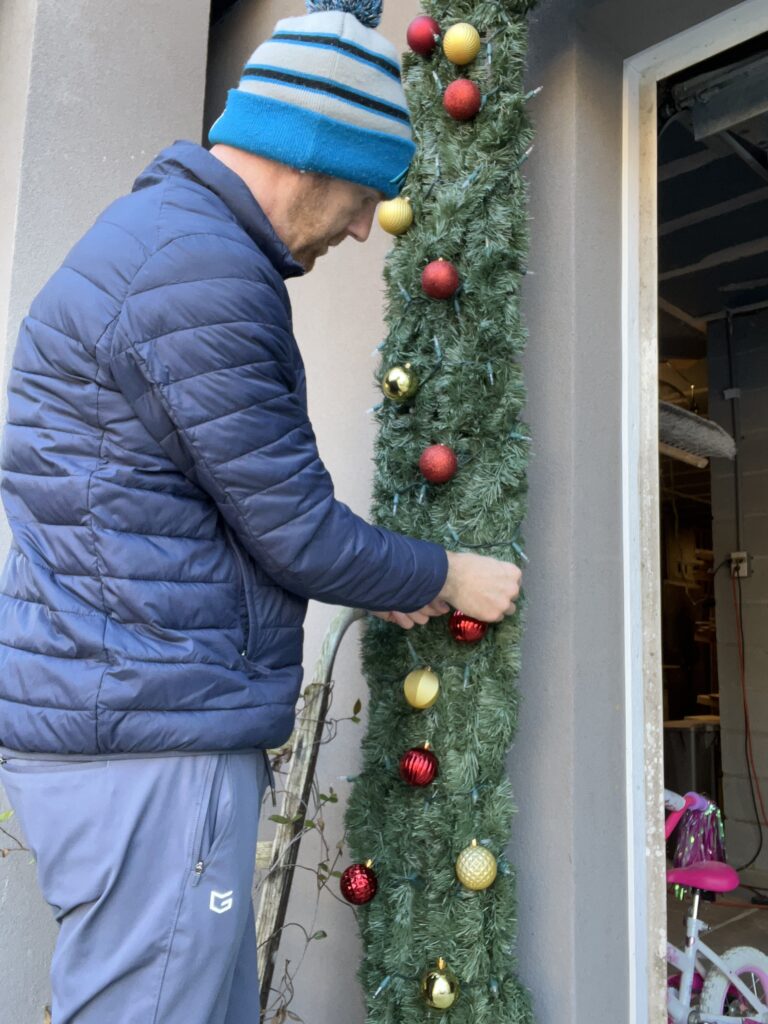
Step five: add ornaments
Finally, add your ornaments all over the garland. You can also add an oversized bow to the middle or any other embellishments.
This is a great way to show off your personal style and decorating prowess!
Freestanding Christmas garland arch
This DIY freestanding Christmas garland arch is a great way to add a large decoration to you yard, especially in an area that needs more holiday cheer!
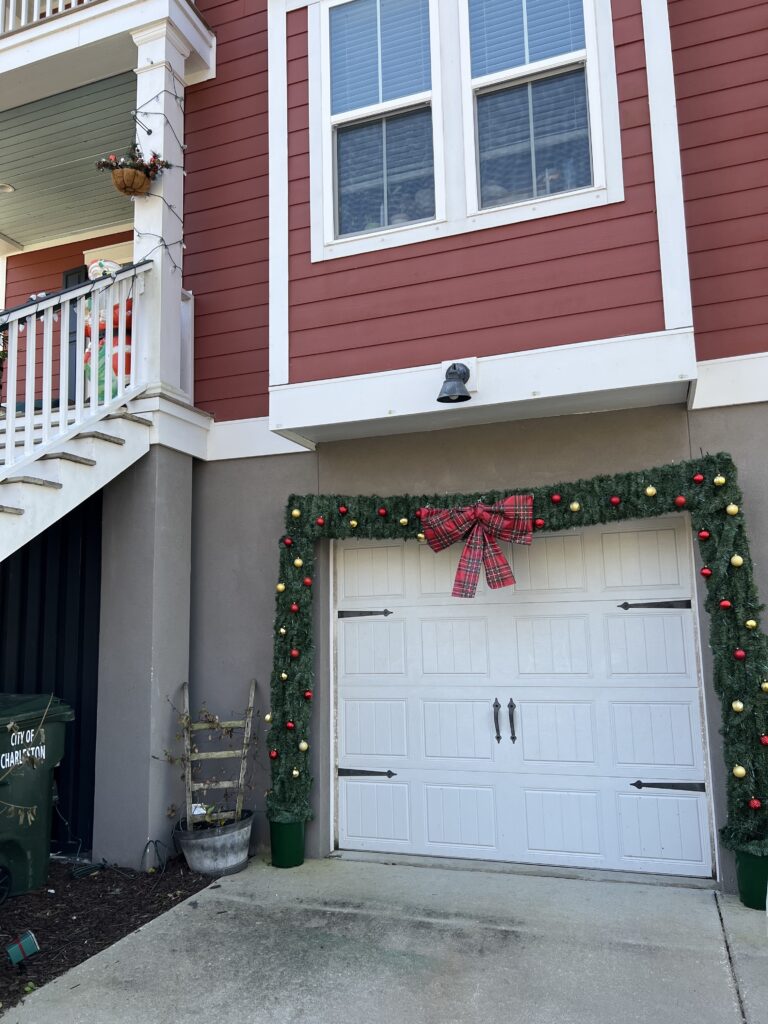
There's a lot of ways to customize this arch and make it your own, so go give it a try!
And start planning now to make your plastic pumpkin arch garland!

Looking for something?
We've been doing this since 2012 so we have a LOT of blog posts!
Search stuff like: Ceiling Projects | DIY Plant Stands | Thrift Flips

Hello, I'm Morgan, half of the creative force behind CharlestonCrafted.com! With a passion for DIY that dates back to 2012, I've transformed three homes and now I'm dedicated to helping others craft their dream spaces. Let's turn your house into a home together!


