Looking for a DIY pantry idea? Replacing wire pantry shelves with wooden shelves is a simple and inexpensive way to make a major update to your kitchen. Here's how to do it!
I've been dying to redo my pantry since... basically move in.
I mean, don't get me wrong. I was thrilled to have a dedicated pantry (my last few apartments certainly did not).
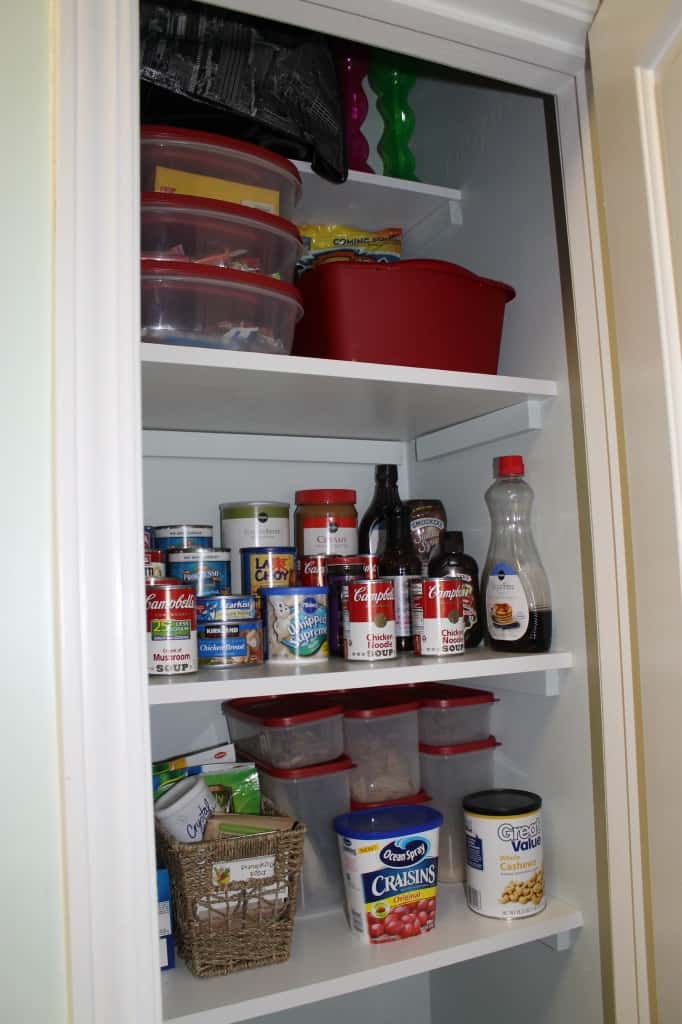
However.... I like pretty things. Crisp, clean, organized things. And this pantry... was none of those things.
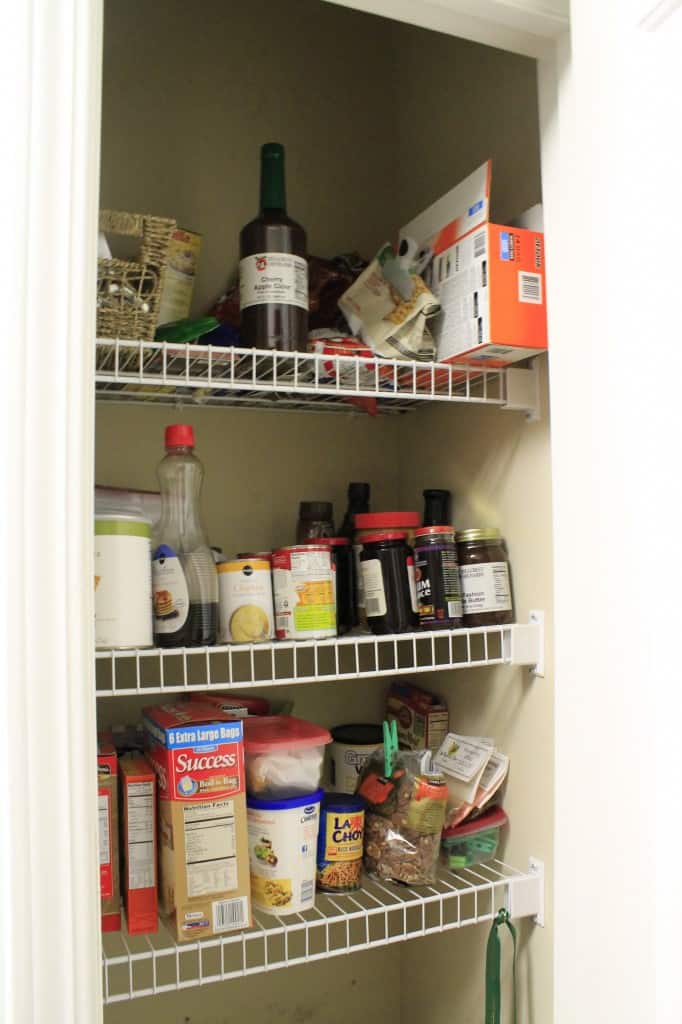
The wire shelves that come in a standard kitchen pantry are not good for actually storing things and they are unattractive.
It's very easy to replace the wire shelves in your pantry with simple wooden shelves on wooden braces. Here's how to do it!

How to replace wire pantry shelves with wood shelves
I hate those wire shelves. They are ugly, they sag when you load them up with cans of beans, and did I mention they're ugly?
If you want to replace the wire shelves in your pantry with custom wooden shelves, here's the quick way to do it. This is an easy project to do over the weekend!
For the record, I apologize in advance for these pictures. This is a very old project before we had proper camera equipment. Please check out a newer version of this project that we did in our new house!
Step one: remove wire shelves
Unfortunately, the only thing harder than living with them is ripping them out.
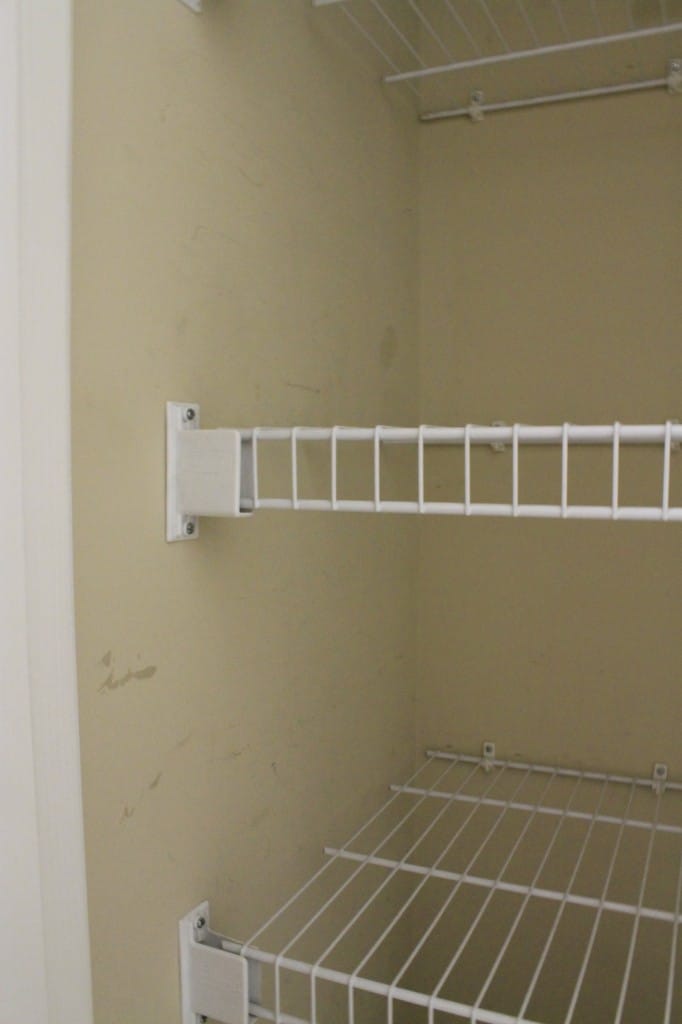
They are held up by support pieces attached to the wall using flat head screws (the bane of Sean's existence) and they don't pull out easily.
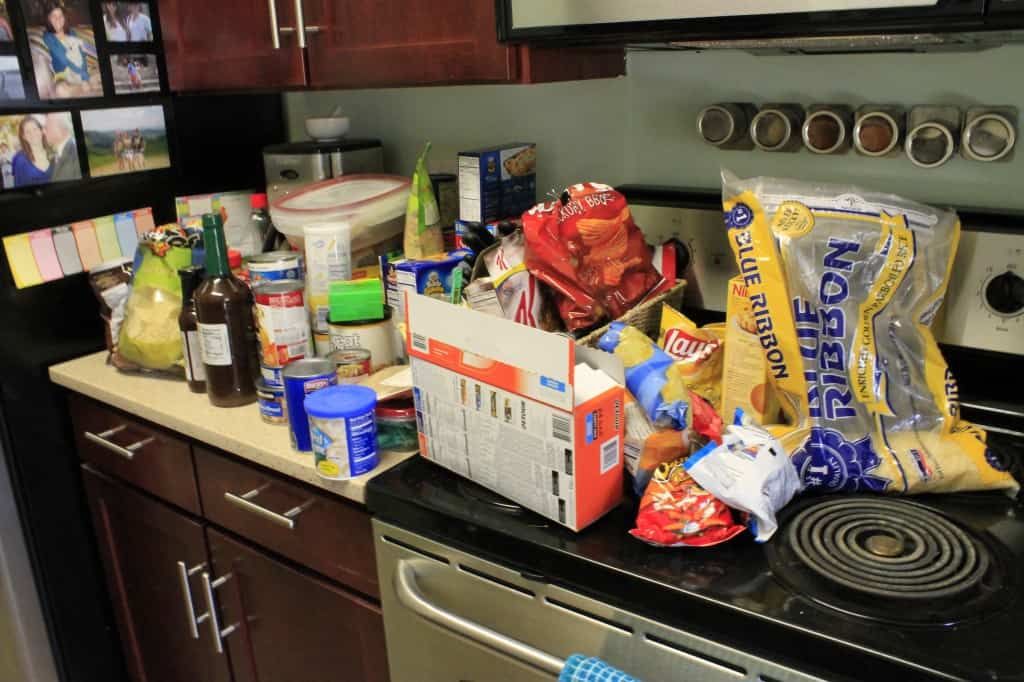
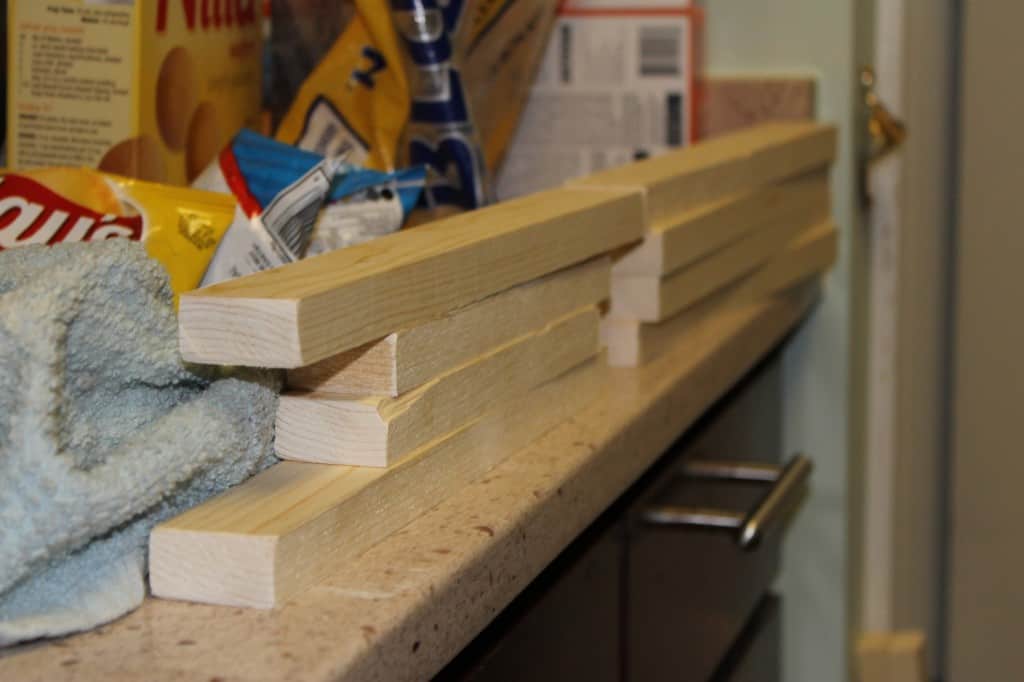
But, I digress. First, we had to empty the whole thing. I laid everything out on the kitchen counter and took this as an opportunity to clear out some old and expired food.... I'm sort of embarrassed of all of the stuff I found back in there!
Check out 24 more DIY closet organization systems!
Then, came Sean's turn to rip off the shelves. The flat parts lifted out easily. The brackets on the wall, however, had to be ripped out by hand.
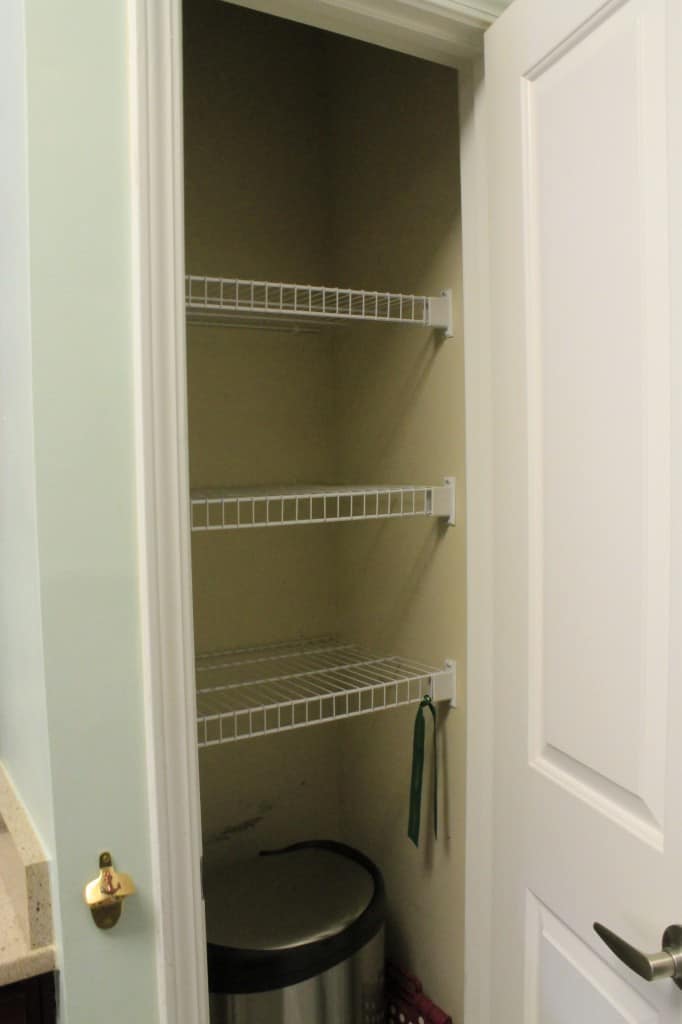
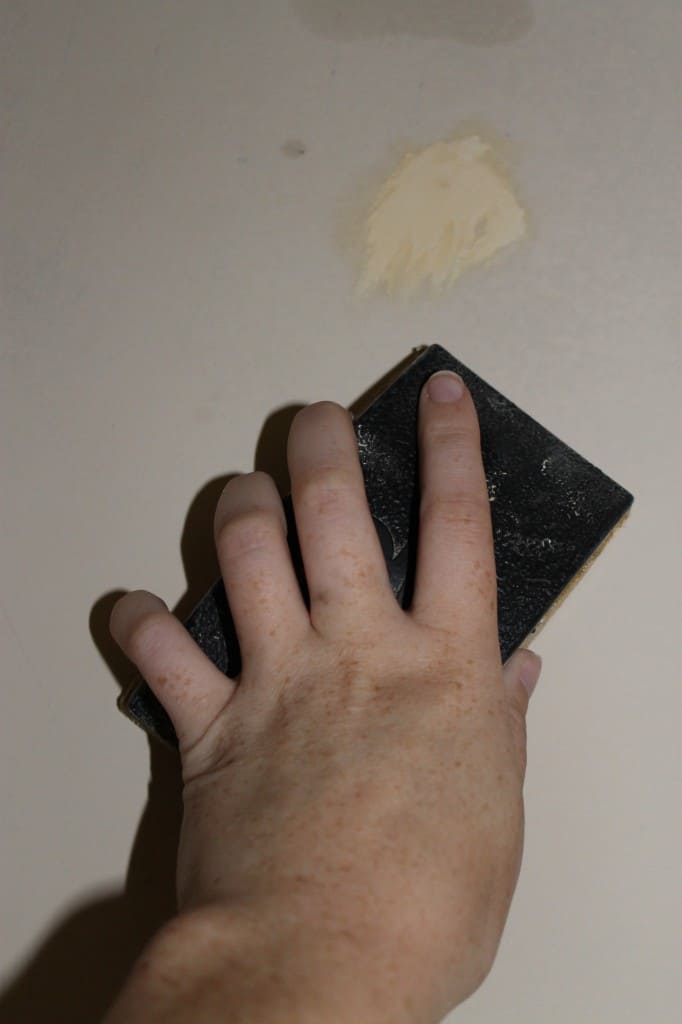
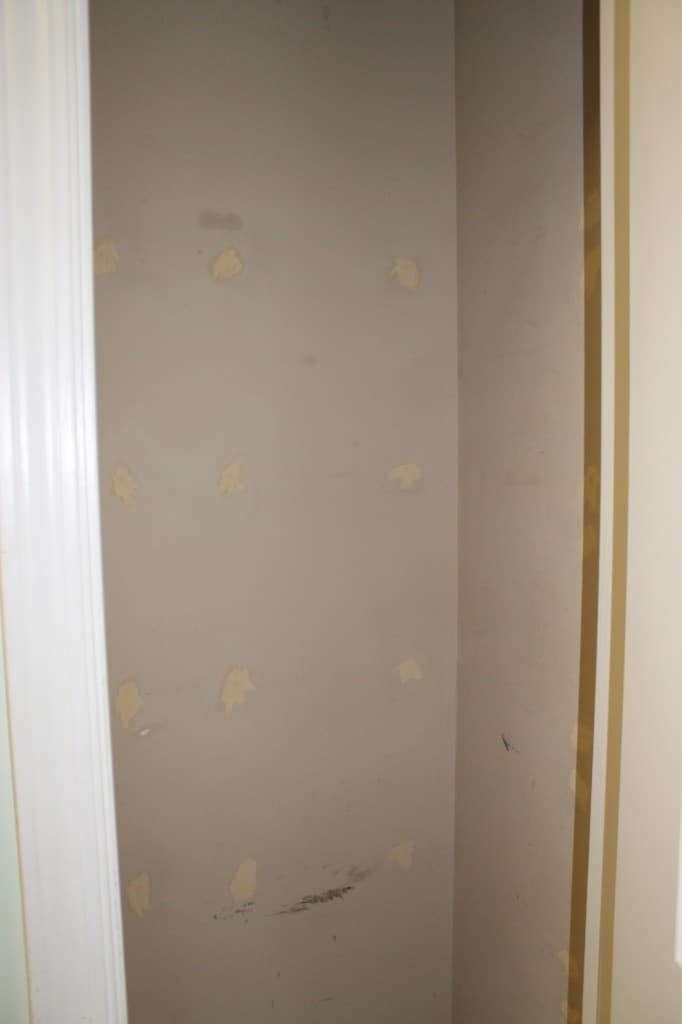
Step two: patch holes in the wall
Then, he had to patch the walls and sand.
This was before we knew what we were doing, so you can see in the picture that we used wood filler. You should not use wood filler to patch holes in drywall.
Make sure you read about the differences between drywall, spackle and caulk here, but always use spackle on the wall.

Step three: paint
Then, I got to jump in there and paint. I actually used leftover paint that we already had laying around.
It was the grey from updating our bookshelves. I rolled a coat on the entire inside, including the ceiling.
It's so tight, probably no one will ever see, but I figured that it was better/easier to paint the ceiling than do a sloppy job on the ceiling & didn't feel like taping it off.
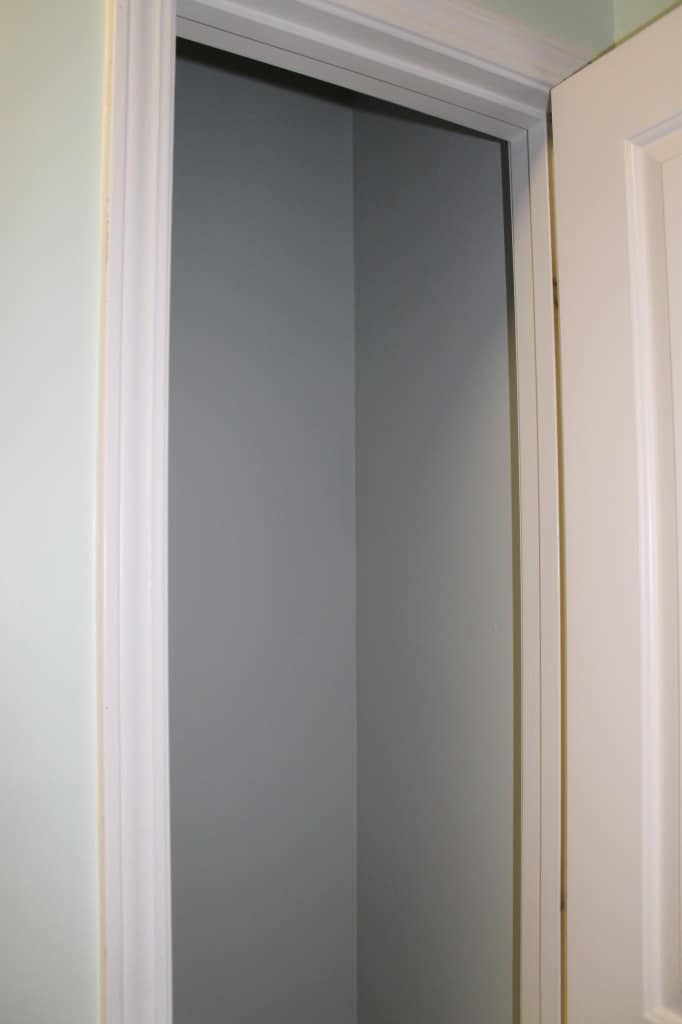
I love a nice, clean slate.
Step four: Cut wooden shelves
We needed materials to put in the new shelves. I wanted wooden shelves that wouldn't sag.
We decided it would be easier, and better, to nail wooden support beams on the walls and place the shelves on those.
So we went to Lowes and bought two ¾"x2"x8' boards for the beams and one ½"x16"x96" piece of shelving. We also had to buy a shelf piece that was only 8" deep. We wanted three 16"x25" shelves and one 8"x25" shelf at the top.
The shelving we cut into three 25" pieces, with a little extra left over. The beams Sean cut into four 25" pieces, six 14" pieces, and two 8" pieces.
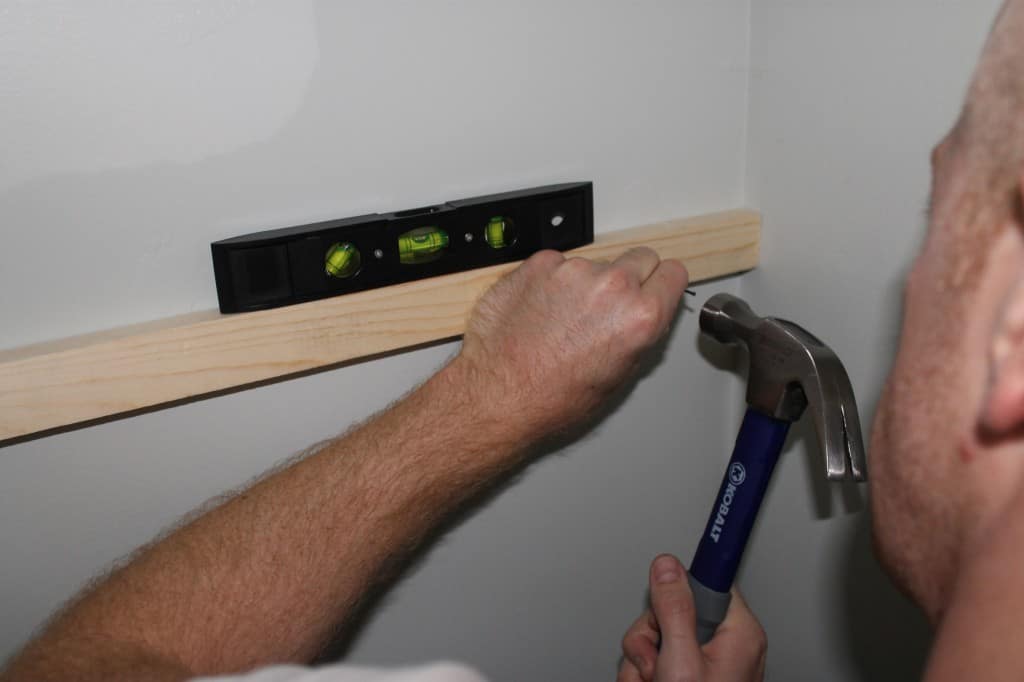
Step five: install brackets and shelves
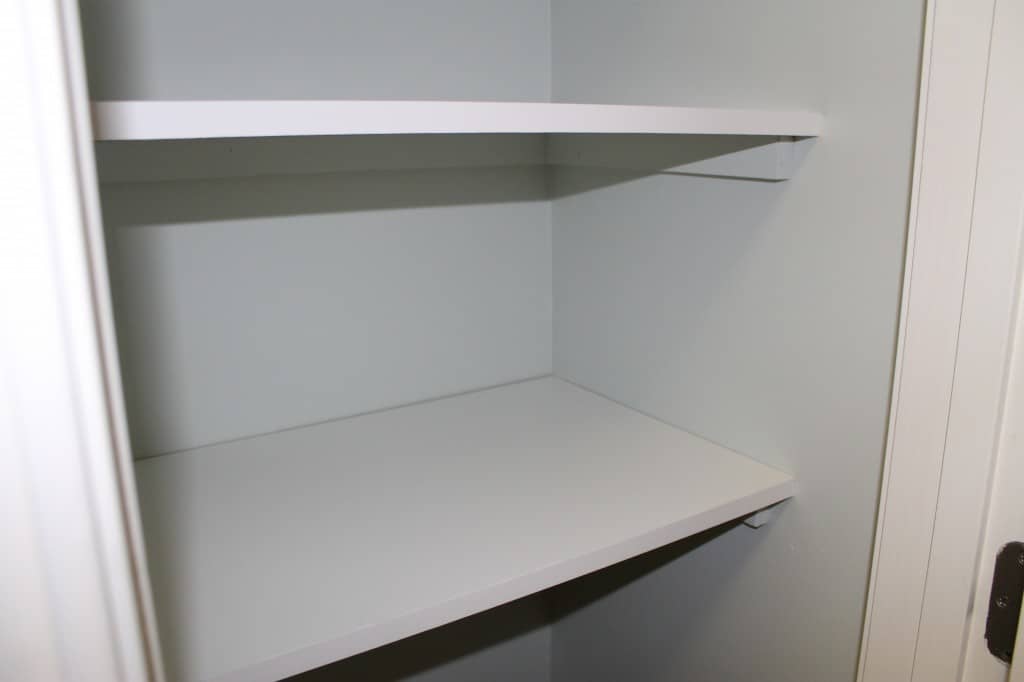
Sean lined up the boards in the same places as the old shelves and then added the half shelf about a foot above the top shelf. He lined up, leveled and nailed in the pieces.
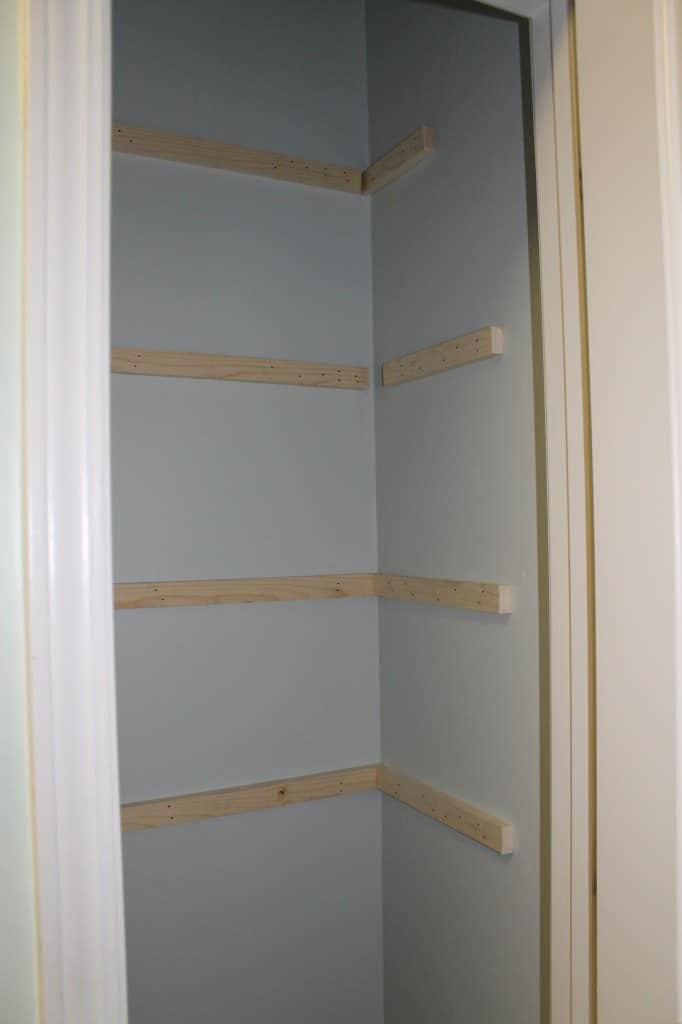
Then, I went in and painted the support beams with the same color paint I used on the walls.
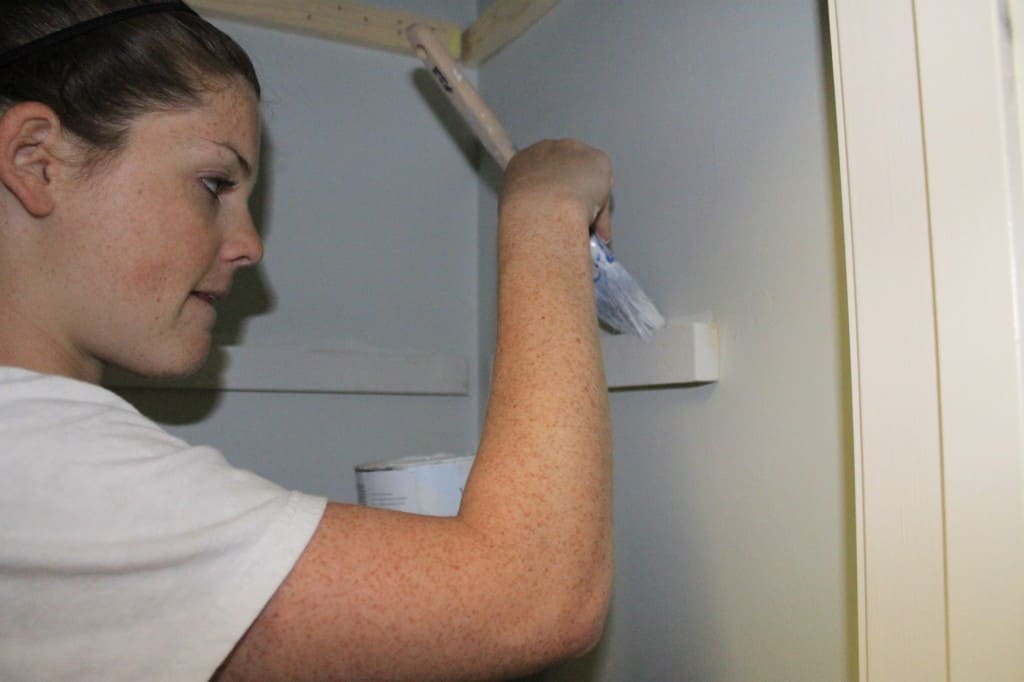
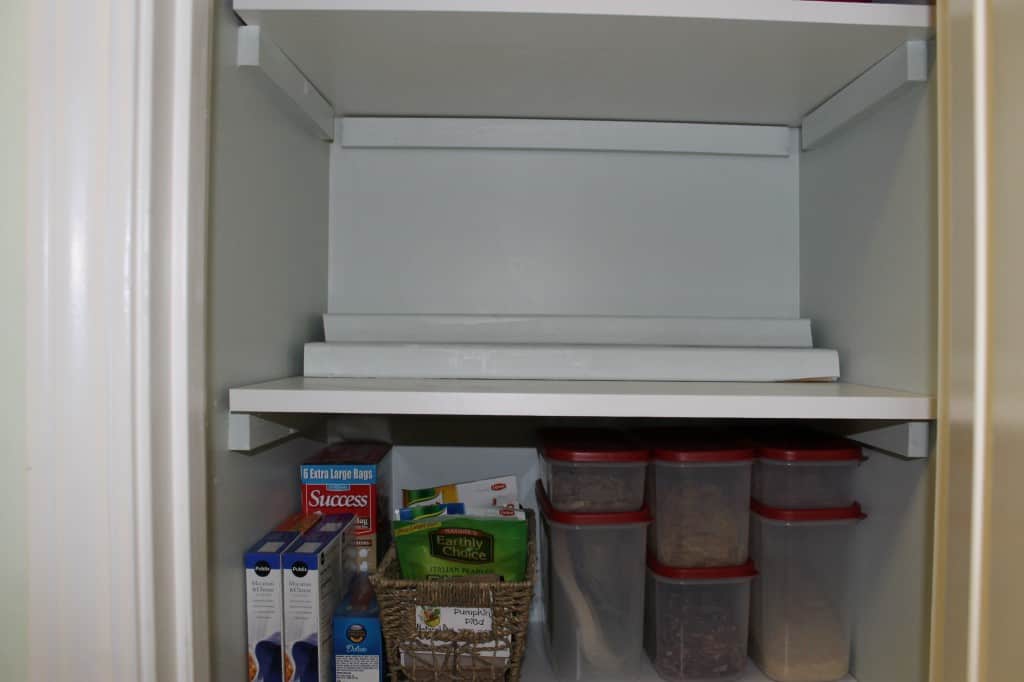
Once that had dried, we slid in the shelving pieces and ta-da! We had all new wooden, stable shelves in the pantry!
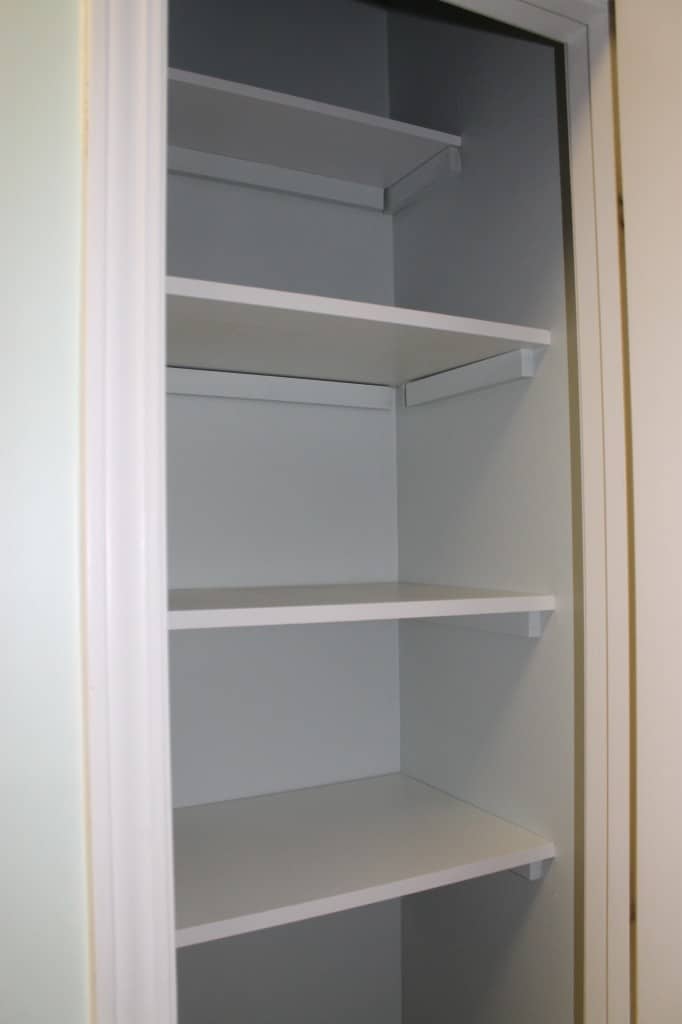
Doesn't it look so, so much better?
I loaded everything back in in a more organized fashion. The top half-shelf is perfect for reusable grocery bags, my lunch box, and some of our yard-long souvenir drink cups.
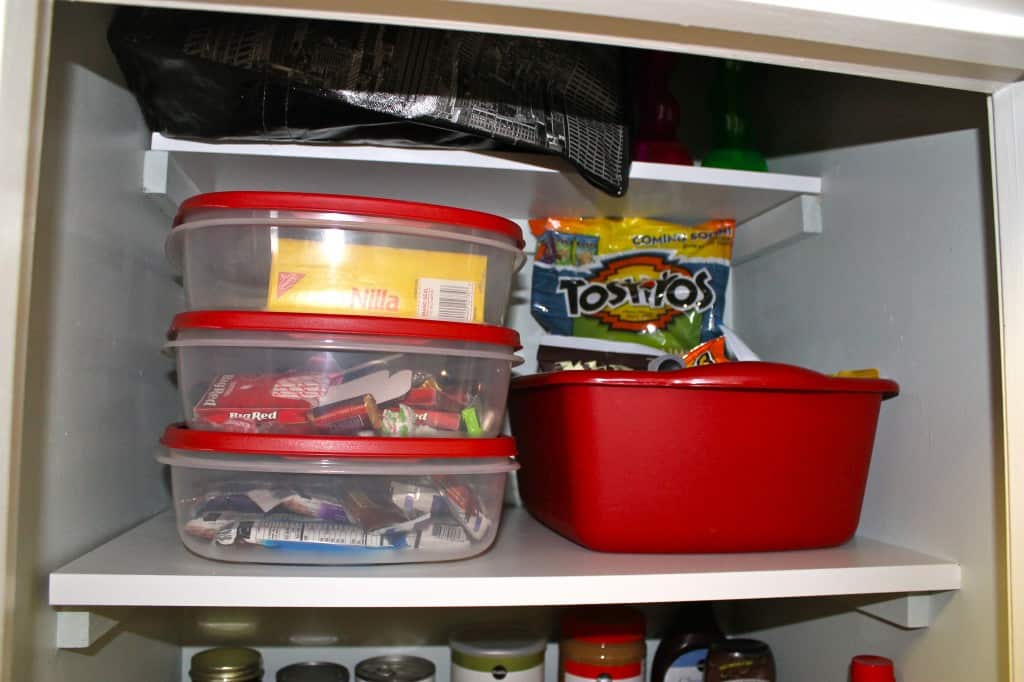
The top full-sized shelf is perfect for snacks. I used large stacking tupperwares to organize granola bars, candy and cookies.
Next to that, I put a bin that holds chips (we have a variety of chips, cracker chips, and single serving chip bags that Sean seems to hoard from parties & events.)
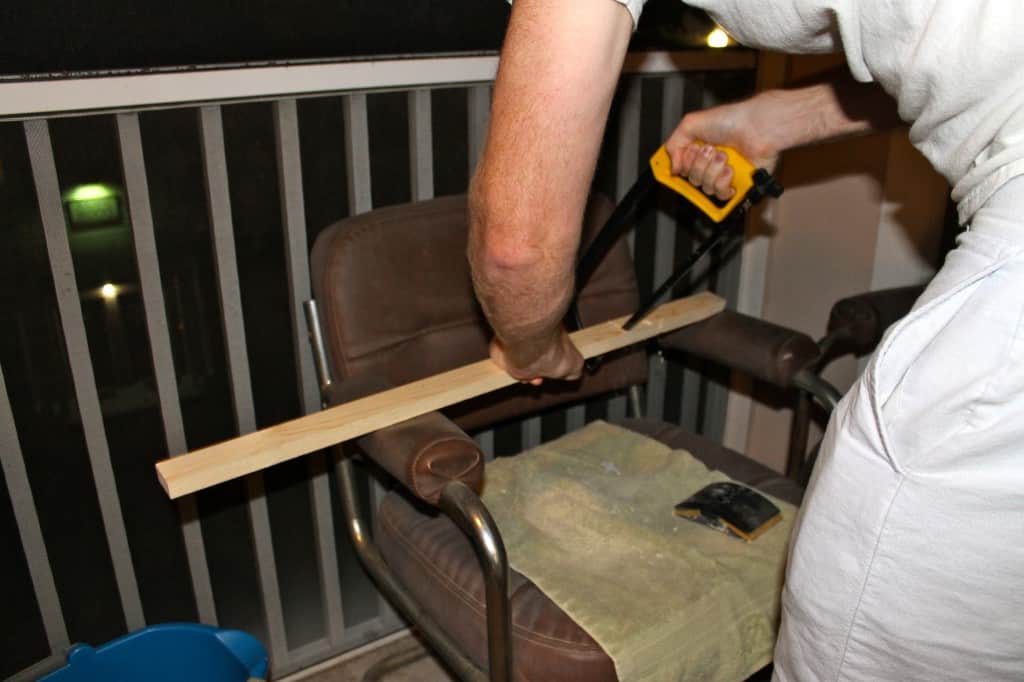
The next shelf holds cans and jars. I really wanted to make sure that all of our cans were visible. That way, we will know what we have and not end up with ten cans of black beans (true story). So, I build a sort of "can riser" stair set.
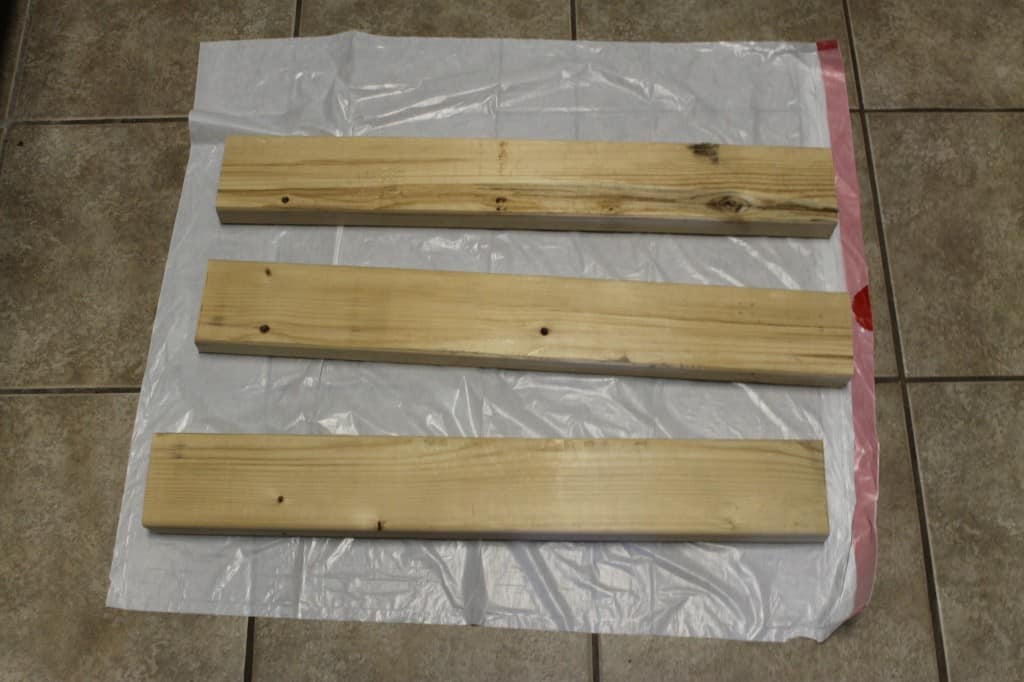
I started with a spare 2"x4" board that we had in our storage closet. I used the handsaw to cut 3 2' wide pieces. This was almost exactly as wide as the shelf.
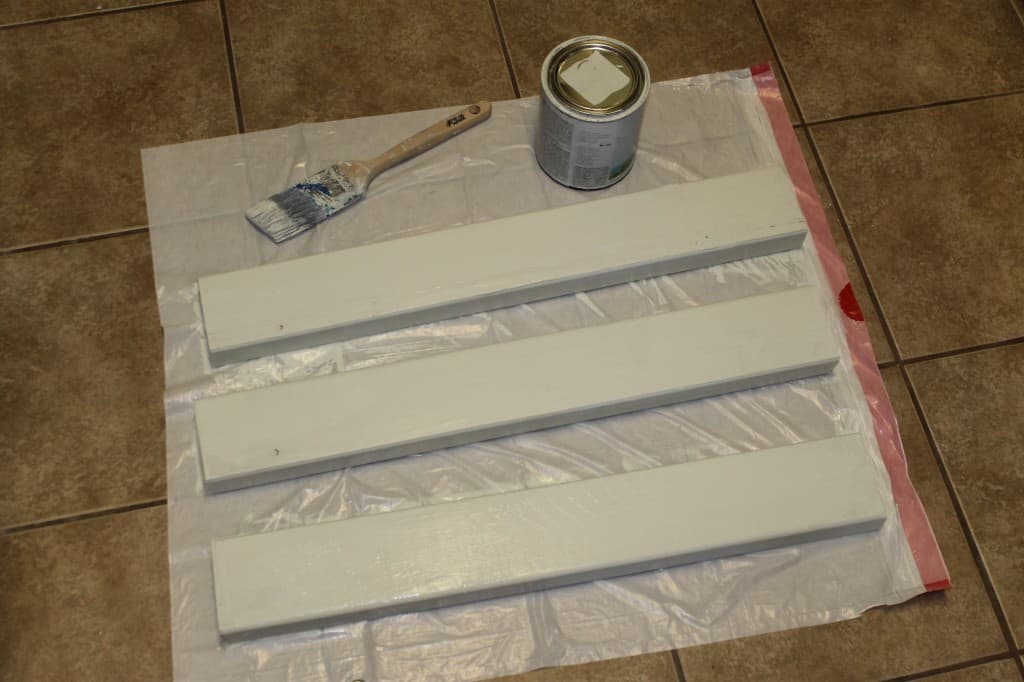
I painted the boards with the same paint that I used to paint the closet walls. Then I used wood glue to attach one board on top of the other & the third board in front, creating "stairs". Hint: you can leave a side of each board unpainted, where they will be glued together.
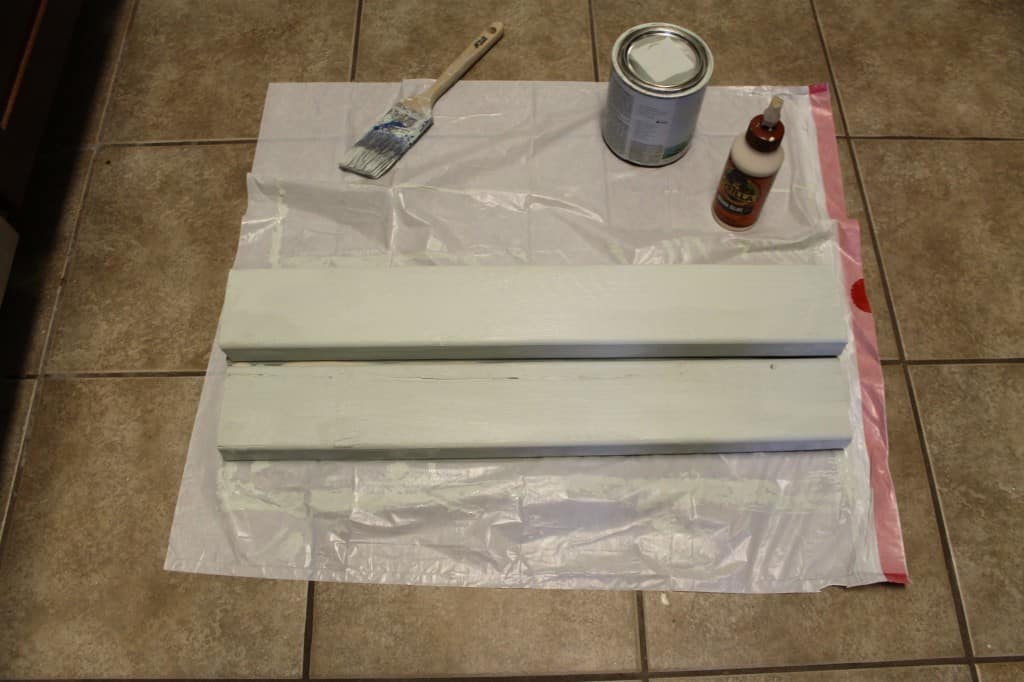
I slid this onto my can shelf. I LOVE how it turned out. Without decreasing horizontal storage space, we seriously increased visibility.
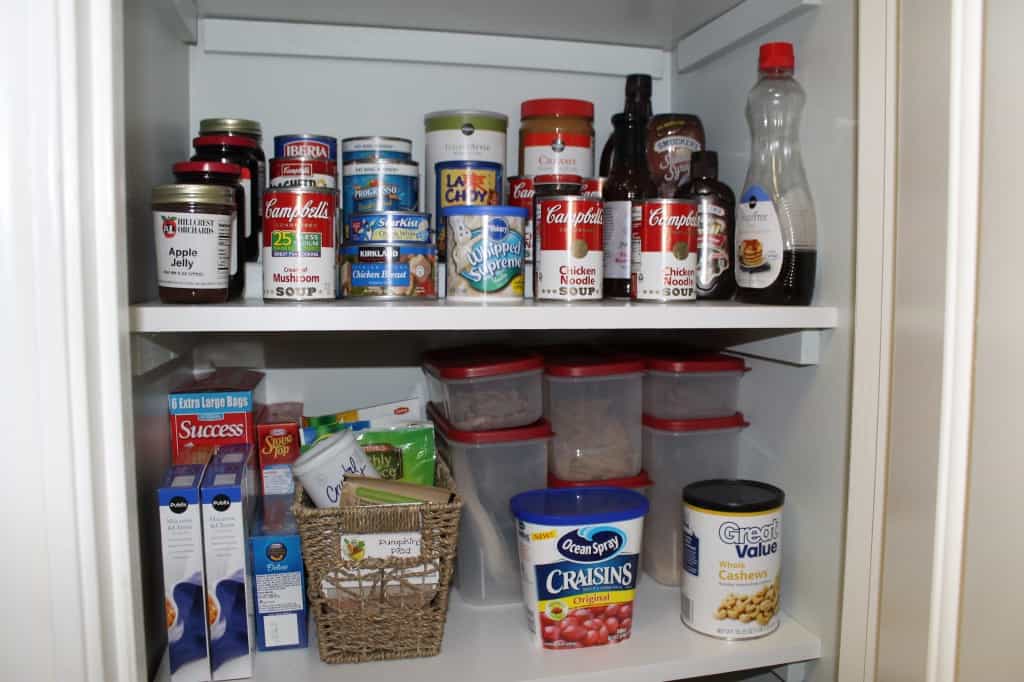
The bottom shelf holds dry goods. On the left are unopened boxes. Next is a basket holding packets of rice sides, dip mixes, and oatmeal packets. On the far right is rubbermaid canisters of open items - nuts, rice, and pasta, mostly.
On the bottom is our step trashcan (from Costco) and stepstool (from Homegoods.)
I am so incredibly pleased with how this project turned out. We spent $30 on wood for the shelves and $40 on rubbermaid containers. I think that it made a huge difference and will really make us more efficient at using and buying groceries. Plus, pretty spaces make me happy!
Have you updated your pantry?

Looking for something?
We've been doing this since 2012 so we have a LOT of blog posts!
Search stuff like: Ceiling Projects | DIY Plant Stands | Thrift Flips

Hello, I'm Morgan, half of the creative force behind CharlestonCrafted.com! With a passion for DIY that dates back to 2012, I've transformed three homes and now I'm dedicated to helping others craft their dream spaces. Let's turn your house into a home together!


Runt says
I am SO super beyond jealous. I have wire shelving in my pantry and I've been wanting to put wood shelves in since the day we moved in, almost two years ago. It's still on the "to do" list. =[
Runt says
**Not almost two years ago, but over two and a half years ago.**
m. b. says
So smart with the double 2x4s to add extra space without taking up too much room. Thanks for the brilliant ideas
Morgan says
We absolutely love this trick as well. Thanks for stopping by!