Want to move a piece of your indoor wood furniture to the outdoors? Here is how to use outdoor wood furniture sealer to finish wood furniture for outdoor use!
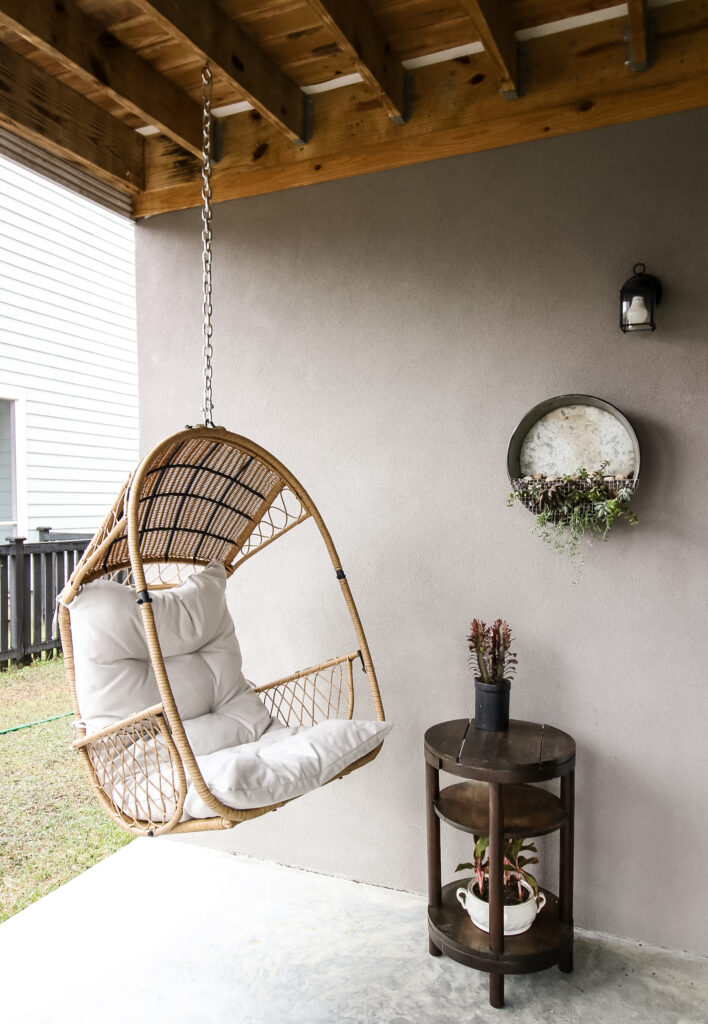
As a part of our mini patio makeover, we wanted to add a side table next to our new hanging swing.
Instead of buying or building something new, I decided to move a side table that we already had outdoors.
The first piece of furniture that Sean & I ever made over together was this side table. We met because we lived in the same apartment building and Sean found this table next to the dumpster. We sanded it and gave it a new stain and instantly got hooked on refinishing furniture.
My attachment to this piece is purely sentimental - it's not particularly nice or even my style any more - so I decided to move it outdoors to our patio.
While I know it will probably get damaged out there, I do want to try to keep it as nice as possible, so I decided to apply an outdoor finish to help protect it.
What types of furniture can be used outdoors?
You can put anything outdoors, but the pieces that will last the longest will be made of:
- treated lumber
- naturally water-resistant woods such as cedar, cypress, teak, or redwood
If your furniture does not fall into those materials, then you will want to apply an exterior varnish to protect the wood.
Also note if your furniture has a veneer or glued joints. These pieces are usually made with interior-grade glues that won't necessarily last outdoors. Humidity, sun, and heat can melt the glues or cause them to fail.
What finish should I use for treating outdoor wood furniture?
If you want to move a piece of furniture that was made to be kept indoors outdoors, you will want to seal it completely with an outdoor sealant.
Good quality exterior sealants protect wood furniture from:
- UV light & UV rays
- Mold and mildew
- Moisture and rot
Wood naturally decomposes. A good sealant can slow that process down, but won't stop it forever.
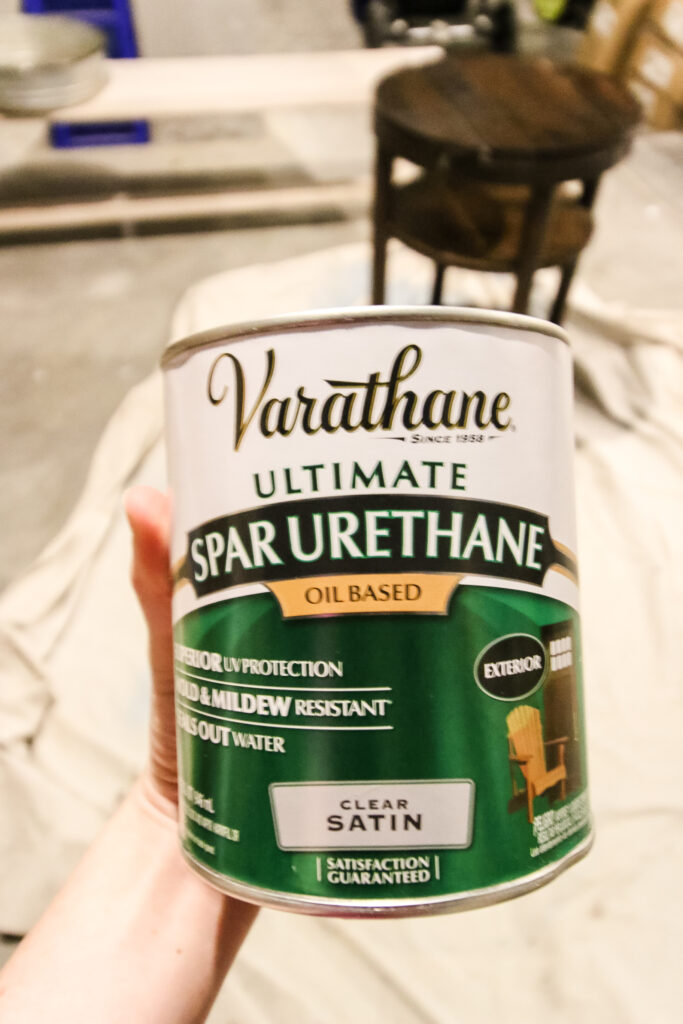
I like to use a spar urethane sealant on my yard and garden furniture.
If you shop at big box hardware stores, Home Depot has Valspar brand and Lowes has Minwax brand.
Be sure to pay attention to the sheen of the sealant - most come in gloss, semi gloss, and satin. I haven't seen anything more matte than satin.
Glossy finishes will show more bumps or imperfections in your furniture, but give it more of a high-gloss, laquered look.
I prefer a more matte finish, but that's all a matter of personal preference.
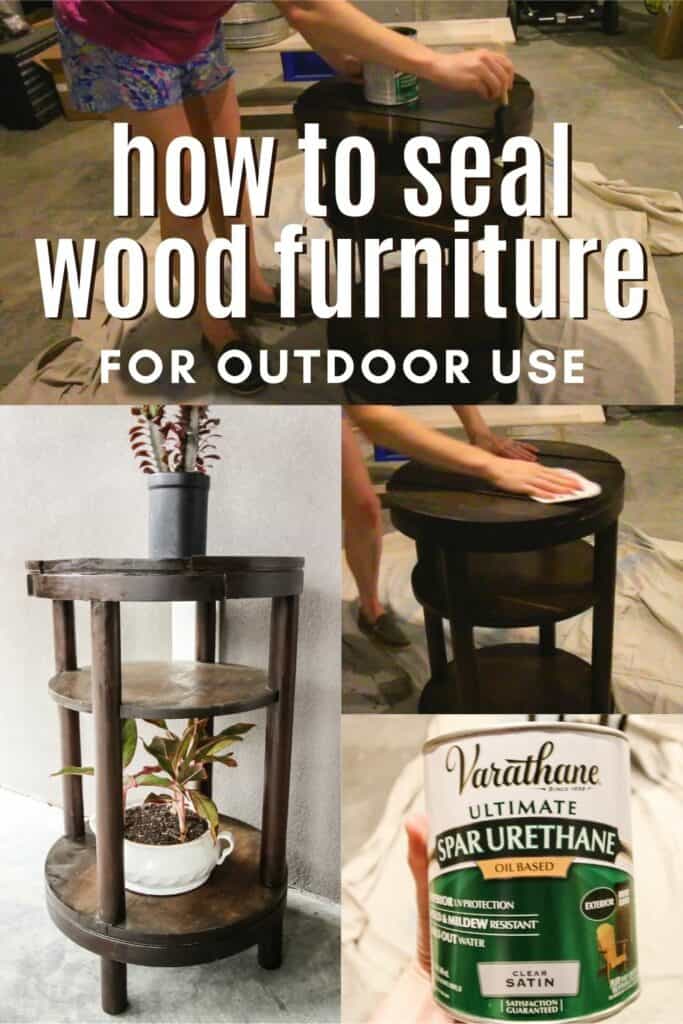
How to finish wood furniture for outdoor use
Outdoor sealant is easy to apply and makes a big difference in keeping your wooden furniture from rotting when used outdoors!
STEP 1: Prepare by sanding
The first step is to sand your piece of furniture. Sanding - even lightly - will remove the existing top coat and allow the new wood sealant to stick better.
Even if you have bare wood, sanding a little bit will help to open up the wood surface to best absorb the new sealant.
It's really important that you don't skip this step if you want your new protective coat to really stick and protect your wood.
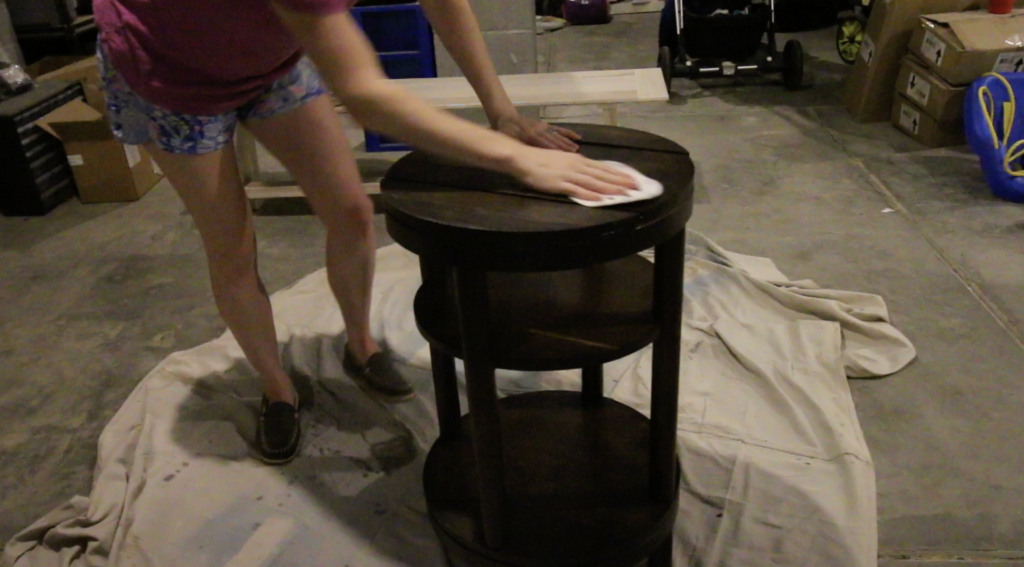
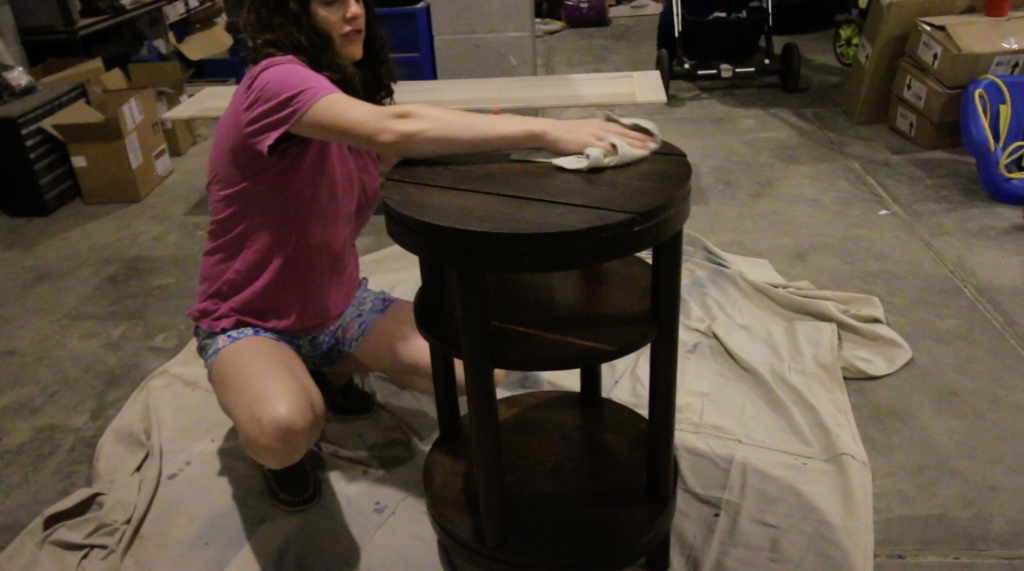
STEP 2: Wipe clean
Next, take a clean cloth and wipe the surface of your furniture to remove any dust or dirt.
This keeps dirt from being sealed into your furniture. If it's really dusty from a lot of sanding or sitting outdoors, you might even want to blow it off with a leaf blower first!
At this point if there are any scuffs or stains I recommend scrubbing them with a magic eraser to try to get them off. Once they are sealed on they are going to be much harder to get off.
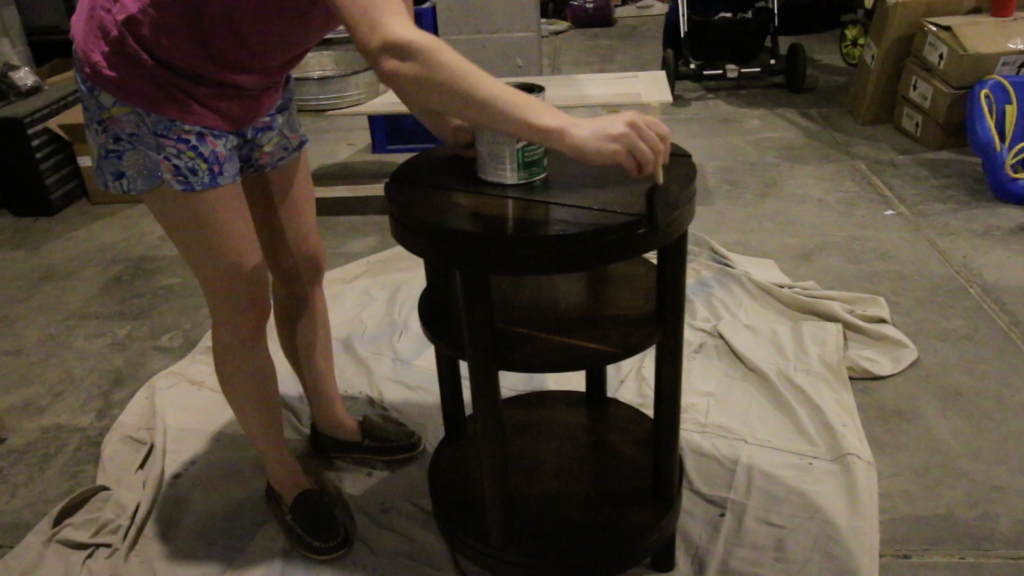
STEP 3: Apply sealant
Now you want to seal your wood completely. I like to use a foam paint brush to apply sealant.
Do not shake the can of sealant like you would a can of paint - shaking poly leads to bubbles which can leave bumps and bubbles on your furniture.
Do not leave a crack or crevice of the wood uncovered.
Any spot you leave unsealed is a spot where water can get in and that spot will be susceptible to moisture and mold.
It's better to do several light coats to get full coverage.
I put two coats on my side table and then flipped it upside down and sealed it from that side to be sure I got the underside well.
Take your time to do a really good job, avoiding drips or missed spots.
STEP 4: Keep covered if possible
Even sealed, a piece of wooden furniture won't last long in your garden.
Constant sunshine and being soaked by rain will break down the wood naturally.
For best results, keep all wood furniture covered, such as on a porch or covered patio. The added UV protection of the cover can really help!
Video demonstration
Be sure to check out my video showing exactly how I sealed this side table!

Check out some of our favorite DIY outdoor furniture builds:
Any questions about how to waterproof wood furniture for outdoor use?

Looking for something?
We've been doing this since 2012 so we have a LOT of blog posts!
Search stuff like: Ceiling Projects | DIY Plant Stands | Thrift Flips

Hello, I'm Morgan, half of the creative force behind CharlestonCrafted.com! With a passion for DIY that dates back to 2012, I've transformed three homes and now I'm dedicated to helping others craft their dream spaces. Let's turn your house into a home together!


Frances McBride says
That looks really nice. Such a cozy spot that you made!