• Skip to primary navigation
  • Skip to main content
  • Skip to primary sidebar
Charleston Crafted
  • DIY
  • Woodworking
  • Popular Posts
  • Blog
  • About
  • Shop
menu icon
go to homepage
  • DIY
  • Woodworking
  • Popular Posts
  • Blog
  • About
  • Shop
search icon
Homepage link
  • DIY
  • Woodworking
  • Popular Posts
  • Blog
  • About
  • Shop
×
Home » Art Projects

Tissue Paper Art

Published: Aug 7, 2013 · Modified: Jan 25, 2023 by Morgan · As an Amazon Associate, we earn from qualifying purchases. This site contains affiliate links. ·

I love making something beautiful out of nothing. I also love using up things that I hoard (like fabric & wrapping paper)... because if I use it it's not hoarding. Right? Right...

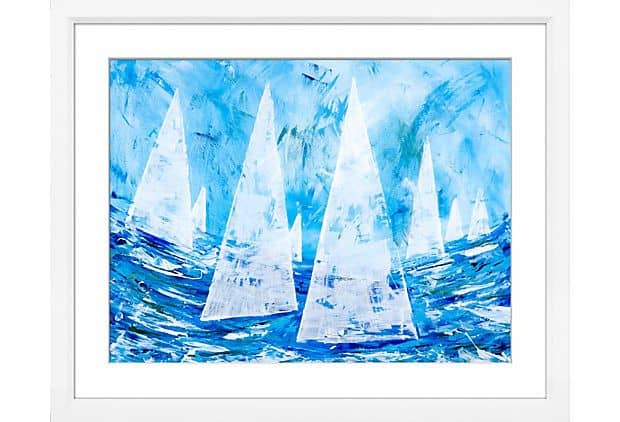
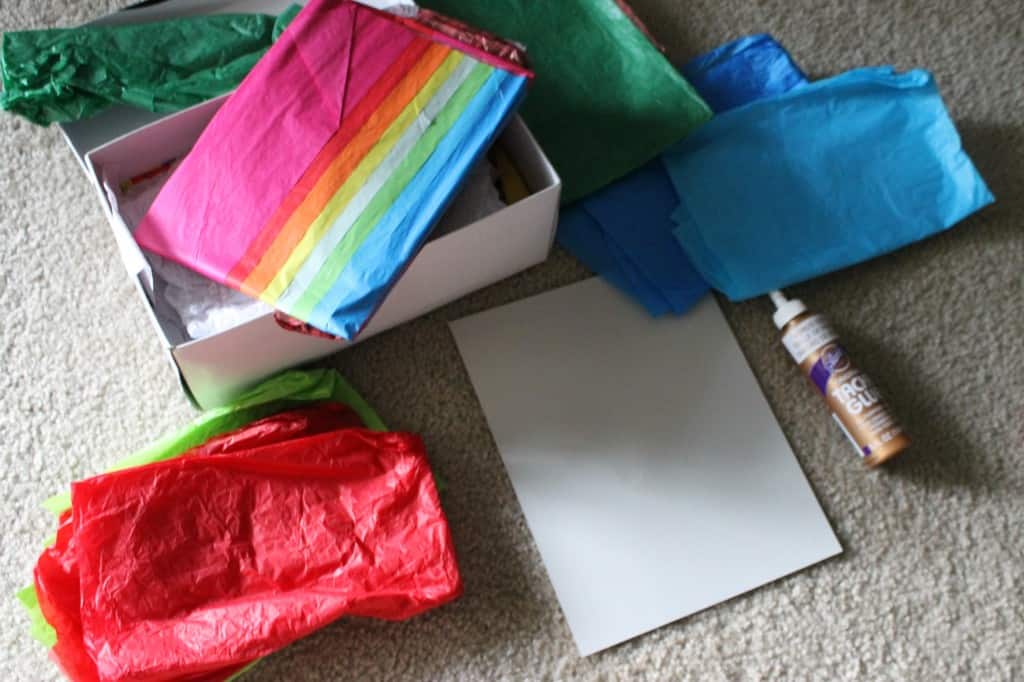
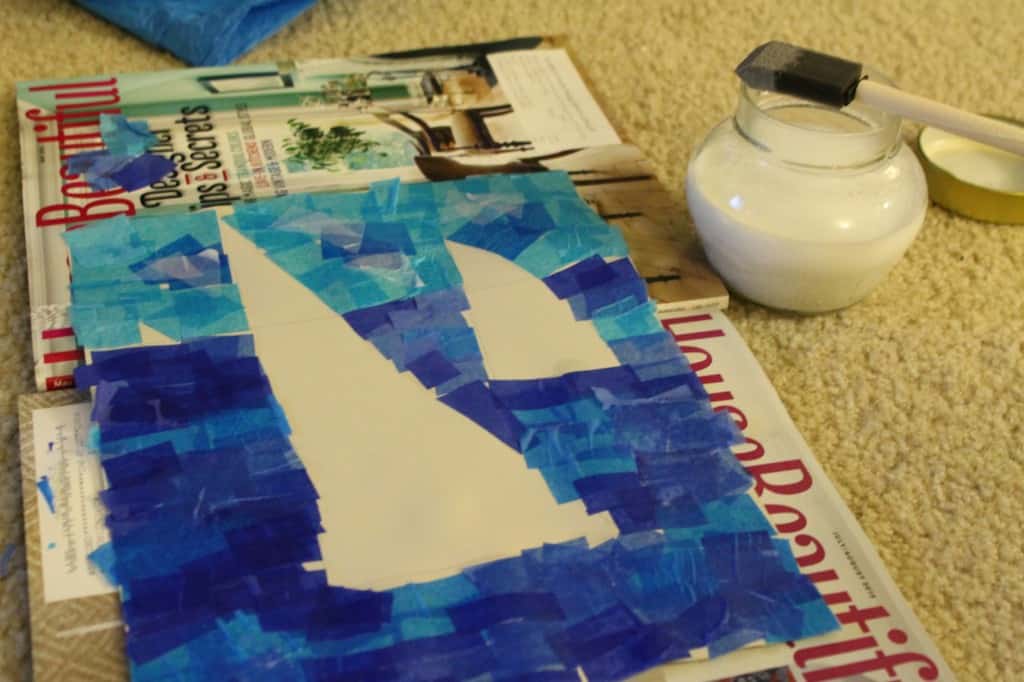
Since I have a whole shoebox of tissue paper, I decided to use some to make a pretty picture of a sailboat. I was actually inspired by this picture that was for sale on One King's Lane.

cb3c06d9358c9697c068e35735455ccf

So, here is what I did.

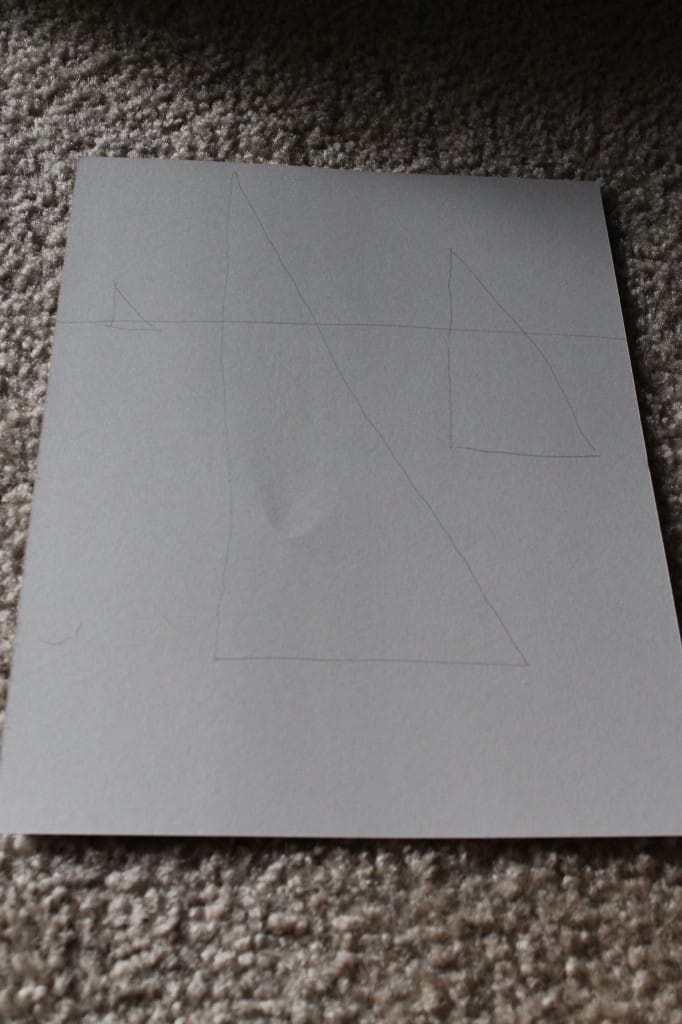
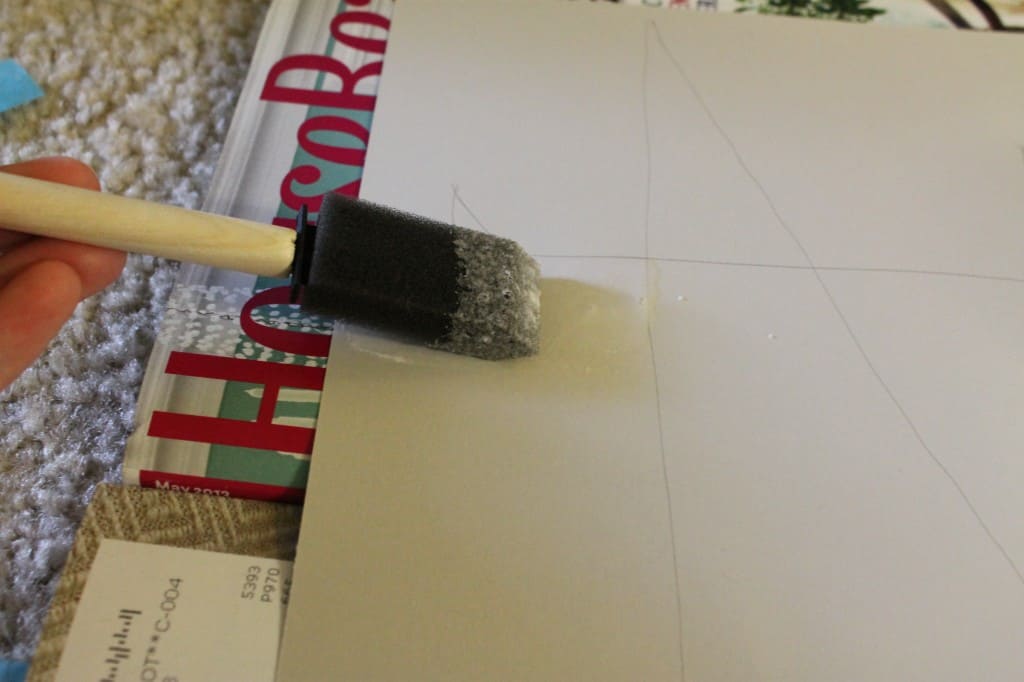
First, I started with a piece of cardstock. I'm out of white, so I used light grey. I used a pencil to lightly sketch out my design. I decided to go with a big boat, a medium boat, and a small boat.

 Tissue Paper Art - Charleston Crafted

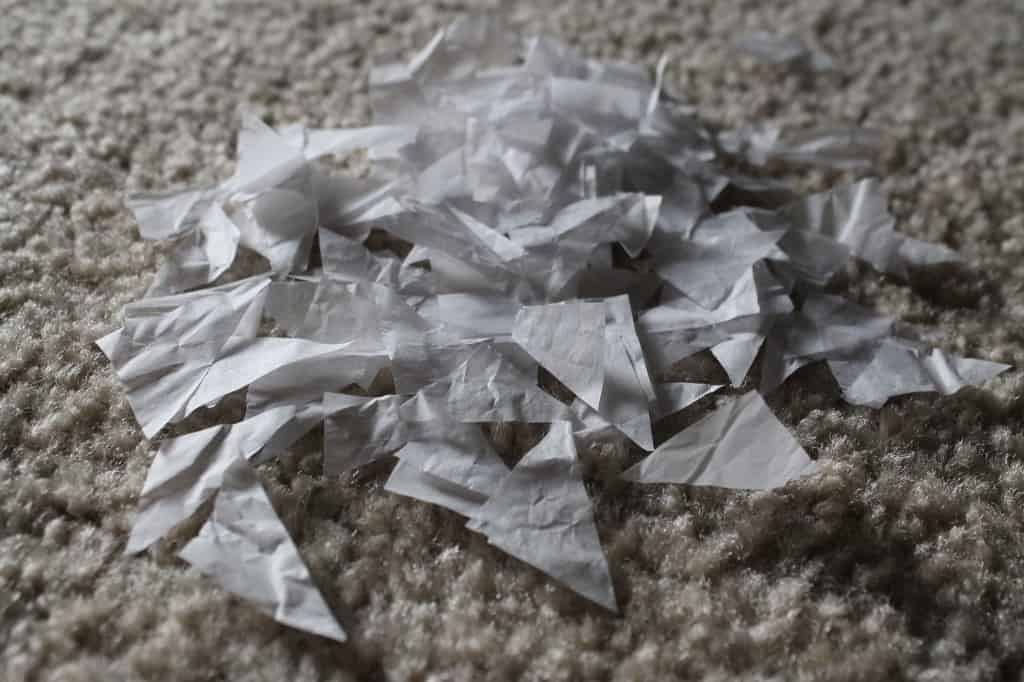
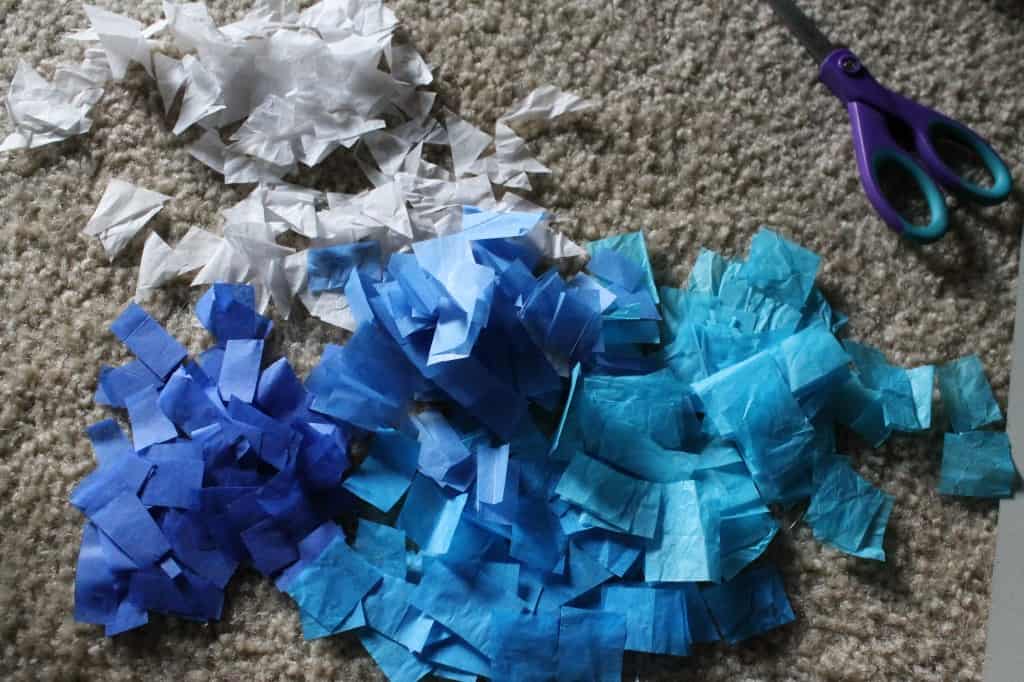
Next I started to prep my tissue paper by cutting it into small pieces. I decided to cut the white (for sails) into triangles and the blue (for sky/water) into rectangles. This would give the art more depth (at least in my mind).

Tissue Paper Art - Charleston Crafted

Tissue Paper Art - Charleston Crafted

Tissue Paper Art - Charleston Crafted

Tissue Paper Art - Charleston Crafted

IMG_Tissue Paper Art - Charleston Crafted

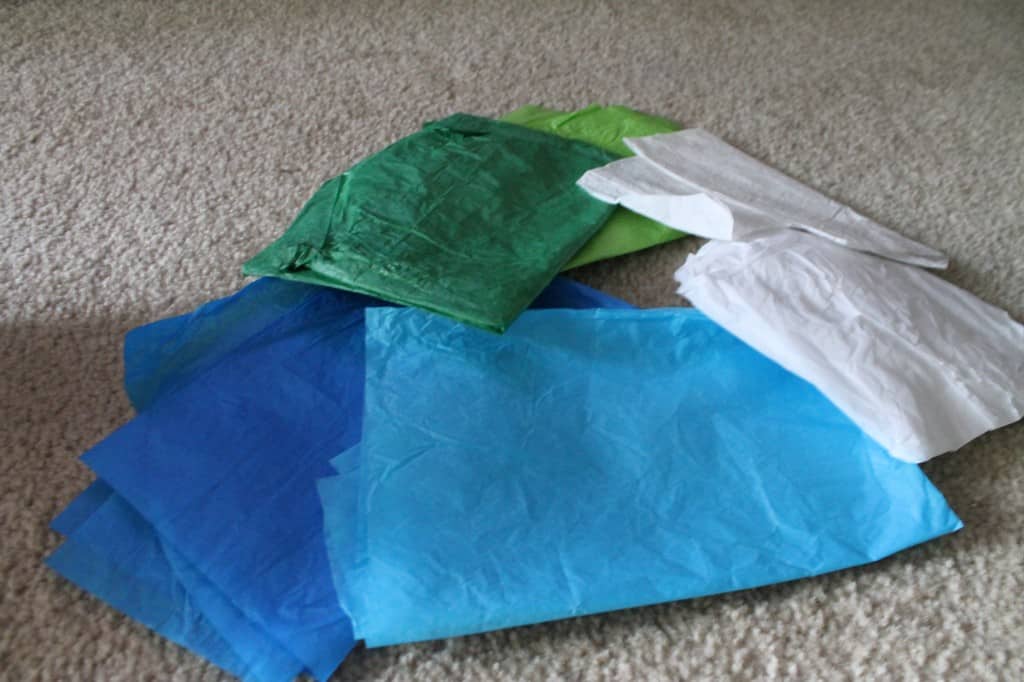
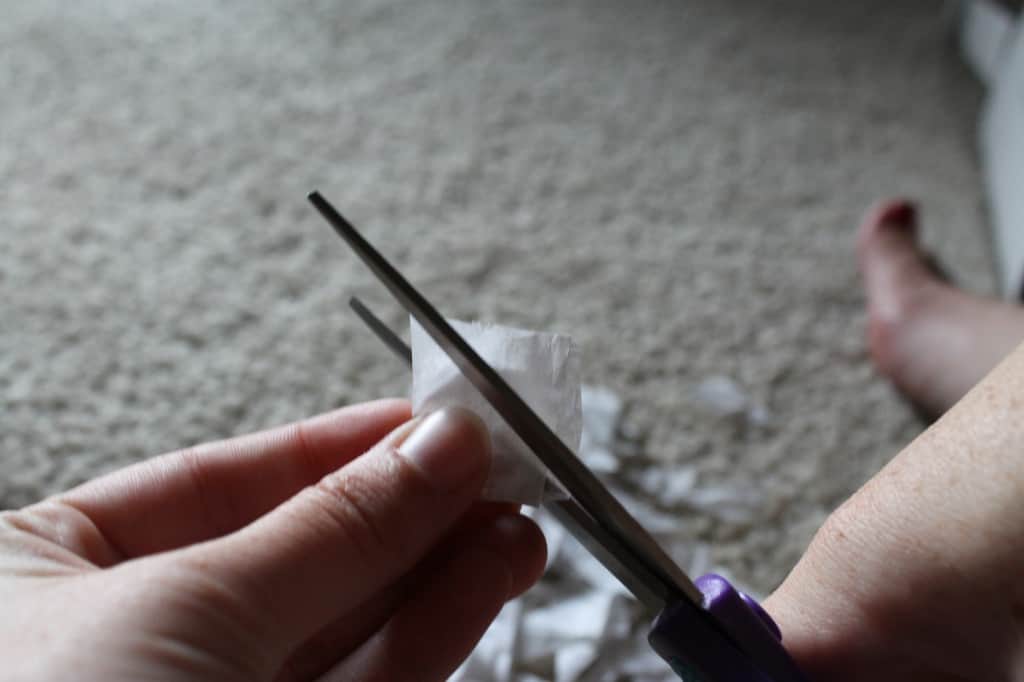
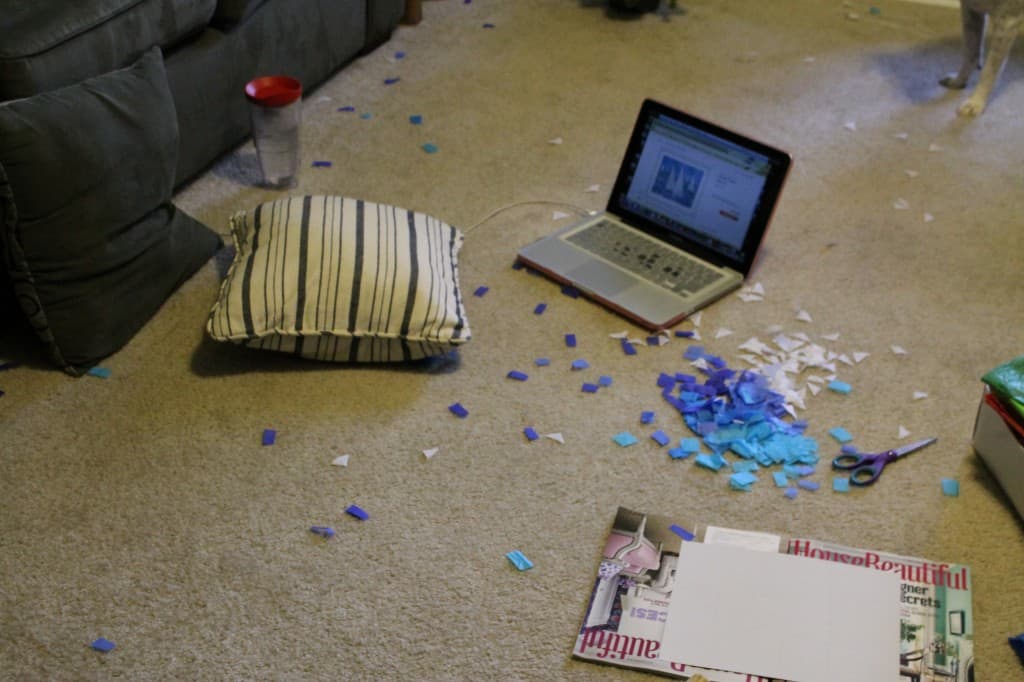
Hint: don't cut on your fan while doing this.

Tissue Paper Art - Charleston Crafted

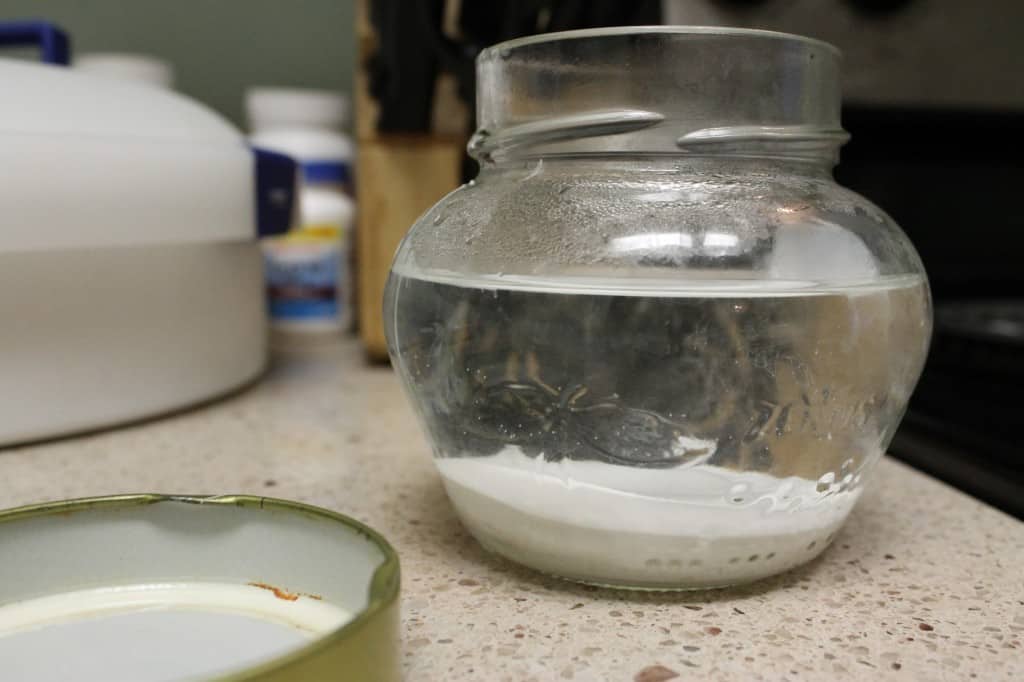
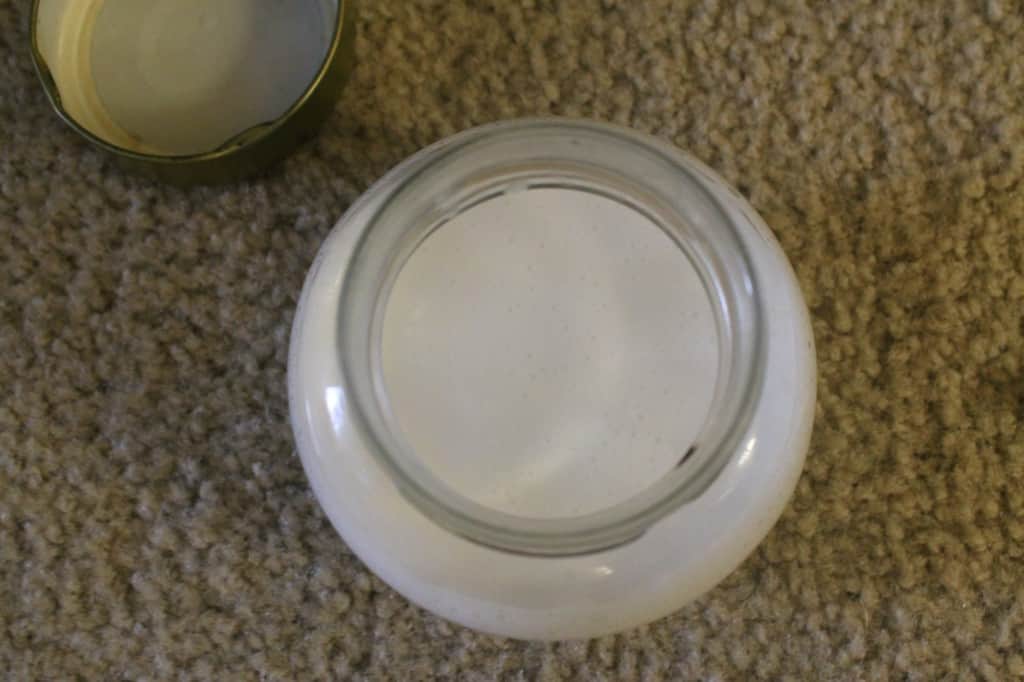
Next I made my own version of modge podge. I filled a glass jar (also hoarded) ½ way with water and microwaved it for about 1 minute. Then I filled it up with white glue & microwaved for 30 seconds. Now screw on the lid & shake. Careful, it's HOT!

Tissue Paper Art - Charleston Crafted

Tissue Paper Art - Charleston Crafted

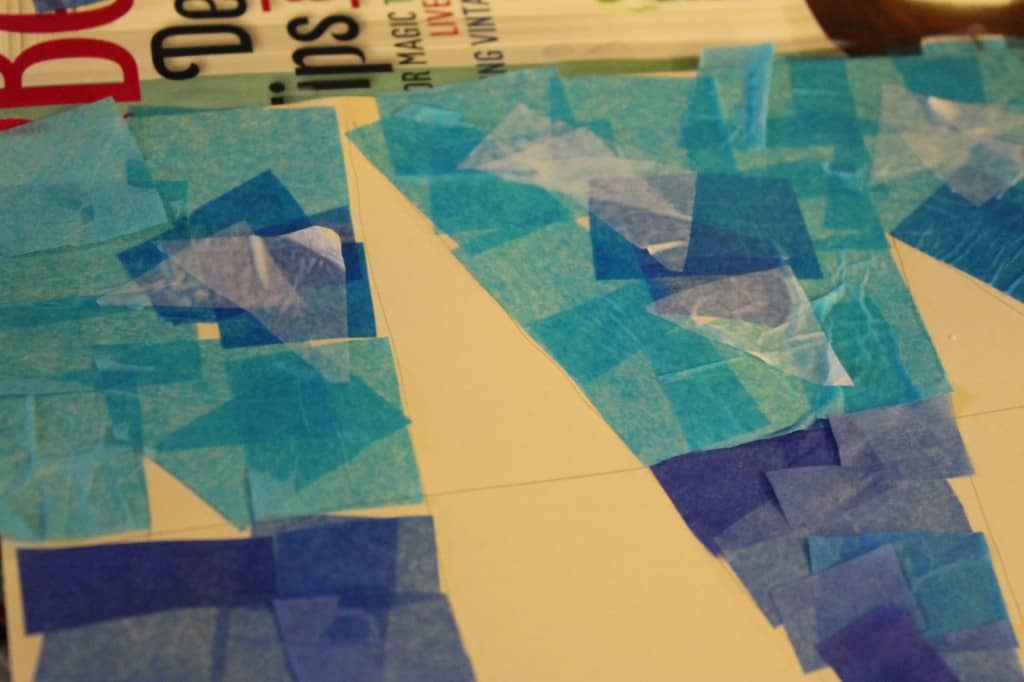
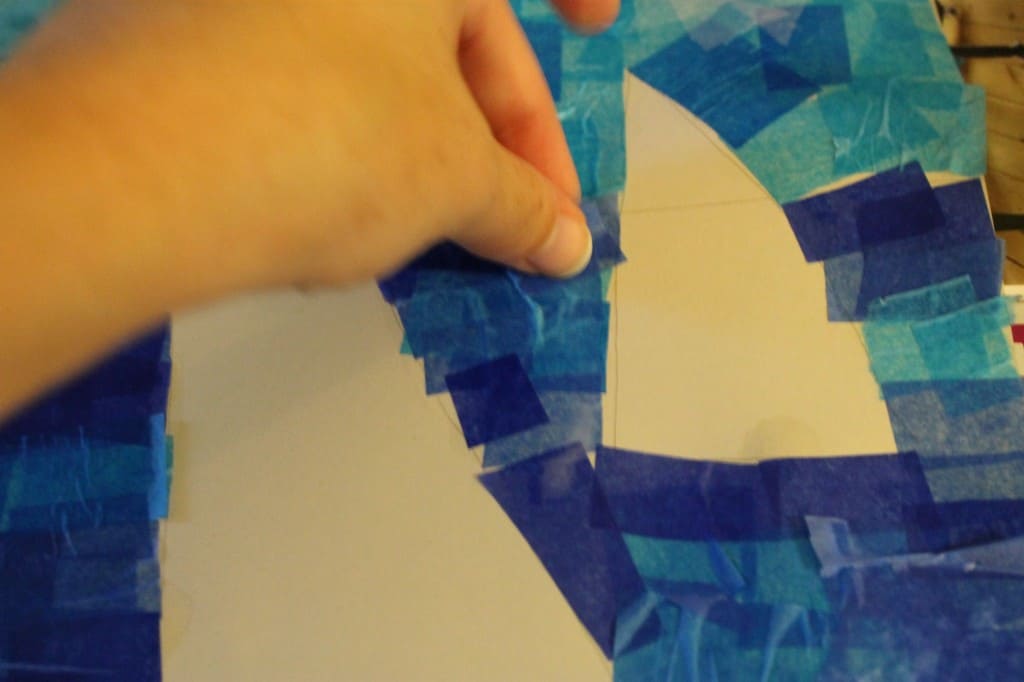
Now you're ready to start. Paint a thin layer of modge podge onto the cardstock and lay down a layer of tissue. I did about a 3"x3" section at a time.

Tissue Paper Art - Charleston Crafted

Tissue Paper Art - Charleston Crafted

Tissue Paper Art - Charleston Crafted

Tissue Paper Art - Charleston Crafted

IMG_2215

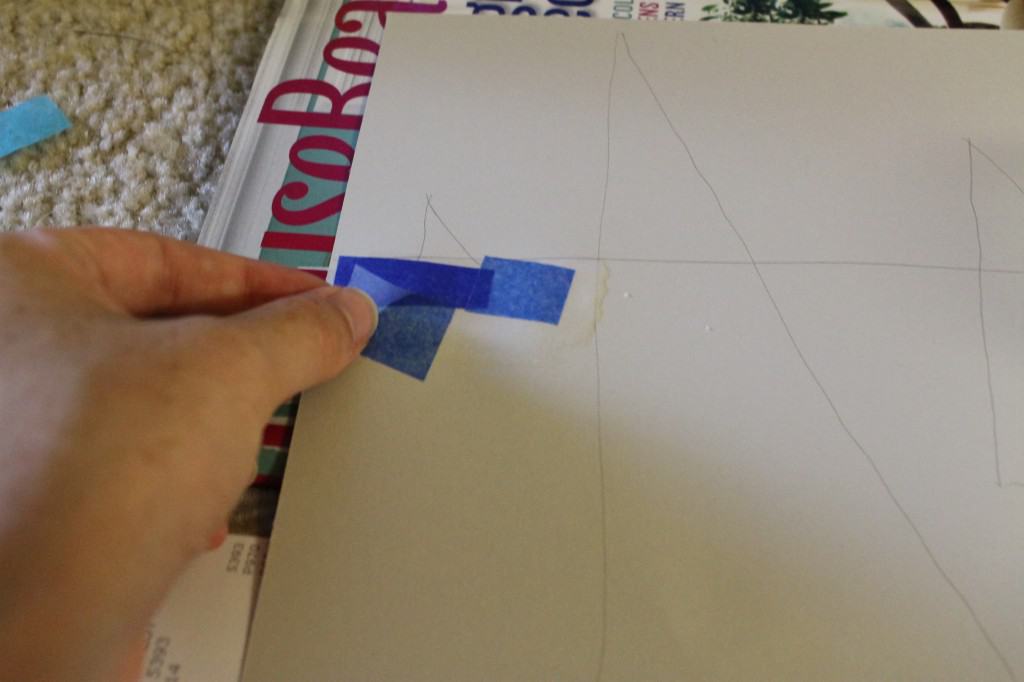
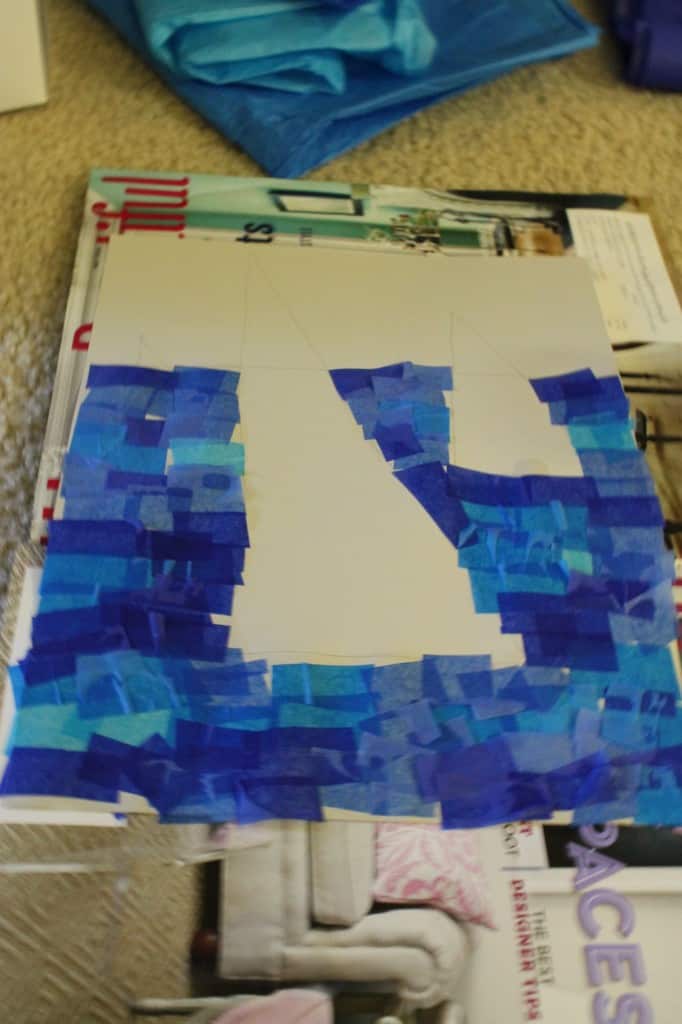
Just sit the tissue on there and keep going til you do the whole paper.

IMG_2217

Tissue Paper Art - Charleston Crafted

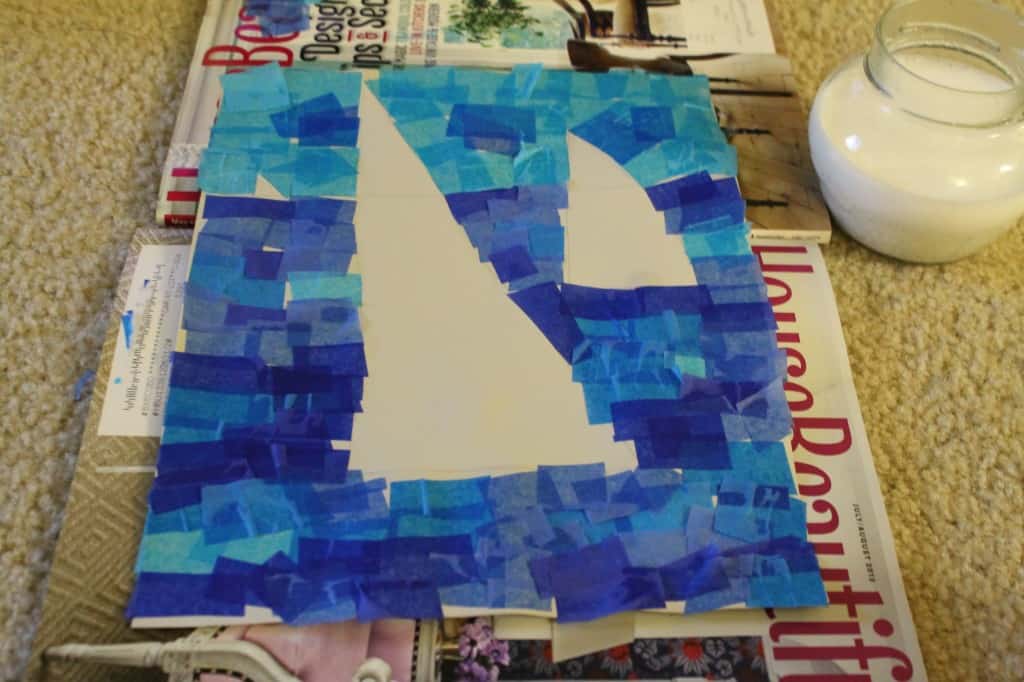
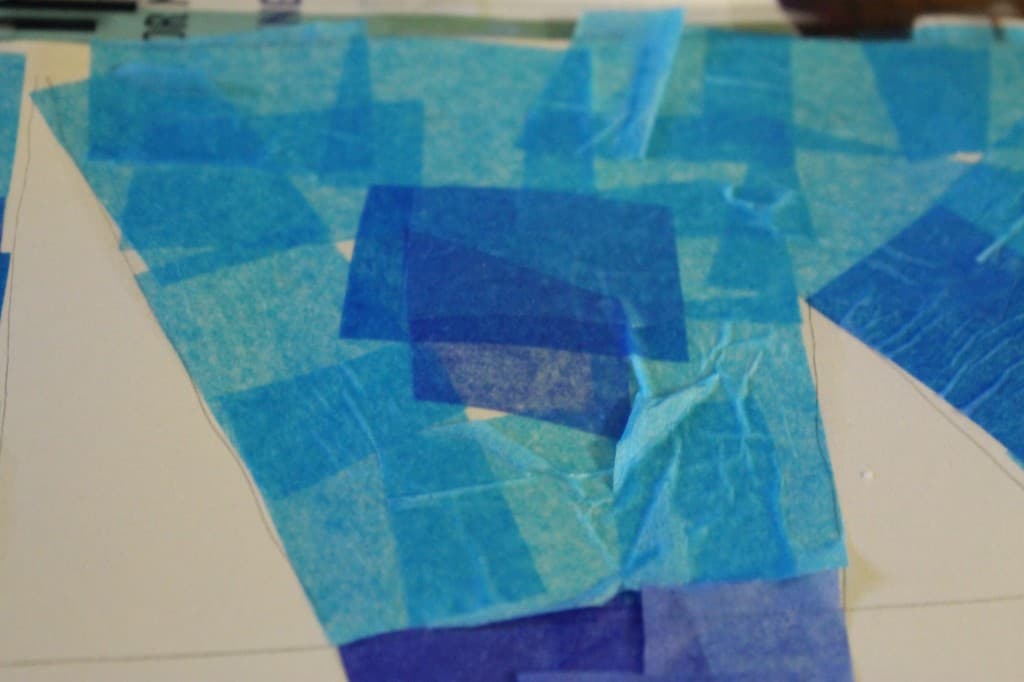
Then, if you want it darker, add another layer. Some areas of my page had 3-4 layers.

Tissue Paper Art - Charleston Crafted

Tissue Paper Art - Charleston Crafted

Tissue Paper Art - Charleston Crafted

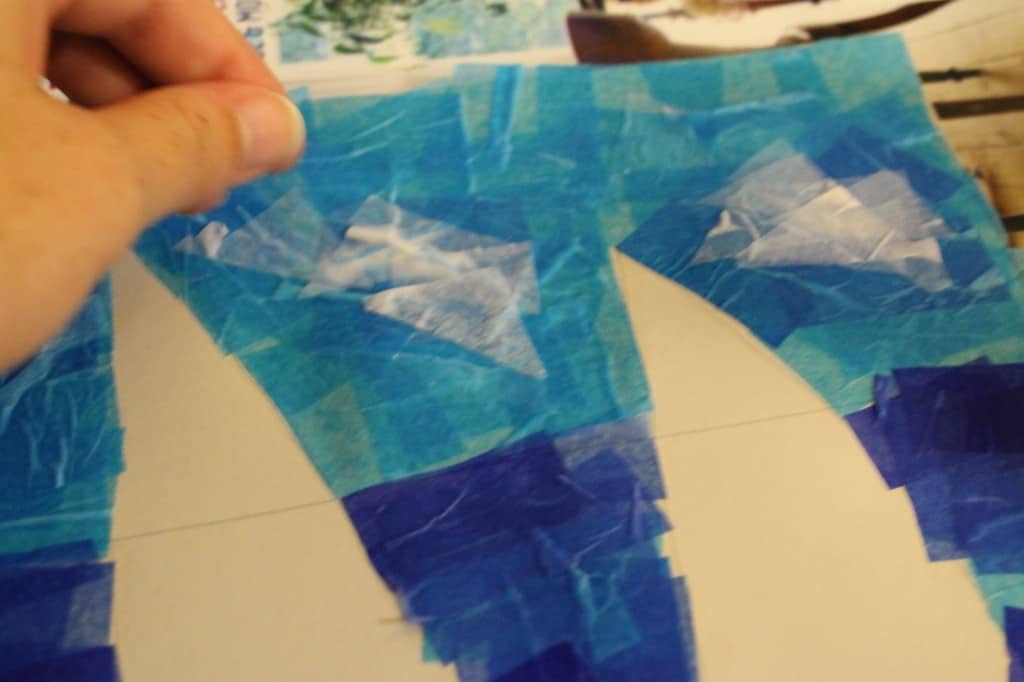
Just be gentle brushing over the existing tissue paper so you don't rush it. I used a foam brush & found it to be quite gentle.

Tissue Paper Art - Charleston Crafted

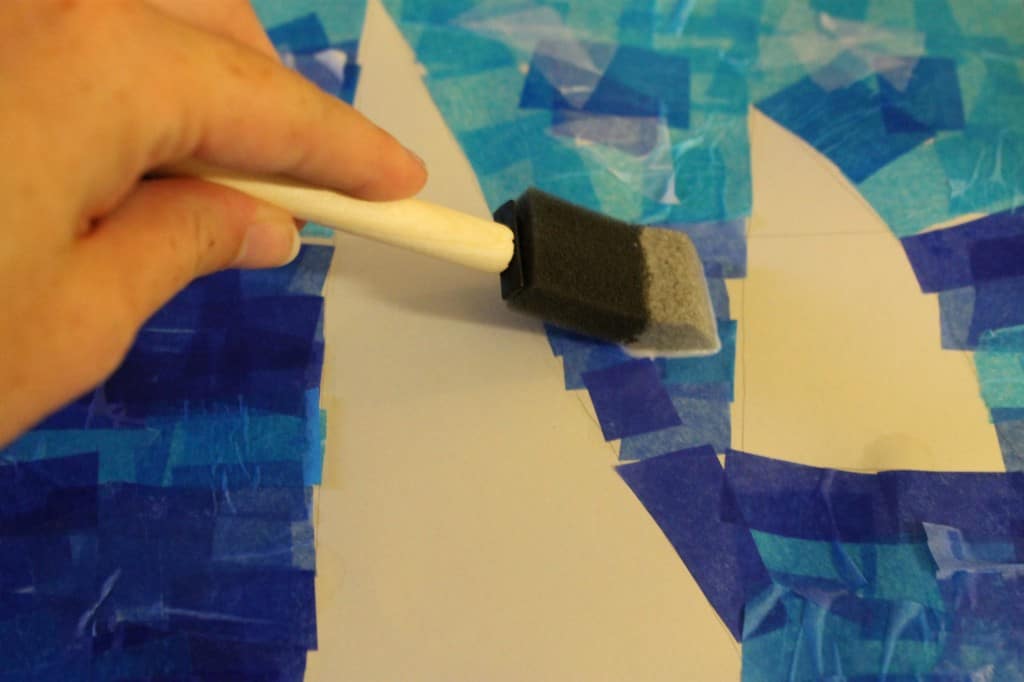
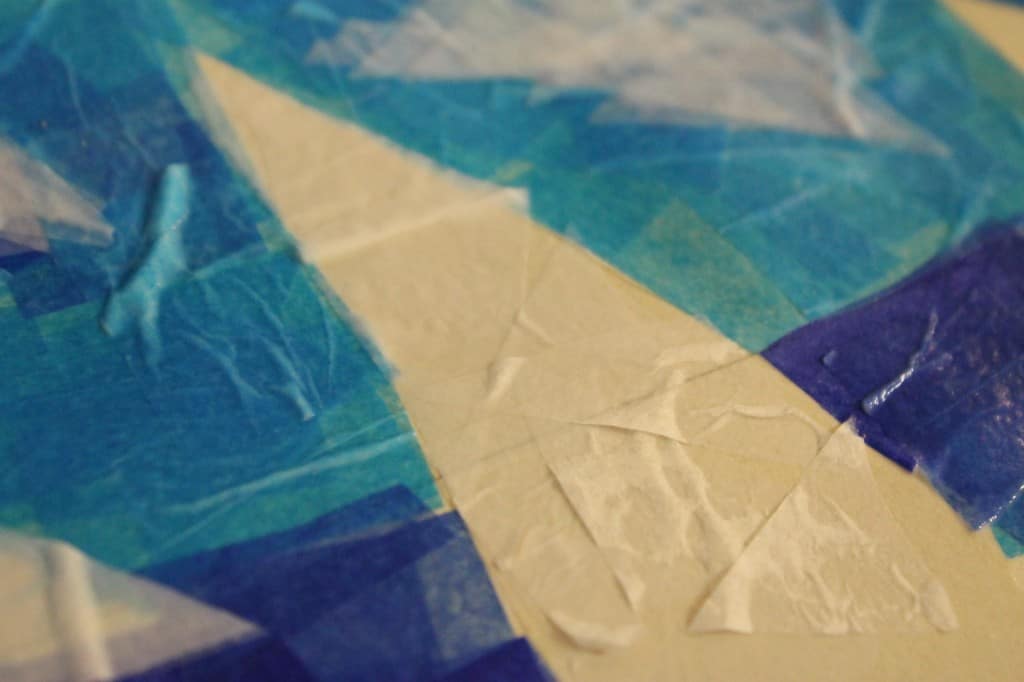
When you're done, paint a very thin layer of modge podge on top to make sure they all stick down good.

tISSUE pAPER aRT - CHARLESTON CRAFTED

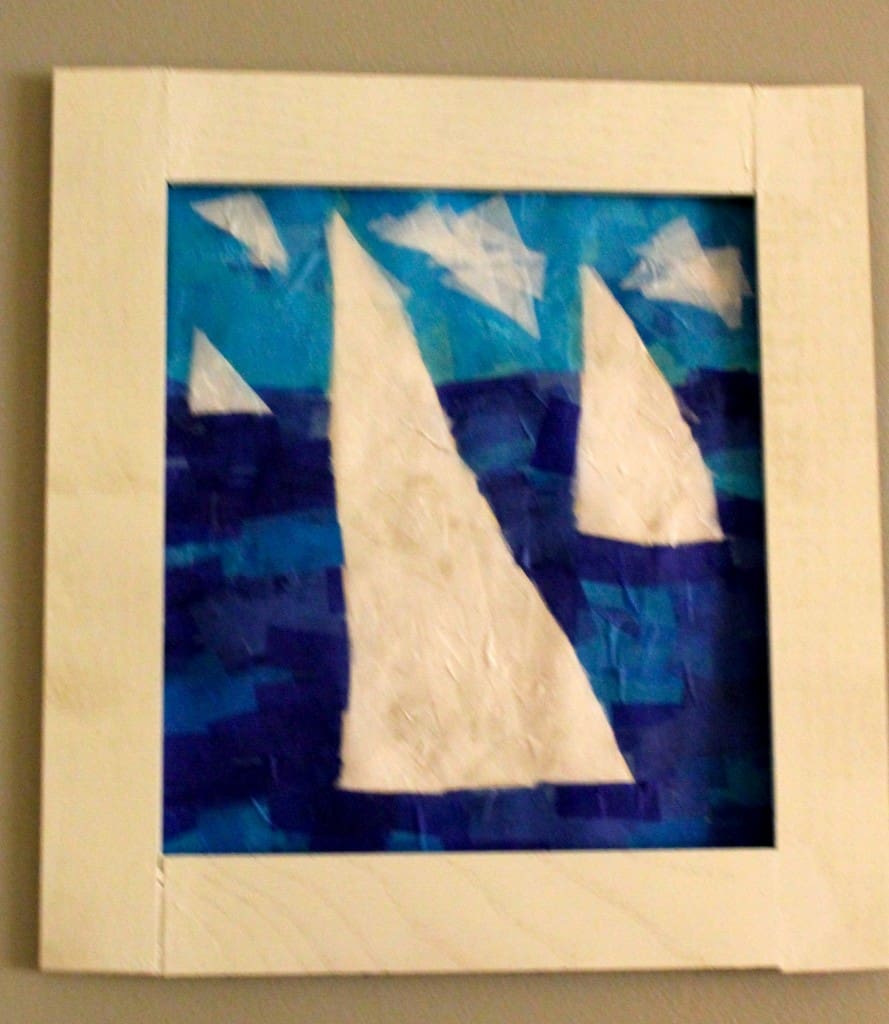
Ta-da! Let it dry flat. I modge podged another sheet of cardstock to make it more sturdy.

I just love free projects, don't you?


  signature 2
 logo facebook  logo instagram  logo pinterest  logo twitter


Morgan headshot cropped
Morgan

Hello, I'm Morgan, half of the creative force behind CharlestonCrafted.com! With a passion for DIY that dates back to 2012, I've transformed three homes and now I'm dedicated to helping others craft their dream spaces. Let's turn your house into a home together!

More Art Projects

  • best Christmas wall art
    15 Christmas Wall Art - Easy DIY Projects
  • 15 creative Wooden Wall Art Ideas
  • 34 DIY large wall decor ideas
    34 Large DIY Wall Decor Ideas
  • How to build a DIY kid's arts and crafts table - Charleston Crafted
    How to build a DIY Kid's Art Table

Reader Interactions

Comments

  1. Emily @ My Love for Words says

    August 08, 2013 at 12:55 pm

    It's so pretty! I want to do one of these for around my house. And the "don't cut with the fan on" thing cracked me up! That's so something I would do: be so excited to try a new crafting idea that I'd forget the fan was on. Thanks for the inspiration! 🙂

  2. Ellya Brill says

    August 09, 2013 at 12:01 pm

    Clever idea and pretty!
    Have a great week end.

    Ellya

  3. Diana Rambles says

    August 14, 2013 at 5:30 pm

    I love it!!

    • Morgan says

      August 14, 2013 at 5:43 pm

      thanks diana!

Primary Sidebar

Charleston Crafted about us image

Hey y'all!

We are Morgan & Sean McBride and we are crafting our home together in Charleston, South Carolina.

More about us

Popular Posts

  • DIY Coffered Ceiling
    DIY Coffered Ceiling
  • How to Make DIY Concrete Pumpkins via Charleston Crafted
    How to Make DIY Concrete Pumpkins
  • How to Make a Cupid's Arrow Valentine's Day Wall Hanging with felt on the Cricut
    How to make a Cupid's Arrow Valentine's Day Wall Hanging
  • Our Tropical Oasis - A backyard Hammock area - Charleston Crafted
    Our Tropical Oasis

Recent Posts

  • how to organize a pantry with zones
    How to Organize Your Pantry in Zones (And Why It’s a Game Changer)
  • Keep outdoor rug from blowing up - Charleston Crafted
    How to keep your outdoor rug in place
  • kitchen design mistakes to avoid
    Kitchen design mistakes to avoid
  • DIY Faux Tropical Window Box That Looks Real (But Won’t Die!)

Privacy Policy

Footer

↑ back to top

Navigation

  • Home
  • Blog
  • Contact Us
  • Terms of Use
  • Disclaimer

Newsletter

  • Sign up for emails and updates
  • Follow us on Instagram
  • Work with Us

Browse by Category

  • Woodworking
  • Home Projects
  • Paint Colors
  • Room Reveals

© 2025 The Charleston Crafted Blog LLC DBA “Charleston Crafted” and “CharlestonCrafted” (also known as N/A) / All Rights Reserved.
Official Website: (Charleston Crafted)
Registered in USA (Co. Reg. No.: 565586)
Address: Charleston, USA 29414, South Carolina
Contact Phone: Not applicable — contact is via email: sean@charlestoncrafted.com

DISCLAIMER: The content on this website is provided for general informational purposes only and is not intended as professional advice. The Charleston Crafted Blog LLC and The Charleston Crafted Blog LLC make no representations or warranties—express or implied—regarding the accuracy, completeness, or suitability of the information contained herein. Any reliance you place on this information is strictly at your own risk. In no event shall The Charleston Crafted Blog LLC or The Charleston Crafted Blog LLC be liable for any loss or damage, including without limitation, indirect or consequential loss or damage, arising from the use or inability to use this website. This website is the official website of The Charleston Crafted Blog LLC.

AFFILIATE DISCLOSURE: This website contains affiliate links. If you click through and make a purchase, we may earn a commission at no extra cost to you.

As an Amazon Associate, I earn from qualifying purchases.

Site Editor: Morgan Smith McBride

Copyright © 2025 Charleston Crafted