I love making something beautiful out of nothing. I also love using up things that I hoard (like fabric & wrapping paper)... because if I use it it's not hoarding. Right? Right...
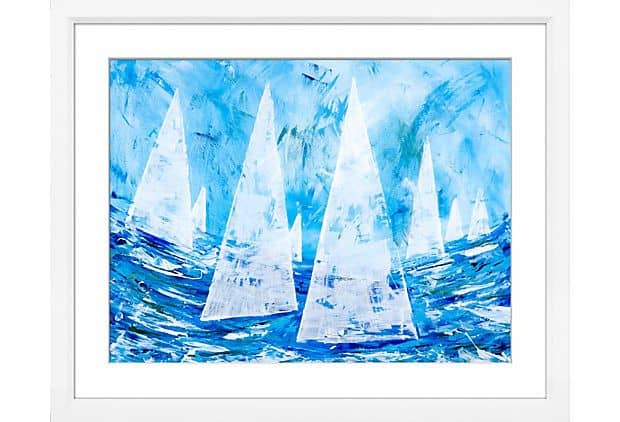
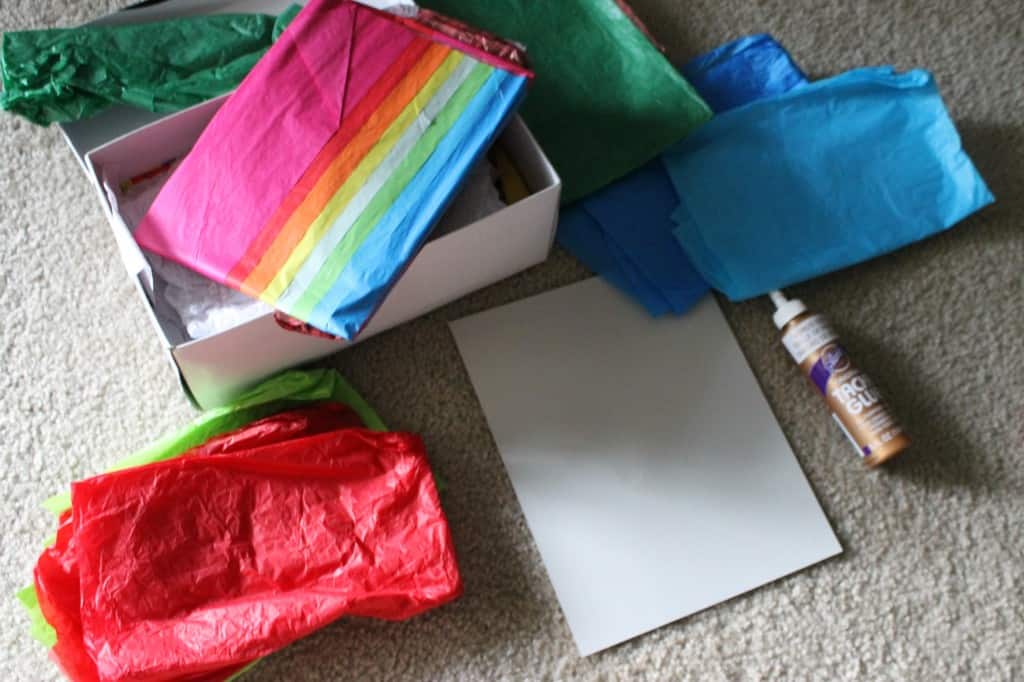
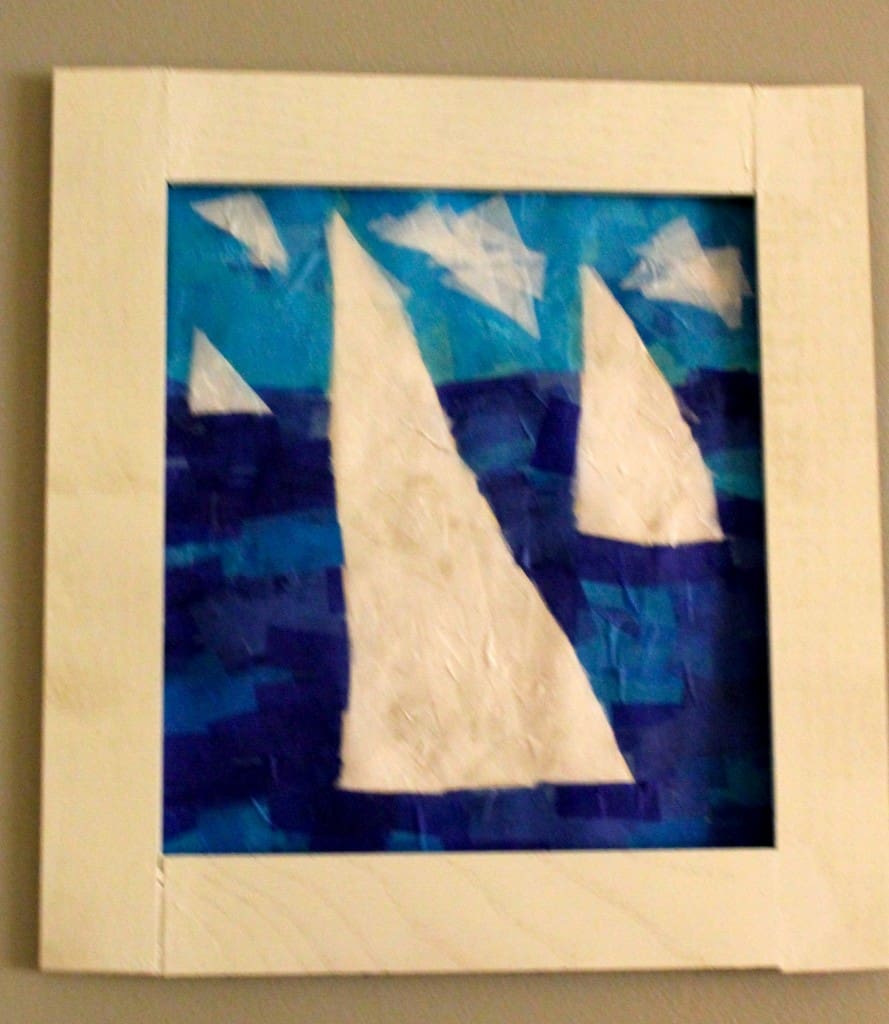
Since I have a whole shoebox of tissue paper, I decided to use some to make a pretty picture of a sailboat. I was actually inspired by this picture that was for sale on One King's Lane.
So, here is what I did.
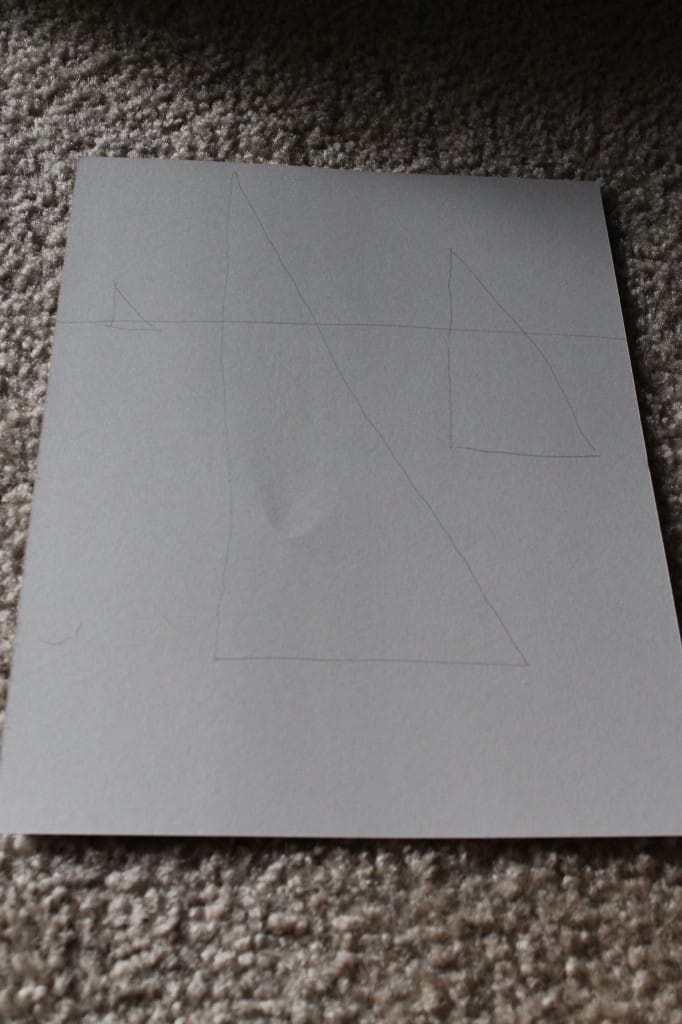
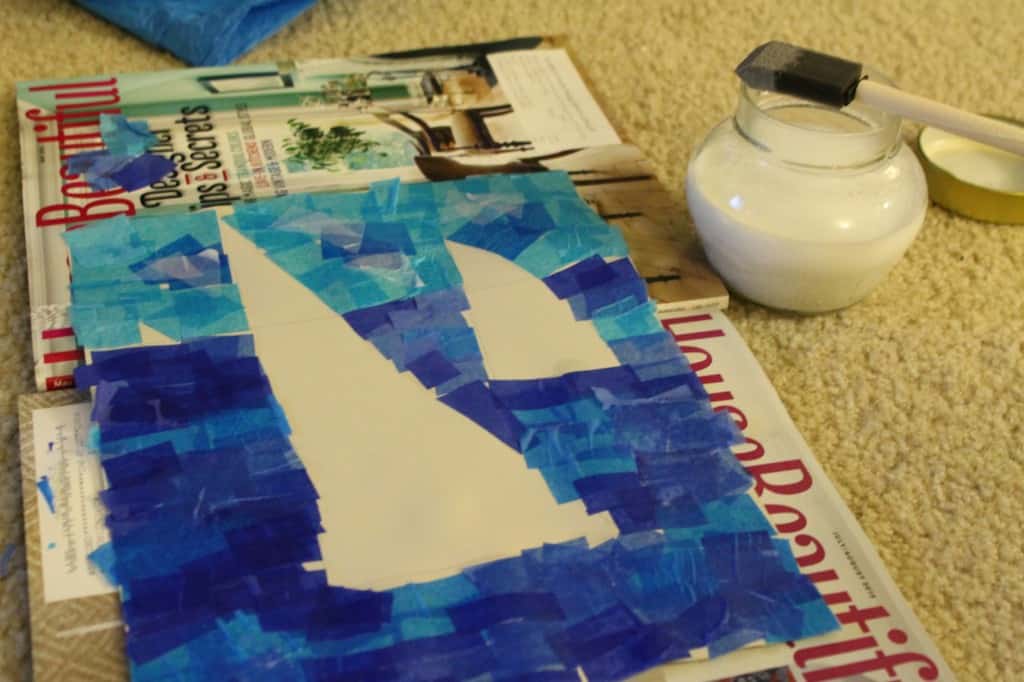
First, I started with a piece of cardstock. I'm out of white, so I used light grey. I used a pencil to lightly sketch out my design. I decided to go with a big boat, a medium boat, and a small boat.
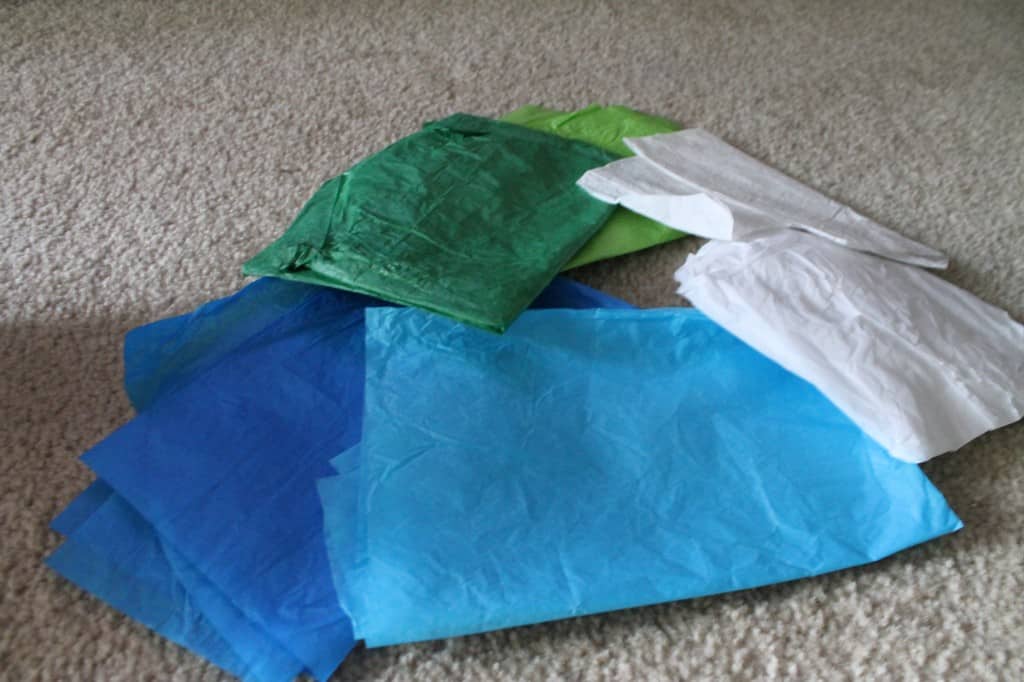
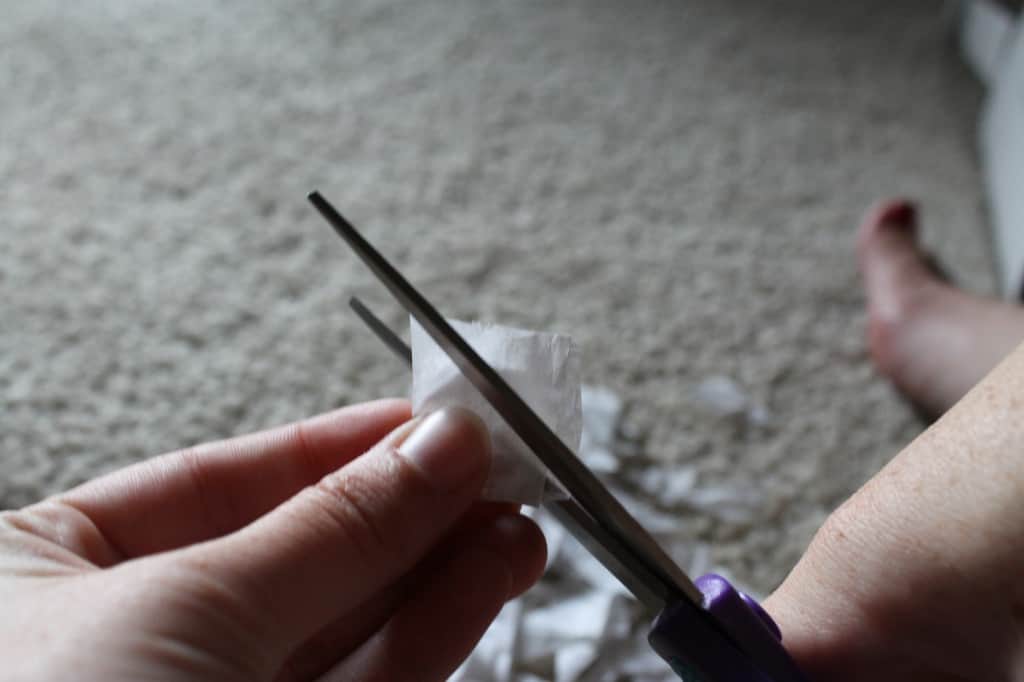
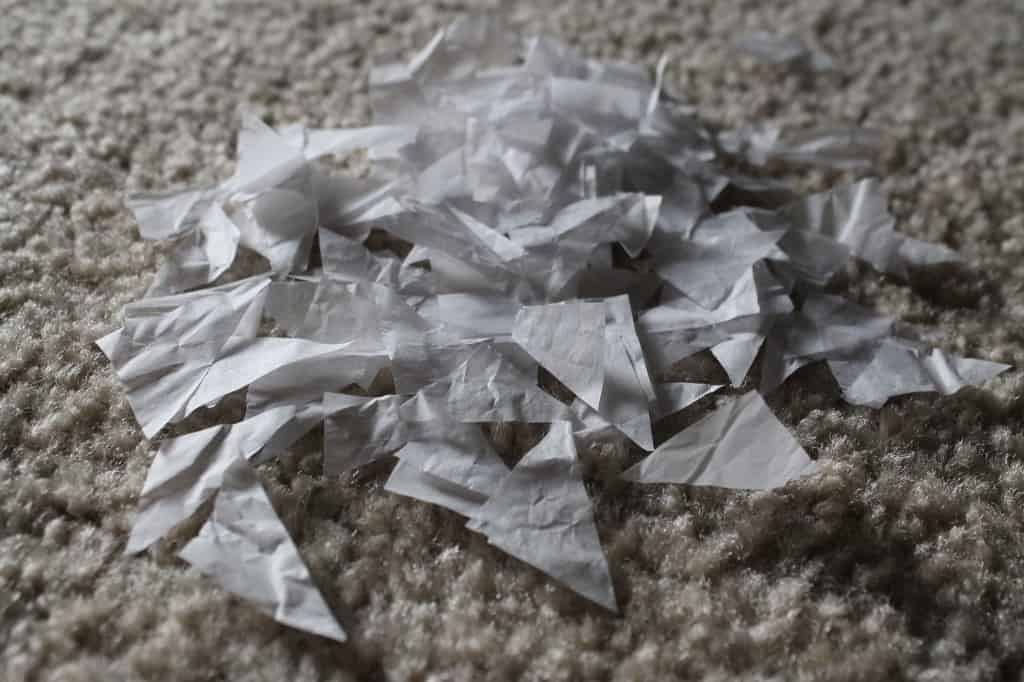
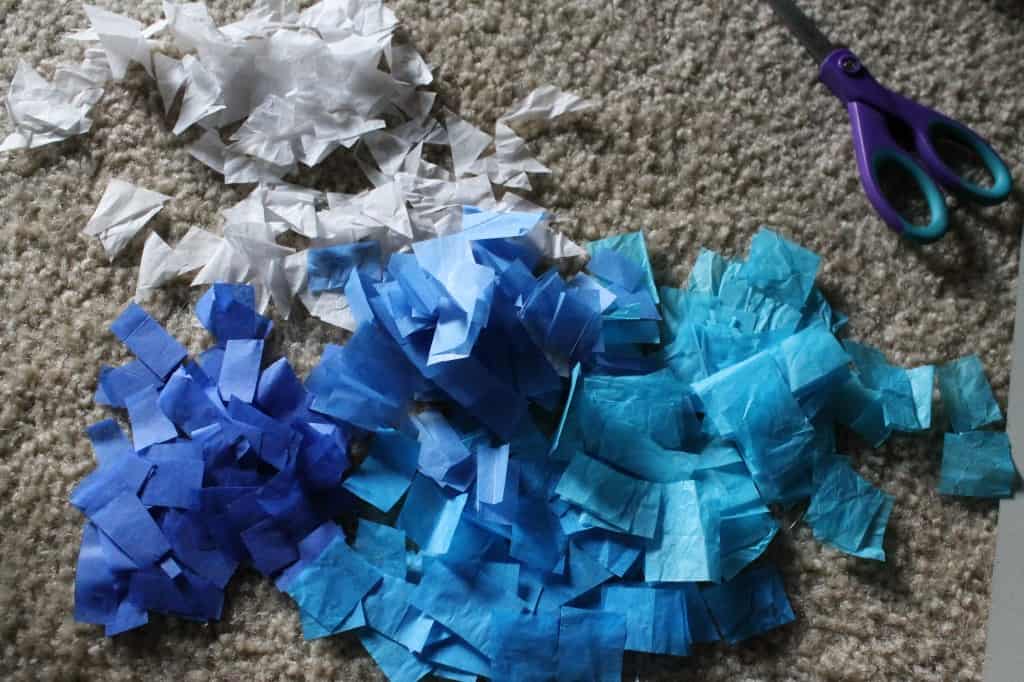
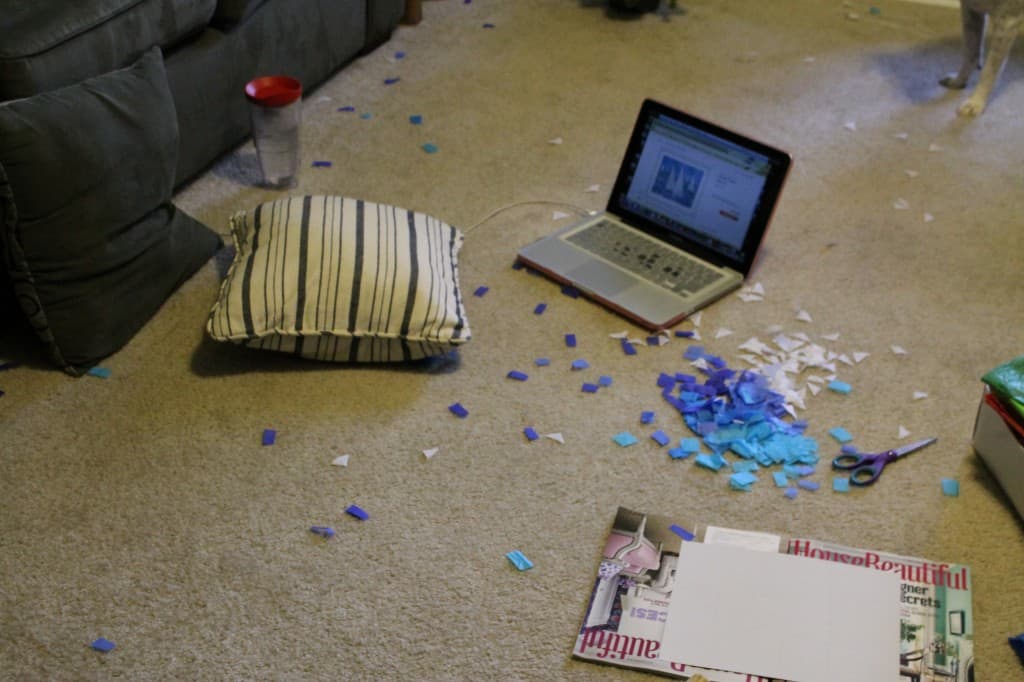
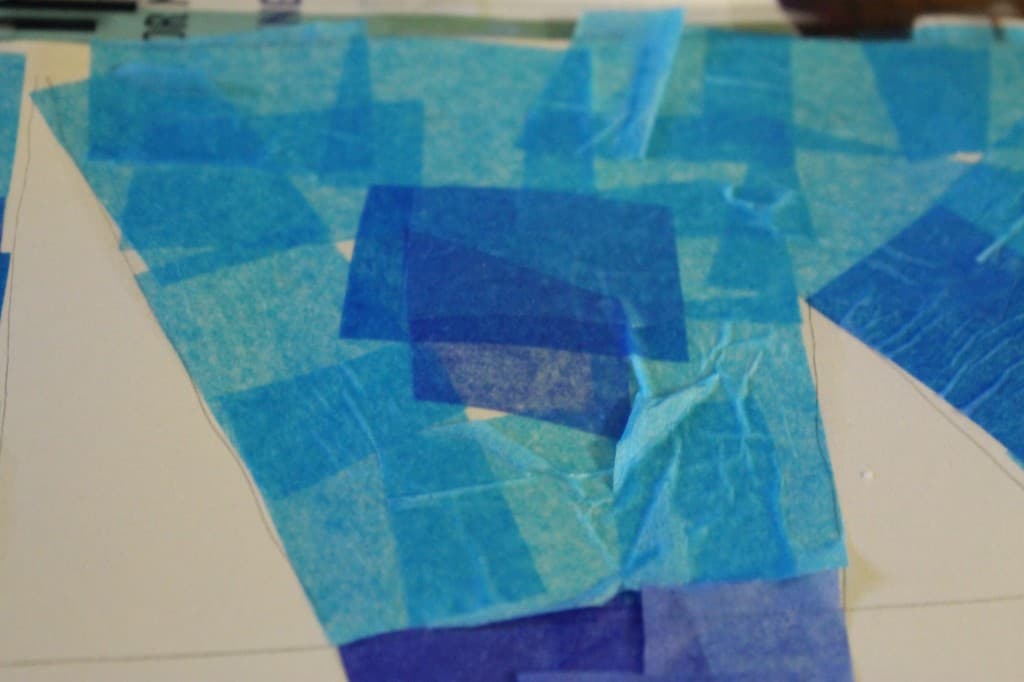
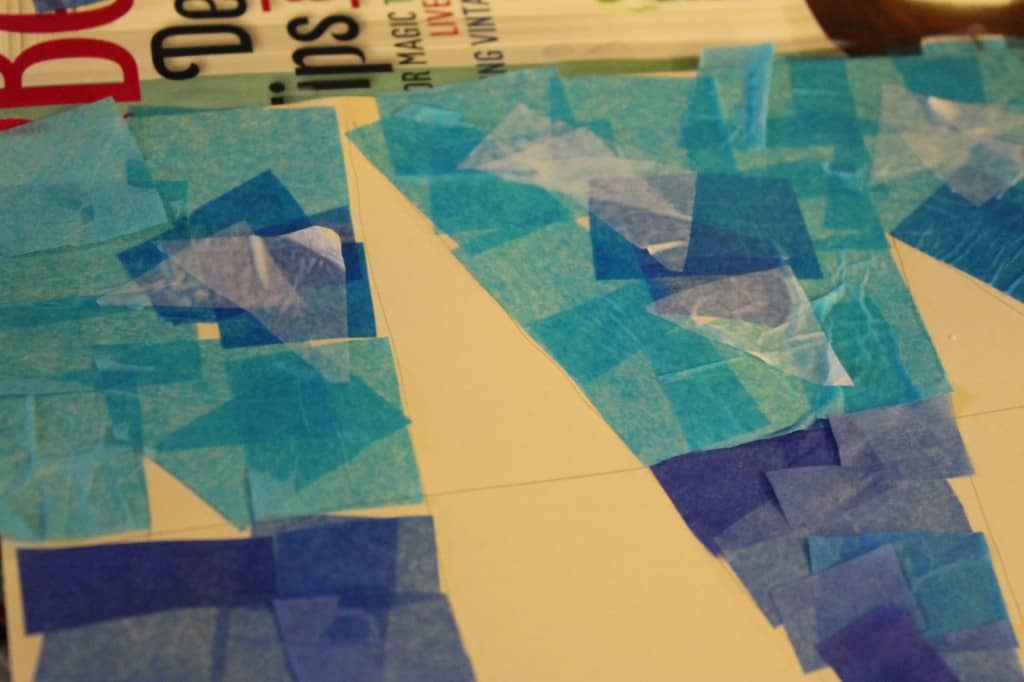
Next I started to prep my tissue paper by cutting it into small pieces. I decided to cut the white (for sails) into triangles and the blue (for sky/water) into rectangles. This would give the art more depth (at least in my mind).
Hint: don't cut on your fan while doing this.
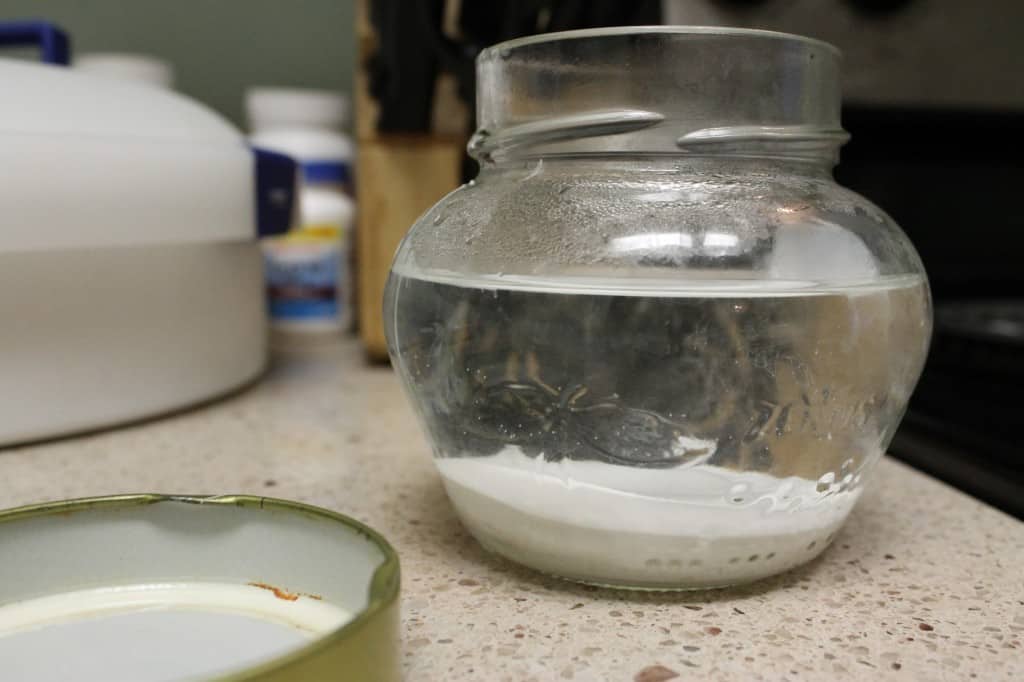
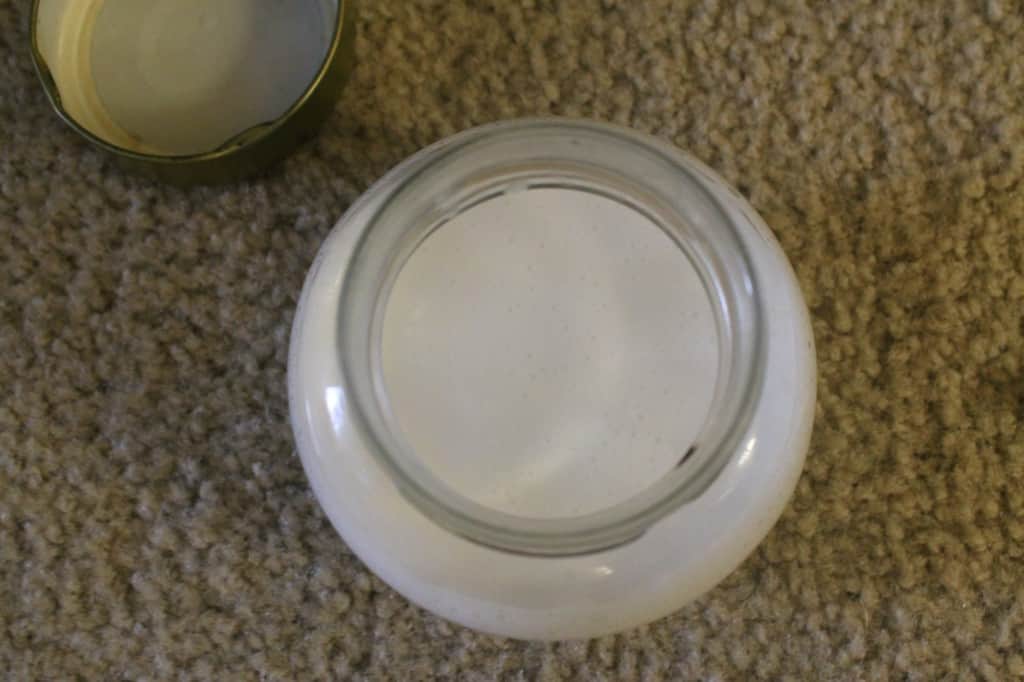
Next I made my own version of modge podge. I filled a glass jar (also hoarded) ½ way with water and microwaved it for about 1 minute. Then I filled it up with white glue & microwaved for 30 seconds. Now screw on the lid & shake. Careful, it's HOT!
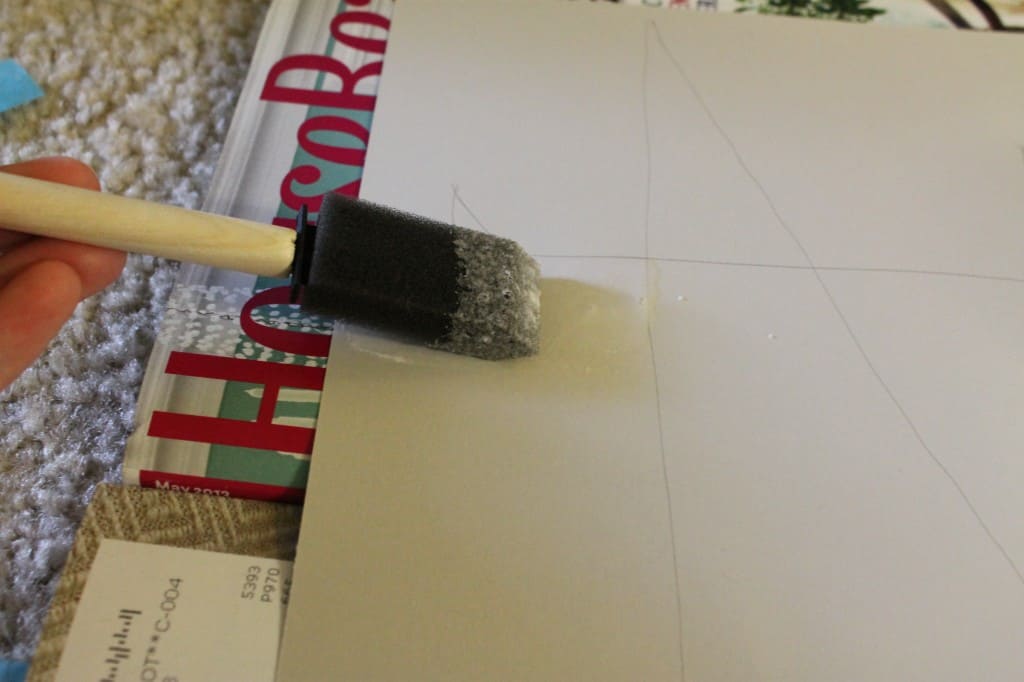
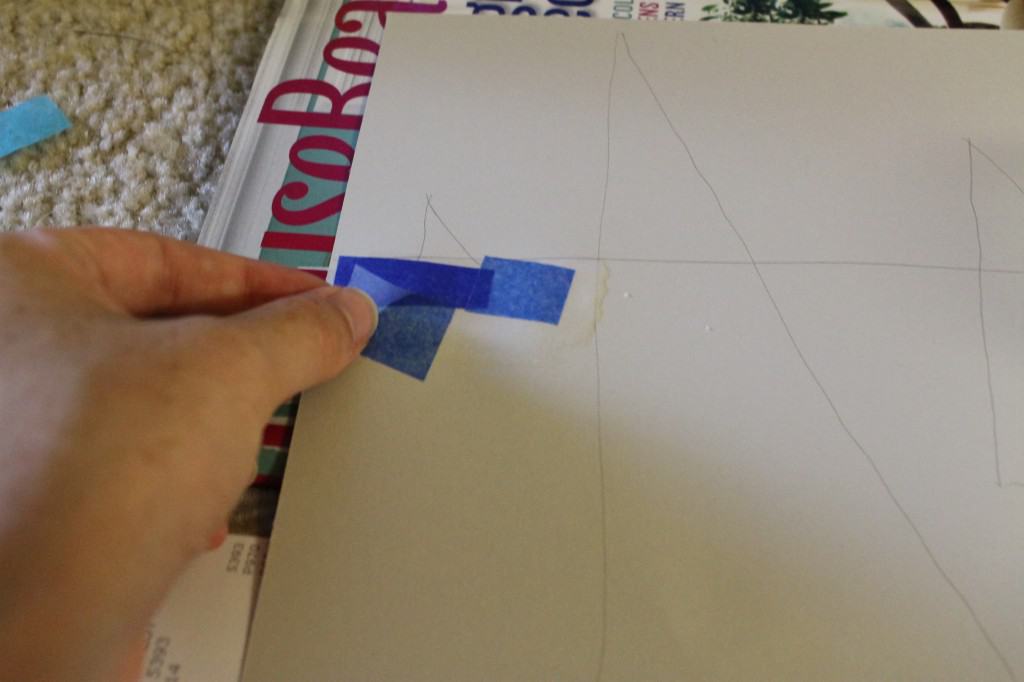
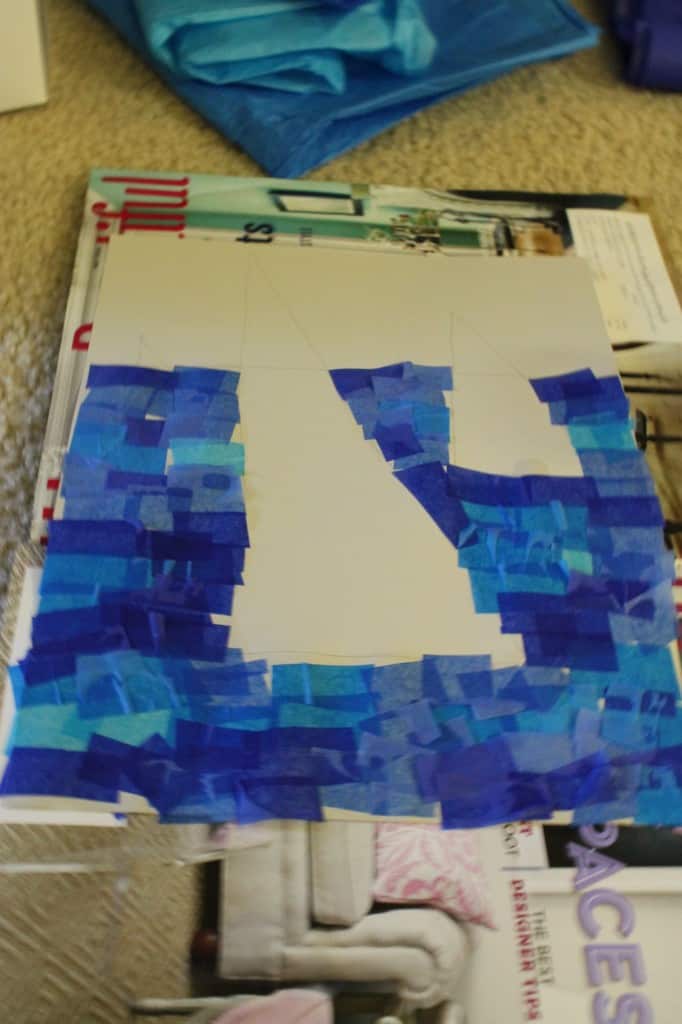
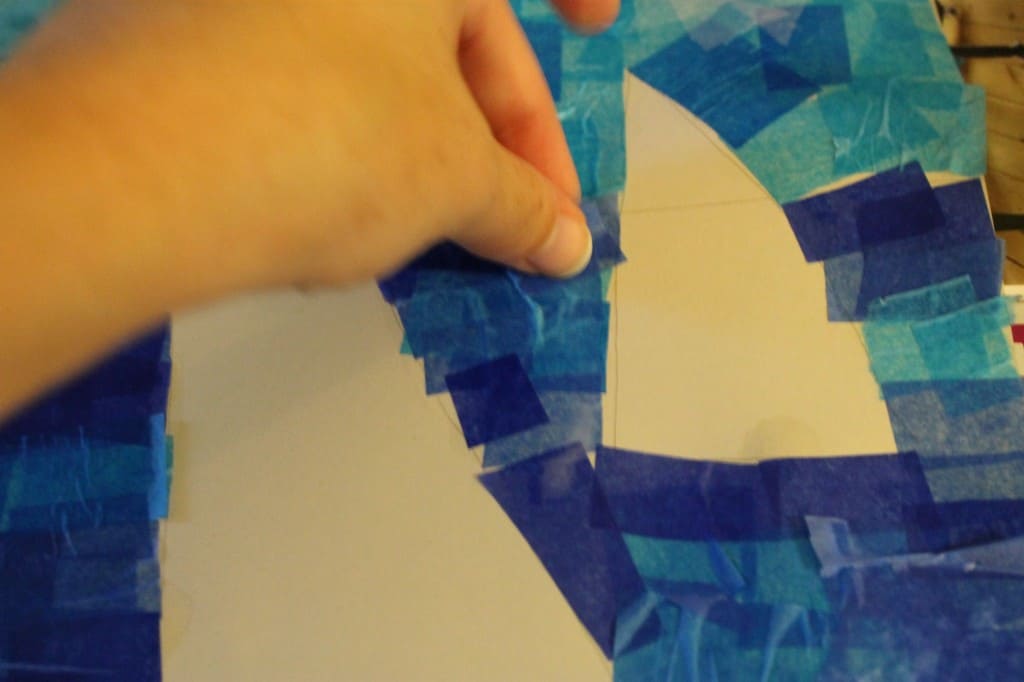
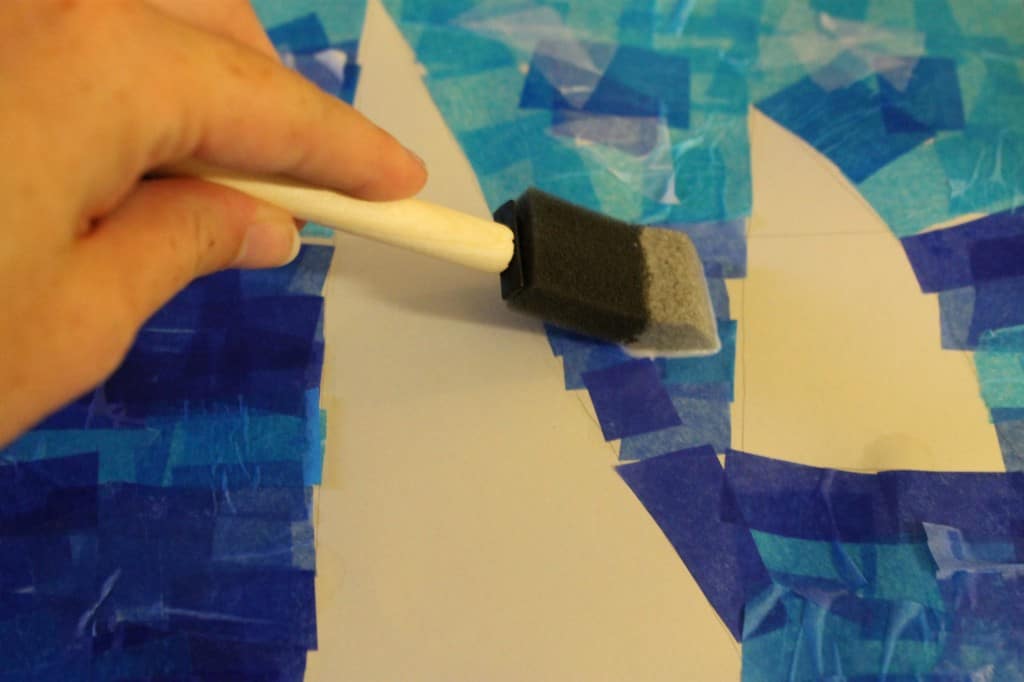
Now you're ready to start. Paint a thin layer of modge podge onto the cardstock and lay down a layer of tissue. I did about a 3"x3" section at a time.
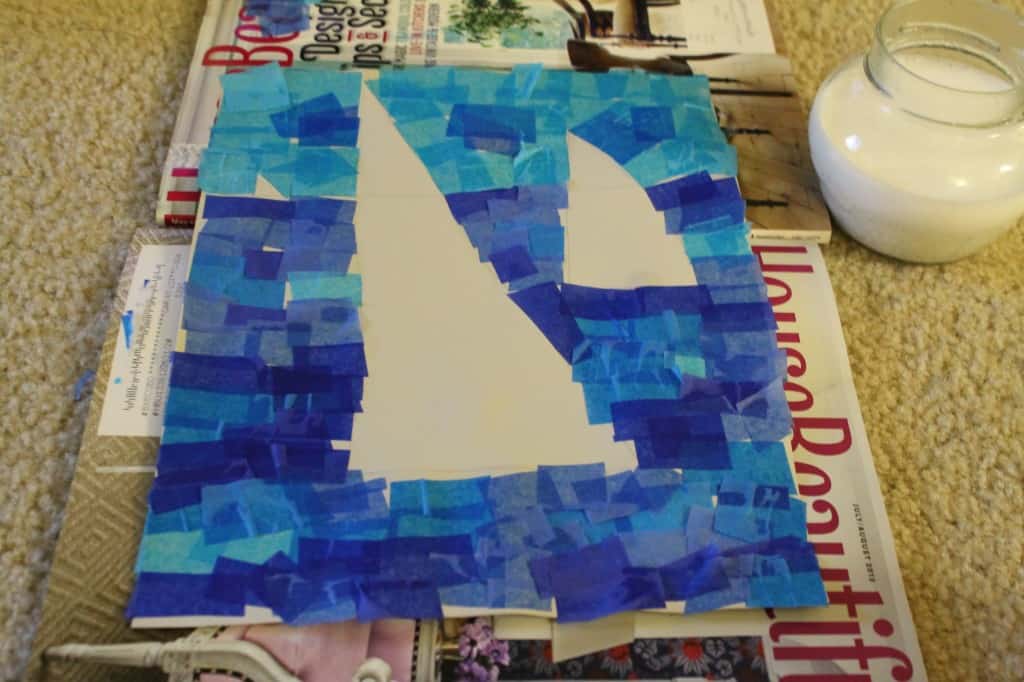
Just sit the tissue on there and keep going til you do the whole paper.
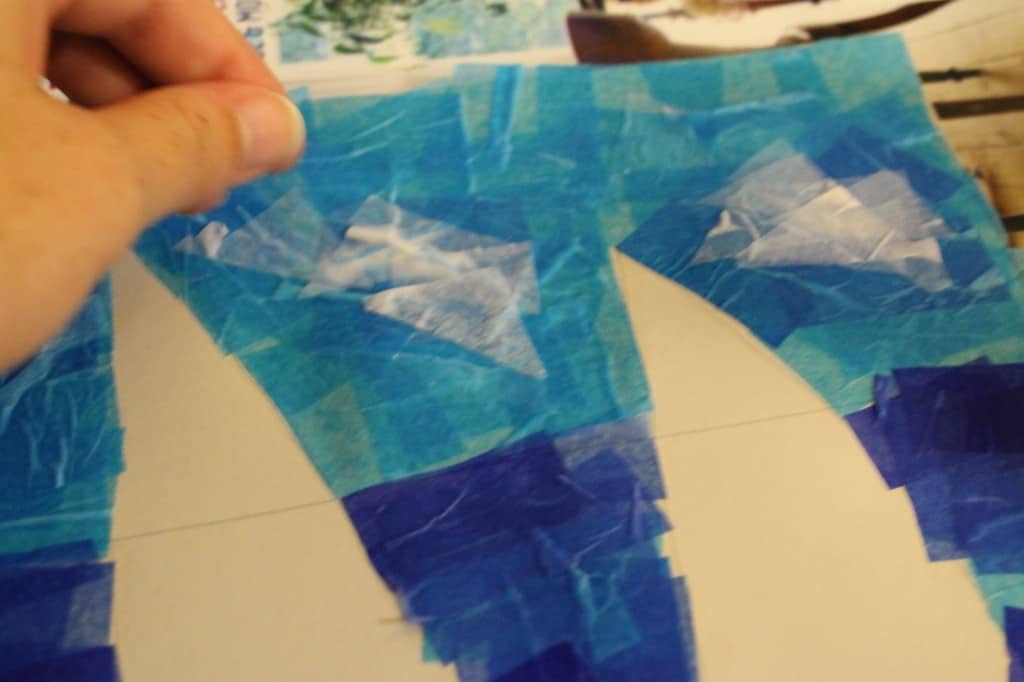
Then, if you want it darker, add another layer. Some areas of my page had 3-4 layers.
Just be gentle brushing over the existing tissue paper so you don't rush it. I used a foam brush & found it to be quite gentle.
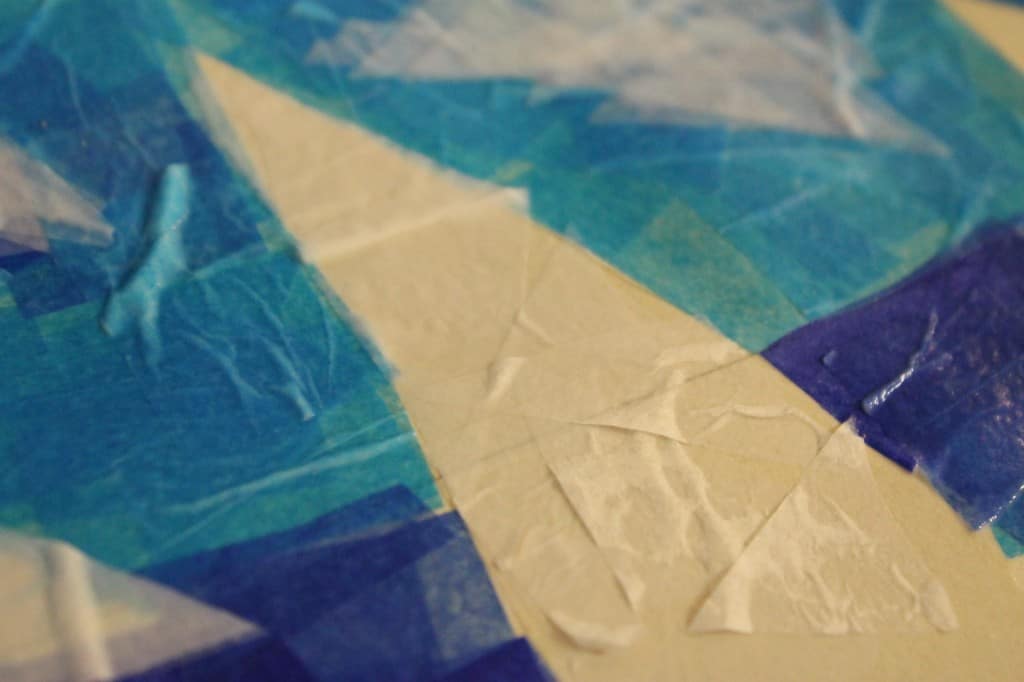
When you're done, paint a very thin layer of modge podge on top to make sure they all stick down good.
Ta-da! Let it dry flat. I modge podged another sheet of cardstock to make it more sturdy.
I just love free projects, don't you?
 |
|||
 |
 |
 |
 |

Hello, I'm Morgan, half of the creative force behind CharlestonCrafted.com! With a passion for DIY that dates back to 2012, I've transformed three homes and now I'm dedicated to helping others craft their dream spaces. Let's turn your house into a home together!


Emily @ My Love for Words says
It's so pretty! I want to do one of these for around my house. And the "don't cut with the fan on" thing cracked me up! That's so something I would do: be so excited to try a new crafting idea that I'd forget the fan was on. Thanks for the inspiration! 🙂
Ellya Brill says
Clever idea and pretty!
Have a great week end.
Ellya
Diana Rambles says
I love it!!
Morgan says
thanks diana!