Discover foolproof methods to prevent wood stain blotches and streaks in this comprehensive guide. Learn essential techniques, from proper surface preparation to meticulous staining application, ensuring flawless finishes for your woodworking projects!
Is there any worse feeling than working hard on a project and have it turn out bad? I know that nothing will get me cussing in the workshop like splotchy looking wood stain on a project we've spent weeks on.
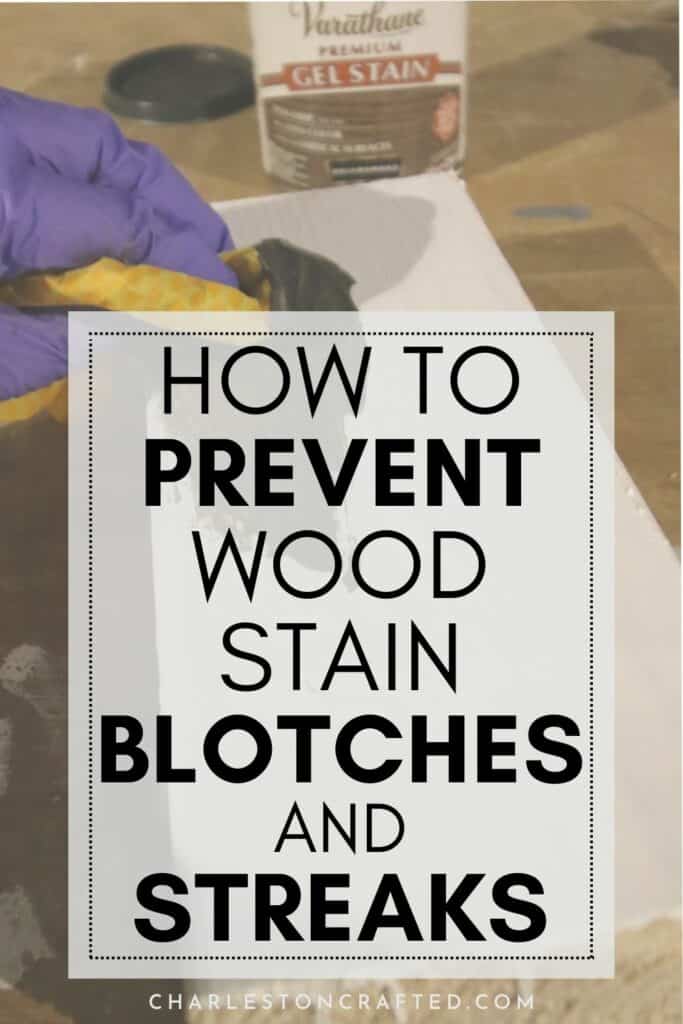
Today I want to talk about how to prevent wood stain blotches and streaks on your wood project.
Because, while there are steps that you can take to fix blotchy wood stain, the best and easiest method is to prevent it to begin with.
Common Causes of Blotches and Streaks
To understand how to prevent your wood surface from getting blotchy, you need to first understand what causes streaks in wood finishes.
Wood Species and Type
No matter what you do, certain species of wood are just more likely to have a splotchy finish than others. We have specifically had trouble staining maple, poplar, and pine.
I have found that pine will stain pretty evenly when you use a wood conditioner pre-stain treatment.
However, there's just something about maple and poplar wood that looks a bit splotchy when it's stained.
This is not due to an error in application, but just how the underlying wood looks. It doesn't happen with every board, but just some specimens.
If you really are bothered by a splotchy look, you might want to skip maple or poplar, or at least not put a dark stain on them.
Dark pigmented stains are much more likely to bring out this splotchy look than lighter stains.
Wood Porosity and Grain
Different wood types and grains absorb stain differently, leading to uneven coloring or streaks.
Even the same board can have drier and less dry spots across it.
Because of this, I always suggest using a wood conditioner, especially on soft woods. Wood conditioner is like a lotion for the wood surface. It will even out dry spots and give it a blank canvas for the stain to absorb into.
Insufficient Surface Preparation
The most common reason that I see that stain doesn't absorb evenly is actually poor prep work.
One common issue is not sanding off a previous finish completely. Listen, I get it, sanding sucks. However, it's super important.
If you leave old finish on there even a few little spots, those spots are not going to absorb the stain, or at least not absorb it as much as the areas all around it.
This is going to lead to a splotchy finish.
Sand completely and thoroughly, in the direction of your wood grain.
Also remember that certain spots on the grain are naturally going to absorb stain differently. Certain knots or lines in the wood will never look the same as the rest, no matter what you do to them!
Application Techniques
Finally, improper application can cause blotchy stain. This is mostly caused by uneven brushing or allowing stain to pool on the wood.
You need to wipe any excess stain off as you go. Letting drips or pools of stain sit on the wood surface will lead to darker spots underneath.
Luckily, this is super preventable just by being diligent in your stating process.
How to prevent wood stain blotches and streaks
Here are the best tips for how to stain wood evenly!
Proper Surface Preparation
The most important part of staining is not the staining - it's the prep work!
Sanding Techniques
It is important to sand with consistent pressure, in the direction of the wood grain, and to sand the entire surface evenly.
Check your work and be diligent - this step is easy but time consuming. Don't rush it!

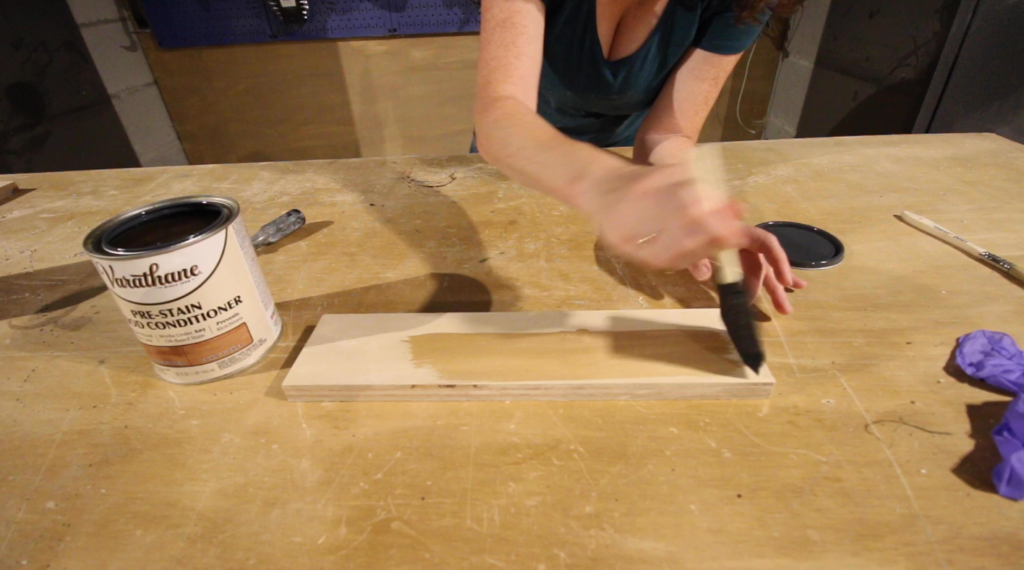
Wood Conditioning
Pre-stain wood conditioner can be key to evening out the wood surface and allowing for uniform stain absorption. I find this to be especially important on soft woods.
Check out our demonstration of wood stain conditioner (staining with and without it!)
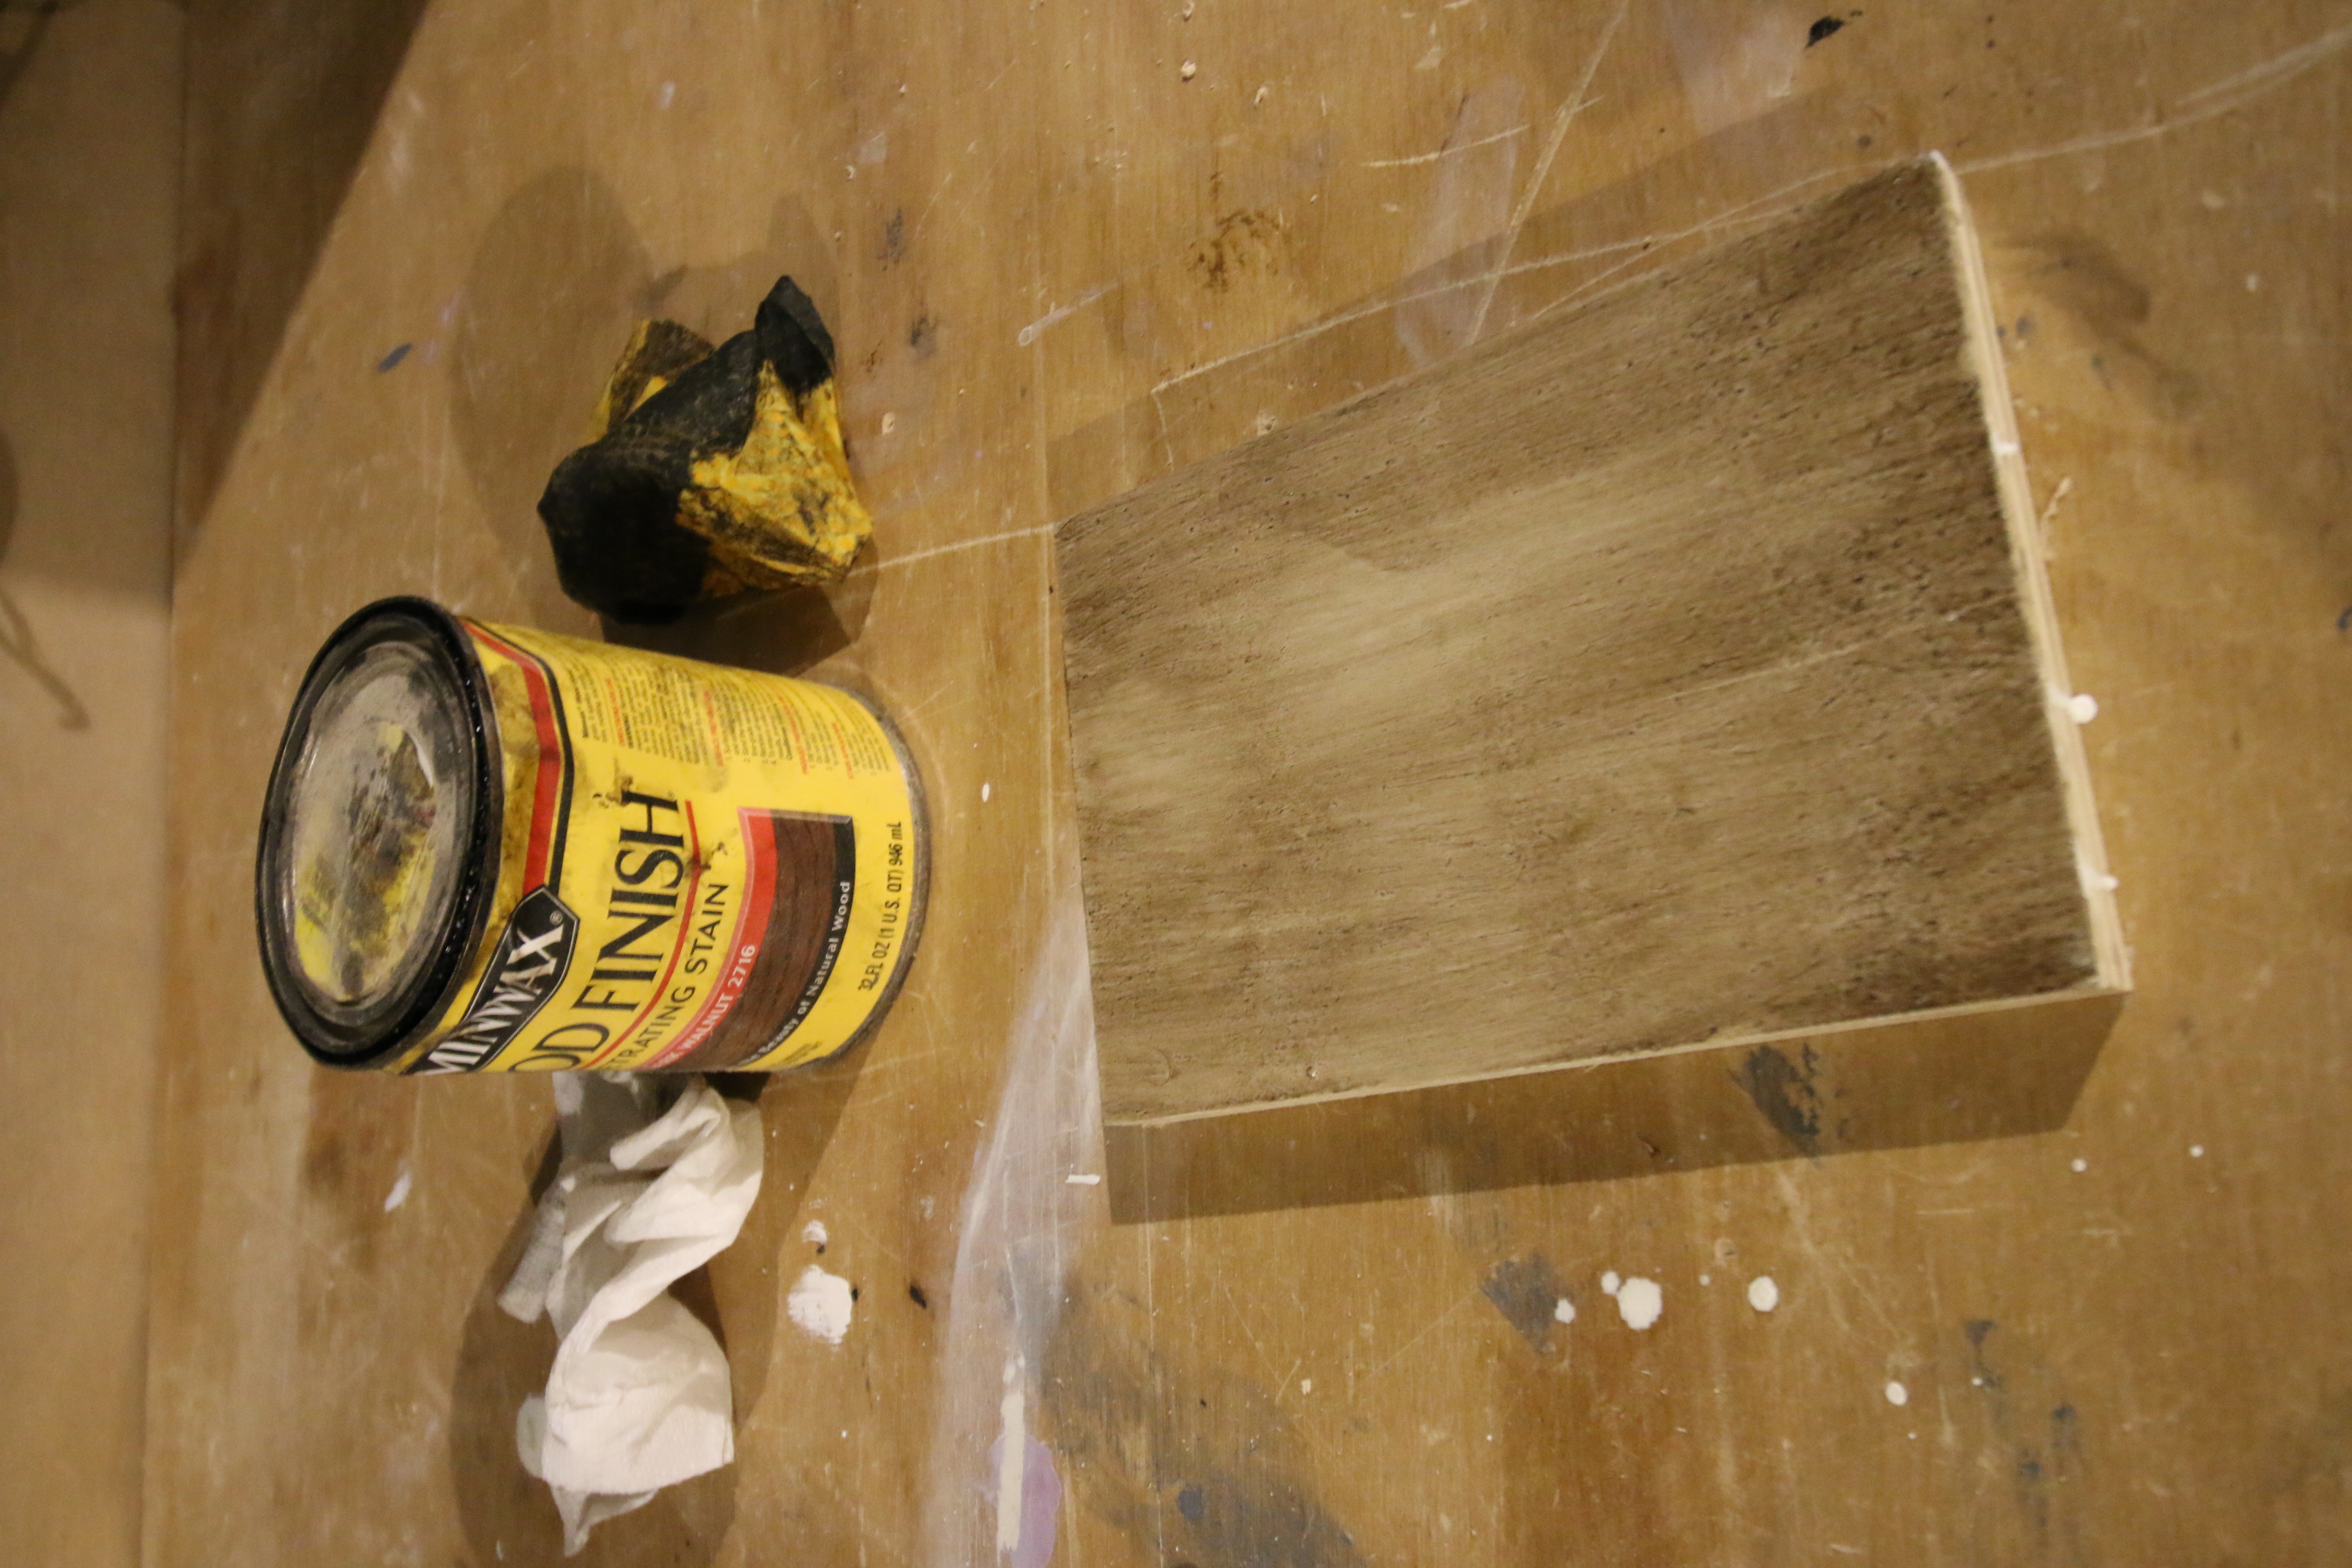
Testing and Selection
It's important to pick the right stain for your wood project. You can look at samples of wood stain online, but whenever possible, you want to test the stain on your actual wood.
Different species - and even different boards in the same species - will look very different even in the same stain color.
Test stains on a scrap cut off of on an inconspicuous spot to see how it will look on your project.
To best avoid splotching, choose a more subtle stain. You are most likely to see streaky results with darker or more pigmented stains.
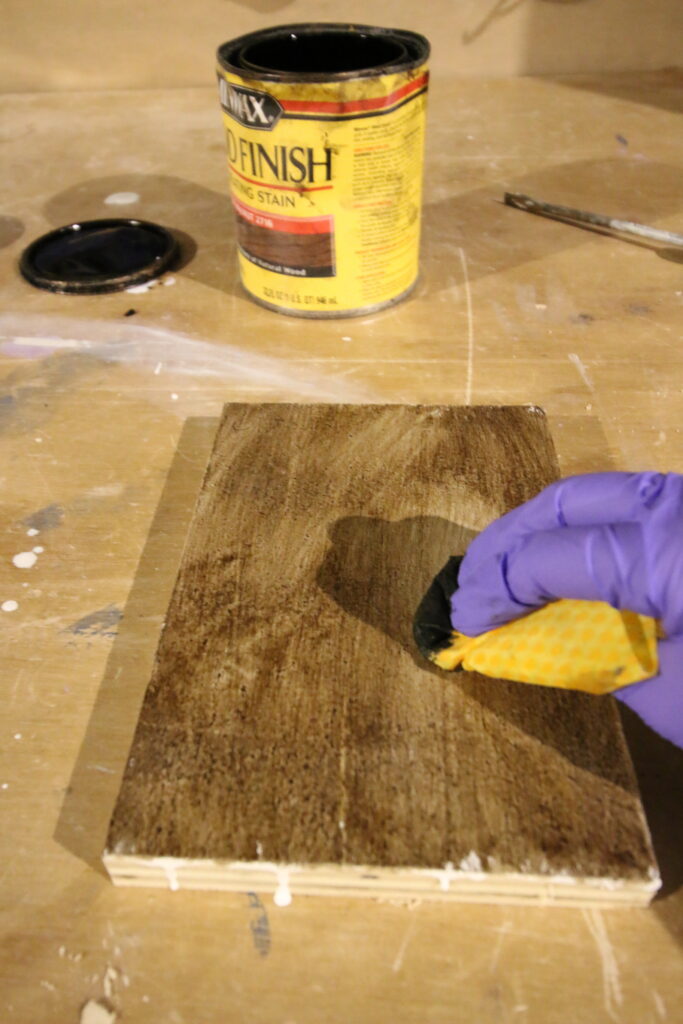
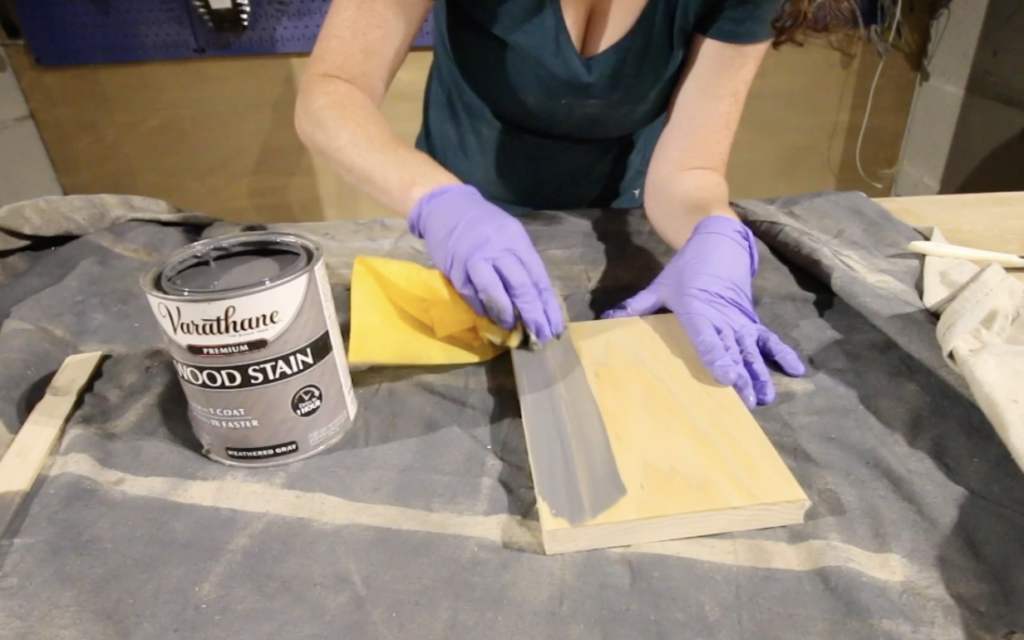
Applying Stain with Care
The application of the stain itself is also super important for avoiding streaks and splotches.
Remember - take your time and do a good job. Seriously, that's the most important thing!
Wipe stain on in the direction of the wood grain. Wiping it on side to side, against the grain, often results in smears and streaks.
Every few minutes, use a soft cloth to go back over any spots you have already stained and wipe off any drips or excess stain. Don't let it sit!
Spot-Treating Uneven Areas
If you have an area that looks uneven stained, the best thing to do is try to fix it ASAP.
For spots that are looking too light - simply apply another coat of stain. Try to feather or fade it outwards into the rest of the stained surface, so it blends.
For spots that look too dark, you might want to sand the stain gently to lighten it. You can sand it fully off and re-stain, or just try to lighten it with a gentle sand.
Final Tips and Recommendations
Remember to be consistent in your prep and application work. Sand completely and evenly, clean completely, and apply the stain evenly across the whole surface. Consistency is king!
And, finally, have patience. Don't try to stain a project in ten minutes. Set aside the time to do it right - the first time - and you will actually save time (and money!) in the long run.
Wood staining essentials!

Looking for something?
We've been doing this since 2012 so we have a LOT of blog posts!
Search stuff like: Ceiling Projects | DIY Plant Stands | Thrift Flips

Hello, I'm Morgan, half of the creative force behind CharlestonCrafted.com! With a passion for DIY that dates back to 2012, I've transformed three homes and now I'm dedicated to helping others craft their dream spaces. Let's turn your house into a home together!