If you have a modular sectional couch with an ottoman, but still want a coffee table, build this wraparound ottoman coffee table!
This project was sponsored by Kreg Tool. All opinions are our own. Thanks for supporting the brands that make Charleston Crafted possible!
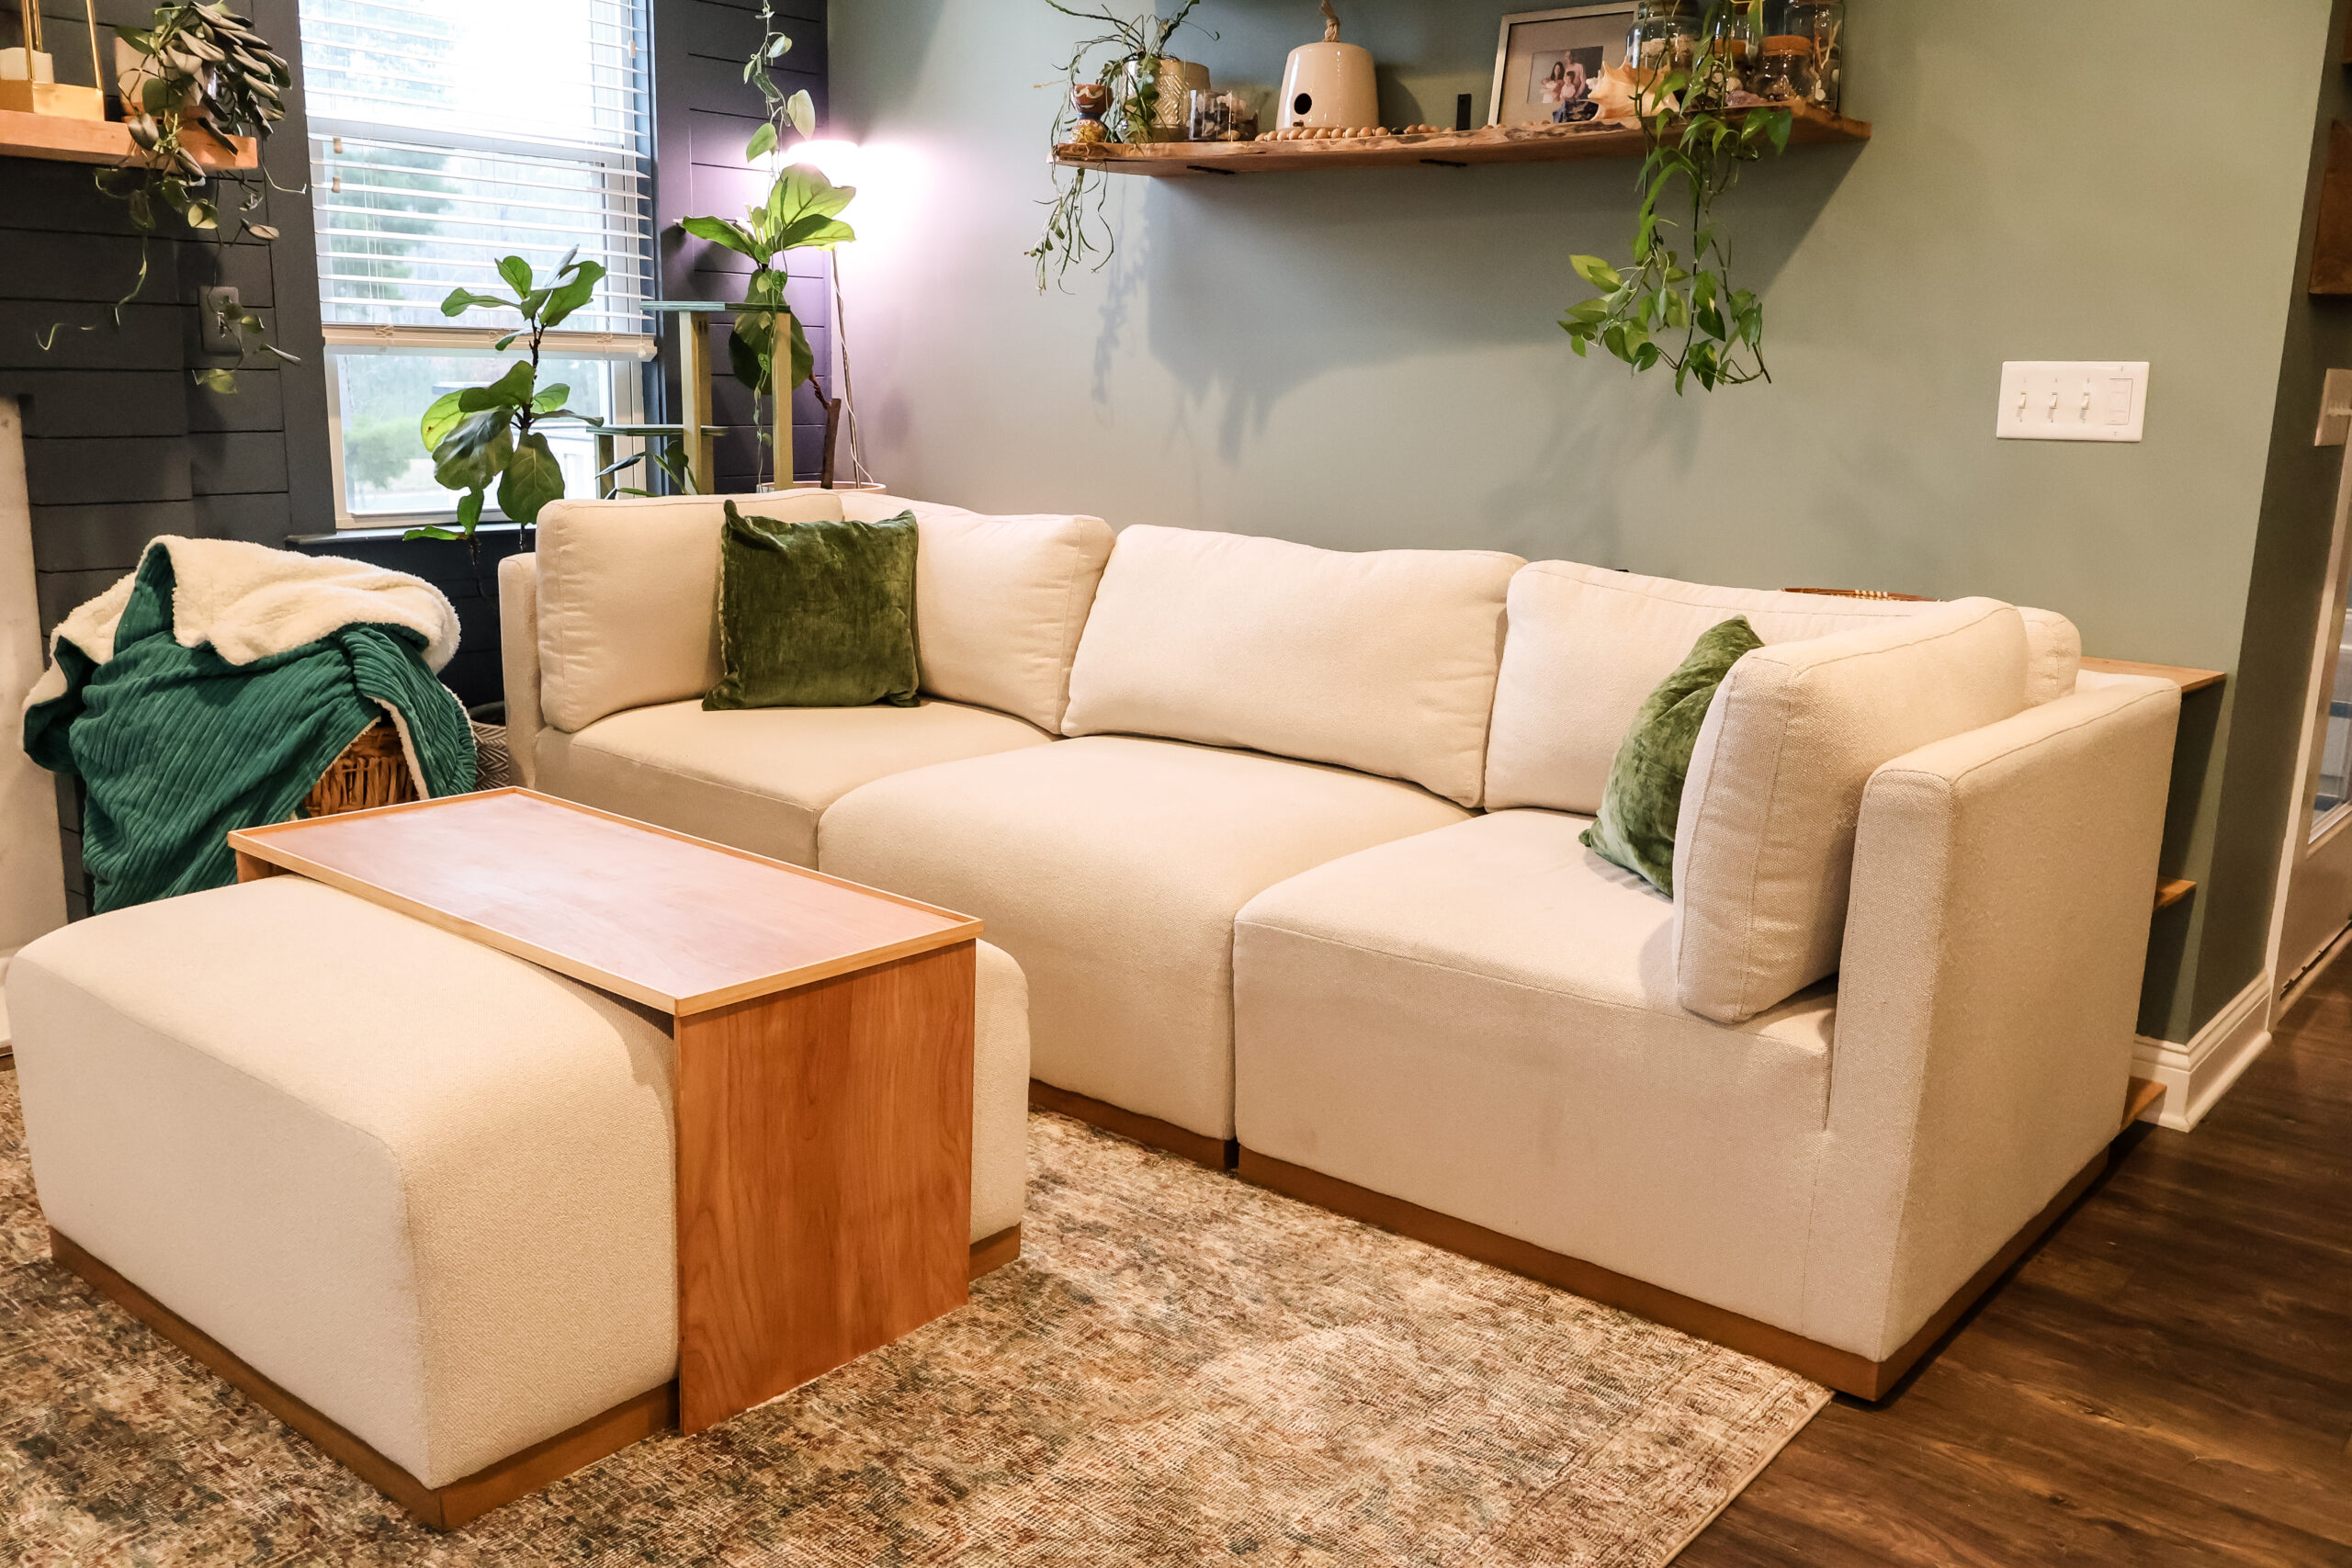
We recently upgraded our couch from the old green one we'd had since our first house with a beautiful modular couch from Costco.
We got the Henredon Murphy modular sofa from Costco and absolutely love it. It has deep, soft cushions and a lot of different configurations we can use at different times.
But one thing is that it came with a big cushioned ottoman, meaning we could no longer use our DIY modern rectangular coffee table I built a few years ago. We still wanted a coffee table though, so we need a solution.
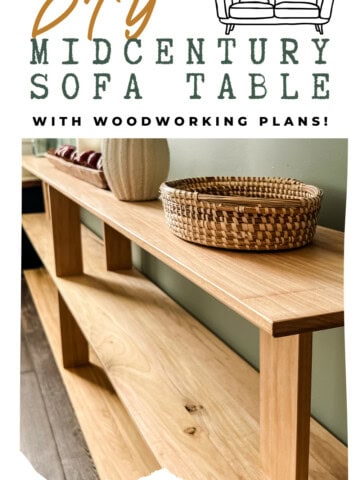
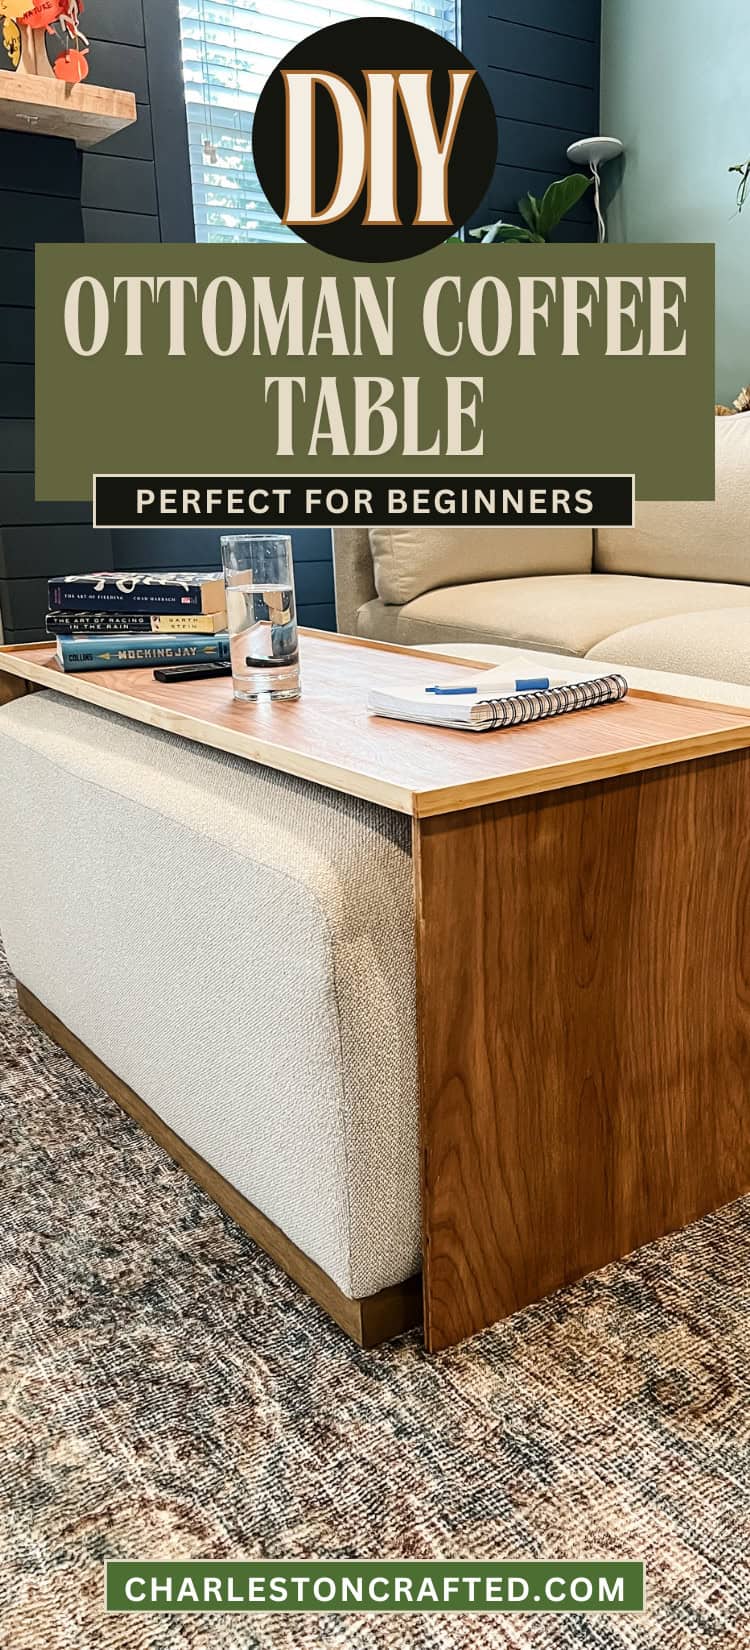
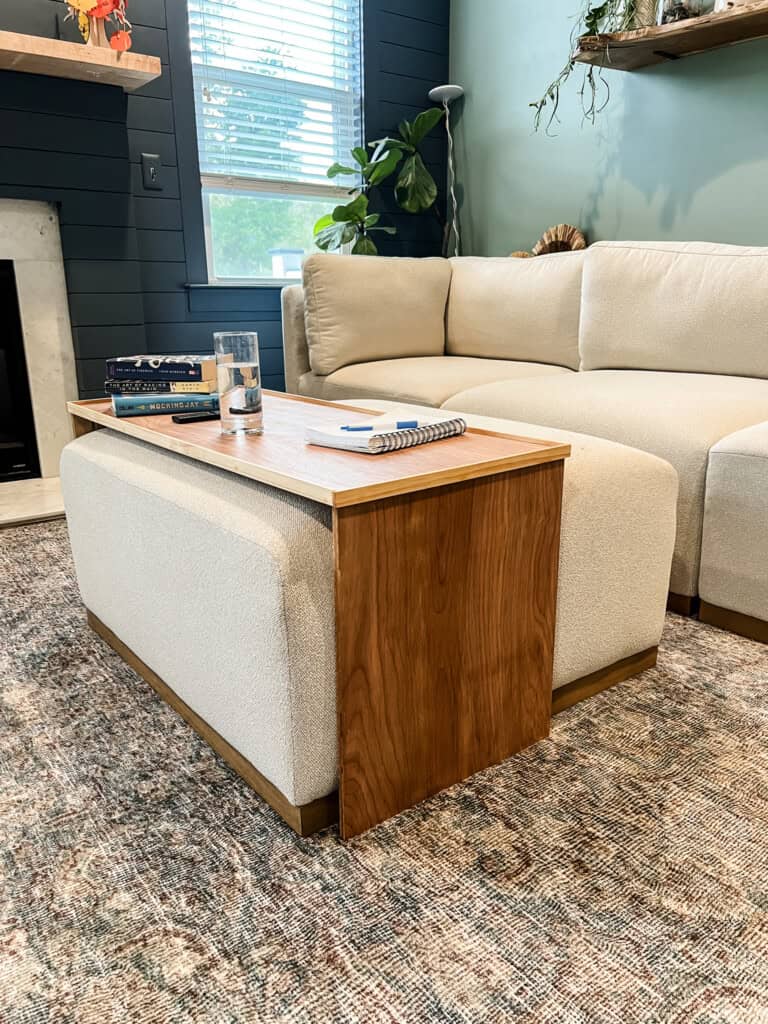
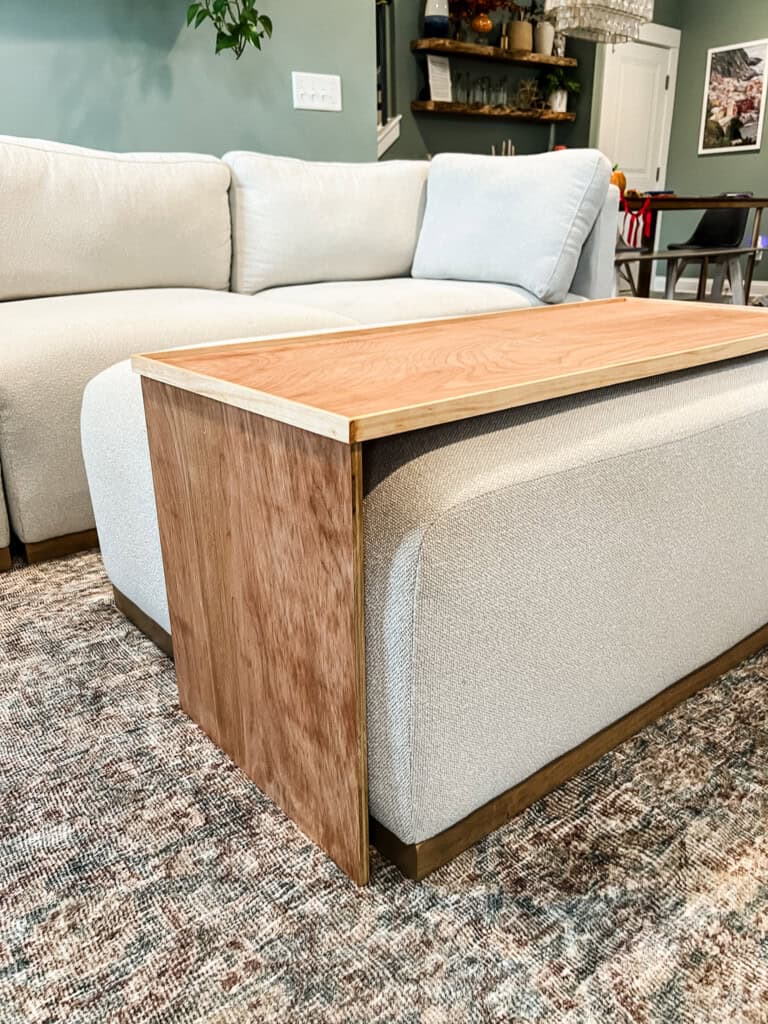
I designed this wraparound ottoman coffee table that goes around the ottoman and slides from front to back depending on your needs!
How to build an ottoman coffee table
This is a really simple table to build because it doesn't require much wood or tools. Literally anyone can do this with a sheet of ½" plywood and a circular saw.
It goes really well with the long three level sofa table I built to go behind the couch if you want to pair it with that!
Materials and tools needed
Here's the tools and supplies you need to build this simple coffee table. Keep in mind that the size of your ottoman will impact the size wood pieces you need, but this is still what you need no matter what.
- ½" plywood
- ¼" wood strips
- 1 ¼" Kreg pocket hole screws
- Wood stain of choice
- Pocket hole jig
- Saw (circular saw, track saw, or table saw)
- Drill
- Sander
Step one: take measurements
OK, so I'm not going to be able to tell you exactly what measurements to use here because they won't be the same as me (unless you have the same couch as me). But I'll tell you mine for reference and how I got the measurements.
So you want this ottoman coffee table to be pretty tight on the cushion of your ottoman. To do that, I used a couple of tools to help me get the exact measurements because it's hard to do with a tape measure with the rounded cushion edges.
To get the exact height of the ottoman, lay a level across the top of your ottoman with the end hanging over the edge. Then measure up from the floor to the level.
To get the exact width of the ottoman, stand up two boards or two levels on the sides of the ottoman. Then measure between them to get the width.
As far as how deep you want your coffee table to be, that's up to you. I chose to go with half the width of my ottoman so I could slide it back and forth as needed.
Plan your cuts so that the inside dimensions match those measurements. As promised, the measurements for my Henredon Murphy ottoman are 37" x 18 ¼".
Step two: make cuts and drill pocket holes
Your ottoman coffee table cuts will consist of two side pieces, one top piece and four lip pieces. I've got the full measurements for my ottoman coffee table in my FREE woodworking plans for the build!
Start by making your cuts, cutting the Sides and Top out of ½" plywood and the lips out of ¾"x ¼" strips of wood or ½" plywood.
I think it's easiest to use a circular saw and a Kreg Rip-Cut when cutting down big sheets of plywood. It's a lot safer than trying to push a big piece of plywood through a table saw.
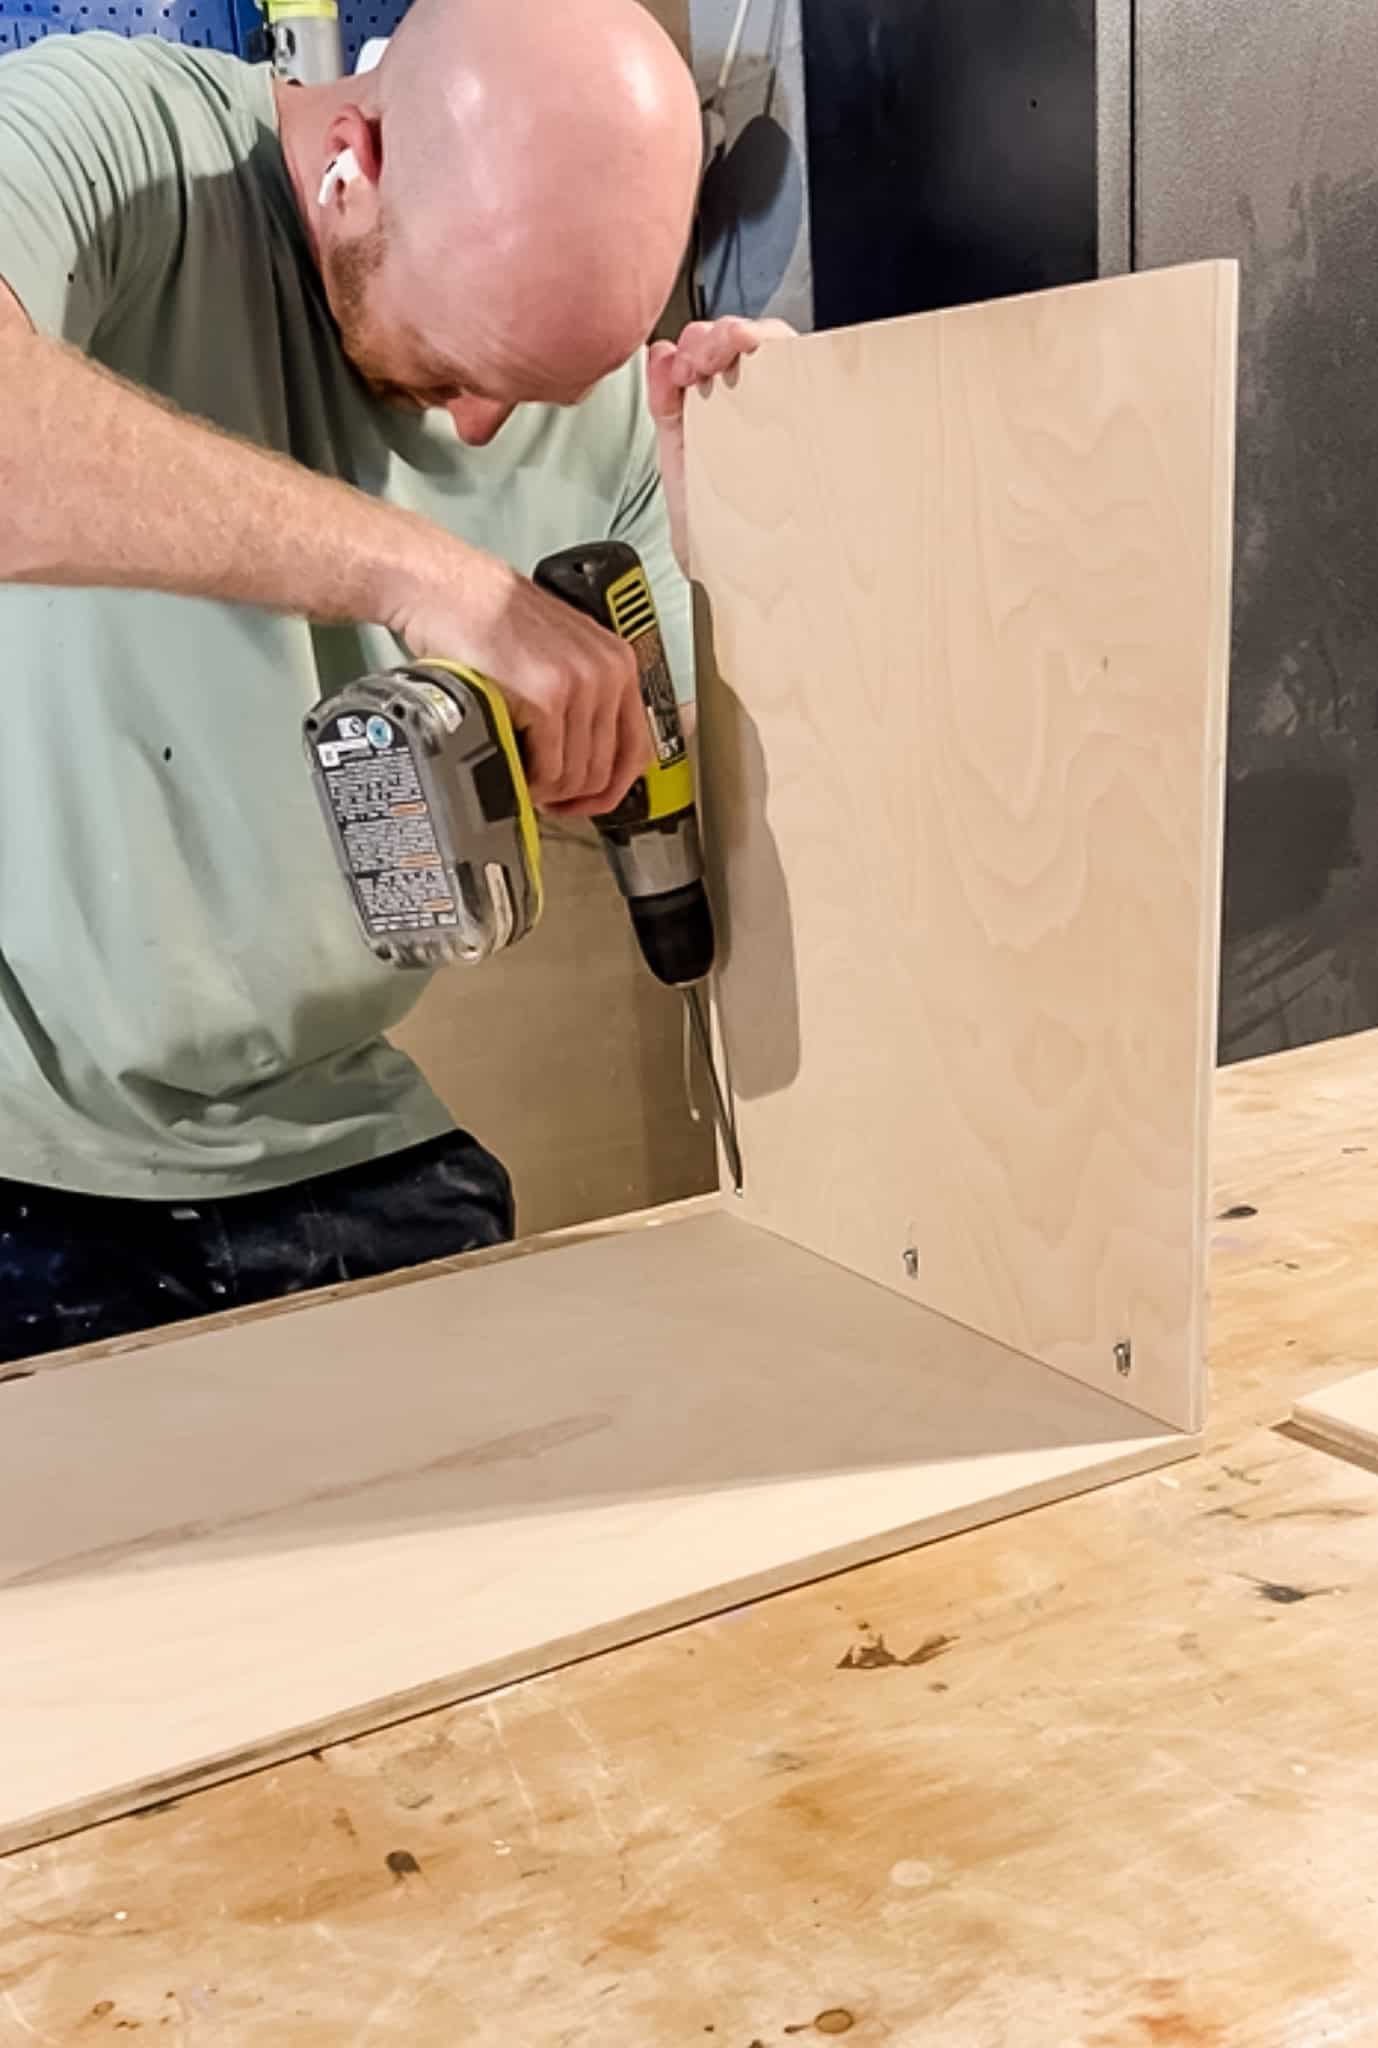
Then, drill three pocket holes across the top edge of both of your side pieces. Because the pieces were pretty big, I used my Kreg 720 Pro pocket hole jig for this build. I love that it has the wide base to support the bigger piece and the Auto-Maxx clamping system adjusts to the ½" thickness of my plywood.


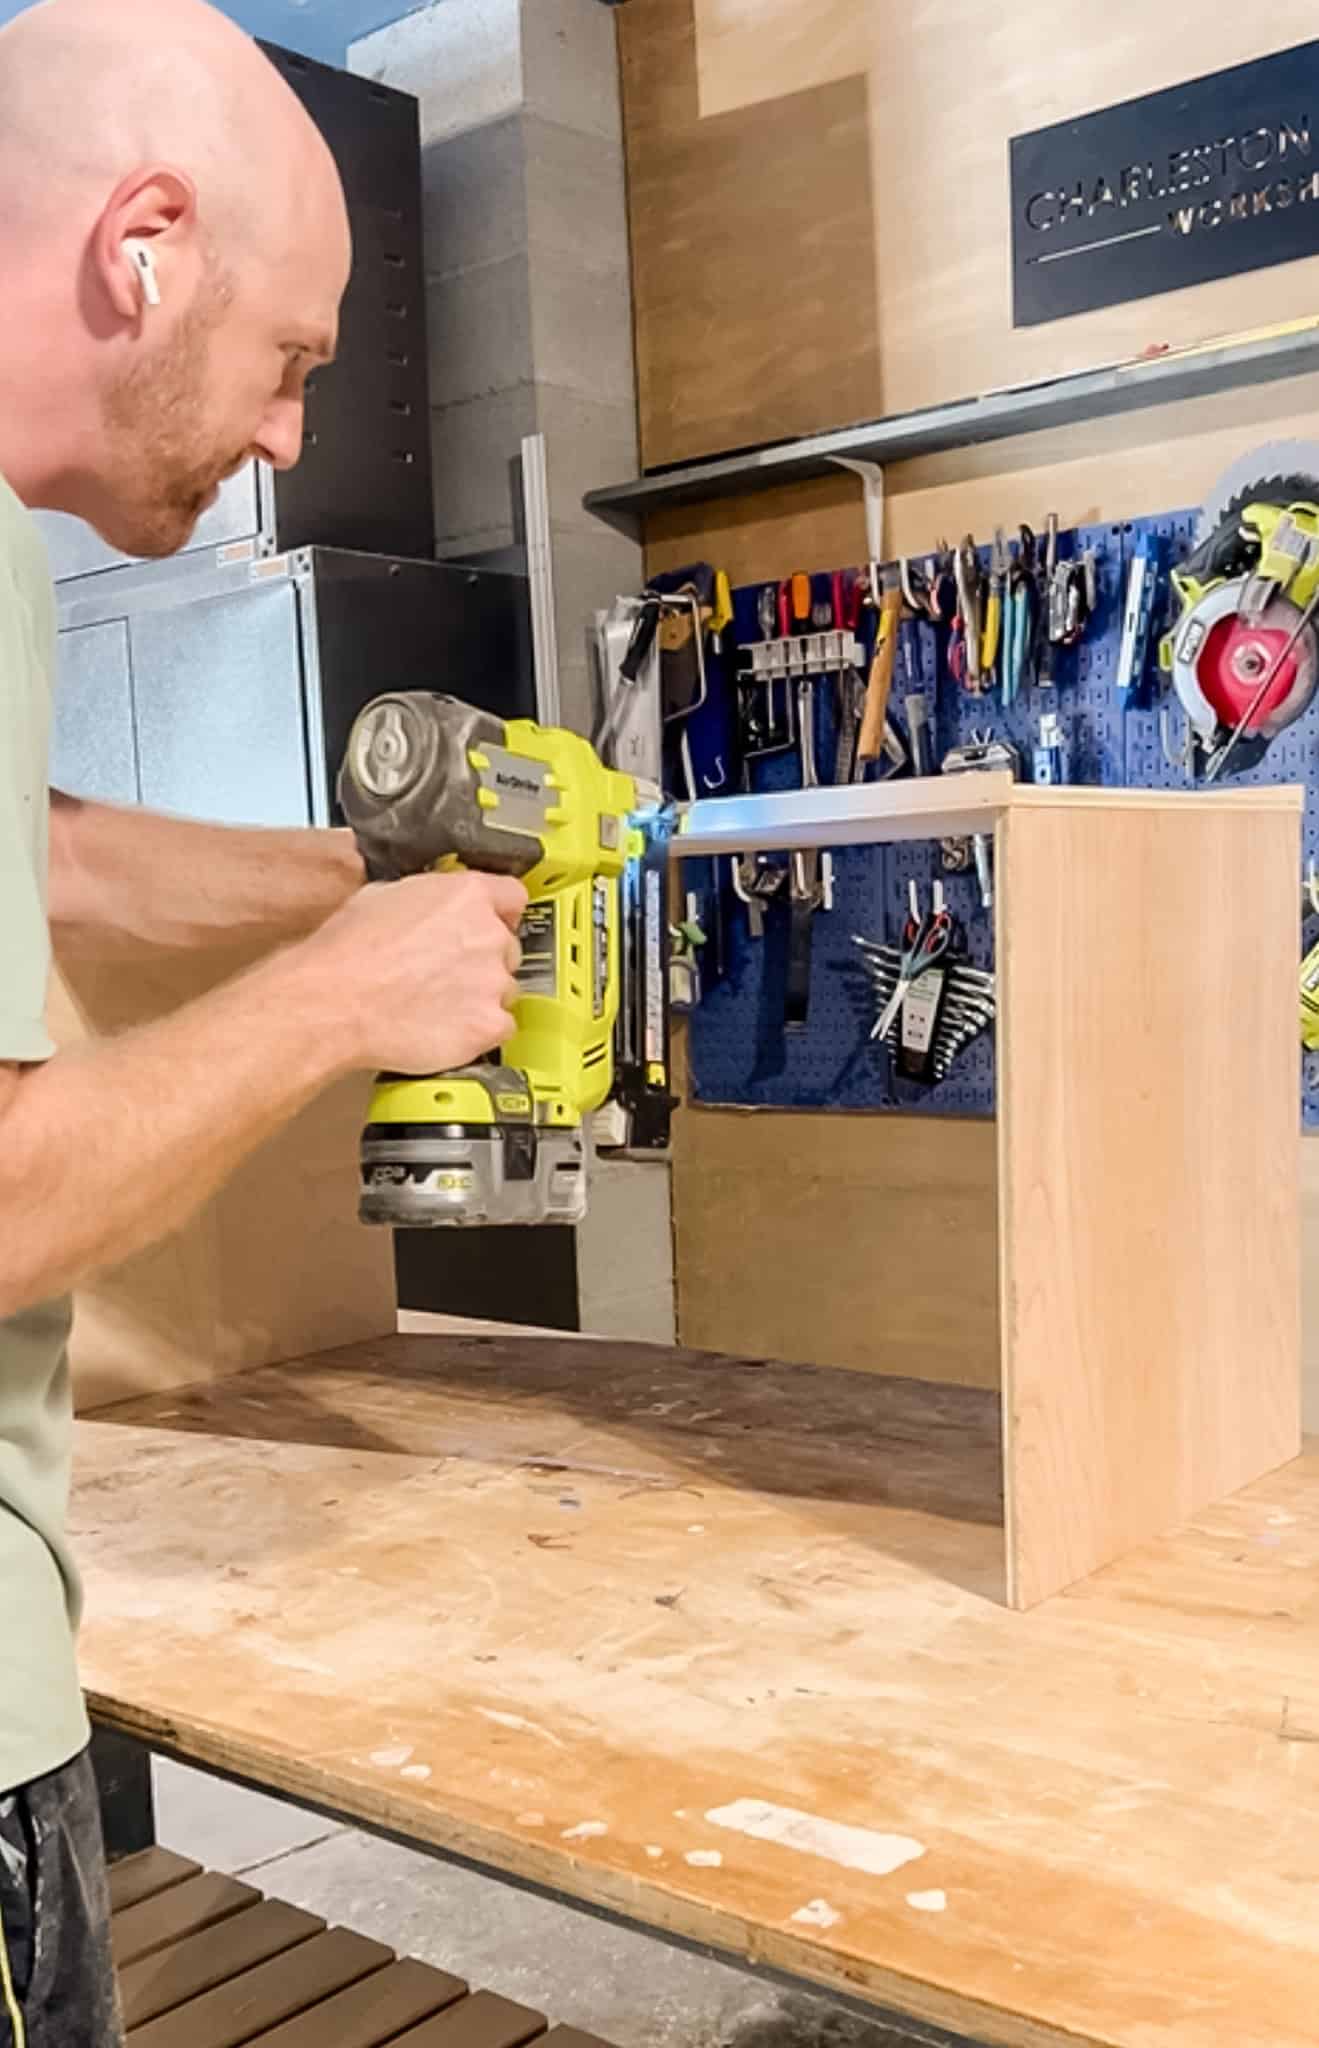
Step three: connect sides
Using wood glue and 1" Kreg pocket hole screws, attach the Sides into the underside of the Top along the far edge.
Step four: add lip
Next, add the lip all the way around. You can do this with whatever method you have available to you. I used a brad nailer with 1" brad nails, but you can use regular hammer and nails, or just use wood glue and clamps.
Attach the two Front and Back Lips along the long edges, then add the Side Lips so that the cover the full Top edge and the ends of the Front and Back Lips.
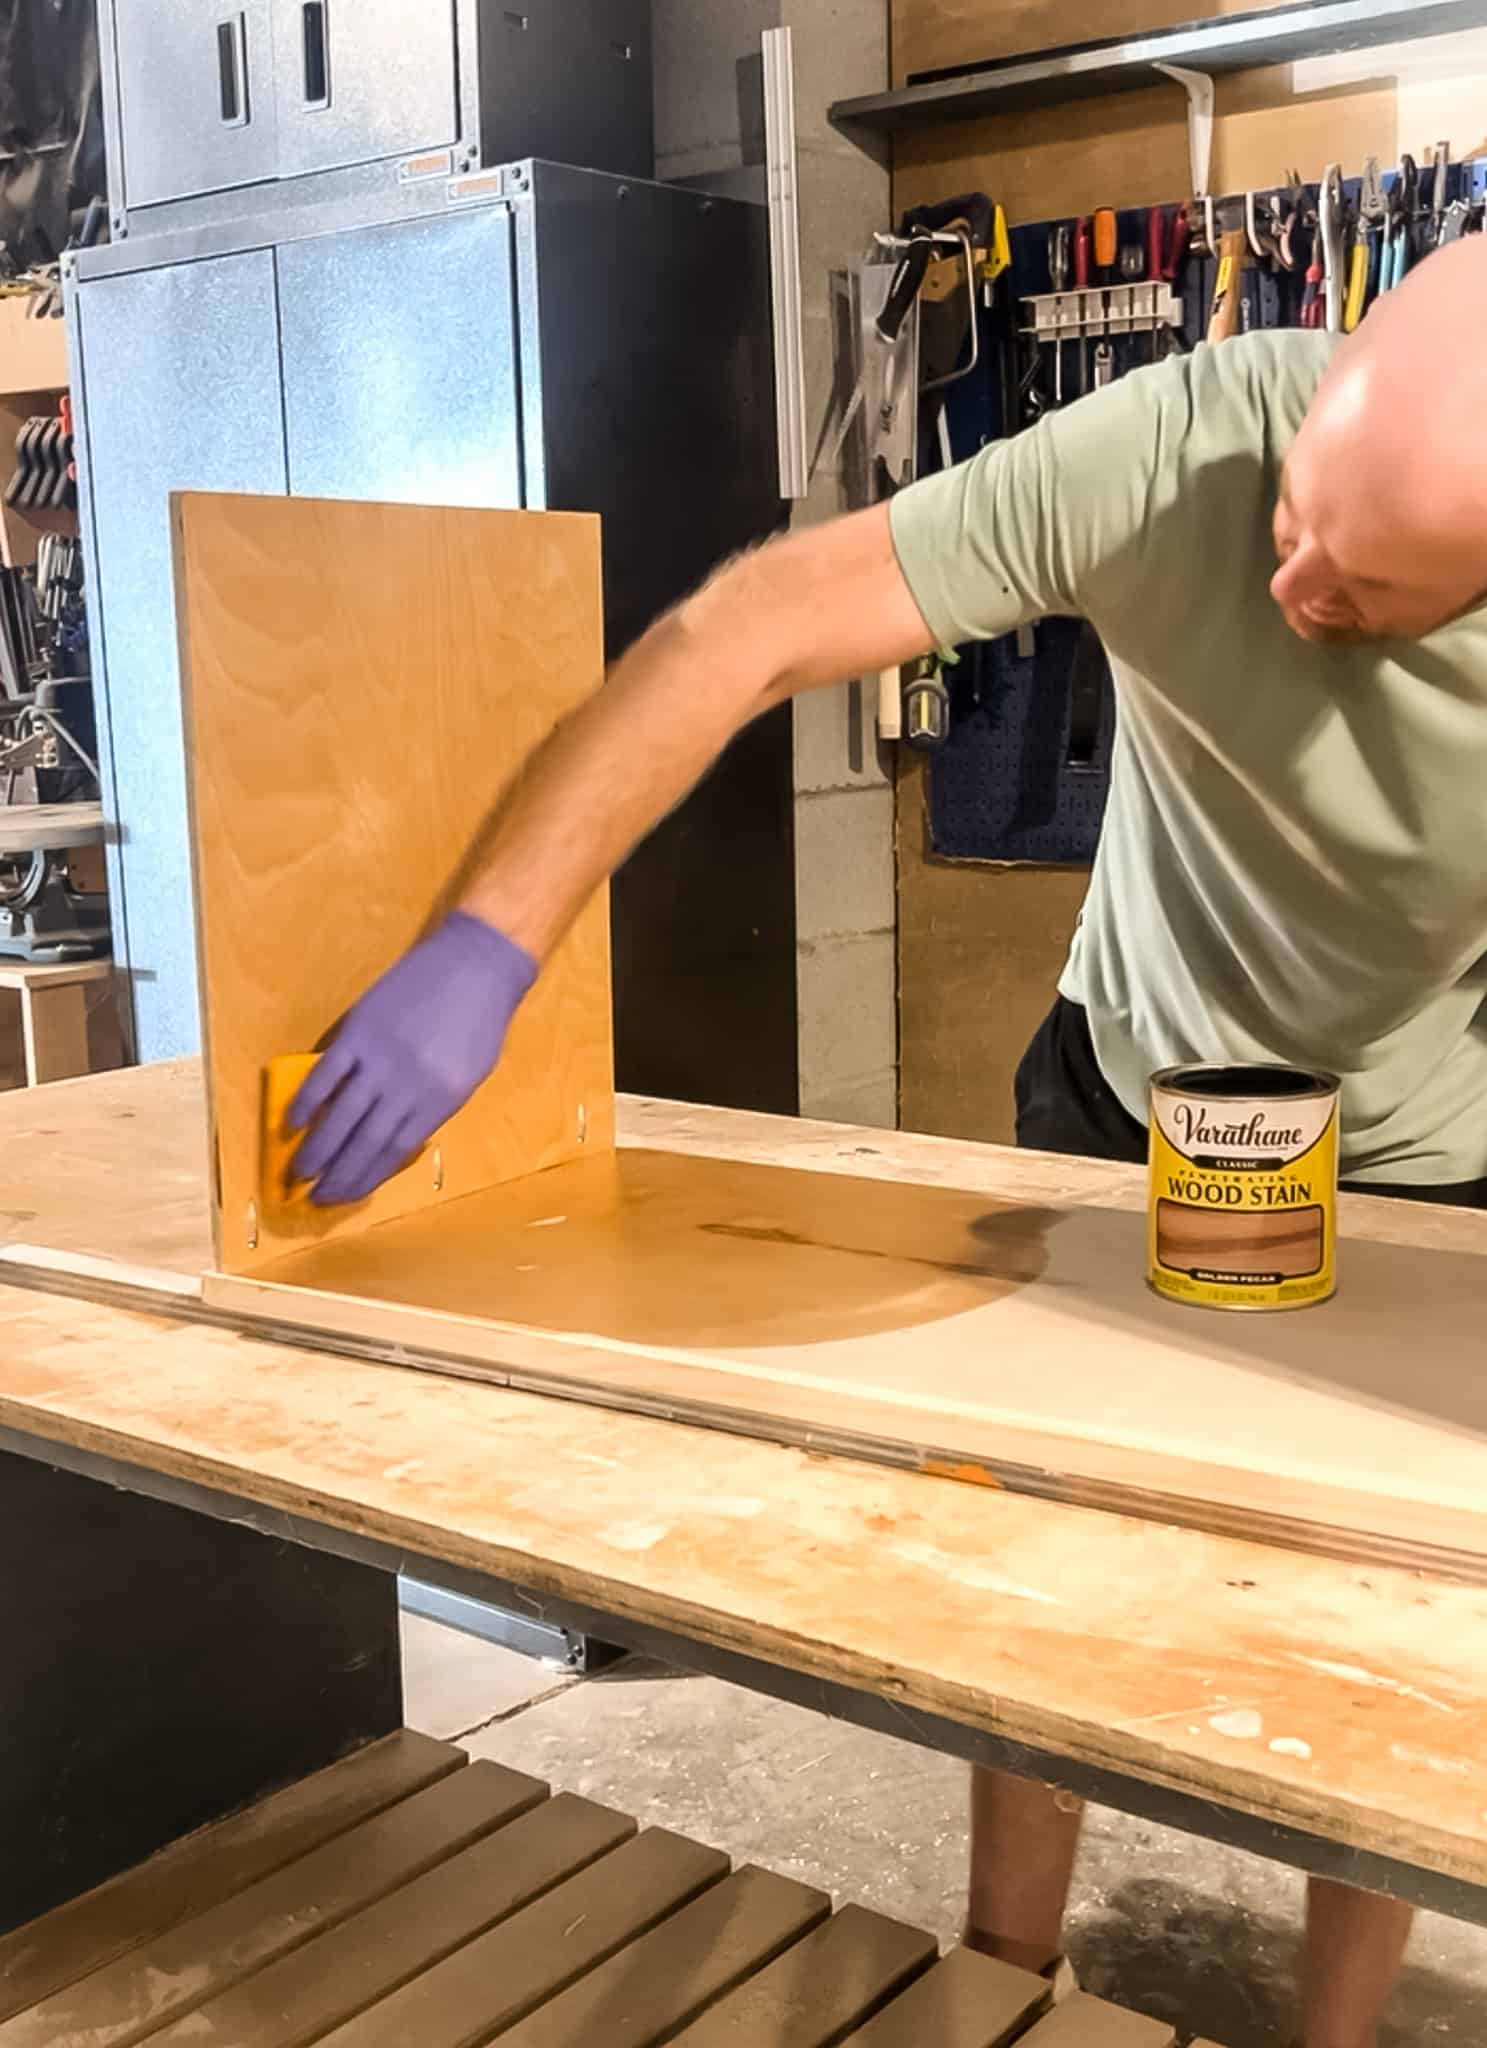
Step five: stain
Finally, add a wood stain of your choice to match your existing decor. Make sure to let it dry alllll the way since it will be touching your furniture.
Then, add a coat of polyurethane to provide a protective waterproof seal for any drink mishaps.
Wraparound ottoman coffee table
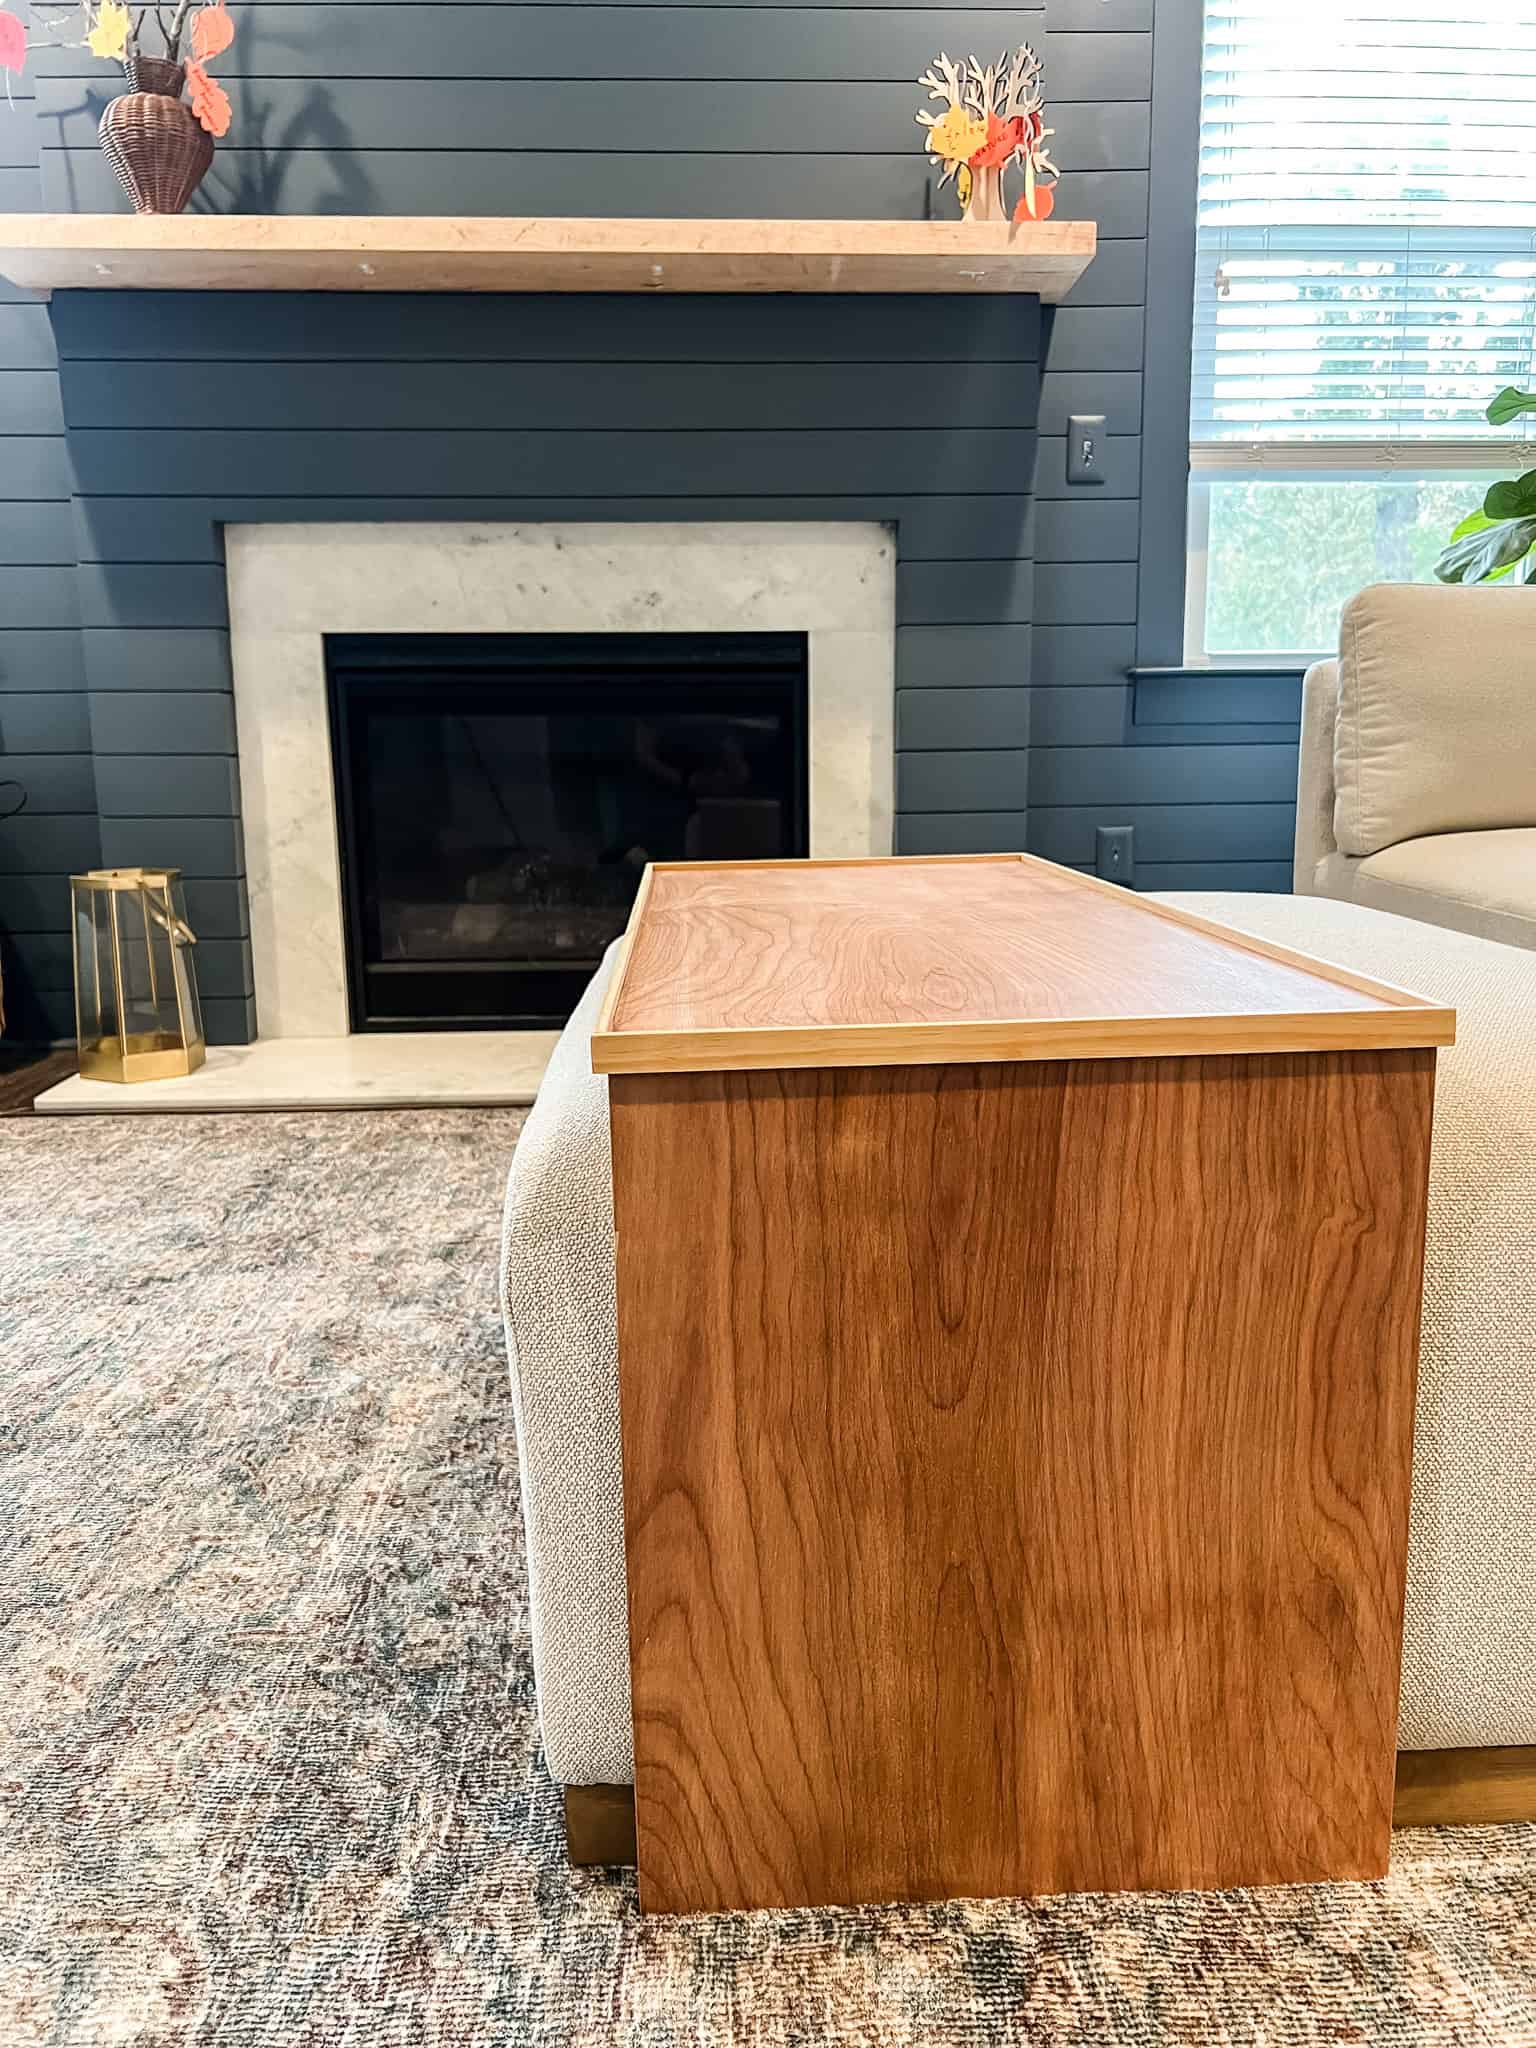
This DIY ottoman coffee table is a great option for if you want to have a soft ottoman but also need a coffee table. It takes up half the ottoman and can easily slide.
If you like the looks of this, be sure to grab my full ottoman coffee table woodworking plans! Thanks to Kreg Tool for sponsoring this post that the plans could be available to you for free!
If you have been looking for a solution, this is a great one if I do say so myself!

Looking for something?
We've been doing this since 2012 so we have a LOT of blog posts!
Search stuff like: Ceiling Projects | DIY Plant Stands | Thrift Flips

Hello, I'm Morgan, half of the creative force behind CharlestonCrafted.com! With a passion for DIY that dates back to 2012, I've transformed three homes and now I'm dedicated to helping others craft their dream spaces. Let's turn your house into a home together!