Want an organized pantry, without spending hundreds on cute bins and canisters? Here are our best DIY pantry hacks for how to organize a pantry on a budget!
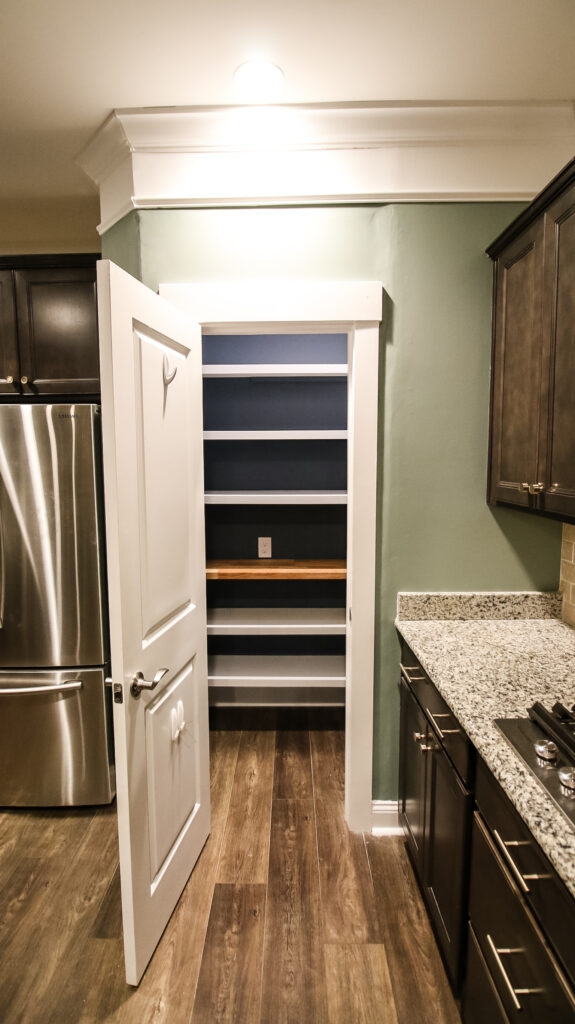
A pantry is a fabulous addition to any kitchen. Whether you have a walk in, a reach in, or a pantry cabinet, you can't beat a pantry for food storage.
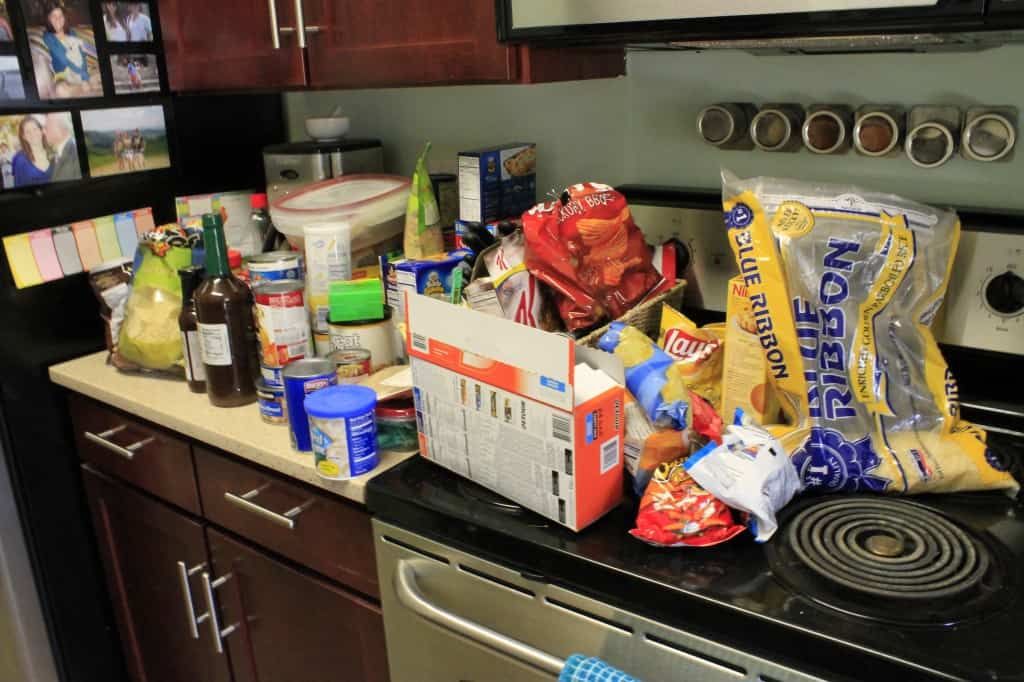
But, a messy pantry is not super helpful.
I am a firm believer that having a dedicated spot or space for each item is the key to keeping spaces clean and organized. When there's no question about where it goes, and it's easy to put it away, it's so much more likely to happen.
You've probably seen magazine-worthy pictures of beautiful pantries organized with tons of bins baskets and containers. What a dream!
What those photos don't tell you is those containers are at least $10 each! If you have a larger pantry it could get very expensive very quickly.
Today we want to chat about budget pantry organization options and the best cheap pantry organizers to use to get your space looking fabulous without breaking the bank.
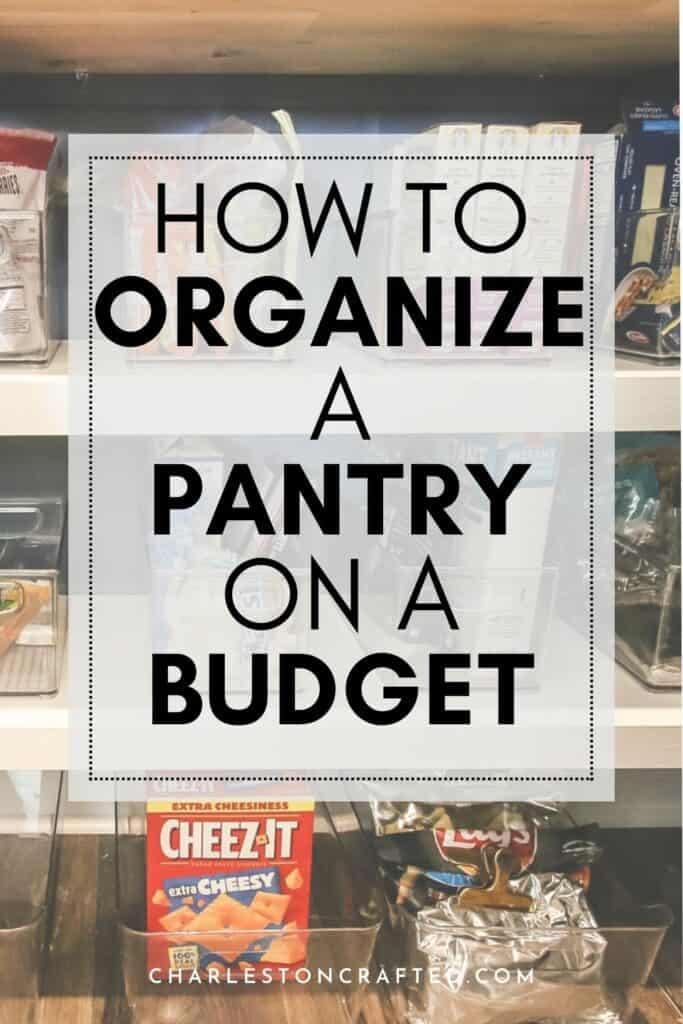
How to organize a pantry on a budget
You don't have to spend a ton to have an organized pantry. You just want to create a system that is easy to maintain so that you and your family will keep it looking great.
Step 1: clean
To start organizing your kitchen pantry, pull everything out. Cleaning is free!
Get rid of any expired or unwanted food items and take the time to sweep and wipe out your space well. A clean space is a fresh slate for organizing.
Step 2: sort
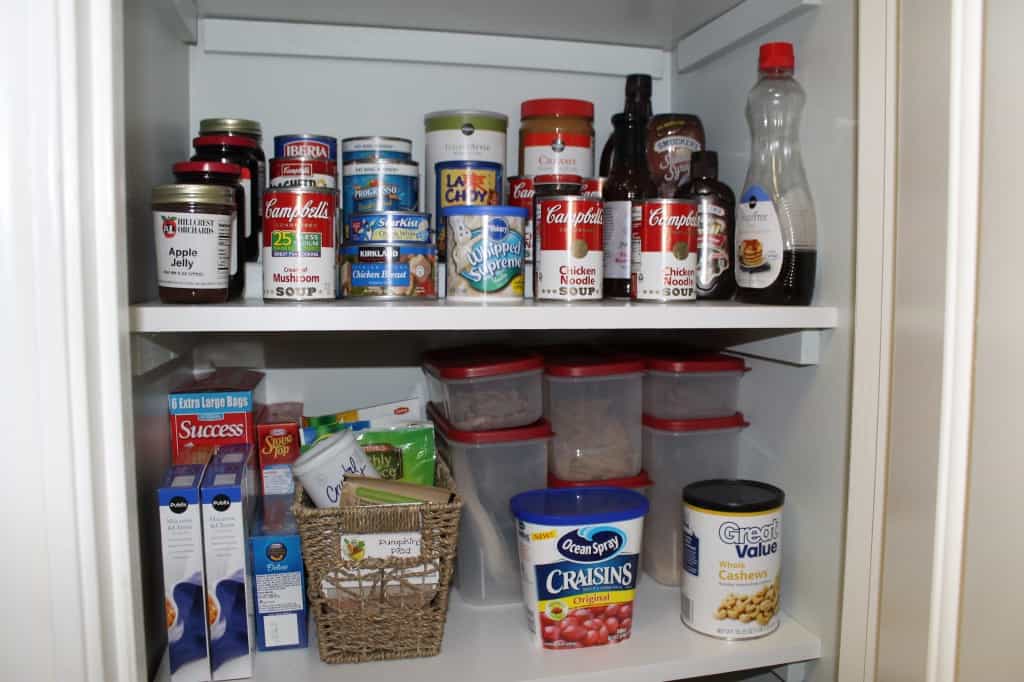
Now, sort your items. I like to organize food by type: cans together, cereal together, bottles together, etc.
Do you meal plan? You might want to sort by recipe so it's easy to grab each day's ingredients!
If you have kids or pets, you might want to group their items together so it's easy to access and find.
Think of the system that will work best for you.
Need help organizing your pantry?
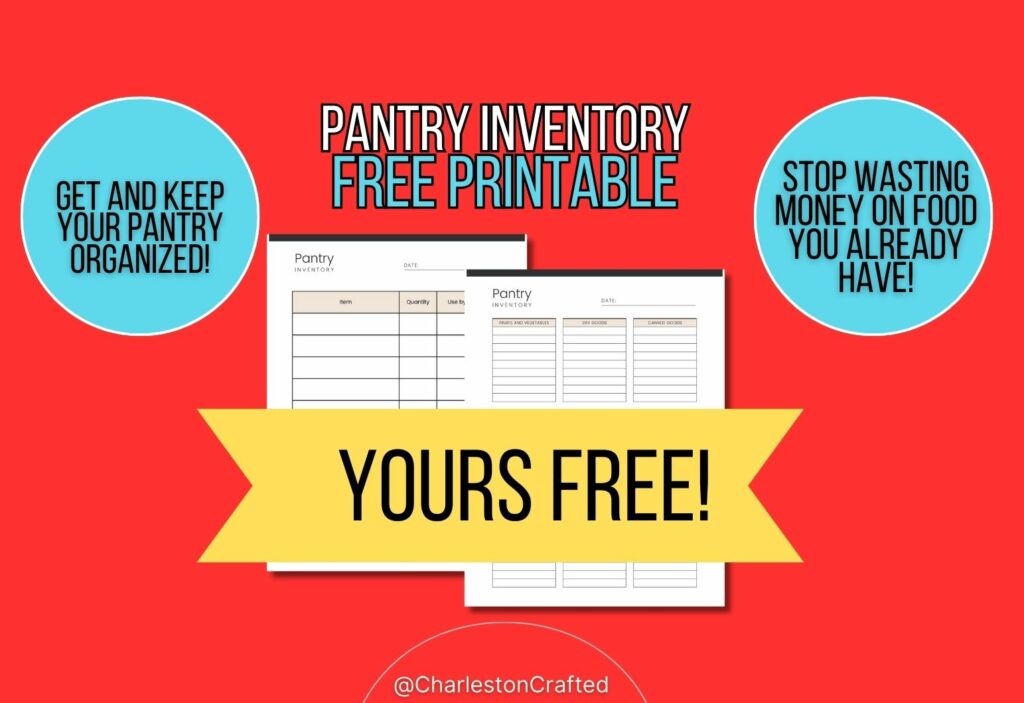
Click here to grab our FREE pantry inventory printable!
- Simple 2 page PDF printable
- Stop wasting money on food lost in the back of your pantry!
- Create a simple system for using up or disposing of expired food!
Step 3: plan
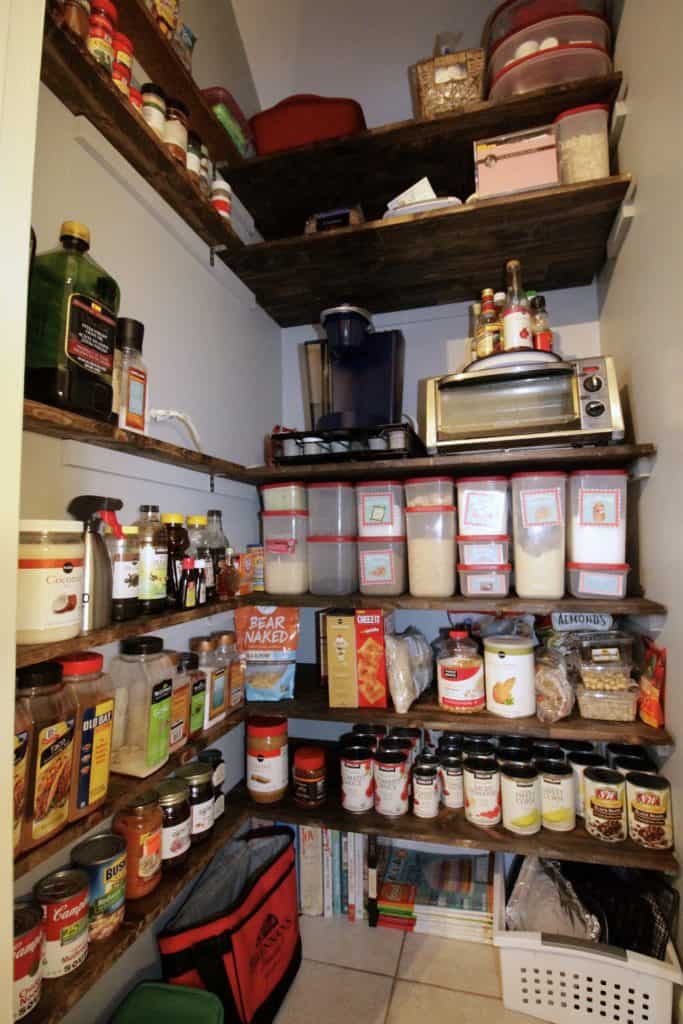
Now, look at your piles and look at your pantry shelves. Generally, you want to put your most-used items at arm's height, where it is most convenient.
Then, move lesser used items to higher or lower shelves, so you don't have to bend and reach so often.
It helps me to visually sketch out what will go where in the pantry.
Step 4: think about containers
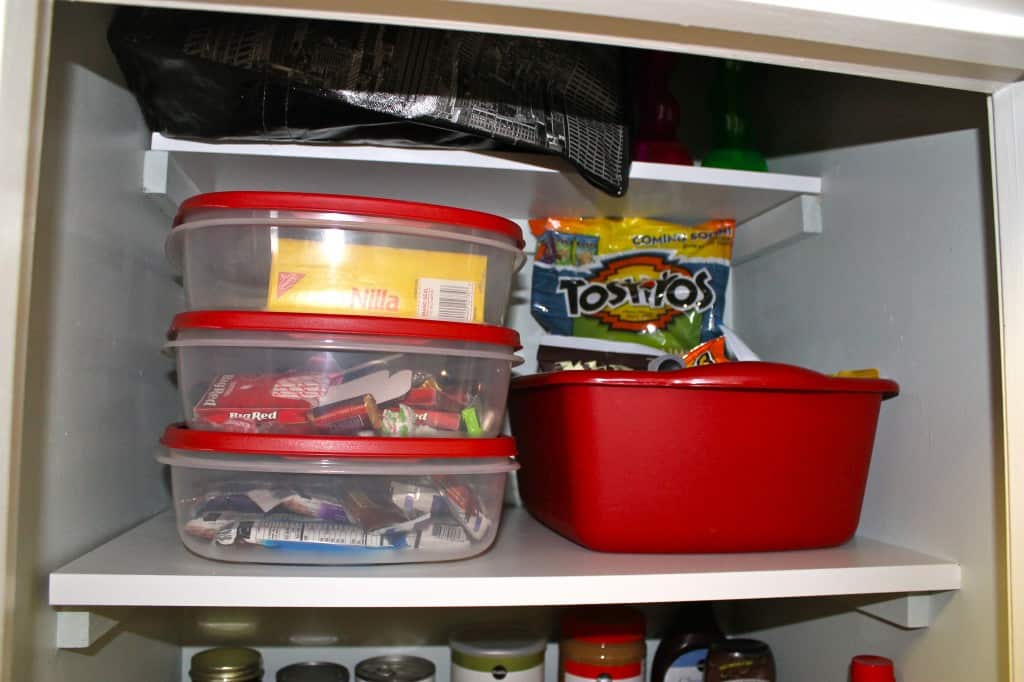
Look at your piles and decide what is fine as-is and what needs containers. For example, cans are totally fine to just line up on the pantry shelf. Loose items, like my kids little packs of gummies, need some kind of container or they will make a huge mess.
You can of course go out and buy bins, lazy susans, and canisters. But, I wanted to share some cheap pantry organization ideas.
Budget friendly pantry organization tools include:
- Re-purposed cardboard boxes
- Cardboard trays (like from costco, for coralling larger items)
- Rubbermaid or tupperware type containers (stacked with lids or open without)
- Glass jars or vases - for small loose items or long items like straws
- Shop secondhand - goodwill and similar places often have great deals on canisters, especially if you don't mind a mis-matched look.
- Check the Dollar store for matching smaller containers - not free but if you just need a few specialty items, it's a great place to check
Step 5: put everything back
Once you have your containers, add your food back. Know that it will not be perfect the first time - you might need to spend a few weeks of trial and error moving things around and adding or removing containers.
That's fine and a good way to do it! Keep editing until you are happy with your setup.
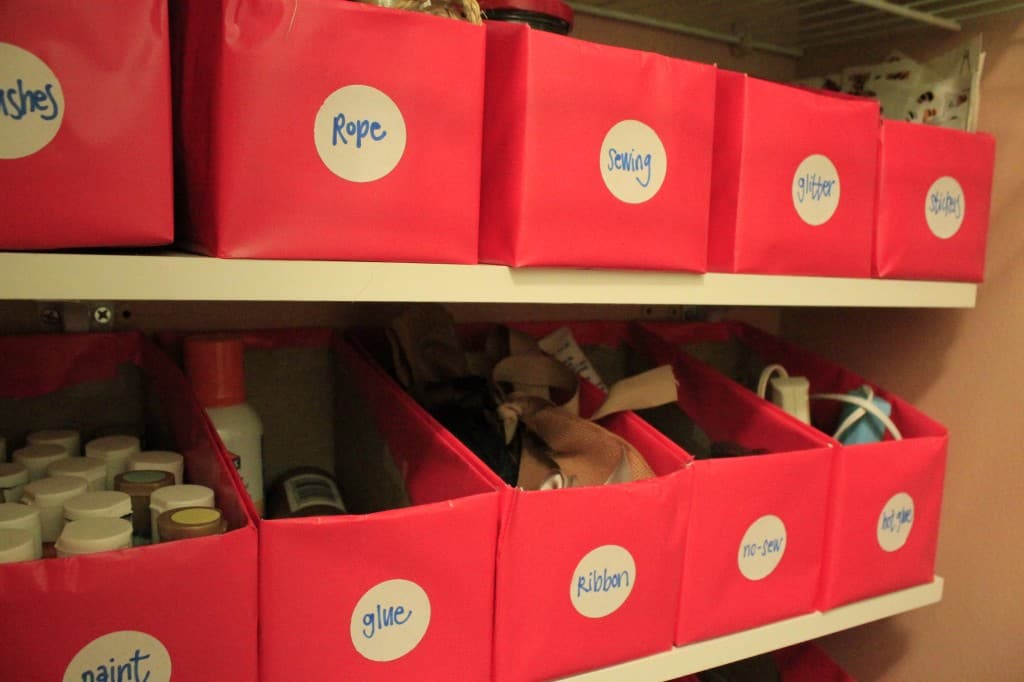
Step 6: label
Labelling is optional, but can be helpful, especially if you have a lot of people using the pantry. You can use a label maker, print labels, or just use a piece of tape and a sharpie.
Don't get caught up on the fanciness of the label - just make them functional. Use your best handwriting, of course!
How can I organize my pantry without spending money?
Have a budget of zero? I got you! Here are my best hacks for free pantry organization items:
Shop your home
Go around your home and look for items you could re-purpose in your pantry. For example, a rarely-used glass vase could be set on a shelf to hold chip clips. A basket in the living room could be re-purposed to corral granola bars.
Look for items that are not being used to their maximum ability in your home, and put them to work in the pantry!
Recycle + reuse
Another free organizer is boxes or containers from the trash. I organized my entire craft closet in the condo with K-cup coffee pod boxes I collected from work (empty, saved from the recycling bin). It took me about a month to get enough. I wrapped each in pink paper and added a white label to the front of each.
There are tons of different boxes or bins that you can save from the recycling bin. See if you can find a few boxes that are the same size and shape - uniform bins look nicer and are often easier to fit into your space.
While wrapping them isn't required, it can be a nice touch to make it look less like a recycled box!
Less is more
The point of a pantry is to hold food. Lots of extra add-ins might seem nice, but they can also be a waste of space. Focus instead on the actual food - and the containers that it came in - and you can really maximize your available space.
Need to organize & declutter your whole home?
Be sure to download our free 30 day decluttering challenge workbook!

Looking for something?
We've been doing this since 2012 so we have a LOT of blog posts!
Search stuff like: Ceiling Projects | DIY Plant Stands | Thrift Flips

Hello, I'm Morgan, half of the creative force behind CharlestonCrafted.com! With a passion for DIY that dates back to 2012, I've transformed three homes and now I'm dedicated to helping others craft their dream spaces. Let's turn your house into a home together!