Having trouble figuring out how to match wood stain to your existing project? Dive into best tips that break down the art of staining wood, from understanding finishes to troubleshooting common issues, making your repair job a breeze!
Staining wood is a fun way to transform the look of the piece. But, what if you don't want to refinish something and merely need to repair a damaged stained wood item?
The hardest part of repairing stained furniture is not actually doing the repair, but getting the stain to look right.
Matching wood stain is really hard!
Today we want to share our best tips for matching wood stain for a cohesive look in your woodworking projects!

Understanding Wood Stains
Wood stains are designed to add color and often protection to wood surfaces.
A wood stain can be used to give a wood the look of a different species, or it can be used to more slightly change the tint and tone of the underlying wood.
There are a lot of different wood stains available including oil-based, water-based, and gel stains.
But, the final color of a wood stain is going to be most affected by:
- the wood species
- the stain color
- and the application method.
Here's how to assess each!
Assessing the Existing Wood Finish
Begin by closely examining the wood's color, texture, and sheen. Note any specific characteristics or undertones that might indicate the existing stain.
Gently scratch a small inconspicuous area of the wood surface. If the finish is oil-based, it will likely feel like an oily residue, while water-based finishes feel drier.
Check the bottom or backside of the piece. You might be able to find an unstained area that will give you a hint at what the underlying wood looks like.
Remember that the wood's age and exposure to light might have changed the original stain's appearance. Stains can fade or yellow over time. Because of this, even if you have an exact stain can match, the color might look different when doing touch ups.
Finally, be aware that there might be multiple layers of stain or finishes on the wood. This can complicate identification and might mean you have to experiment with layering yourself.
Preparation for Staining
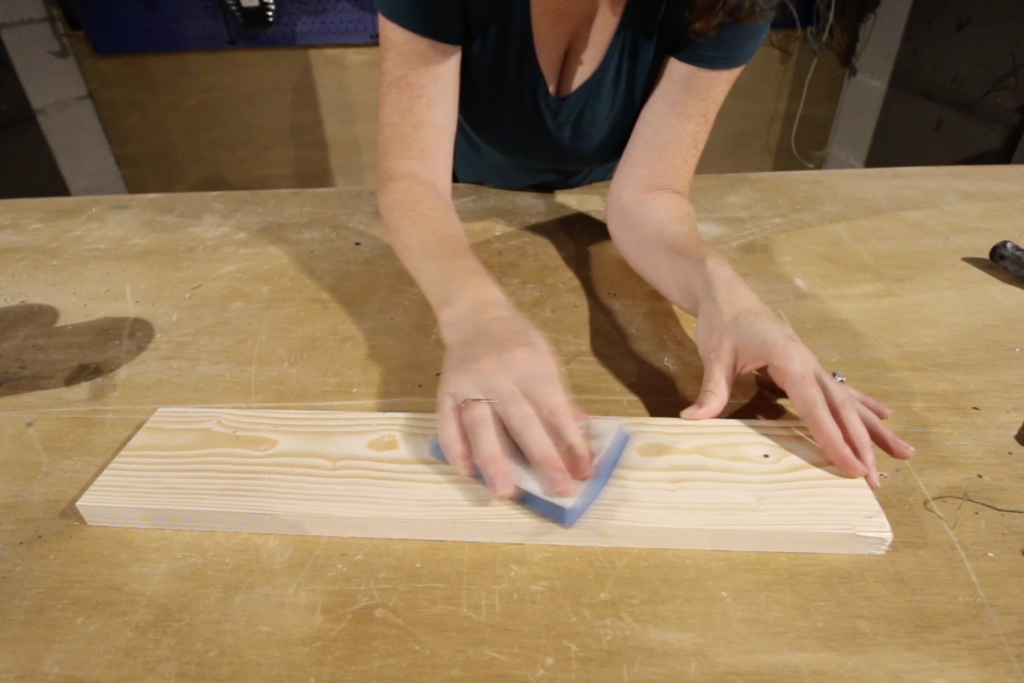
It's super important to prep your area well before re-staining it. This means sanding and cleaning.
If you are removing finish, you'll want to use a more coarse sandpaper and then work your way up to a fine sandpaper for a smooth finish. We usually end with a 220 grit.
If you are re-staining just one spot on a surface, you will want to feather that spot out. This is just like a haircut where you do a fade on the back of a neck, it just helps the spot look less obvious.
Honestly, whenever possible, unless it is a spot smaller than a penny, we prefer to just sand and refinish the entire surface for a more uniform look.
It is slightly more work, but honestly if you were staining a square, you might as well stay in a whole foot, you know what I'm saying?
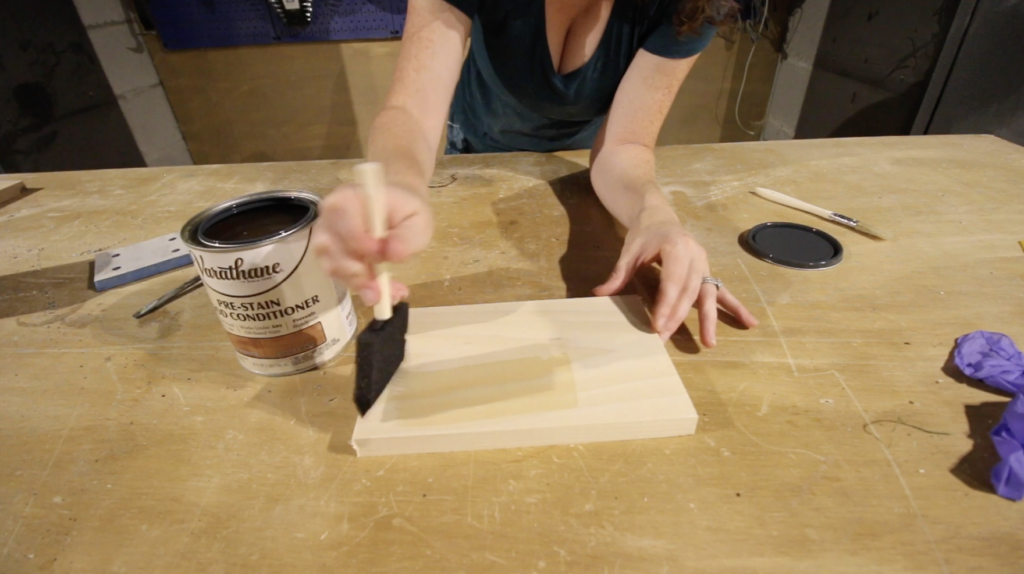
After sanding and cleaning the wood surface, I like to apply a pre-stain conditioner. This is an optional step, but especially with older wood, which might be dried out, it evens out the surface and reduces the likelihood that you will have a blotchy finish. In my mind, it's worth it.
Matching Wood Stain
Now is the time to actually stain. Here's the steps I take to match a wood stain:
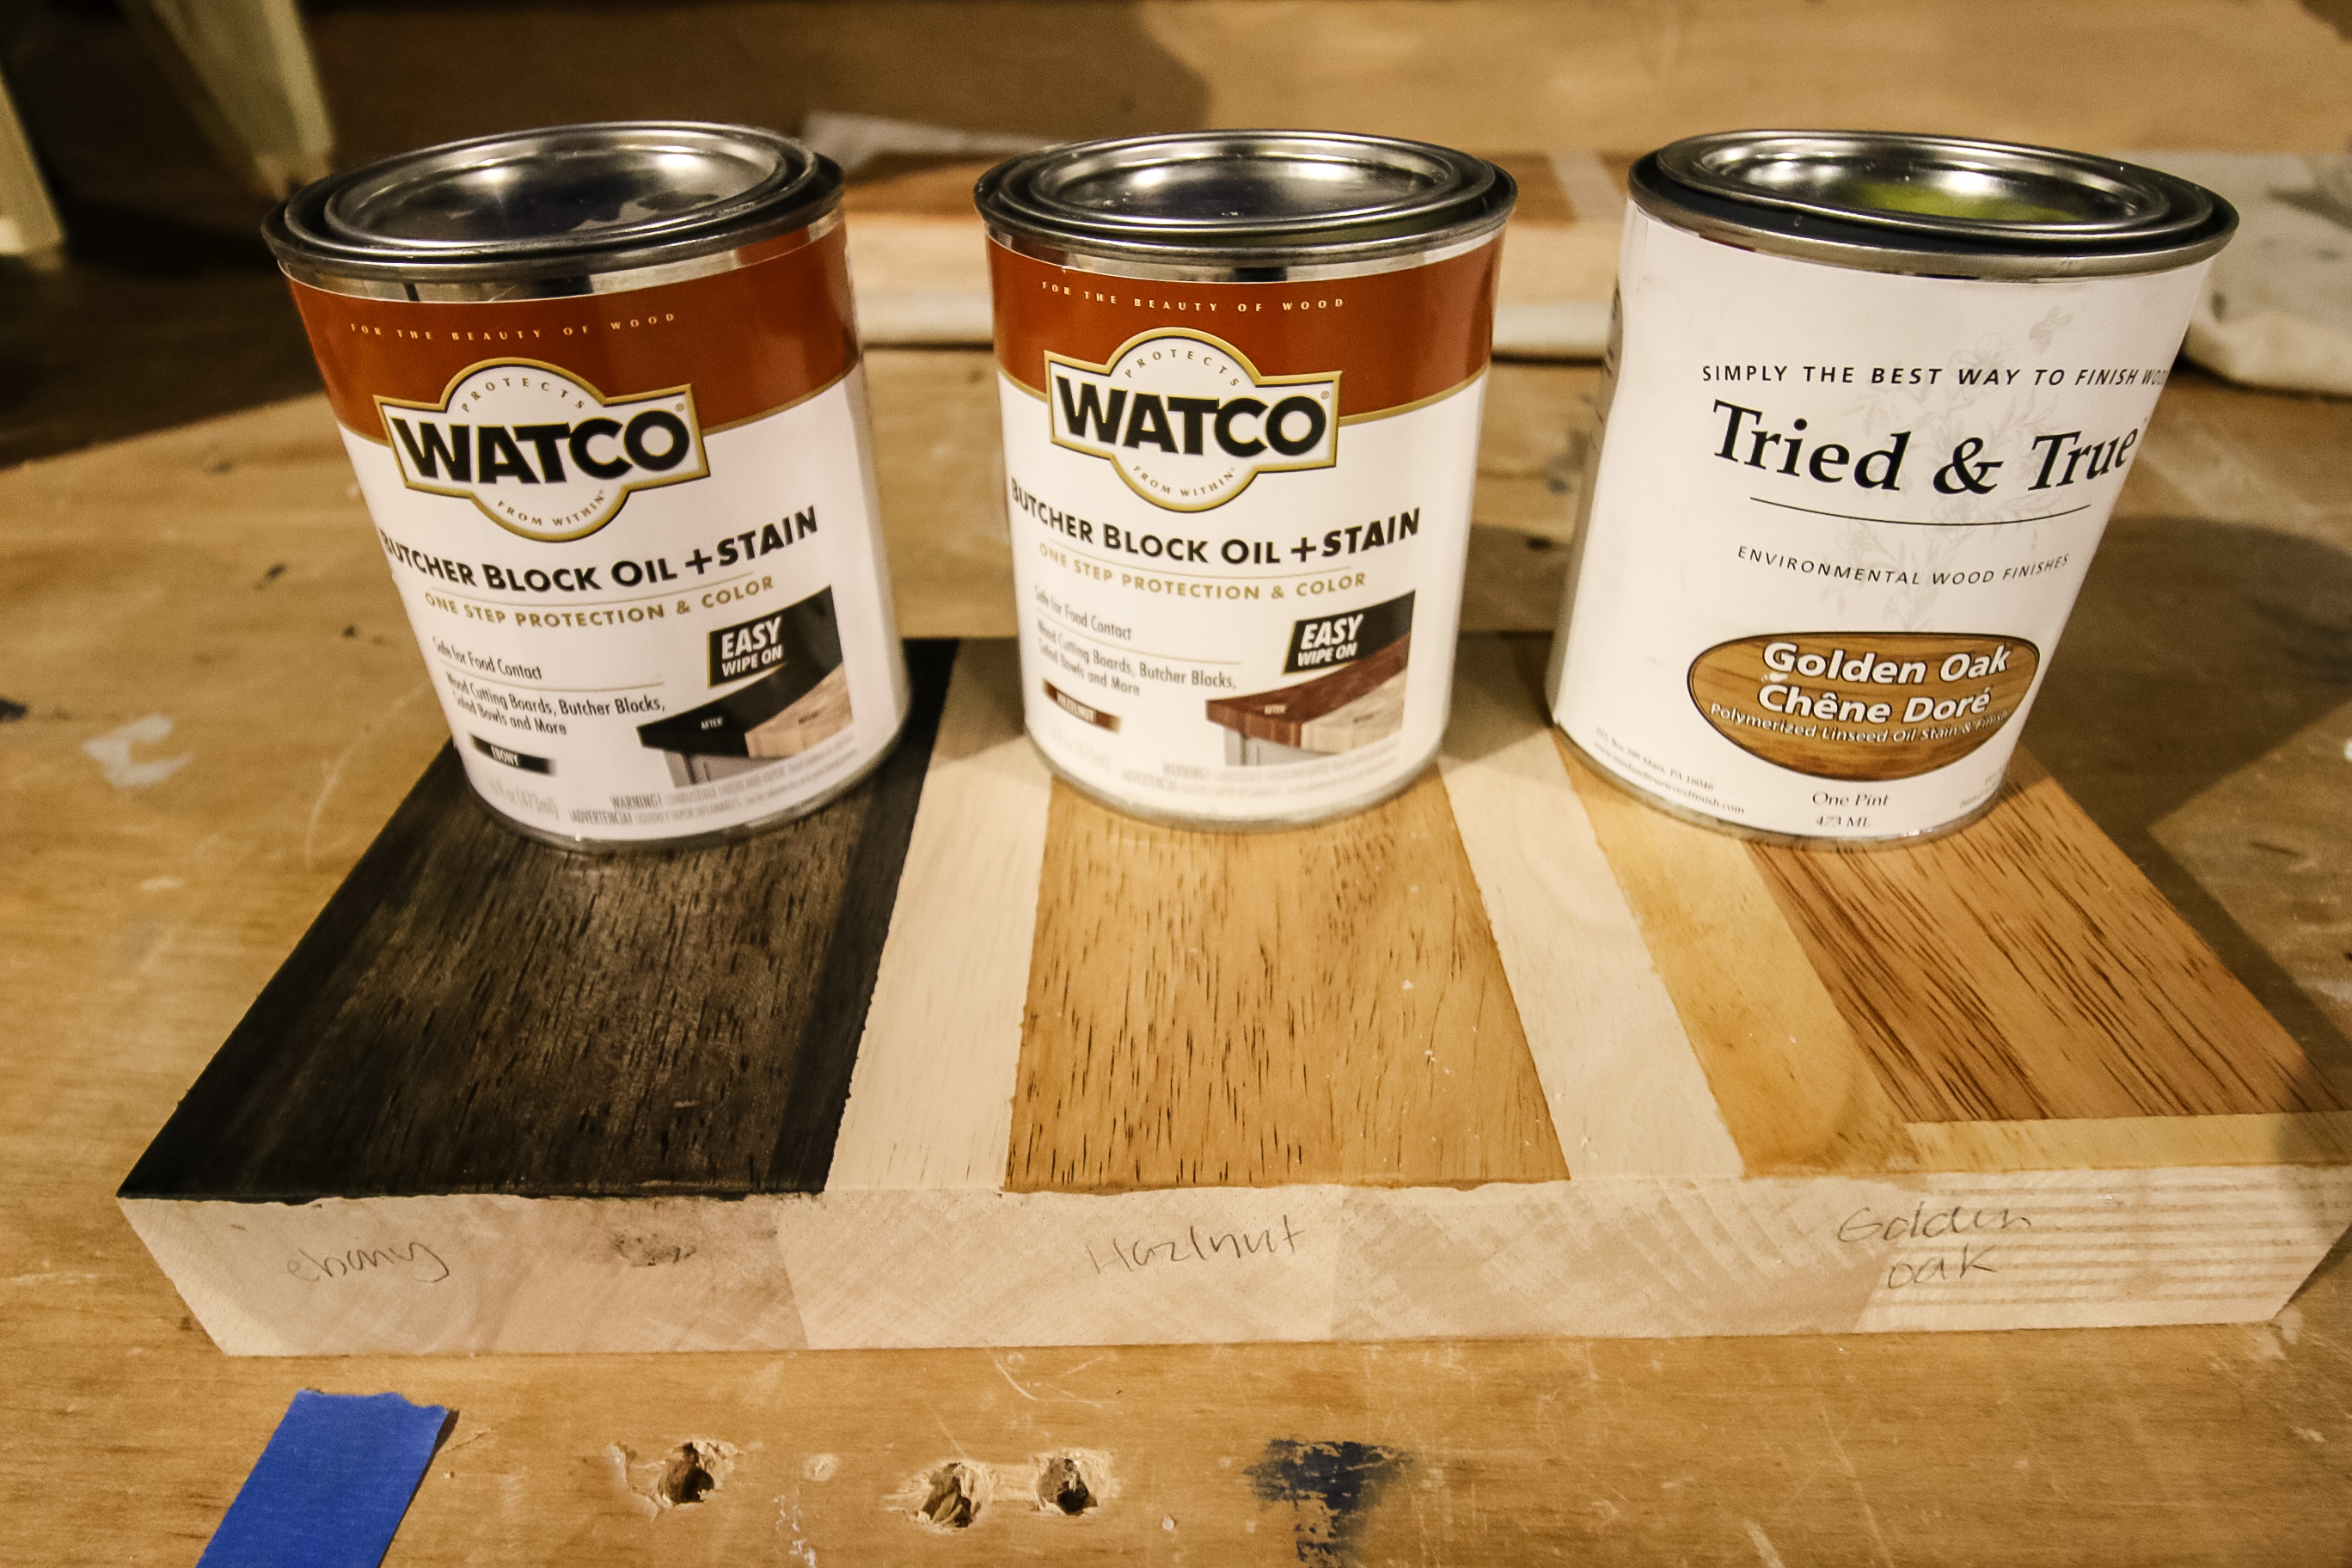
- If possible, take a piece of the wood with you to the store. Obviously, rarely possible, but it is ideal.
- Otherwise, take a photo. Experiment with lighting until the photo on your screen looks as true to real life as possible.
- Go to the hardware store and buy every stain that looks remotely close to your photo.
- Bring them home and hole them next to your piece. If any look wildly wrong, DO NOT open them. Return them!
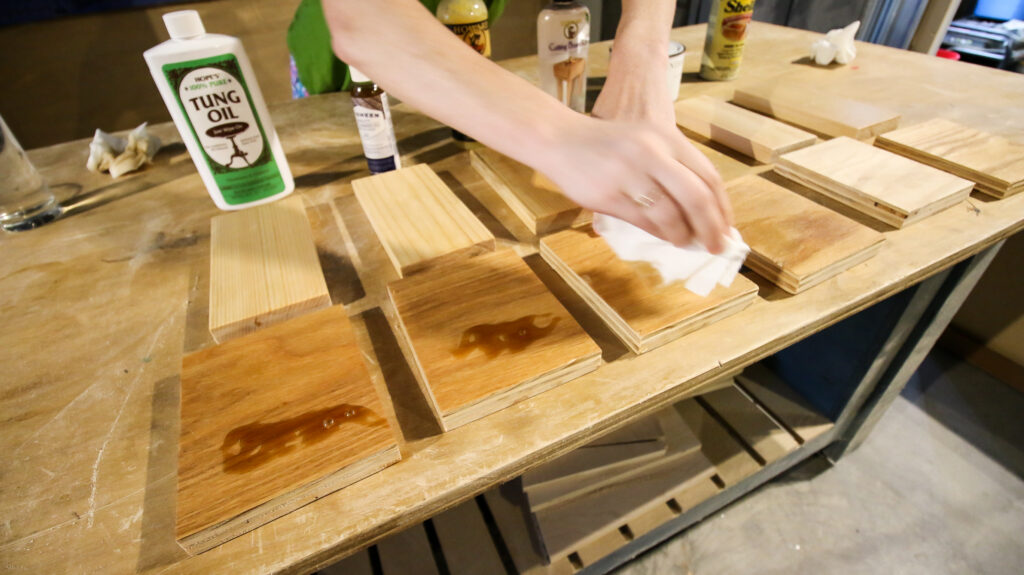
- If you have any scrap wood, test your closest colors on there. If not, you will need to test on the back, underside, or in a discreet spot.
- If you will be adding a top coat, I suggest testing with that as well because it can darken the color's final look.
- For times when an exact match is hard to fine, you can layer 2 colors or experiment with doing multiple coats. It's frustrating, I get it.
Applying Wood Stain
Wondering how to apply wood stain the right way?
Here's the best way to stain wood for a perfect finish!
- Test the Stain: Always perform a test on a small, inconspicuous area to ensure you like the desired color before staining the entire piece.
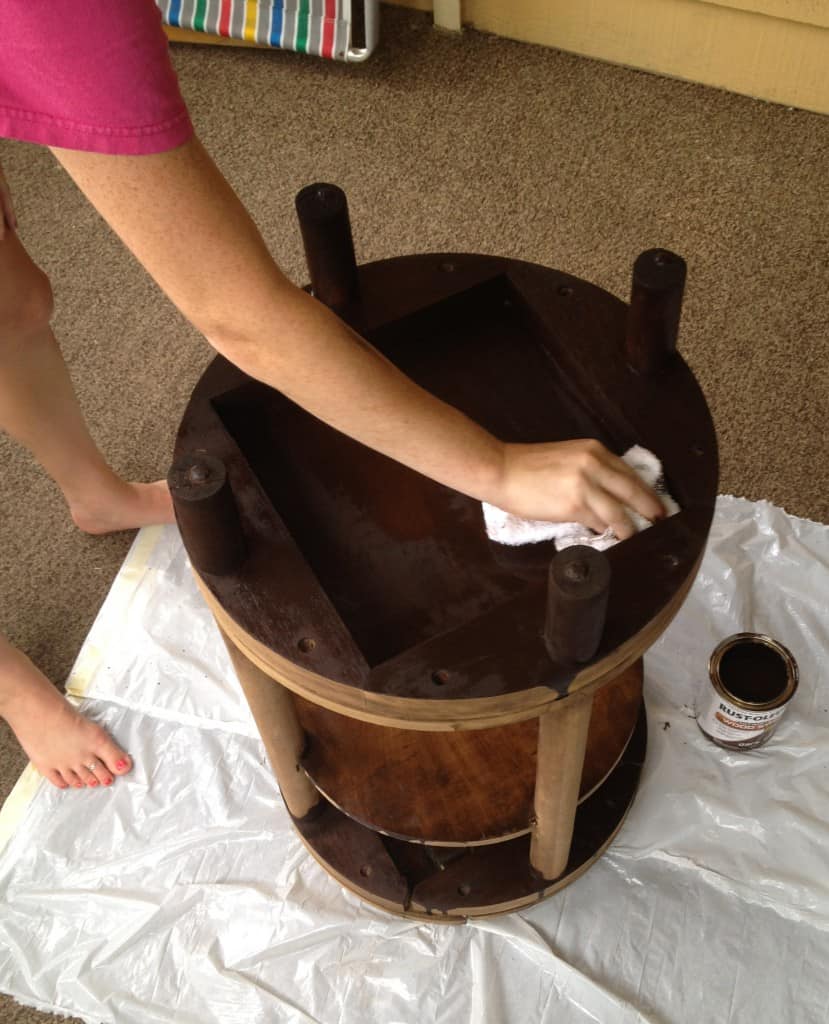
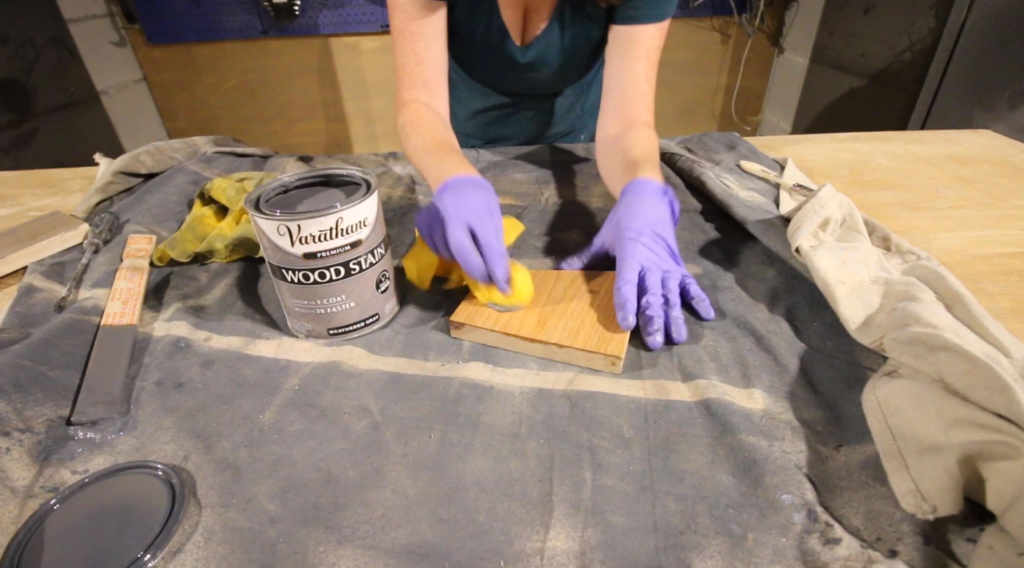
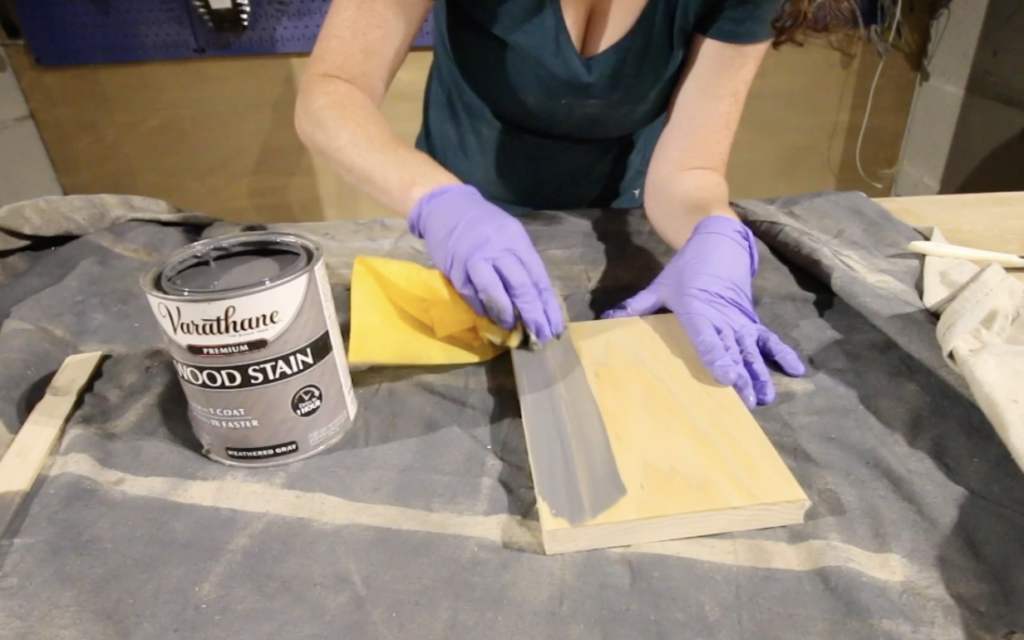
- Apply Stain: Using a brush or clean cloth, apply an even coat of stain following the wood grain. Brush up and down to mimic the direction of the grain and get the stain into all of the grooves and cracks. Work in small sections to avoid drying lines.
- Wipe Excess: After a few minutes, wipe off any excess stain with a clean cloth. Leaving pooling stain is what leads to a blotchy finish. Assess the color depth and decide if you want to apply a second coat. Allow it to dry according to the manufacturer's instructions.
- Apply Additional Coats (if needed): For a darker shade, apply additional coats after allowing the previous one to dry completely. Ensure each coat is evenly applied and wiped to maintain consistency.
Sealing and Finishing Stained Wood
Sealants and topcoats are crucial for preserving and enhancing your stained wood. A topcoat is going to be what protects your wood from minor scratches and dings due to normal wear and tear.
Remember that the topcoat that you choose will affect the final color of wood stain. It also will significantly affect the sheen of your wood.
Pay very close attention to if the topcoat you pick is matte, satin, semi gloss, or glossy. There's a very big difference between these finishes.
Even if you were just touching up staying, it's often best to add the topcoat to the entire surface. This is because a topcoat will lose it sheen and get worn down overtime.
It is very very hard to match sheen and it will make your touchup stand out if it doesn't match perfectly.
Troubleshooting Common Issues
Here are some of the issues you are likely to run into when trying to match wood stain!
Uneven Color or Blotchy Finish
Uneven color or blotchiness can occur due to wood porosity differences, improper sanding, or inadequate preparation.
Pre-Stain Conditioner: Apply a pre-stain wood conditioner to help control the absorption of stain, especially on porous wood. This evens out the stain penetration.
Sanding Technique: Make sure you are doing proper sanding, especially on porous wood species, using fine-grit sandpaper. Sanding evens the wood surface, reducing blotchiness.
Gel Stains or Thicker Formulations: Consider using gel stains or thicker formulations that sit on the surface rather than penetrating deeply, minimizing blotchiness.
What if the Stain Looks Too Dark?
If the applied stain appears darker than intended, and does not match the surrounding area:
Sand Away Excess Stain: If the stain is still wet, gently wipe it off or use fine-grit sandpaper to reduce its intensity.
Use a Lighter Stain: Apply a lighter shade of stain on top of the existing one to adjust the color.
Bleaching Agents: Consider using wood bleaching agents to lighten the wood before restaining. Test in a small area first.
What if the Stain Looks Too Light?
If the stain appears lighter than desired:
Reapply Stain: Apply another coat of the same or a slightly darker shade of stain to deepen the color.
Allow Drying Time: Sometimes, stains darken as they dry. Wait for the stain to fully dry before assessing the color.
Layering with Multiple Coats: Apply multiple thin coats of stain to build up the desired depth gradually.
What if the Wood has an Uneven Finish?
If you have issues such as splotchiness, color inconsistency, or lack of uniformity:
Sand and Reapply: Sand the surface lightly to remove uneven areas and reapply the stain evenly.
Testing in Small Areas: Always test stains on small, inconspicuous areas or scrap wood before applying to the entire project.
Even Application Technique: Use consistent strokes or wipes while applying the stain to maintain uniformity.
Final Tips
Consistency in Application: Ensure consistent application techniques and stain saturation across the project.
Patience and Testing: Patience is key. Test stains, wait for drying, and assess before making adjustments.
Remember, you are going to have to experiment and take your time to achieve the perfect wood stain match for your projects. Don't give up - you can do it!
Wood staining essentials!

Looking for something?
We've been doing this since 2012 so we have a LOT of blog posts!
Search stuff like: Ceiling Projects | DIY Plant Stands | Thrift Flips

Hello, I'm Morgan, half of the creative force behind CharlestonCrafted.com! With a passion for DIY that dates back to 2012, I've transformed three homes and now I'm dedicated to helping others craft their dream spaces. Let's turn your house into a home together!