Finally upgraded dust collection in your workshop and bought a Mullet M5 dust collection system? Here's how to set up a Mullet in about 20 minutes!
Disclosure: We were provided with a Mullet M5 for free for use in our shop, but were not compensated. This post is based on our experience of use. Clicking a link to their shop in this post will provide us with a small compensation at no expense to you.
Congratulations on joining the club to upgrade your dust collection system by adding a Mullet M5 dust collection system! (If you haven't bought one yet, use code "CHARLESTONCRAFTED" for a 10% discount on their website!)
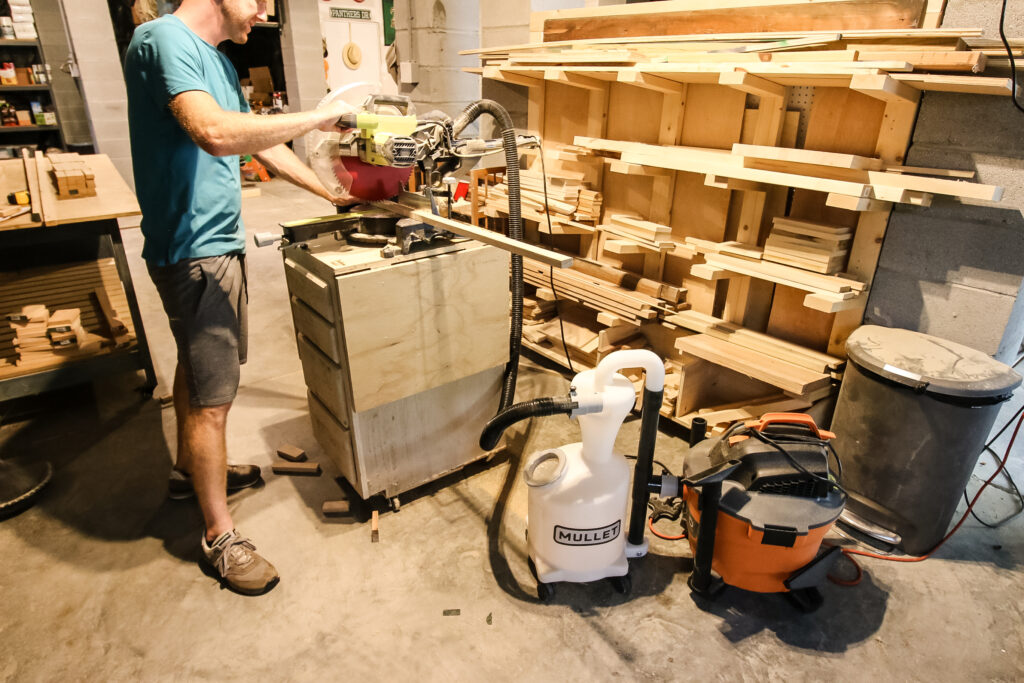
The Mullet Tools M5 has been a game changer in our small workshop, collecting all the sawdust and small wood chips we create so that they don't get into our wet dry shop vac.
We love how versatile the Mullet dust collector is and how easy it is to use. However, first, you have to set it up.
Setting up the Mullet dust collector is really easy and can be done in about 20 minutes. Here's how to do it to help you with any pain points!
How to install a Mullet dust collector
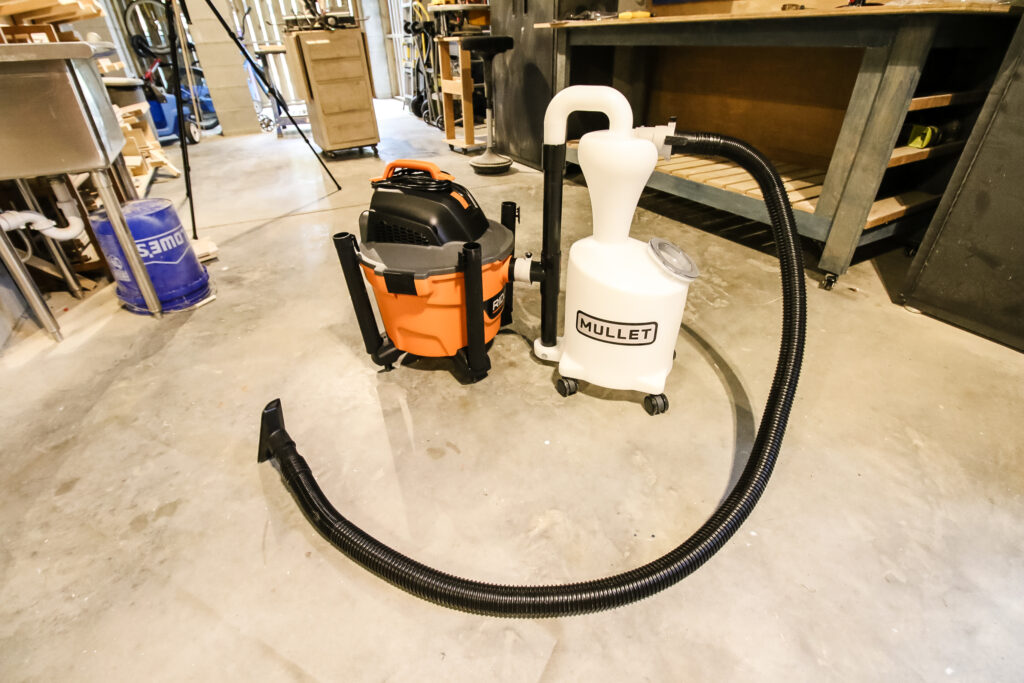
Installing your new Mullet dust collection system onto your shop vacuum is an easy process. Here are the steps and some photos to help you along the way.
The Mullet M5 fits to virtually any shop vacuum on the market, so you can make this work for you.
Remember, you can always refer to their set up manual as well (and read all of their obligatory dad jokes), but this post should help you get that air tight seal you need!
Step one: Attach feet
The great thing about the Mullet M5 is that it is portable and moves around your shop with your vacuum wherever you need it.
It does that with four rotating wheels.
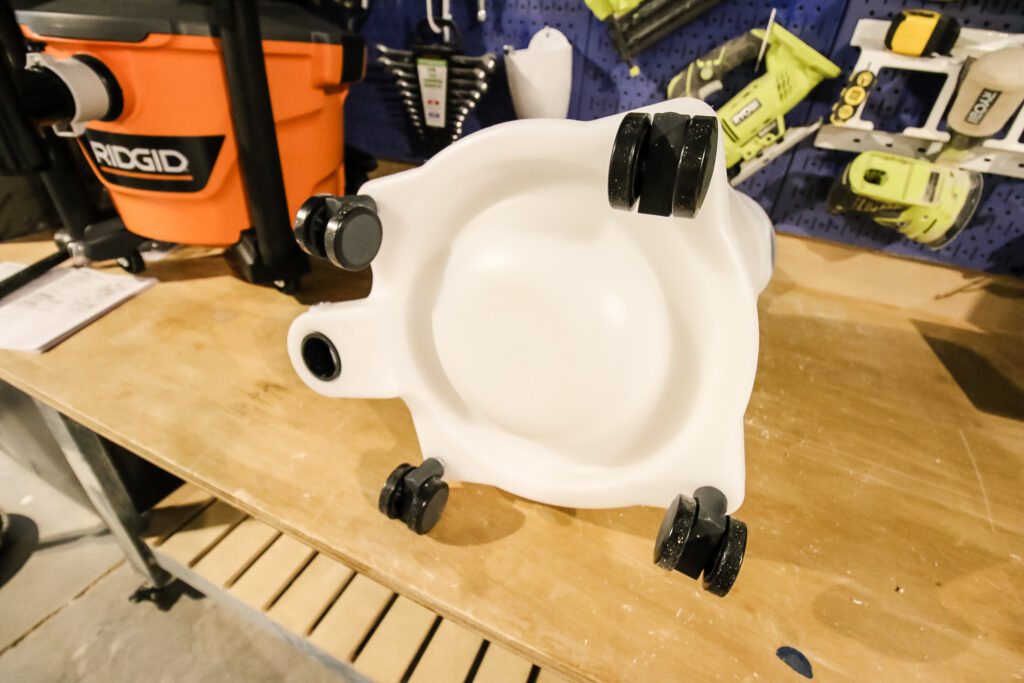
Start by clicking the four casters into place in the bottom of the unit until they are completely secure.
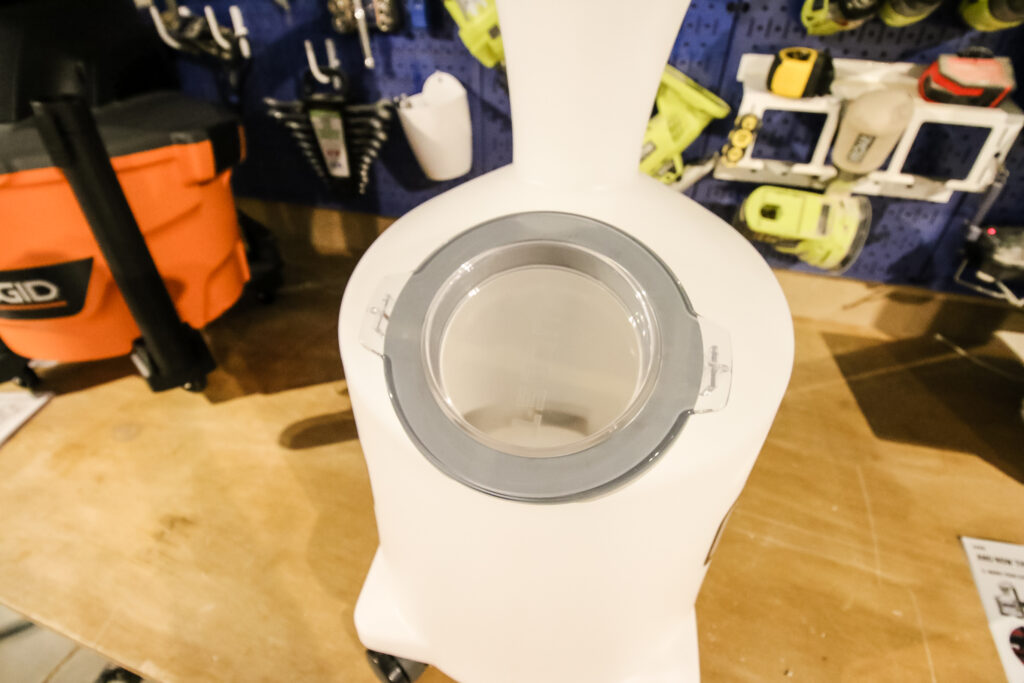
Step two: Install lid
If the lid isn't already attached to the unit, simply line it up over the hole and twist clockwise until fully sealed.
Step three: Attach adapter to vacuum
Remove the hose from your shop vac and slide one of the two hose adapters that came with the Mullet M5 onto the intake port of the vacuum. Push hard or twist it back and forth a little until it is all the way in place.

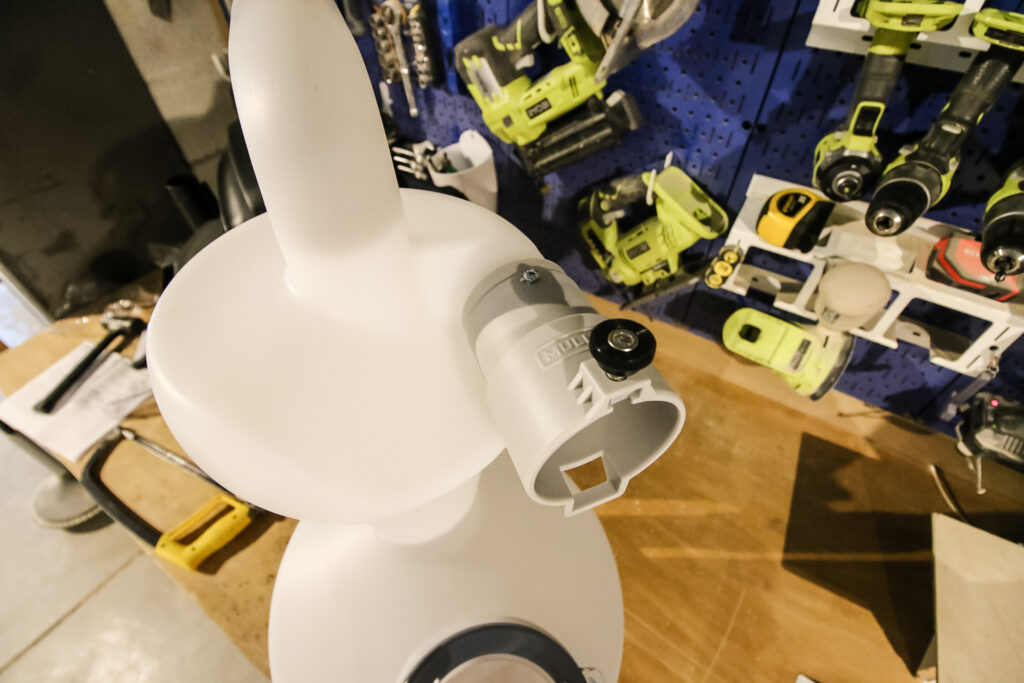
Step four: Attach Mullet "T" to vacuum adapter
Now, slide the "T" into the adapter on the vacuum.
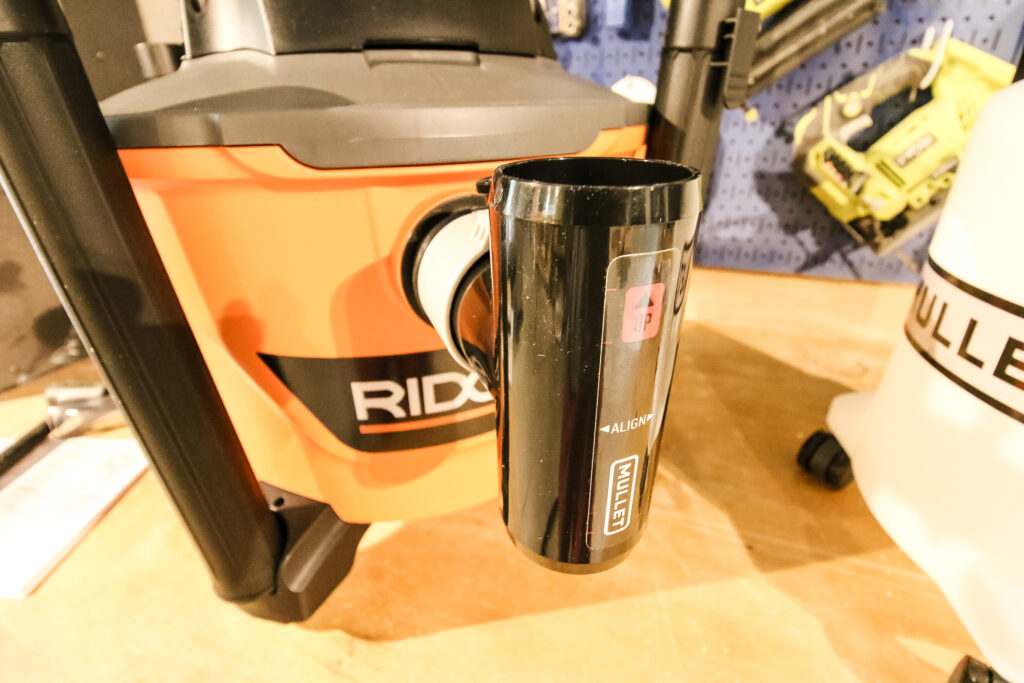
Once in place, tighten the nut on the adapter until it is snug and secure on the port.
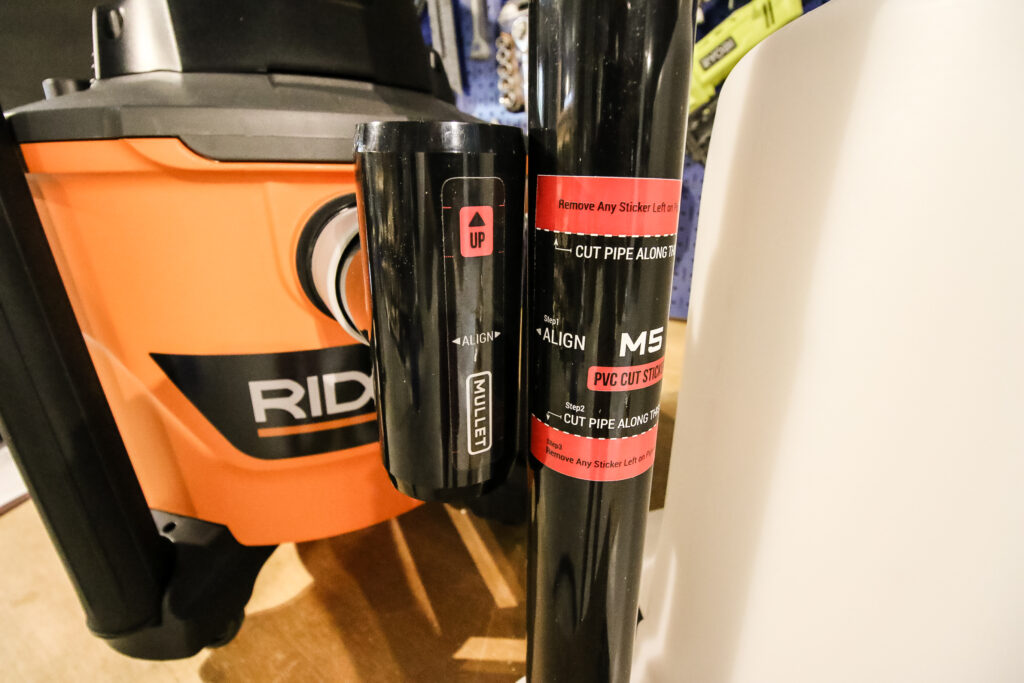
Step five: Cut Mullet pipe
The Mullet M5 comes with a sticker to put on the long black pipe on the back. Push the Mullet pipe against the "T" on the vacuum and attach the sticker to the pipe where it lines up with the "T."
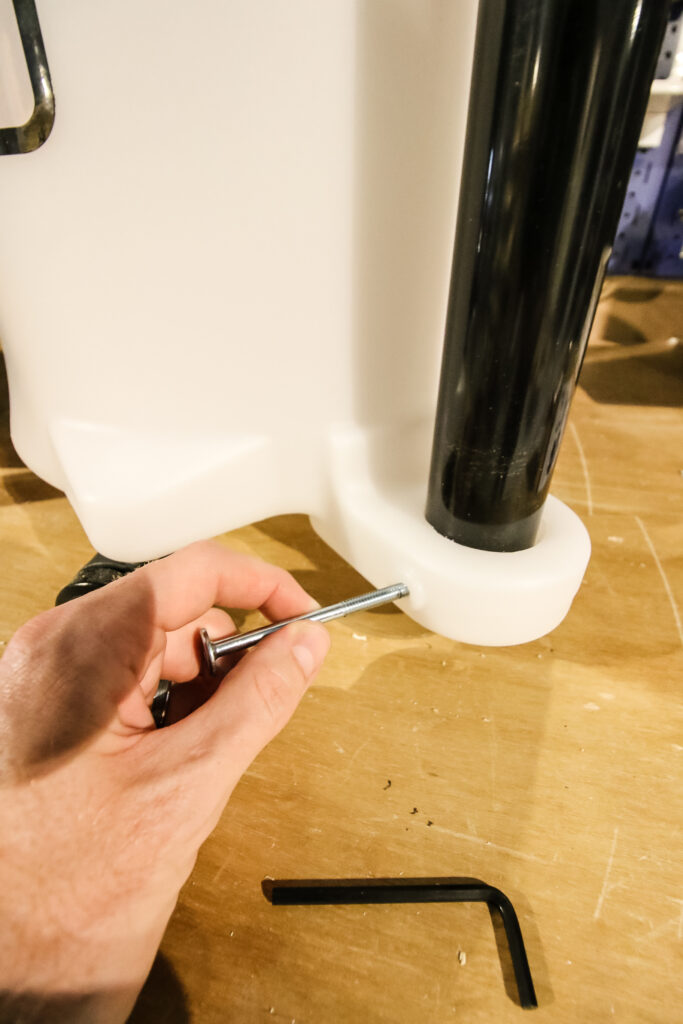
Next, pull the bolt out of the bottom of the pipe where it attaches to the unit and pull the whole pipe out.
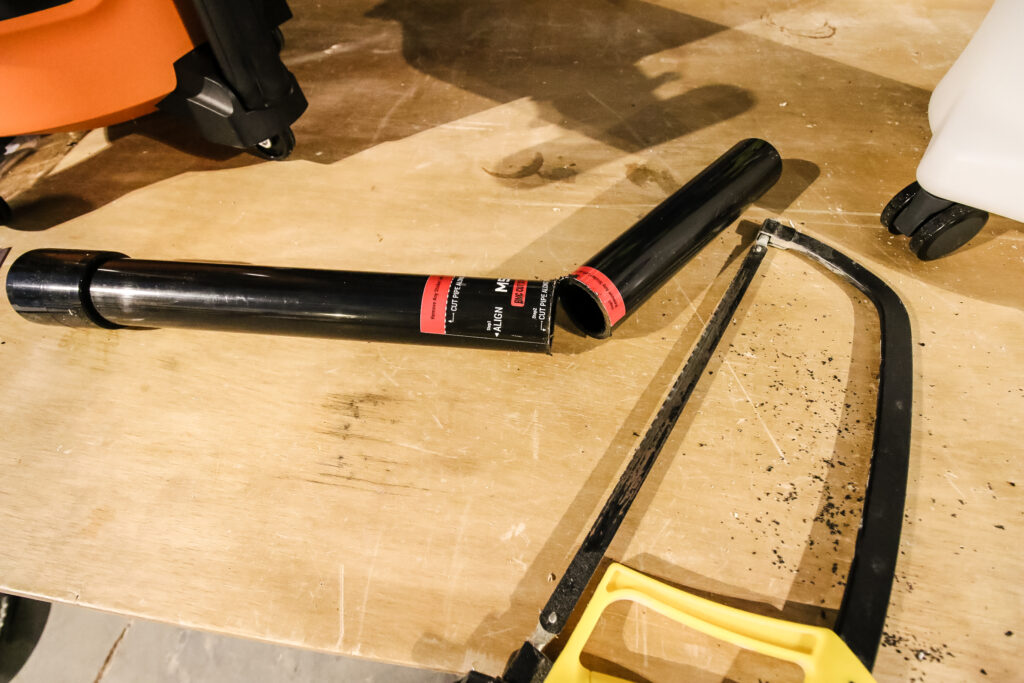
Finally, use a hacksaw or other saw for cutting thick plastic to cut along the lines indicated on the sticker.
Step six: Reinstall pipe
Slide the top of the pipe into the top of the unit, then slide the "T" onto the end of the pipe.
Then, slide the bottom of the pipe back through the hole at the base of the unit and into the "T."
Finally, reinstall the bolt through the unit and pipe and secure on the other side.
Step seven: Connect adapters and hose
Almost done! Slide the "T" into the adapter on the vacuum and tighten in place.
Then, add the second adapter to the intake port at the top of the Mullet unit and attach the vacuum hose there with the provided nut.
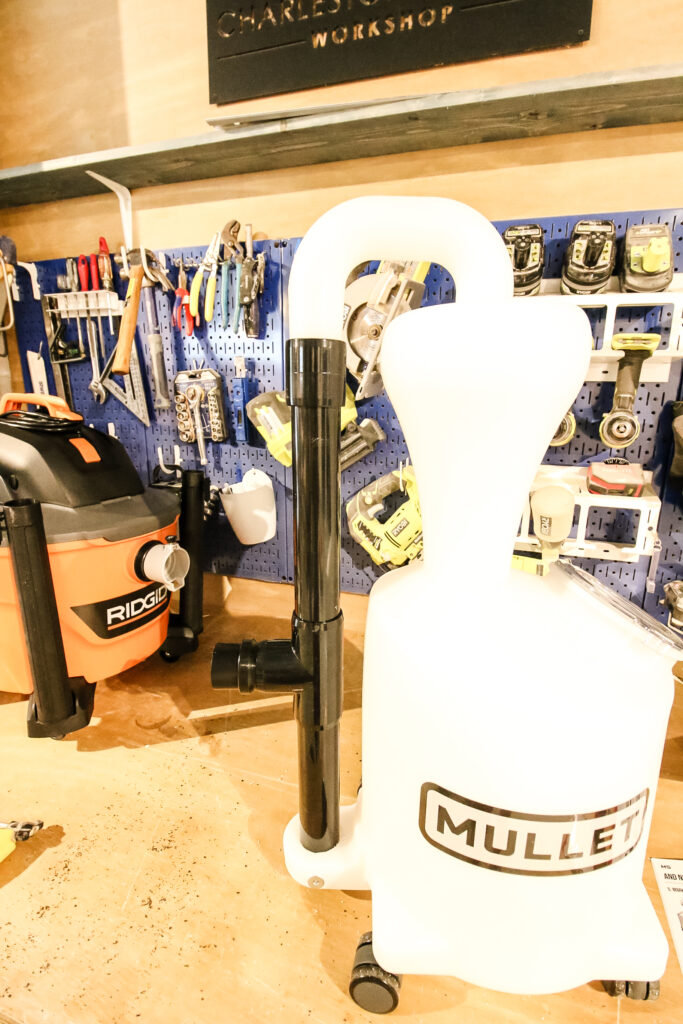
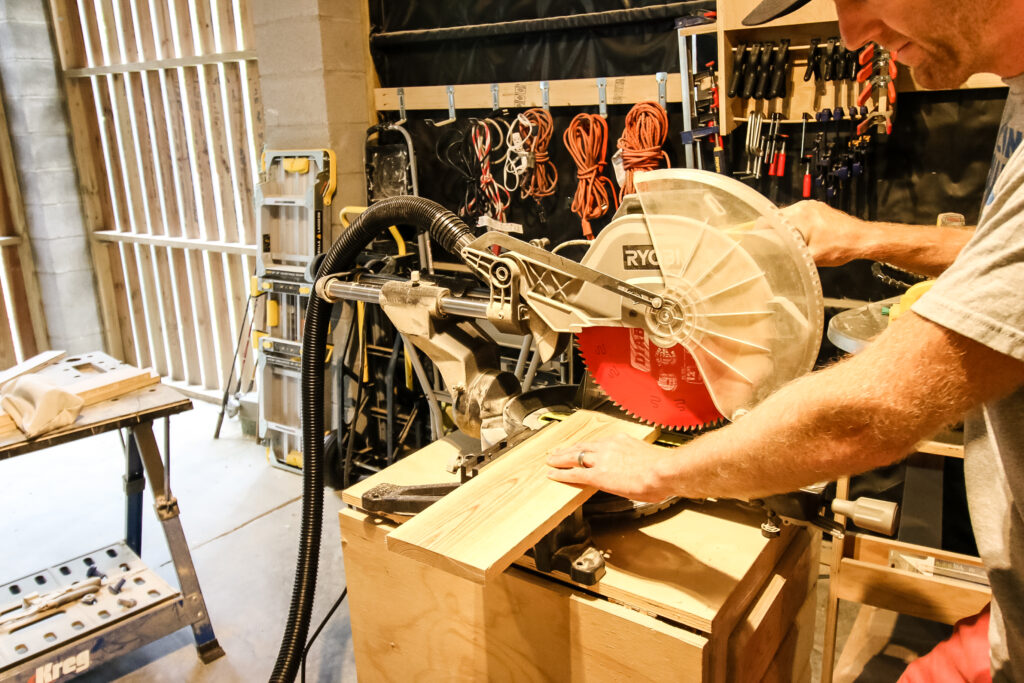
Step eight: Start sucking
Now that everything is working together, it's time to put the Mullet M5 dust cyclone to work!
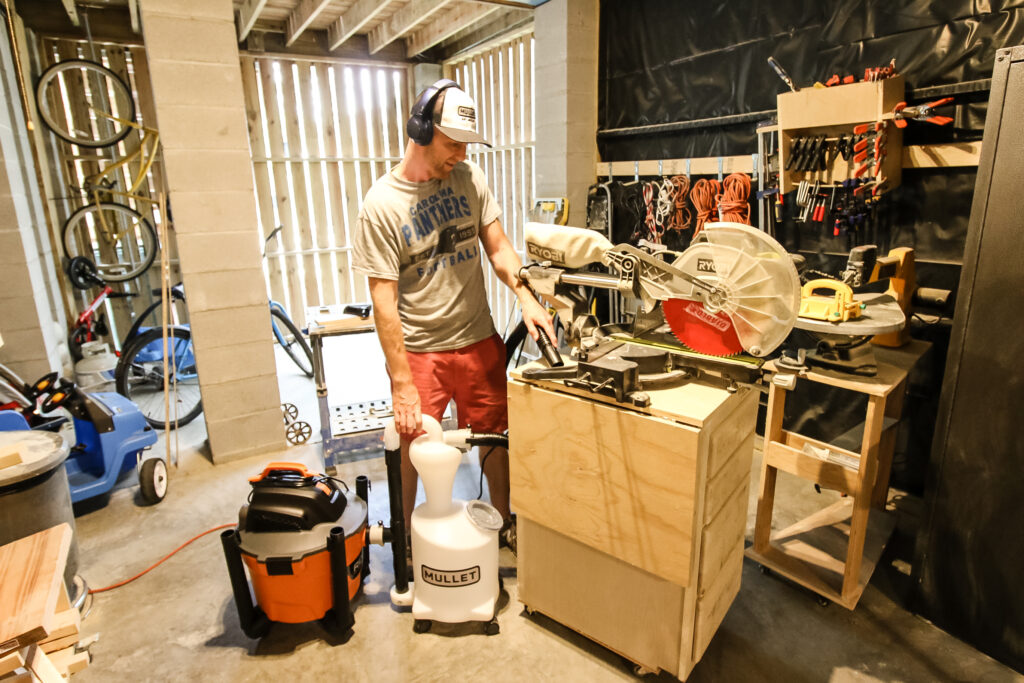
Cutting on your vacuum will start pulling air through the hose and the cyclone collection area. When you suck up a pile of sawdust, you'll see that the dust will start circulating in the top of the Mullet unit and spinning around until you turn off your vacuum, at which time it will fall down into the canister.
What vacuums does a Mullet M5 work with?
The Mullet M5 dust collection system works with virtually any shop vacuum on the market.
Supposedly there are a couple of vacuums that come with an angled intake port. If you have one of those rare vacuums, Mullet will send you an adapter for free.
How to empty a Mullet M5 dust collector
The Mullet M5 has a lot of space for collection of dust and debris and can go a long time between emptying.
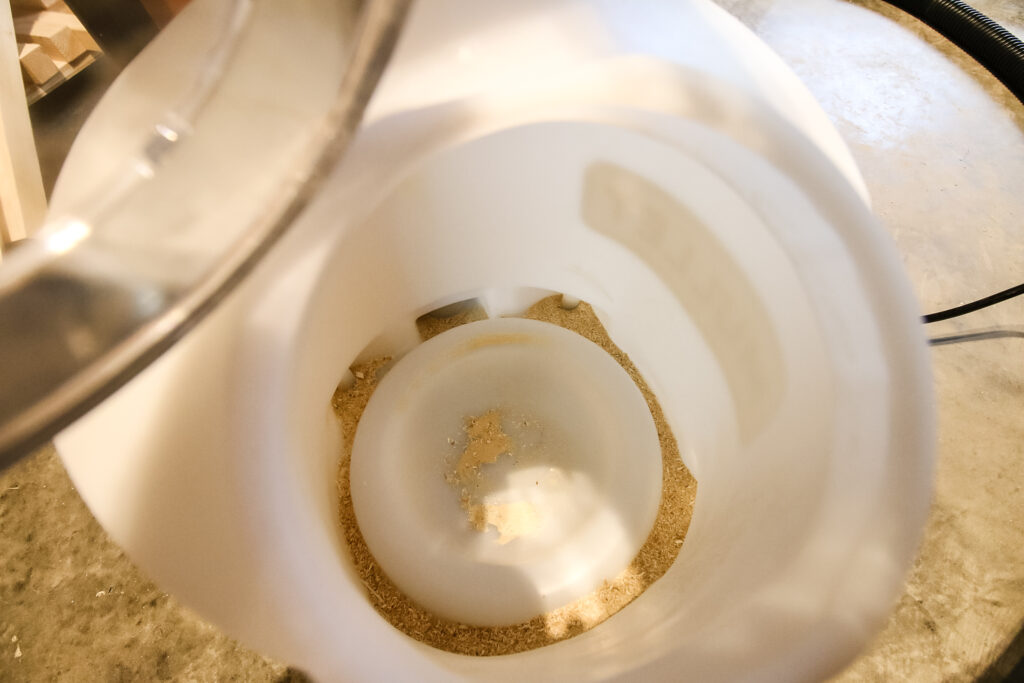
When you need to empty the Mullet M5, simply disconnect it from the vacuum, twist the clear canister lid counter clockwise to remove it, then dump the canister into the trash.
Mullet dust collector review
You've already got the Mullet Tools M5 dust collector (or you are reading this post for some reason and need one!), but if you want our full review and to learn more about how you can best use your Mullet M5, make sure you click over to read our full Mullet dust collector review!

Looking for something?
We've been doing this since 2012 so we have a LOT of blog posts!
Search stuff like: Ceiling Projects | DIY Plant Stands | Thrift Flips

Hey there, I'm Sean, the woodworking enthusiast and builder behind CharlestonCrafted.com! Since 2012, I've been sharing the magic of turning raw materials into beautiful creations. I love teaching others the art and satisfaction of woodworking and DIY. I try to inspire fellow crafters to make something extraordinary out of nothing at all.