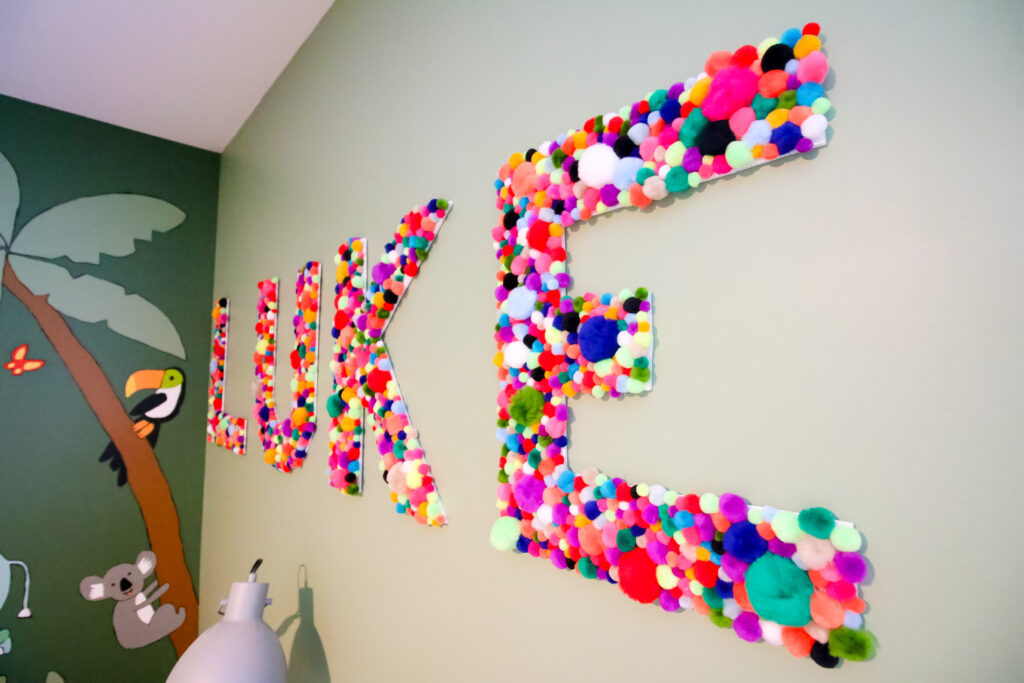
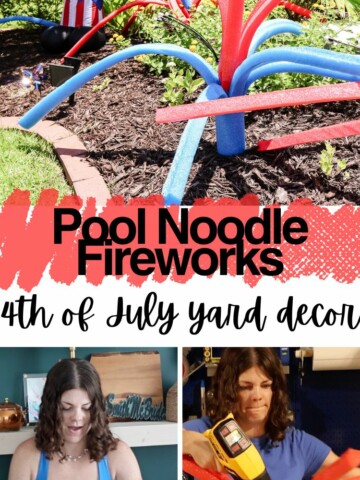
Want to make a bold, colorful statement in your home's decor? These DIY pom pom letters are the perfect touch for a kid's bedroom or playroom, can be made any size, and are a really budget friendly idea for large wall art!
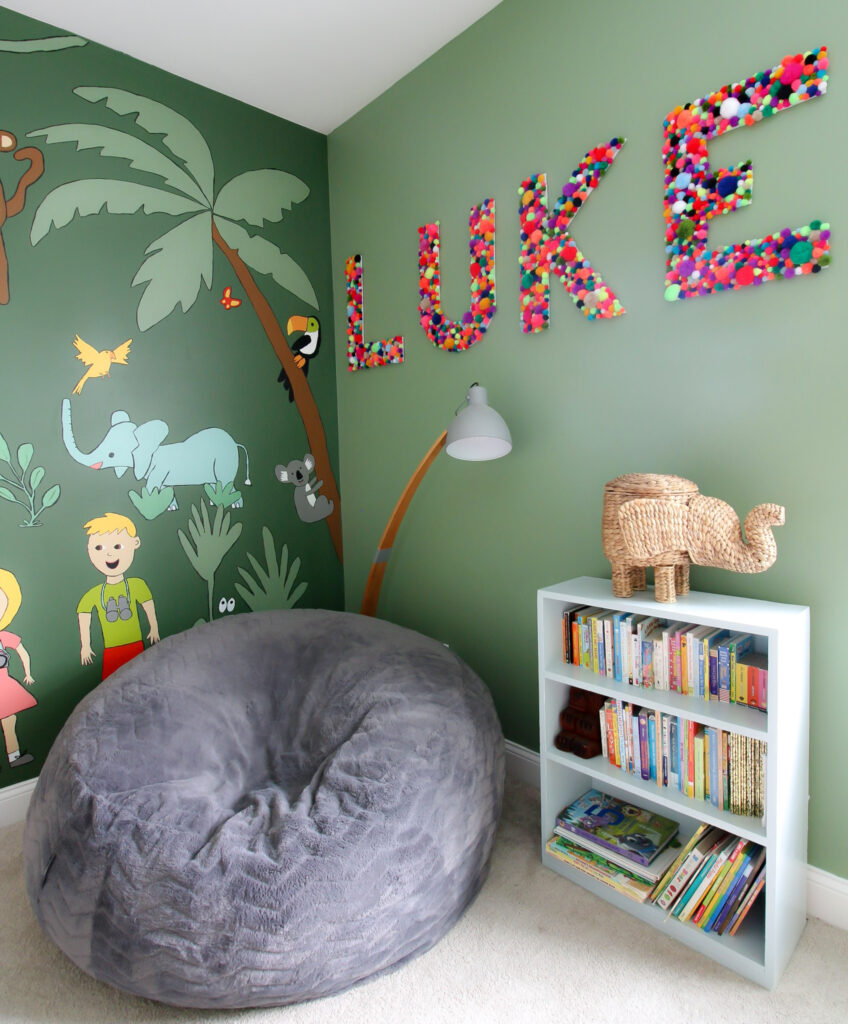
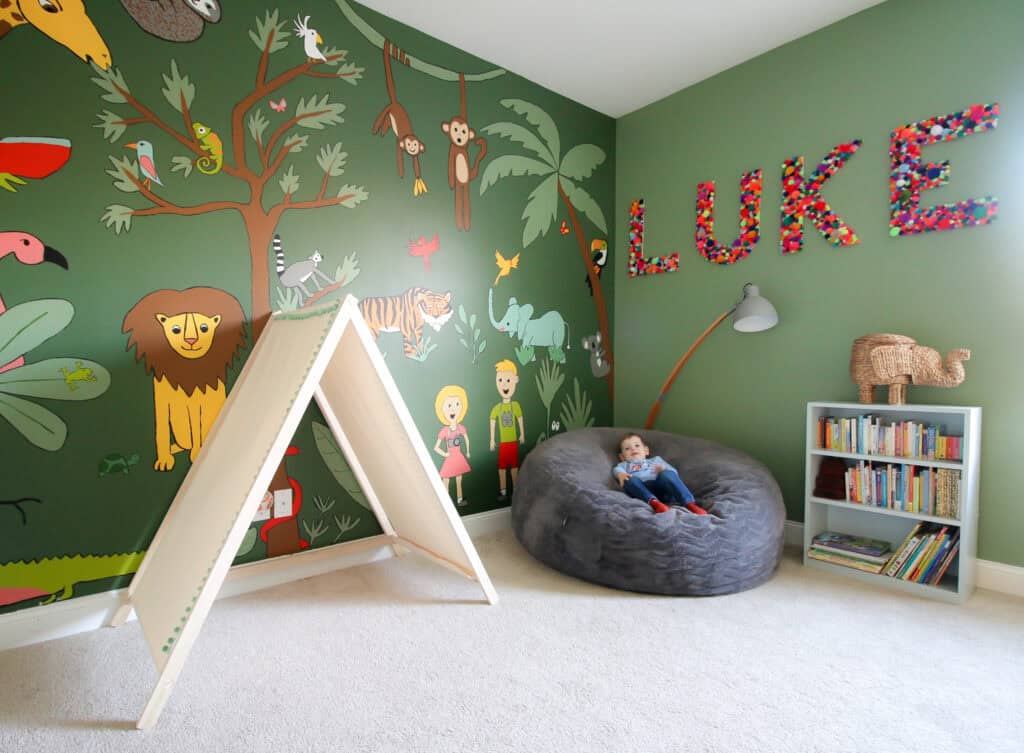
When we were almost done with Luke's bedroom makeover, I felt like the wall over his bean bag chair needed just a little something extra.
There's nothing wrong with a blank wall. But the jungle animal mural on the big wall in his room is a big, heavy statement. I wanted to balance it with more color throughout the space.
I added a pom pom garland to the wall opposite the mural and instantly knew I wanted to use more pom poms for this blank space.
This is a super simple craft to make. You don't need any fancy tools and you can make one in about fifteen minutes.
It's a great craft to do while watching TV or listening to a podcast.
I made these letters large - each is half of a sheet of poster board - but you could make them literally any size.
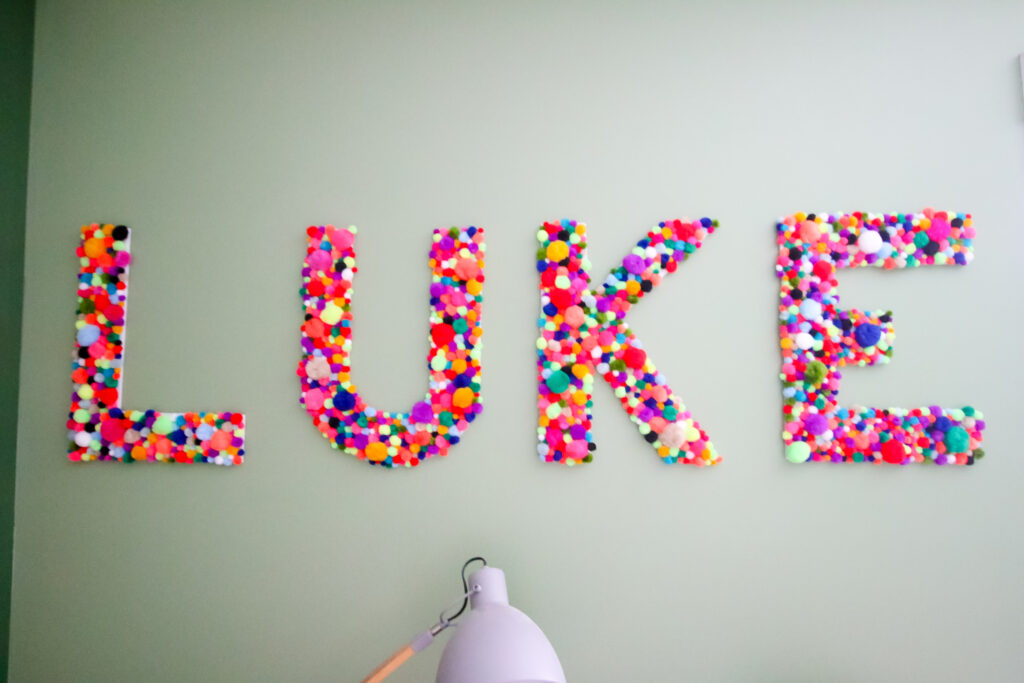
I love them on Luke's wall, but you could also do them for a playroom.
I have seen some similar letters made in a more refined color scheme and used for wedding or baby shower decor!

Luckily, my kids have short names. If your kids or family has longer names, you might want to consider just doing a first initial or even a monogram.
Like I said, these aren't hard to make, but they do take a little time.
A note about glue
There are 2 main ways that you could glue your pom poms to your posterboard.
If you are a crafter, the obvious choice is probably a hot glue gun. That was my initial thought, too.
However, hot glue dries really, really quickly.
If you want to use hot glue you will basically need to hot glue each pom pom and then stick it in place.
Totally doable, not hard, just time consuming.
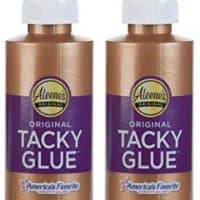
I wanted this to be a quicker project, so I actually used tacky glue.
I spread the tacky glue out using a foam paint brush to cover the whole letter.
Tacky glue dries slowly so I had a lot of time to work with the glue before it firmed up.
This way I could spread it all with glue, stick on all my pom poms, and move on my way.
The tacky glue does mean each ball needs to be pressed firmly in place and it needs to dry flat over night.
I had a couple of pom poms fall off in the morning - we are talking less than 5 out of 1,200 pom poms - but zero have fallen in the 2 weeks since we hung them on the wall.
You can use either glue method, both has pros and cons, you'll just have to decide which is best for you!
How to make oversized pom pom letters
Supplies needed:
- Foam board or plastic corrugated board
- Pencil
- Ruler or tape measure
- Scissors or exacto knife and cutting mat
- Foam paint brush
- Tacky glue (or other white crafting glue)
- Pom poms in assorted sizes
How many pom poms do I need?
I made 2 letters to a sheet of poster board, 4" thick. Each letter used basically a whole 300 pack of assorted sized pom poms.
Steps to make pom pom letters:
STEP 1: Draw your letters
First, draw out your letters. You will want to use a ruler to get them even and straight.
Mine are each 4" wide and the full size of a half poster board.
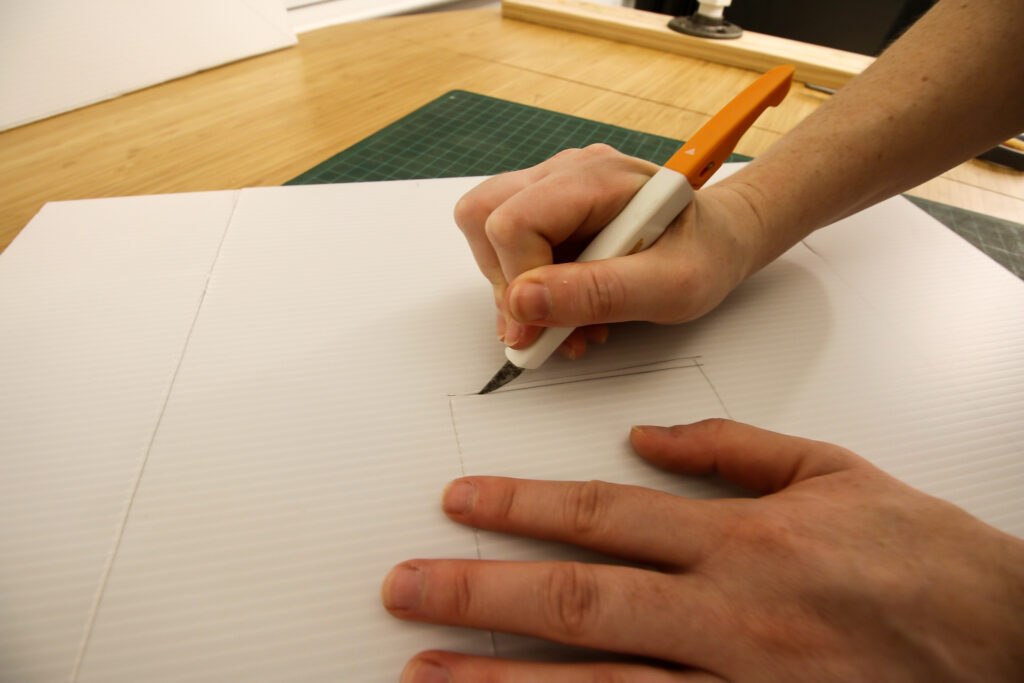
STEP 2: Cut out the letters
Cut your letters out. I had much more success cutting with an exacto knife on a cutting mat, but scissors will work in a pinch.
If you prefer, you could also use pre-cut wood or cardboard letters from the craft store!
STEP 3: Apply the glue
Squirt blobs of glue onto your letters. Use a foam brush to spread.
This is important - be sure to get it all the way to the edges. Anywhere you leave blank will have no pom poms stick.
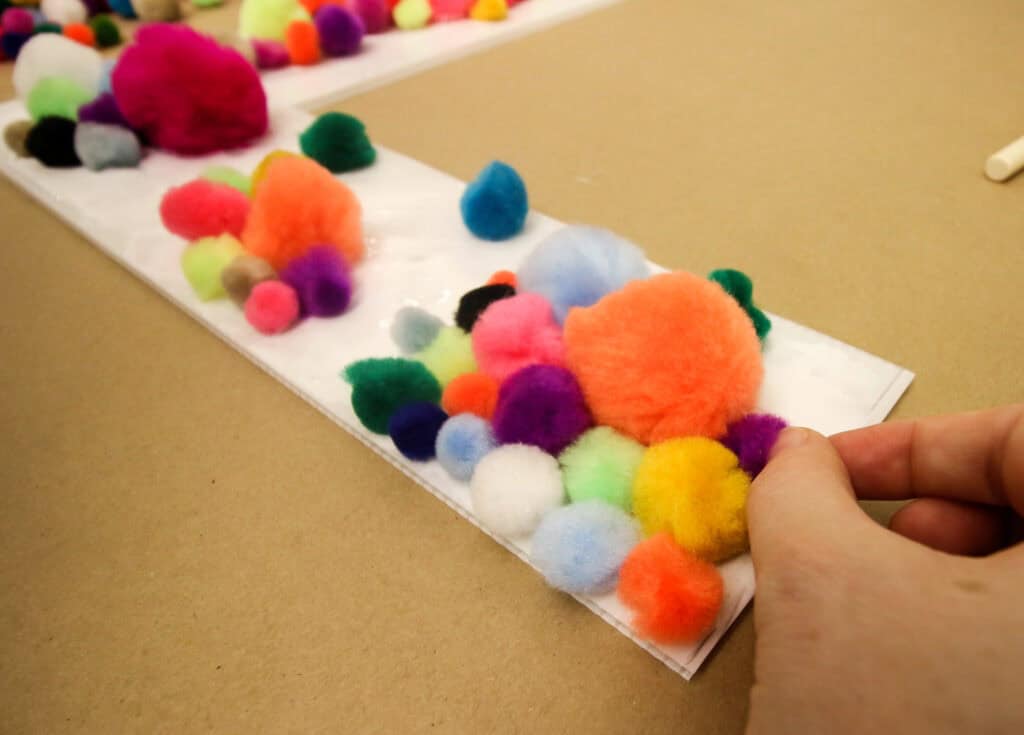
STEP 4: Apply the pom poms
Add your pom poms. I started with the largest spread out evenly, then fanned out around them with descendingly small pom poms.
If you get multiple color packs of pom poms, mix them up in advance for a more balance, well mixed look.
STEP 5: Allow to dry
Once complete, allow to dry completely over night.
You don't need to put books on top or apply pressure. They will dry just fine.
How to hang the pom pom letters on the wall
You have 2 choices for hanging these pom pom letters on the wall:
- Command strips
- Small nails
Command strips are obviously removable and leave no trace. Just attach them to the back of your letter and the wall.
However, I wanted these to be up very well, so I used small picture hanging nails.
We just hammered them through the poster straight into the wall, 2-4 per letter.
How to make your own pom poms
It's easy to make your own yarn pom poms using this pom pom maker tool!
Video Tutorial
Be sure to check out my video tutorial showing how I made these oversized pom pom letters!
How to make pom pom letters
Pom pom letters add a bit of color and whimsy to any room. They are perfect for kid's rooms or playrooms! Here's how to make them - the easy way.
Materials
- Foam poster board or plastic corrugated board
- Pencil
- Foam paint brush
- Tacky glue
- Pom poms
Tools
- Ruler or tape measure
- Scissors or exacto knife and cutting mat
Instructions
- Draw out your letters to the desired size.
- Use scissors or exacto knife to cut out.
- Apply glue all over using a foam brush. Don't miss any spots.
- Apply the pom poms onto the glue, starting with the largest
- Allow to dry
- Hang with small nails or command strips
Recommended Products
As an Amazon Associate and member of other affiliate programs, I earn from qualifying purchases.


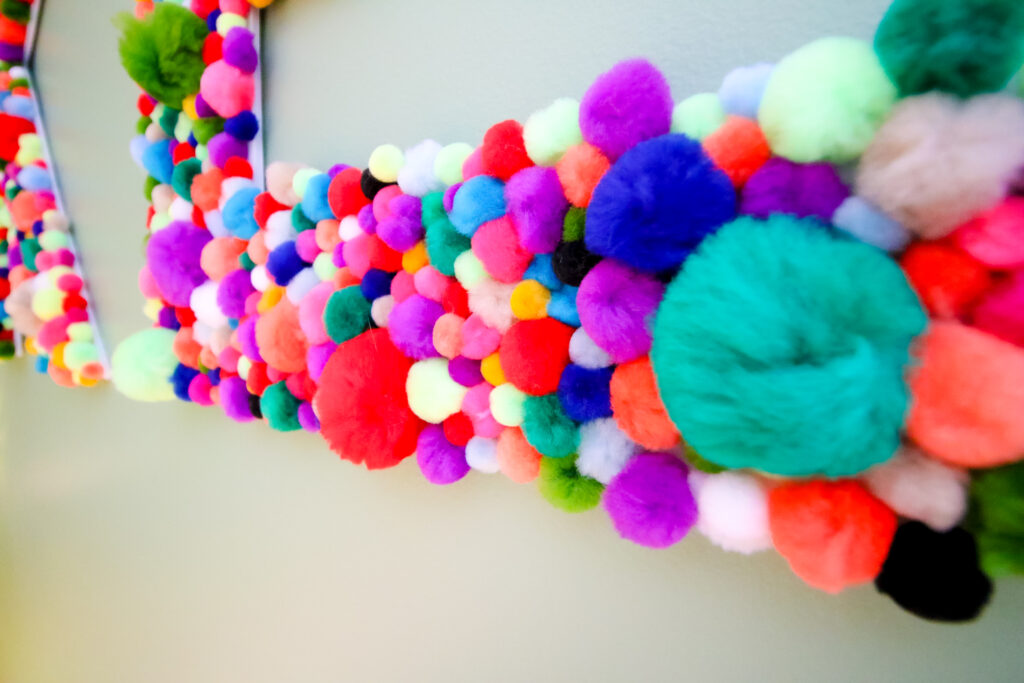
I really love how these pom pom letters turned out and the fun touch they added to Luke's bedroom!

Looking for something?
We've been doing this since 2012 so we have a LOT of blog posts!
Search stuff like: Ceiling Projects | DIY Plant Stands | Thrift Flips

Hello, I'm Morgan, half of the creative force behind CharlestonCrafted.com! With a passion for DIY that dates back to 2012, I've transformed three homes and now I'm dedicated to helping others craft their dream spaces. Let's turn your house into a home together!
Linda says
Thank you, what a fun, and colourful project, looking forward to making this..