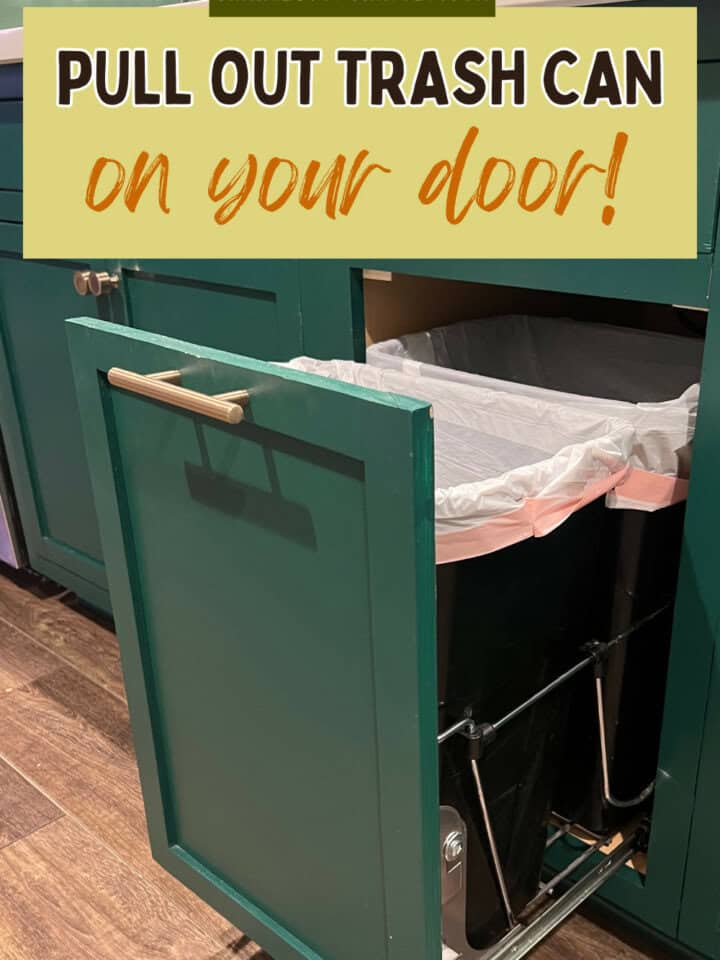
Looking to install a pull out trash can that attaches to your base cabinet door? All you need is a simple kit and a little guidance. Find it here!
I don't know about you, but I hate having a trash can out in the open in your kitchen. It's like literally filled with garbage and I don't want it on display.
At our old house, our dog was constantly flipping it and eating the trash, so I built a tilt-out trash can into an upper wall cabinet that I took down in a renovation and added to our base cabinets.
At our current house, I installed a Rev-a-Shelf pull out trash can into a base cabinet the first week we moved in. There was literally no where for us to even put a trash can because of the layout of the kitchen, so this was the only choice.
But we didn't love that we had to open the door, then pull the trash can out. I wanted to just pull on the door.
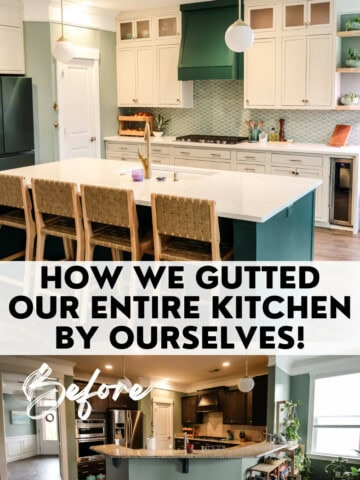
So when we built our new kitchen island in our DIY kitchen renovation, I made sure to change it so that we could pull the base cabinet door and it would pull the trash can out at the same time.

How to add a pull out trash can to a cabinet
Installing a pull out trash can that opens when you pull your base cabinet door is actually a really simple process. You don't need a lot of tools, skills or time.
To start this process from the beginning, you'll need the two kits I have listed below and then simply follow the steps I have outlined. I include a few tips and tricks that aren't in the instructions either!
What you need:
Here's the materials and tools you need to add a pull out trash can to your base cabinet!
- Rev-a-Shelf Double Pull Out Trash Can
- Rev-a-Shelf Cabinet Door Mount Kit
- Drill
- Measuring tape
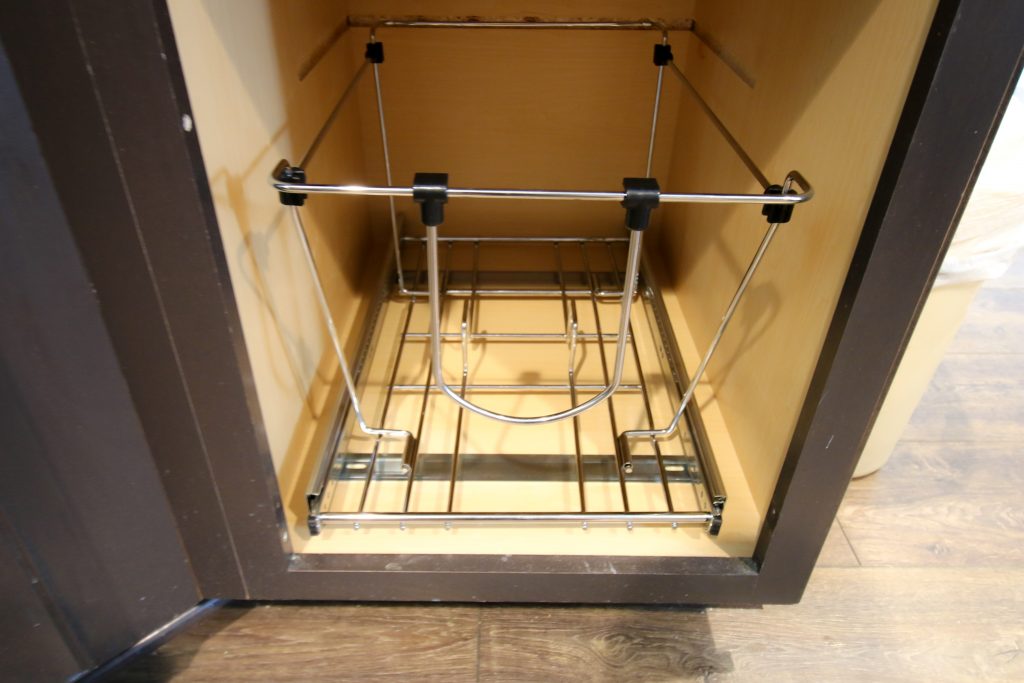
Step one: Install pull out trash can
Start by installing the pull out trash cans themselves. I have this process detailed in this blog post, so I won't get into it here. But this kit is essentially drawer slides that are installed in the base of the cabinet and then the frame for holding the trash cans is attached to the slides.
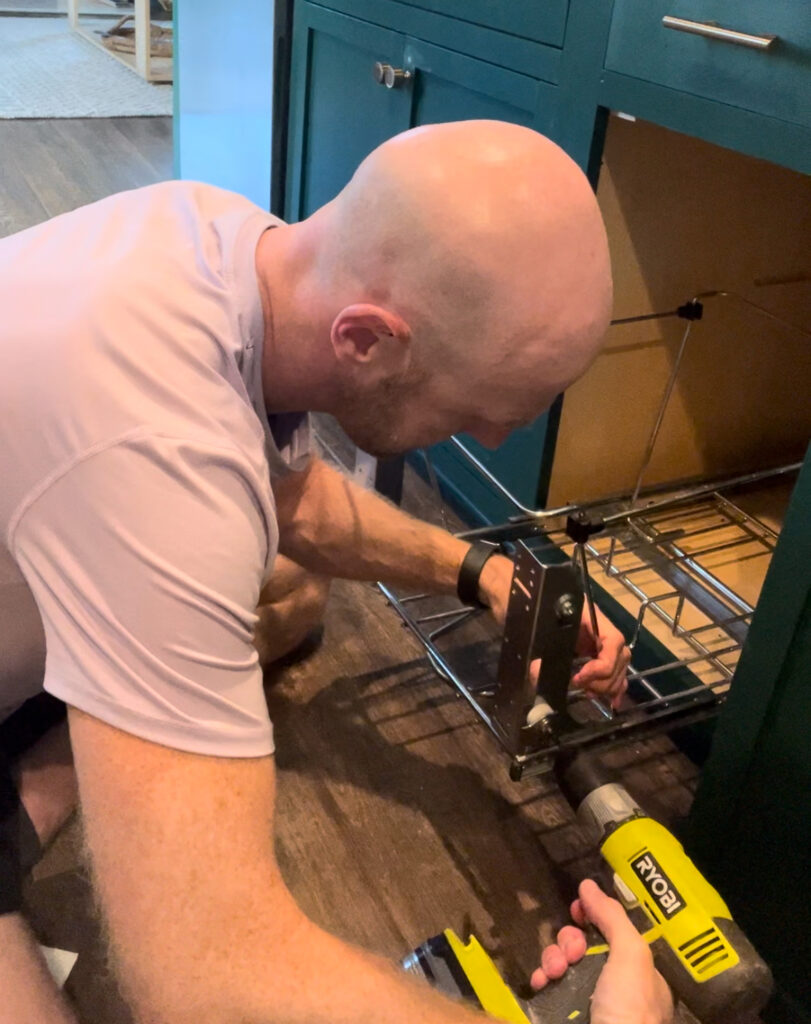
Step two: attach L-brackets to slides
Once you have the trash can system in place, you can start the process of attaching the door mount kit. This starts by attaching the L-brackets to the slides installed before.
The L-brackets screw in with bolts into the brackets. You'll see where these go on the slides with no issue. Use the screws and nuts to get them in tight.
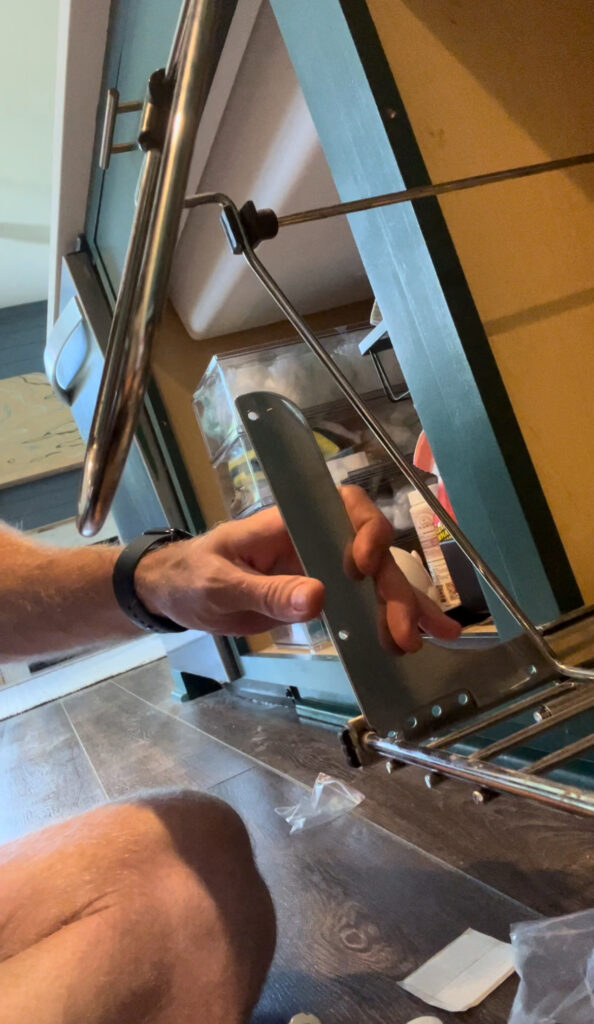
Step three: attach door brackets
Next, attach the door brackets to the L-brackets. This is where you're going to have to try a couple of things depending on your specific door size and construction.
So these brackets are reversible and can go on either side. They also come with some plastic spacers as well. The reason for this is because you need to have these door brackets attached so that they go into wood that is ¾" thick, which is the frame of the door.
Measure the width from the center of your door frames and then see how that aligns with where you need to attach the door brackets to the L-brackets. For me, I had to have them face the inside so that it would work. Luckily, the brackets include lots of holes as well so you can screw in where it works.
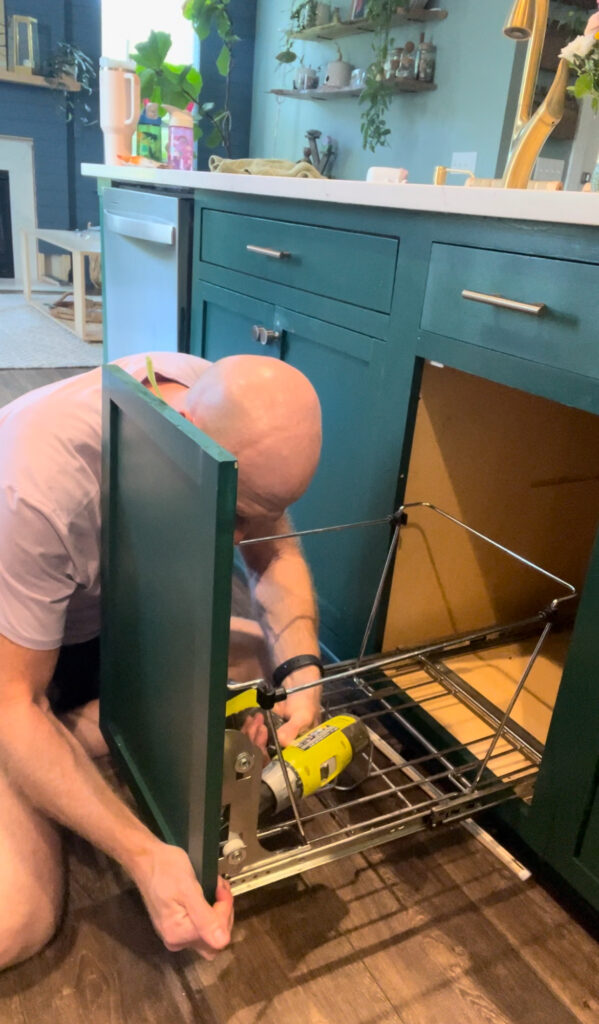
Step four: attach door to brackets
Next, attach the door to the brackets. To do that, it comes with some double sided Command tape that you attach to the door brackets and then you can push the door in where it needs to go.
So I put the tape on the brackets, pushed the trash cans into the cabinet, then put a ⅛" spacer on the bottom of my cabinet door frame. Then I set my cabinet door on that spacer and then pushed it against the table on the trash can kit.
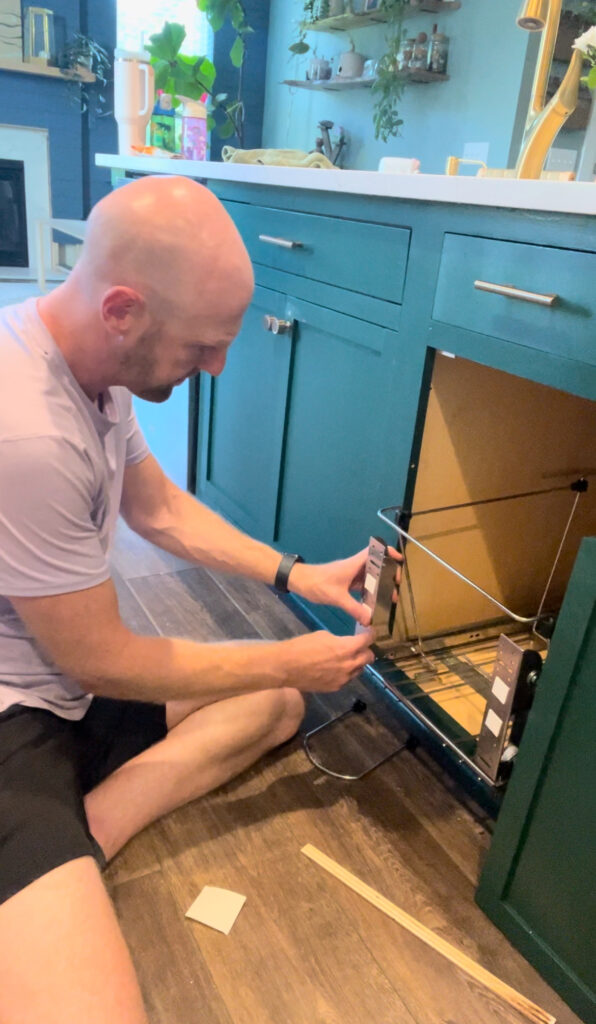
This keeps the door stuck onto the trash cans where it needs to be to align for the doors. If you aren't doing inset doors, you won't need to use the spacer and be quite so exact because you have wiggle room with the overlay, but you still want to make sure it's in line where you want it.
Finally, use the provided screws and drive them through the holes in the door brackets and into the door.
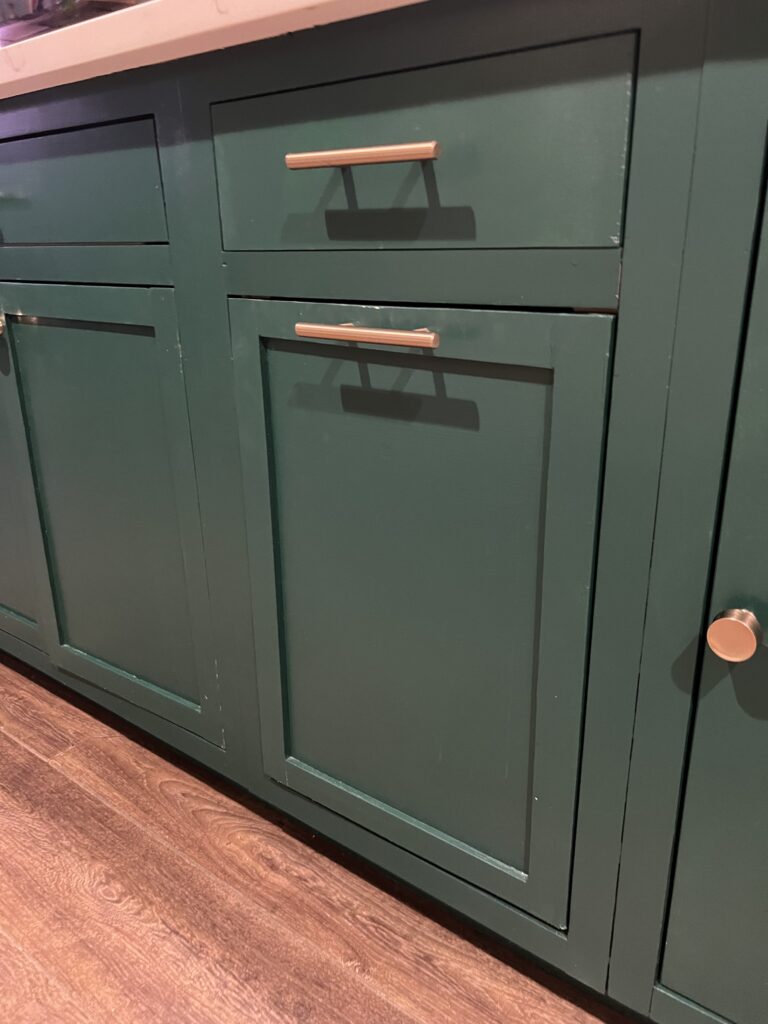
Step five: install cabinet pull
Finally, install a cabinet pull where you want it. If doing a pull out, I recommend using a drawer pull and centering it on the top of the door.
If you want to do this precisely and easily, I recommend using the Kreg Cabinet Hardware Jig to line up the holes exactly how you want them.
Step six: enjoy!
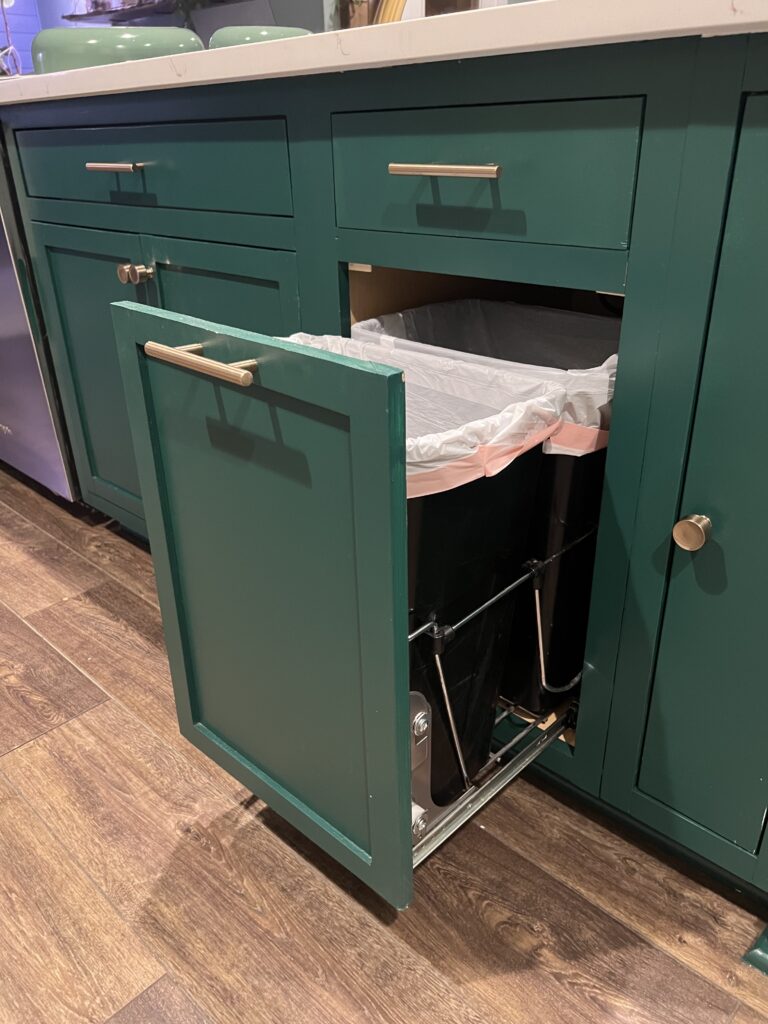
Now you can easily slide your trash cans in and out and have them perfectly concealed inside your cabinet. This will keep it so no one can see your trash and you can access it easily, even with your hands full!
This is one of those simple upgrades in your kitchen that makes life easier with only 20 minutes of work!

Looking for something?
We've been doing this since 2012 so we have a LOT of blog posts!
Search stuff like: Ceiling Projects | DIY Plant Stands | Thrift Flips

Hey there, I'm Sean, the woodworking enthusiast and builder behind CharlestonCrafted.com! Since 2012, I've been sharing the magic of turning raw materials into beautiful creations. I love teaching others the art and satisfaction of woodworking and DIY. I try to inspire fellow crafters to make something extraordinary out of nothing at all.