Is your fake tree looking a little flat and sad? Here's a step by step guide on how to fluff an artificial Christmas tree!
I love a fake Christmas tree. You can put it up early, leave it up without watering, and they are often bigger and more perfect than real trees.
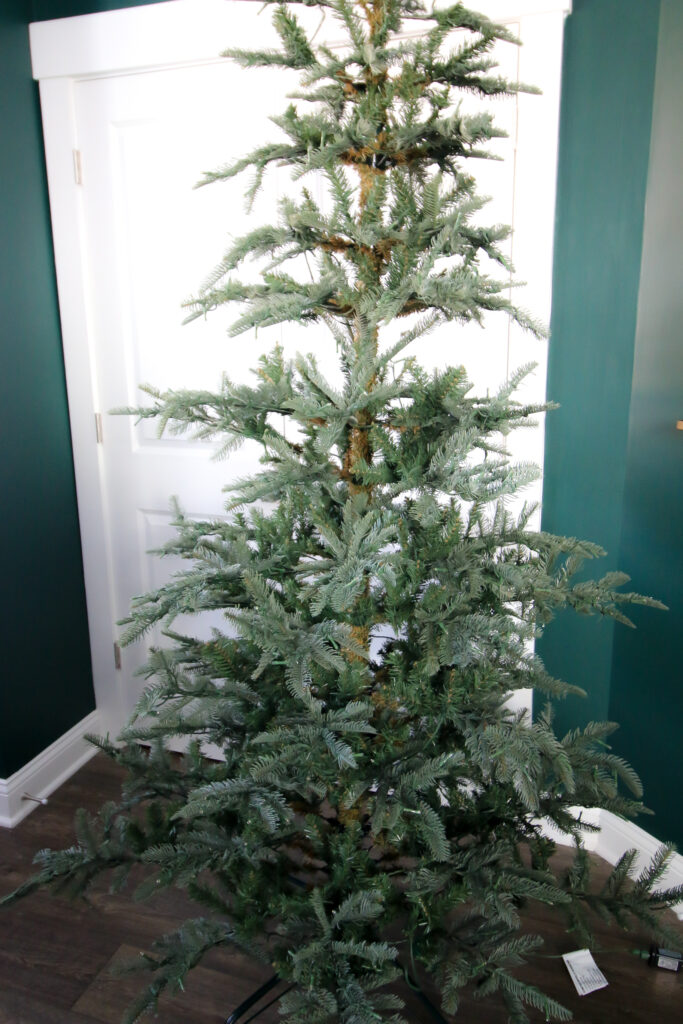
But, it can be disappointing to open up a new tree and it looks sad and squished. An unfluffed Christmas tree is not cute!
Artificial Christmas trees get squished in the box or storage bag. These trees require a good bit of fluffing to really look more like a real tree!
Taking the time to fluff your fake tree is absolutely worth it. Don't skip this step - it's harder to go back and do after decorating!
Let's talk about the best way to fluff a fake Christmas tree and my step by step guide on the process.
How do you make Christmas tree branches look fuller?
Make your Christmas tree branches look fuller by spreading the sub-branches in a fan shape. You can also cluster ornaments - such as 3 balls - together on a piece of wire or pipe cleaner and stick that deep into any holes in the tree. That will help it have more volume!
How do you fluff the branches of an artificial Christmas tree?
Work each branch starting closest to the trunk. Separate out any clumped together sub-branches. Fan them out and have them in a sort of feathered shape. Straighten any unnatural bends.
How to shape an artificial Christmas tree
Generally, Christmas trees should have a triangular shape. If there are any holes or damaged parts of the tree, it can make it look less triangular.
You will want to bend and fluff the tree branches to fill any gaps and best accentuate the tree's natural shape.
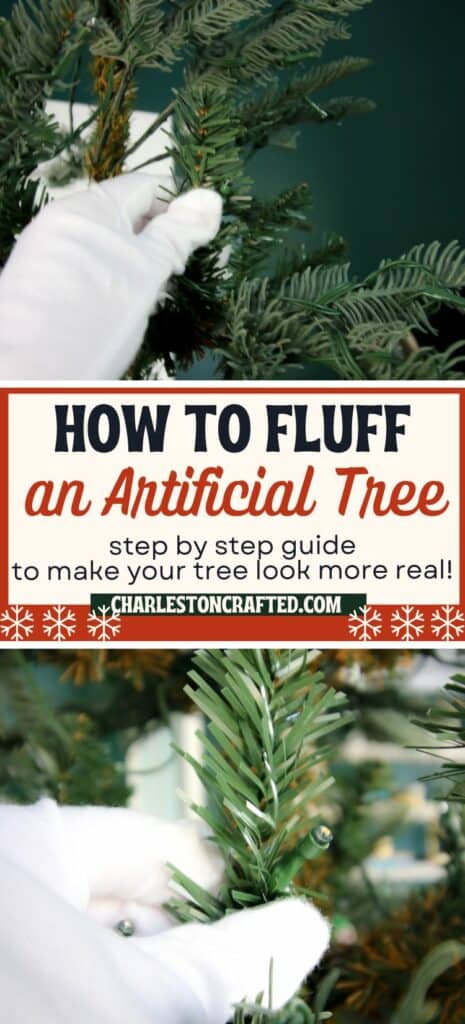
How to fluff an artificial Christmas tree
Here's how to fluff Christmas tree branches on your artificial tree!
Supplies needed
- Artificial Christmas tree
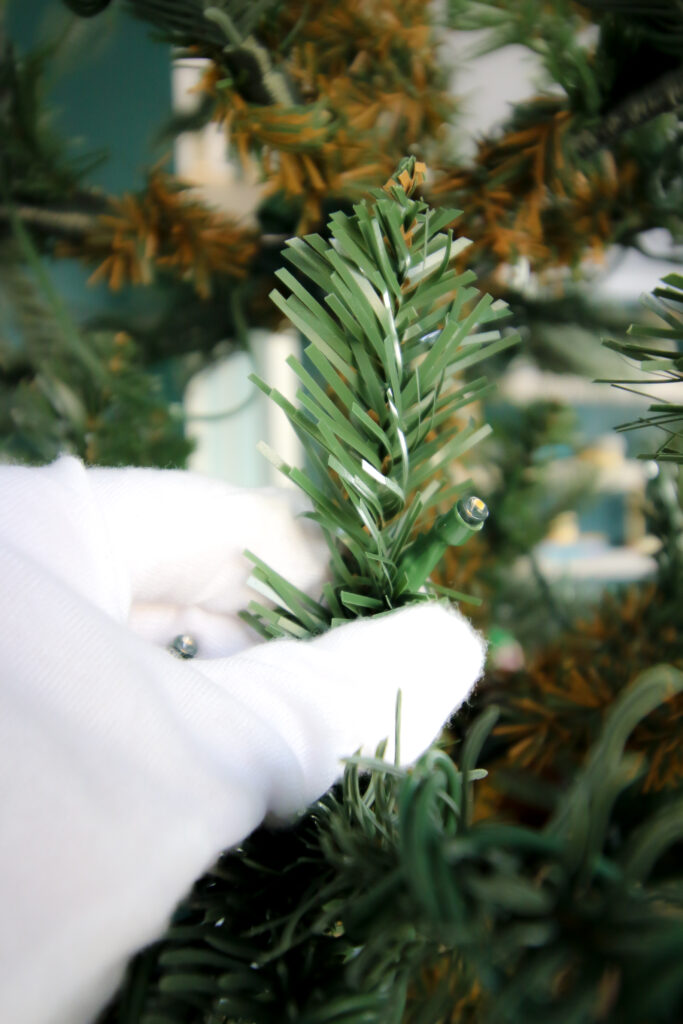
- Gloves (optional but nice)
- Step ladder if tree is too tall to reach top
Do you need gloves for fluffing Christmas trees?
Christmas tree fluffing gloves are optional, but they are a great way to protect your fingers and arms. I suggest elbow length gloves to protect your forearms as you work into the artificial tree.
Here are some great elbow length protective gloves.
I have never worn gloves while fluffing a Christmas tree until I got mine from King of Christmas this year. It came with these pretty goofy elbow height gloves just for this purpose.
It definitely made it easier for me to get into each section of the tree and really fluff the branches. It's not a must have, but it is a nice to have! No gloves, I'd definitely suggest a long sleeved shirt!
How to fluff a tree, step by step
STEP 1: Choose a starting point
You should start either at the top or bottom of your tree. A benefit of starting at the bottom is, if your tree comes in sections, you can work on just the bottom section at first. Having no top pieces gives you more space to freely stand and work.
Either way, choose a specific branch to start on and work systematically around and up/down the tree.
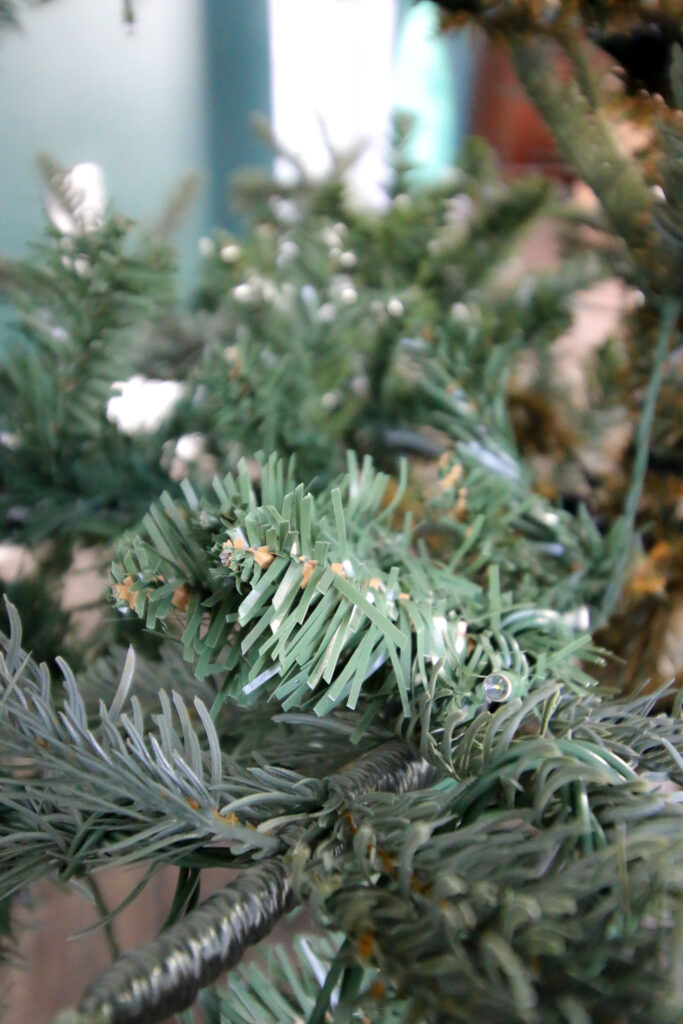
STEP 2: Separate the branches
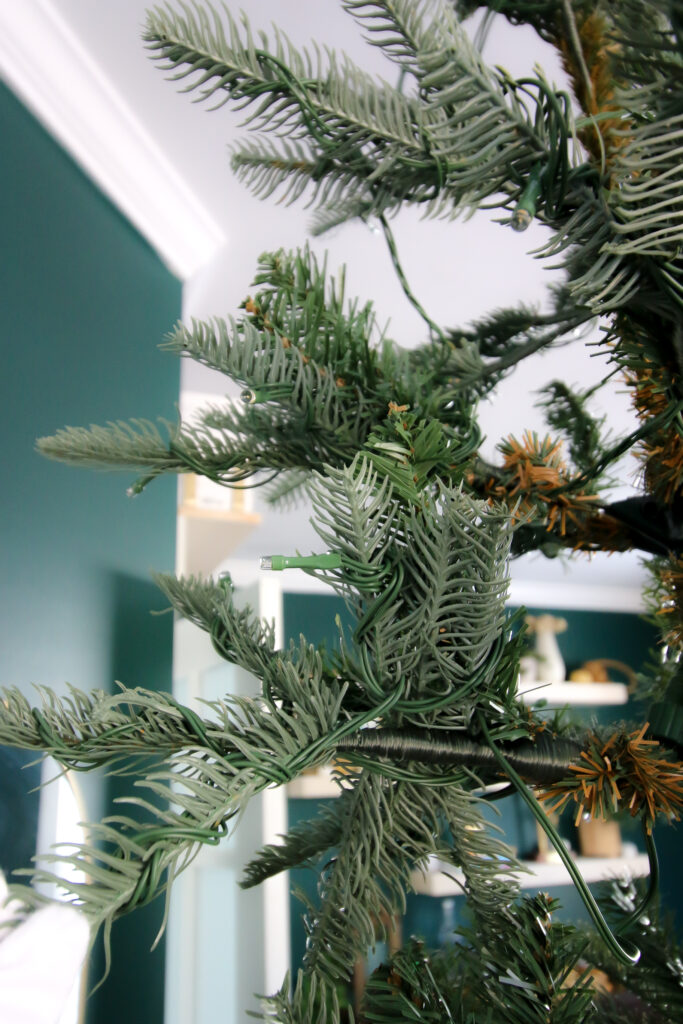
On each branch, you are going to want to separate the sub-branches from each other. I found that branches with the thinner, more ribbon-like needles get much more compressed than branches with the thick, plastic needles.
Separate the branches and fan them out so there are some pointing to each side and some pointing more out and up.
Imagine the natural shape of an evergreen tree or a feather and mimic that!

STEP 3: Straighten any bent branches
If any branches are unnaturally bent or pointing a strange way, be sure to straighten and correct them.
STEP 4: Repeat
Repeat this process for every branch around and down the tree. I know, it takes forever and is boring. Play a podcast and get into it!
STEP 5: Step back
Step back and take a look at the tree. Are there empty or flat spots? Cutting on the tree lights can sometimes help you notice dark or empty spots!
STEP 6: Touchups
If there are any holes or empty spaces in your tree, this is your chance to fix it. Of course, tree decorating can fill any big holes with Christmas decor, but it's great to make sure it looks perfect now!
After this, you are ready to add ornaments to your tree, or lights if it is not a pre lit tree.
Any questions about ow to properly fluff a fake Christmas tree?

Looking for something?
We've been doing this since 2012 so we have a LOT of blog posts!
Search stuff like: Ceiling Projects | DIY Plant Stands | Thrift Flips

Hello, I'm Morgan, half of the creative force behind CharlestonCrafted.com! With a passion for DIY that dates back to 2012, I've transformed three homes and now I'm dedicated to helping others craft their dream spaces. Let's turn your house into a home together!


