Discover how to fix blotchy wood stain effectively with expert tips in this comprehensive guide. Learn step-by-step processes to rectify uneven staining, ensuring a seamless finish for your woodworking projects!
Is there any worse feeling than putting time, money, and tons of energy into a project and for it to not turn out great? It just makes me sick to my stomach.
This can happen if you have a blotchy finish when staining a wood project.
Whether it turns out super blotchy or just enough to really bother you as the maker, it is a super disappointing and frustrating experience.
Today we want to talk about why wood stain turns out blotchy and what you can do to fix it!

Why does my wood stain look blotchy?
Blotchy wood stain refers to when stain absorbs unevenly on a wood surface. This means that the finish will not look uniform, but have different spots or sections in lighter or darker shades of the wood stain color.
Generally, you want wood to stain evenly, so having an uneven stain on your wood surface can be frustrating, especially when you feel like you did everything right.
Common Causes of Blotchy Staining
Blotchy stain is going to be caused either by an uneven surface on the bare wood or errors when applying the stain. The most common causes of a bad stain job are the following:
Wood Type
Some wood types just tend to take stains in a blotchy way. Maple and Poplar, for example, both tend to get splotchy. This just comes down to the anatomy of the wood.
If you want to be sure to have a non-blotchy finish, choose a harder wood like oak or walnut. Just know that it will be a pricier project!

Wood Porosity
Different types of wood are more porous, or absorbent, than others. Even one board of wood can have drier and wetter areas on it that will absorb stain differently.
Think of a sponge! In general, dry areas of the wood will absorb more stain than wetter areas. The areas that absorb more stain will take on more color and look darker or more pigmented.
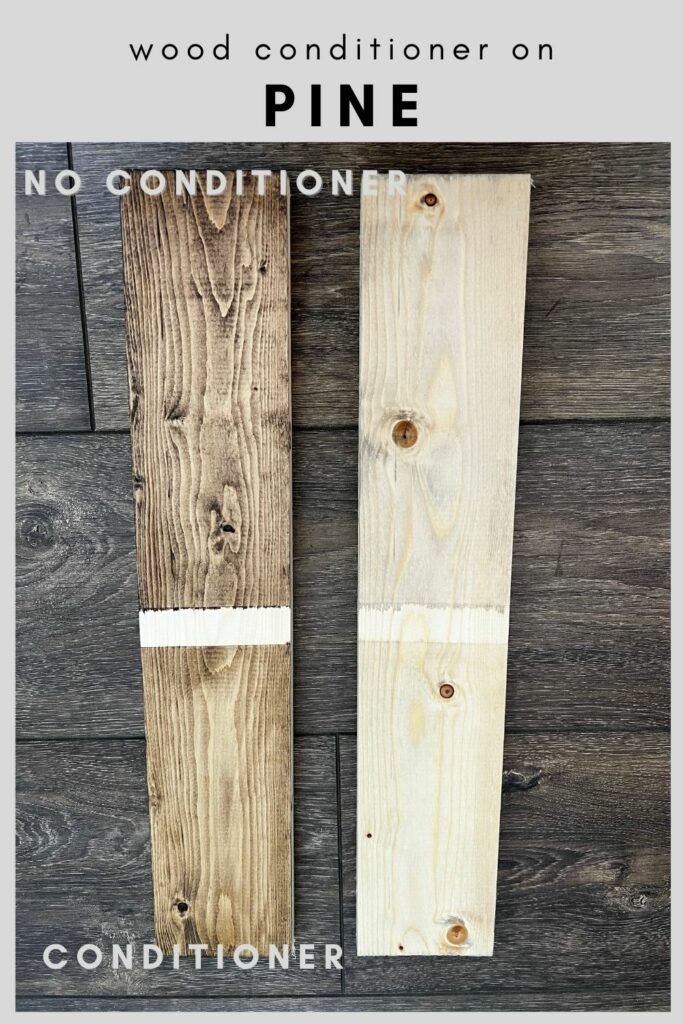
This is why it is important to condition your wood to give the area and even level of absorbency before staining.
Improper Sanding
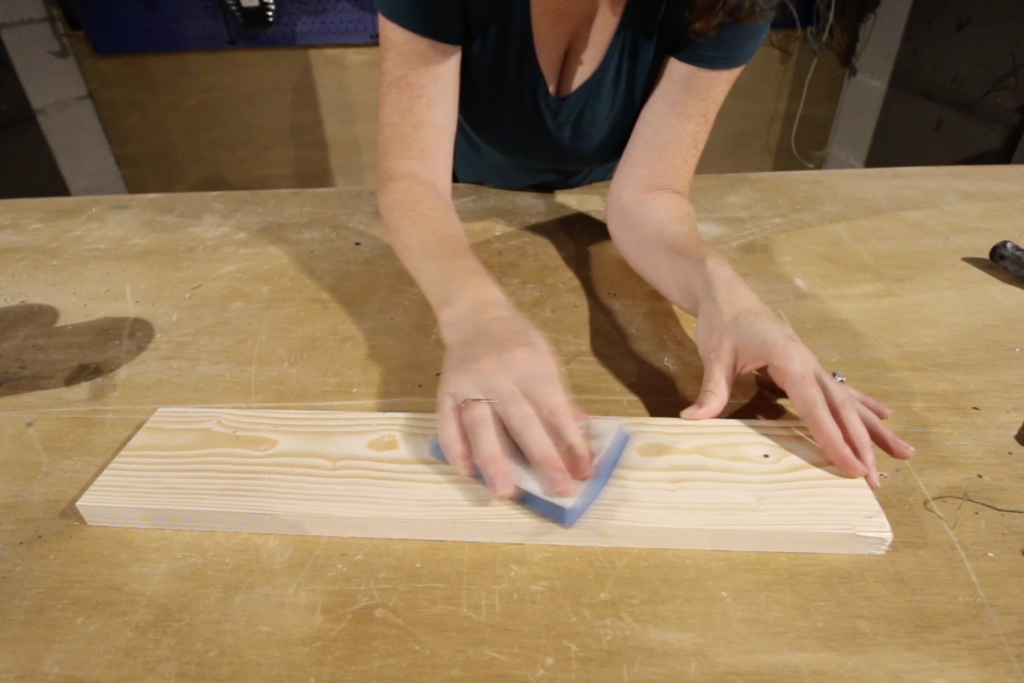
Sanding is important for prepping wood to absorb stain. It opens up the pores of the wood to be sure that it will take on the stain.
Even if your wood surface is not rough to the touch, it is good to give the entire surface a light sanding prior to staining. This will help to ensure that it absorbs stain evenly.
One of the most common causes of a blotchy stain job is that the previous finish was not sanded off completely. Take your time sanding and be 100% sure that the surface is totally cleaned off before staining.
Pooling Wood Stain
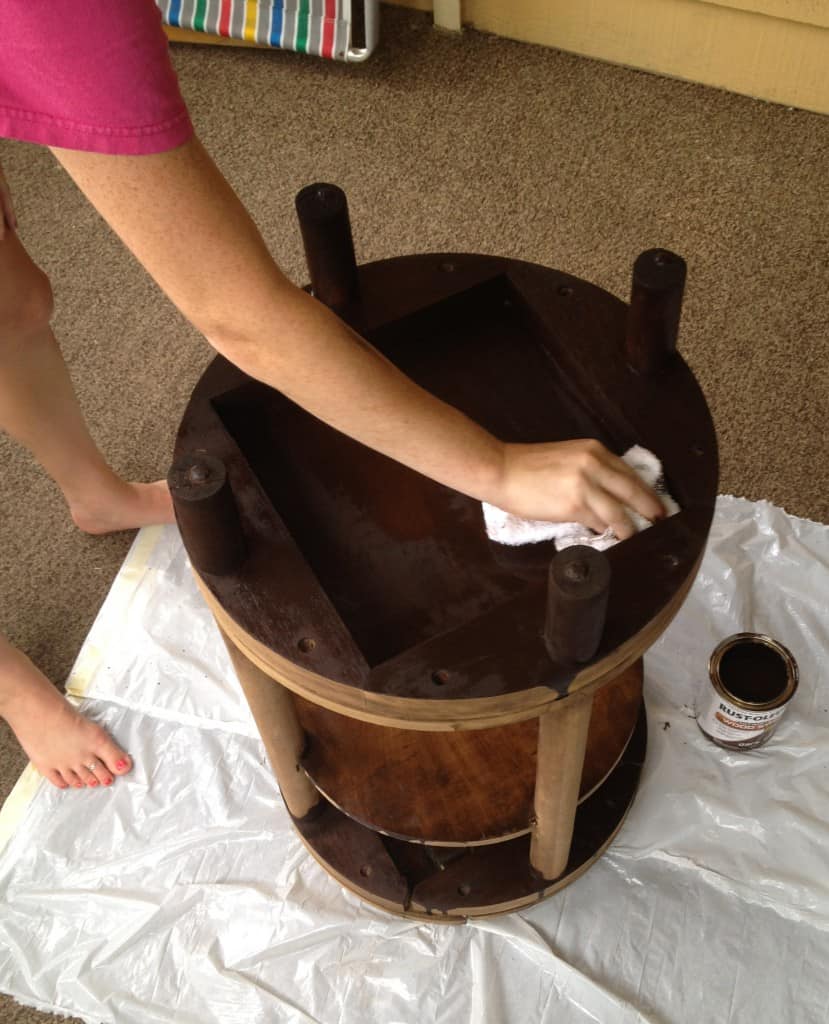
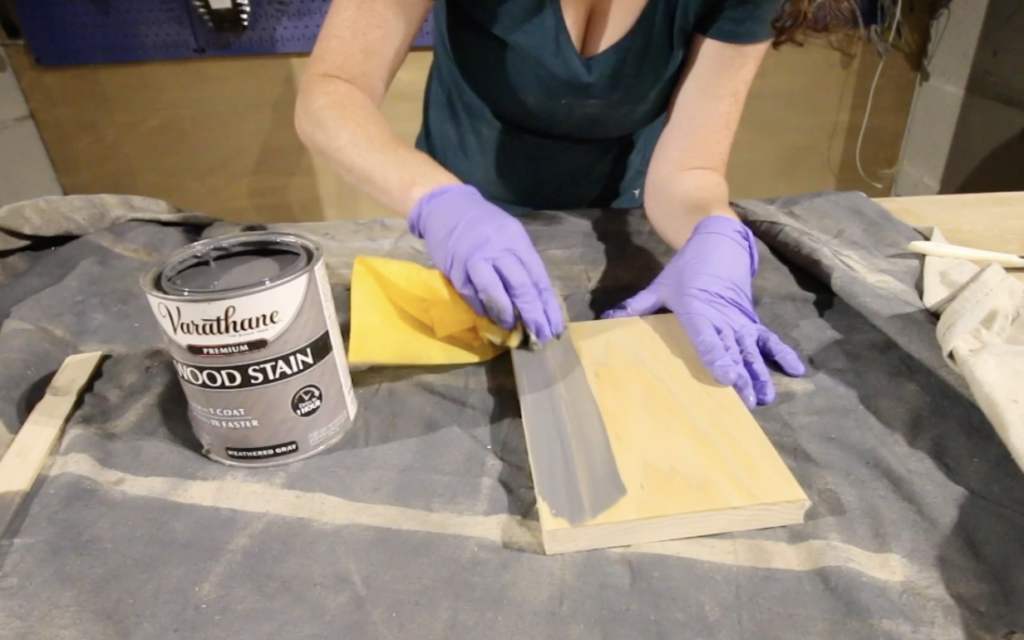
When you apply wood stain, you have to use a cloth to wipe off any excess stain. If you let drips or puddles of stain sit on the wood surface, those spots will turn into permanent dark areas on the wood surface.
Always go behind your staining brush with a cloth and wipe up any drips or blobs within 15 minutes of applying the stain. This may mean that you need to work in small areas if you are staining a large project.
Techniques to Prevent Blotchy Stains
The best way to keep wood stain from getting blotchy is to prepare the wood propery.
Using Pre-Stain Conditioners: Pre-stain conditioners regulate stain absorption for an even finish. You can see our test of wood conditioners to see them in action!
Applying Gel Stains: If you are worried about a project getting blotchy, using gel stains or thicker stains can sit on the surface and minimize blotchiness.
Sanding Techniques: Sand using proper, even pressure (don't press too hard!) in the direction of the wood grain. Focus on areas with uneven textures or blemishes, and make sure that they end up leveled with the rest of the surface.
How to fix blotchy wood stain
The best way to fix blotchy wood stain is to avoid it in the first place. But, what's done is done. Here are some of the ways that you can treat and repair blotchy stained wood.
Step-by-Step Process to Rectify Blotchy Staining
Once stain looks blotchy, you can't go back in time - all you can do is take some simple steps to either remove the stain or reduce it's blotchy appearance.
Here are some tips for how to fix a bad stain job!
Step 1: Identify Uneven Spots
Examine your wood surface carefully to decide if there are a ton of large uneven spots or just a few smaller ones. You might want to use a flashlight to get a good look at it!
You can also run your fingertips across the wood surface and feel for any raised or uneven sections that may align with the darker spots.
If your whole surface looks terrible, I honestly suggest sanding the stain off and starting over with better prep work. It's so annoying, but better than spot-treating when most of the wood stain's blotchy.
If there are just a few spots, we can spot treat it.
Step 2: Targeted Sanding
Assuming you've decided to try to spot-correct your splotchy wood surface, we are going to start with targeted sanding - just sanding the areas with the dark or light stain spots.
Start with a lower grit - under 100 - and try to sand off the imperfections while touching the surrounding areas as little as possible.
Use consistent pressure and sand in the direction of the wood grain for the best possible results.
Gradually work up to higher grit sandpaper. We usually end with 220 grit.
Step 3: Feather your Sanding
As you sand with finer grit sandpaper, you want to start feathering your sanding into the surrounding areas. This is basically doing a fade. If you don't fade the stain in, there will be an obvious circle/spot where you sanded and re-stained.
Step 4: Final Assessment
Once the targeted area is leveled and smoothed to match the surrounding surface, perform a final inspection to ensure a seamless, consistent texture across the entire wood surface.
Step 5: Cleaning
After you've finished sanding, thoroughly clean the surface. Remove any dust or sanding residue. If you wipe with a damp cloth, let dry completely.
Step 6: Apply Stain
Now it is time to re-stain the spot. I always suggest going light with the stain - you can always layer on multiple coats to make it darker, but as you are learning, making it lighter is a pain in the butt.
Use a light hand to feather your stain out from the spot into the surrounding areas, wiping quickly to try to achieve that blended look.
Let dry completely.
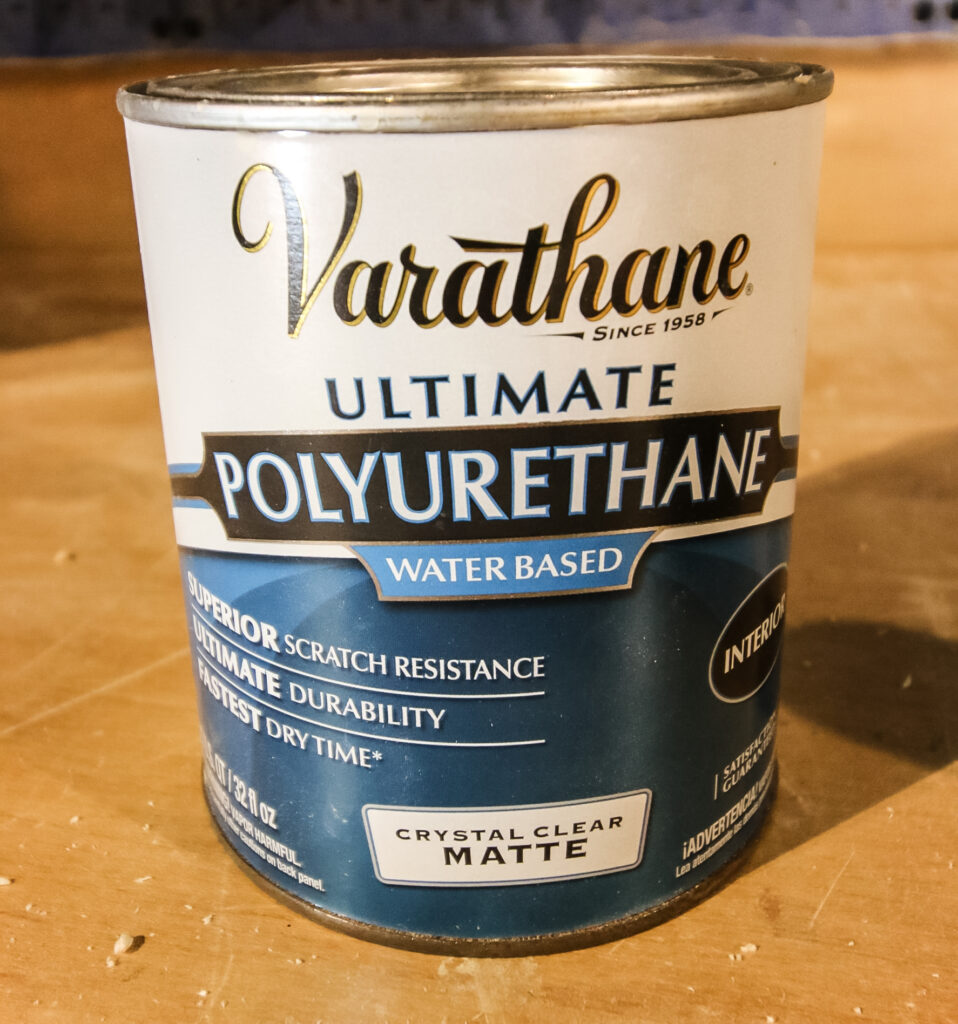
Step 7: Apply Top Coat
Unless you literally just stained the rest of the project, I always recommend giving the whole wood surface a light sand and applying a new topcoat.
This is because top coats vary greatly in their sheen. Sheen is how glossy a finish looks. Even if you have the exact same can of sealant that you used previously on the project, sheen fades over time, so unless the topcoat is fresh, it can be very hard to match it.
And it might seem like it's not a big deal, but trust me, you can tell. Light hits the different sheens differently, and a touchup spot will stick out like a sore thumb.
Assuming that it is just a smaller surface, it's much better to just give the whole thing a fresh coat of sealant.
With these tips, you can repair a blotchy stain job - and prevent it from happening again next time!
Wood staining essentials!

Looking for something?
We've been doing this since 2012 so we have a LOT of blog posts!
Search stuff like: Ceiling Projects | DIY Plant Stands | Thrift Flips

Hello, I'm Morgan, half of the creative force behind CharlestonCrafted.com! With a passion for DIY that dates back to 2012, I've transformed three homes and now I'm dedicated to helping others craft their dream spaces. Let's turn your house into a home together!