• Skip to primary navigation
  • Skip to main content
  • Skip to primary sidebar
Charleston Crafted
  • DIY
  • Woodworking
  • Popular Posts
  • Blog
  • About
  • Shop
menu icon
go to homepage
  • DIY
  • Woodworking
  • Popular Posts
  • Blog
  • About
  • Shop
search icon
Homepage link
  • DIY
  • Woodworking
  • Popular Posts
  • Blog
  • About
  • Shop
×
Garden and Yard

How to create an established flower garden in one afternoon

Published: Oct 1, 2022 · Modified: Feb 18, 2023 by Sean · As an Amazon Associate, we earn from qualifying purchases. This site contains affiliate links. ·

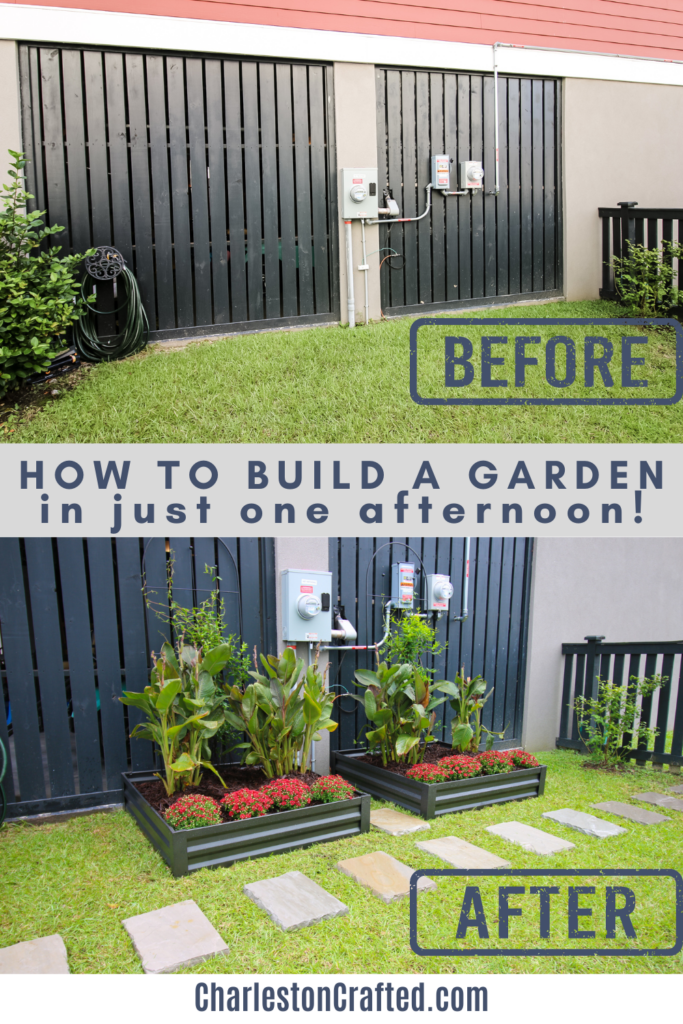
This post will show you how to create an established flower garden in just one afternoon! Get the basics here and then click over at the end to the full post on The Home Depot Blog for the step-by-step!

This post was sponsored by The Home Depot. All opinions are our own and our opinion is that we love The Home Depot. Thank you for supporting the brands that make Charleston Crafted possible!

How to create an established flower garden in one afternoon - Charleston Crafted

We love our elevated house, but that extra level means a big blank slate all the way around the ground level.

Our entire first floor is garage, with slatted walls or stucco at eye level no matter where you are.

We have large bushes on one side, a veggie garden on another and a swing set on the back. But we have a big open wall on one side of our house that just didn't look good.

So, we had a free day and decided to set up a beautiful elevated garden in one day by heading to Home Depot and buying a bunch of Vigoro hardscaping gardening products and plants.

We were able to get everything we needed in the morning and then head home and put the gardens together, then add the plants and have a flowering, tall setup by the afternoon!

Let's show you what we what we used and how we were able to create an established flower garden in just one day!

Check out our overview below and then click over to The Home Depot Blog to get our full step-by-step tutorial on how to make this established flower garden in just one day!

How to make a quick and easy outdoor garden

Making a quick and easy outdoor garden is more simple than it might sound. What you need is a garden bed that you can snap together, soil to fill it and plants to add some beauty and height.

Completed elevated garden bed

Here's how we made this elevated garden and what you need to do it!

Click here to see how you can build a DIY raised garden bed with wood!

Simple raised garden setup

Here's what we used to make our simple raised garden bed. We drove to Home Depot in the morning and picked it all up before heading home to assemble.

  • Vigoro 4 ft. x 4 ft. Antique Iron Raised Garden Bed
  • Vigoro Wisteria Trellis
  • Vigoro Landscape Fabric
  • Vigoro Pea Gravel Pebbles
  • Vigoro All Purpose Potting Soil Mix
  • Vigoro Premium Brown Wood Mulch
  • Mums and other flowers to provide color now and in the future

Step one: establish your garden bed

Start by building a garden bed. Pick the place you want your garden to be and clear anything out of the way.

Clipping together garden bed
Adding second panel of garden bed
Attaching corner clip of raised garden bed

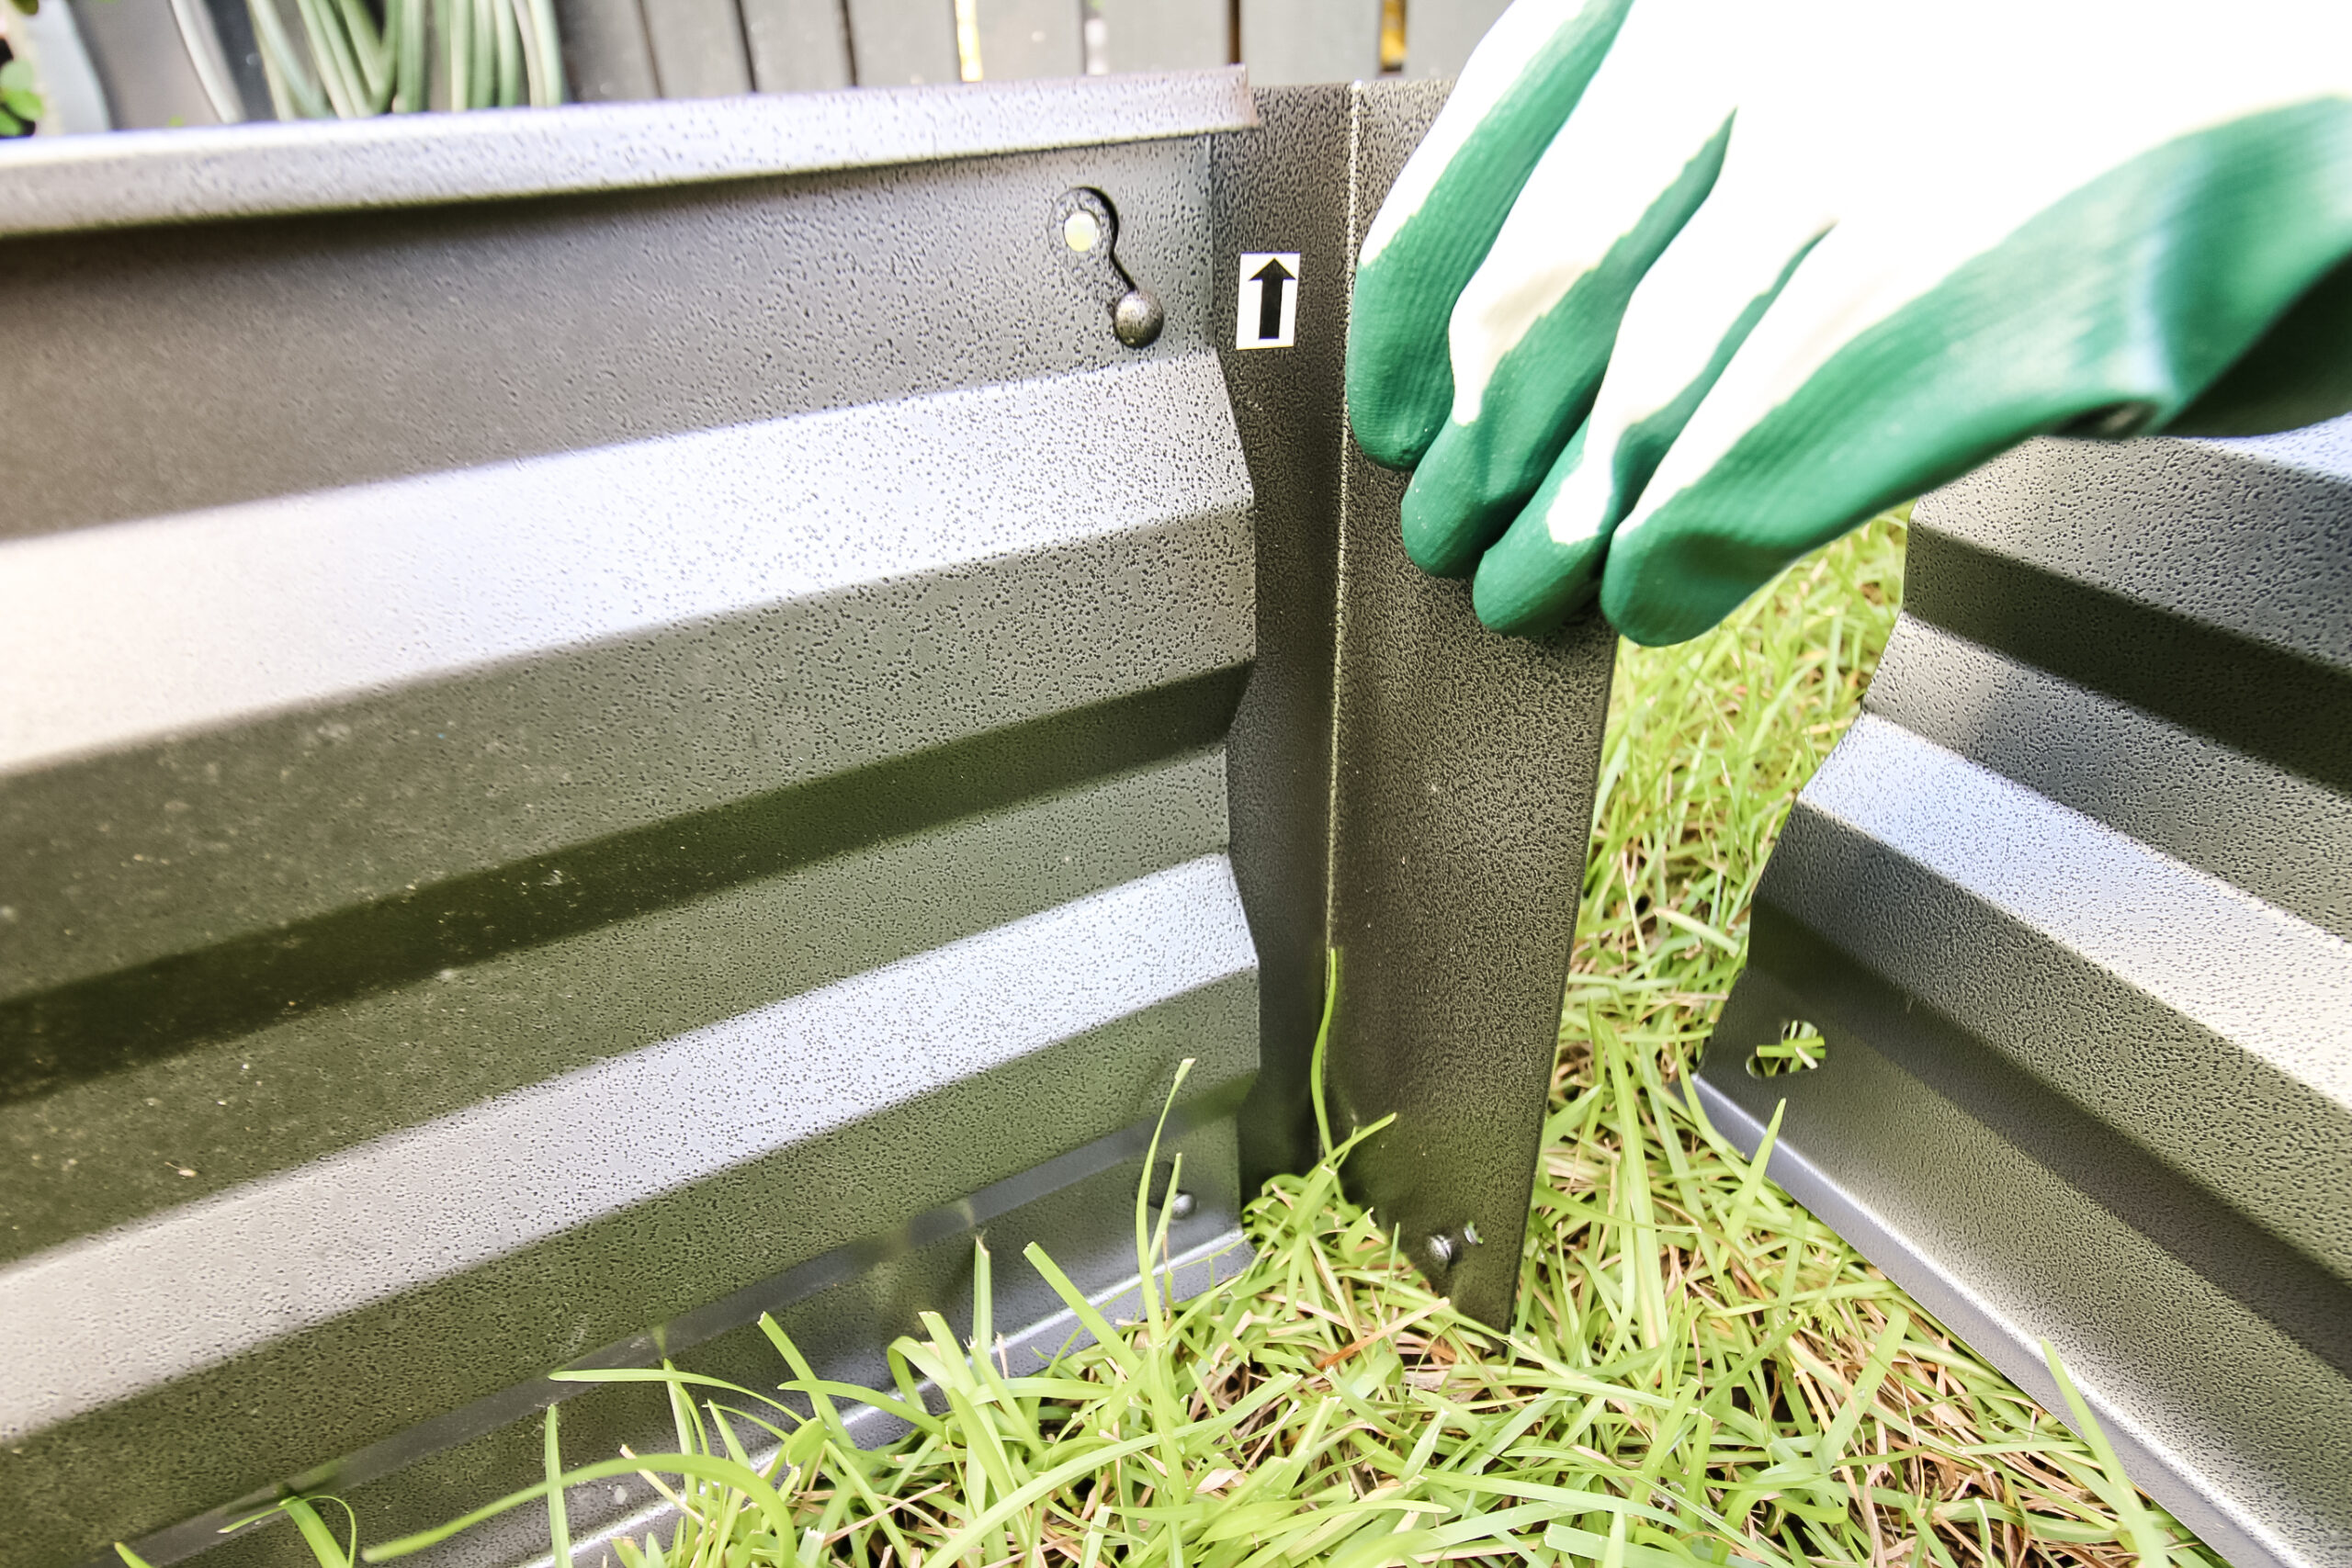
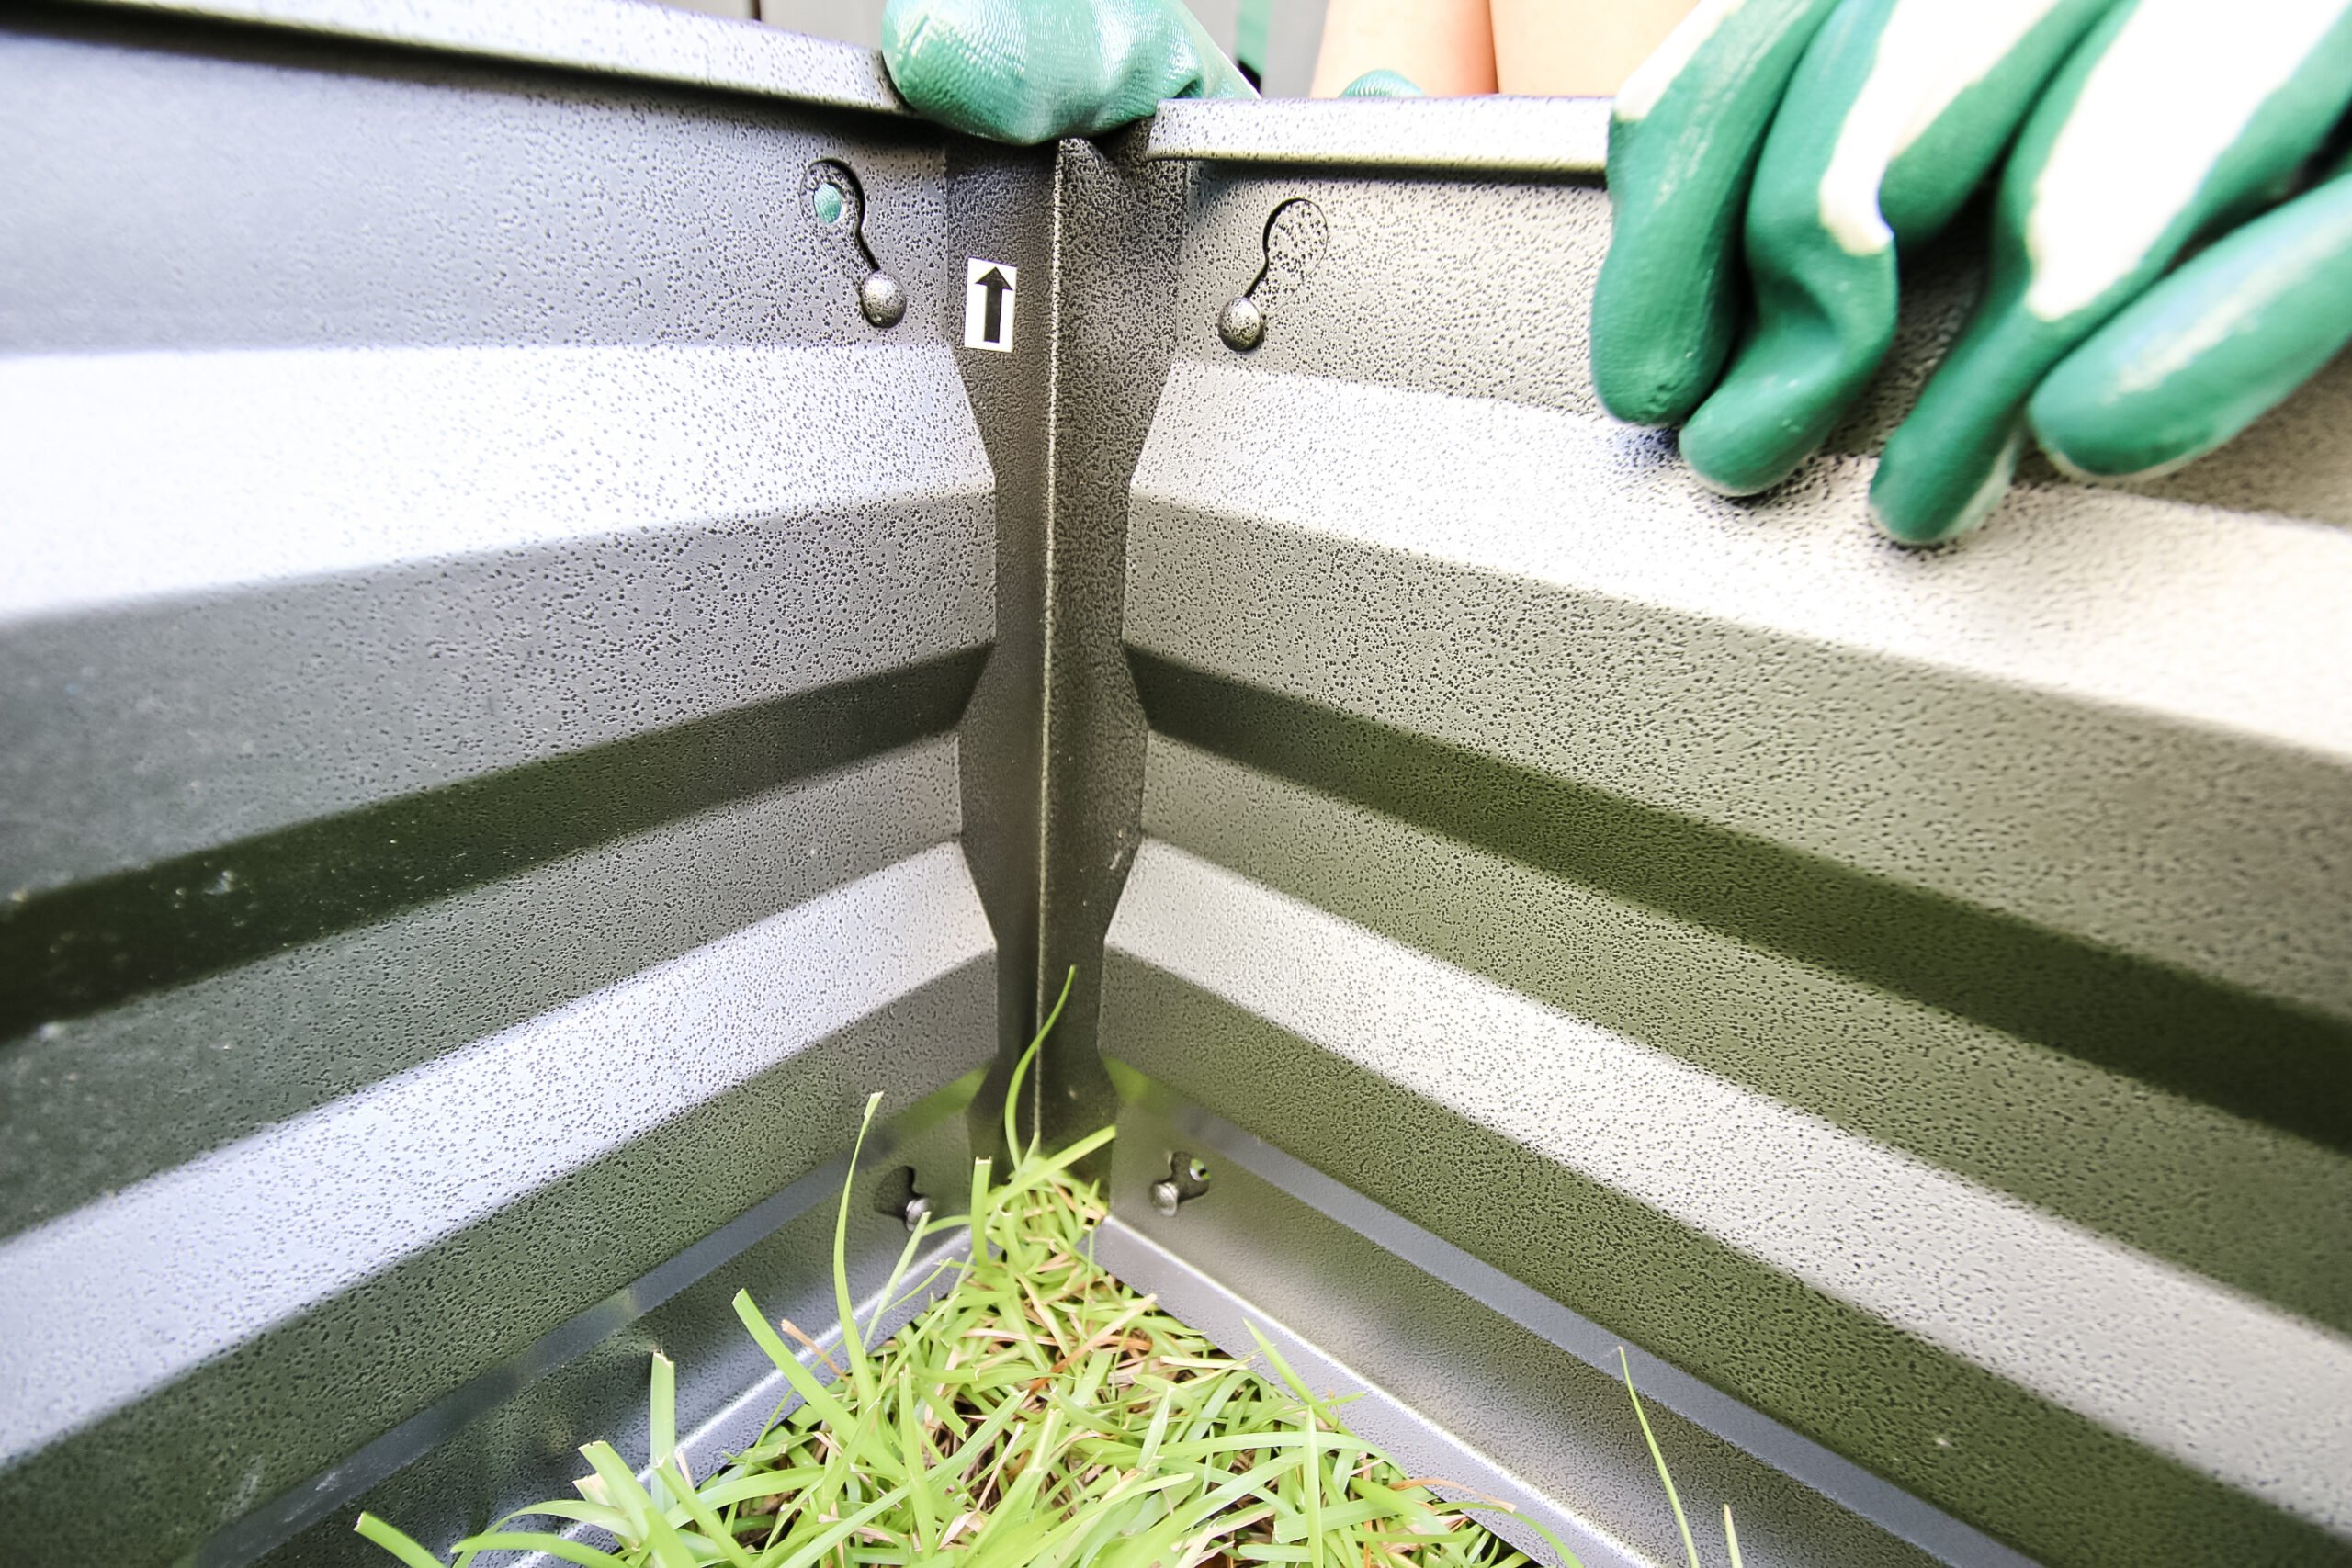
Then build a garden bed that can hold everything. We chose two Vigoro raised garden beds that snap together with no tools required and are really great for this project!

Placing Vigoro rocks in garden bed

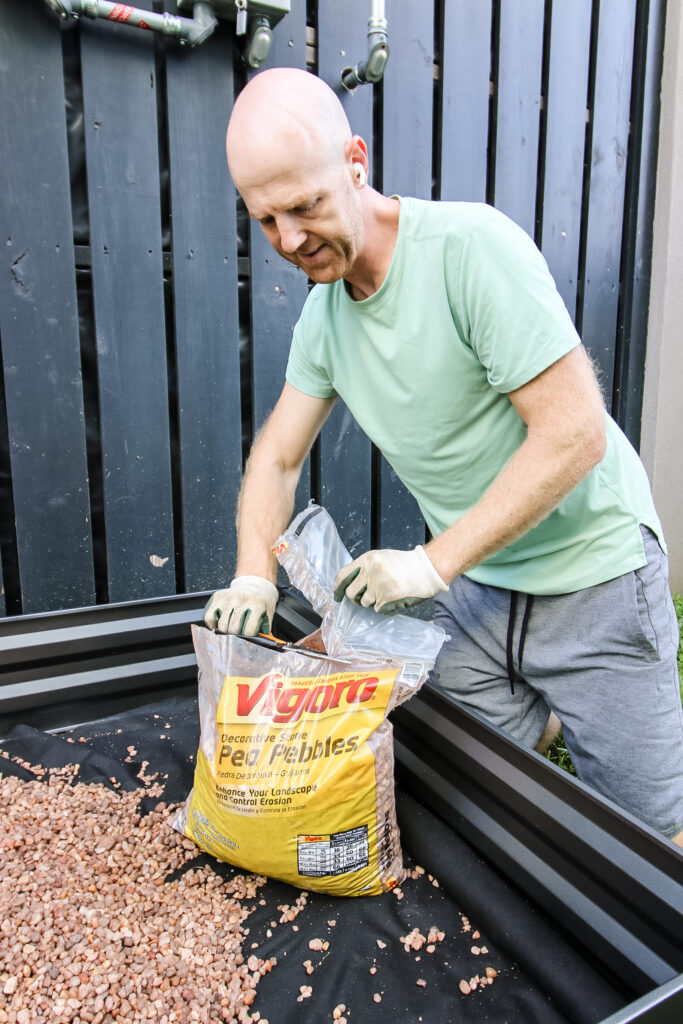
Then we laid down weed barrier and pebbles for drainage, both from Vigoro as well.

Step two: add plants

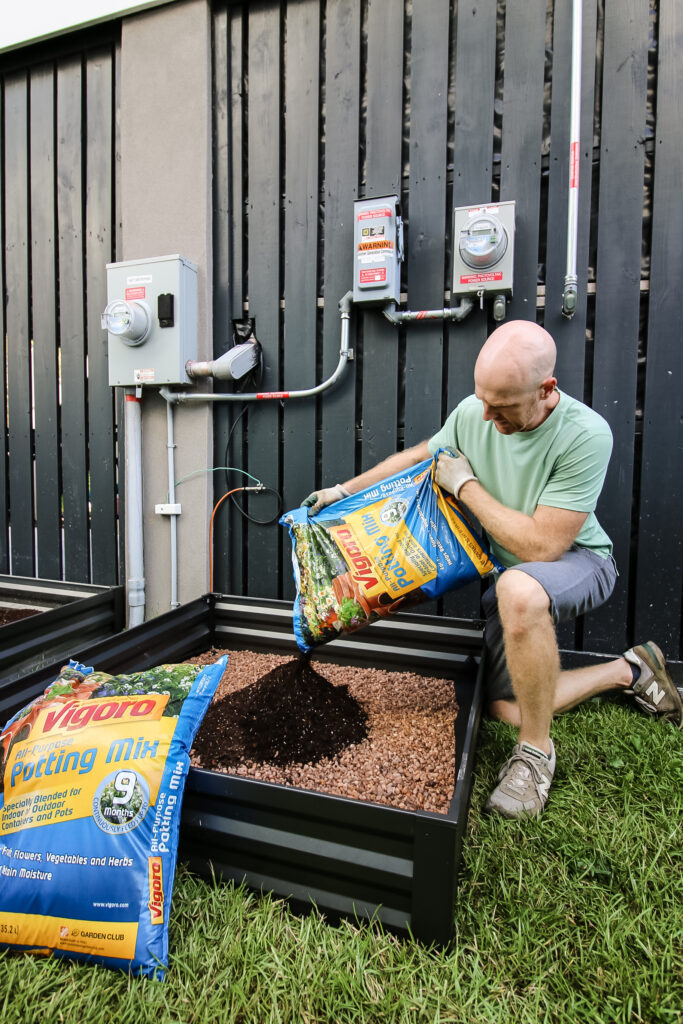
Now that we had the garden built, we were getting close! We poured in a few bags of Vigoro potting soil mix and added a trellis to the back of each garden.

Pouring Vigoro potting soil in raised garden bed

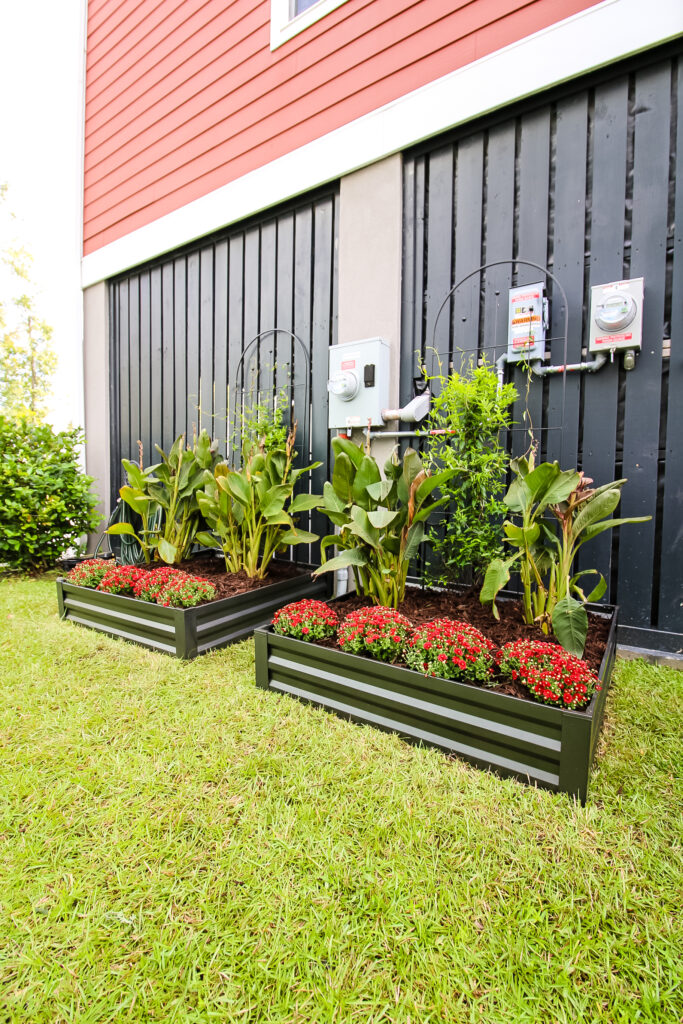
Then, we put in all our plants!

We did a row of premium quality mums in the front to establish color and a front layer.

Planting Vigoro mums in the raised garden bed
Planting calla lillies in the raised garden bed
Planting jasmine on trellises

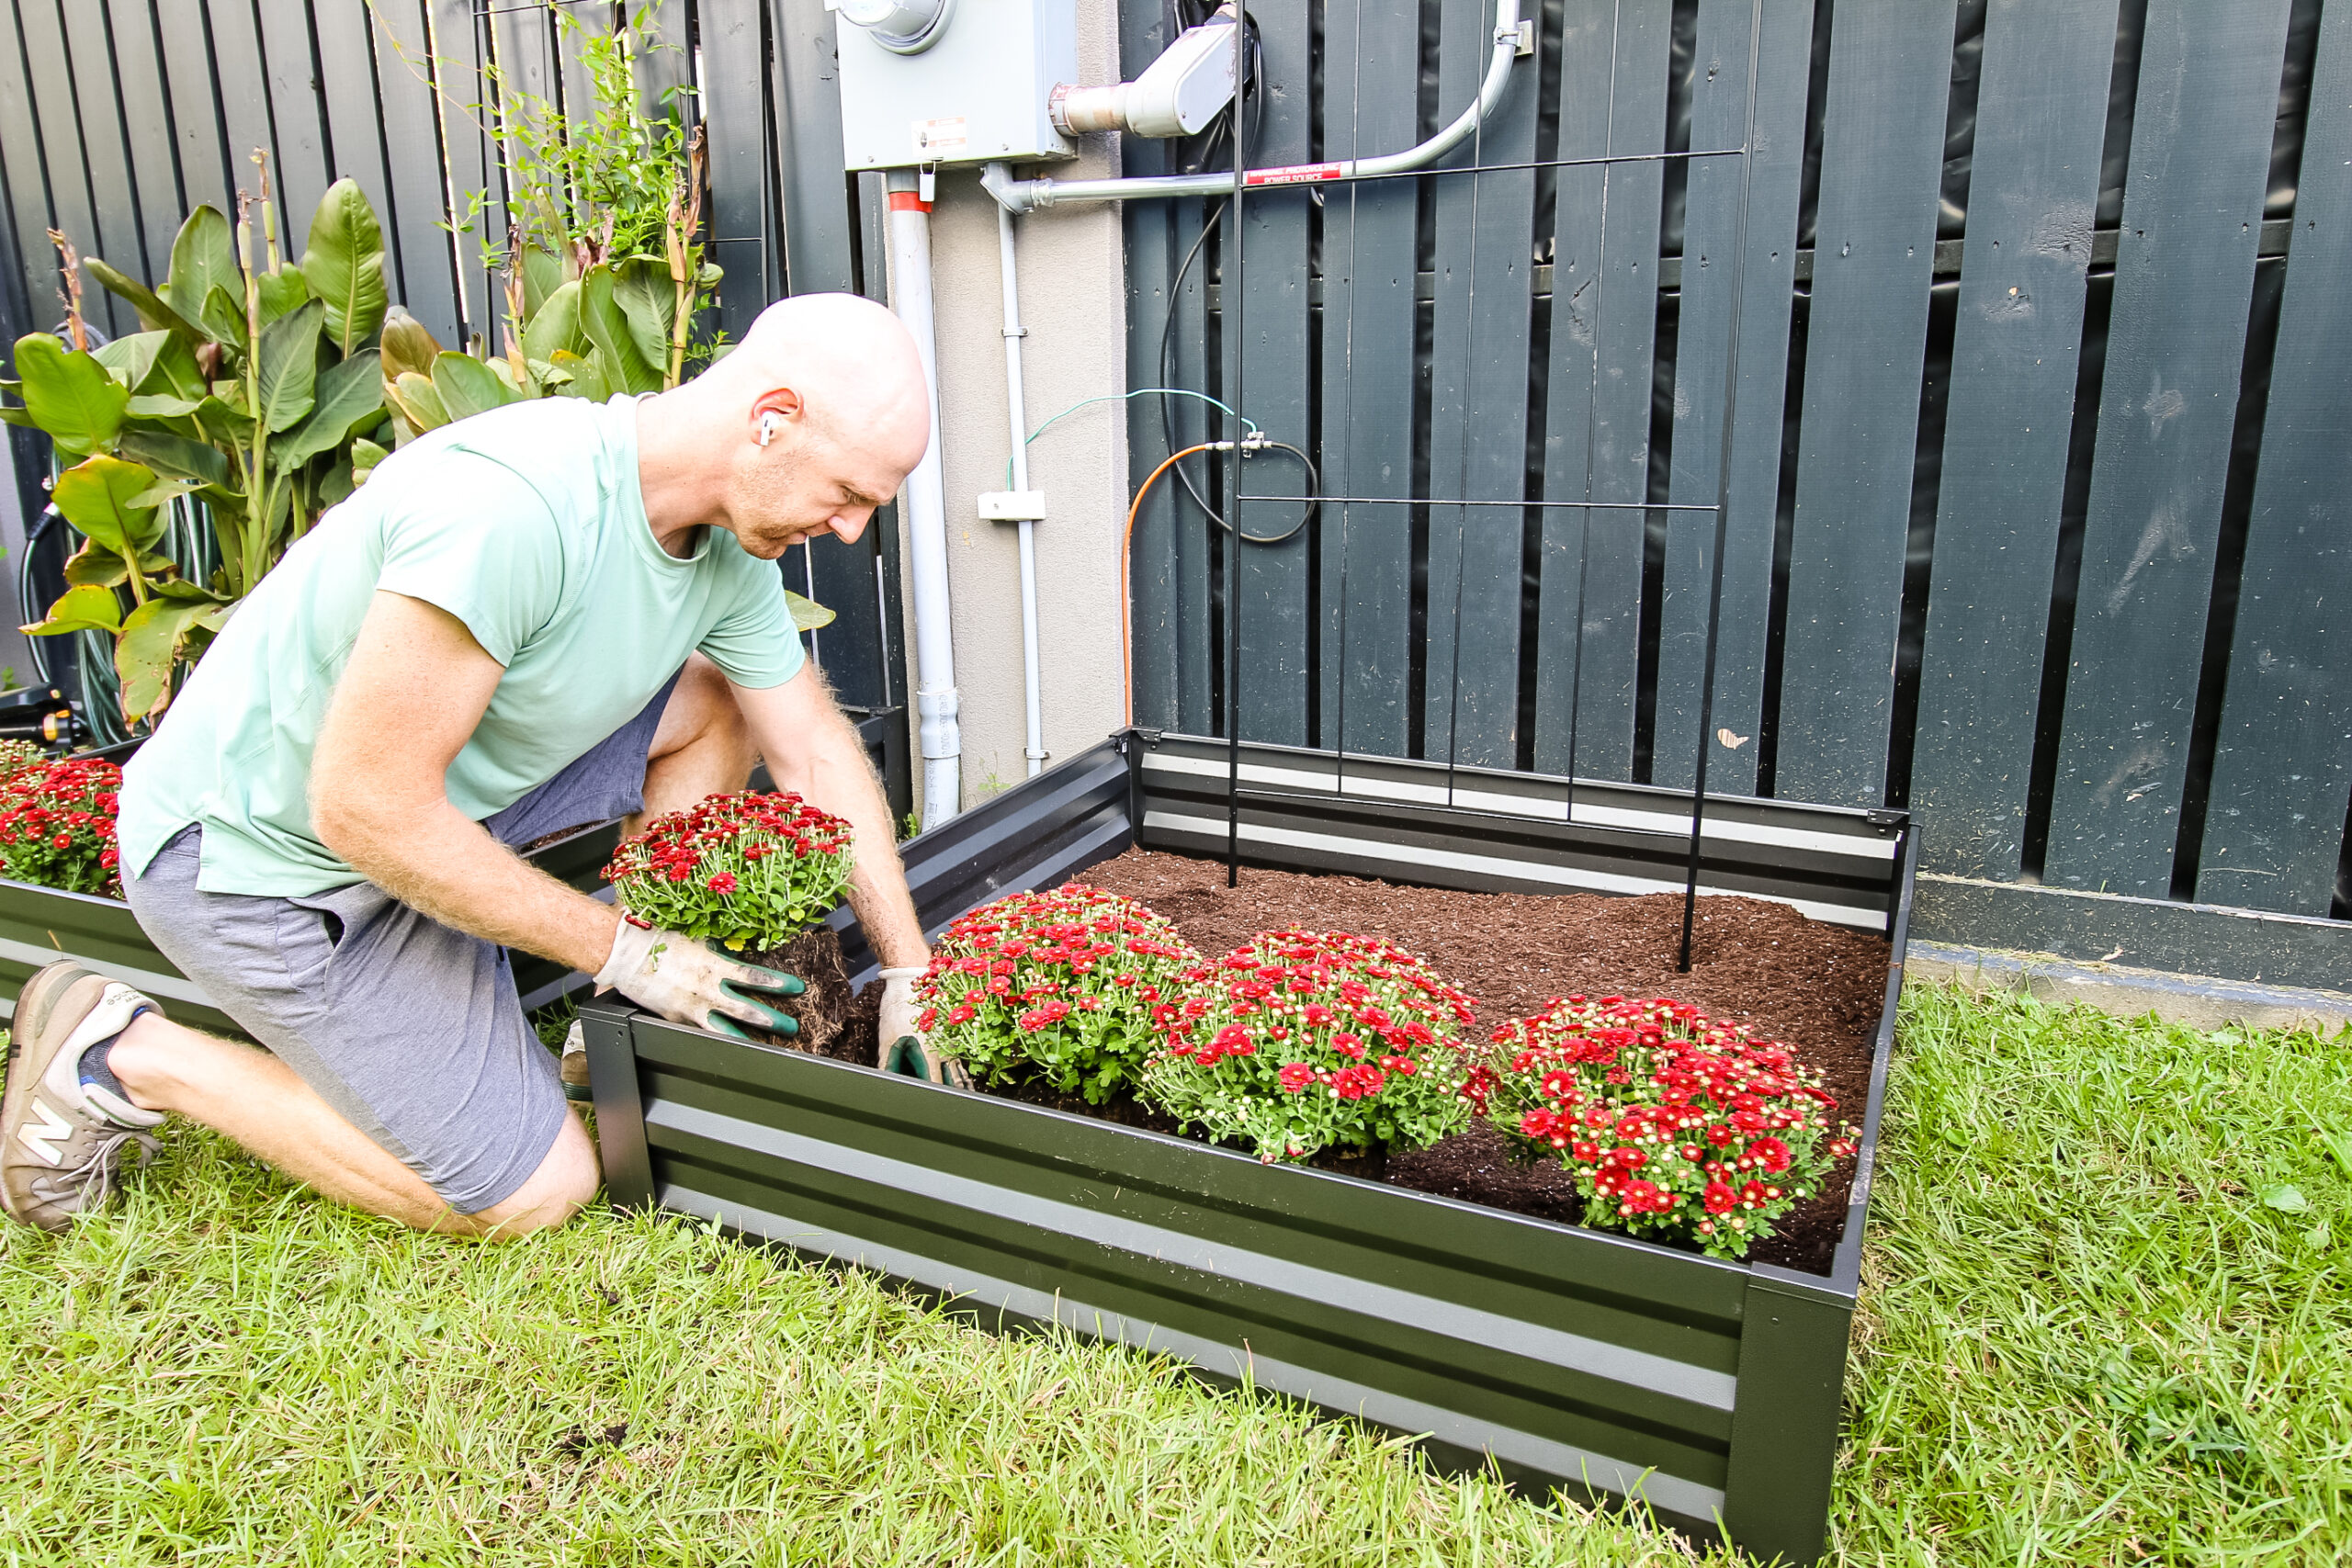
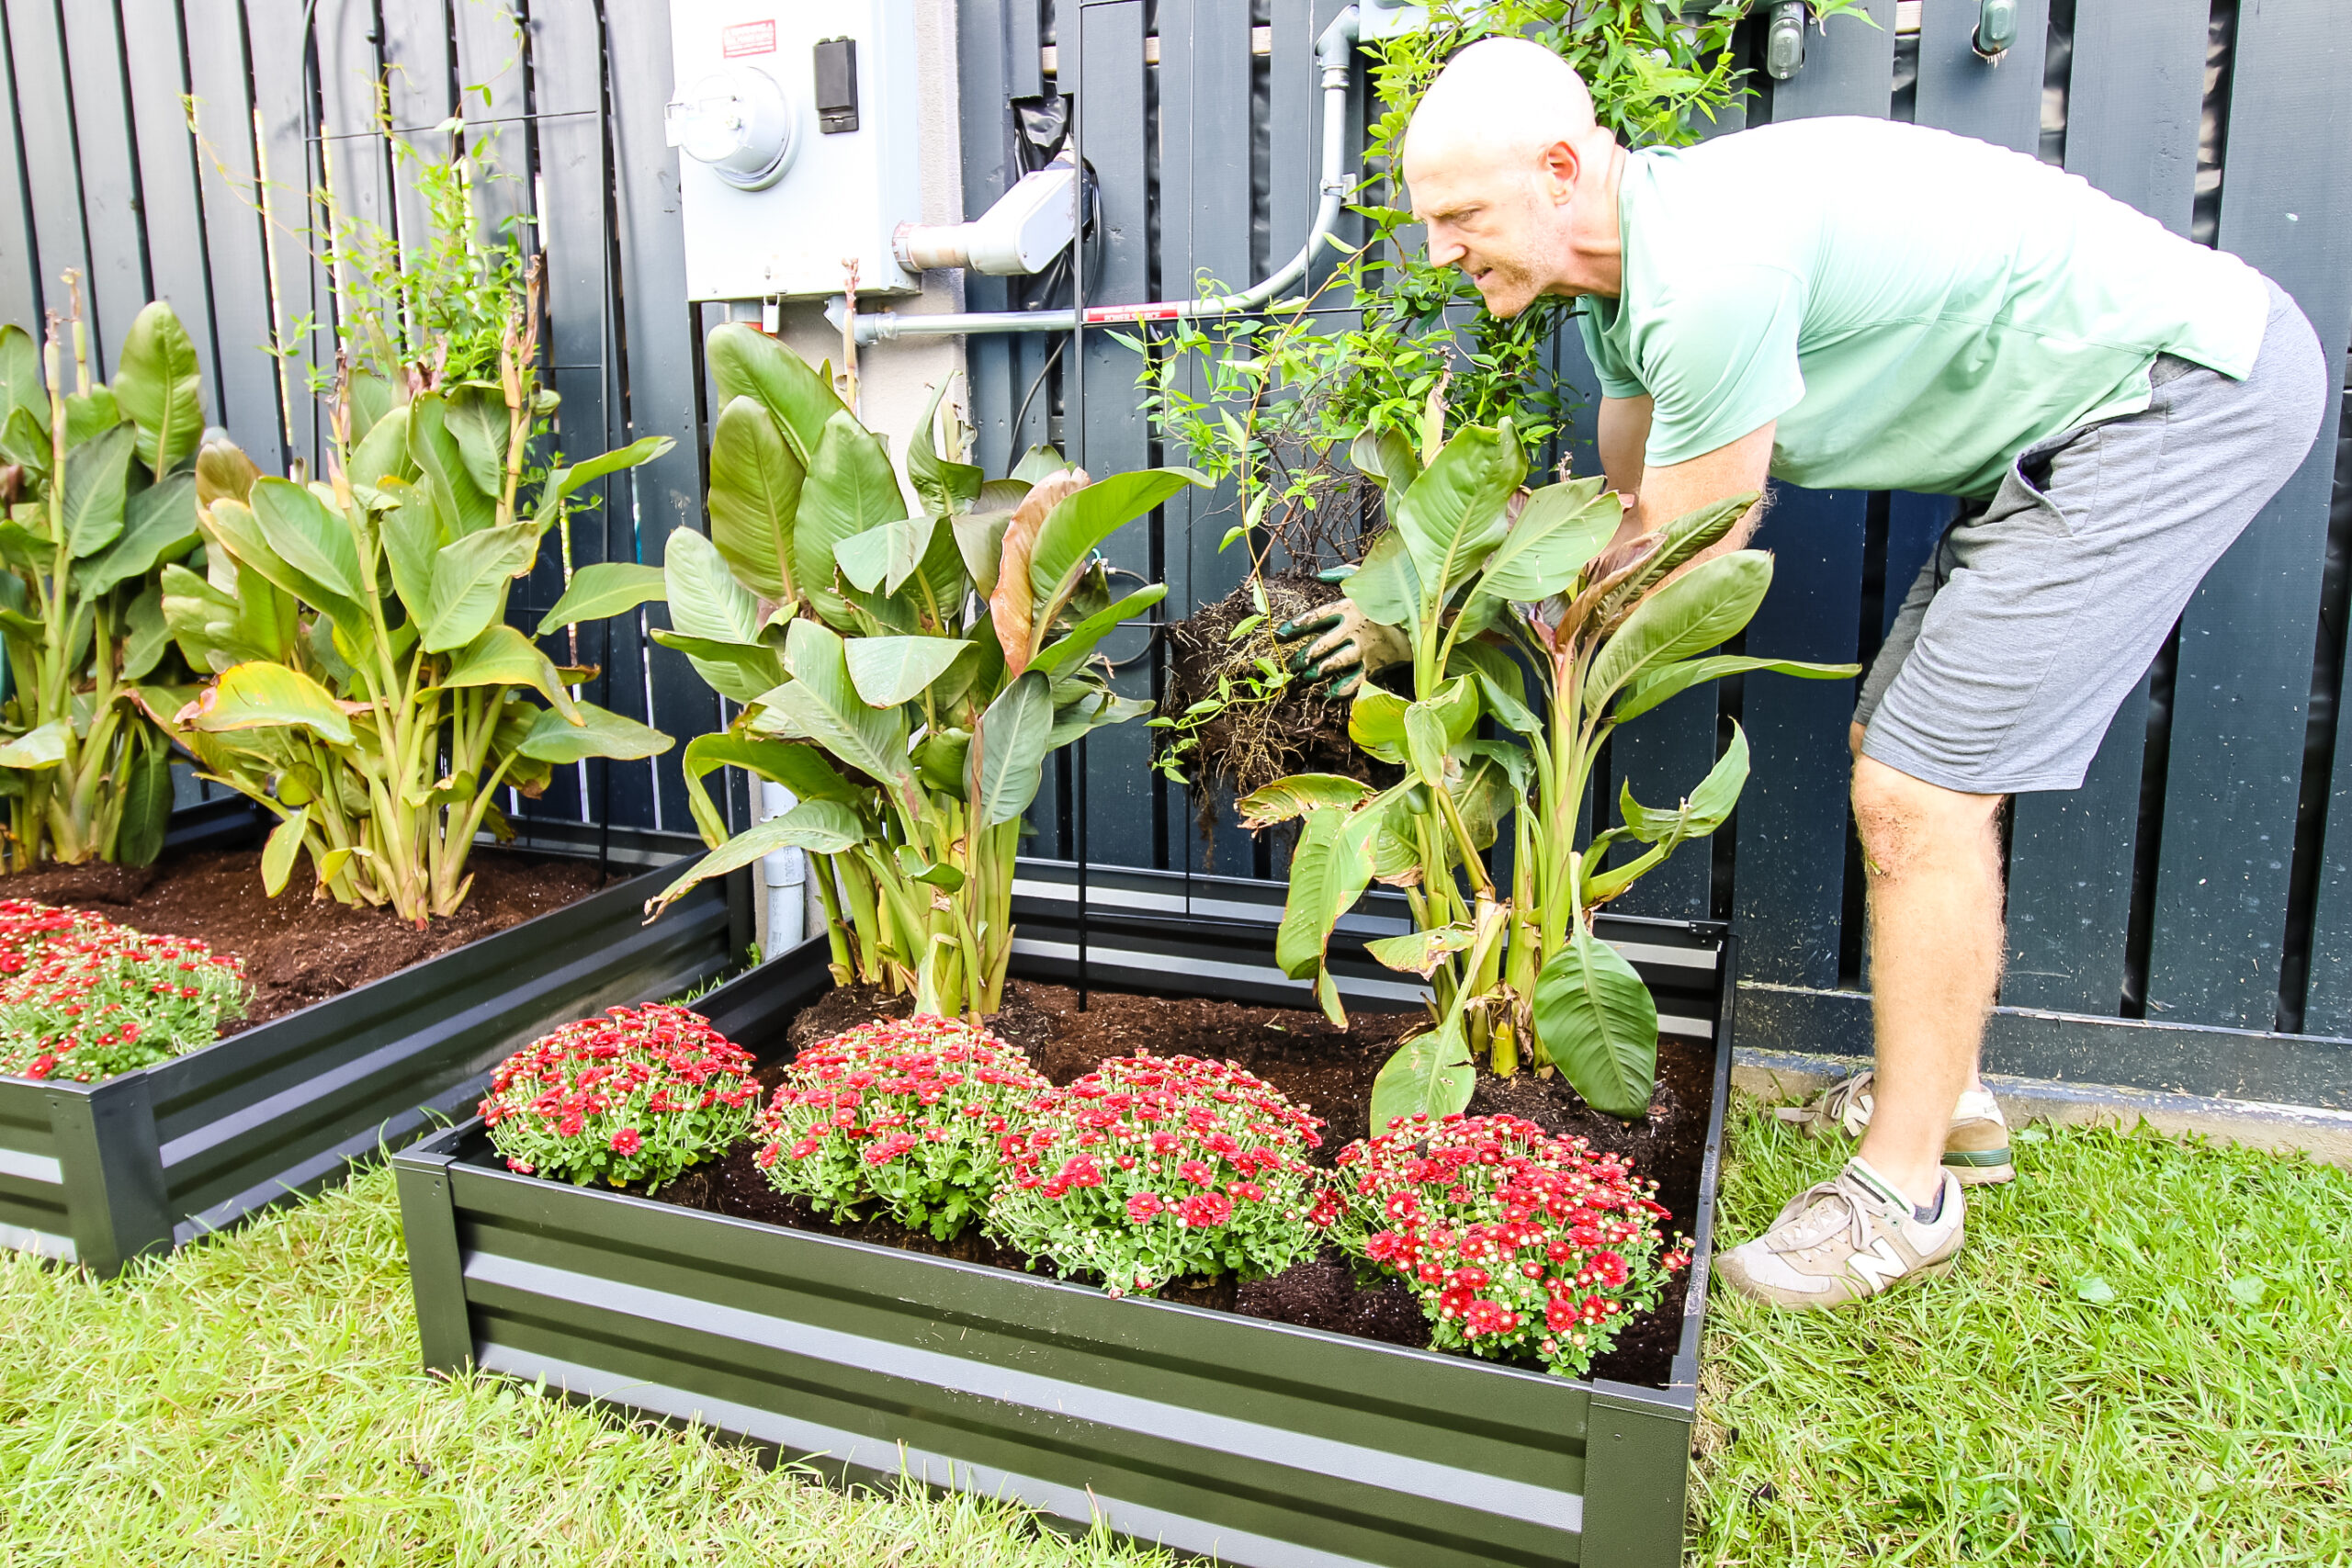
Then we added some height with calla lillies and jasmine to climb the trellis!

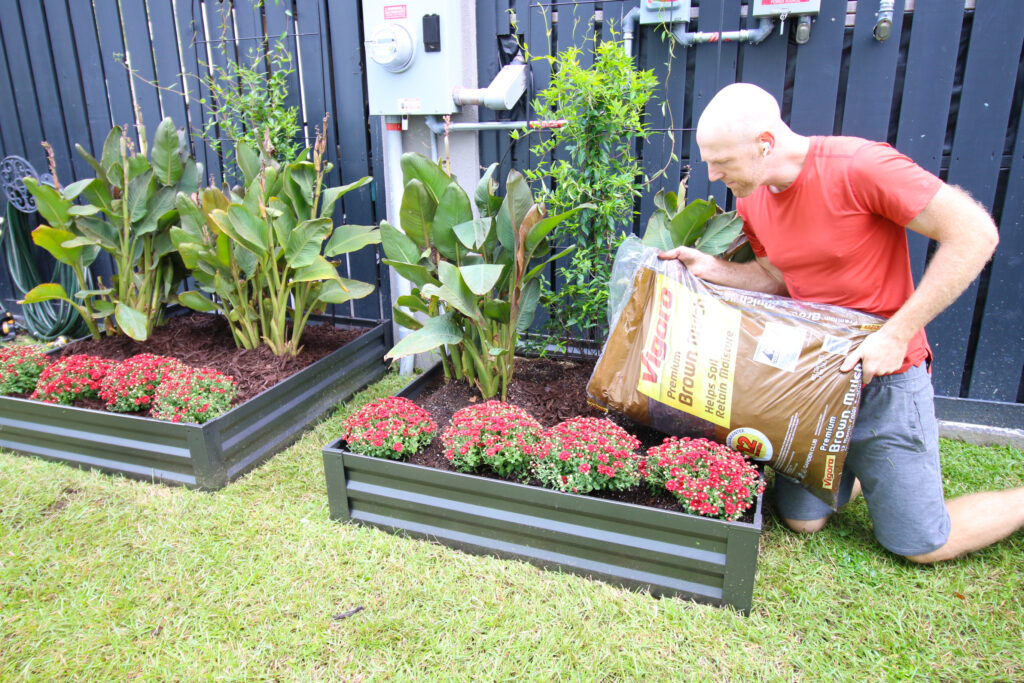
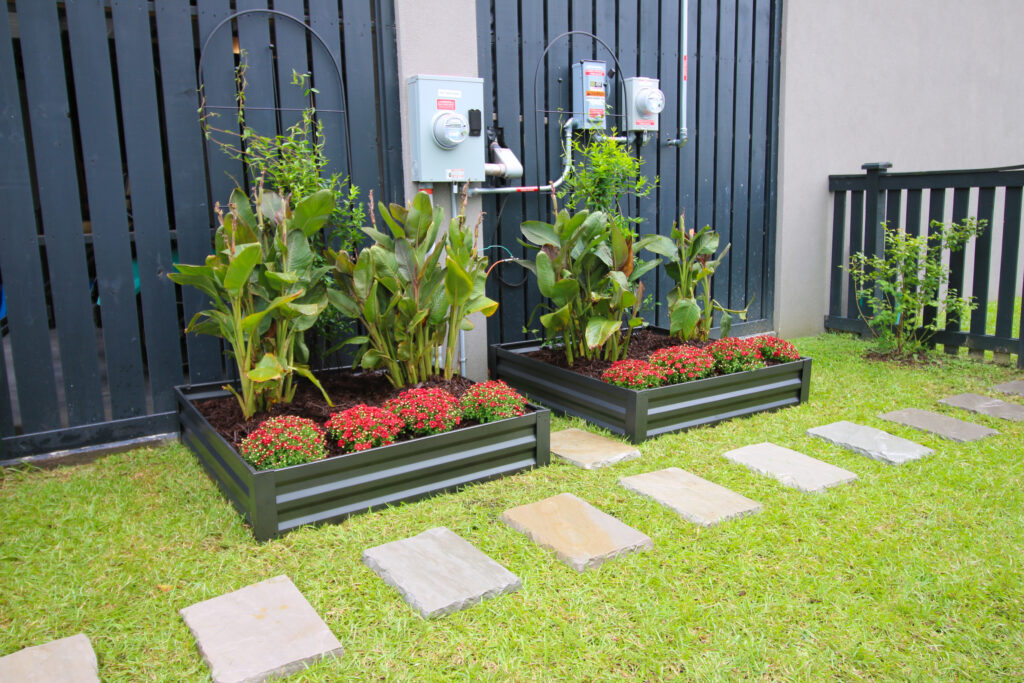
Step three: add finishing touches!

We finished off the garden beds with some Vigoro mulch all around the plants to give it a completed look and help with water retention.

Adding Vigoro mulch around flowers

We also laid out some stepping stones as a path from our driveway, past the garden beds and to our backyard gate!

Completed raised garden beds in one afternoon

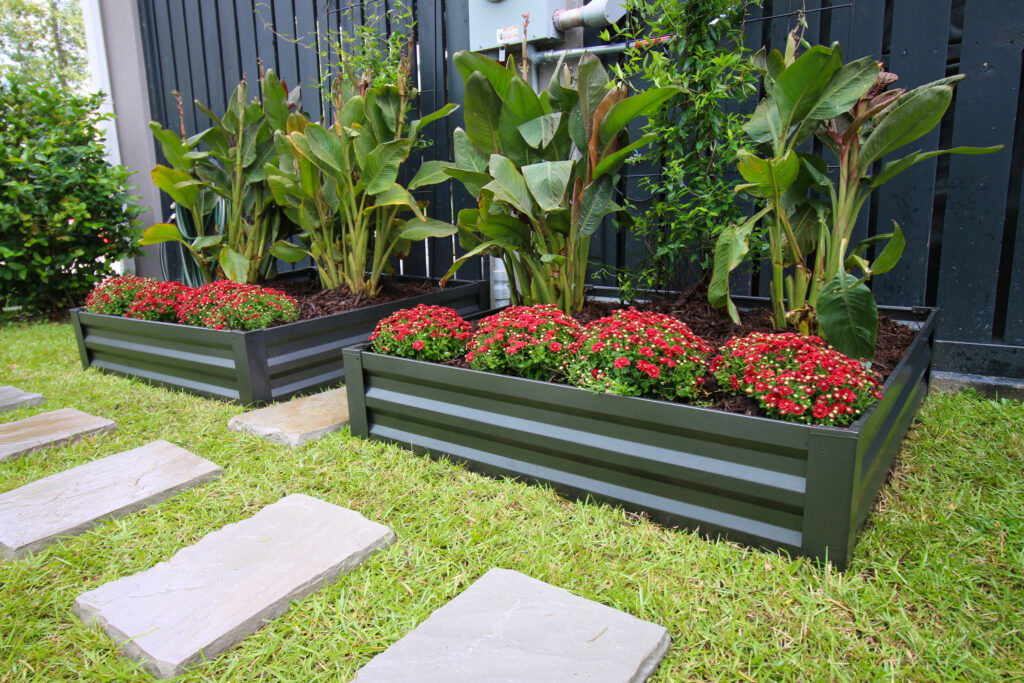
This garden turned out so good and the height and color it brings to this bland and blank space is a game changer!

Raised garden beds from Vigoro

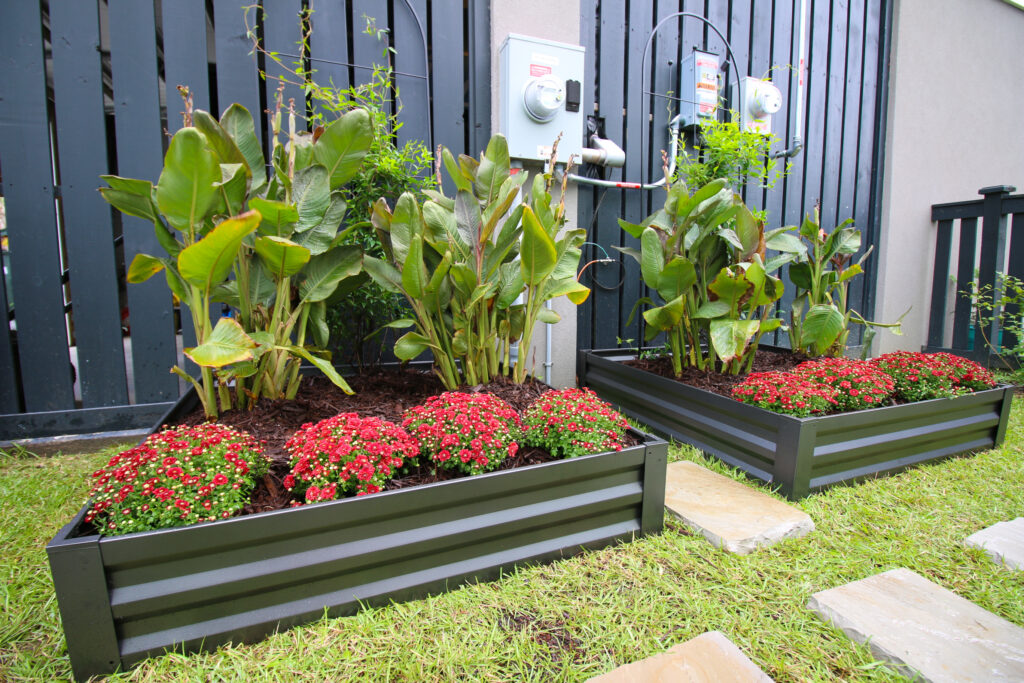
Getting everything in the morning and being able to complete the project in one day is really great. It's awesome that all of these Vigoro products were available at Home Depot for us to get easily!

Make sure you click over to The Home Depot Blog to get the full details and sources on how we did this project!

How to create an established flower garden in one afternoon - Charleston Crafted
Charleston Crafted Signature

Follow us on:
Pinterest | Instagram | TikTok | YouTube | Facebook | Amazon Storefront | LTK Shop

Looking for something?

We've been doing this since 2012 so we have a LOT of blog posts!
Search stuff like: Ceiling Projects | DIY Plant Stands | Thrift Flips

Charleston Crafted logo banner
Sean headshot cropped
Sean

Hey there, I'm Sean, the woodworking enthusiast and builder behind CharlestonCrafted.com! Since 2012, I've been sharing the magic of turning raw materials into beautiful creations. I love teaching others the art and satisfaction of woodworking and DIY. I try to inspire fellow crafters to make something extraordinary out of nothing at all.

More Garden and Yard

  • How to build a DIY gate pergola- Charleston Crafted
    How to build a DIY gate pergola
  • DIY Faux Tropical Window Box That Looks Real (But Won’t Die!)
  • How to clean outdoor light fixtures - Charleston Crafted
    How to clean outdoor light fixtures
  • Easter decor reveal - Charleston Crafted
    Our fun and festive Easter yard decor!

Primary Sidebar

Charleston Crafted about us image

Hey y'all!

We are Morgan & Sean McBride and we are crafting our home together in Charleston, South Carolina.

More about us

Popular Posts

  • DIY Coffered Ceiling
    DIY Coffered Ceiling
  • How to Make DIY Concrete Pumpkins via Charleston Crafted
    How to Make DIY Concrete Pumpkins
  • How to Make a Cupid's Arrow Valentine's Day Wall Hanging with felt on the Cricut
    How to make a Cupid's Arrow Valentine's Day Wall Hanging
  • Our Tropical Oasis - A backyard Hammock area - Charleston Crafted
    Our Tropical Oasis

Recent Posts

  • fisherman aesthetic home inspiration
    Fisherman Aesthetic Decor for Your Home
  • Senix Tools Review- Charleston Crafted
    Are Senix power tools any good?
  • Your Weekend To-Do List: 15 Things to Do for Summer Home Upkeep
    Your Weekend To-Do List: 15 Things to Do for Summer Home Upkeep
  • How to stain wood with RIT dye - step by step instructions
    How to stain wood with RIT dye

Privacy Policy

Footer

↑ back to top

Navigation

  • Home
  • Blog
  • Contact Us
  • Terms of Use
  • Disclaimer

Newsletter

  • Sign up for emails and updates
  • Follow us on Instagram
  • Work with Us

Browse by Category

  • Woodworking
  • Home Projects
  • Paint Colors
  • Room Reveals

© 2025 The Charleston Crafted Blog LLC DBA “Charleston Crafted” and “CharlestonCrafted” (also known as N/A) / All Rights Reserved.
Official Website: (Charleston Crafted)
Registered in USA (Co. Reg. No.: 565586)
Address: Charleston, USA 29414, South Carolina
Contact Phone: Not applicable — contact is via email: sean@charlestoncrafted.com

DISCLAIMER: The content on this website is provided for general informational purposes only and is not intended as professional advice. The Charleston Crafted Blog LLC and The Charleston Crafted Blog LLC make no representations or warranties—express or implied—regarding the accuracy, completeness, or suitability of the information contained herein. Any reliance you place on this information is strictly at your own risk. In no event shall The Charleston Crafted Blog LLC or The Charleston Crafted Blog LLC be liable for any loss or damage, including without limitation, indirect or consequential loss or damage, arising from the use or inability to use this website. This website is the official website of The Charleston Crafted Blog LLC.

AFFILIATE DISCLOSURE: This website contains affiliate links. If you click through and make a purchase, we may earn a commission at no extra cost to you.

As an Amazon Associate, I earn from qualifying purchases.

Site Editor: Morgan Smith McBride

Copyright © 2025 Charleston Crafted