Here's how I put together a simple garden trellis using fence pickets and chicken wire for our garden. It's an easy build to replicate for your garden bed!
We're in our fourth garden season in our house and at this point we've made a bunch of different gardens and trellises. But here we are again, adding another!
This simple wire garden trellis is made with chicken wire and fence pickets, so it's extremely affordable and easy to make. It's a great way to grow climbing plants like cucumber, tomatoes, loofah or beans!
Check out how we made it and make one for yourself too!
DIY wire garden trellis
Seriously, this project is very easy. I made it in about an hour with no plan, just a vision in my head. Let me show you what you need to do it and what you need.
If you're looking for a way for plants to climb, this is a great choice!
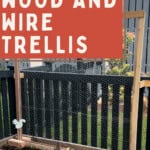
Another great choice is our wood and wire trellis we use for blackberries!
Materials needed:
- (4) fence pickets
- Wood for feet (we used scrap 4x4 posts, so you could buy one of these or you could use 2x4 or something you have on hand)
- Chicken wire
- 1" nails
- ½" staples
If you need another place for tomatoes to grow, try building this simple wooden tomato cage!
Step one: cut fence pickets
Start out by ripping down all four of the fence pickets in half. Use a table saw or circular saw to cut them down the middle lengthwise.
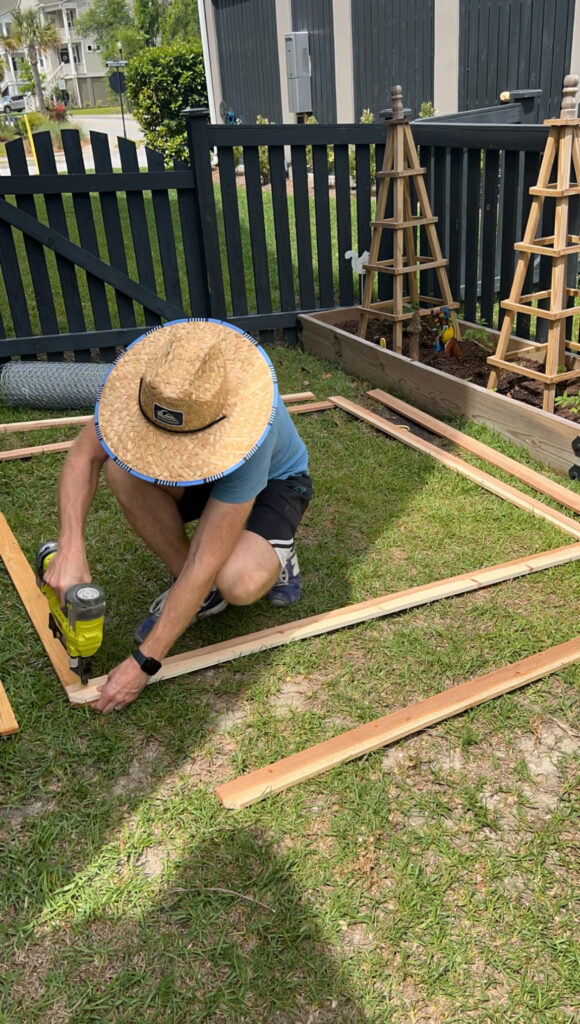
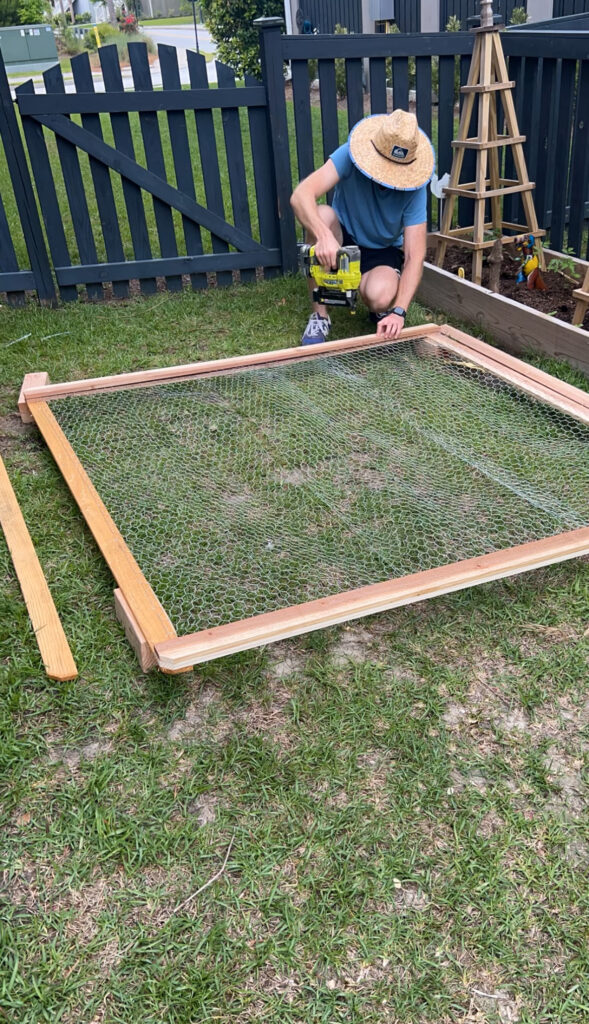
Step two: nail first frame layer
Using 1" nails, you're going to create the first layer of the frame. To do this, lay two half fence pickets down horizontal in front of you and set two more down connecting those two in the corners so you have a square.
Use a few nails in each joint to attach the frame together.
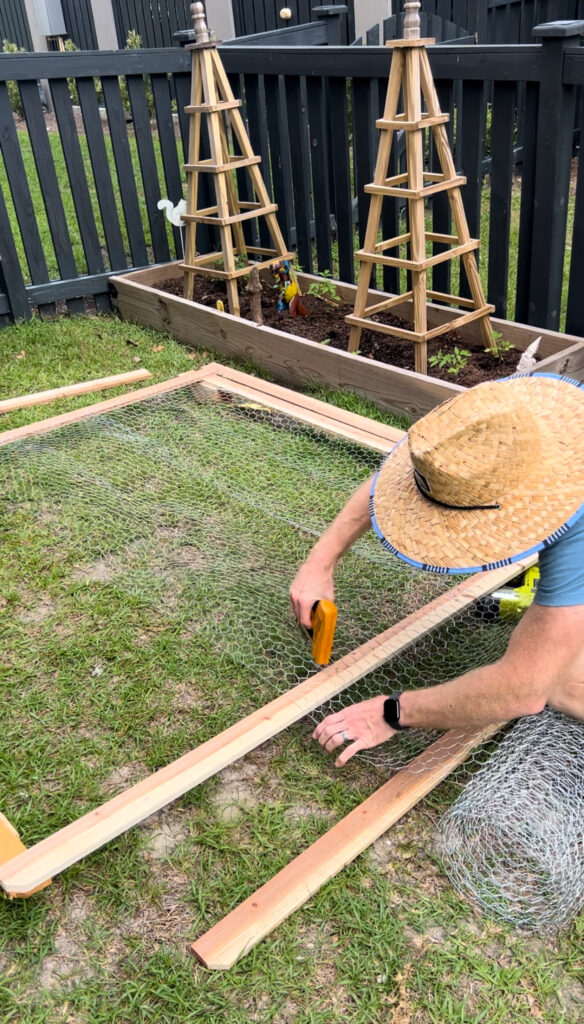
Step two: attach chicken wire
Next, roll out your roll of chicken wire at the bottom of the frame. Use staples to attach the wire to the frame at the beginning of the roll.
Then, staple it in along the horizontal beam as well and then on the other side. Finally, use wire cutters or snips to cut the wire off before the edge of the frame.
Repeat with two more layers of chicken wire up the frame so that they overlap just a little and secure them together with wire ties in a couple of spots.
Step three: nail second frame layer
Next, nail together the second layer of the frame in the same manner you did the first. Lay out the boards, then nail them all together.
Step four: attach feet
After you have the frame made, you'll attach the feet. These can easily be glued on with clamps, or you can use long screws through the feet into the frame.
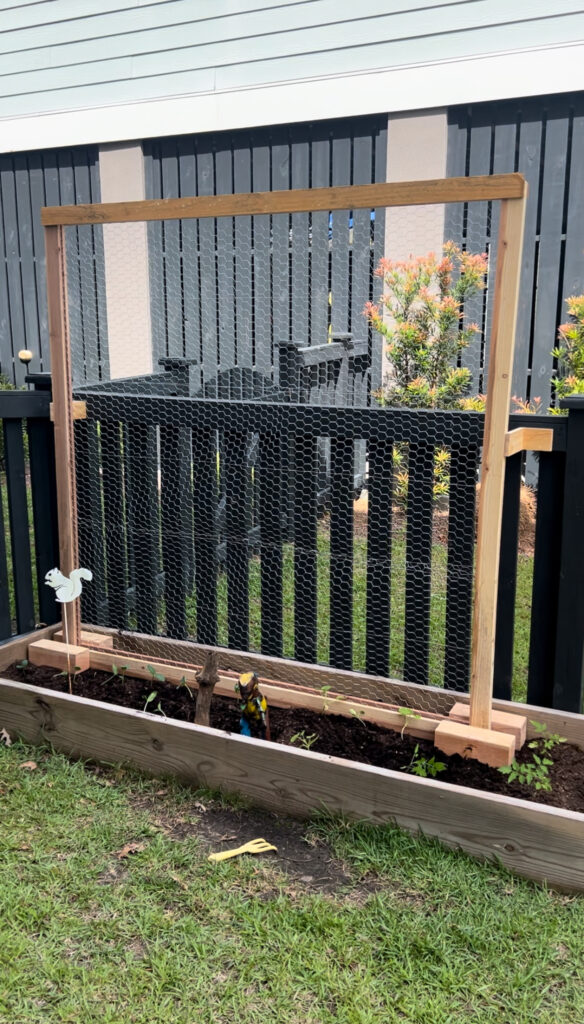
Then lift your trellis into place in your garden bed.

Step five: secure to fence or posts
It's unlikely that you can get this to stand up perfect straight by itself because of it being a little top heavy, so you'll need to secure the sides to a post or the fence.
For me, I just cut a piece of scrap wood and nailed it into the side of the trellis and into the fence so that it would stand up straight no matter what.
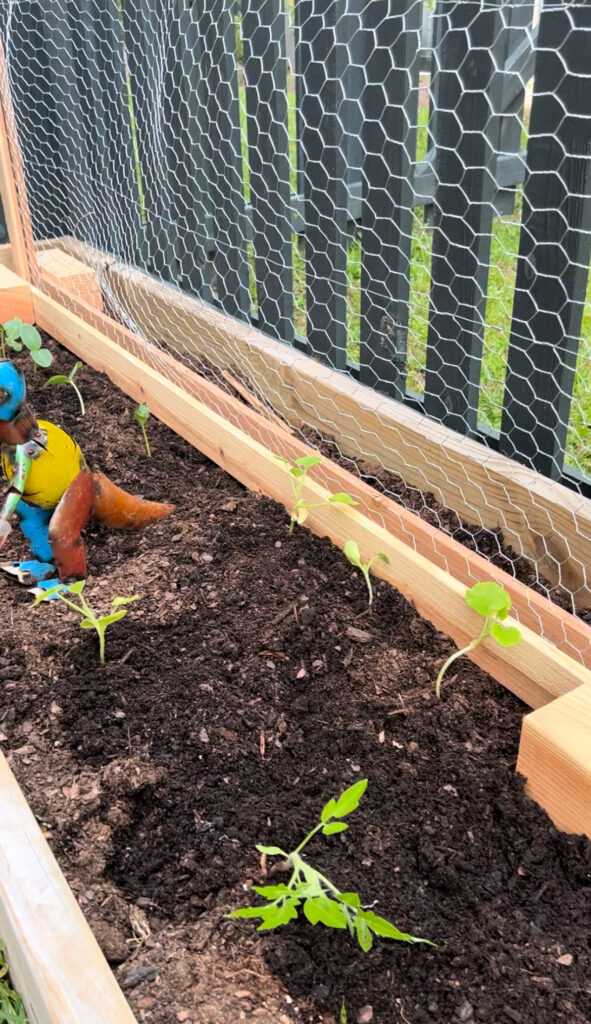
Step six: watch your garden grow
Finally, we planted some climbing plants in a row right at the base of the trellis. These plants will attach onto the trellis once they get a little more height and they will work themselves up through the chicken wire, producing veggies on both sides of the wire!
Simple chicken wire garden trellis
I love how simple this project was and that I got it done in one afternoon. If you're looking for a simple way to grow your garden veggies up a trellis, this simple DIY trellis is a great way to go!
After all this, prefer an all wooden trellis? Here's how I built a garden bed with built in wooden trellis!

Looking for something?
We've been doing this since 2012 so we have a LOT of blog posts!
Search stuff like: Ceiling Projects | DIY Plant Stands | Thrift Flips

Hey there, I'm Sean, the woodworking enthusiast and builder behind CharlestonCrafted.com! Since 2012, I've been sharing the magic of turning raw materials into beautiful creations. I love teaching others the art and satisfaction of woodworking and DIY. I try to inspire fellow crafters to make something extraordinary out of nothing at all.