Wow your guests this holiday season with a rustic wooden trough centerpiece! Adding a slight wood-burned effect to any wooden piece with the Wagner FURNO 500 heat gun will give it the vintage and rustic look you want. Accessorize this trough for each holiday by filling it with seasonal items!
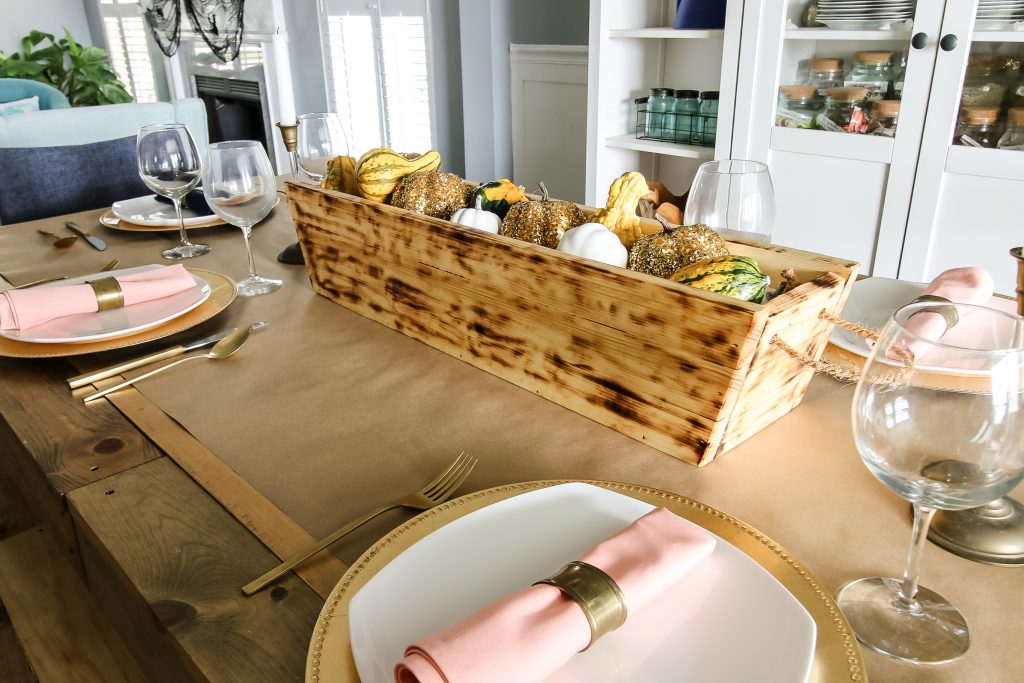
We're bringing you an easy DIY project today with this DIY wooden trough centerpiece! This project is simple to make and works great on a long rectangular table. You can fill it each season or holiday with different items to make it the focal point of your holiday entertaining.
How to Build a Rustic Wooden Trough
This trough is simple to build and we have the full step-by-step instructions and cut list in the how-to card below. But here's the overall idea.
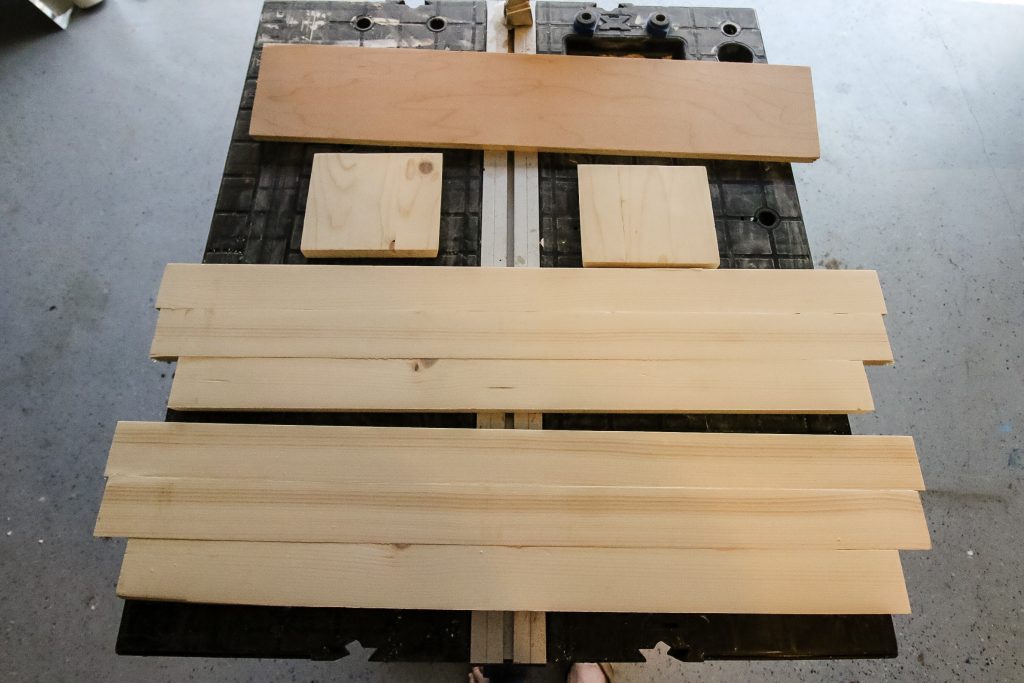
First, cut the base. We used ½" plywood with a 15 degree angle on either end.
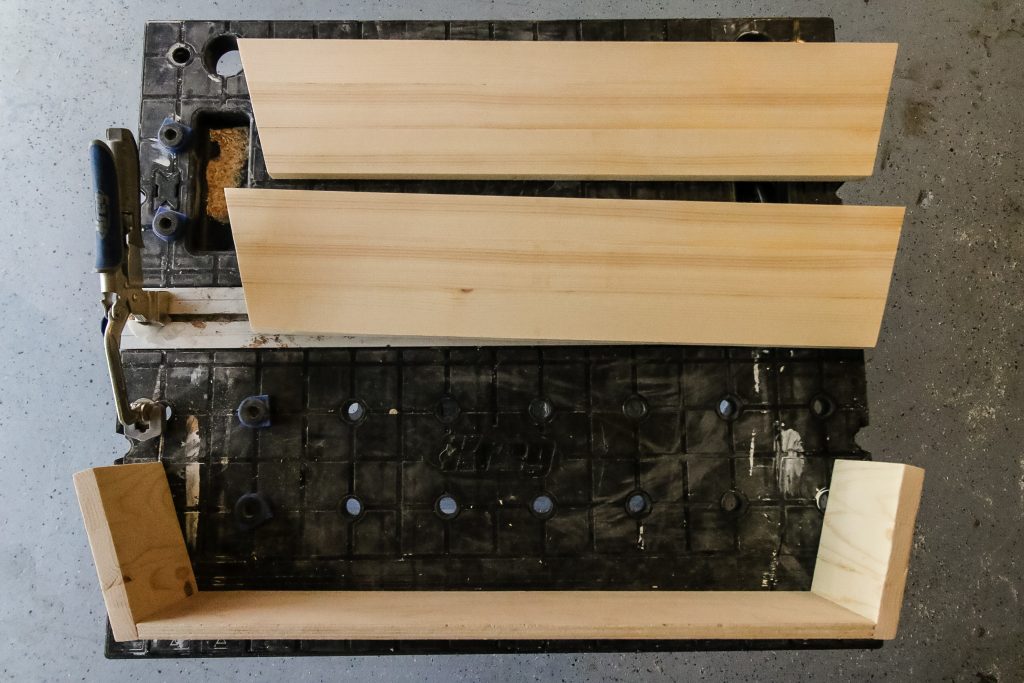
For the rest of the pieces, we used 2" wide pine boards. First, cut your short side pieces. Cut each piece to 5" long and cut two of them with a 15 degree bevel along one long side. Glue one angled piece and two other pieces together and repeat.
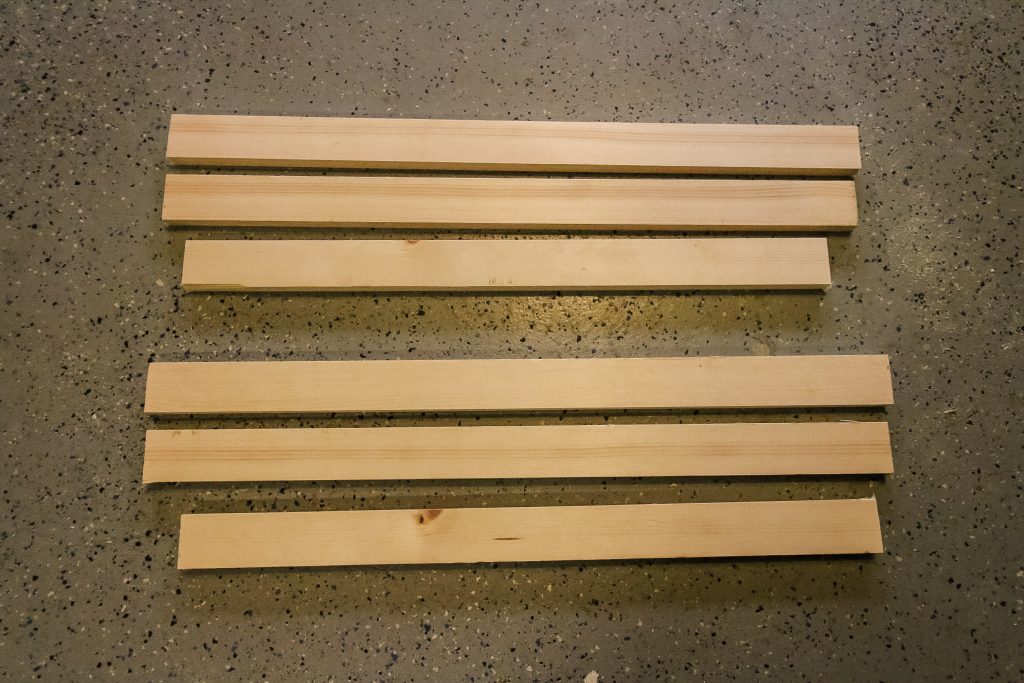
Next, cut your long boards. For each side, you'll cut a board that is 30", 29 ½" and 27". Line them up centered and glue them together.
Once everything is dry, use a miter saw to cut a 15 degree miter on the two long sides. Cut off the jagged edges.
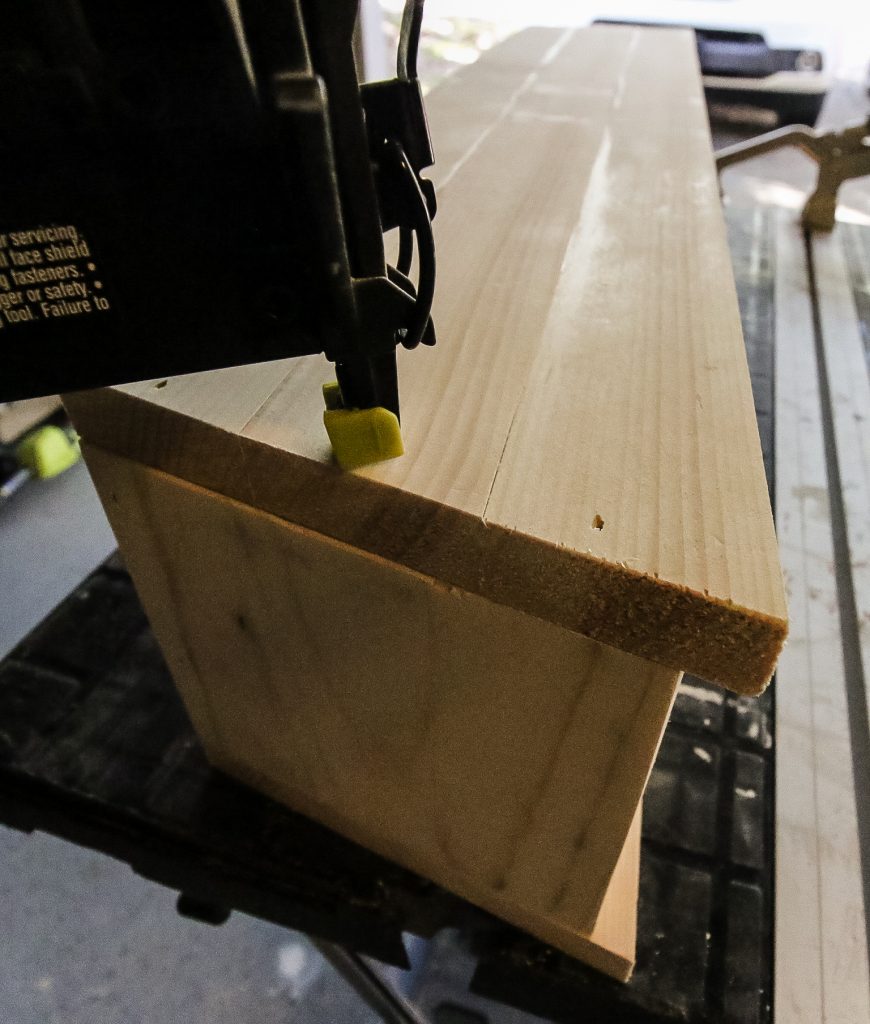
Attach the short sides to the plywood base first with a nail gun.
Then, attach the long sides flush to the outside.
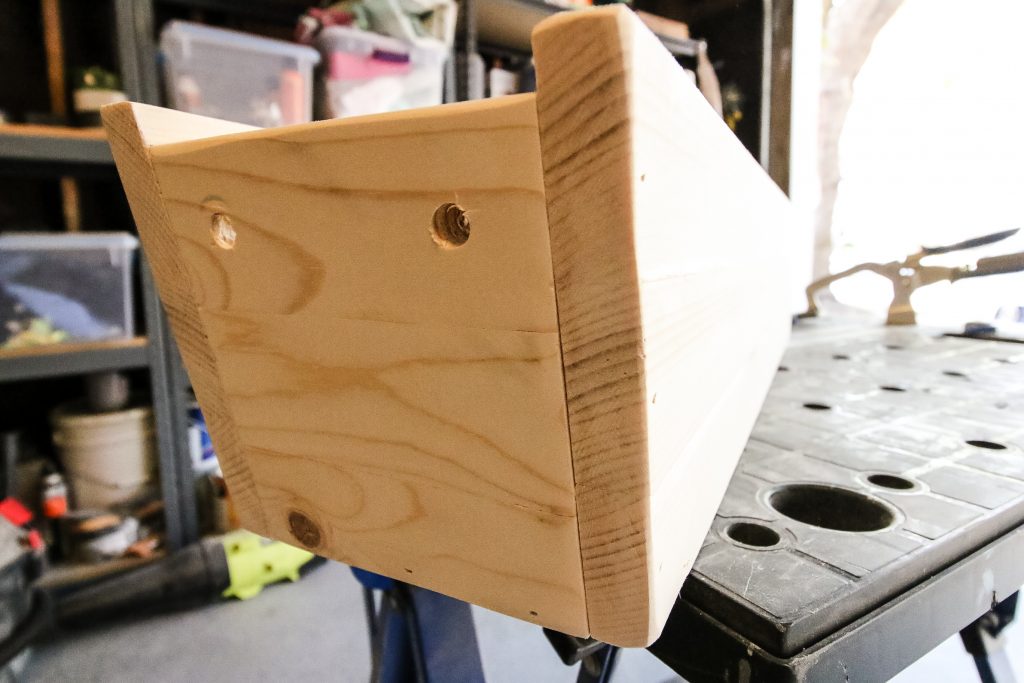
Finally, drill two holes in the two ends for handles.
Finishing the Trough
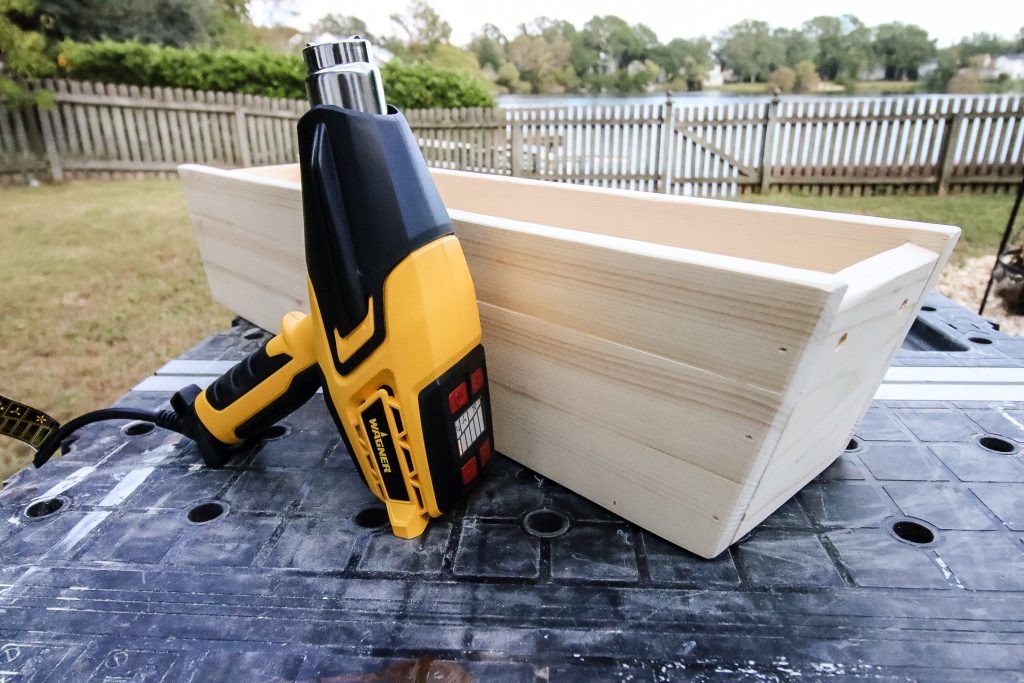
The trough looks great like this, sure. But if you want to give it a real, rustic farmhouse look, you need to add a little flair.
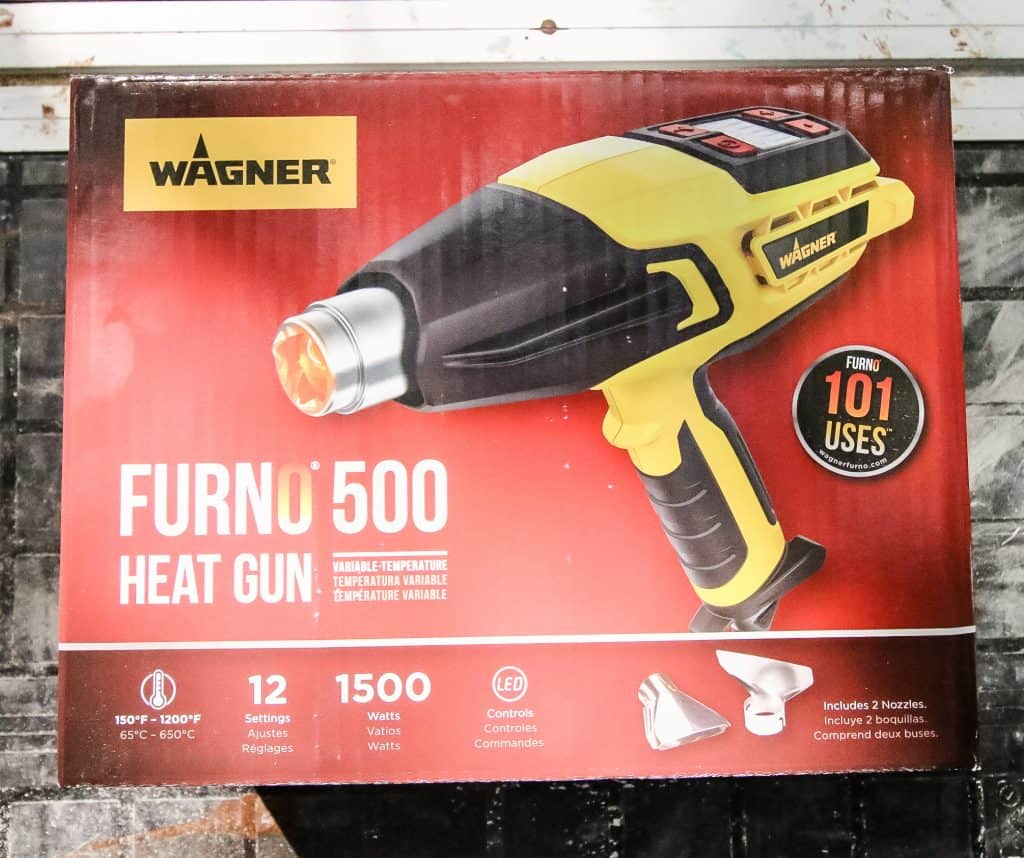
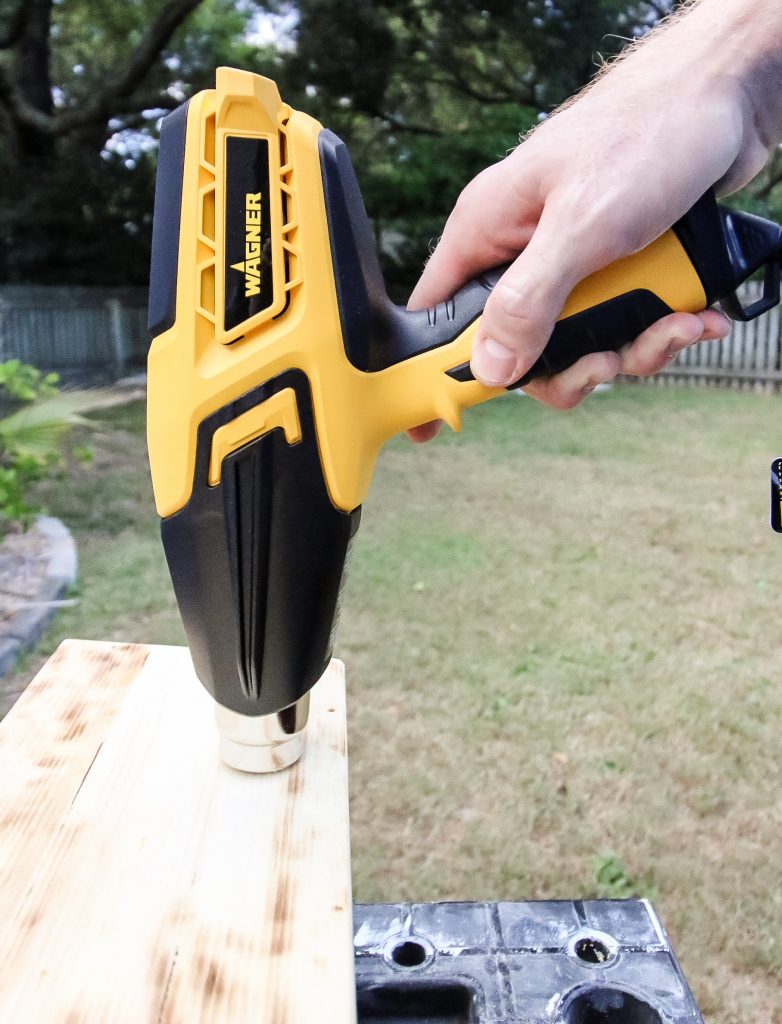
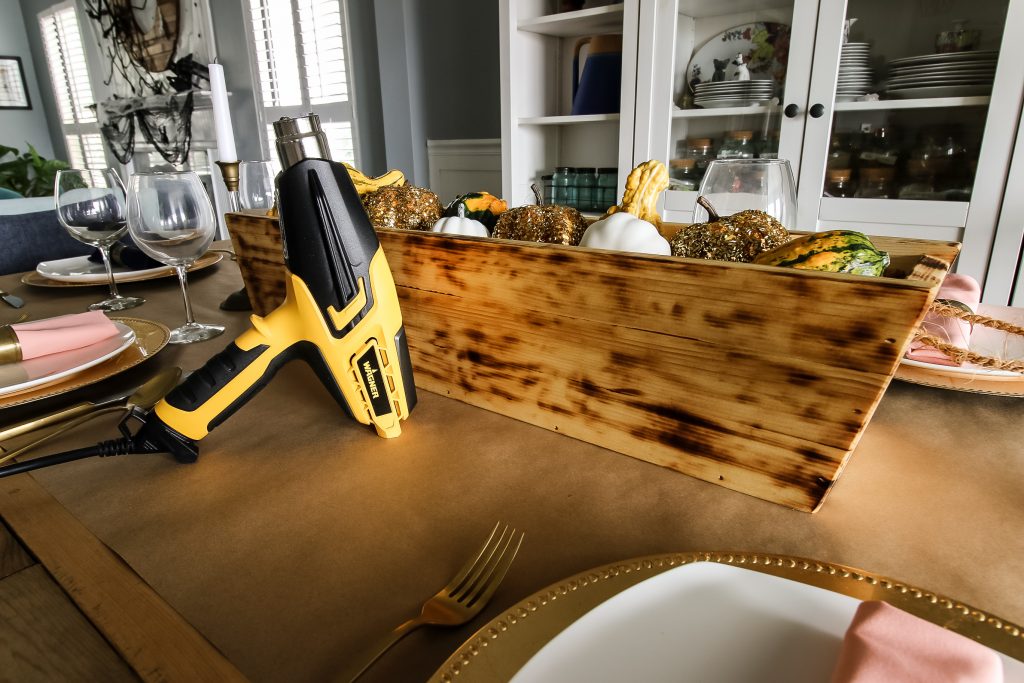
To do this, we used the new Wagner FURNO 500 heat gun to give our trough a wood burned look. We love the FURNO 500 because it is so versatile. It can be used to strip paint off of old furniture, shrink wrap plastic, remove stickers and so much more. It is versatile because of a wide range of heat levels for different DIY projects.
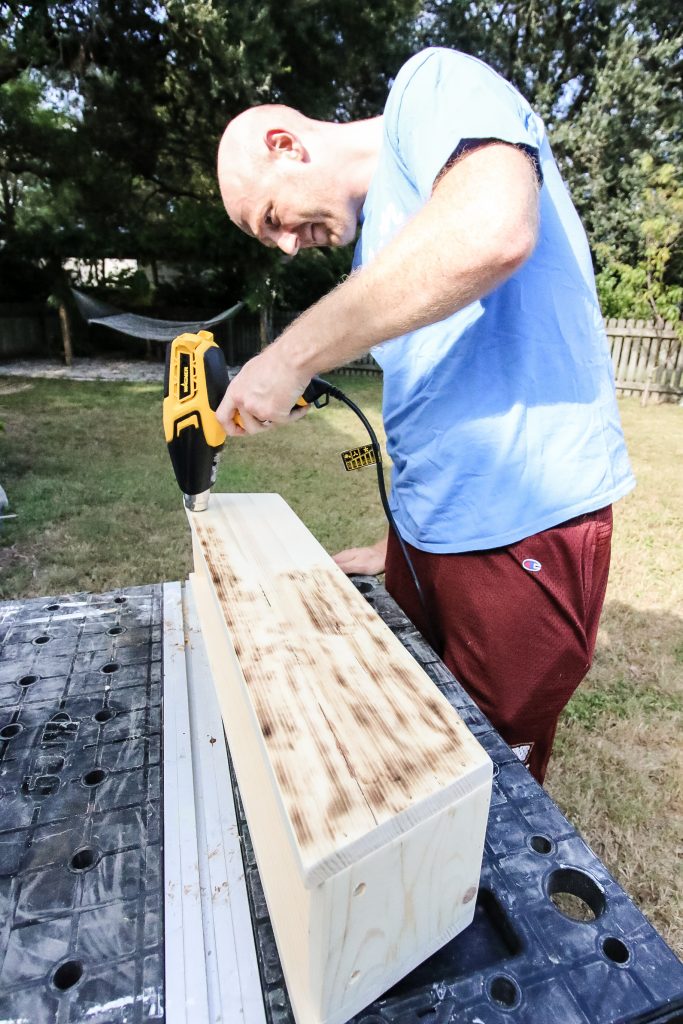
The FURNO 500 also works great to give wood a slightly burned look. We've previously used the Wagner Studio heat gun to make our vanity stool and we love the look of slightly-charred wood. We cranked it up and moved it slowly along the entire surface of the trough.
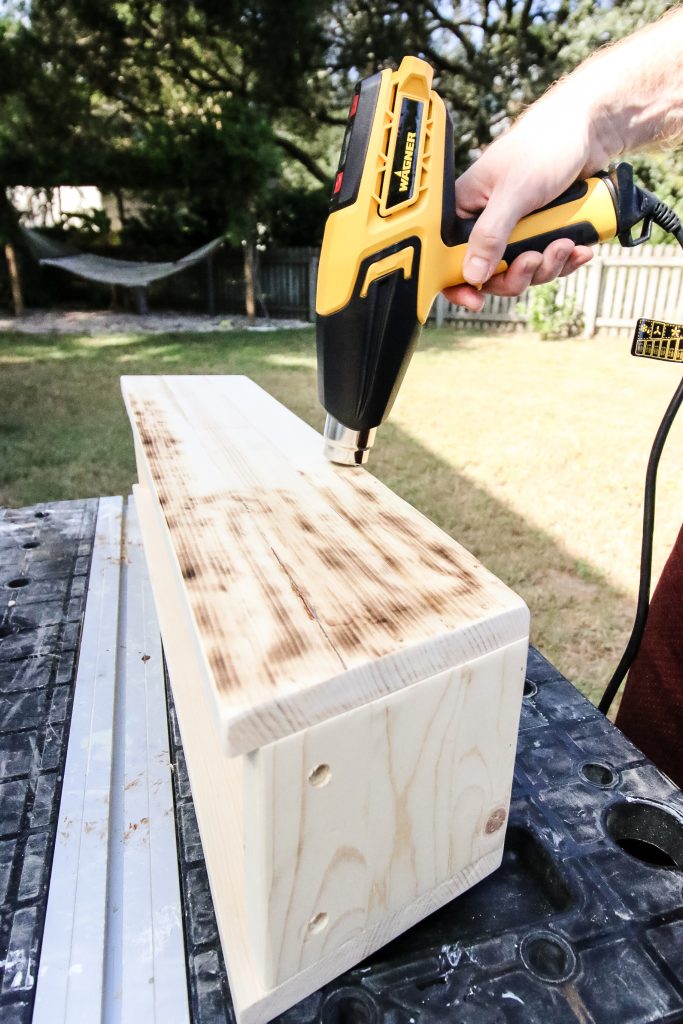
As you move along, you can see how slowly you need to go and how you can get a more or less burned look depending on how long you linger in one area.
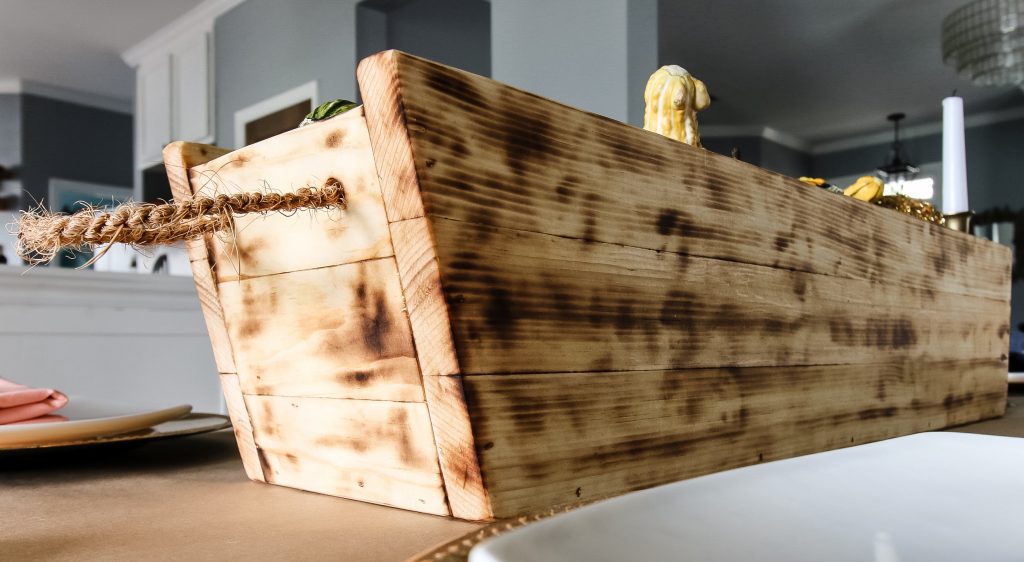
We didn't want perfect uniformity and wanted the trough to look rustic and the FURNO 500 made that happen. It goes without saying that if you use a heat gun to char wood, be very careful.
After the wood cooled, we applied oil to really bring out the color and then added rope handles.
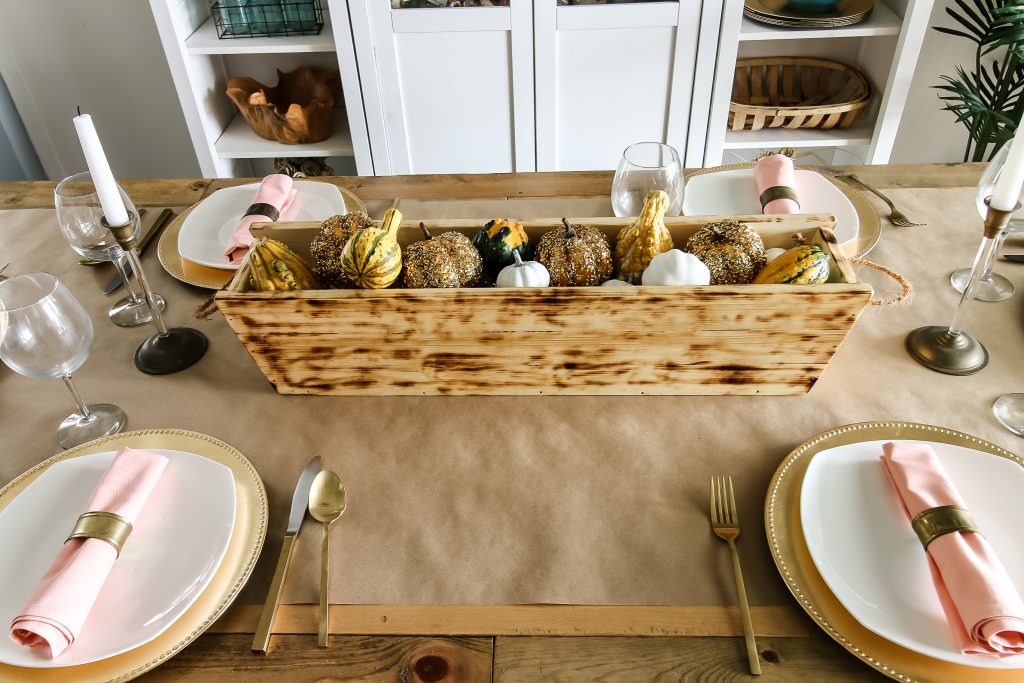
Styling the Trough
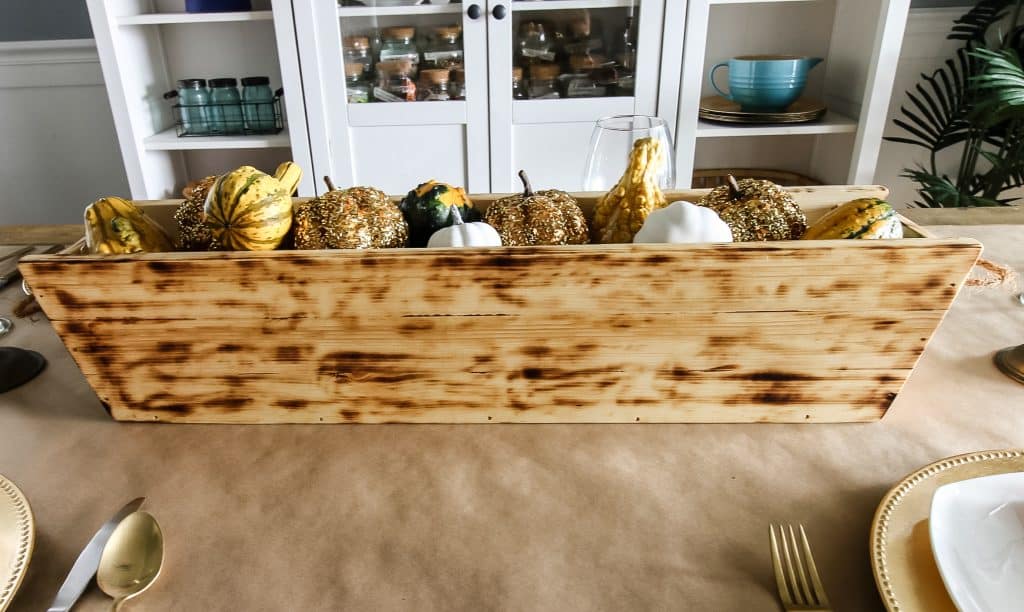
This rustic DIY wooden trough centerpiece is perfect for all occasions, but will really wow your guests this holiday season. Fill the trough with seasonal decor, flameless candles or natural elements from outside.
We love the look of this wooden trough centerpiece and hope you'll make one too. It's an easy build and adding a wood-burned element with the Wagner FURNO 500 really brings it all together for the fall season. Please print out the full how-to card below and tag us in your pictures on Instagram!

DIY Rustic Wooden Trough Centerpiece
This beautiful rustic farmhouse trough is great for a table centerpiece. The wooden trough can be customized for your table length or stained however you'd like. It's a great piece that can be filled with seasonal items throughout the year.
Materials
- 12 feet of 2" wide boards
- 2' of ½" thick plywood
- Wood glue
- Rope
Tools
- Miter saw
- Brad nailer
- Wagner FURNO 500 heat gun
- Drill
Instructions
- Cut your base out of plywood 24"x5" with a 15 degree miter on each short end.
- Make your cuts our of 2"wide boards:
- (6) 5" long pieces, two with a 15 degree angle on one long side
- (2) 30" long
- (2) 29 ½" long
- (2) 27" long - Glue and clamp together all four sides. For the short sides, use one angled 5" piece and two straight 5" pieces. For the long sides, use one piece of each length centered on each other.
- Cut the long sides flush with a 15" mitered angle just to cut off the extra ends. Each side should measure 29" on the long edge angled down to 25 ¾" on the short edge.
- Use a brad nailer to attach the short sides to the plywood base.
- Use a brad nailer to attach the long sides to the plywood base and the short sides.
- Drill two holes in each short side for handles.
- Use a heat gun to give the trough a slightly burned look. Then add an oil finish.
- Add rope handles.
- Style for each season!
Recommended Products
As an Amazon Associate and member of other affiliate programs, I earn from qualifying purchases.


Thanks so much to our friends at Wagner for sponsoring this post. We hope you'll check out their website for more on the FURNO heat gun series and try one out for yourself. Thanks for supporting the brands that make Charleston Crafted possible!

Looking for something?
We've been doing this since 2012 so we have a LOT of blog posts!
Search stuff like: Ceiling Projects | DIY Plant Stands | Thrift Flips

Hey there, I'm Sean, the woodworking enthusiast and builder behind CharlestonCrafted.com! Since 2012, I've been sharing the magic of turning raw materials into beautiful creations. I love teaching others the art and satisfaction of woodworking and DIY. I try to inspire fellow crafters to make something extraordinary out of nothing at all.