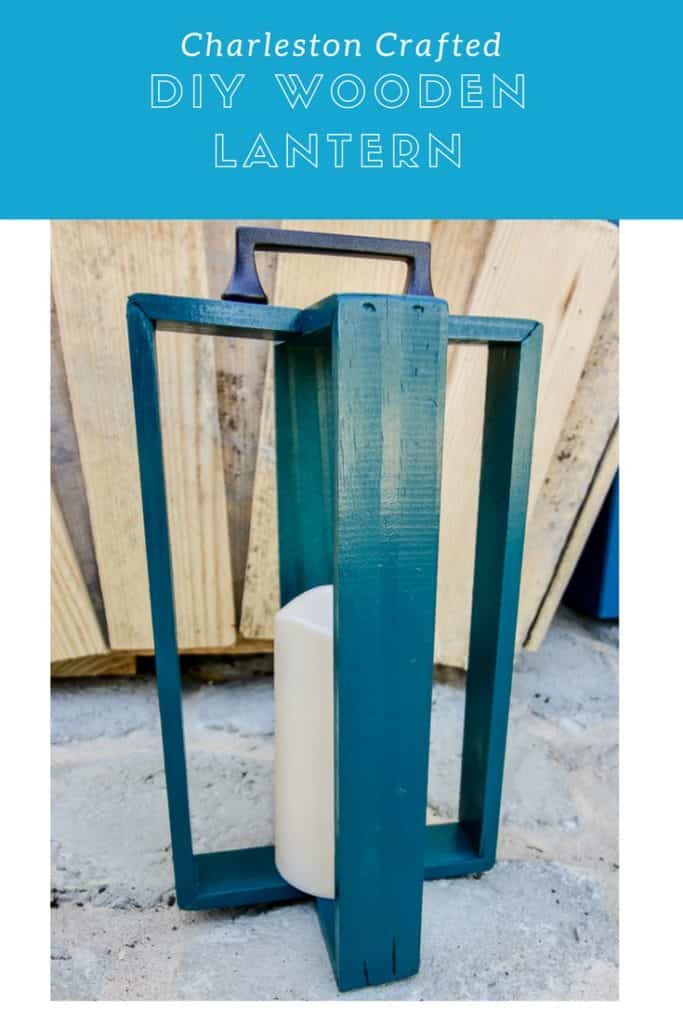
Today we've got a DIY wooden lantern that we think you're going to love based on it's geometric shape and ease to build! This "x" patterned wooden lantern looks really cool and is perfect for battery-powered candles. You read that right- battery powered only. We don't want any of you crazy kids putting a fire burning candle in this thing and lighting your place on fire. But you know better, right?
Check out 12 DIY lantern ideas here!
DIY Wooden Lantern
We made the lantern 12 inches high and 6 inches wide out of ¼"x2" slats. We made this thing in three sections. We started by cutting four 12 inch pieces, two 6 inch pieces and four 2 ¼ inch sections.
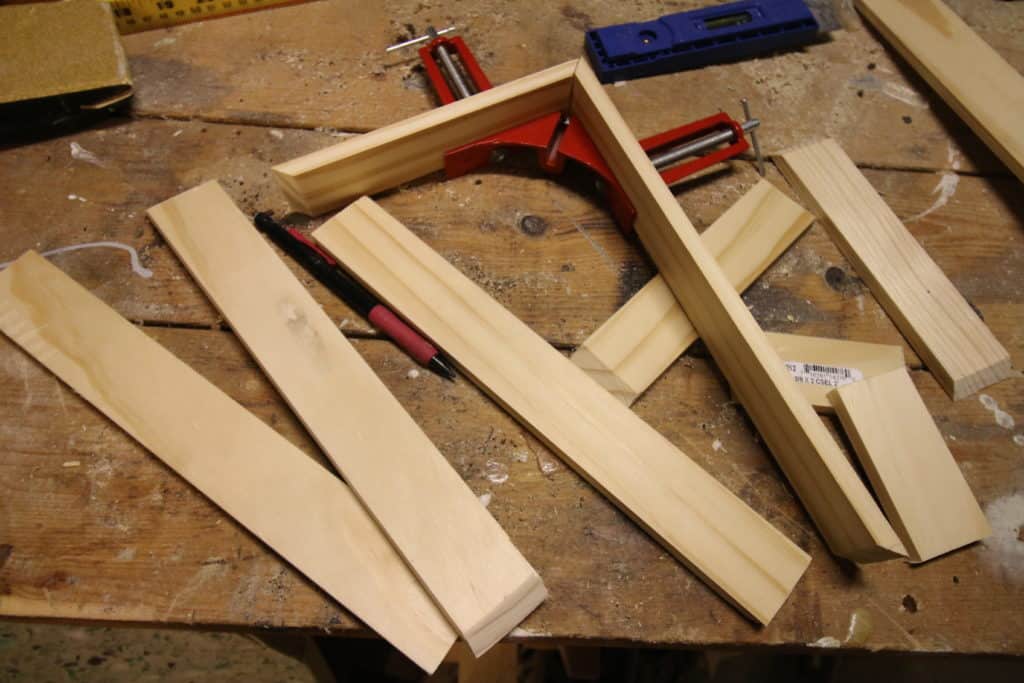
We made the main cross first, using right angle clamps to hold together the 12 inch and 6 inch sections together and nailed them together.
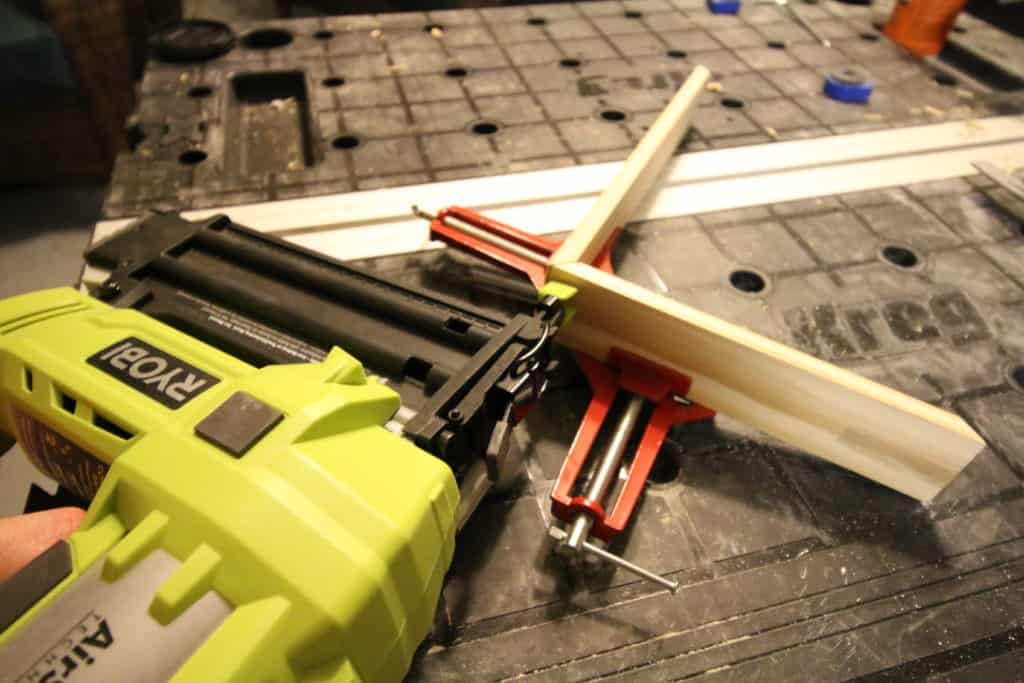
Then we did the same on the two half sections, nailing two short pieces to each end of the two long sections.
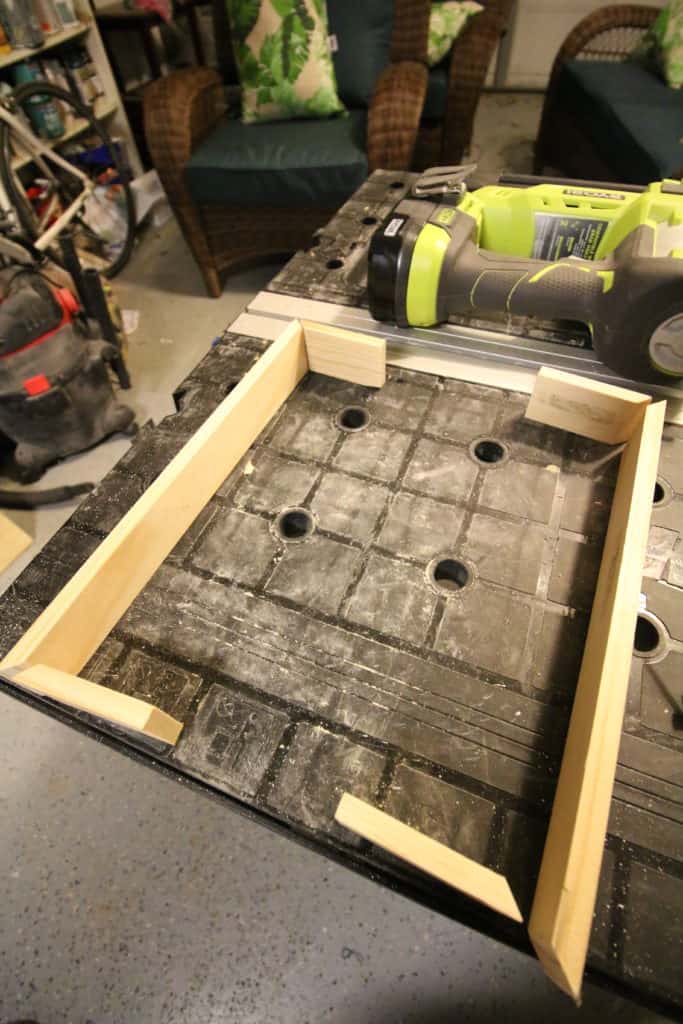
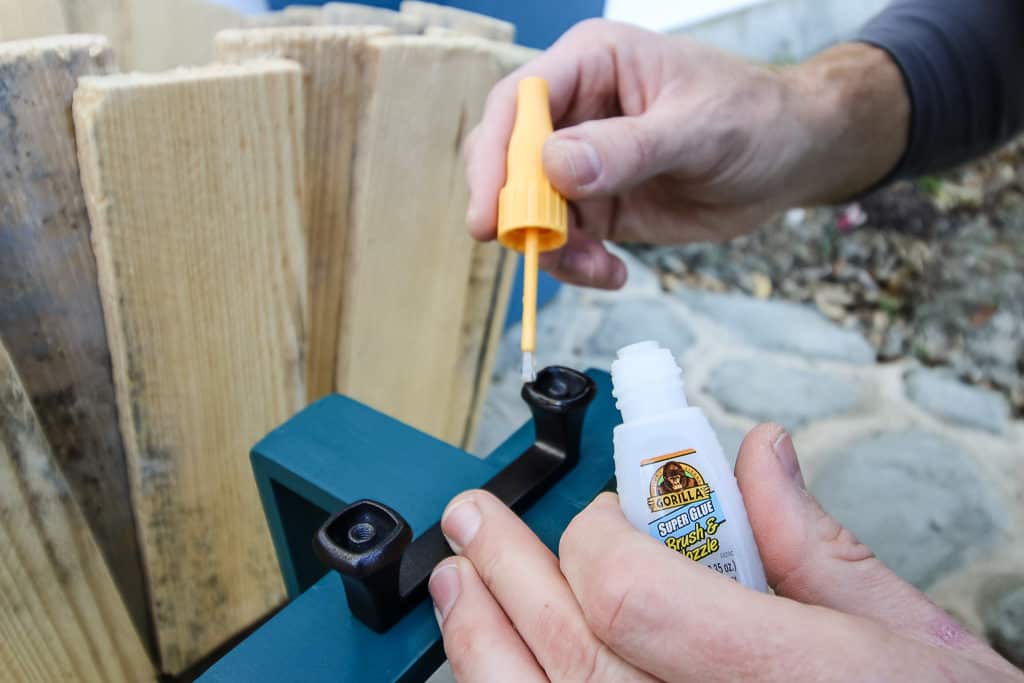
Then we used clear Gorilla Glue and clamps to attach the two half sections to the main section.

After the glue was dry, we spray painted the whole thing using Rustoleum's Lagoon color (left over from the pineapple clock upcycle), then used Gorilla Glue to attach a drawer pull to the top.
Then we added a battery-powered candle and lit the way!
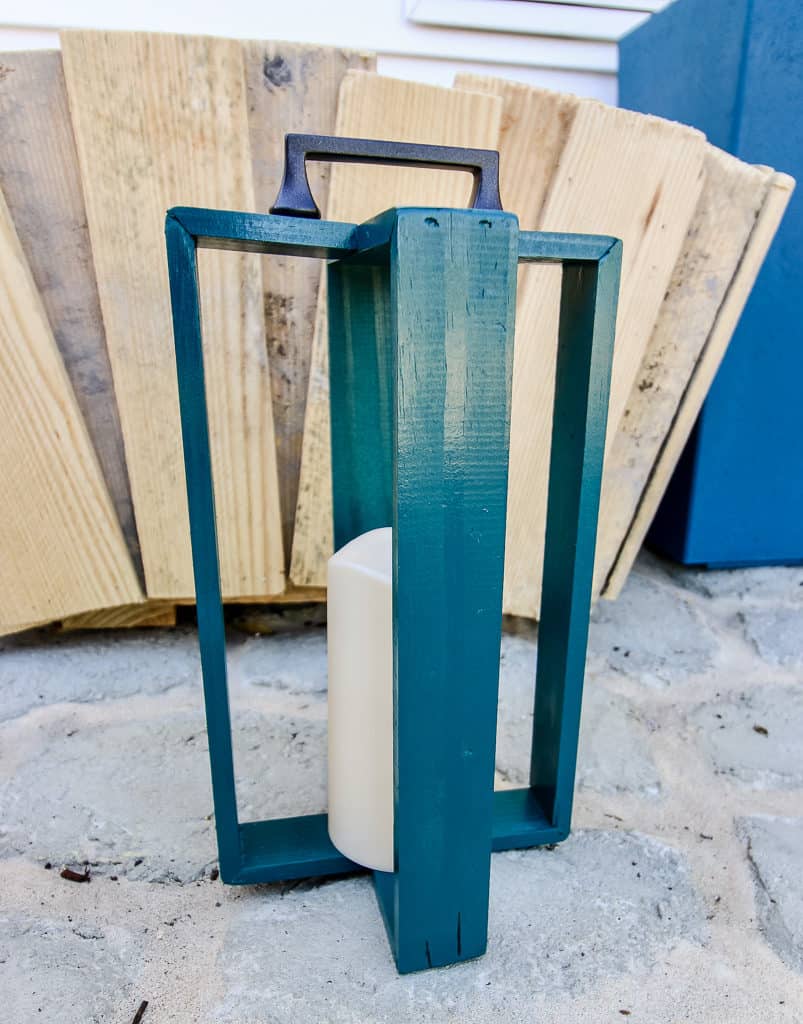
This project was quick and simple and, even though it's small, adds a big impact to our patio!

Looking for something?
We've been doing this since 2012 so we have a LOT of blog posts!
Search stuff like: Ceiling Projects | DIY Plant Stands | Thrift Flips

Hey there, I'm Sean, the woodworking enthusiast and builder behind CharlestonCrafted.com! Since 2012, I've been sharing the magic of turning raw materials into beautiful creations. I love teaching others the art and satisfaction of woodworking and DIY. I try to inspire fellow crafters to make something extraordinary out of nothing at all.


