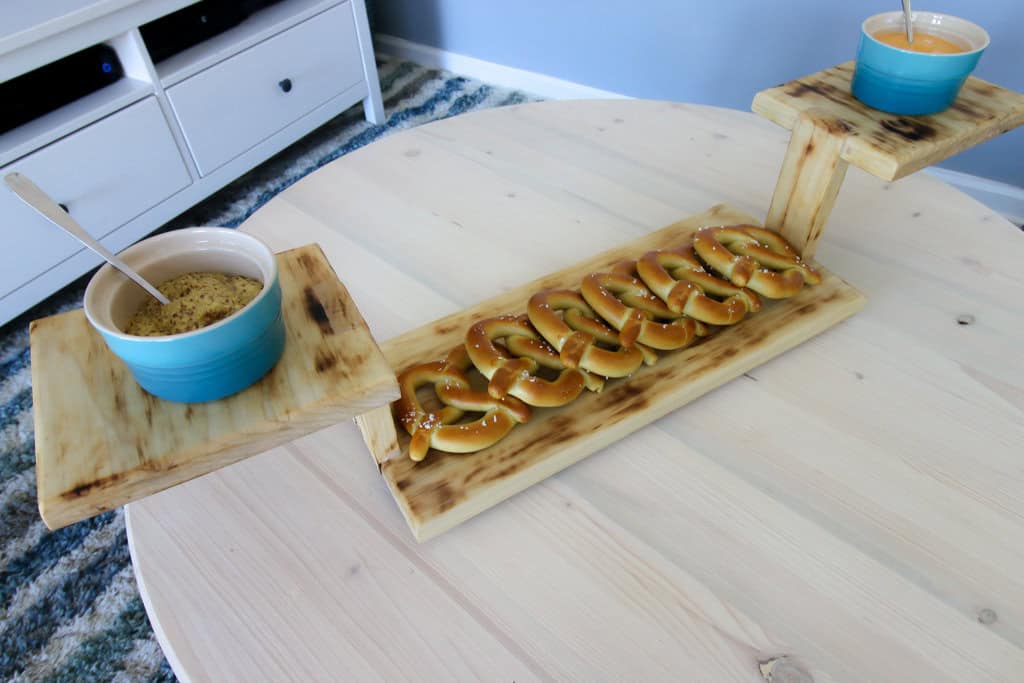
The holidays mean visitors. Visitors mean food. Impress your guests this holiday season by serving some of your food on a DIY three tiered serving platter. This platter is great for showcasing several foods or serving foods and dips as appetizers. Learn how to build this DIY three tiered serving platter below and how to give it a rustic wood-burned look with the Wagner FURNO 500 heat gun!
How to Build a Three Tiered Serving Platter
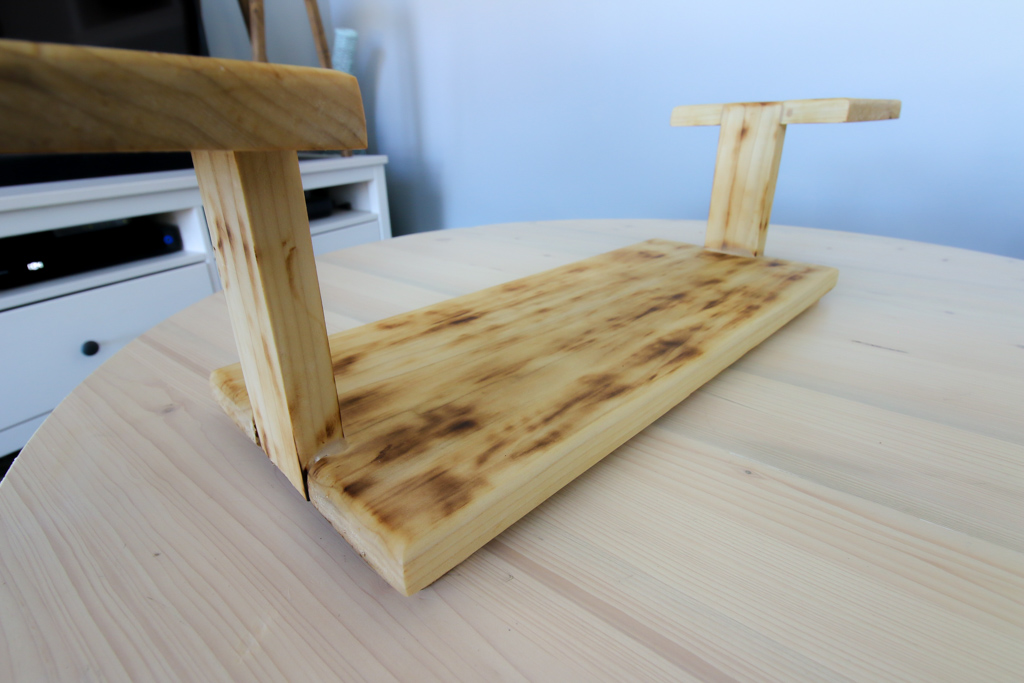
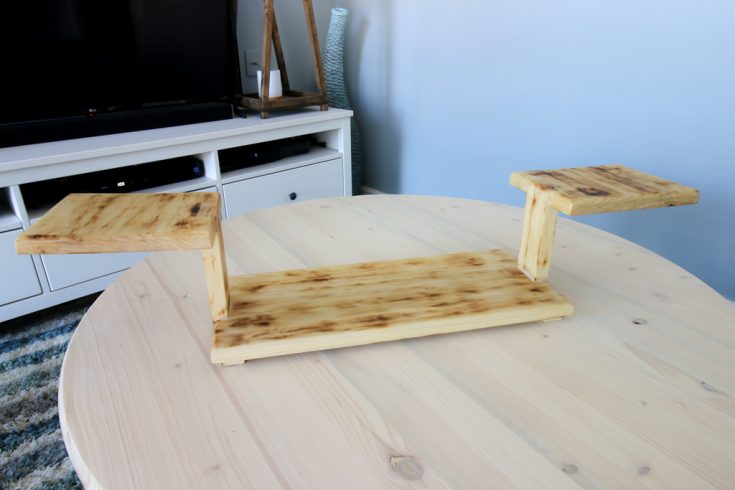
The unique look to this serving platter is the two wings extended up and to the side from the main platter. Most people think of a three tiered platter as one that has three levels, either the same size or getting smaller as they go up. The beauty of DIY is you can do anything you can imagine. Here's how we built it. For the full dimensions and cuts, print out the how-to card at the end of this post!
Make the Cuts
The first step to this platter is to make all your cuts up front. The platter has a main base, two wings, two supports and four tiny feet.
The other cuts include cutting notches out of the base and the wings for the supports. The supports are inset into these pieces, so a 2"x¾" notch has to be cut out from both sides of the base and one side of the wings.
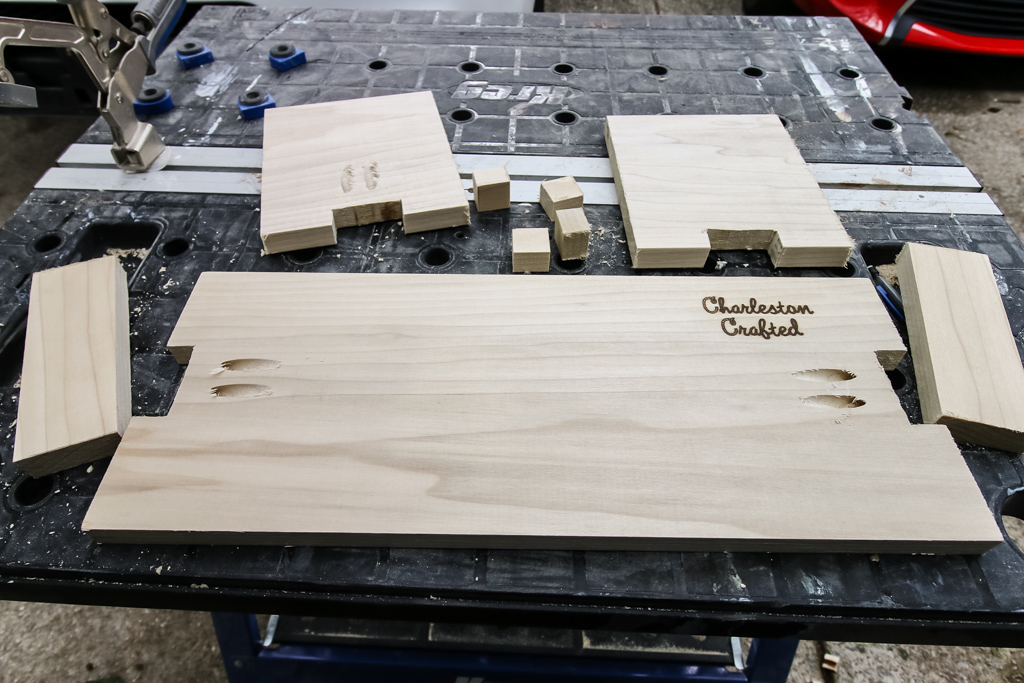
If you want to add a little extra touch of class, I suggest taking a router to the top edges of the base and wings during this step.
Assemble the Platter
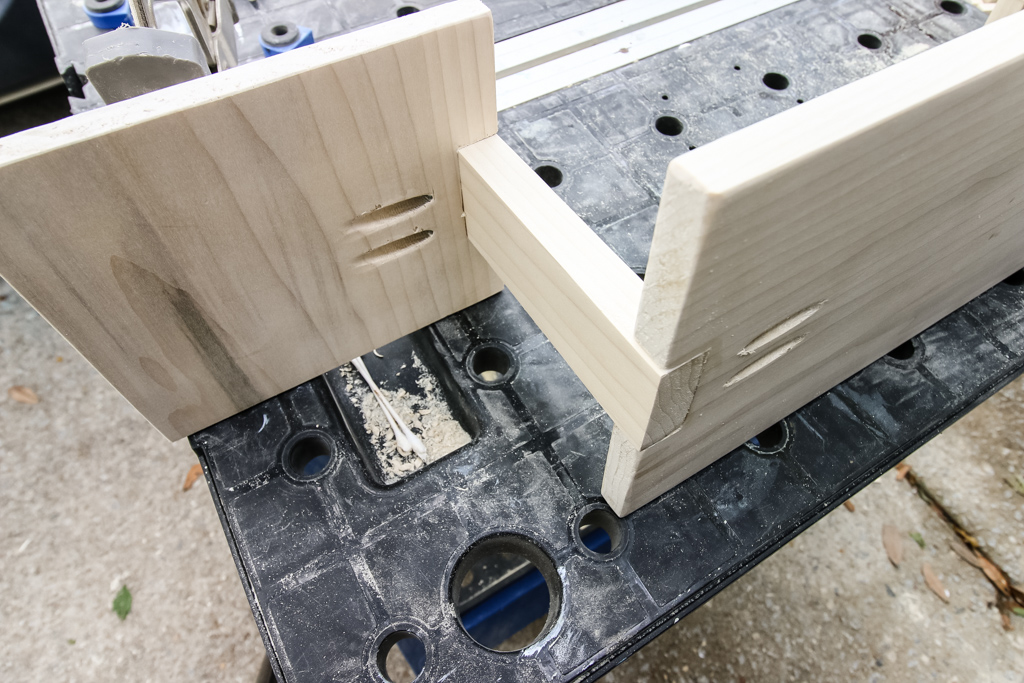
Drill pocket holes where each of the notches are cut out.
Attach the supports to the wings first. This is much easier than the other way around. Make sure to use wood glue in the joints as well to fill and seal the cracks.
Then, attach the supports to the base, adding wood glue the same way.
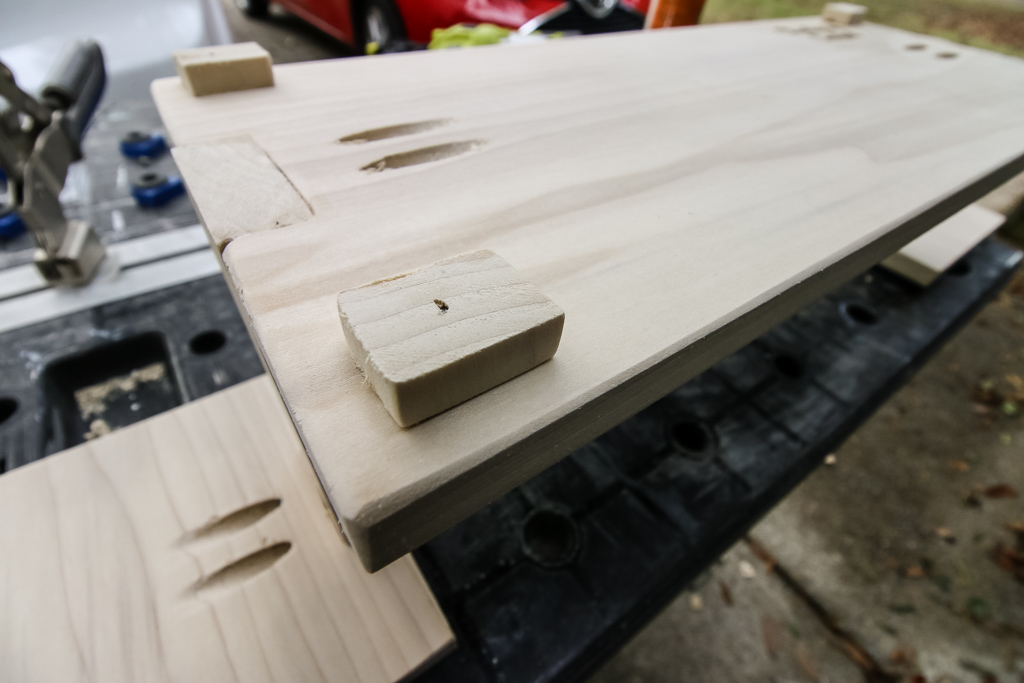
Finally, flip the whole thing over and attach the four feet about an inch in from each corner with glue or a nail gun.
Add a Wood-Burned Effect
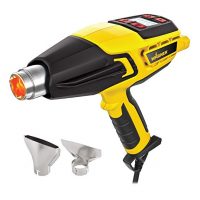
We've been loving using the Wagner FURNO 500 heat gun lately to give our decor a wood-burned effect, like we recently did with our wooden trough centerpiece. We love the versatility of the FURNO 500 and how many different things you can do with it. We especially like using it for burning our wood decor pieces. It really gives pieces a rustic look. There are other heat guns in the FURNO line that have a variety of uses for whatever level you're looking for.
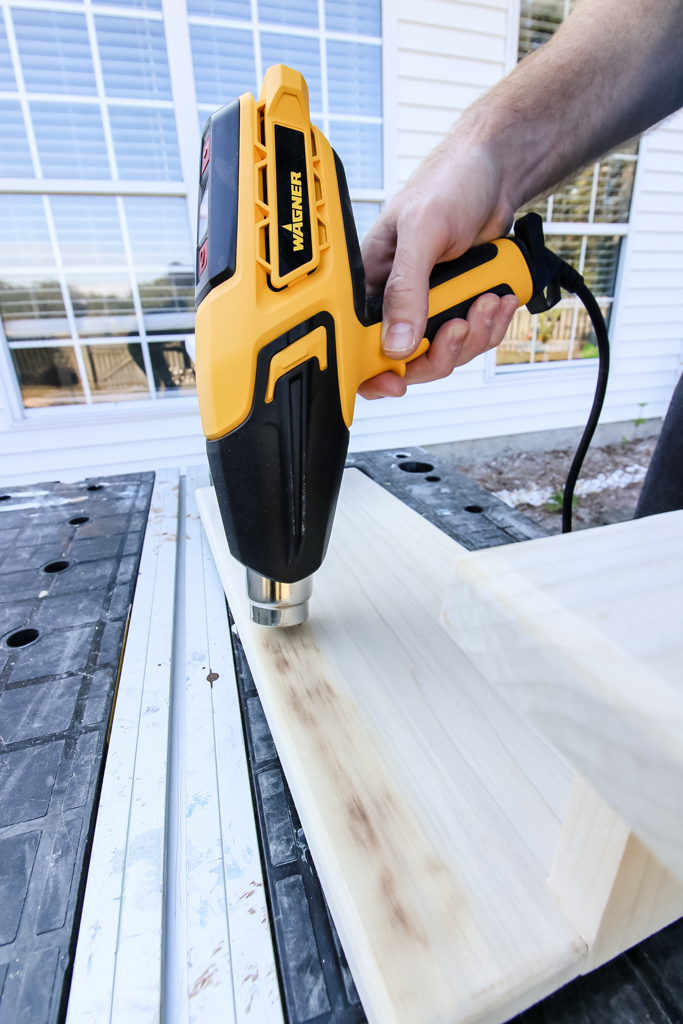
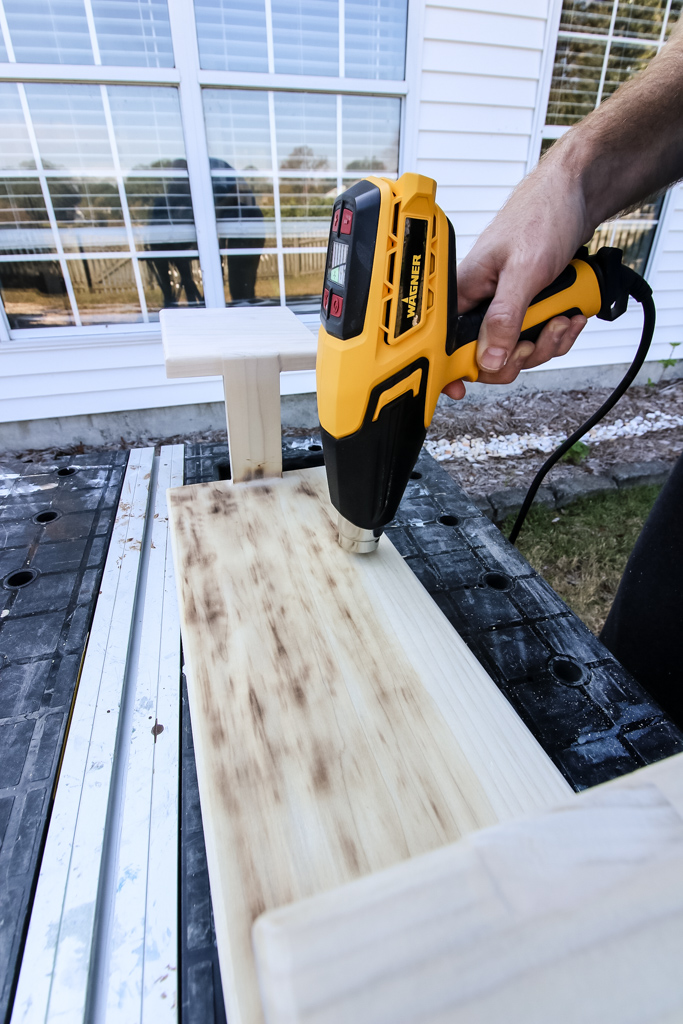
The way to use the Wagner FURNO 500 on wood is crank the heat and fan up almost all the way. Then, move the nozzle of the FURNO slowly from side to side of your piece 500 about half an inch above the surface.
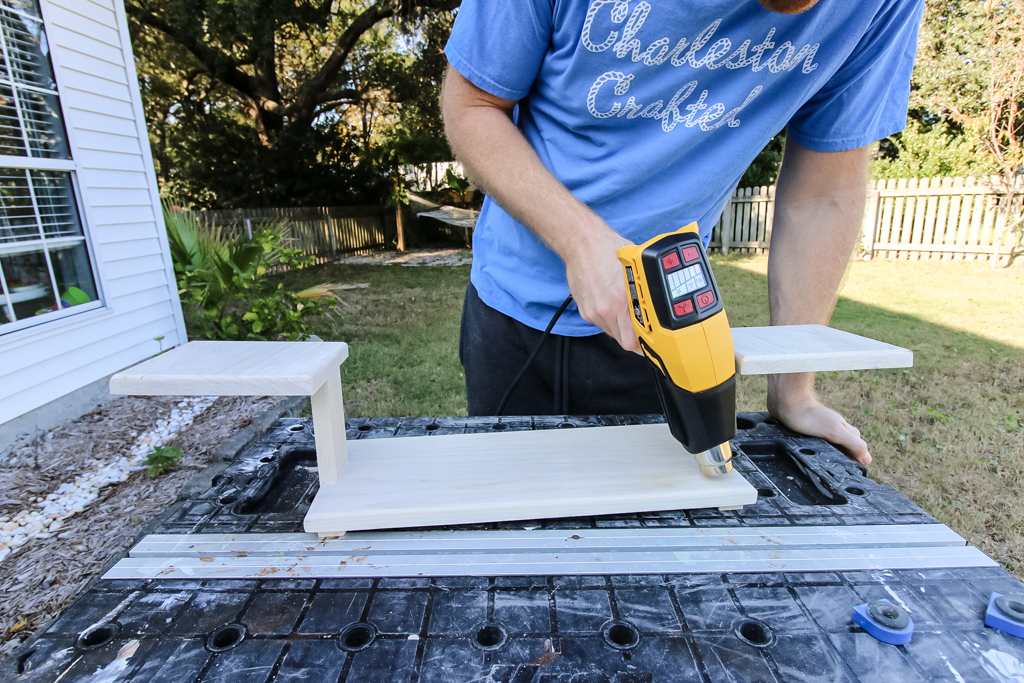
The more you linger over an area, the darker it will get. We like to add an uneven, but fairly light burn to the surface.
In order to make the burn really pop, we suggest using cutting board oil to draw out the dark marks and show the detail.
Serve with the DIY Three Tiered Platter
This three tiered serving platter is great for serving a variety of things. It's super useful if you have a main dish that has dipping sauce options that you can put on the wings.
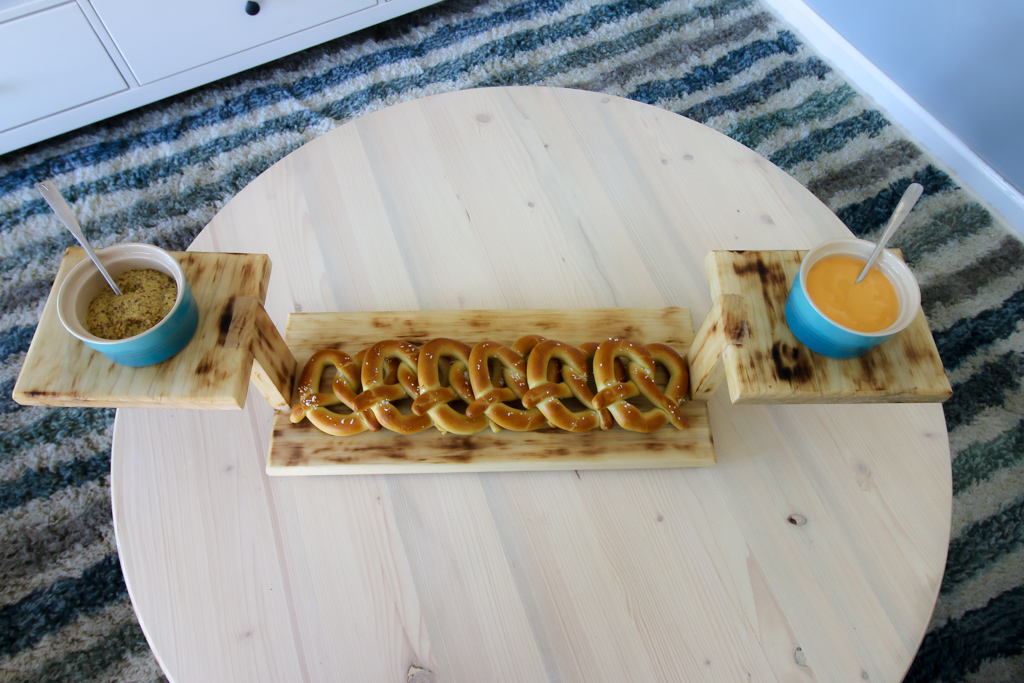
It's also great if you want to serve anything that needs multiple parts to assemble, like a cheese and cracker plate.
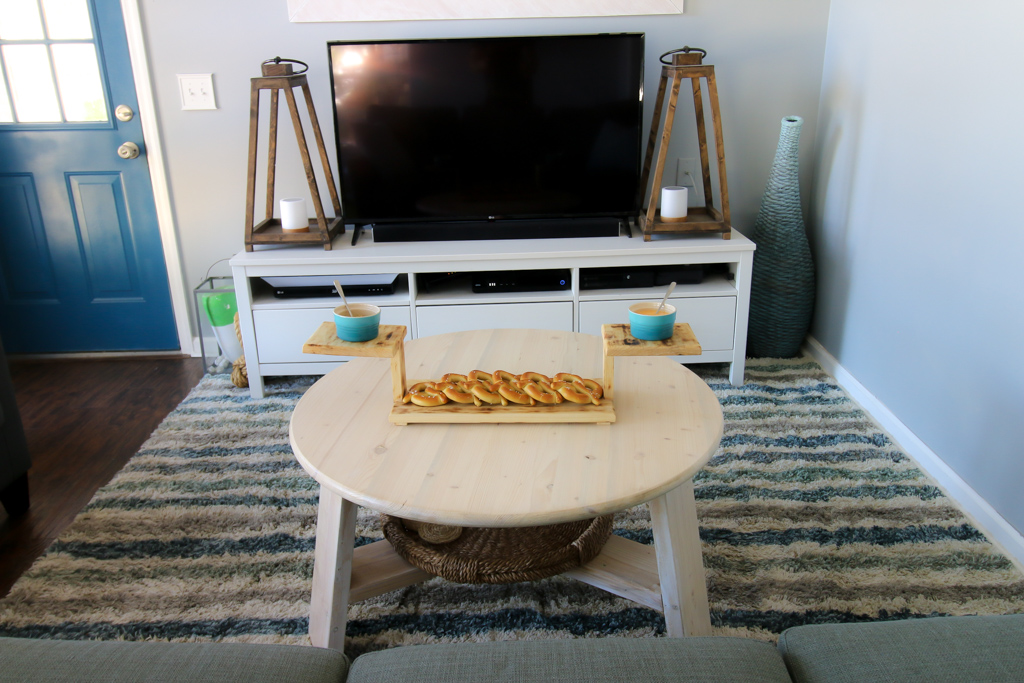
We love the look of this DIY three tiered serving platter, especially with the rustic wood-burned effect from the Wagner FURNO 500. Impress your guests this holiday season by serving up your appetizers on this platter and then brag about how you built it yourself!
How to Build a Three Tiered Serving Platter
This three tiered serving platter is great for serving guests at a party or family gathering. It's made from just a few pieces of wood from a single board. This platter is great for serving food with dips or things that require layers. Build this platter and then give it a wood burned effect and impress your guests!
Materials
- 36" of 1"x8" lumber
Tools
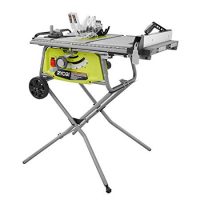
- Table Saw
- Palm Router
- Pocket Hole Jig
- Nail Gun
Instructions
- Make your cuts:
(1) Base- 18"x7 ¼"
(2) Wings- 6"x7 ¼"
(2) Supports- 6"x2"
(4) Feet- 1"x1"x½" - Cut notches on the base. Mark the middle on both short sides, then cut a notch out 2" wide and ¾" deep.
- Cut a notch out of one of the 6" sides of each wing the same way as in the previous step.
- Drill two pocket holes where each notch is.
- Slide the supports into the notches of the wings and attach with pocket hole screws.
- Slide the supports into the notches of the base and attach with pocket hole screws.
- Nail the feet into the four corners of the base about one inch in from each corner.
- Add a wood burned effect with a heat gun and finish with cutting board oil.
Recommended Products
As an Amazon Associate and member of other affiliate programs, I earn from qualifying purchases.

Looking for something?
We've been doing this since 2012 so we have a LOT of blog posts!
Search stuff like: Ceiling Projects | DIY Plant Stands | Thrift Flips

Hey there, I'm Sean, the woodworking enthusiast and builder behind CharlestonCrafted.com! Since 2012, I've been sharing the magic of turning raw materials into beautiful creations. I love teaching others the art and satisfaction of woodworking and DIY. I try to inspire fellow crafters to make something extraordinary out of nothing at all.


