Want to make a DIY basket pendant light? It's super easy!
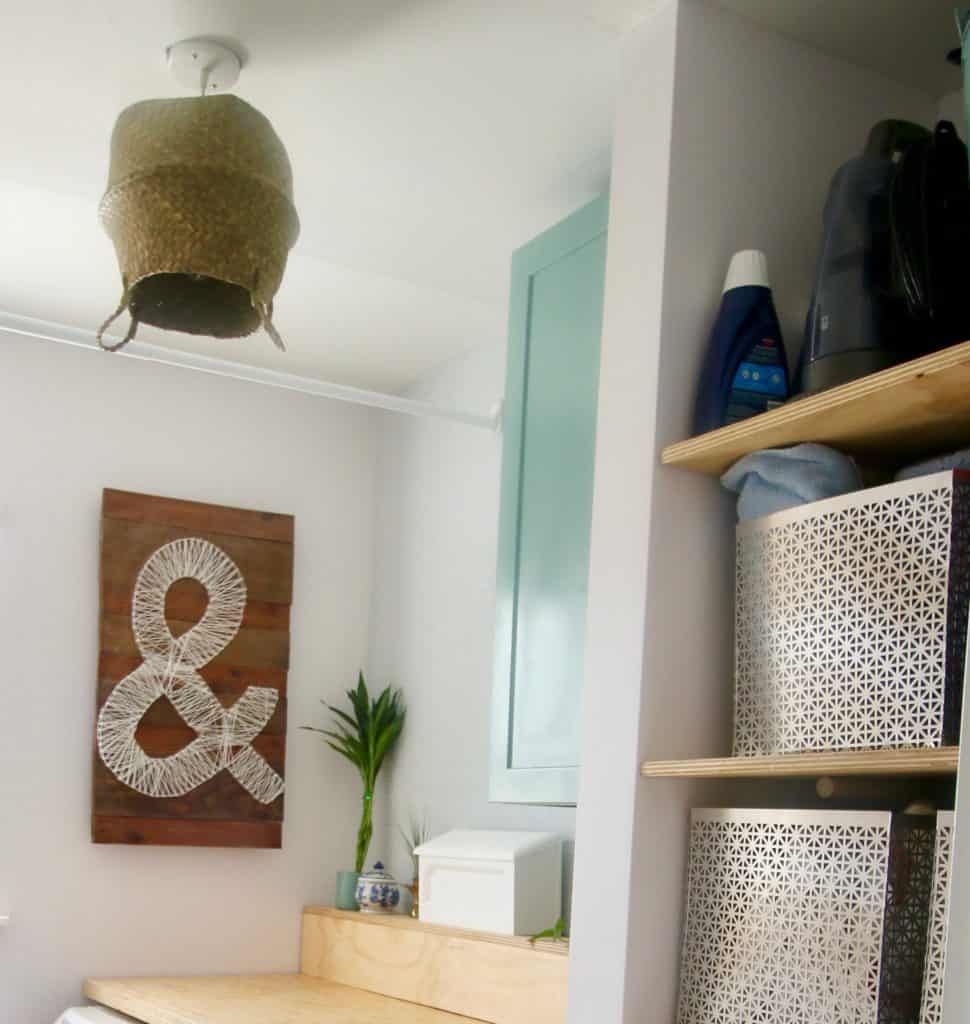
One of the last touches for our laundry room makeover was to update the lighting from an old boob light. I wanted a basket light to really bring that textured feel up to the ceilings. I found an amazing long basket at Goodwill that we planned to hang, actually got up to hold at the ceiling, and realized that it hit the cabinet when you open the door. If we had thought about this earlier, we could have mounted the cabinet on the left side, but at this point we had already tiled around it.
So, I had to get a smaller basket. I'm honestly sad about it - the small basket just does not have the impact that I wanted. But, it's literally to the centimeter as big as we could go here. So, we are going with it. If you are interested in your own DIY basket pendant light, here's how to create one.
Here is everything we've done for our Laundry Room makeover so far:
Hanging and painting a reclaimed cabinet
Basket wall hangings
Be sure to check out everyone in the One Room Challenge here!

DIY Basket Pendant Light
What you need:
- Basket
- Pendant light kit // Single light kit
- Tools to hang light kit
- Pen, drill tip, or screwdriver to make hole in basket
What you do:
Remove the part of the light kit that attaches to the ceiling from the wire.

You will need to make a hole in the center of your basket. We used a pen to separate the weave wide enough to slip in the wire of the pendant light kit.
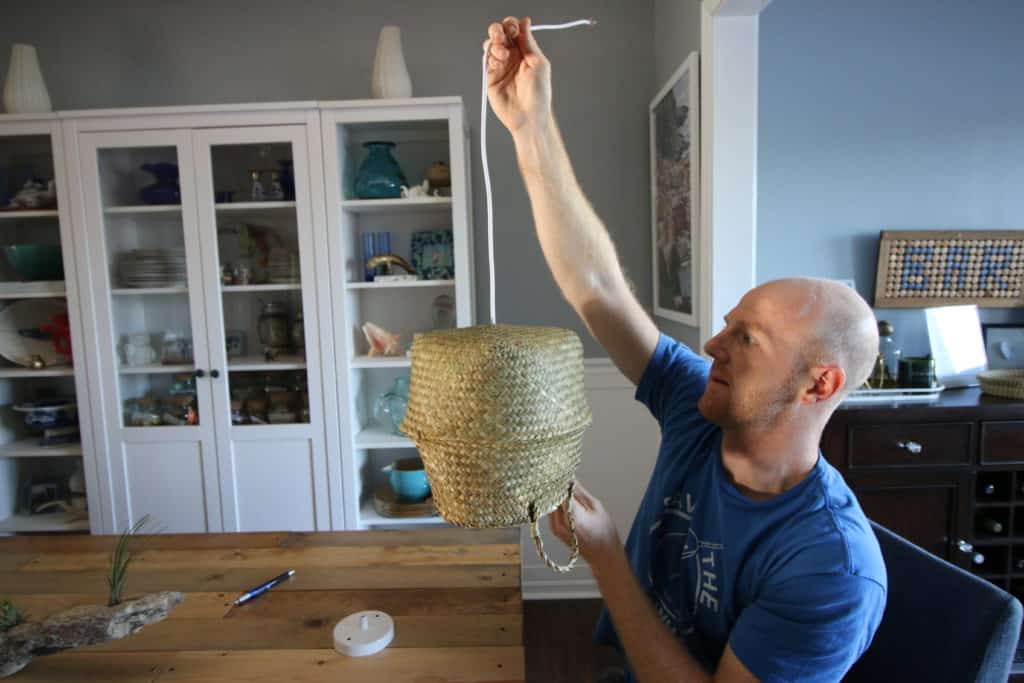
Pull it through. Re-attach the top piece.
Remove the old light. Be sure that the power is cut to the light (at your circuit breaker!) and watch several YouTube videos if this is your first time.
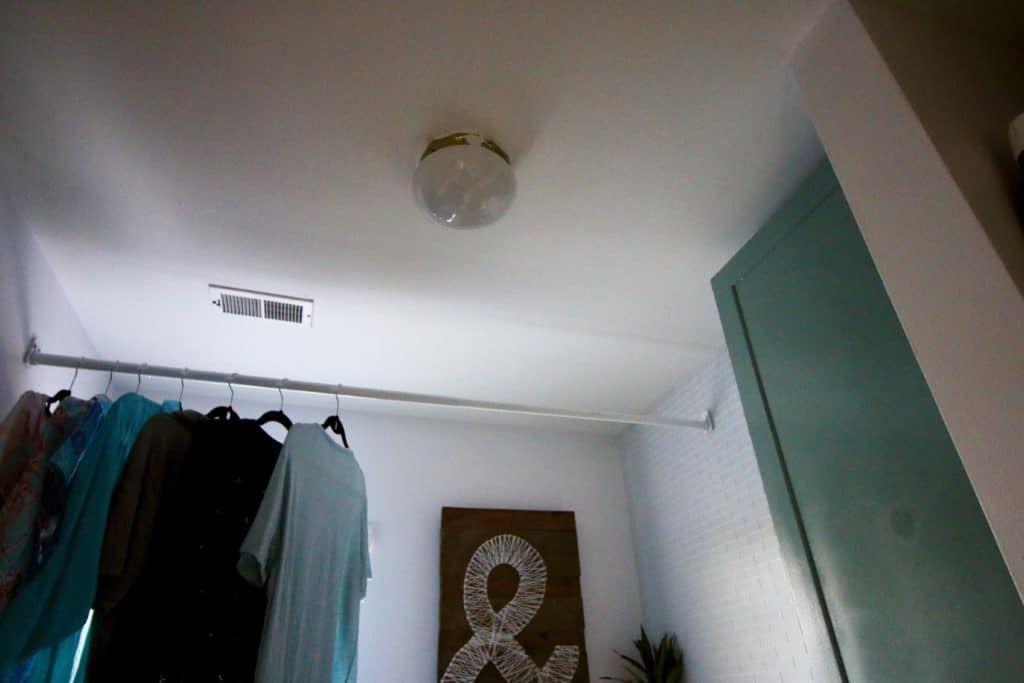
Rewire the new light to the wiring and attach the new fixture. Each fixture is slightly different, but just make sure to adjust the height to what you want. We wanted it to be all the way up since the space isn't that tall.
That's it. It's not exactly what we wanted, but it looks a heck of a lot better than the boob.
| |
|||
| |
|
|
|


Hello, I'm Morgan, half of the creative force behind CharlestonCrafted.com! With a passion for DIY that dates back to 2012, I've transformed three homes and now I'm dedicated to helping others craft their dream spaces. Let's turn your house into a home together!

Libbie says
Great DIY!