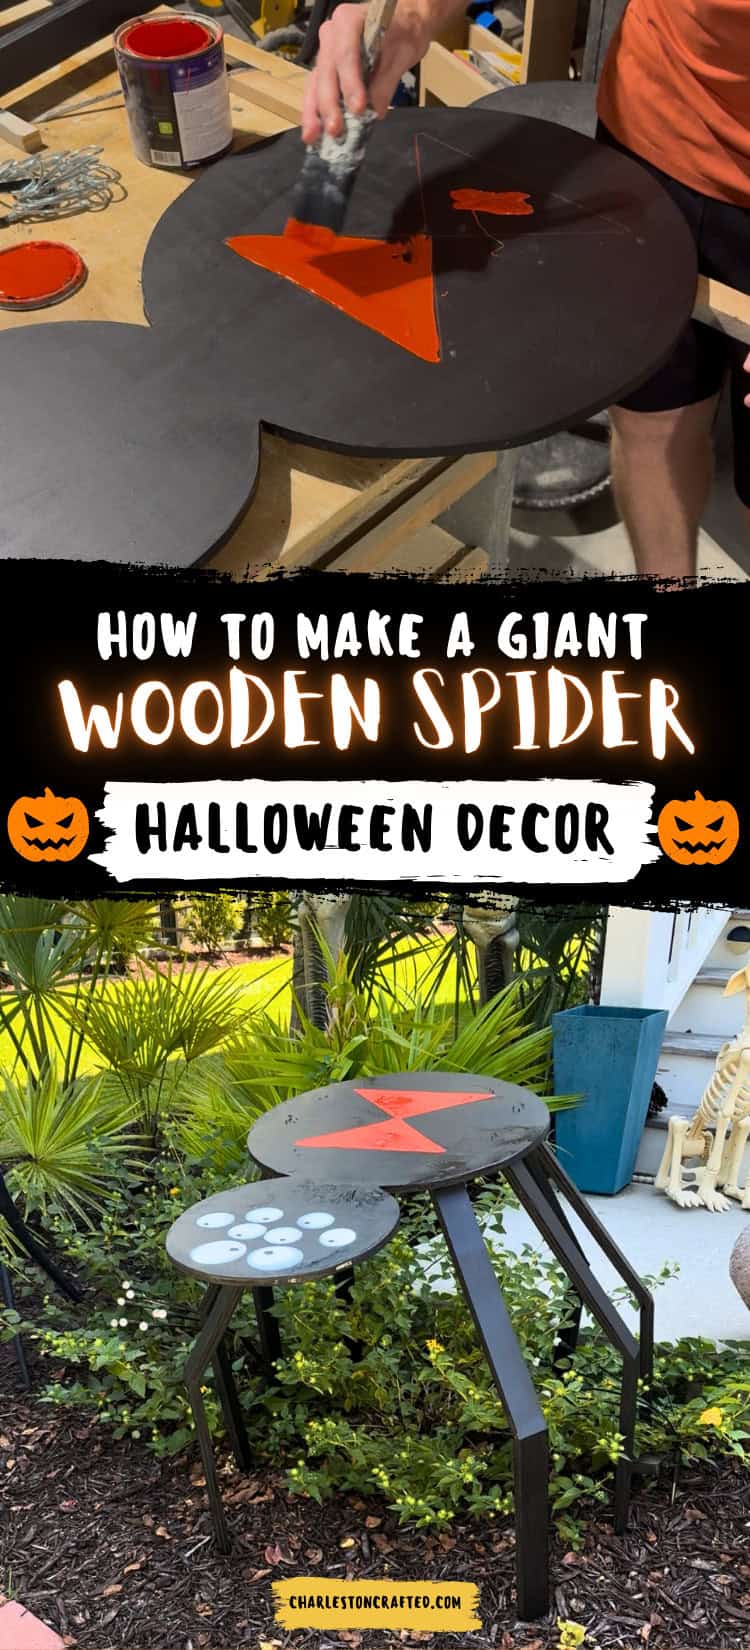
Want to go big for Halloween? This oversized black widow spider made out of plywood is a great Halloween decor DIY!
Every year, we try to do a big Halloween display in our yard with a different main theme. There's tons of accents, but we always have an overarching theme.
One classic Halloween decor item we've never done too much with in the past is spiders, so this year we decided to lean all the way into it.
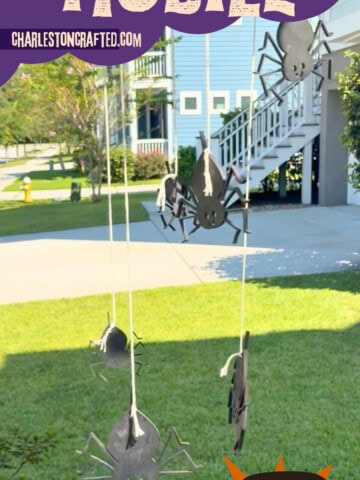
We bought the oversized lighted spider new at Lowe's this season and started out display around her capturing skeletons. We also put out our DIY giant spider made with playground balls and pool noodles we made last year.
But we felt like we needed one more giant spider to complete the invasion. So, we decided to build one!
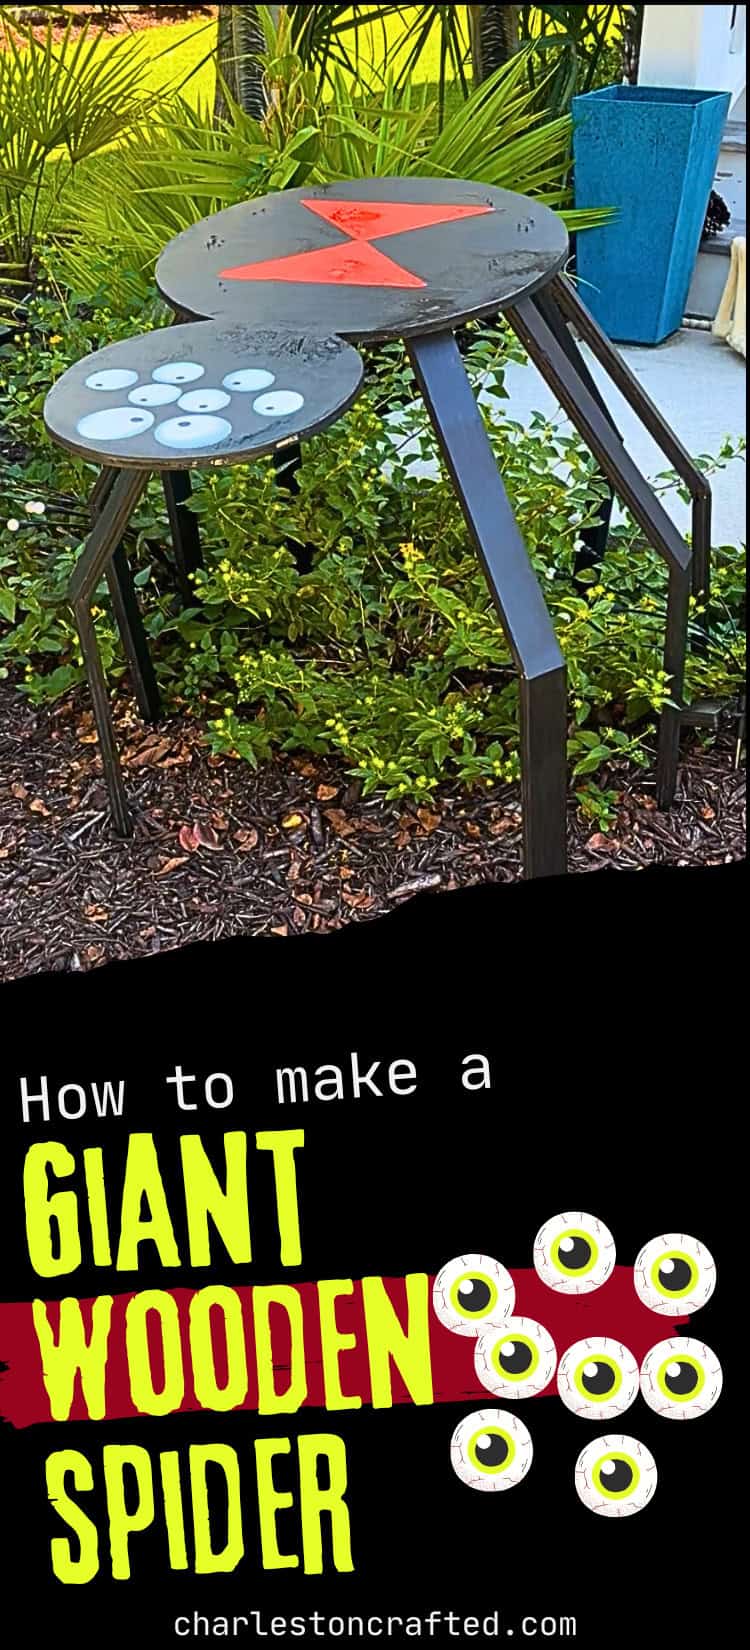
DIY oversized wooden spider
This DIY oversized wooden spider is made entirely from plywood that we had extra from other project. You can use what you have or go buy a sheet to make this.
Remember, this is just a guide too, so feel free to make this your own by changing the style of the legs, making the body bigger or smaller, or painting it however you want!
If you like oversized decorations, make sure you check out these oversized Christmas lights!
Step one: cut plywood
Start out by cutting all the plywood. I started with the body so I had an idea of how big it was going to be.
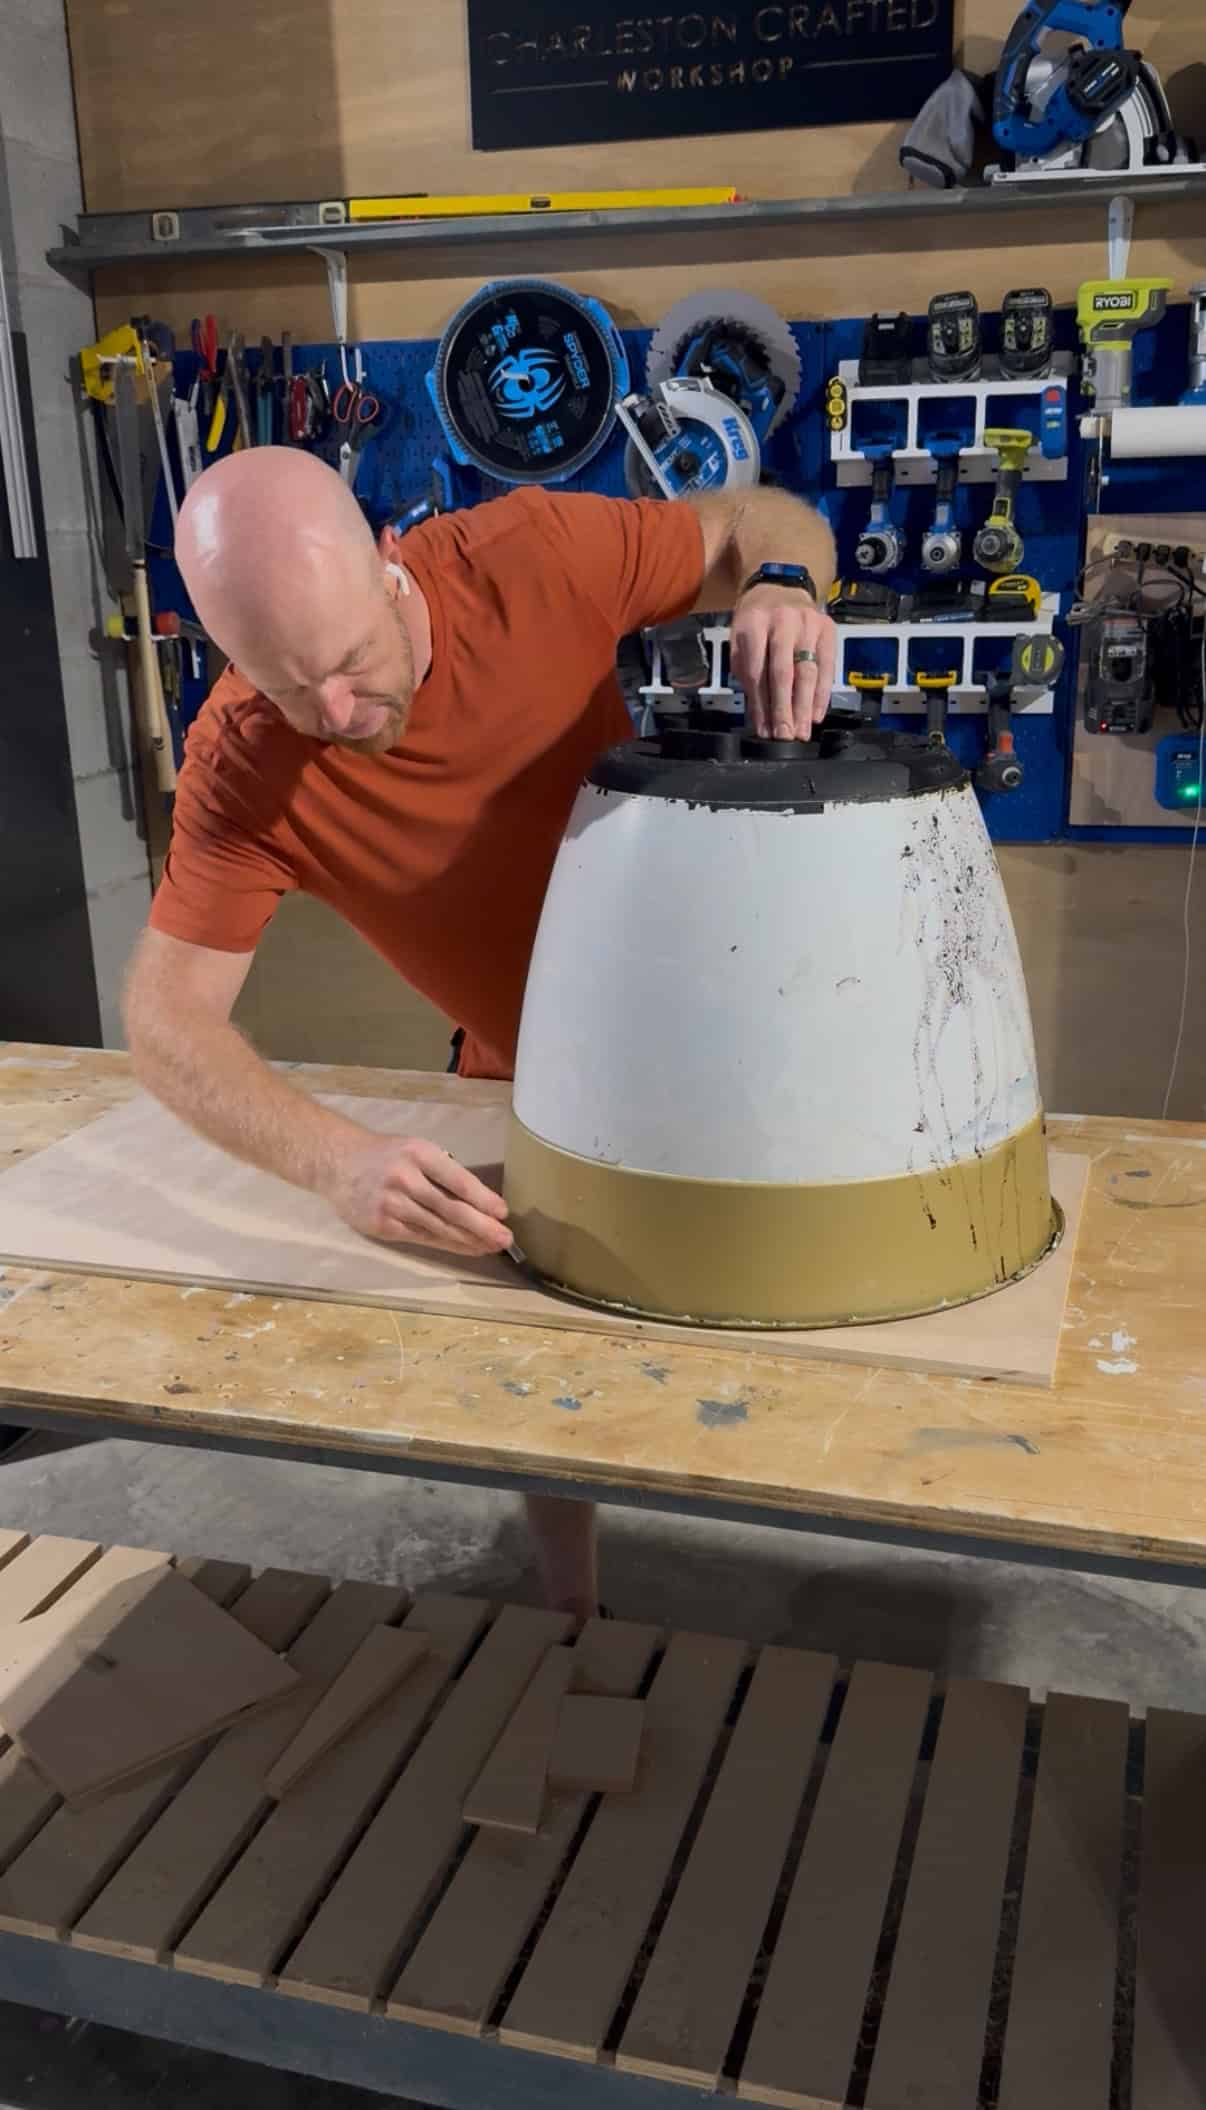
To do this, I traced a large circle from a large pot onto a piece of ½" plywood. Then, I flipped the pot over and traced the bottom of it to make a head, slightly overlapping the body circle.
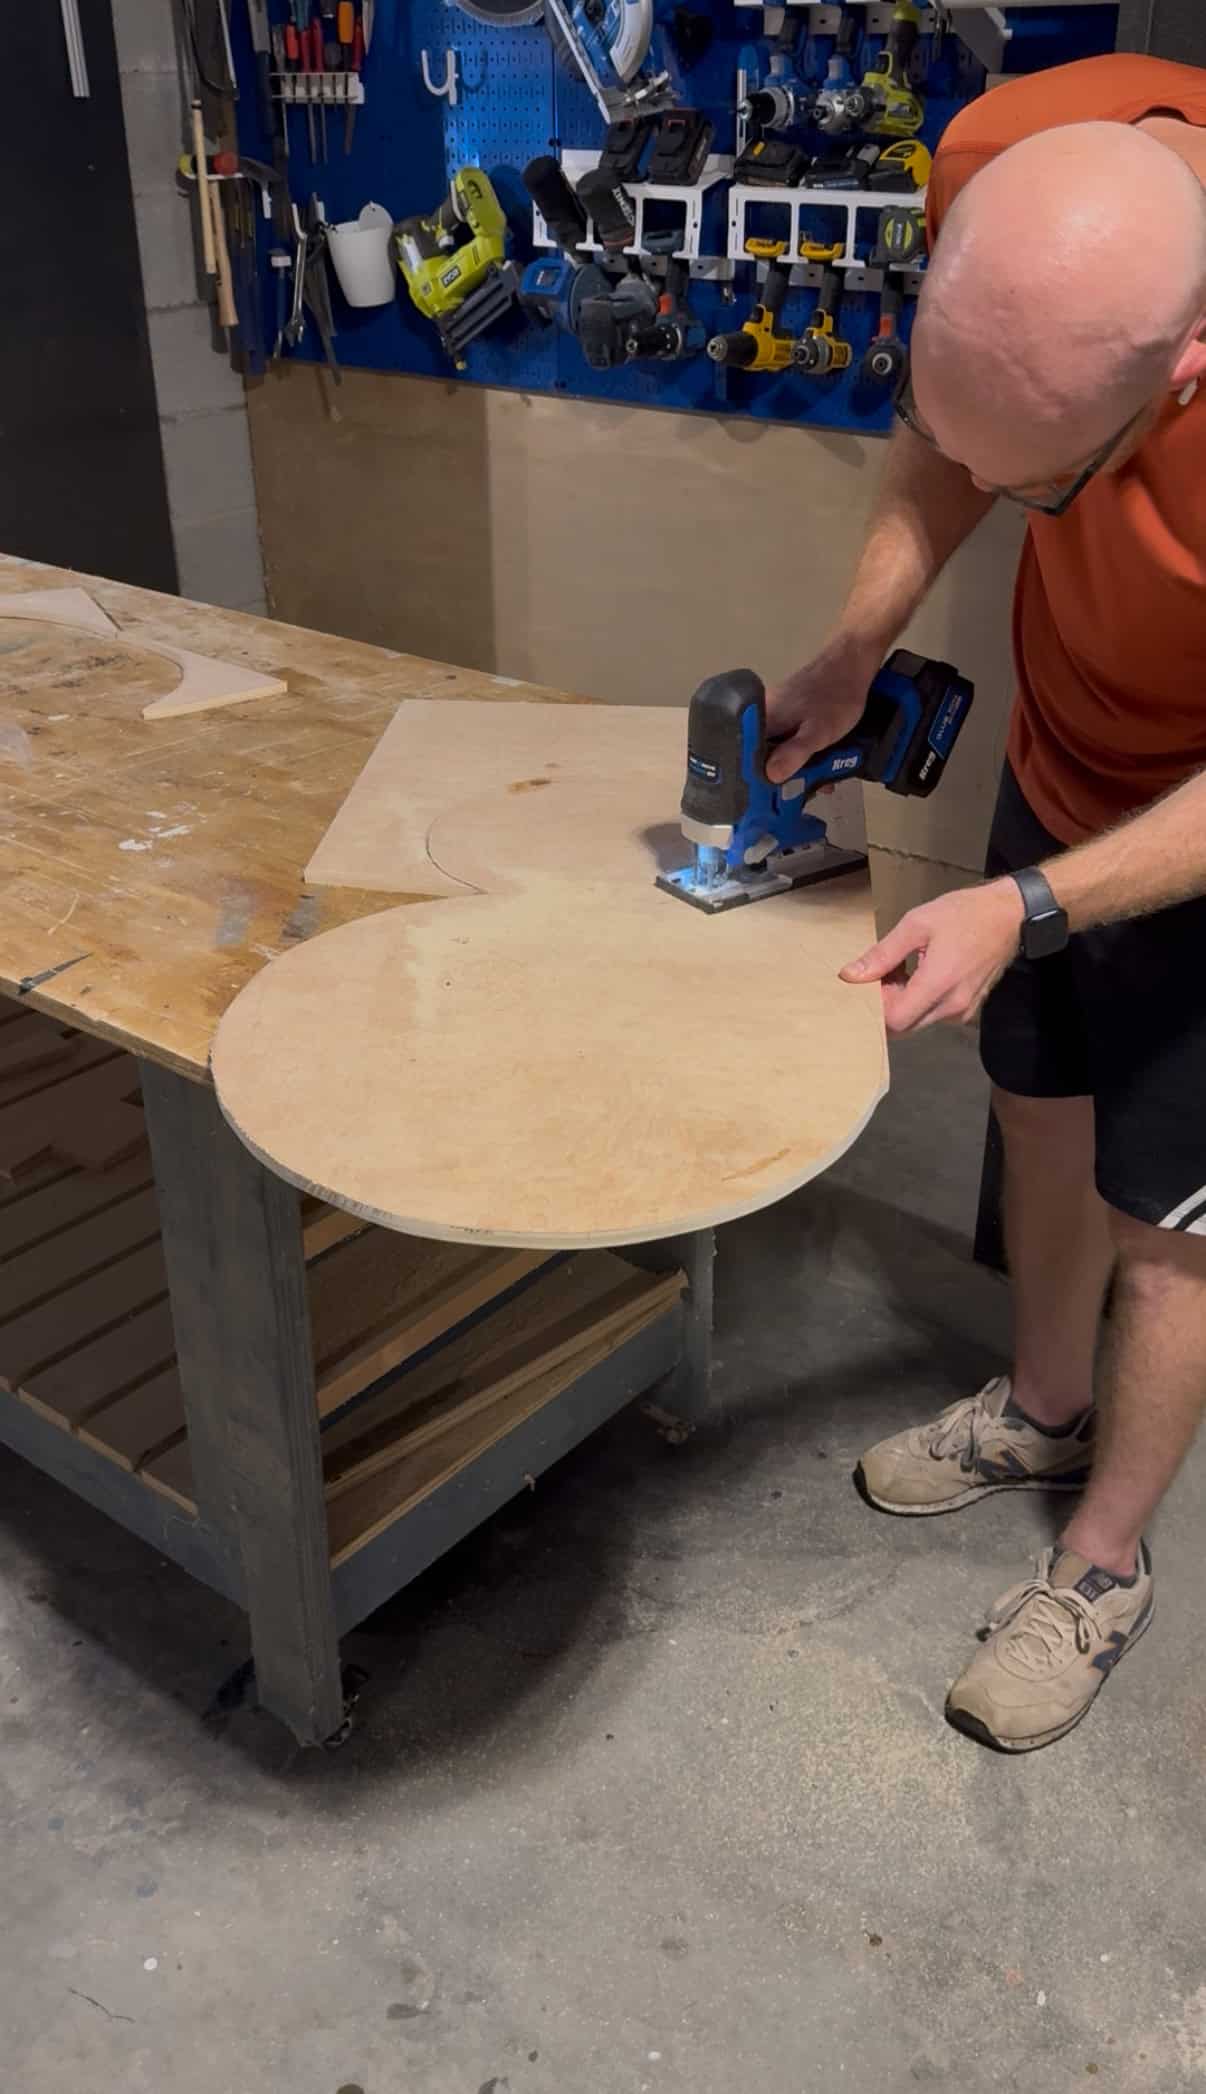
I cut this out using my new Kreg Ionic Drive jigsaw and it was so smooth.
Then, I cut strips of plywood for the legs. For these, I cut eight 16" long pieces with opposing 45 degree miters and eight 12" long pieces with flat edges.
Step two: assemble legs
To assemble the legs, I drilled pocket holes in one end of each of the leg pieces. I used wood glue and pocket hole screws to attach the flat edge leg piece into the angled end of the other leg piece that didn't have pocket holes.
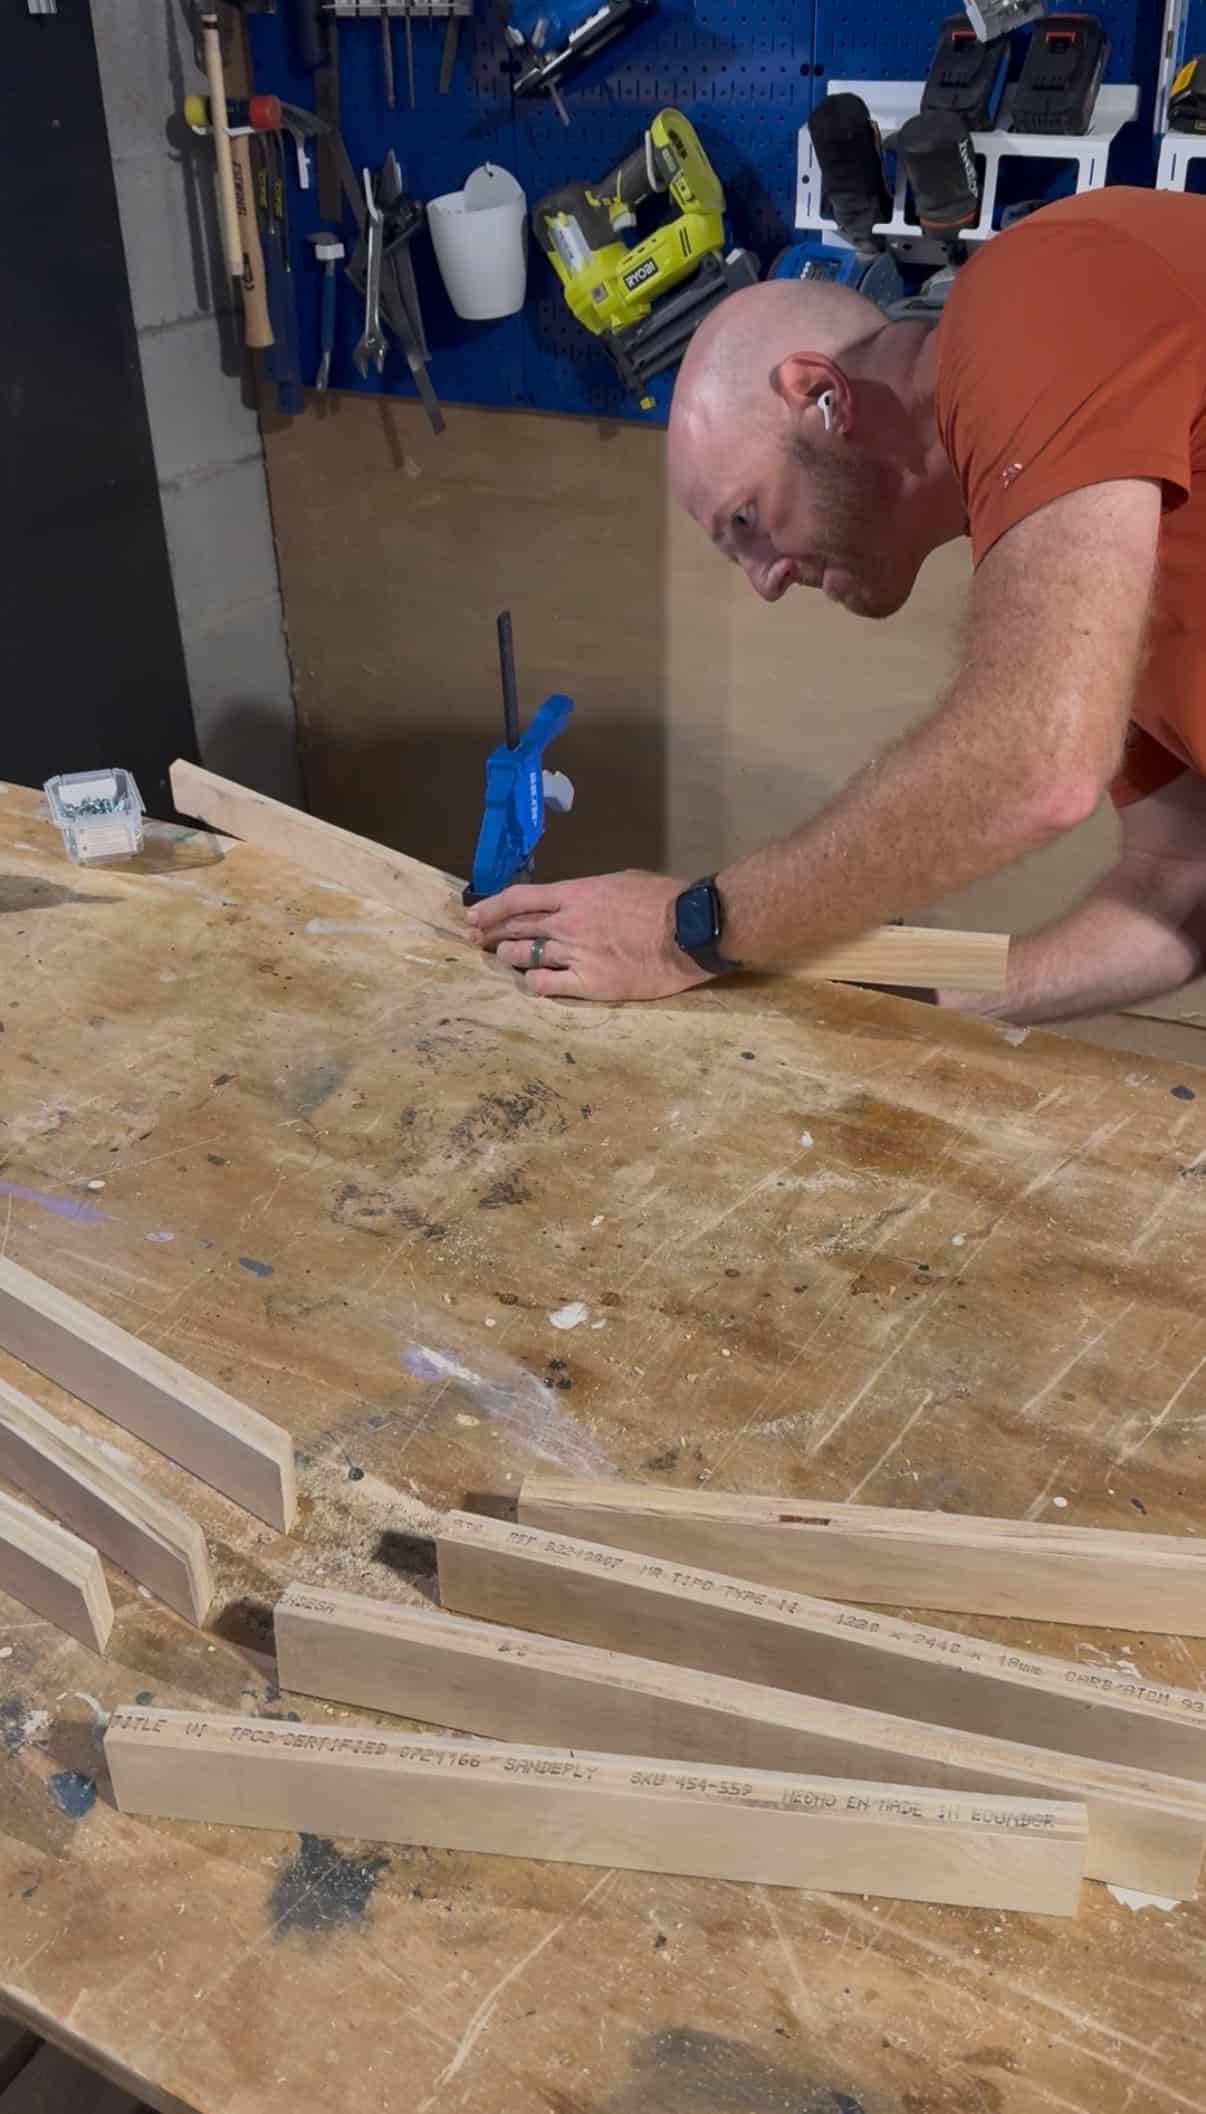
Remember to be careful when drilling pocket hole screws into angled boards as they can pop out. Drive them slowly and stop before they pop out.
Step three: spray paint
Once each of the pieces was ready, I did all the spray painting. I painted the underside of the body black and let that dry before flipping it over and painting the top all black as well.
Each set of legs was painted all black to match.
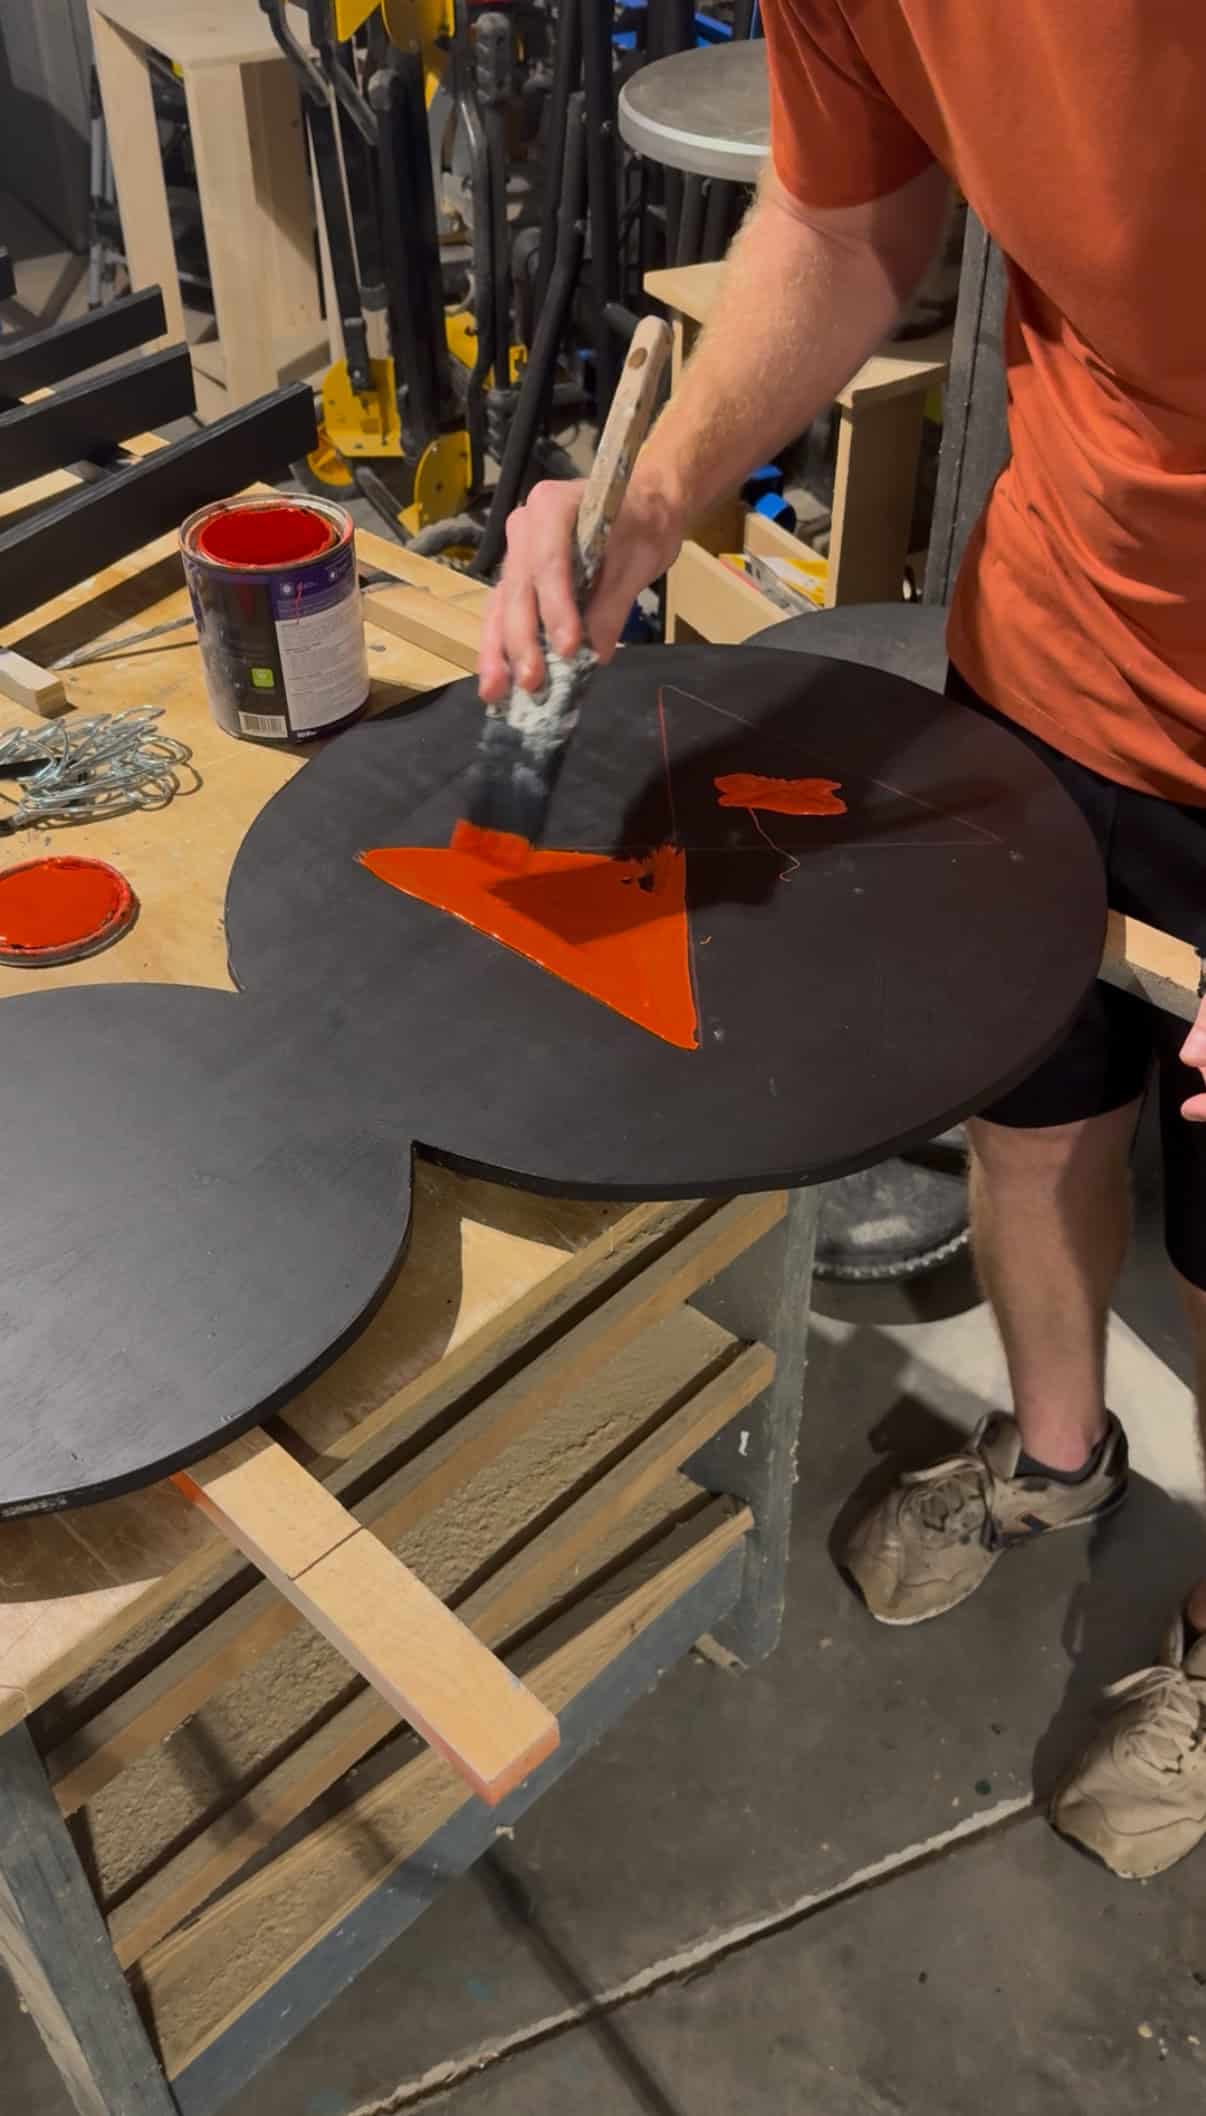
Then, when the body was dry, I traced an hour glass shape onto the abdomen section of the body and painted that red using leftover red paint from this rainbow mural in our kids' playroom.
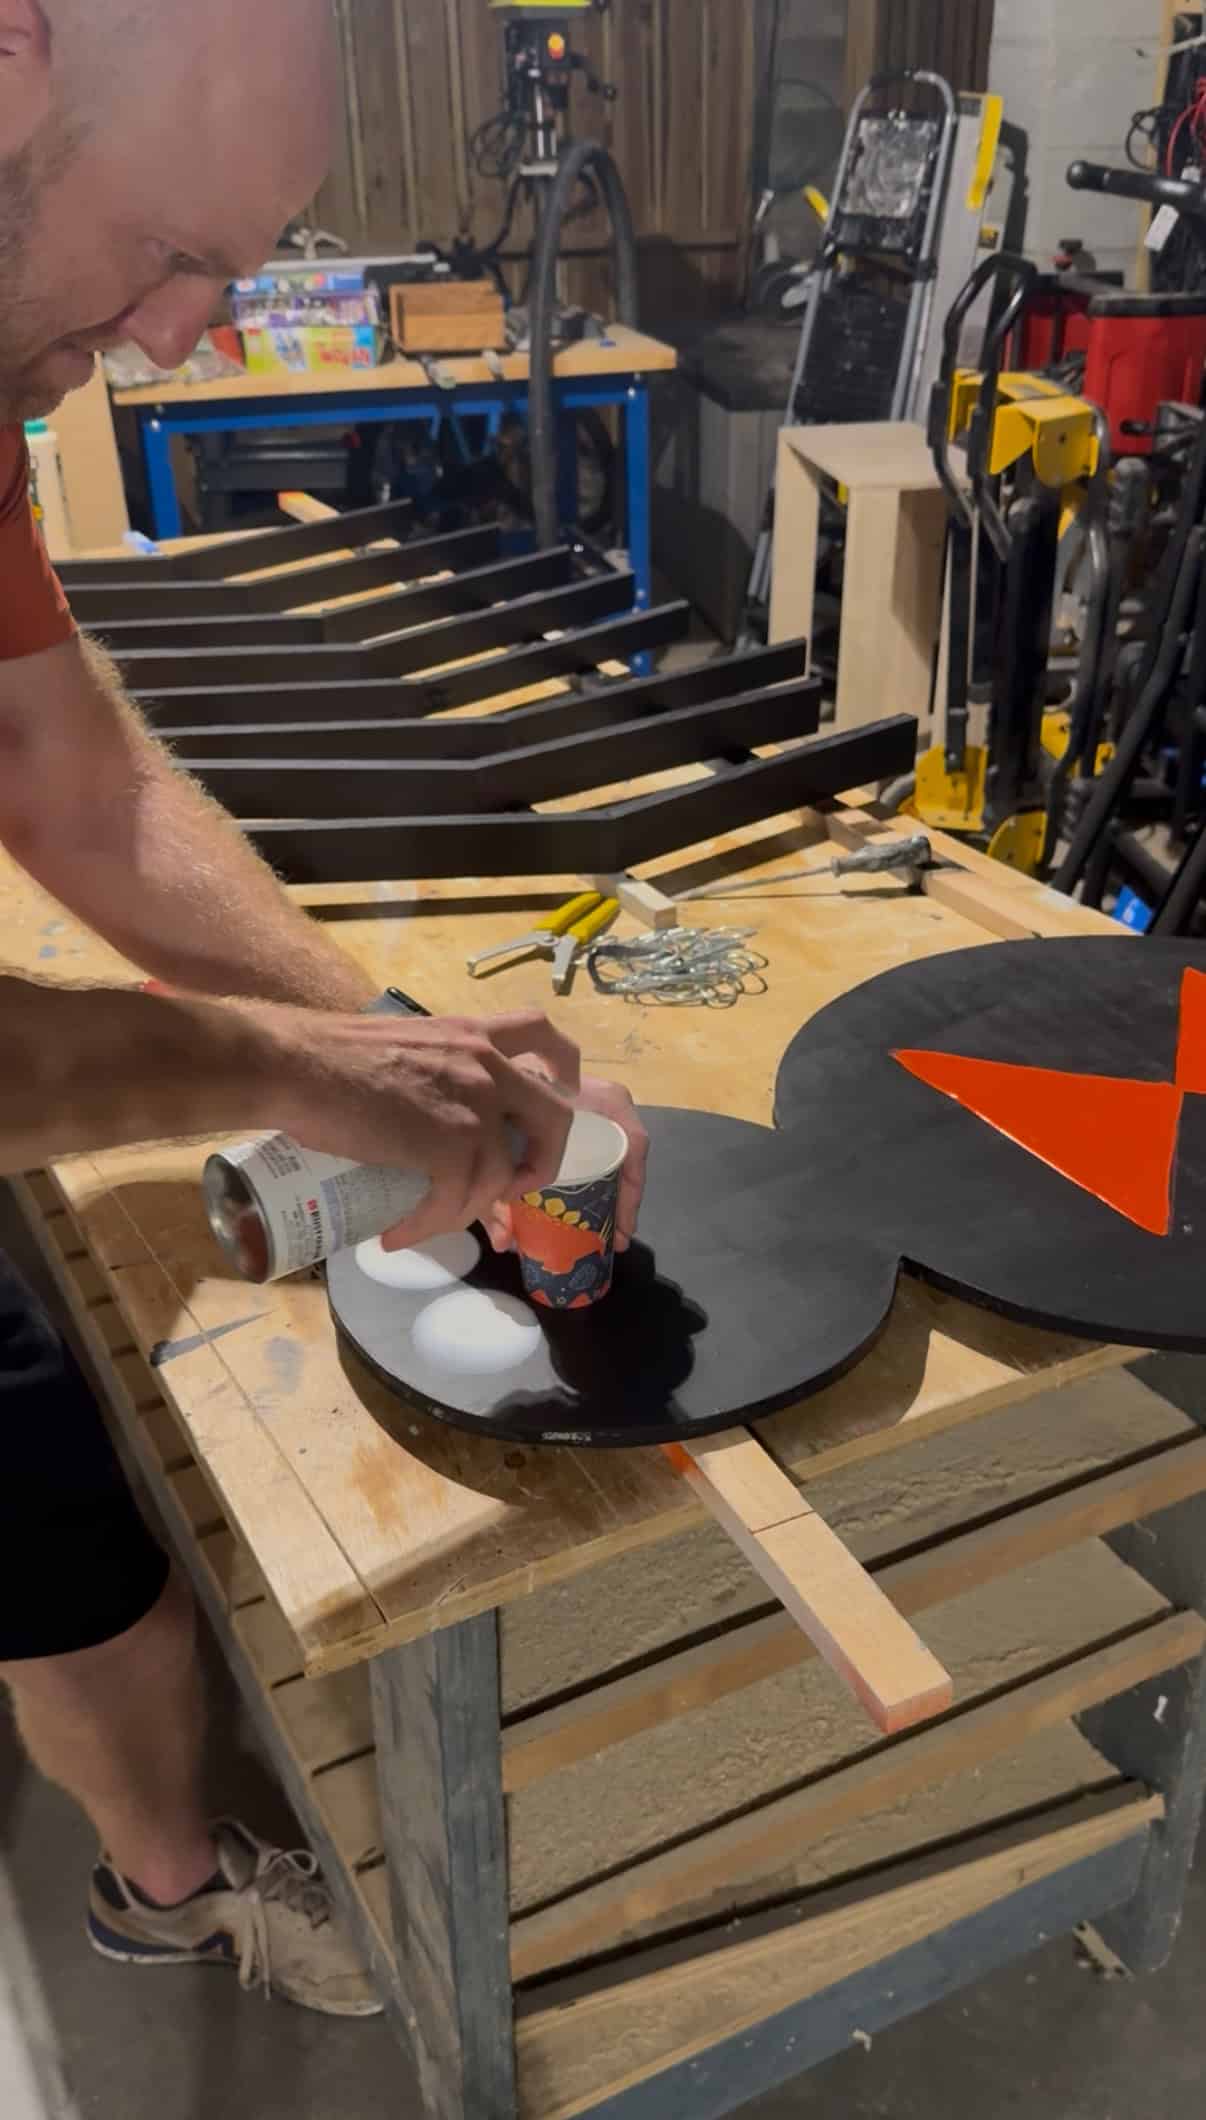
Finally, I cut out the bottom of a paper cup and used white spray paint to make the eyes. I placed the cup onto the head, sprayed through the other end of the cup and removed it for perfect circles.
Step four: assemble body
When the paint was all dry, I used wood glue and pocket hole screws to attach the eight sets of legs into the underside of the spider. Again, be careful drilling pocket hole screws with angled wood as they can pop out.
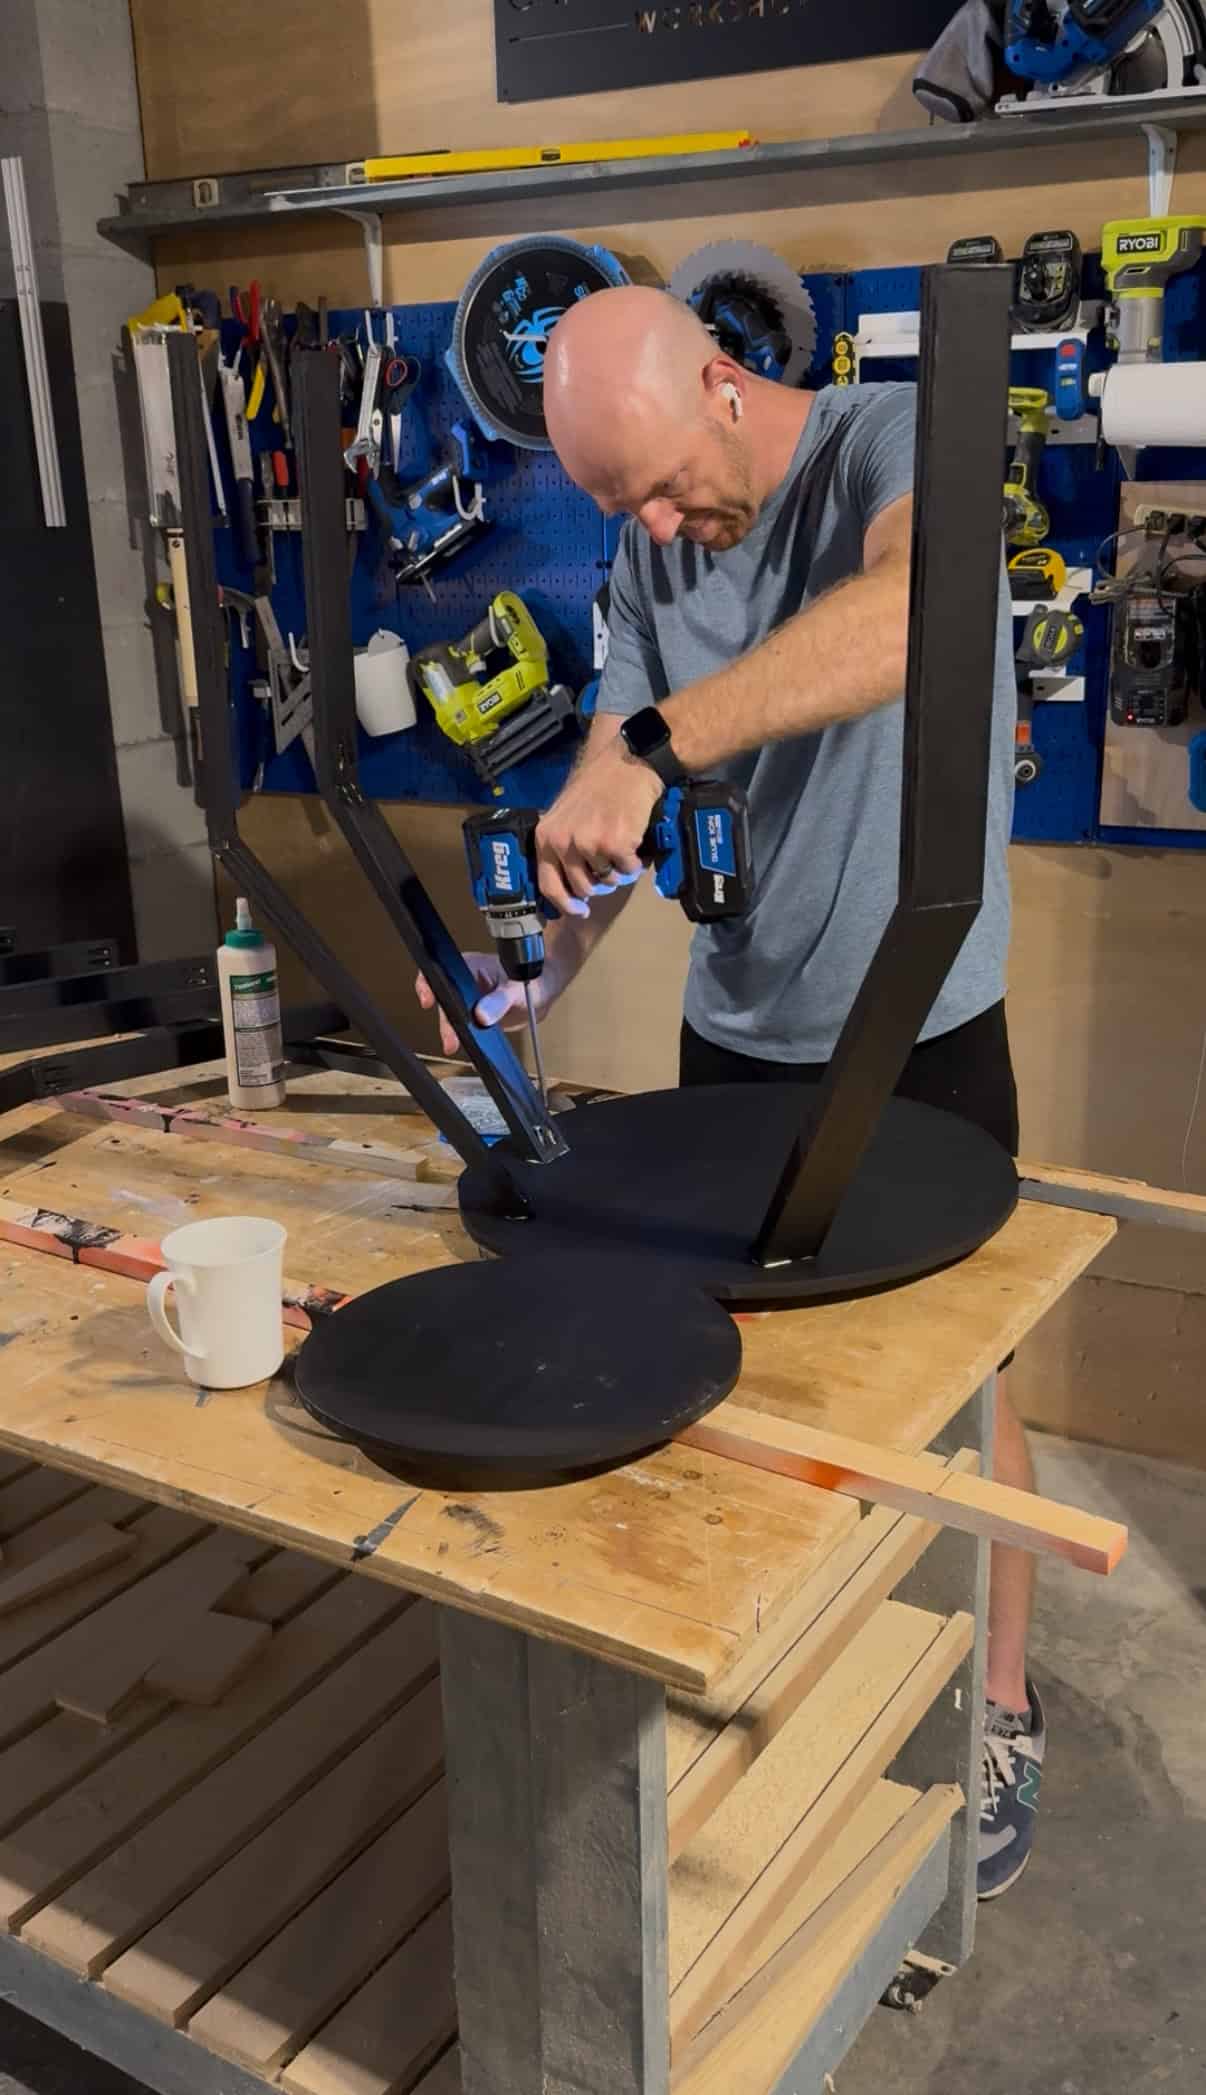
In this case, I actually didn't mind the screws coming out the top and let them do that so that the glue would fully set flush. Then I just backed the screws out a little bit after the glue was dry and touched up the paint on the top side.
Step five: display
We put this wooden skeleton out in the yard with the rest of the spider invasion. We also attached a mini skeleton to ride on its back using a rope hook on the back of the spider. This keeps him from falling over.
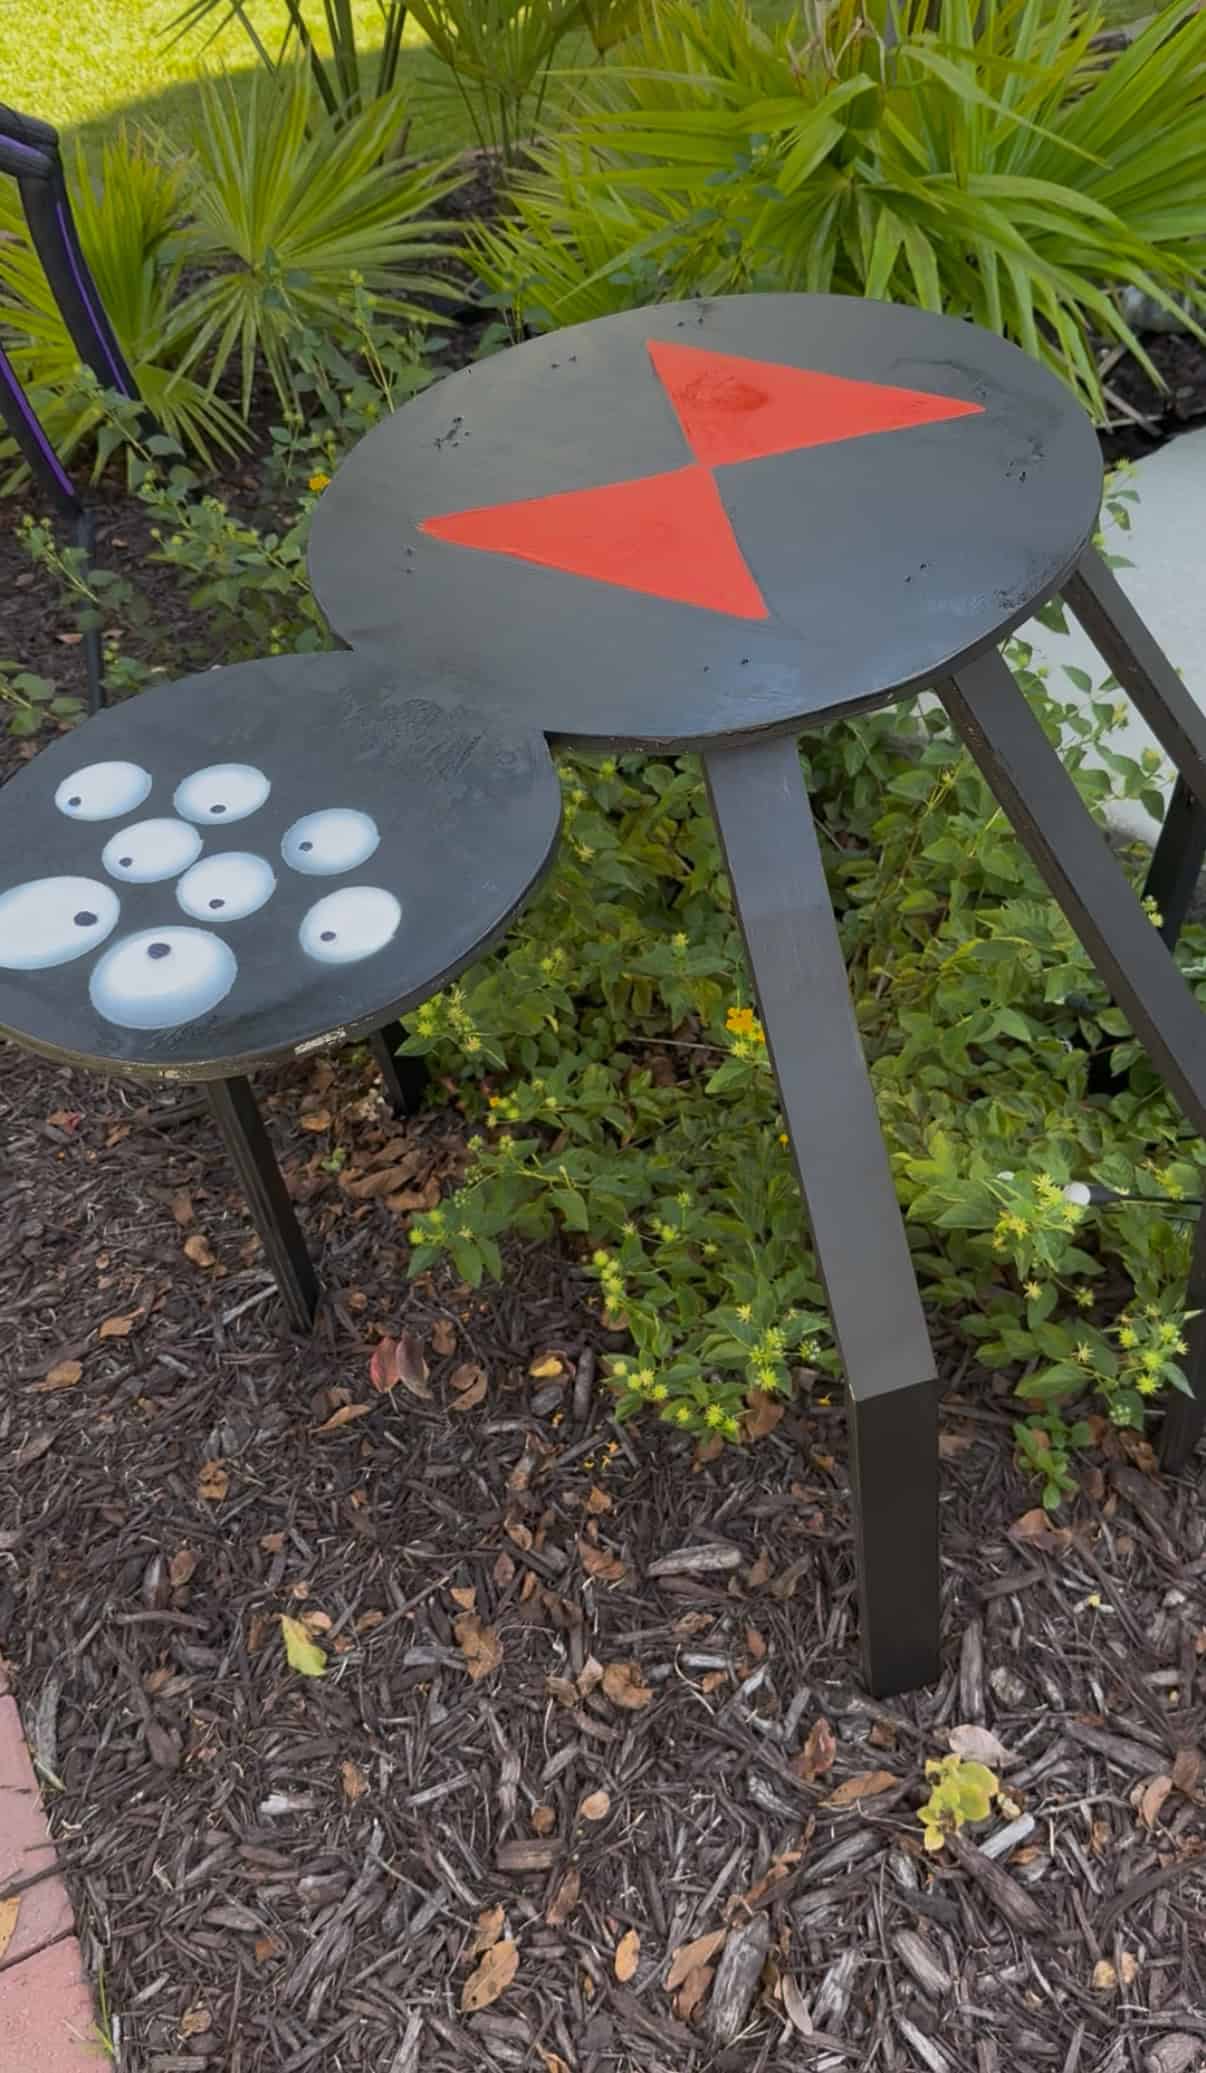
Oversized wooden spider Halloween decor
We love oversized holiday decor around here and making this giant oversized wooden spider was a perfect addition to our yard.
If you want to make a wooden spider, I encourage you to get creative and use this post as a guide for making your own!

Looking for something?
We've been doing this since 2012 so we have a LOT of blog posts!
Search stuff like: Ceiling Projects | DIY Plant Stands | Thrift Flips

Hello, I'm Morgan, half of the creative force behind CharlestonCrafted.com! With a passion for DIY that dates back to 2012, I've transformed three homes and now I'm dedicated to helping others craft their dream spaces. Let's turn your house into a home together!