• Skip to primary navigation
  • Skip to main content
  • Skip to primary sidebar
Charleston Crafted
  • DIY
  • Woodworking
  • Popular Posts
  • Blog
  • About
  • Shop
menu icon
go to homepage
  • DIY
  • Woodworking
  • Popular Posts
  • Blog
  • About
  • Shop
search icon
Homepage link
  • DIY
  • Woodworking
  • Popular Posts
  • Blog
  • About
  • Shop
×
Home » Home Projects

Who Framed... the Bathroom Mirror?

Published: Jul 12, 2013 · Modified: Jun 28, 2024 by Sean · As an Amazon Associate, we earn from qualifying purchases. This site contains affiliate links. ·

*Hey guys, quick disclaimer if you're stumbling upon this post nowadays. We did this project in 2013 before we really knew a ton about actual home renovation and we didn't have that many tools, so we kind of just had to use what we could and make it work. If we were doing this post today, I promise you we wouldn't staple pieces of wood together. We would definitely use a pocket hole jig to secure the wood together. We also DEFINITELY wouldn't use a knife and the side of a drill bit to cut out a notch, we would use a router or a chisel. So yeah, this wasn't the best craftsmanship, but it still turned out looking great and hopefully you can use it as inspiration for your project.*

That would be me. Morgan got great inspiration on framing a bathroom mirror a while back with this post from Young House Love. Looked simple enough... but it always does.

We started out by getting some simple pine boards and cutting them to size to fit our mirror. You need to make sure to measure your sizes so that two of the parallel boards will go inside to two boards they are perpendicular to.

Frame a bathroom mirror - Charleston Crafted

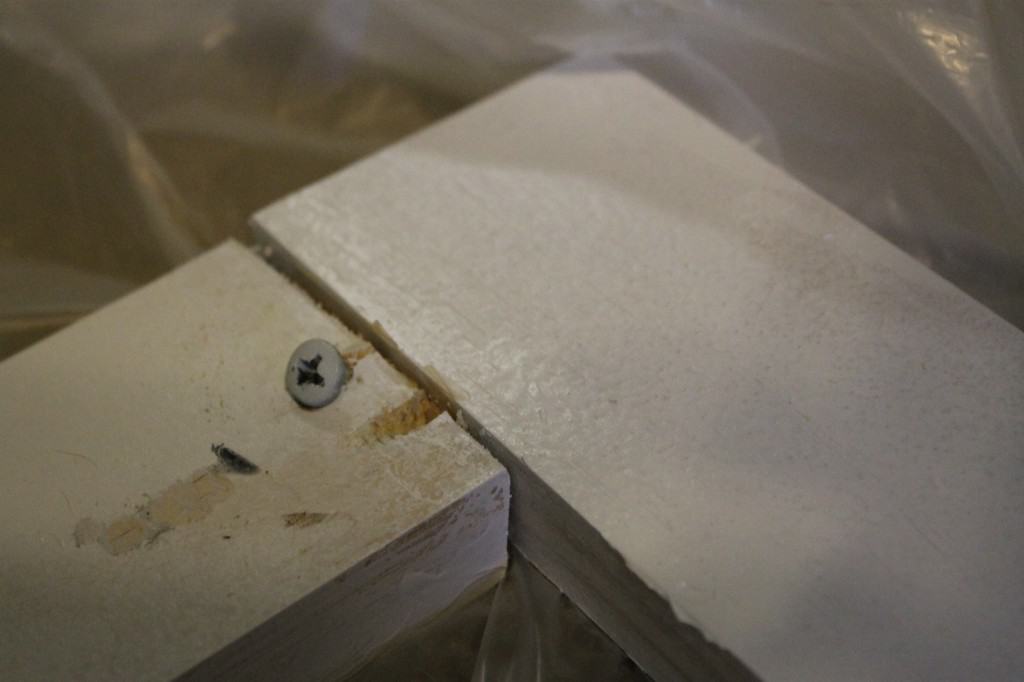
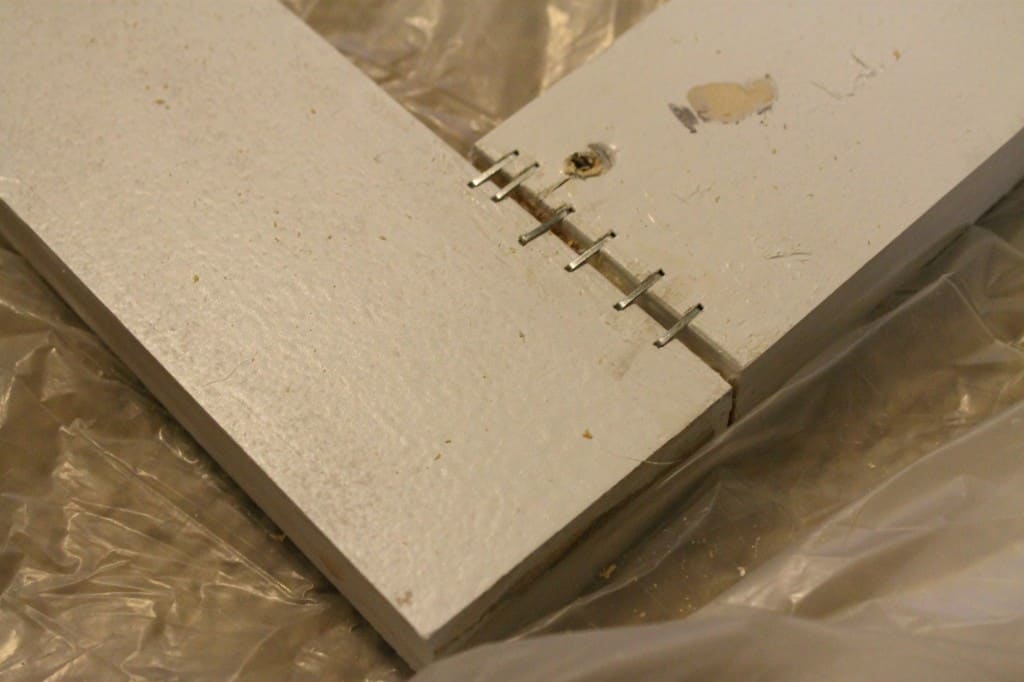
I used wood glue to get them to sick together since they are at an awkward angle. John, from YHL, also drilled in screws between the boards at an angle, but I couldn't get that to work on mine for some reason, so after several tries I ended up just using a staple gun to staple the boards together to give them extra stability.

Frame a bathroom mirror - Charleston Crafted

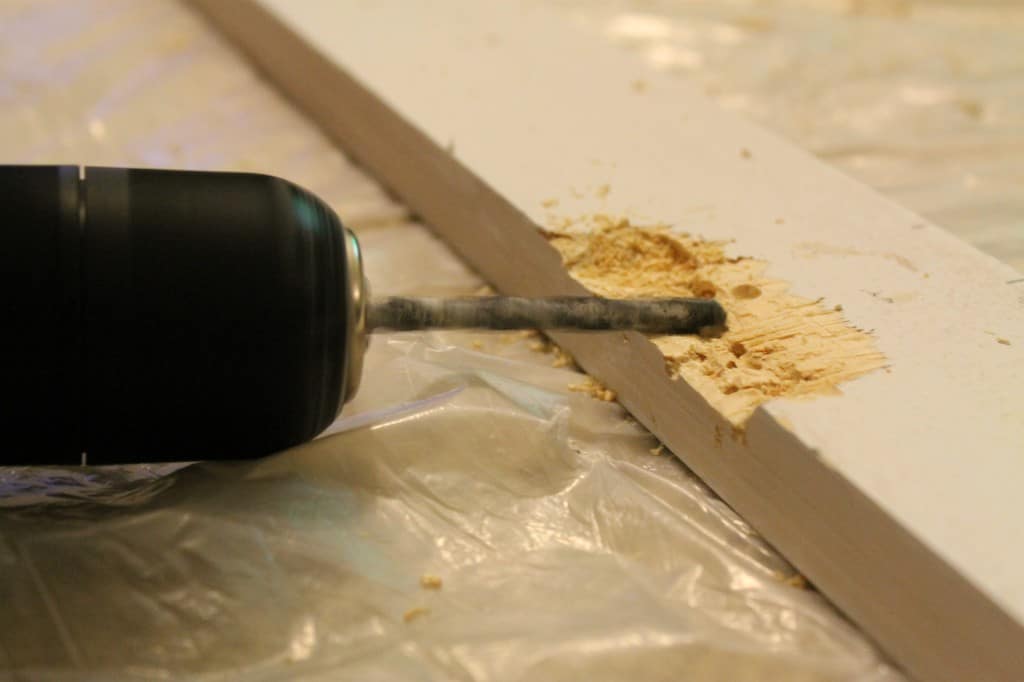
The next step is that you need to carve out notches in the top and bottom boards to account for the little metal pieces that hold your mirror in place.

This is a tough job. I used a drill to drill small holes together and then drilled out the wood.

Frame a bathroom mirror - Charleston Crafted

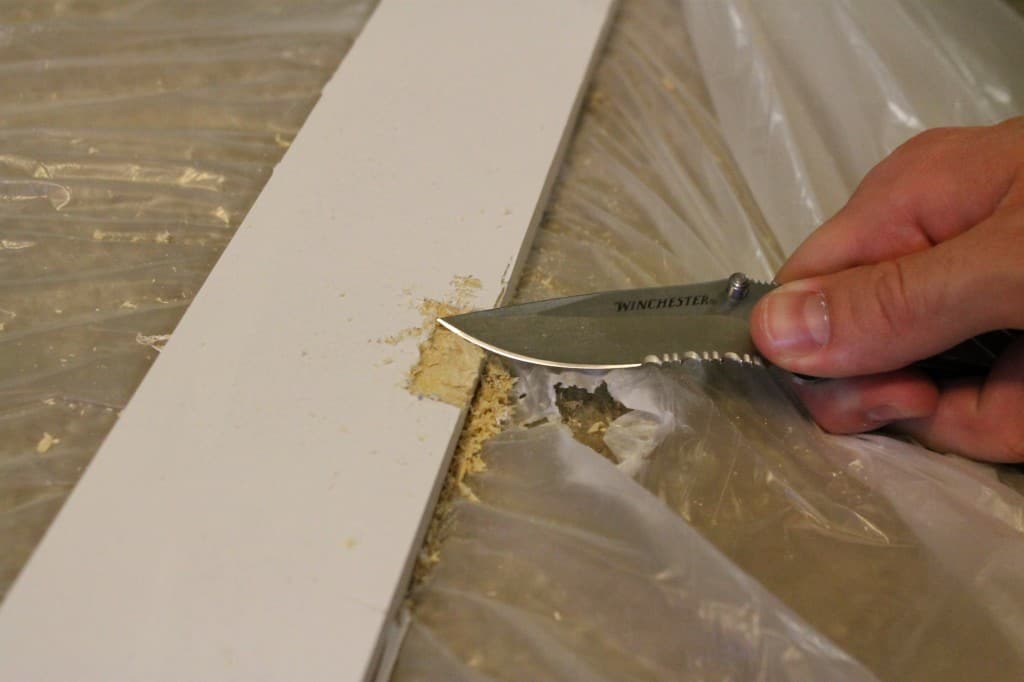
Then we decided to use a pocketknife to smooth it out and add the finishing touches. This turned out disastrous when the knife somehow closed on my thumb and left me with a nasty deep cut that needed stitches. Please, be very careful using knives.

We painted one coat of paint on the frame before we hung it up. Remember to paint all sides of the boards because your mirror will give off a reflection of unpainted wood if you don't.

Frame a bathroom mirror - Charleston Crafted

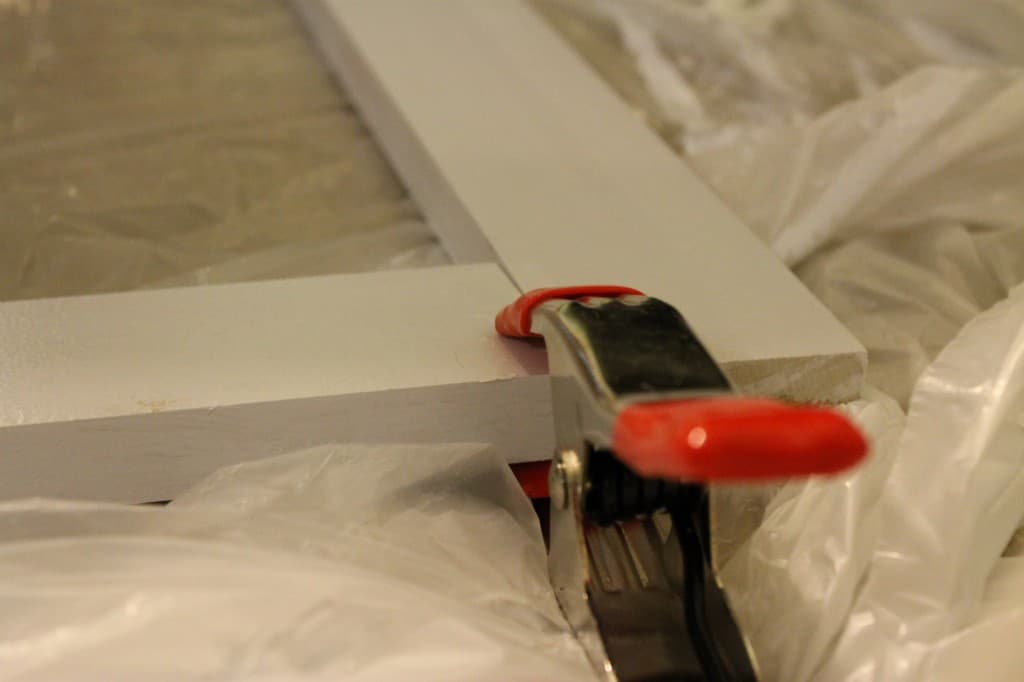
Then came the hanging part. I tried to think of all the ways to hang it up, but the only thing I could think of was wood glue.

Frame a bathroom mirror - Charleston Crafted

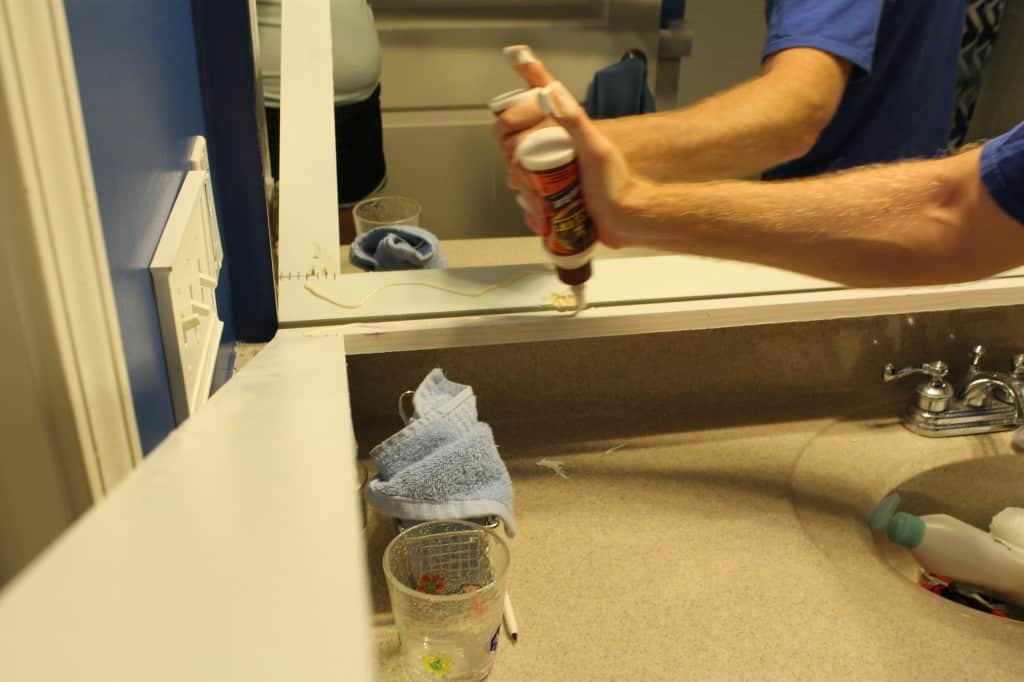
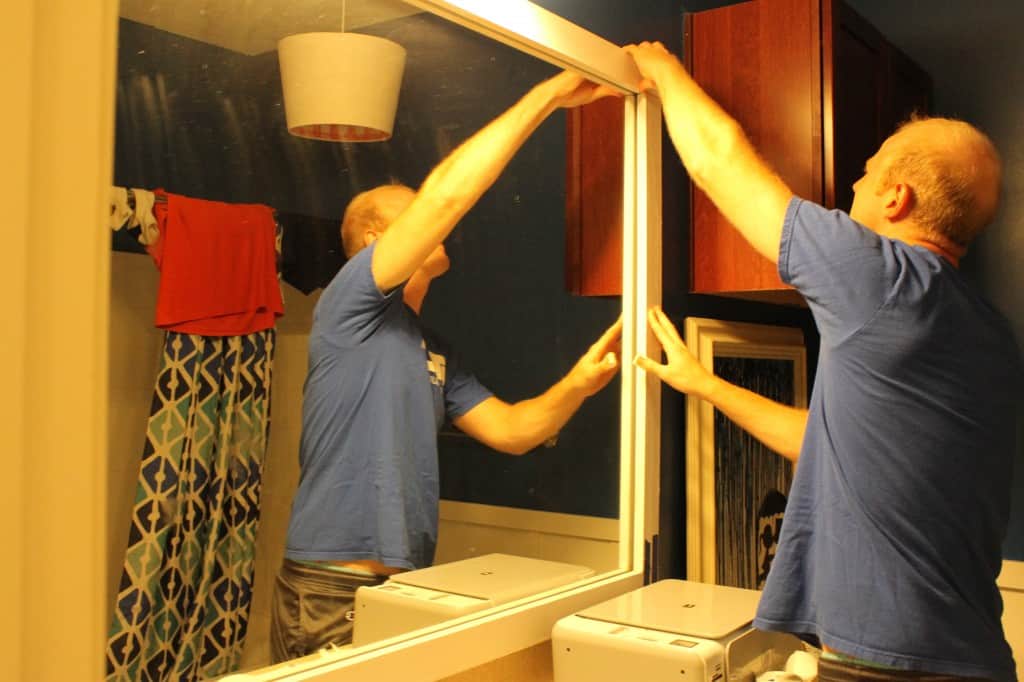
So I literally squirted a ton on there and then leaned it up against the mirror and clamped it down. A lot of the glue leaked down on the mirror and the counter, so be ready to clean that up before it dries.

Frame a bathroom mirror - Charleston Crafted

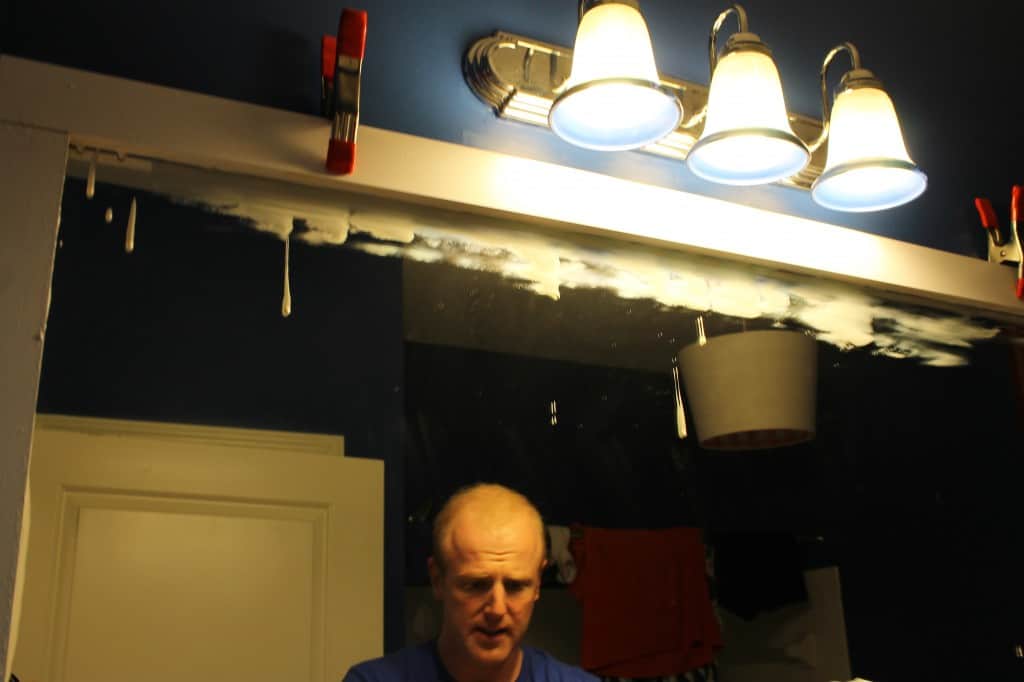
Then we caulked the inside edges and let it sit for a few days before daring to take off the clamps. When we finally did, voila! It hasn't fallen down yet.

Frame a bathroom mirror - Charleston Crafted

Ever thought of framing a mirror? What was your experience?

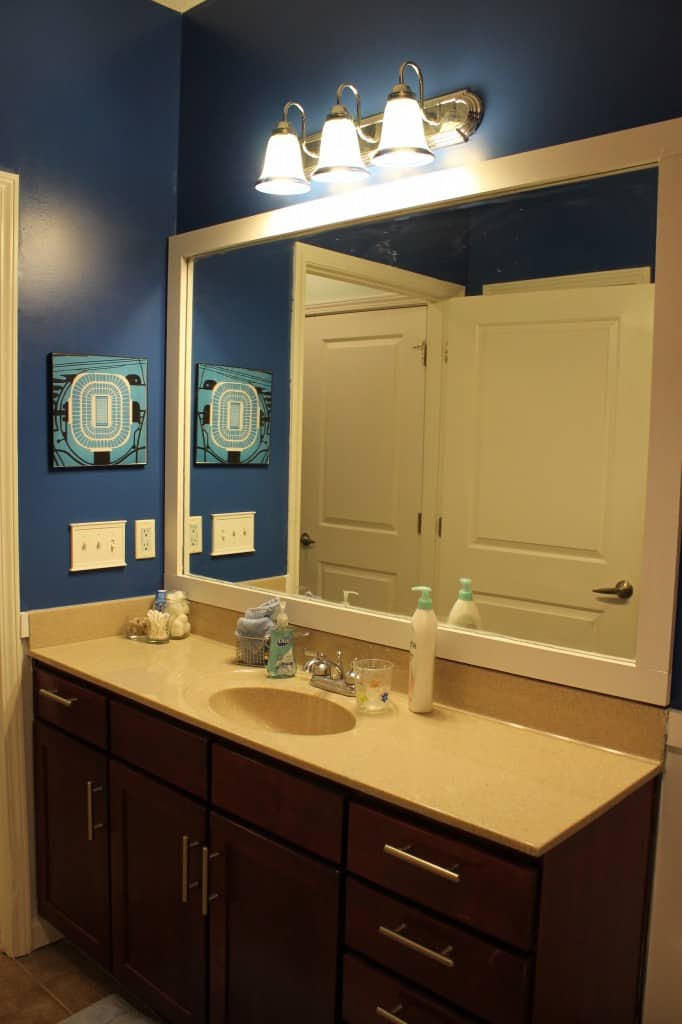
Ready for the full bathroom reveal? As a throwback, here's how it looked before we started:

Guest Bath April 2013-Charleston Crafted

And here it is now:

Guest Bathroom After - Charleston Crafted

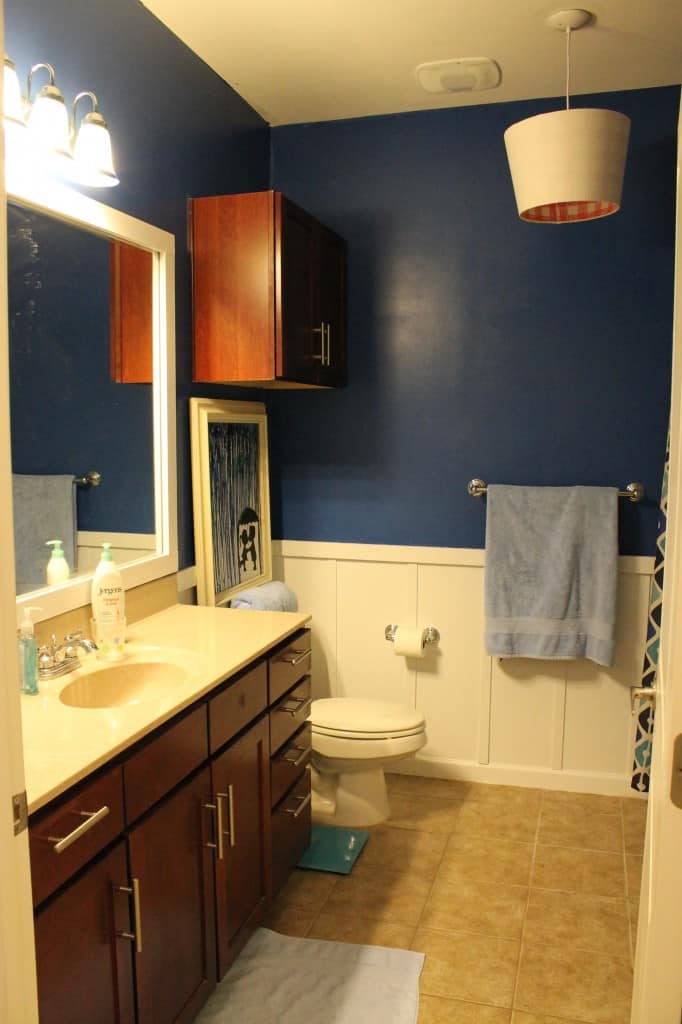
I'm so happy. It didn't take much money, but we really made this room look amazing. I'm so glad to finally be able to call a room "done"! (For now...)

Charleston Crafted Signature

Follow us on:
Pinterest | Instagram | TikTok | YouTube | Facebook | Amazon Storefront | LTK Shop

Looking for something?

We've been doing this since 2012 so we have a LOT of blog posts!
Search stuff like: Ceiling Projects | DIY Plant Stands | Thrift Flips

Charleston Crafted logo banner
Sean headshot cropped
Sean

Hey there, I'm Sean, the woodworking enthusiast and builder behind CharlestonCrafted.com! Since 2012, I've been sharing the magic of turning raw materials into beautiful creations. I love teaching others the art and satisfaction of woodworking and DIY. I try to inspire fellow crafters to make something extraordinary out of nothing at all.

More Home Projects

  • DIY floating corner shelves - Charleston Crafted
    How to make floating corner shelves
  • how to assess your home renovation needs
    How to assess your home renovation needs
  • Top Mistakes to Avoid When Renovating Your Home
    Top Mistakes to Avoid When Renovating Your Home
  • How to create a DIY home renovation plan
    How to create a DIY home renovation plan

Reader Interactions

Comments

  1. Manda Wolf says

    July 22, 2013 at 8:45 am

    Looking good. I love the board and batten. As for done, I think once you become a DIYer you are never done completely. Give it a year and then you will want to change something *smiles*

    Manda @ Our Wolf Den

    • CharlestonCrafted says

      July 22, 2013 at 12:12 pm

      Haha thanks! That's why I always call it "done!" 🙂 for now!

  2. Heather says

    October 15, 2013 at 7:46 pm

    “Who Framed

Trackbacks

  1. 10 DIY Room Projects ~ Monday Funday Link Party says:
    July 21, 2013 at 7:03 pm

    [...] Crafted put the finishing touches (like a framed mirror) on this bathroom [...]

  2. 10 DIY Room Projects and Monday Funday! - Mom 4 Real says:
    July 21, 2013 at 7:15 pm

    [...] Crafted put the finishing touches (like a framed mirror) on this bathroom [...]

  3. Monday Funday #26...and features! - Creatively Living Blog says:
    July 25, 2013 at 1:59 am

    [...] Crafted put the finishing touches (like a framed mirror) on this bathroom [...]

  4. 10 DIY Room Projects - That's What {Che} Said.. says:
    January 28, 2016 at 1:27 pm

    […] Crafted put the finishing touches (like a framed mirror) on this bathroom […]

Primary Sidebar

Charleston Crafted about us image

Hey y'all!

We are Morgan & Sean McBride and we are crafting our home together in Charleston, South Carolina.

More about us

Popular Posts

  • DIY Coffered Ceiling
    DIY Coffered Ceiling
  • How to Make DIY Concrete Pumpkins via Charleston Crafted
    How to Make DIY Concrete Pumpkins
  • How to Make a Cupid's Arrow Valentine's Day Wall Hanging with felt on the Cricut
    How to make a Cupid's Arrow Valentine's Day Wall Hanging
  • Our Tropical Oasis - A backyard Hammock area - Charleston Crafted
    Our Tropical Oasis

Recent Posts

  • fisherman aesthetic home inspiration
    Fisherman Aesthetic Decor for Your Home
  • Senix Tools Review- Charleston Crafted
    Are Senix power tools any good?
  • Your Weekend To-Do List: 15 Things to Do for Summer Home Upkeep
    Your Weekend To-Do List: 15 Things to Do for Summer Home Upkeep
  • How to build a DIY gate pergola- Charleston Crafted
    How to build a DIY gate pergola

Privacy Policy

Footer

↑ back to top

Navigation

  • Home
  • Blog
  • Contact Us
  • Terms of Use
  • Disclaimer

Newsletter

  • Sign up for emails and updates
  • Follow us on Instagram
  • Work with Us

Browse by Category

  • Woodworking
  • Home Projects
  • Paint Colors
  • Room Reveals

© 2025 The Charleston Crafted Blog LLC DBA “Charleston Crafted” and “CharlestonCrafted” (also known as N/A) / All Rights Reserved.
Official Website: (Charleston Crafted)
Registered in USA (Co. Reg. No.: 565586)
Address: Charleston, USA 29414, South Carolina
Contact Phone: Not applicable — contact is via email: sean@charlestoncrafted.com

DISCLAIMER: The content on this website is provided for general informational purposes only and is not intended as professional advice. The Charleston Crafted Blog LLC and The Charleston Crafted Blog LLC make no representations or warranties—express or implied—regarding the accuracy, completeness, or suitability of the information contained herein. Any reliance you place on this information is strictly at your own risk. In no event shall The Charleston Crafted Blog LLC or The Charleston Crafted Blog LLC be liable for any loss or damage, including without limitation, indirect or consequential loss or damage, arising from the use or inability to use this website. This website is the official website of The Charleston Crafted Blog LLC.

AFFILIATE DISCLOSURE: This website contains affiliate links. If you click through and make a purchase, we may earn a commission at no extra cost to you.

As an Amazon Associate, I earn from qualifying purchases.

Site Editor: Morgan Smith McBride

Copyright © 2025 Charleston Crafted