• Skip to primary navigation
  • Skip to main content
  • Skip to primary sidebar
Charleston Crafted
  • DIY
  • Woodworking
  • Popular Posts
  • Blog
  • About
  • Shop
menu icon
go to homepage
  • DIY
  • Woodworking
  • Popular Posts
  • Blog
  • About
  • Shop
search icon
Homepage link
  • DIY
  • Woodworking
  • Popular Posts
  • Blog
  • About
  • Shop
×
Home » Building

Wooden Makeup Box

Published: Jan 16, 2018 · Modified: Jan 8, 2025 by Sean · As an Amazon Associate, we earn from qualifying purchases. This site contains affiliate links. ·

Check out this simple tutorial for how I made a simple wooden makeup box for storing basic items!

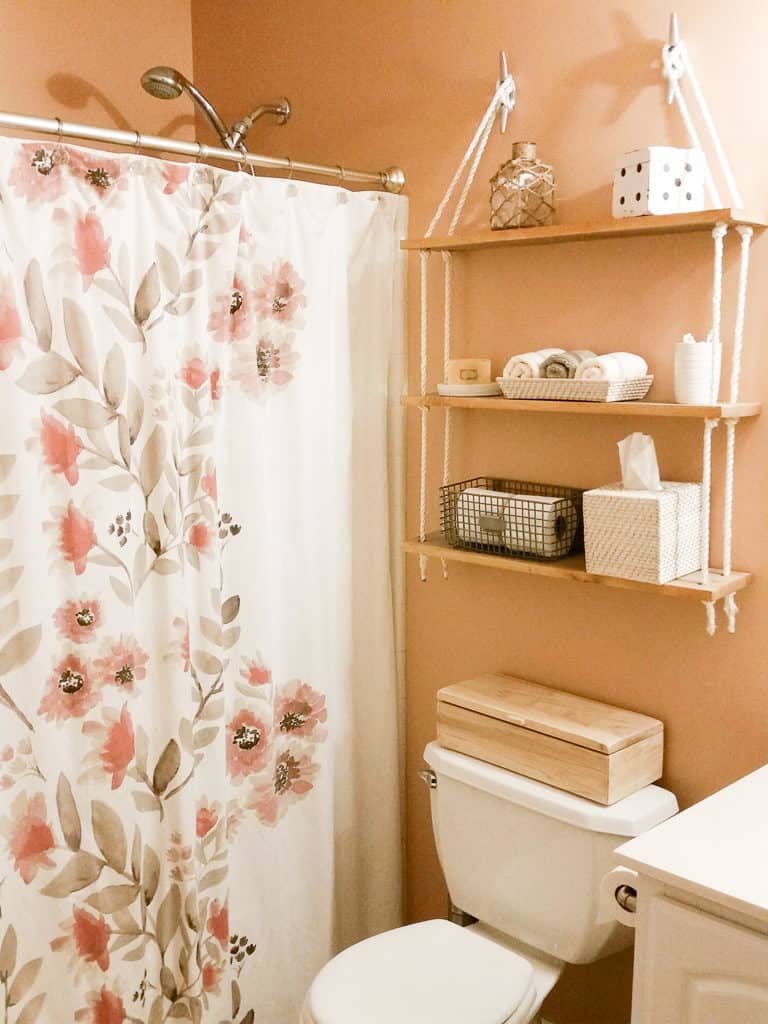
I'm excited to share this Christmas present I made for my mom with you all! I shared with you how I had renovated my moms bathroom in just two days.

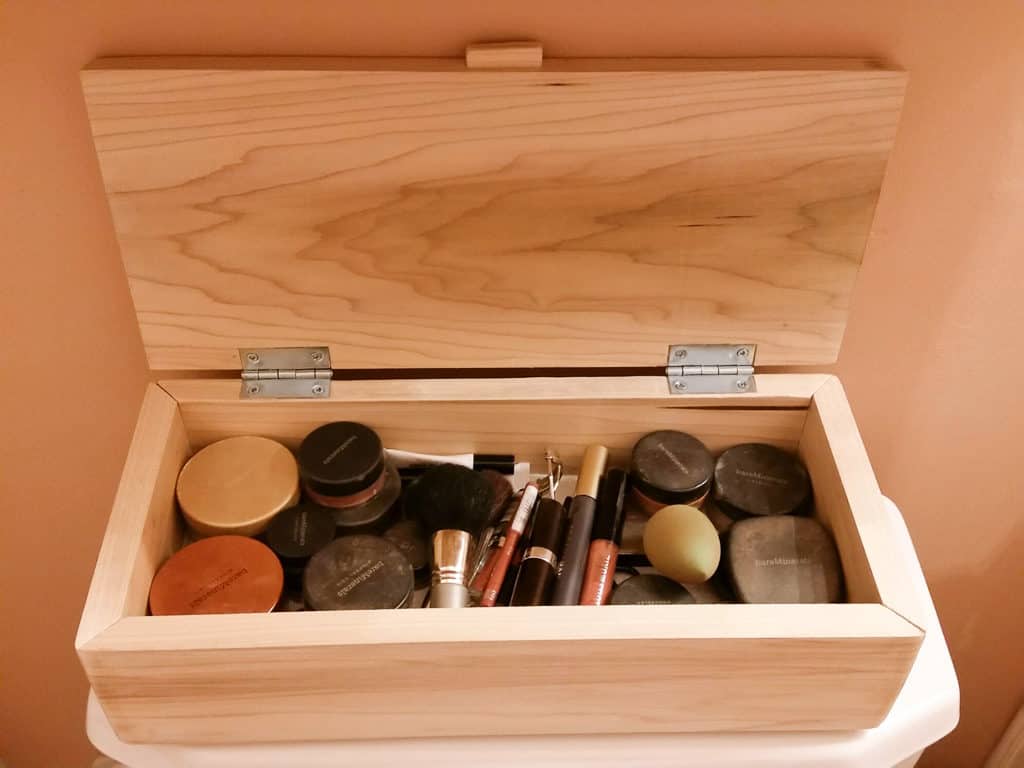
It looked gorgeous and then at the very end she picks up this plastic tub and sets it down on top of the toilet. I said to her "WTF?" and she said it was her makeup container and she had to have all of her makeup with easy access.

There was no way I was going to make this beautiful bathroom and then stick a plastic tub in plain sight. So, ipso facto, I built her a wooden makeup box.
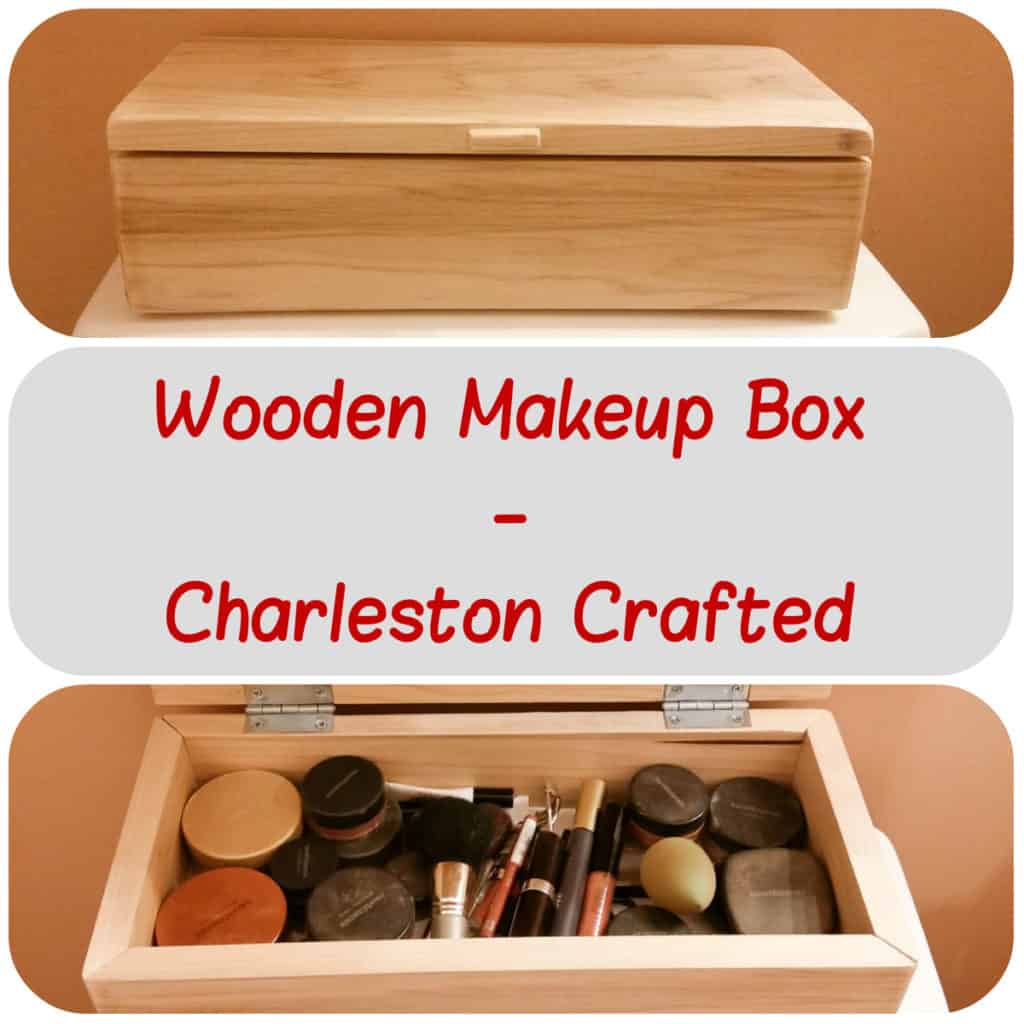
Wooden Makeup Box - Charleston Crafted

Wooden Makeup Box

This is a really simple box and you could really use it for anything. I built it to the dimensions that I had measured out on top of my mom's toilet where I knew she would want to keep it.

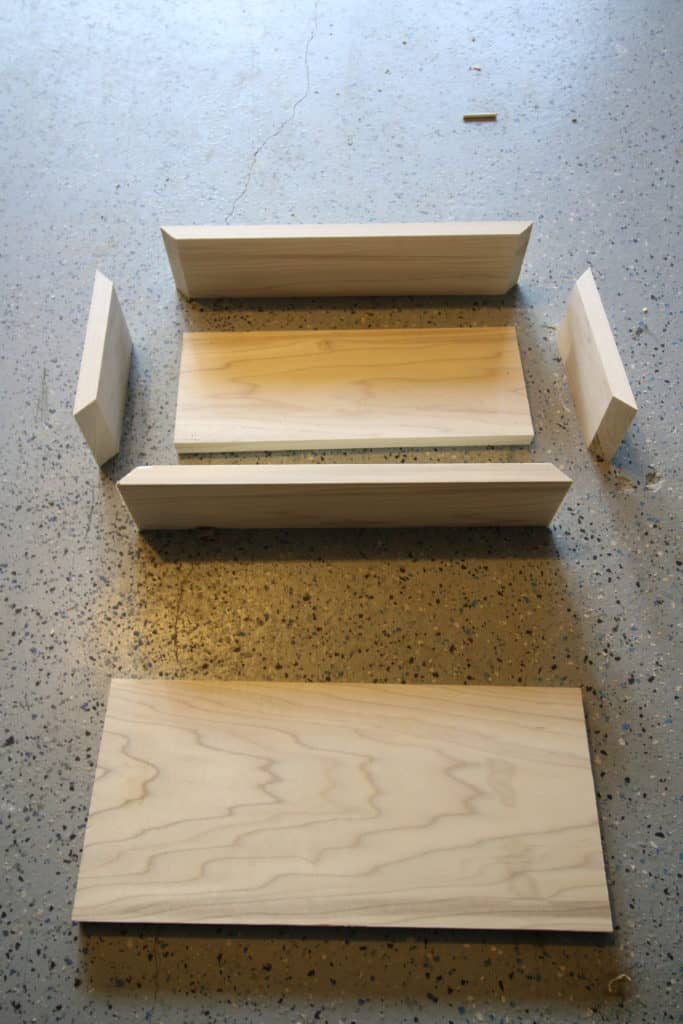
This one is 16"x7"x4" and I made the entire thing out of a six foot long 1"x8" piece of poplar. The first thing I did was cut the pieces.

Cut List:

  • 1- 16"x7"
  • 2- 16"x4" mitered on both ends
  • 2- 7"x4" mitered on both ends
  • 1- 15"x6"
Wooden Makeup Box - Charleston Crafted

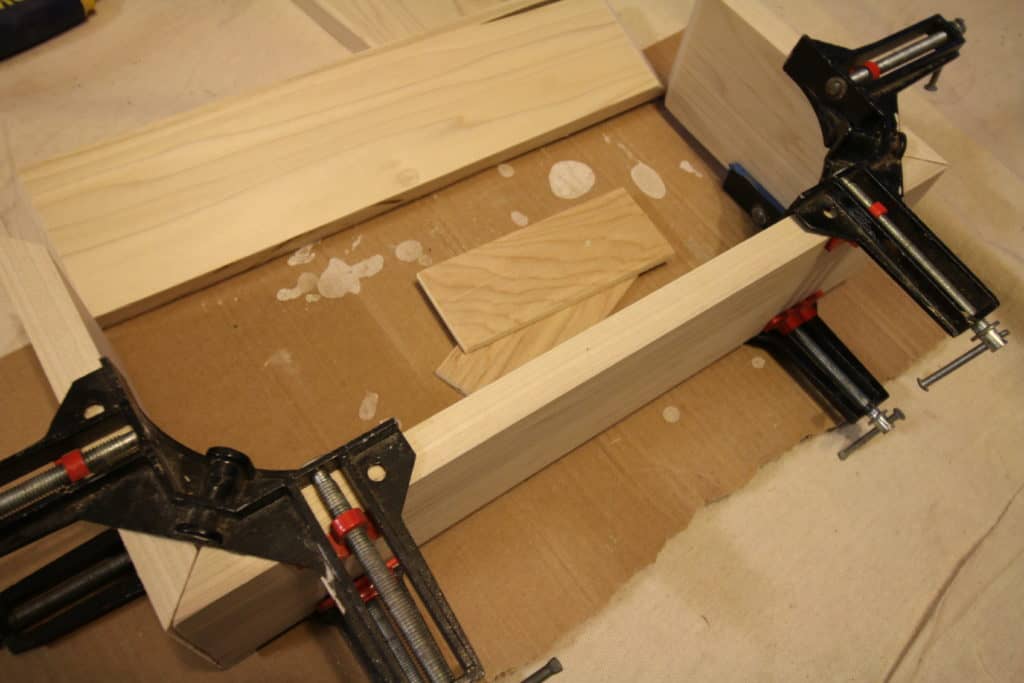
Step one: glue up sides

After making the cuts, I glued up the four sides using Gorilla Wood Glue and right angle clamps.

Then, I sunk in the 15x6 piece to the bottom of that frame and glued it in.

Wooden Makeup Box - Charleston Crafted

Step two: make top

While that was setting, I rounded off the top edges and corners of the 16x7 piece using an orbital sander. This will serve as the top of the box. I also glued on a tiny nub of wood in the center to serve as a little handle of sorts.

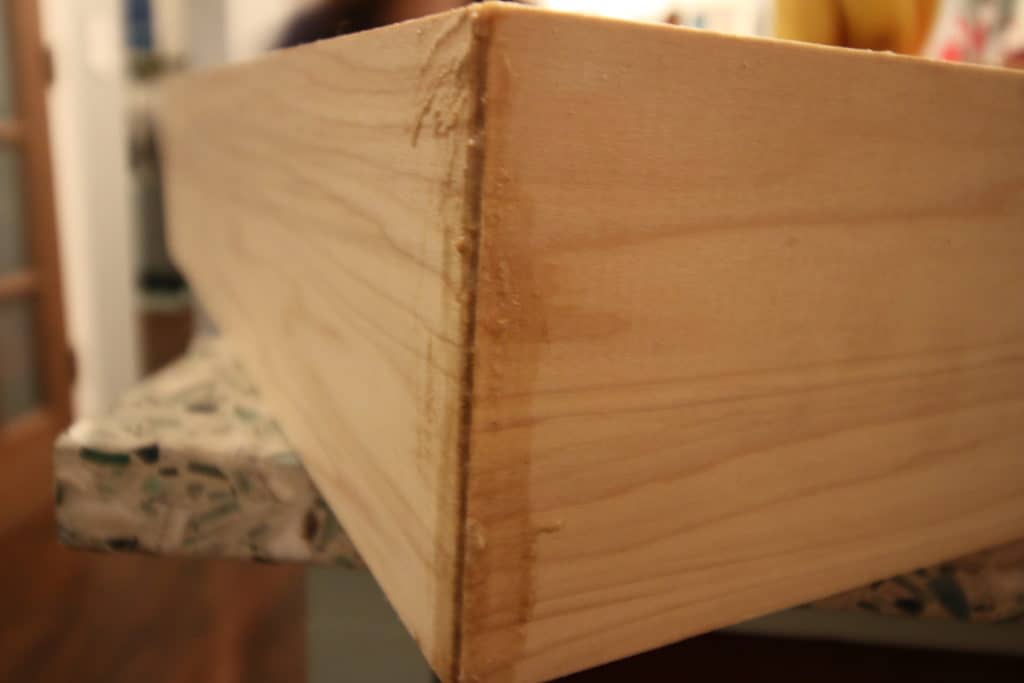
Step three: finish corners

Next, I used an epoxy and sawdust mixture to fill in the gaps in the corners and around the underside of the box.

After it dried, I used the orbital sander to buff down the excess and round the corners to make it look like one piece.

Wooden Makeup Box - Charleston Crafted

Step four: attach top

Next, I used a chisel to cut out recessed rectangles for the hinges on both the box and the top, then attached the hinges.

Because of the beautiful grey color of the poplar, I didn't stain the box at all because I wanted it to match the shelves I put up in my mom's bathroom. So I just poly'd it.

Wooden Makeup Box - Charleston Crafted

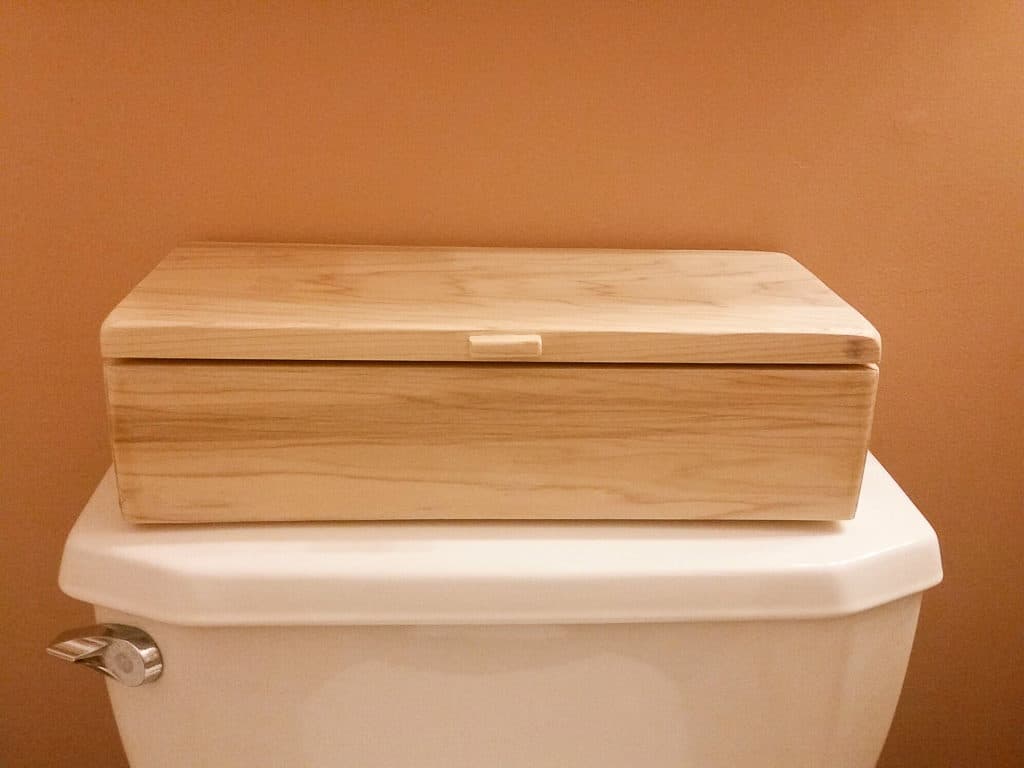
DIY wooden makeup box

The box turned out great and she loves it. She is so happy with it and it looks so much better than the plastic tub!

A handmade gift always makes someone smile, so try this one out for someone who needs some organization!

Wooden Makeup Box - Charleston Crafted
Charleston Crafted Signature

Follow us on:
Pinterest | Instagram | TikTok | YouTube | Facebook | Amazon Storefront | LTK Shop

Looking for something?

We've been doing this since 2012 so we have a LOT of blog posts!
Search stuff like: Ceiling Projects | DIY Plant Stands | Thrift Flips

Charleston Crafted logo banner
Sean headshot cropped
Sean

Hey there, I'm Sean, the woodworking enthusiast and builder behind CharlestonCrafted.com! Since 2012, I've been sharing the magic of turning raw materials into beautiful creations. I love teaching others the art and satisfaction of woodworking and DIY. I try to inspire fellow crafters to make something extraordinary out of nothing at all.

More Building

  • How to build a DIY gate pergola- Charleston Crafted
    How to build a DIY gate pergola
  • DIY modern rolling storage table - Charleston Crafted
    DIY modern rolling storage table
  • DIY folding desk for walking pad - Charleston Crafted
    DIY folding desk for walking pads
  • DIY cube storage console table - Charleston Crafted
    DIY cube storage console table

Primary Sidebar

Charleston Crafted about us image

Hey y'all!

We are Morgan & Sean McBride and we are crafting our home together in Charleston, South Carolina.

More about us

Popular Posts

  • DIY Coffered Ceiling
    DIY Coffered Ceiling
  • How to Make DIY Concrete Pumpkins via Charleston Crafted
    How to Make DIY Concrete Pumpkins
  • How to Make a Cupid's Arrow Valentine's Day Wall Hanging with felt on the Cricut
    How to make a Cupid's Arrow Valentine's Day Wall Hanging
  • Our Tropical Oasis - A backyard Hammock area - Charleston Crafted
    Our Tropical Oasis

Recent Posts

  • fisherman aesthetic home inspiration
    Fisherman Aesthetic Decor for Your Home
  • Senix Tools Review- Charleston Crafted
    Are Senix power tools any good?
  • Your Weekend To-Do List: 15 Things to Do for Summer Home Upkeep
    Your Weekend To-Do List: 15 Things to Do for Summer Home Upkeep
  • How to stain wood with RIT dye - step by step instructions
    How to stain wood with RIT dye

Privacy Policy

Footer

↑ back to top

Navigation

  • Home
  • Blog
  • Contact Us
  • Terms of Use
  • Disclaimer

Newsletter

  • Sign up for emails and updates
  • Follow us on Instagram
  • Work with Us

Browse by Category

  • Woodworking
  • Home Projects
  • Paint Colors
  • Room Reveals

© 2025 The Charleston Crafted Blog LLC DBA “Charleston Crafted” and “CharlestonCrafted” (also known as N/A) / All Rights Reserved.
Official Website: (Charleston Crafted)
Registered in USA (Co. Reg. No.: 565586)
Address: Charleston, USA 29414, South Carolina
Contact Phone: Not applicable — contact is via email: sean@charlestoncrafted.com

DISCLAIMER: The content on this website is provided for general informational purposes only and is not intended as professional advice. The Charleston Crafted Blog LLC and The Charleston Crafted Blog LLC make no representations or warranties—express or implied—regarding the accuracy, completeness, or suitability of the information contained herein. Any reliance you place on this information is strictly at your own risk. In no event shall The Charleston Crafted Blog LLC or The Charleston Crafted Blog LLC be liable for any loss or damage, including without limitation, indirect or consequential loss or damage, arising from the use or inability to use this website. This website is the official website of The Charleston Crafted Blog LLC.

AFFILIATE DISCLOSURE: This website contains affiliate links. If you click through and make a purchase, we may earn a commission at no extra cost to you.

As an Amazon Associate, I earn from qualifying purchases.

Site Editor: Morgan Smith McBride

Copyright © 2025 Charleston Crafted