• Skip to primary navigation
  • Skip to main content
  • Skip to primary sidebar
Charleston Crafted
  • DIY
  • Woodworking
  • Popular Posts
  • Blog
  • About
  • Shop
menu icon
go to homepage
  • DIY
  • Woodworking
  • Popular Posts
  • Blog
  • About
  • Shop
search icon
Homepage link
  • DIY
  • Woodworking
  • Popular Posts
  • Blog
  • About
  • Shop
×
Home » Furniture Projects

Updating Old Bookshelves

Published: Oct 7, 2013 · Modified: Feb 12, 2016 by Morgan · As an Amazon Associate, we earn from qualifying purchases. This site contains affiliate links. ·

We recently replaced our mismatched living room storage with one cohesive entertainment center. I'm so in love with the look, but I didn't want to ditch the bookshelves that we already had. Keeping them in the condo allowed me to sort of focus on "styling" the entertainment bookshelves without feeling like I had to display all our books. And we have a ton of books. Even though Sean loves his Nook, we both love actual, physical books. I'm constantly picking up paperbacks at thrift stores and ordering new releases on amazon. I wanted to make sure that we had plenty of storage for our ever growing collection.
Since we were emptying and moving them anyways, I decided to take this opportunity to give the shelves a facelift.
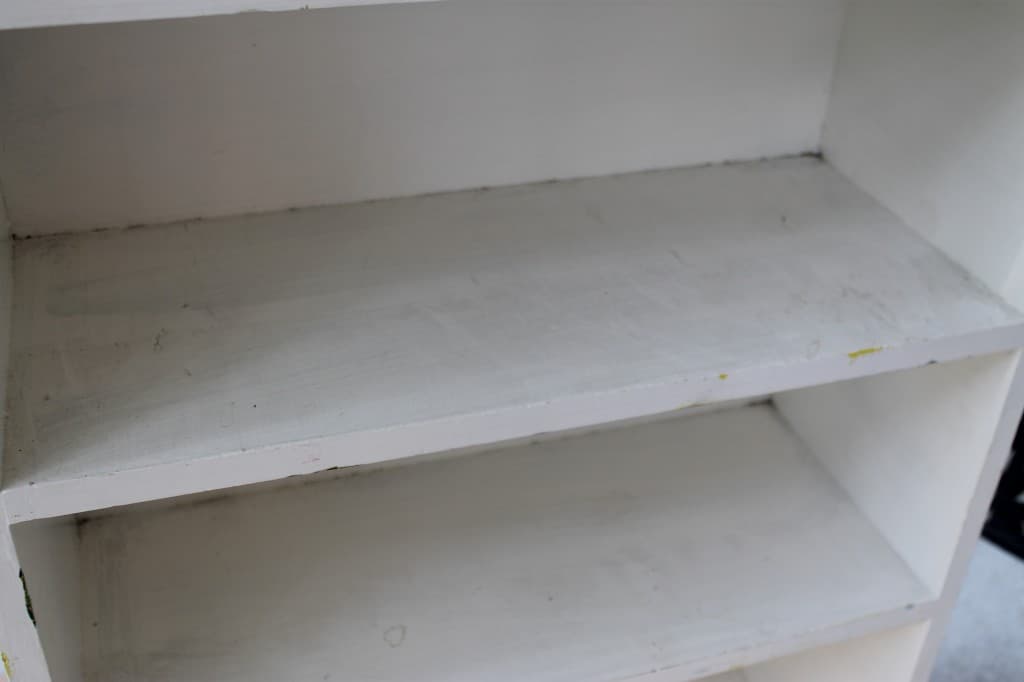
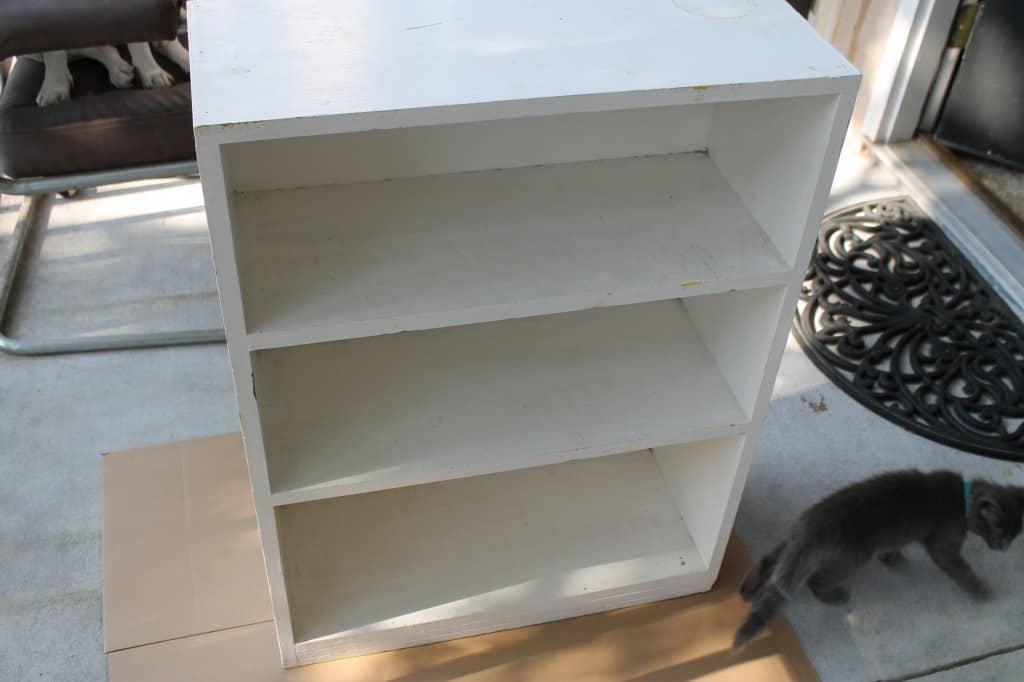
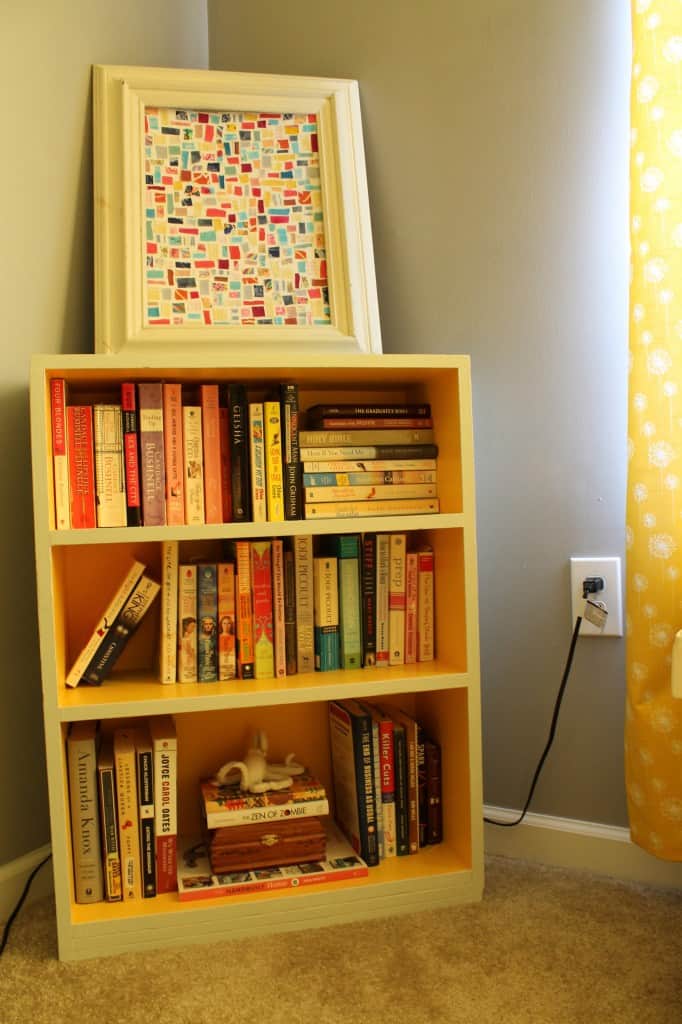
The first is a 3 tier shelf made of solid wood. It's my mom's from when she was in college, and it's got a lot of coats of paint on it.
Updating an old Bookshelf - Charleston Crafted
I started by roughing up the glossy coat with some sandpaper.
Updating an old Bookshelf - Charleston Crafted
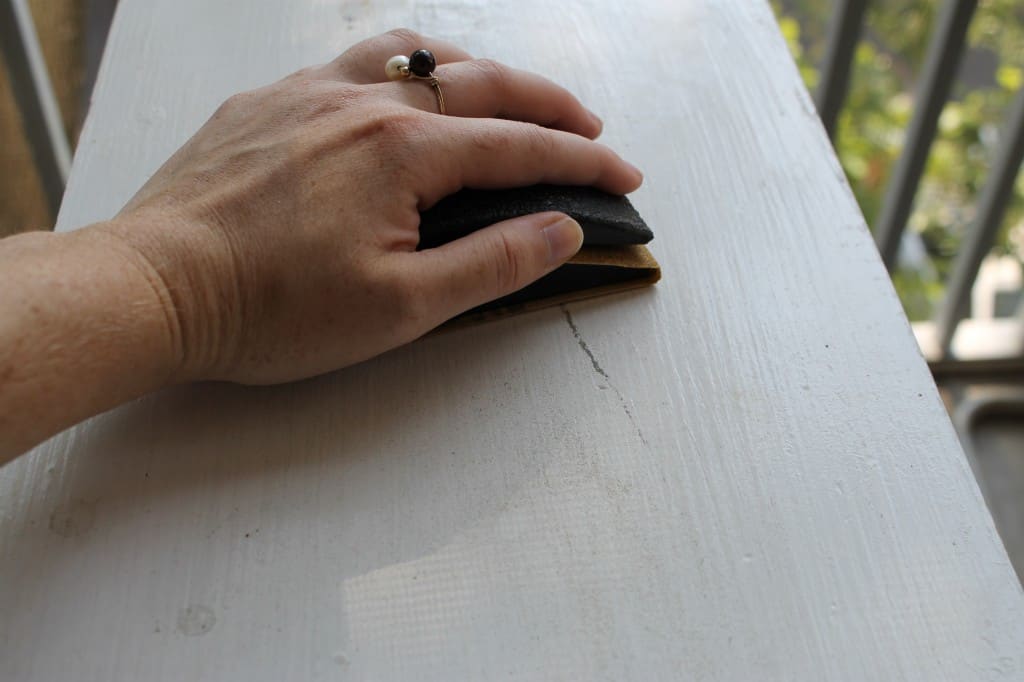
Then, I wiped the whole thing down with a rag, just to get off all the dust.
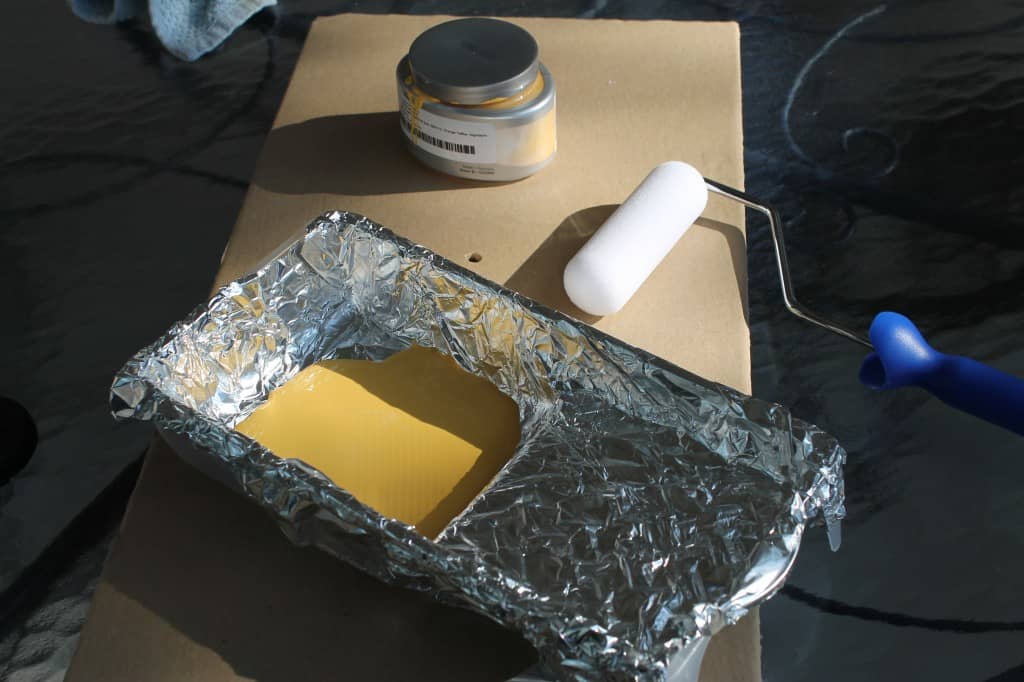
I decided to paint the back of the shelves bright yellow to match the comforter and curtains in the master bedroom. This shade is called Orange Toffee and I had a sample made up at Lowes.
Updating an old Bookshelf - Charleston Crafted
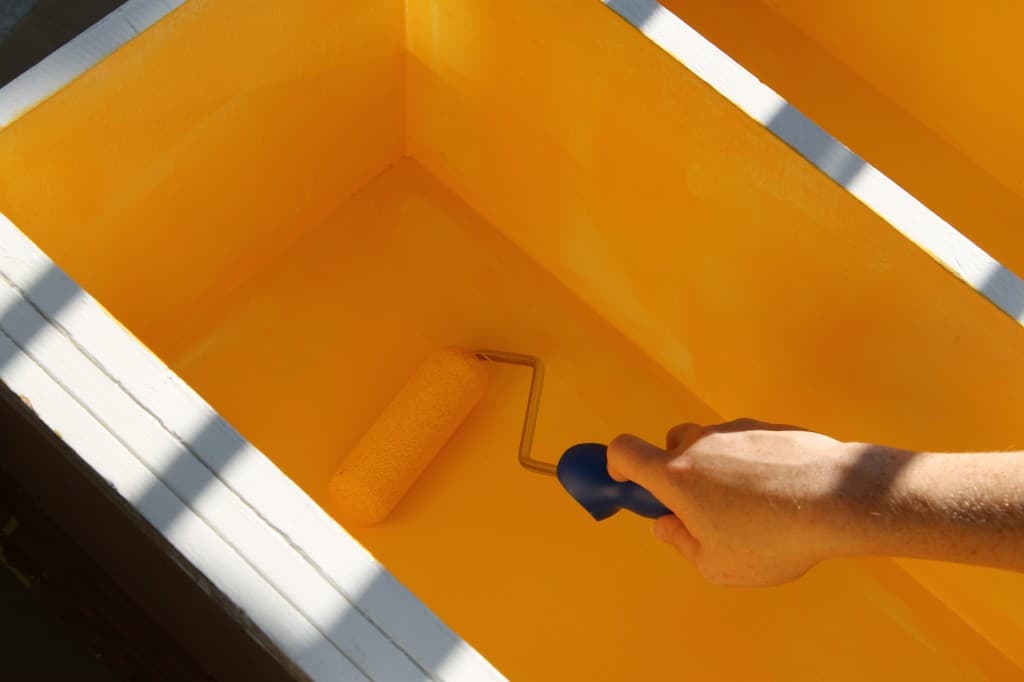
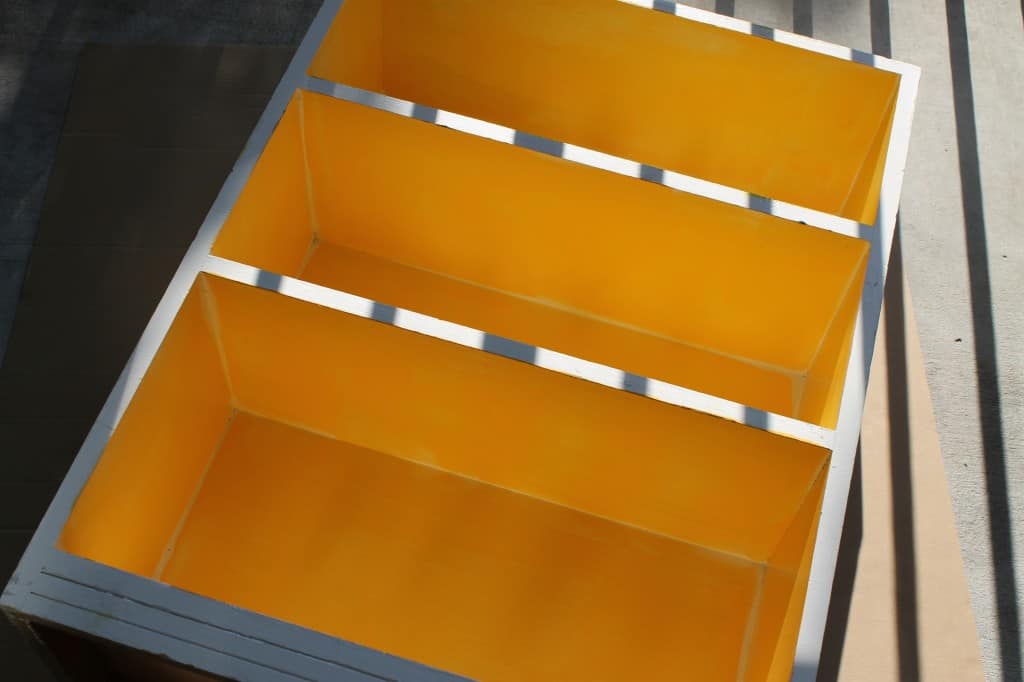
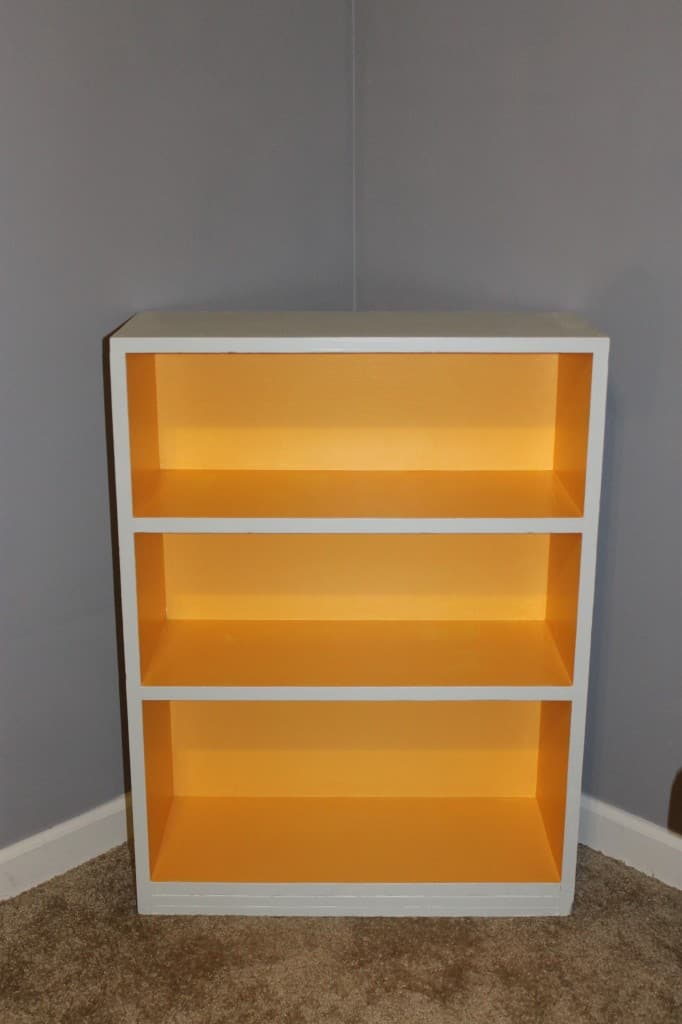
I know that people typically just paint the back of the inside of each shelf a bright pop of color, but I decided to paint the entire inside of each shelf (5 sides instead of just 1). The main reason for this is that the top 2 shelves are very short and are about the height of a paperback. I wanted there to be plenty of yellow peeking out.
I painted the outsides of the shelf a light, light, grey. It was actually $3 for a quart on the mistint rack at Lowes. It's really almost white, but just so slightly grey.
Updating an old Bookshelf - Charleston Crafted
We stuck it in the "awkward corner" beside the gallery wall. I crammed it fairly full with paperbacks, but couldn't resist a little styling.
Updating an old Bookshelf - Charleston Crafted
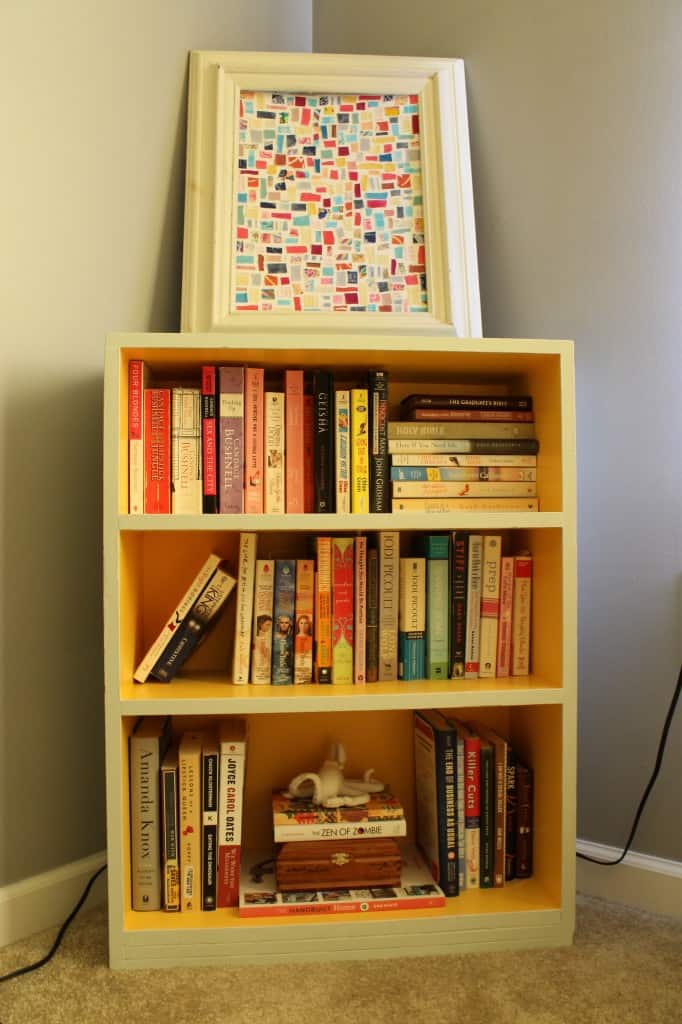
I stuck this large framed fabric collage on top for now - who knows if it will stay!
Updating an old Bookshelf - Charleston Crafted
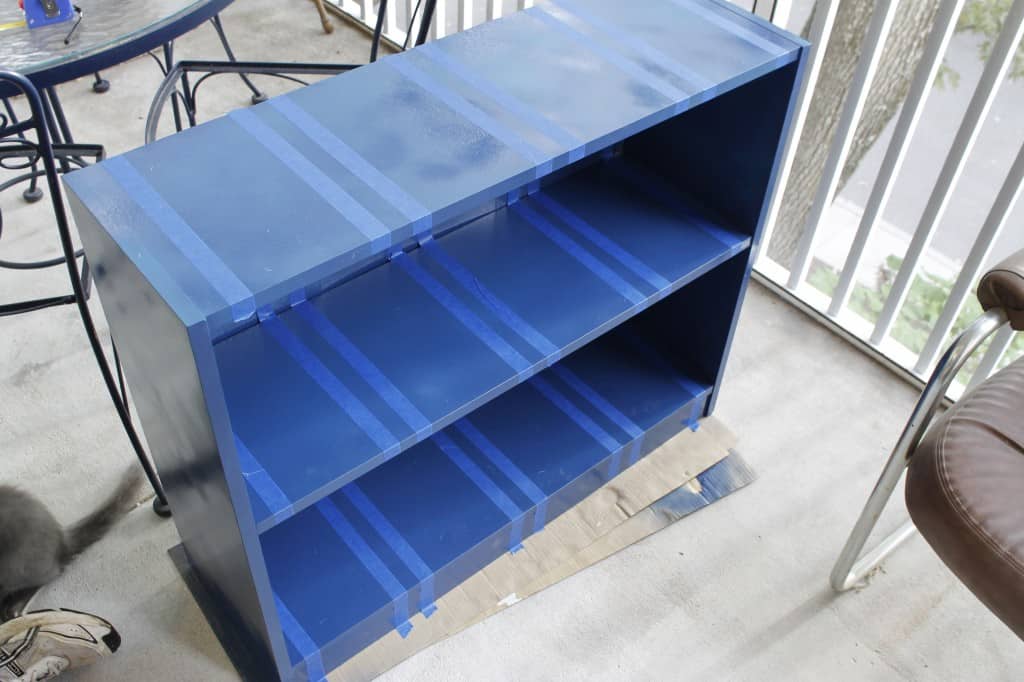
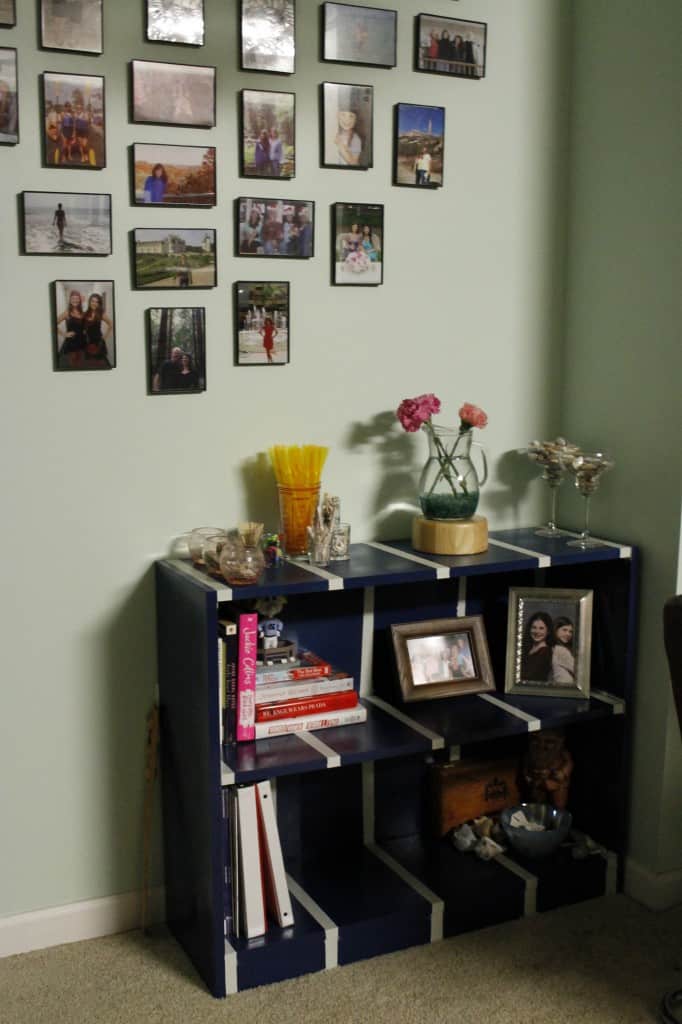
Then, Sean DIY'd the bookshelf that he's been toting around for years since college. It is made from fake wood, so we were limited on what we could do. We decided it might look nice to go with a striped idea.
Sprucing up a bookshelf - Charleston Crafted
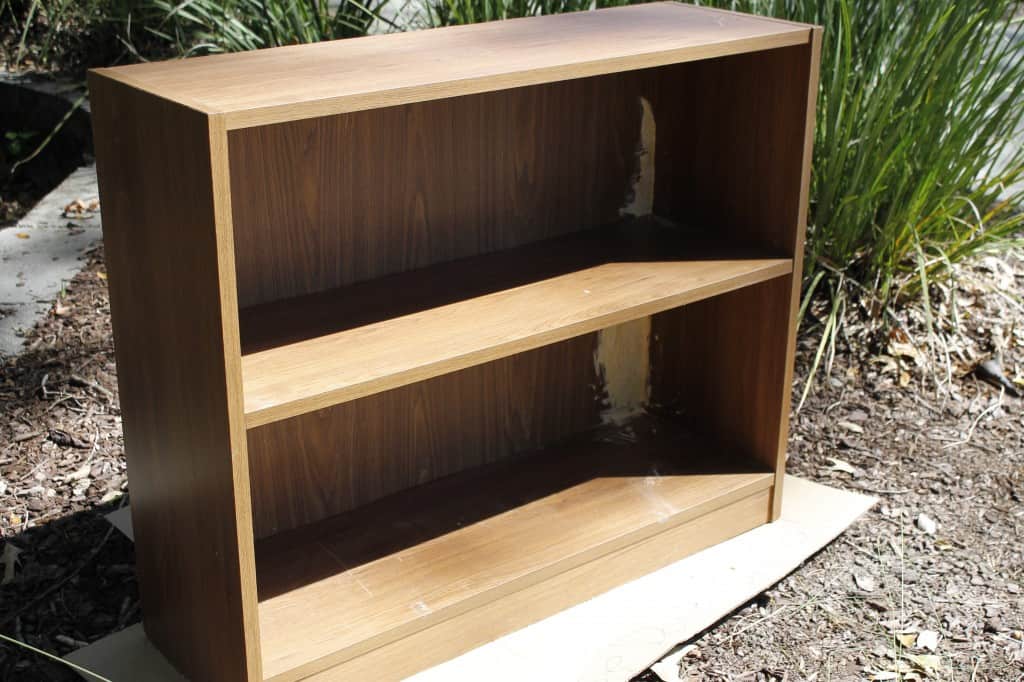
As you can see, there was a large hole in the back of the shelf that Sean had covered with another piece of wood. So he filled in the hole using wood filler. After he sanded it down, he spray painted the whole thing blue (indigo cloth by valspar).
Sprucing up a bookshelf - Charleston Crafted
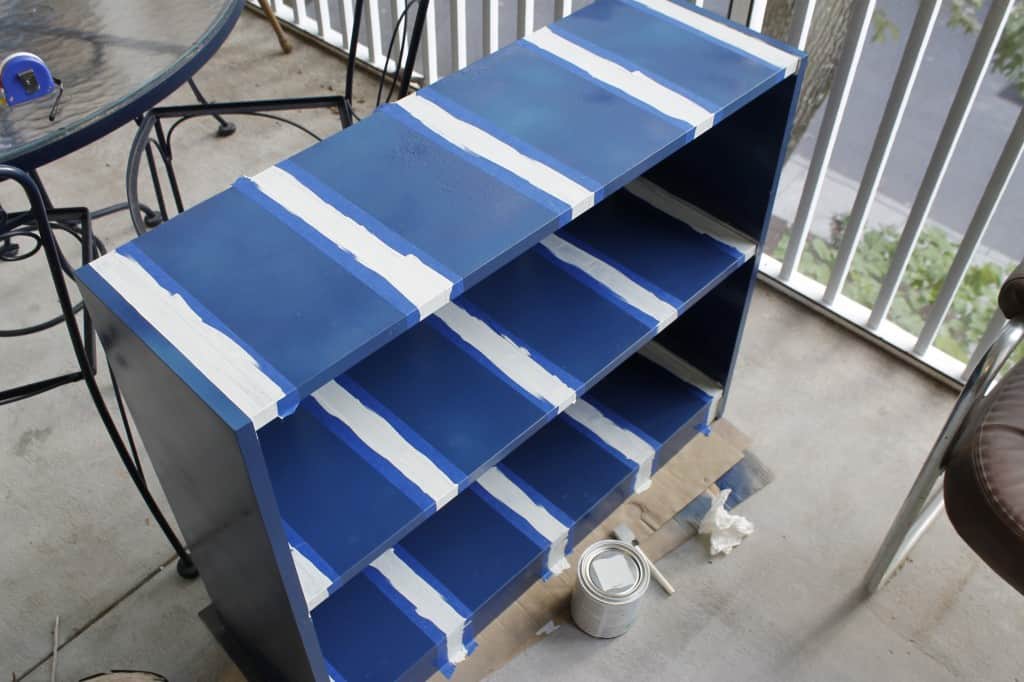
After creating evenly spaced lines with painter's tape, Sean used the same grey from the other bookshelf to paint lines on this one.
Sprucing up a bookshelf - Charleston Crafted
After a little styling, this goes great right underneath the heart shaped gallery wall!
Sprucing up a bookshelf - Charleston Crafted
I love that there's lots of room to grow our paperback collection!
Do you have certain bookshelves for loads of books and certain just for looks??
  signature 2
 logo facebook  logo instagram  logo pinterest  logo twitter


Morgan headshot cropped
Morgan

Hello, I'm Morgan, half of the creative force behind CharlestonCrafted.com! With a passion for DIY that dates back to 2012, I've transformed three homes and now I'm dedicated to helping others craft their dream spaces. Let's turn your house into a home together!

More Furniture Projects

  • DIY modern rolling storage table - Charleston Crafted
    DIY modern rolling storage table
  • DIY cube storage console table - Charleston Crafted
    DIY cube storage console table
  • DIY ottoman coffee table - Charleston Crafted
    DIY ottoman coffee table
  • Henredon Murphy Fabric Modular Sectional Review
    Henredon Murphy Fabric Modular Sectional Review

Primary Sidebar

Charleston Crafted about us image

Hey y'all!

We are Morgan & Sean McBride and we are crafting our home together in Charleston, South Carolina.

More about us

Popular Posts

  • DIY Coffered Ceiling
    DIY Coffered Ceiling

  • How to Make DIY Concrete Pumpkins via Charleston Crafted
    How to Make DIY Concrete Pumpkins

  • How to Make a Cupid's Arrow Valentine's Day Wall Hanging with felt on the Cricut
    How to make a Cupid's Arrow Valentine's Day Wall Hanging

  • Our Tropical Oasis - A backyard Hammock area - Charleston Crafted
    Our Tropical Oasis

Recent Posts

  • How to create a whole house color scheme
    How to create a whole house color scheme

  • how to organize a pantry with zones
    How to Organize Your Pantry in Zones (And Why It’s a Game Changer)

  • Keep outdoor rug from blowing up - Charleston Crafted
    How to keep your outdoor rug in place

  • kitchen design mistakes to avoid
    Kitchen design mistakes to avoid

Privacy Policy

Footer

↑ back to top

Navigation

  • Home
  • Blog
  • Contact Us
  • Terms of Use
  • Disclaimer

Newsletter

  • Sign up for emails and updates
  • Follow us on Instagram
  • Work with Us

Browse by Category

  • Woodworking
  • Home Projects
  • Paint Colors
  • Room Reveals

© 2025 The Charleston Crafted Blog LLC DBA “Charleston Crafted” and “CharlestonCrafted” (also known as N/A) / All Rights Reserved.
Official Website: (Charleston Crafted)
Registered in USA (Co. Reg. No.: 565586)
Address: Charleston, USA 29414, South Carolina
Contact Phone: Not applicable — contact is via email: sean@charlestoncrafted.com

DISCLAIMER: The content on this website is provided for general informational purposes only and is not intended as professional advice. The Charleston Crafted Blog LLC and The Charleston Crafted Blog LLC make no representations or warranties—express or implied—regarding the accuracy, completeness, or suitability of the information contained herein. Any reliance you place on this information is strictly at your own risk. In no event shall The Charleston Crafted Blog LLC or The Charleston Crafted Blog LLC be liable for any loss or damage, including without limitation, indirect or consequential loss or damage, arising from the use or inability to use this website. This website is the official website of The Charleston Crafted Blog LLC.

AFFILIATE DISCLOSURE: This website contains affiliate links. If you click through and make a purchase, we may earn a commission at no extra cost to you.

As an Amazon Associate, I earn from qualifying purchases.

Site Editor: Morgan Smith McBride

Copyright © 2025 Charleston Crafted