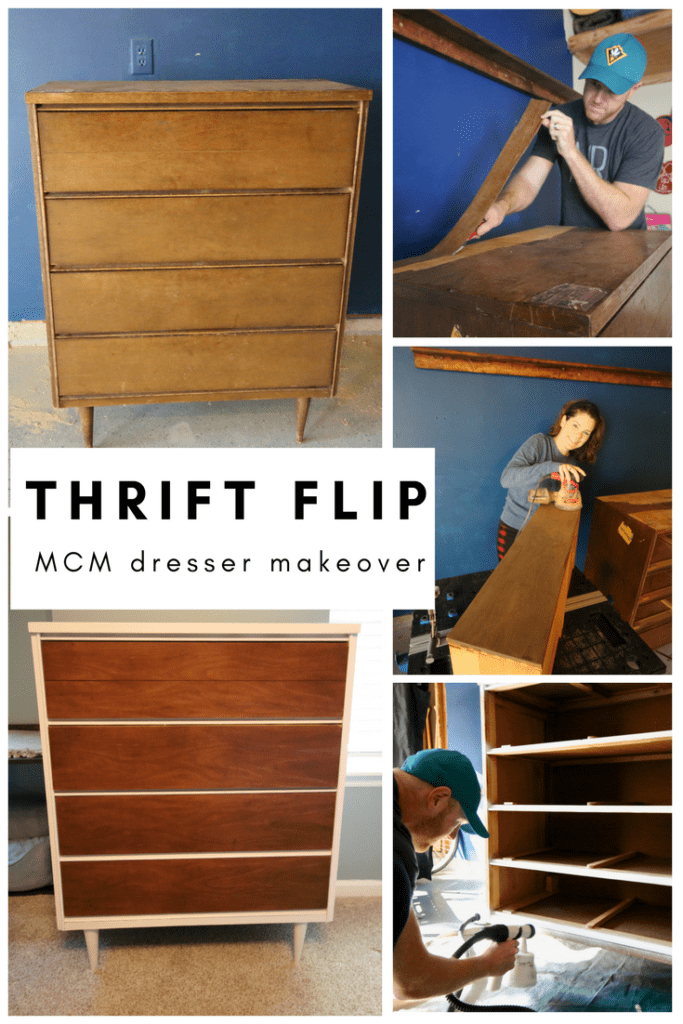
Want to transform a dresser with a two toned look? Here's our Mid Century Modern Dresser Makeover and the steps to get a two toned look of your own!
Though we have done a ton of different types of DIY projects, I think that thrift flipping furniture will always be my favorite.
It really takes so little effort and supplies to completely transform and reinvigorate a good piece of furniture.
I have been looking for a second dresser for our bedroom for a while now, waiting for just the right piece.
I was thrilled to find this mid century modern 4 drawer tall dresser on Craigslist for $100.
I texted and offered $70 and he accepted without even haggling - so it shows that it never hurts to throw out an offer!
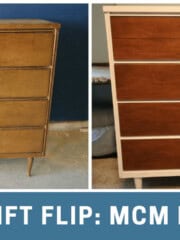
Mid Century Modern Dresser Makeover
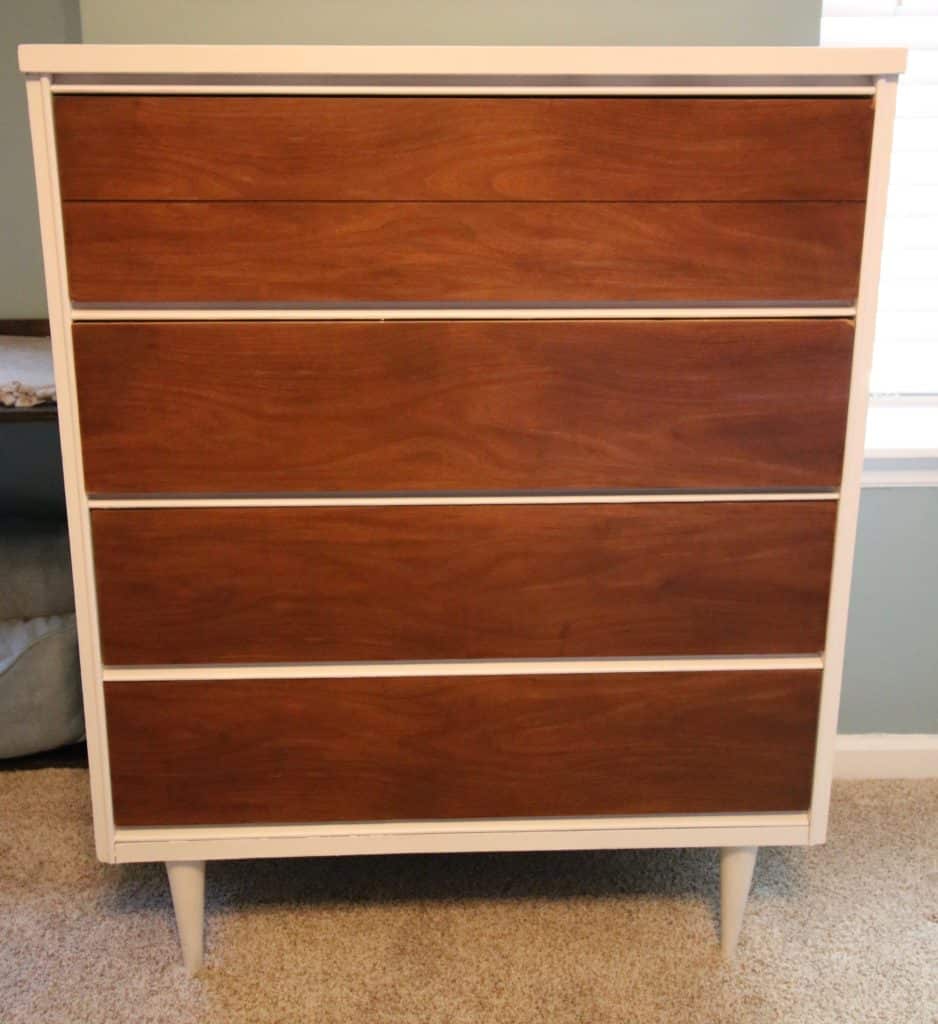
The dresser itself was gorgeous, streamline, and very modern.
The drawers are solid wood but the base is covered in veneer.
The veneer, especially on the top, was really cracked, bubbled, and damaged. We don't know how to replace veneer (though I would like to learn how, my vanity is looking pretty worse for the wear).
So, we decided to paint the outer case of the base and preserve the gorgeous wood on the drawer fronts.
SUPPLIES + TOOLS USED:
STEPS TO REFINISH
STEP 1: REMOVE DAMAGED VENEER
We used our scraper tool to remove the damaged veneer that was beyond saving. It came right off.
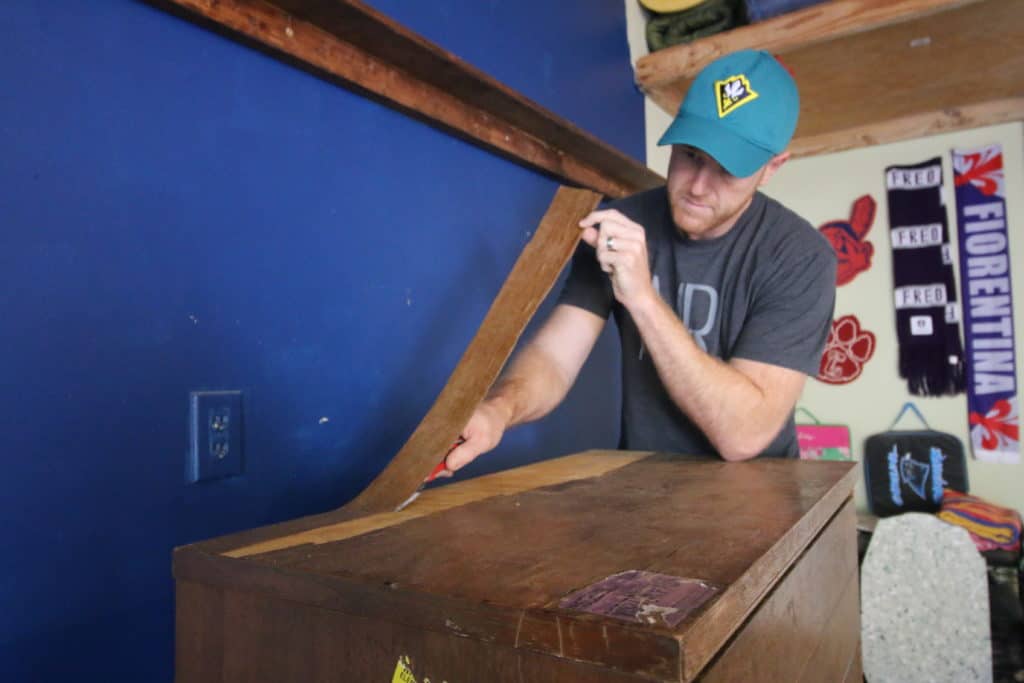
Because the wood was in decent condition (if ugly) underneath, we did not replace the veneer.
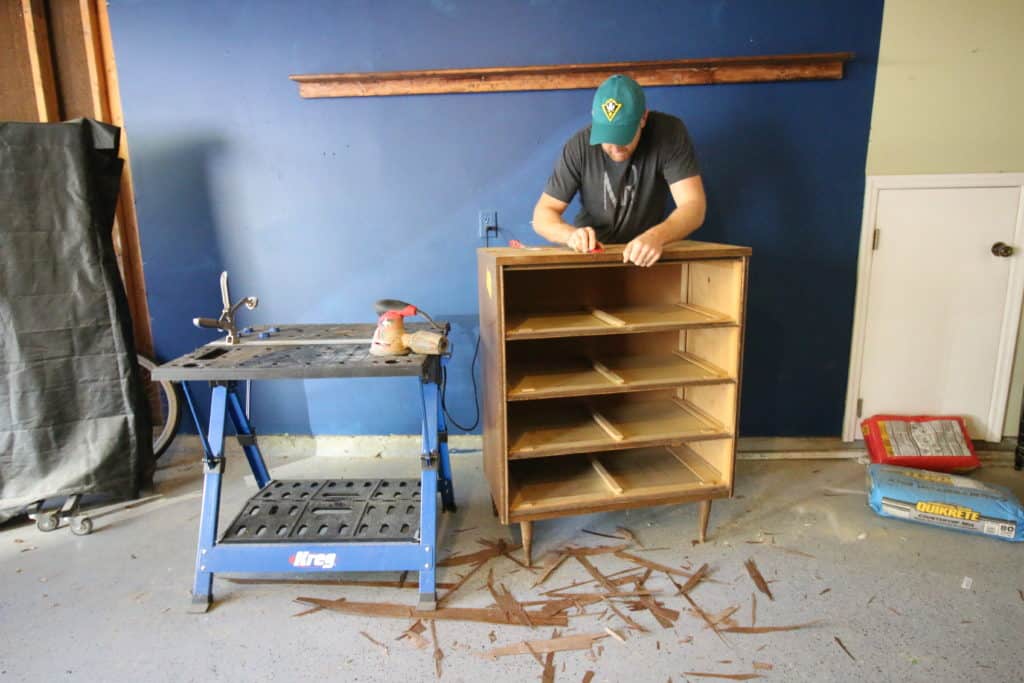
STEP 2: SAND
We used our sander to sand the dresser base smooth. Start with a low grit/coarse sand paper - I like to start with 80 - and work up to a fine grit - I usually end with 220.
Wipe clean with a cloth.
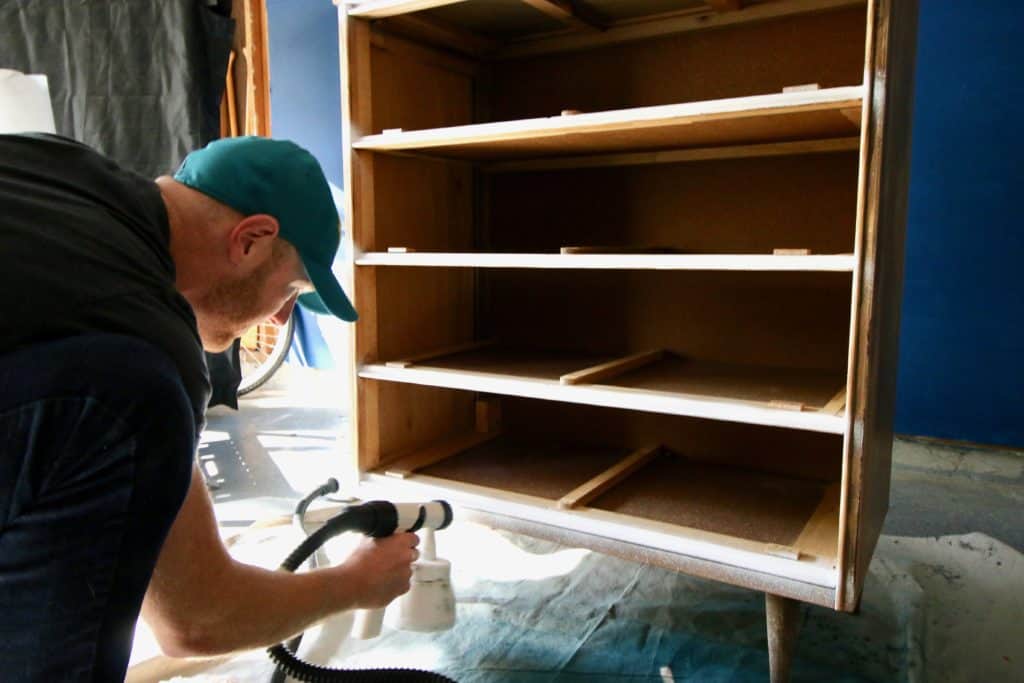
STEP 3: PAINT BASE
The paint color that we used is Behr's Nimbus Cloud in an eggshell finish. It's leftover paint from our Laundry Room and it's a very nice cool white.
We sprayed it on with our paint sprayer for a really clean finish.
We used our paint sprayer to paint 2 coats of paint on the body of the dresser and let it dry completely.
STEP 4: APPLY POLY
I was planning to stain the drawer fronts, but once I sanded them down, I loved the look of the wood grain.
A great tip is to wipe wood with a wet towel to get an idea of how it would look with poly on it. I loved the look so I just gave the drawers (and the whole painted body) so that made it an easy decision!
We put 2 coats of matte polyurethane on the entire project - painted base AND unpainted drawer fronts.
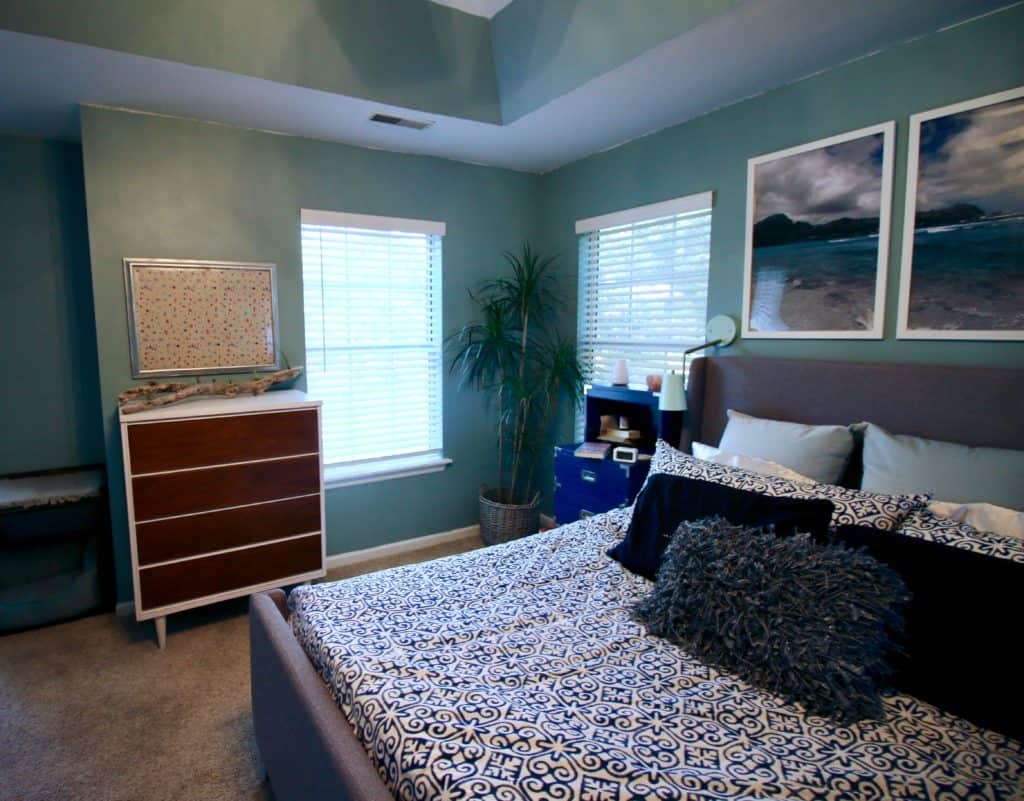
This dresser now holds all of my shorts (I have... a lot) and Sean's sweat pants and pajama pants. We can now get rid of the random old dresser shoved in the corner of the guest room and I am very excited about cleaning up that space.
Want to learn to flip furniture for a profit? We have a whole resource library of files to help you get started! Sign up for free:
Painted Dresser Tutorial Video
We made a video documenting the whole process, so check it out for details:
Have you been transforming anything lately?

Looking for something?
We've been doing this since 2012 so we have a LOT of blog posts!
Search stuff like: Ceiling Projects | DIY Plant Stands | Thrift Flips

Hello, I'm Morgan, half of the creative force behind CharlestonCrafted.com! With a passion for DIY that dates back to 2012, I've transformed three homes and now I'm dedicated to helping others craft their dream spaces. Let's turn your house into a home together!


