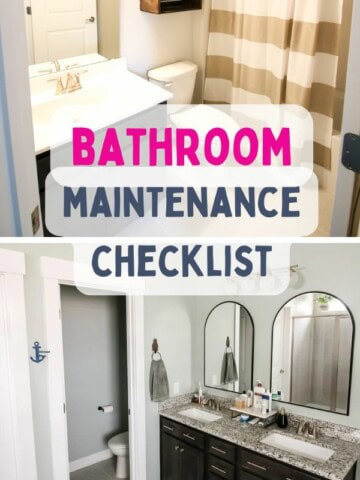
So you want to know how to replace a toilet seat, eh? Lucky you, you came to the right place. It's super easy to replace a toilet seat yourself if it breaks or if you just want a new one. If you are a new homeowner, you might just not want to sit your butt where so many unknown butts have sat before. Once you've gone out and bought your new toilet seat, follow these simple steps below to replace your toilet seat.
How to replace a toilet seat
Here is some great advice on how to choose a new toilet seat.
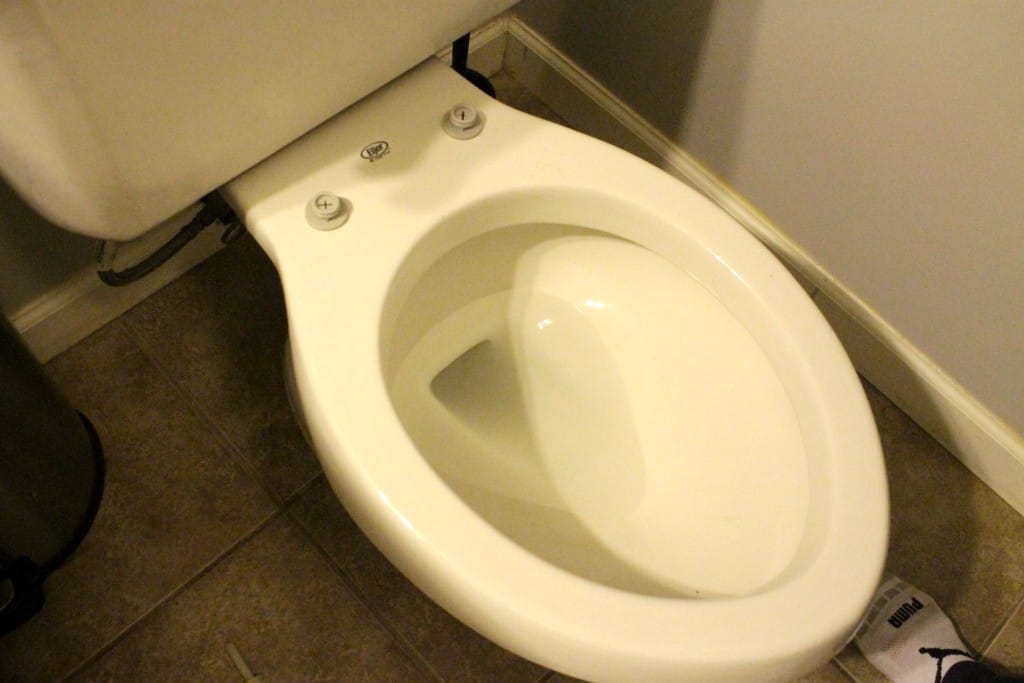
First, pop the caps up off the toilet seat you have now, then stick a screwdriver into that screw and reach underneath the toilet to unscrew the wing nut. There should be two of them, so take them both off.
Take a minute to clean too since under those brackets is a space that probably has never been cleaned before.
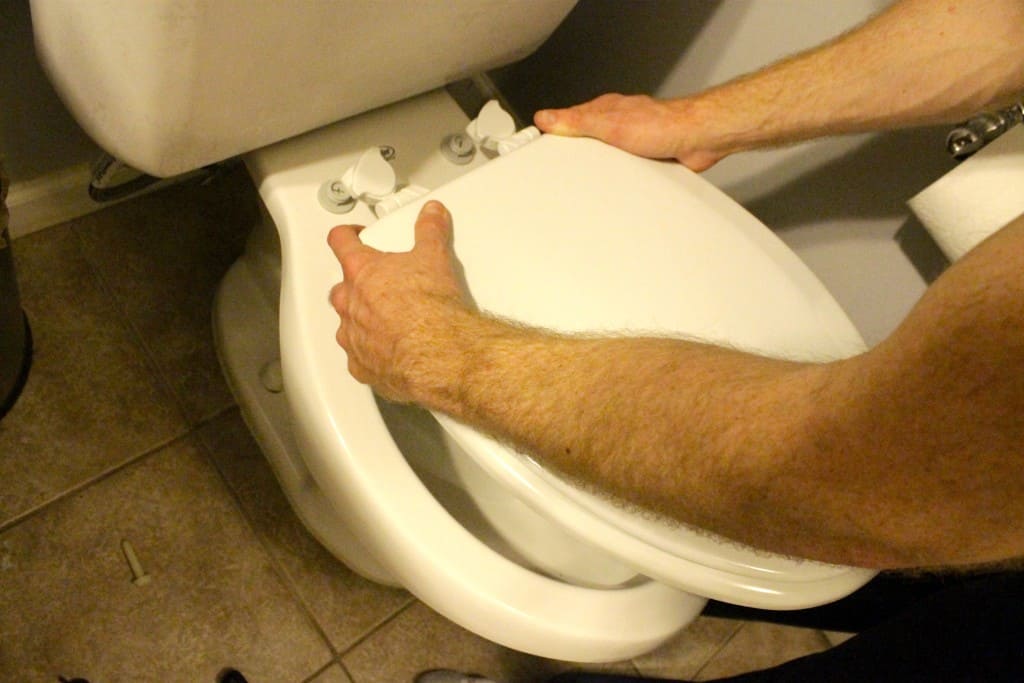
Now, if you are replacing your old toilet seat with one that has the same type of brackets, line them up with the holes and punch the screw through the bracket and underneath the seat. Next, just reach underneath and twist the wing nut tight again and you should be good to go.
If you've gotten a toilet seat with one of the new types of connections that actually snap to the screw, you need to put the screw in before putting the seat back on. You'll want to push that through and tighten the nut underneath. Then, just simply snap the toilet seat into place and switch the locks to the right and you're set.
If that seemed like a strange description, watch this video I made below!
https://www.youtube.com/watch?v=zXc2c-pSNjI
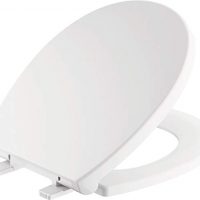
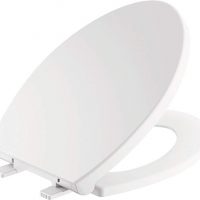
Have a broken, damaged, or ugly toilet seat? Here's the easiest way to replace it! BE VERY SURE that you buy the right shape toilet seat = they come in round and oval. As an Amazon Associate and member of other affiliate programs, I earn from qualifying purchases.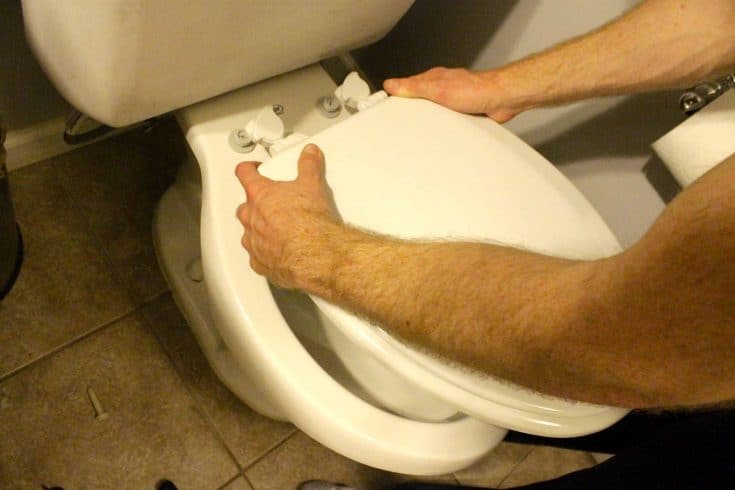
How to Change a Toilet Seat
Materials
Tools
Instructions
Notes
Recommended Products
| |
|||
| |
|
|
|

Hello, I'm Morgan, half of the creative force behind CharlestonCrafted.com! With a passion for DIY that dates back to 2012, I've transformed three homes and now I'm dedicated to helping others craft their dream spaces. Let's turn your house into a home together!