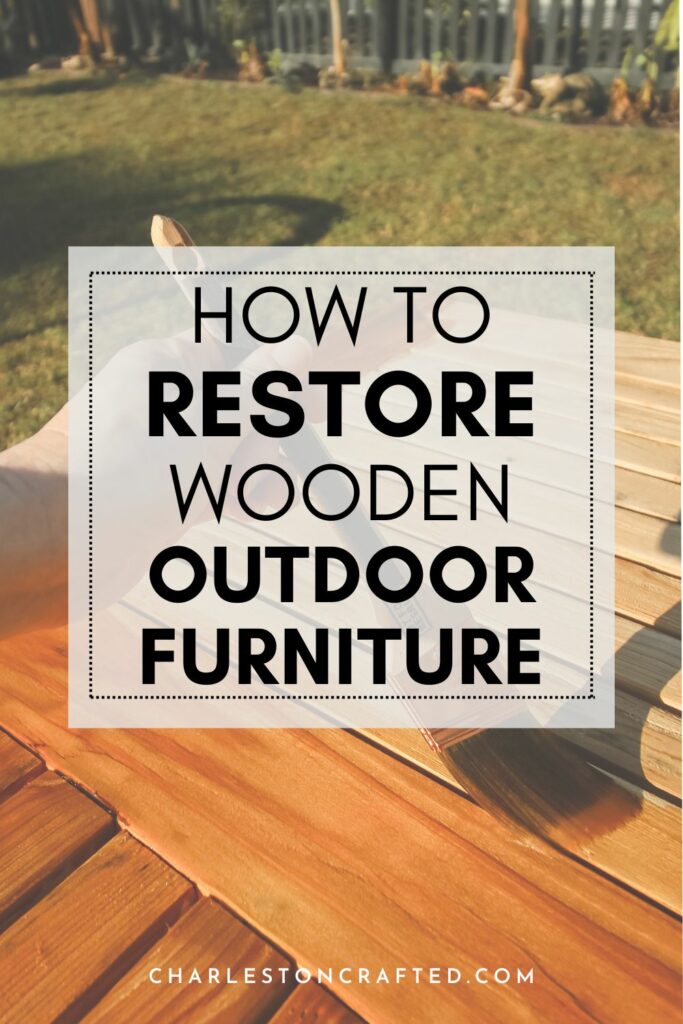
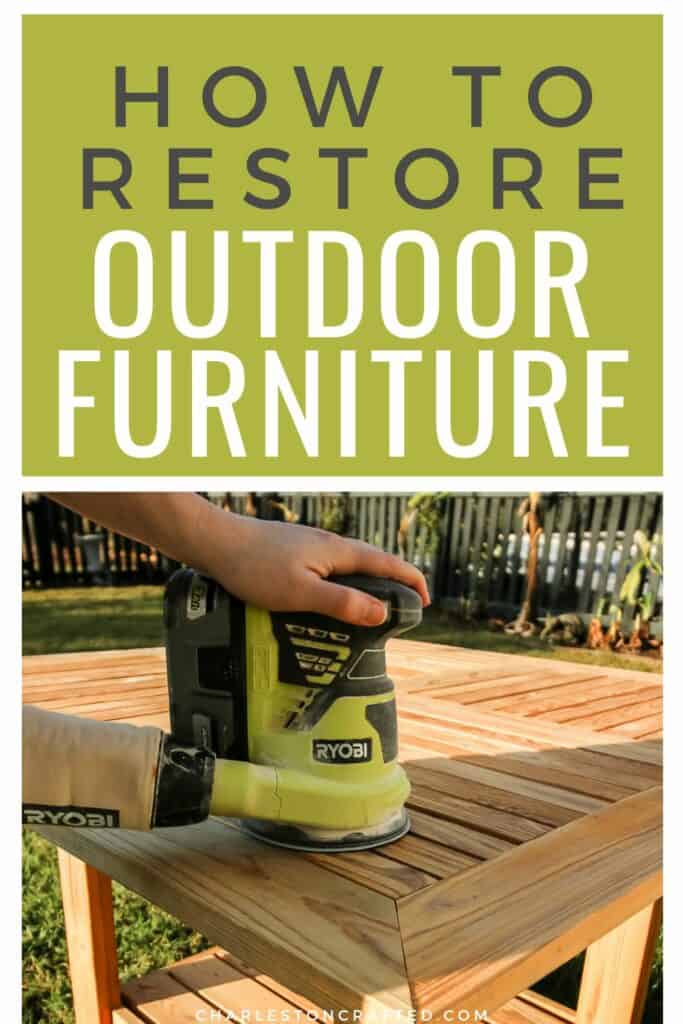
Have a piece of outdoor furniture that's seen better days? Time to refinish it! Here's how to restore wooden outdoor furniture!
Outdoor furniture can really change a space and give it immense functionality. We live in South Carolina, where we can use our yard pretty much year-round. So, we have made or bought quite a bit of outdoor furniture over the years.
Whether it's going on the porch, patio, or directly in the yard, the reality is that outdoor furniture is just going to age a lot quicker than indoor furniture.
It's important that you take care to maintain and protect your outdoor furniture. But, no matter how much protecting you do, every few years it's going to need to be refinished.
Today I want to talk about our process for restoring wooden outdoor furniture.
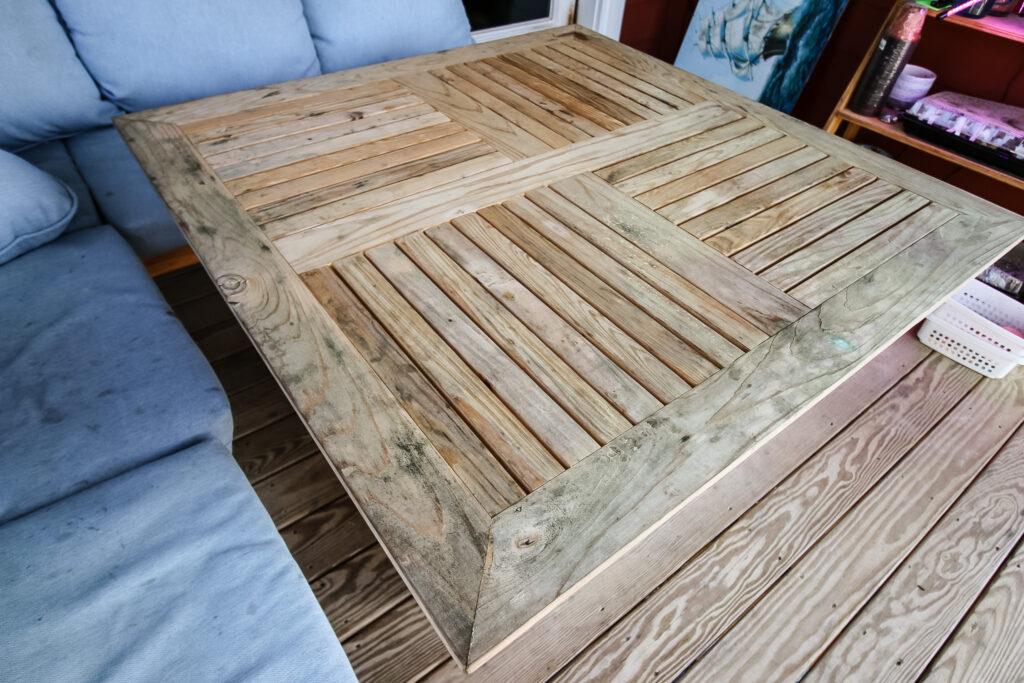
I recently had to refinish the top of our square outdoor dining table. It had just gotten worn down from the rain.
I took this is an opportunity to take some pictures so that I could really outline the wooden furniture restoration process for you!

How do I make my outdoor furniture look new again?
Outdoor furniture gets a lot of exposure to moisture and UV rays - both things that fade and wear down surfaces over time. So, it's important to clean them regularly and refinish outdoor furniture every year or two.
Refinishing outdoor furniture typically involves a deep clean, removing any existing finish, and applying a new coat of sealant.
Can weathered wood be restored?
It is actually rather simple to restore weathered wood. You are just going to examine it and make sure there's no rot or underlying damage. If the weathering of the word is purely cosmetic, it is fairly straight forward to sand and refinish the piece.
How to restore wooden outdoor furniture
Here's how easy it is to refinish your outdoor furniture!
Supplies needed:
- Sander or sand paper >> both coarse grit (around 90) and fine grit (around 220)
- Cloth or rag
- Spar Urethane
- Paint brush
Steps to restore wooden furniture:
Here are the steps that I follow to restore outdoor wooden furniture.
STEP 1: Remove extras
First, you're going to want to remove any non-wood aspects of your furniture. This could be cushions, a glass top, or metal hardware.
Just do what you need to do to get them off so you can focus on the wood.
You will separately want to focus on those extra items and doing anything you need to do to get them and top shape before putting them back.
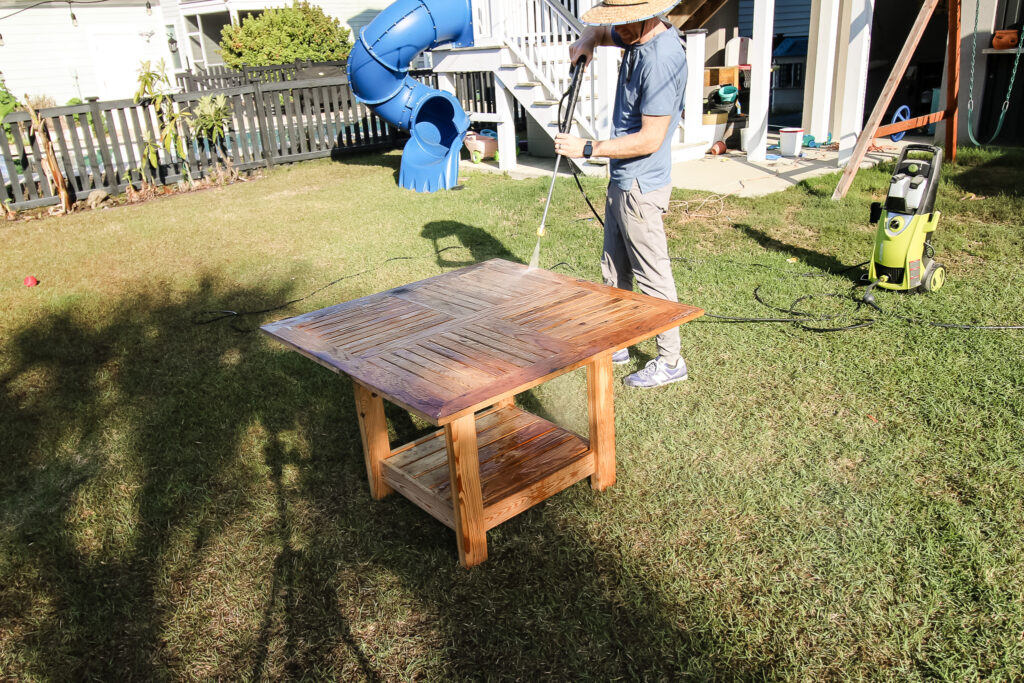
STEP 2: Clean
Then we need to clean your wood so that you can really see what you were working with. My preferred method of doing this for anything that has been outside for any period of time is to actually pressure wash it.
We have at least one day every spring where Sean brings all of our outdoor furniture into the yard and hoses it down with a pressure washer. This is very satisfying to do and it's a great way to quickly clean outdoor furniture.
If your furniture is new or not very dirty, you can also just wipe it down with a soapy rag. It just requires a bit more elbow grease.
STEP 3: Repair
Now, take some time to examine your furniture and check it for damage.
If there are large holes or cracks - I suggest applying an outdoor wood filler in any gaps.
If you have cracks or damage to the wood, apply wood glue and clamp together until dry.
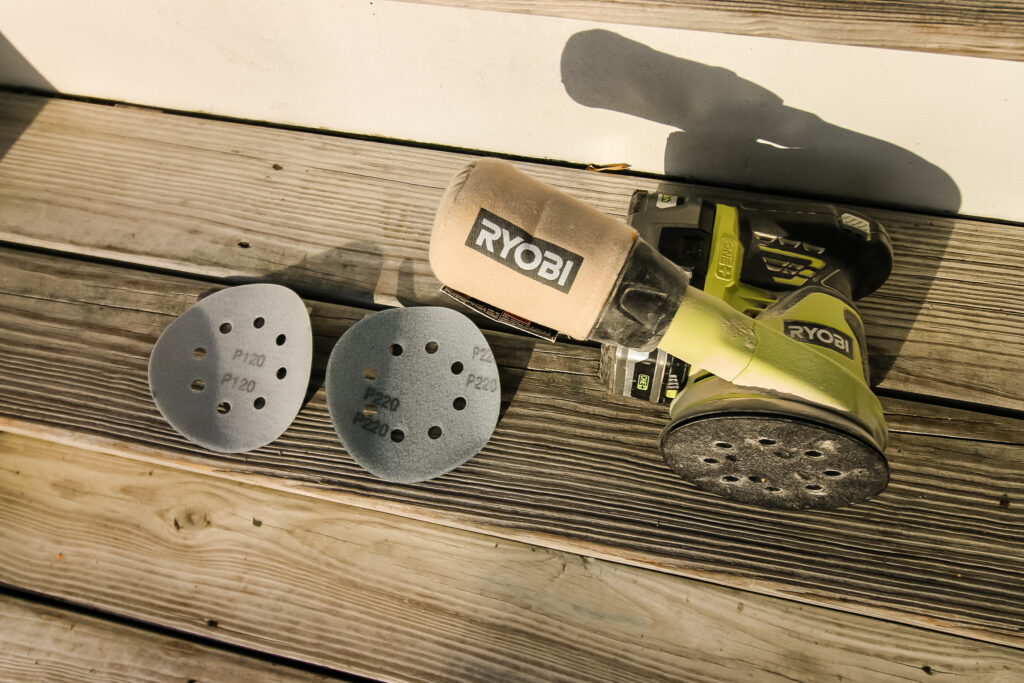
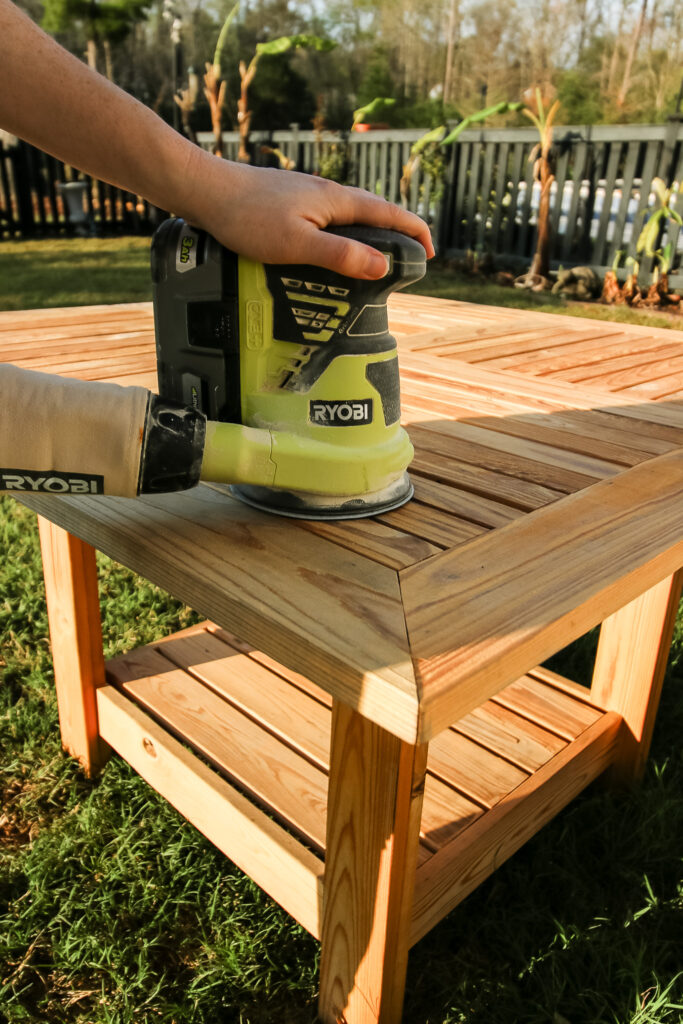
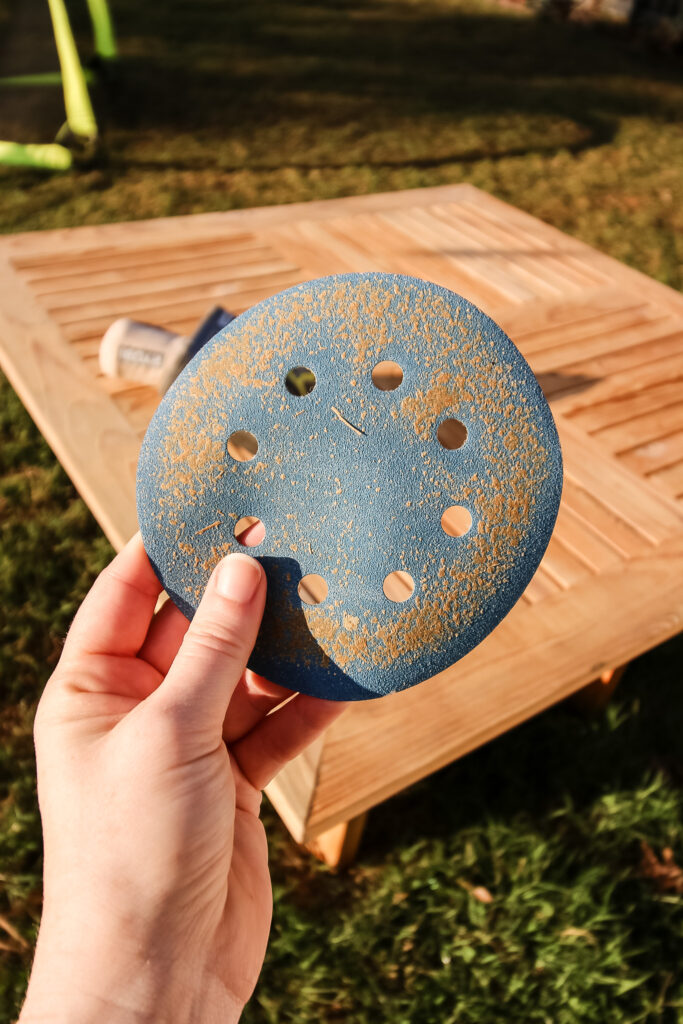
STEP 4: Sand
Now you need to sand your piece. I suggest starting with a coarse sand paper - I like 90 grit. Use this to remove any existing finish for a fresh slate to seal.
We have shared our top tips for sanding before, but work in the direction of the wood grain with uniform pressure.
Continue until you've sanded the whole surface. I know that it's annoying, but it is important. If you want the finish to stick well, you need to remove any other finish.
And, if you do a half-job, you'll definitely be able to see the patchy spots.
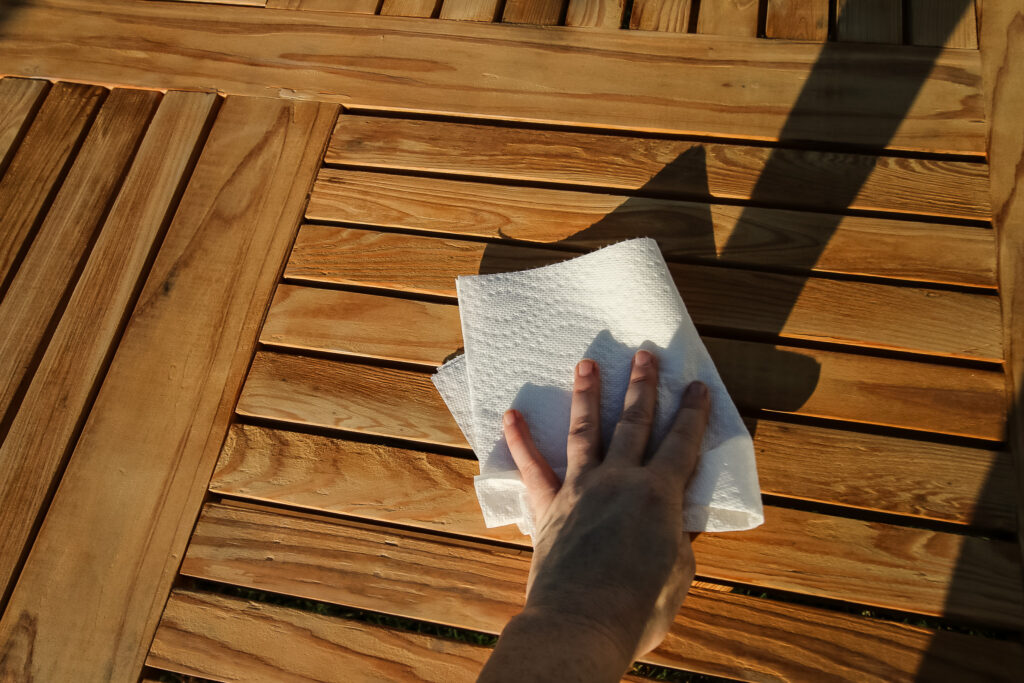
STEP 5: Clean again
Once you are done sanding, clean the surface again to remove dust or debris. Just take a cloth and wipe it clean. Should be quick!
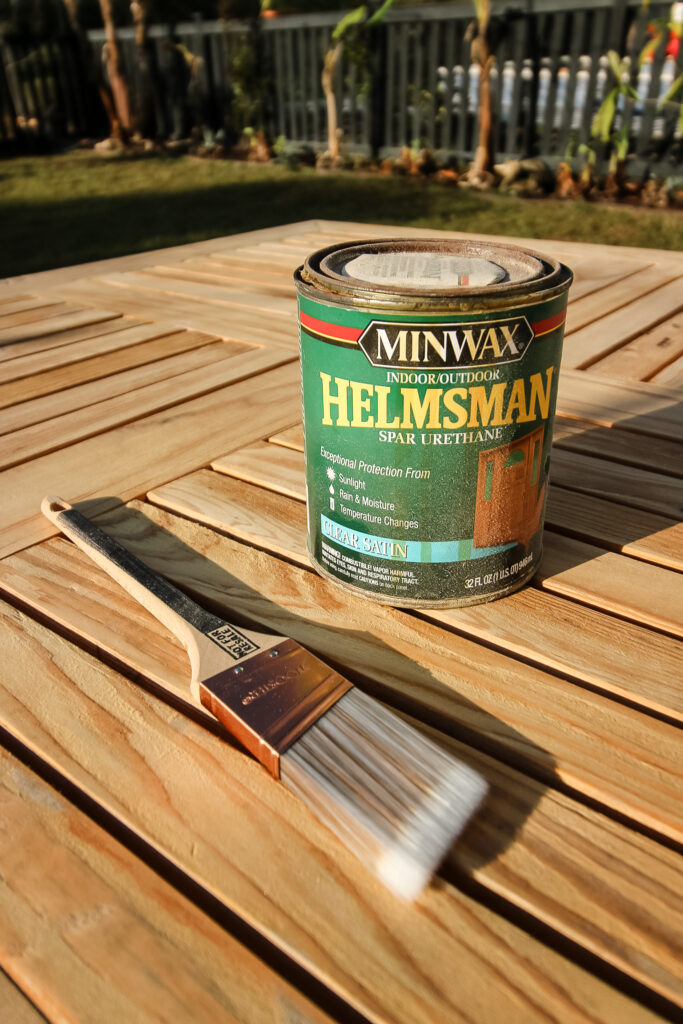
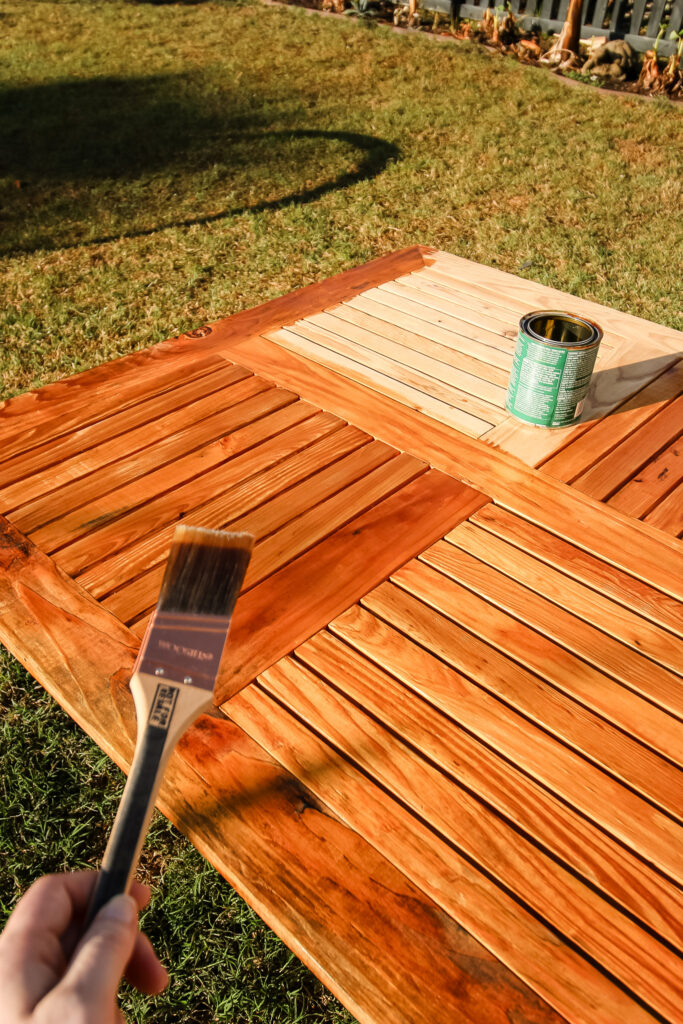
STEP 6: Apply top coat
Now for the fun part - to add your protective top coat. There are many sealants for outdoor wooden furniture, but we prefer to use Spar Urethane. That is a product made by most every outdoor paint brand.
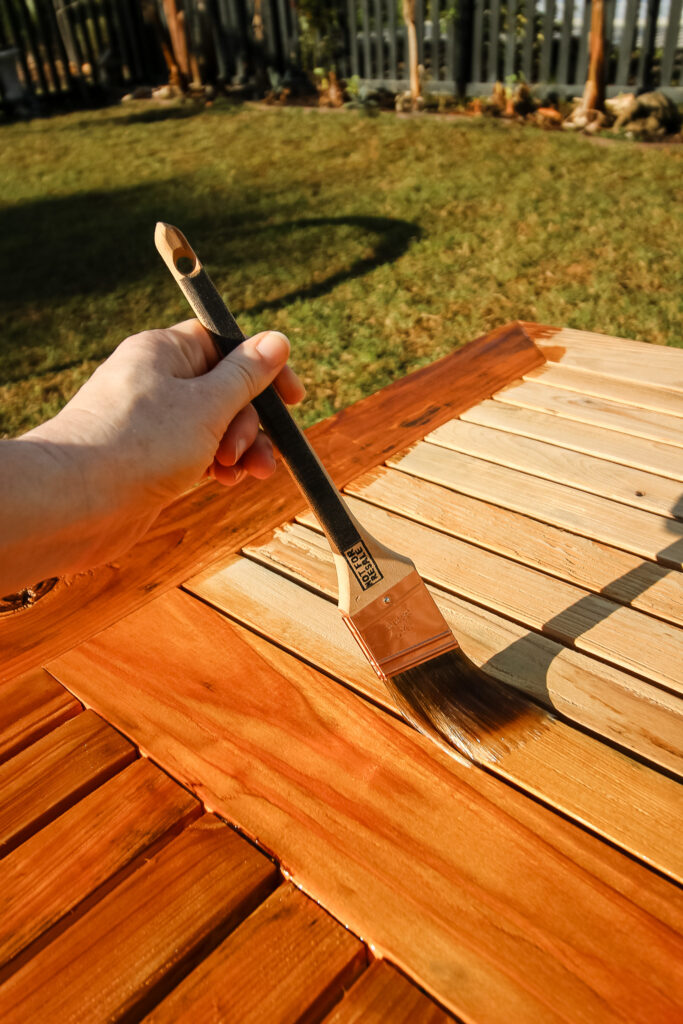
Apply with a paint brush in the direction of the wood grain. Be sure to be diligent in checking for drips and wiping them as soon as possible once you notice them.
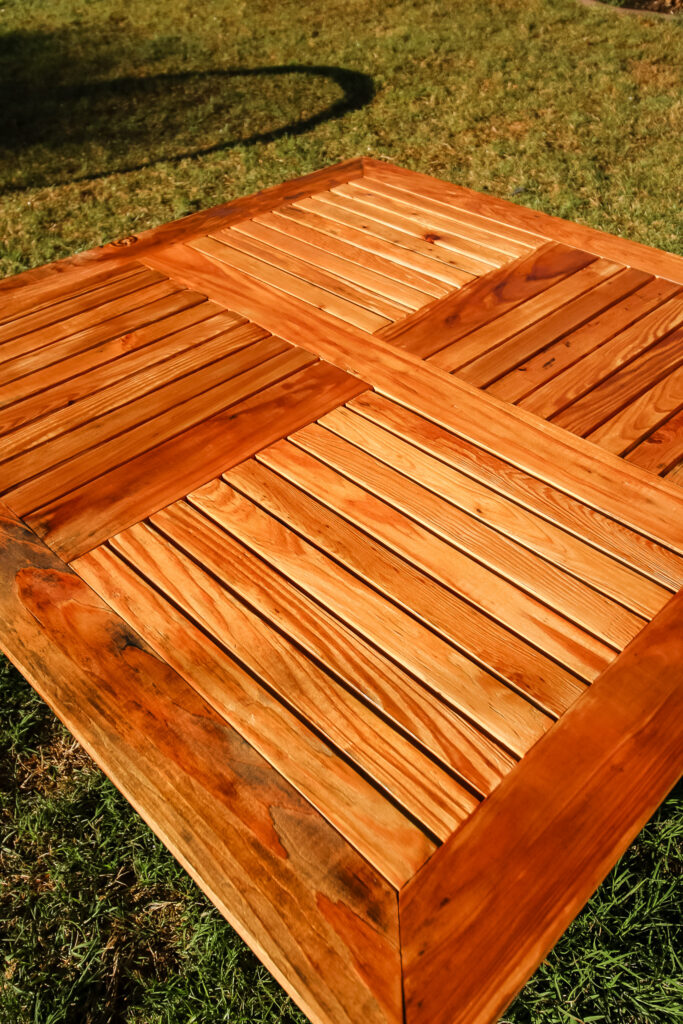
Continue until you have covered the whole surface. Let dry.
STEP 7: Repeat
Because outdoor furniture takes a real beating from moisture and UV rays, I always suggest applying multiple coats - 2 if it will be covered in some way (such as with a porch or umbrella) and 3 if it will not.
You will want to check your exact can of Spar Urethane for instructions for applying a second coat. Typically, it is to wait 4 hours, lightly sand with 220 grit sandpaper, and then apply a second coat.
STEP 8: Add back extras
Once the finish is completely dry, you can add cushions, glass, and metal accents back to your piece.
Now you are ready to enjoy it all season long!
Any questions about furniture restoration?

Looking for something?
We've been doing this since 2012 so we have a LOT of blog posts!
Search stuff like: Ceiling Projects | DIY Plant Stands | Thrift Flips

Hello, I'm Morgan, half of the creative force behind CharlestonCrafted.com! With a passion for DIY that dates back to 2012, I've transformed three homes and now I'm dedicated to helping others craft their dream spaces. Let's turn your house into a home together!