Want to add a festive, whimsical touch to your Christmas decor? Here's how to make + hang cardboard reindeer wall hangings!
This post was sponsored by National Hardware. All opinions are true and our own. Thanks for supporting the brands that make Charleston Crafted possible.
I have been having so much fun decorating the different areas of our home for Christmas.
One space that is super fun to decorate is the kids' space! In this instance, I am decorating the loft - a small area outside the 2 kids bedrooms that they use to play with toys.
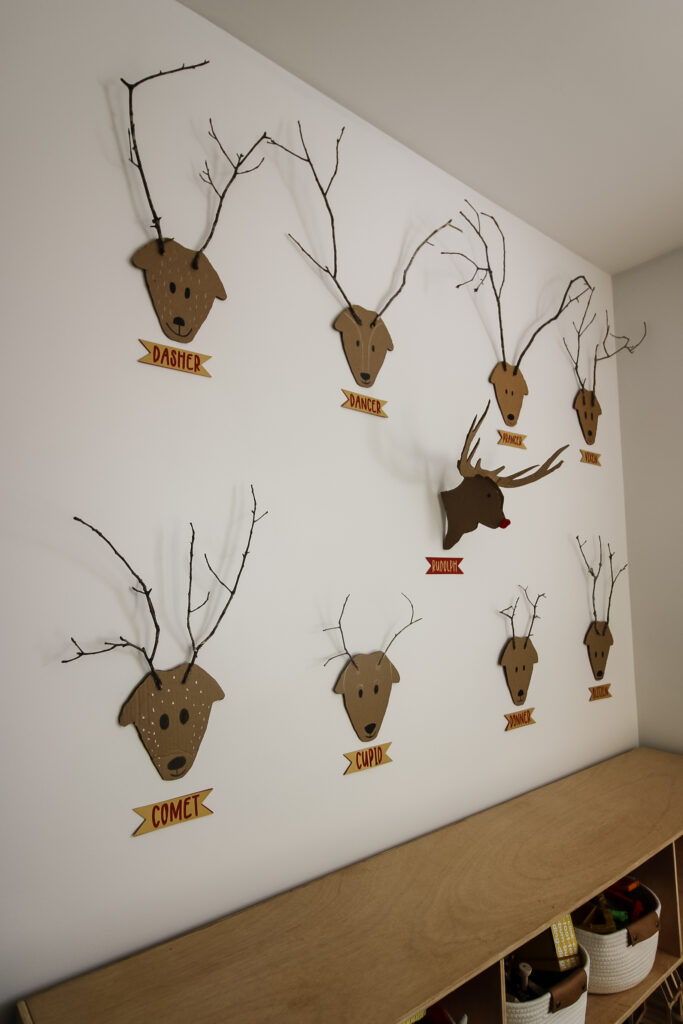
The walls in this space are white, which gives me a lot of room to decorate seasonally. I decided to hang cardboard + stick reindeer heads on the wall.
The kids love them and I just love how easy they were to make - and hang!
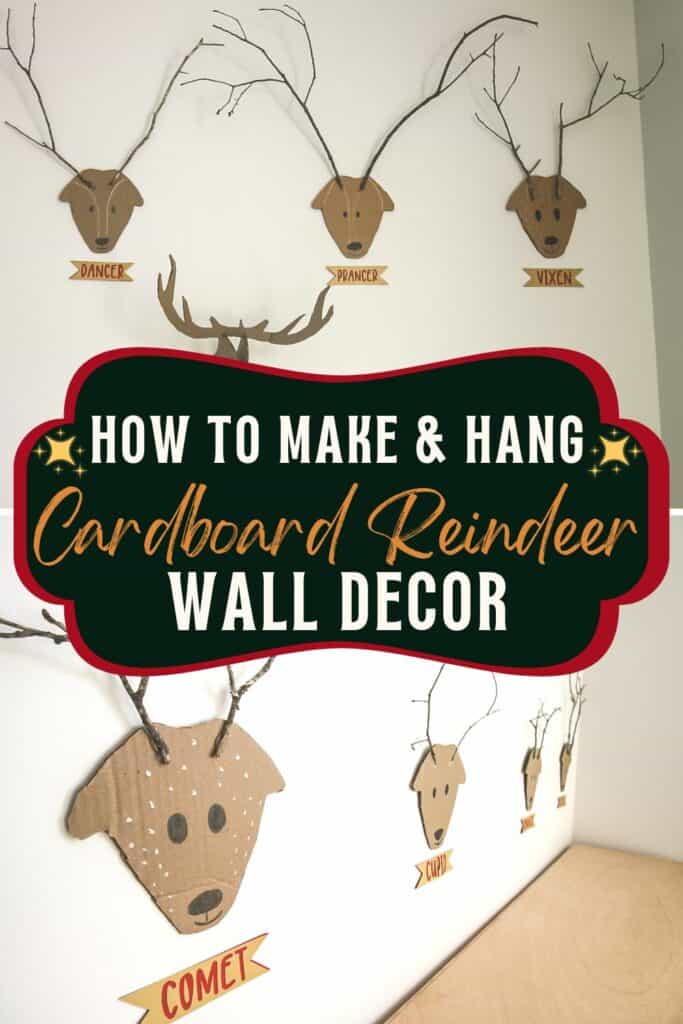
How to make cardboard reindeer wall hangings
Supplies needed:
- Brown corrugated cardboard (from recycled boxes)
- Scissors
- Sticks
- Hot glue
- Paint pens
- Hanging hooks
- National Hardware Low Damage Wall Hanging Hardware Kit
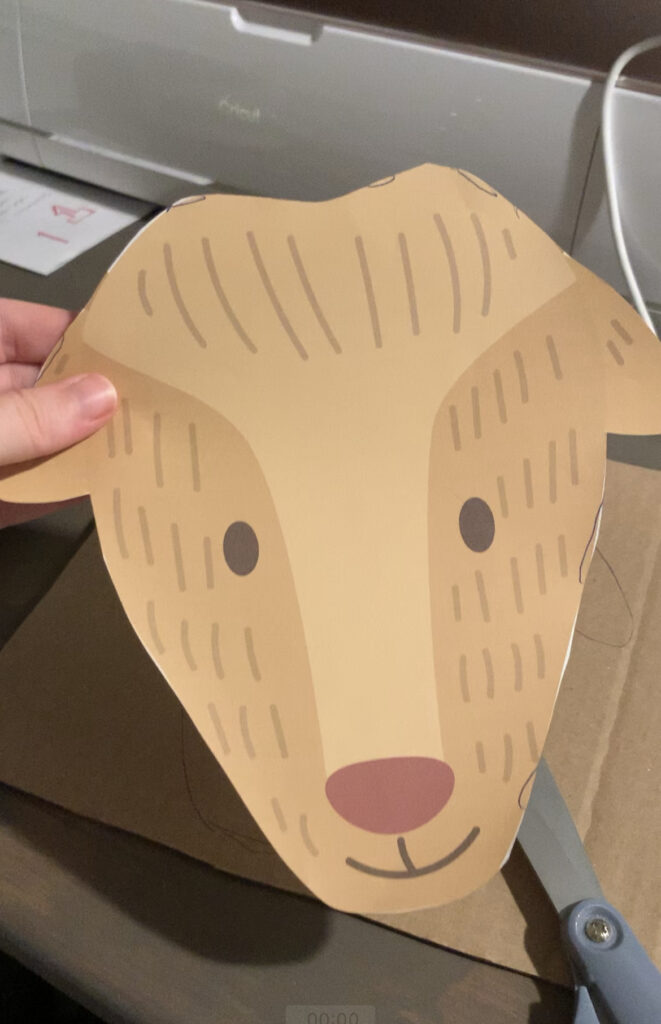
Reindeer head template
Sign up below to get access to the exact template I used for my reindeer!
Steps to make:
Here's the simple steps you need to take to make your wall-hanging reindeer!
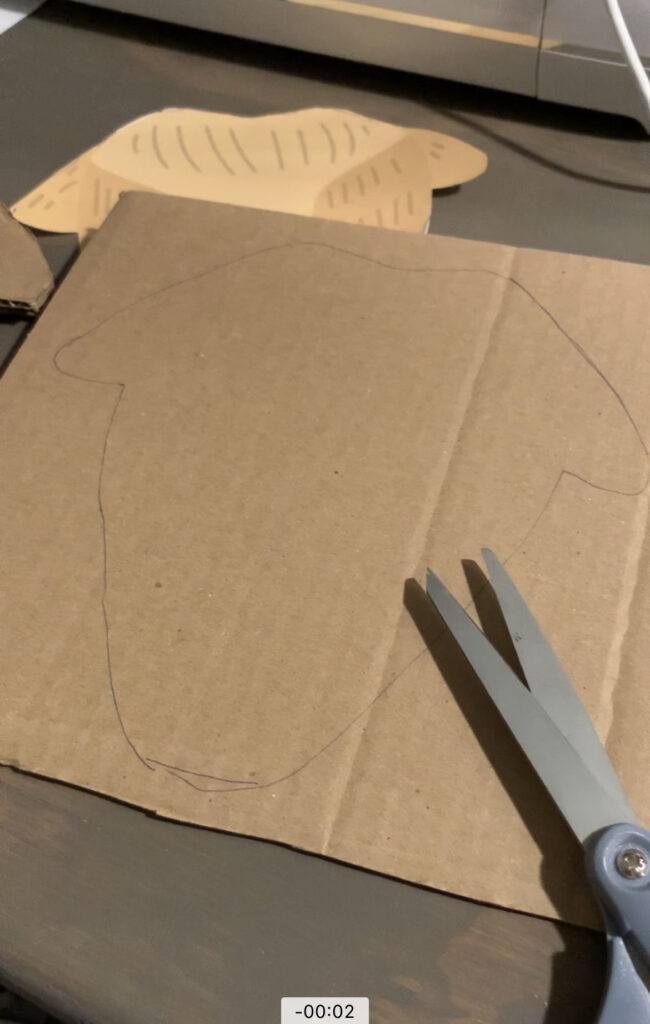
Step 1: Trace your template
Print your template out and cut the reindeer out of the paper. Trace onto cardboard with a pen.
Step 2: Cut the cardboard
Use scissors to cut along the traced pattern. Repeat for as many reindeer as you want. But, if you want to be accurate to the lore of the Christmas reindeer, you'll need 8.
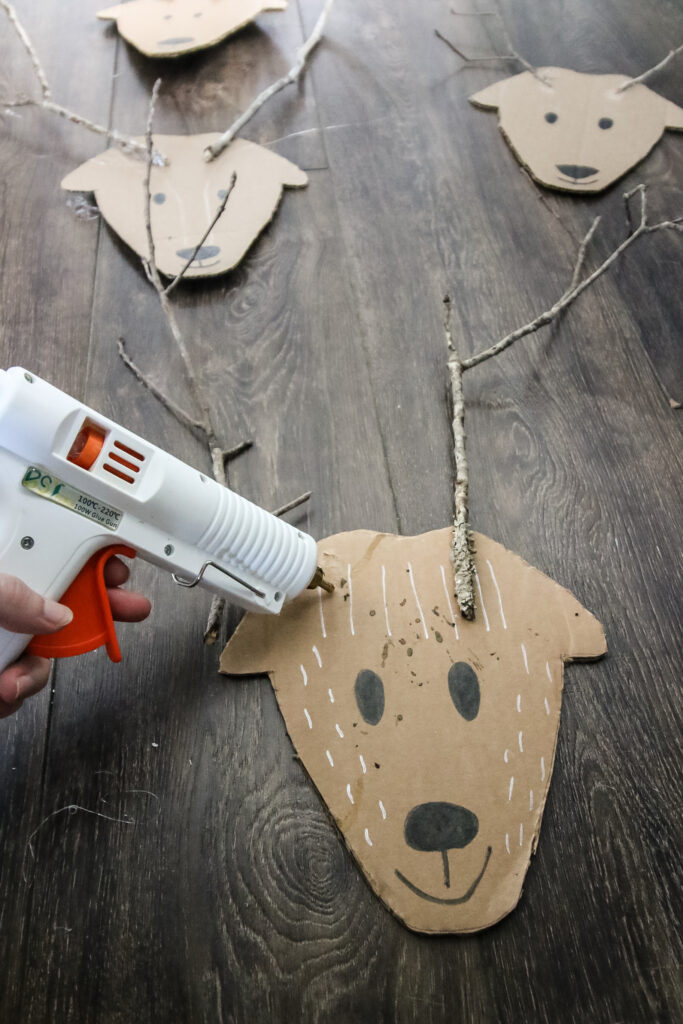
Step 3: Paint accents
Use a paint pen to add eyes, a nose, mouth, and any other accents. I used a gold paint pen to add freckles or fur to each head.
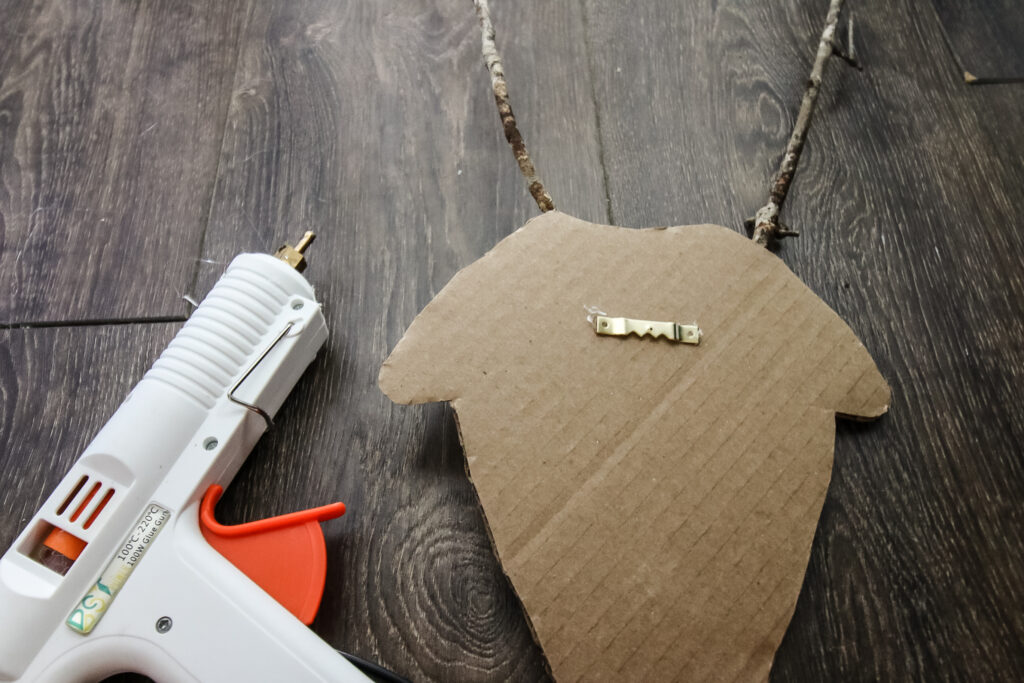
Step 4: Add hooks
Use hot glue to attach a level hanging hook to the upper back portion of each reindeer.
Step 5: Add antlers
Sort the sticks into matching pairs. You may need to break them to get a good looking set.
Use hot glue to attach sticks as antlers. Hold in place for about 60 seconds for the glue to initially set. Once both are in place, let dry completely before hanging.
How to mount cardboard reindeer wall hangings
I previously have tried to hang these cardboard reindeer using command strips. They did not hold well. The sticks make them just a bit too heavy for the sticky strips to hold up.
This year, I decided to mount them using the Low Damage Wall Hanging Hardware Kit from National Hardware.
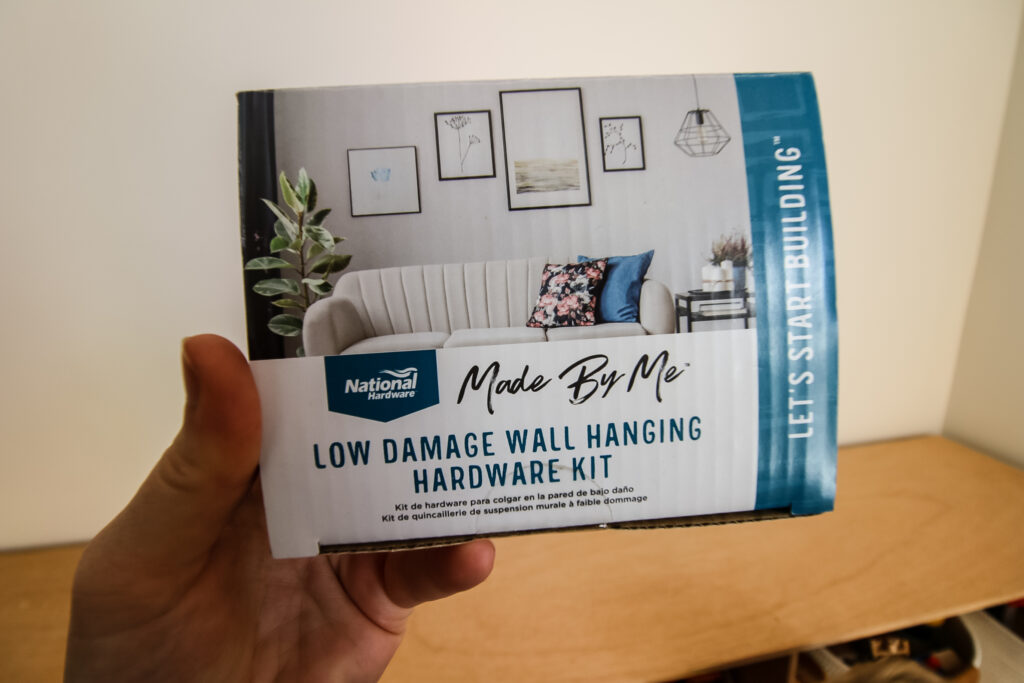
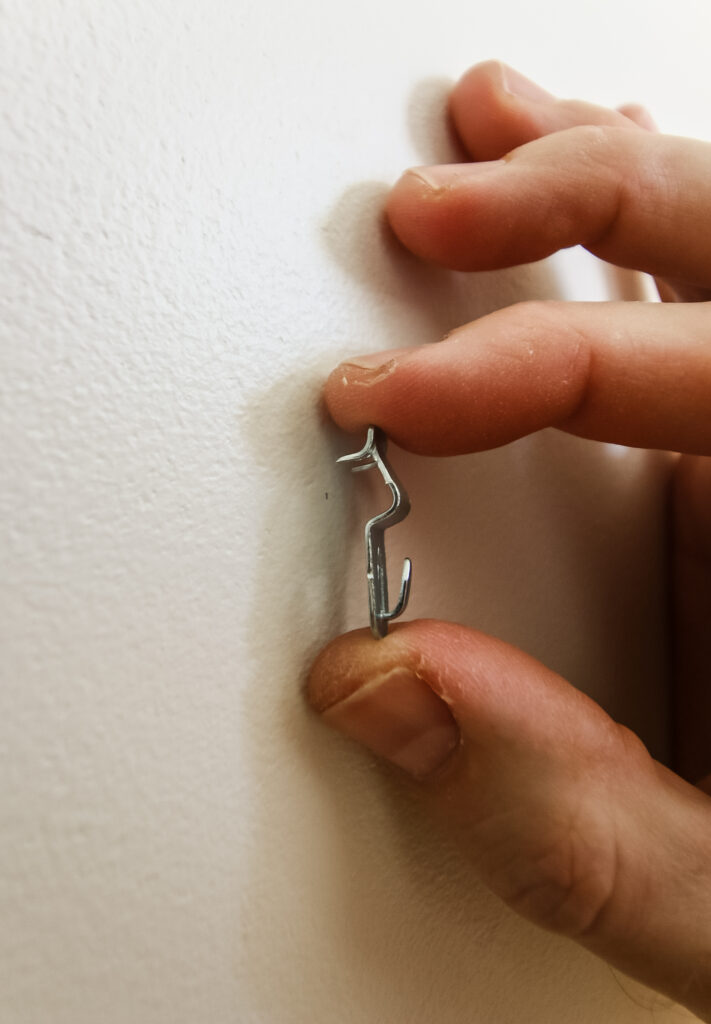
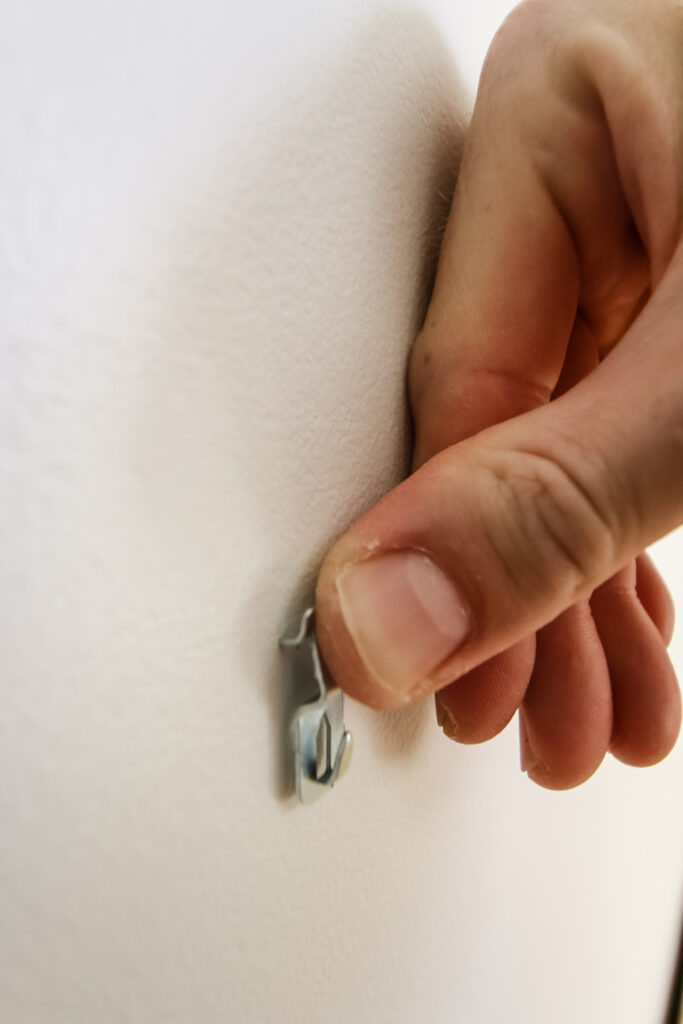
This kit includes both J-hooks and Push & Hang hooks. Each hook holds up to 10 pounds and only makes one small hole the size of a thumbtack hole in the wall. That's a great option when we aren't going to leave them up all year long.
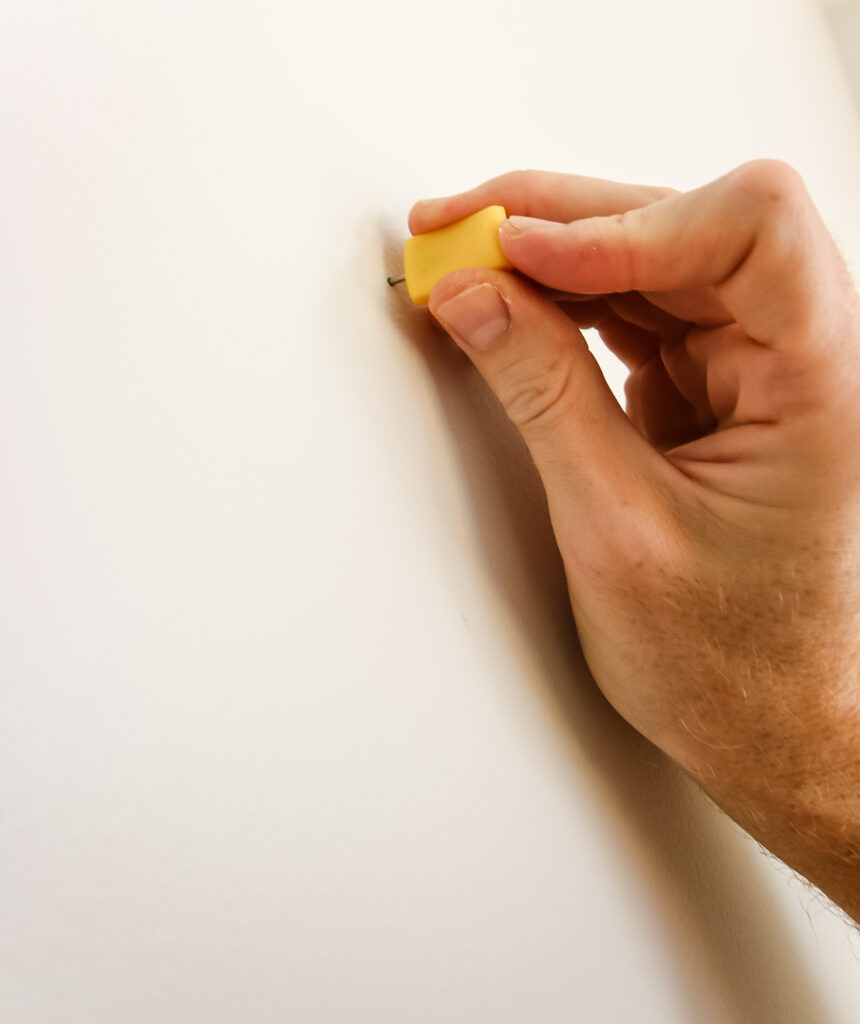
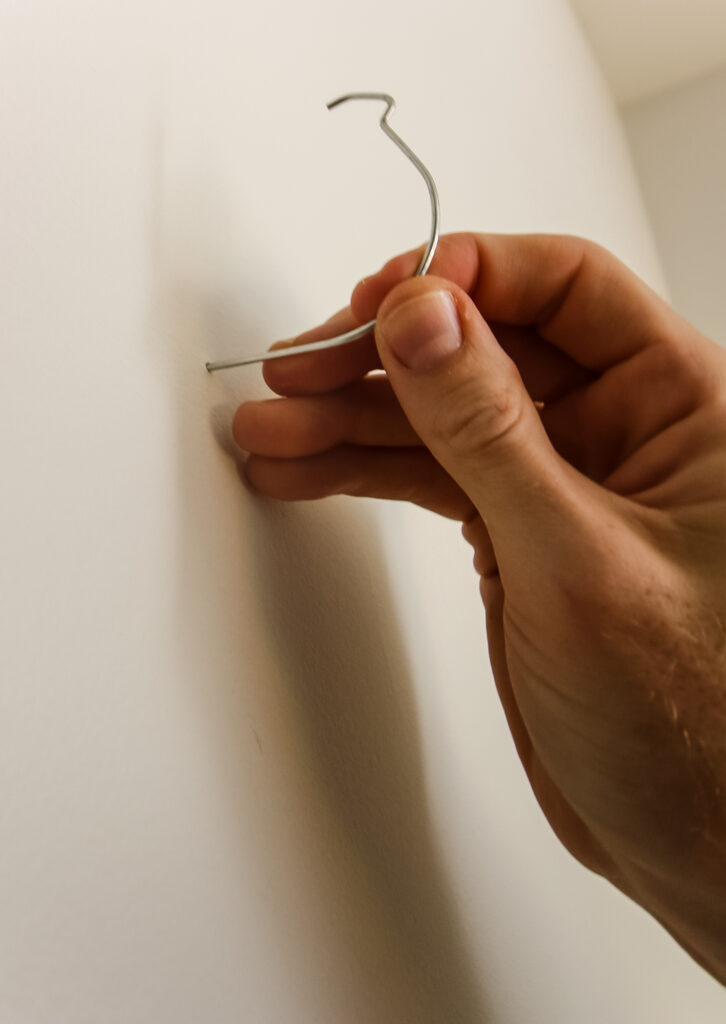
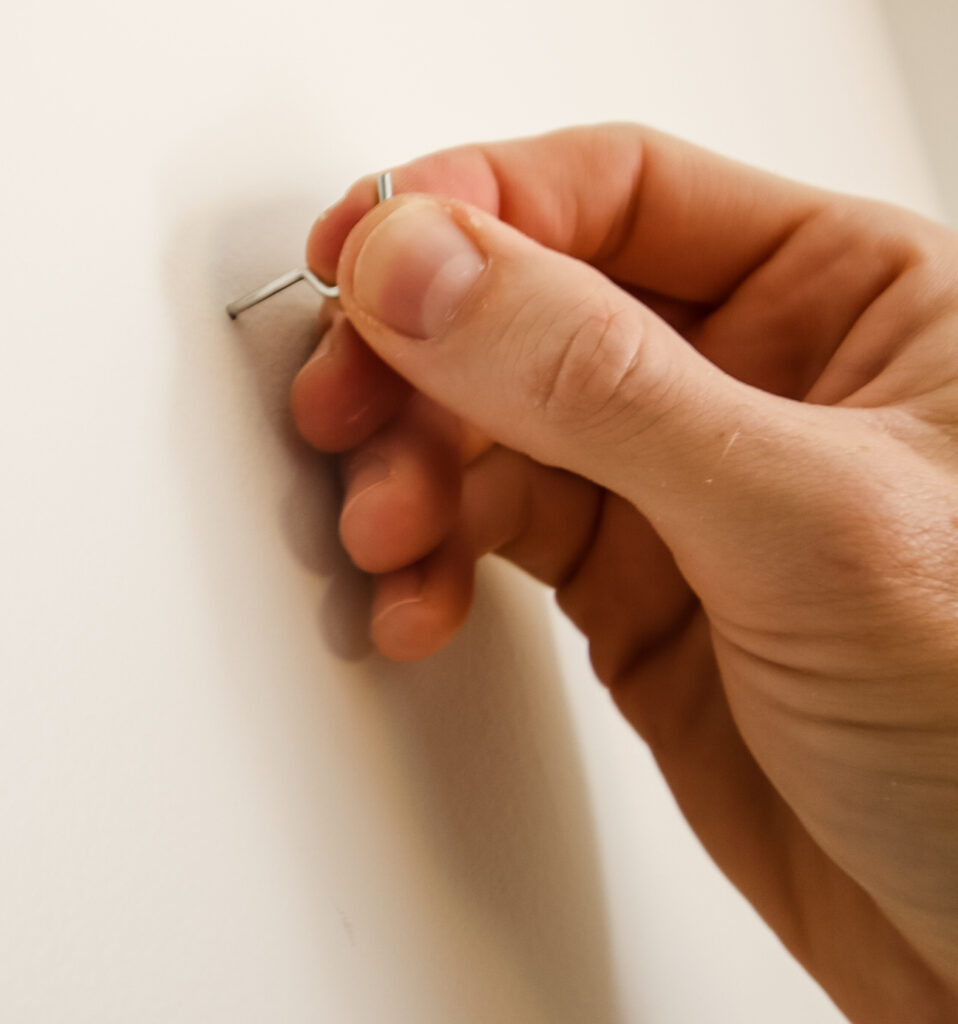
To hang the J hooks, mark the spot on the wall where you want your reindeer to hang. Use the Thumb Saver (included in the kit) to make a small hole in that spot.
Then, insert the straight end of the J hook into the wall. Push until it is in the wall up to the bend.
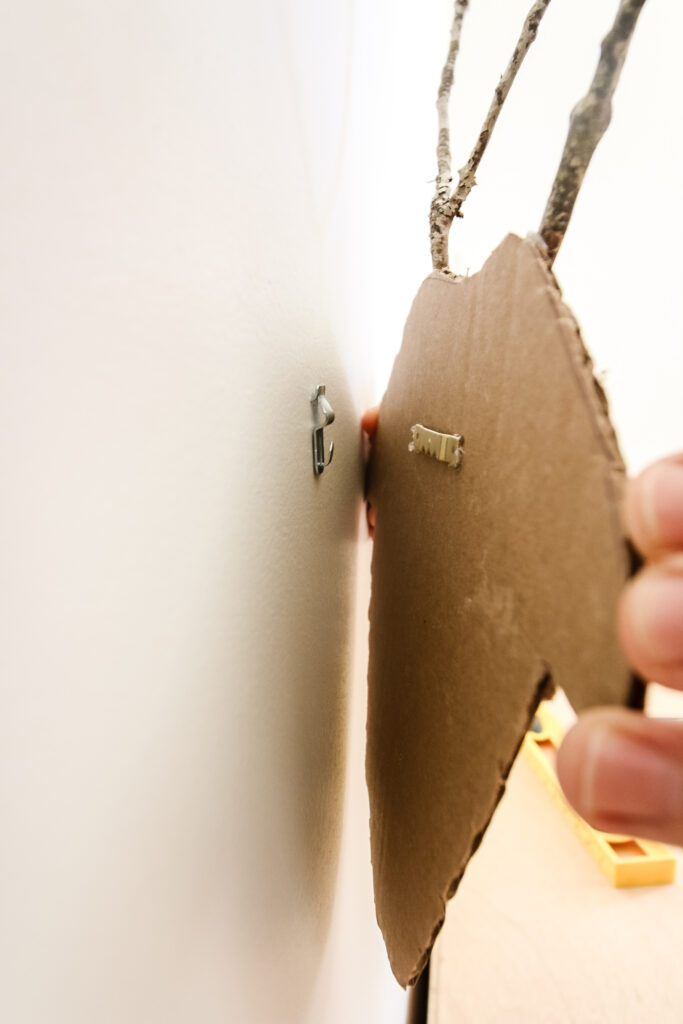
To hang a push & hang hook, simply push it into the wall using your thumb. No tools necessary!
These hooks both slide into the drywall very easily and leave small holes that aren't very noticeable when they are removed.
Hang your reindeer from the hook. Repeat!
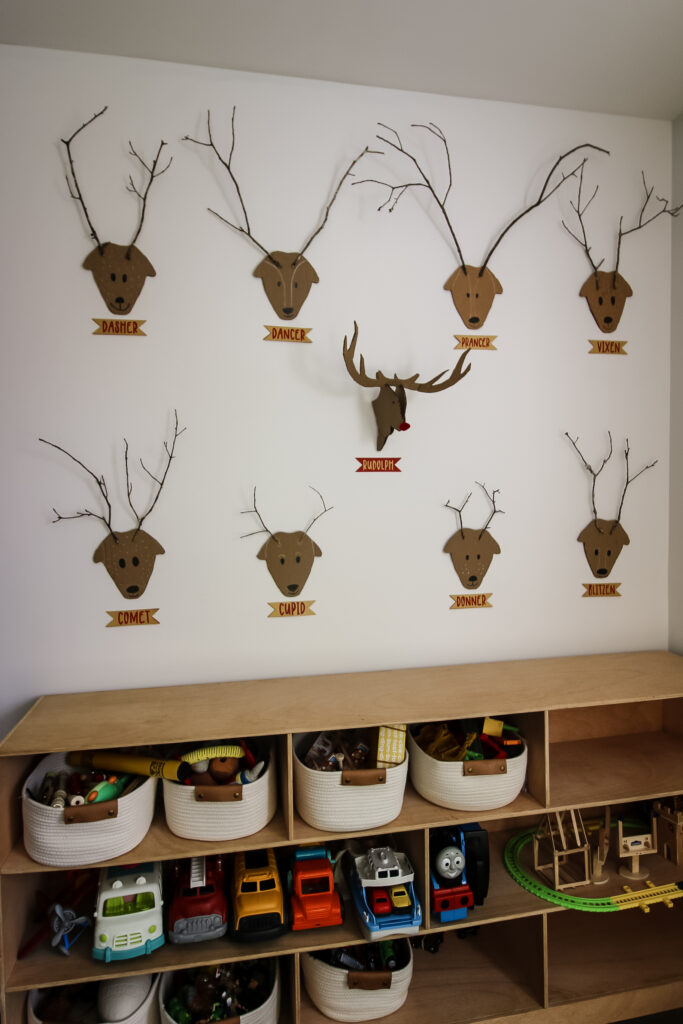
These reindeer are SO cute and were so easy to hang using the Low Damage Wall Hanging Hardware Kit from National Hardware!
Any questions about my reindeer wall hangings?

Looking for something?
We've been doing this since 2012 so we have a LOT of blog posts!
Search stuff like: Ceiling Projects | DIY Plant Stands | Thrift Flips

Hello, I'm Morgan, half of the creative force behind CharlestonCrafted.com! With a passion for DIY that dates back to 2012, I've transformed three homes and now I'm dedicated to helping others craft their dream spaces. Let's turn your house into a home together!


