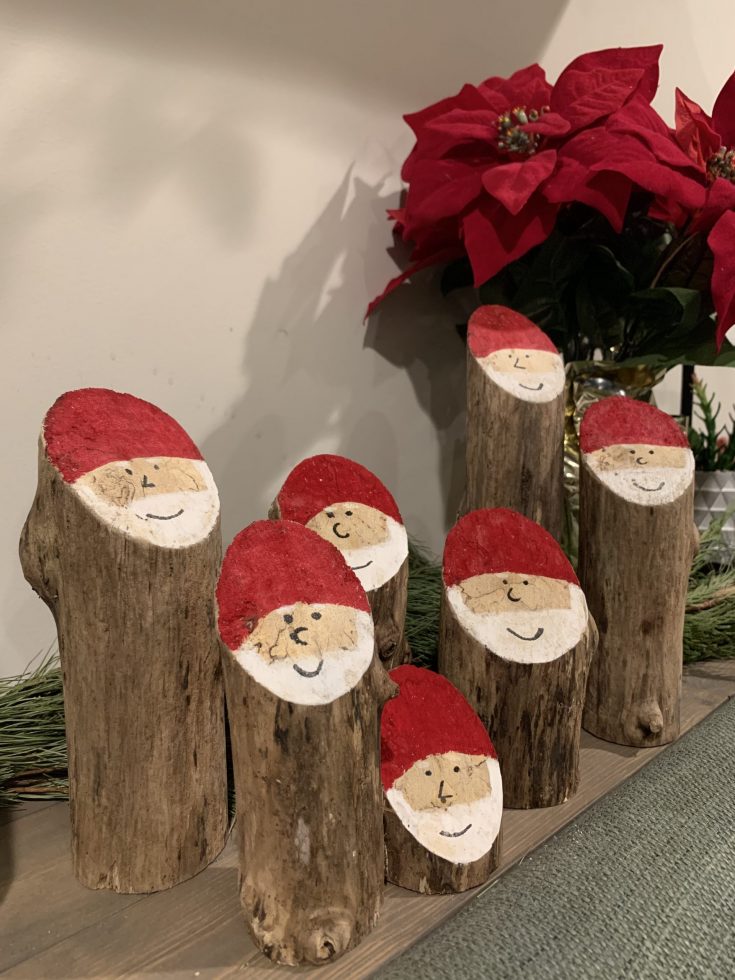
This Santa log craft is a great way to add a rustic touch to your Christmas decor, and is a fun Christmas craft for the whole family to make together!
One thing about having a toddler at Christmas is that it will change the kind of Christmas decor you put up.
Before kids, I liked to decorate more subtly, with ornaments in bowls and wooden trees.
But Luke loves "guys". And he really, really loves Santas.
So, since Christmas is really about making him happy, I decided to make some more Santa guys to smile at him.
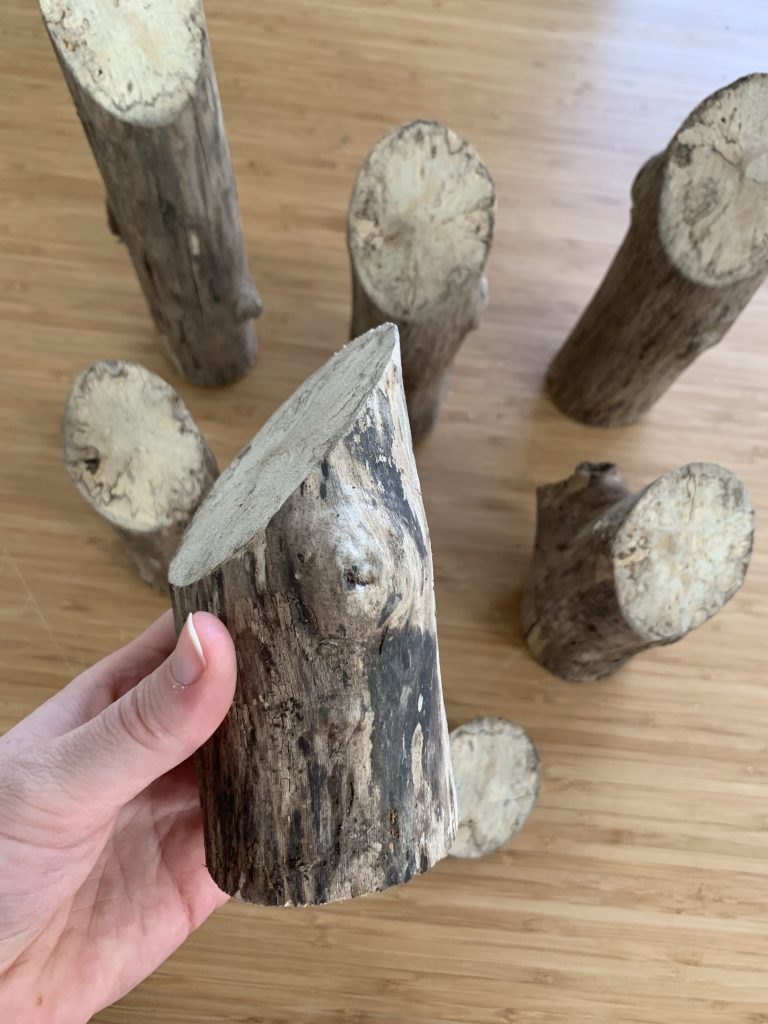
I built these wood Santa logs using - you guessed it - a log! It's really a branch, about 3 inches in diameter, that we found in the woods.
We cut ours at a 45 degree angle, but you could cut it at a more steep angle for a longer oval/longer hat and beard.

How to make Santa logs
This is pretty much as easy as painting a Santa face on a log, but here's exactly how I did it!
What you need:
- Log or branch of choice
- Miter saw
- Paint pens
Step one: gather and dry logs
First, gather your log. You want something relatively straight so that it will stand up straight on a tabletop.
Let your logs dry in a covered spot until they feel dry and solid. If it's fresh cut wood, it will need longer to dry.
Step two: cut logs
Use the miter saw to cut your branch into sections. The bottom cut should be straight and the other side at an angle.
We chose a 45 degree angle for simplicity's sake. If you want more of a long oval shape, you can cut at a steeper angle.
Repeat for a variety of heights for a clustered look. Ours range from 3 to 12 inches tall, measured from the highest point of the angle.
We removed the loose bark from our logs. Put on gardening gloves and just rub to get loose bark off. You can sand them if you want a smoother look.
Step three: paint Santa faces
Then it is time to paint the faces!
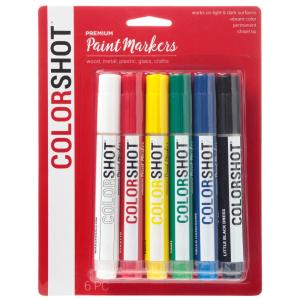
I painted my Santa logs with paint pens. I love that paint pens dry really quickly and are relatively mess-free.
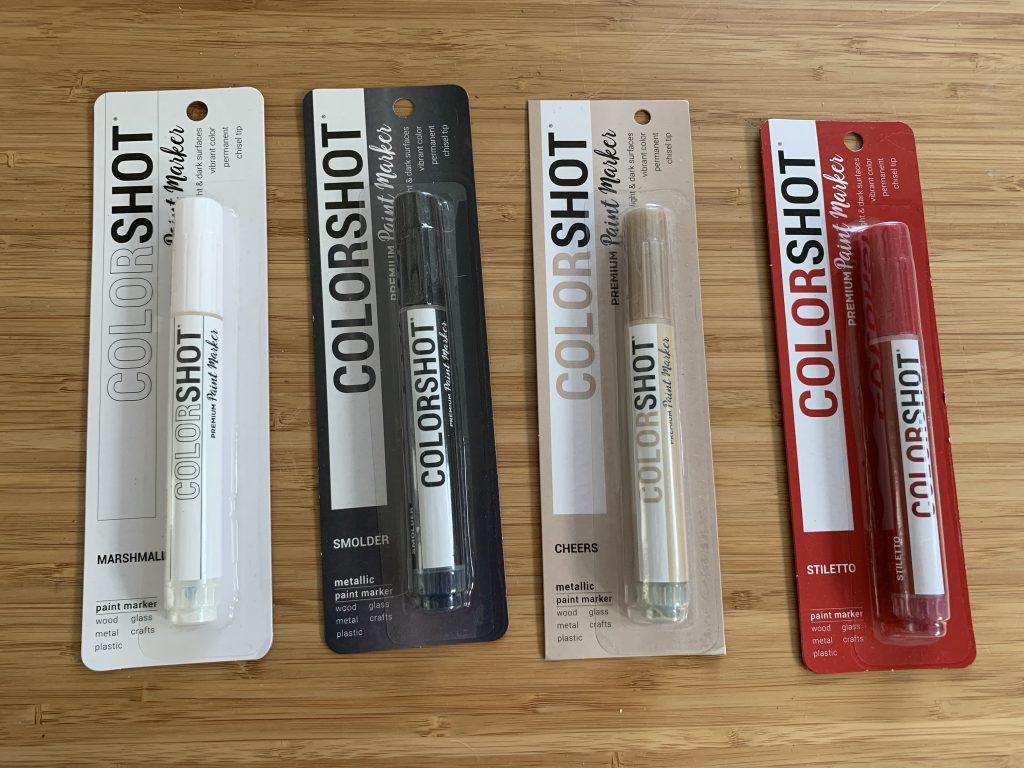
These are the COLORSHOT brand paint markers that I use and love!
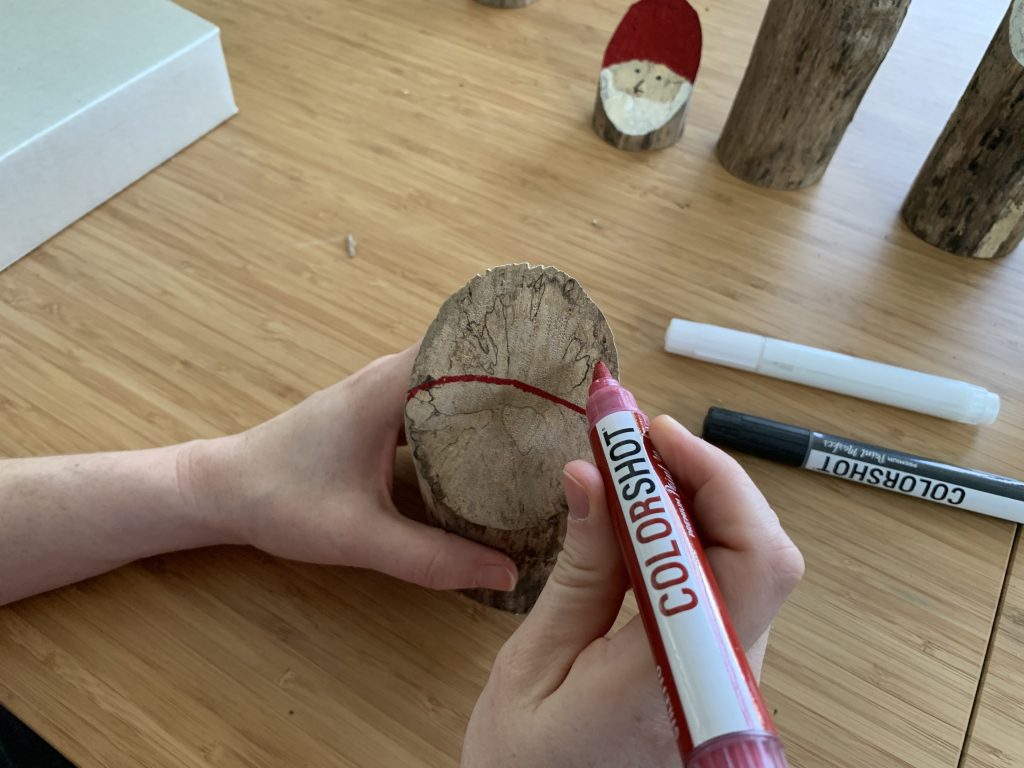
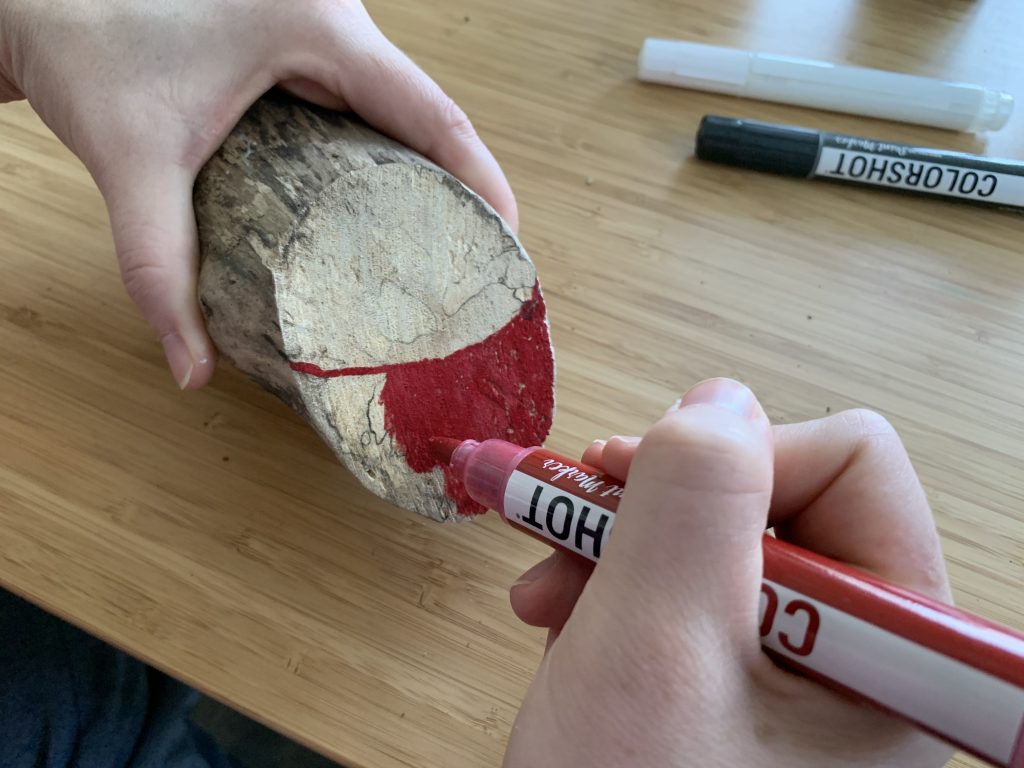
First, I painted a half circle about halfway down in red. Then, I filled in with paint to the top to make the red hat.
Then, I painted the beard. Create "sideburns" coming down from the edge of the hat then fill in below with white.
Finally, I used a black paint marker to add a little face.
Note: don't try to paint the mouth over wet beard paint. It might run or smear. Let the beard fully dry and then add the mouth!

You don't need to paint the face - the wood is naturally flesh colored, depending on the wood type you get you can get different "skin tones".
The white took 2-3 coats to get to the darkness that I wanted, but the red took only one coat.
Repeat until you have a whole Santa family!
DIY Santa logs craft
We absolutely love how these Santa logs came out!
This is a fun and simple (and free if you have the paint!) project that is great for the holidays.
If you plan to put these outdoors, you will want to use an outdoor grade sealant on the whole thing.
Optional: you can glue on a pom pom at the top of his Santa hat or a wooden button for a nose!

How to make DIY painted Santa logs
Want to add a fun, rustic touch to your Christmas decor? Here is how to make these simple DIY painted Santa Claus logs!
Materials
- Branch or log, about 3" in diameter
- Paint pens - red, white, black
Tools
- Miter saw
Instructions
- Gather a rather straight branch or log and allow to dry in a covered spot
- Use saw to cut one end straight and the other at a 45 degree angle.
- Repeat at various heights until you have your desired set of logs.
- Remove bark if you prefer.
- Use a red paint pen to draw an arch about halfway up the face and fill in.
- Use a white paint pen to add sideburns and a beard.
- Use black paint pen to add a face, being sure beard is dry before painting on top of it for the mouth.
- Allow to dry and display!
Recommended Products
As an Amazon Associate and member of other affiliate programs, I earn from qualifying purchases.

Love Christmas? Click here to get FREE printable funny gift tags sent to your inbox!
Any questions about these DIY Santa logs?!

Looking for something?
We've been doing this since 2012 so we have a LOT of blog posts!
Search stuff like: Ceiling Projects | DIY Plant Stands | Thrift Flips

Hello, I'm Morgan, half of the creative force behind CharlestonCrafted.com! With a passion for DIY that dates back to 2012, I've transformed three homes and now I'm dedicated to helping others craft their dream spaces. Let's turn your house into a home together!


