Celebrate gratitude with a DIY Thankful Tree – a fun, heartwarming activity to share thankfulness this Thanksgiving! This is a meaningful DIY Thanksgiving craft for the whole family!
Thanksgiving is all about being with friends and family and doing activities together to bring you close, especially if it's one of the only times you get together all year.
That's why it's always good to have activities planned that can get everyone involved.
One of those ideas is the Thankful Tree, which is a display of some sort where people can write down what they are thankful for and hang it on the tree. It takes a plain and barren tree and covers it with leaves to look full and happy.
There are many different ways to make a thankful tree, whether from branches in your yard or making one from lumber.
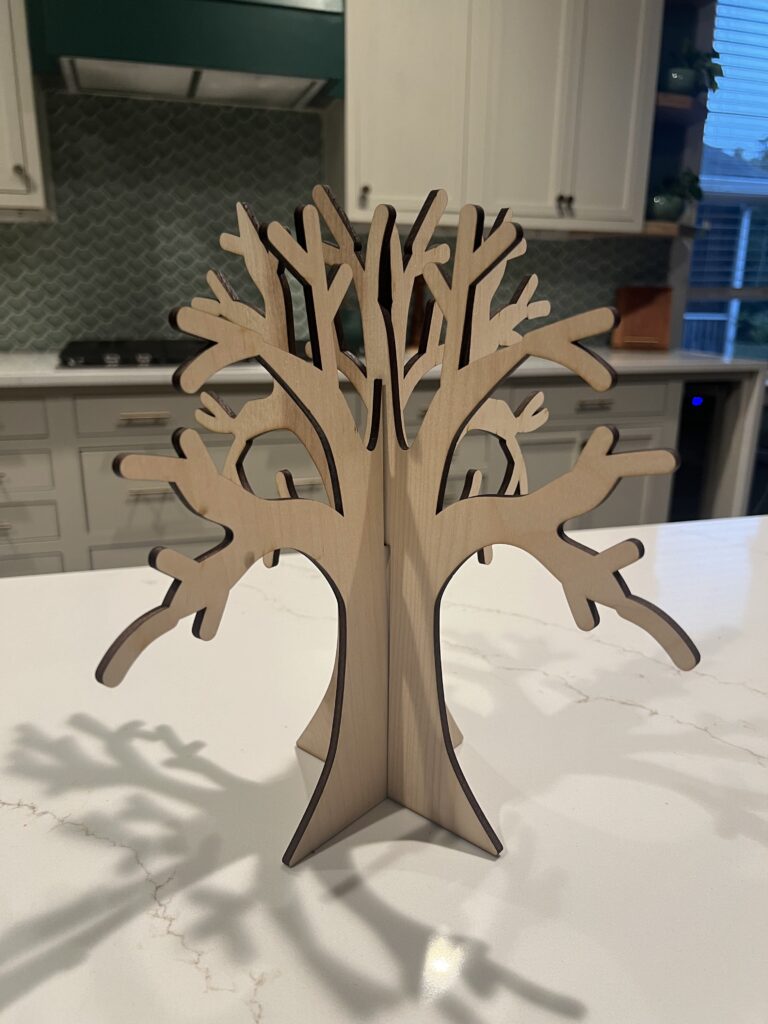
For this project, I used ¼" plywood to make my DIY thankful tree and wanted to share how I did it.

DIY thankful tree
Check out how I made this DIY thankful tree for our upcoming Thanksgiving with family. I designed this and cut it out with my laser cutter, but you can also cut it out other ways that I'll talk about below.
Materials needed to make a thankful tree
You don't need many materials to make a thankful tree for yourself. The biggest thing is what tools you will need. I used my xTool P2 laser cutter for this, but you might not have access to a laser cutter.
That doesn't mean you can't make this project. You can instead use a pencil to draw out the tree shape and then cut it with a jig saw or scroll saw.
- ¼" plywood
- Fall leaf paper cutouts
- String
- Hot glue
Step one: design tree
If you want to use a laser cutter for this, I've got the file right here that you can download and use and be ready to go. If you don't have a laser cutter, start by drawing out a design on ¼" plywood.
You can freehand a design, or print a picture of a tree without leaves to a standard 8.5"x11" piece of paper, then tape that to the plywood.
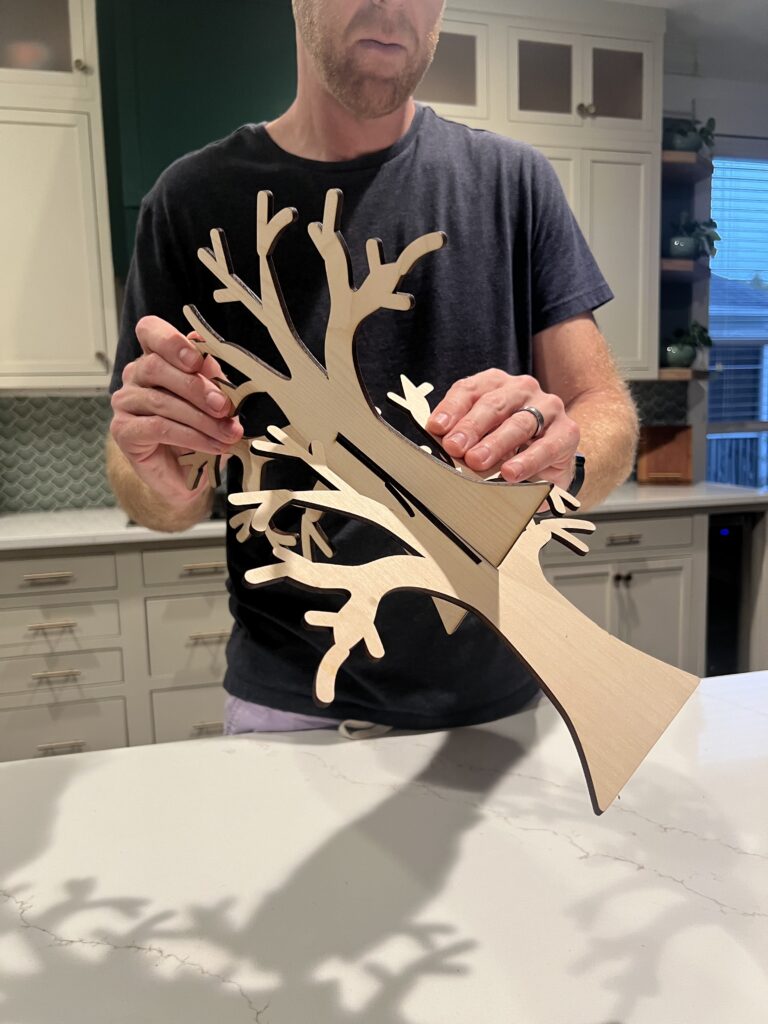
I used the same design and duplicated it for a second piece that will stand on itself. More on that in a second.
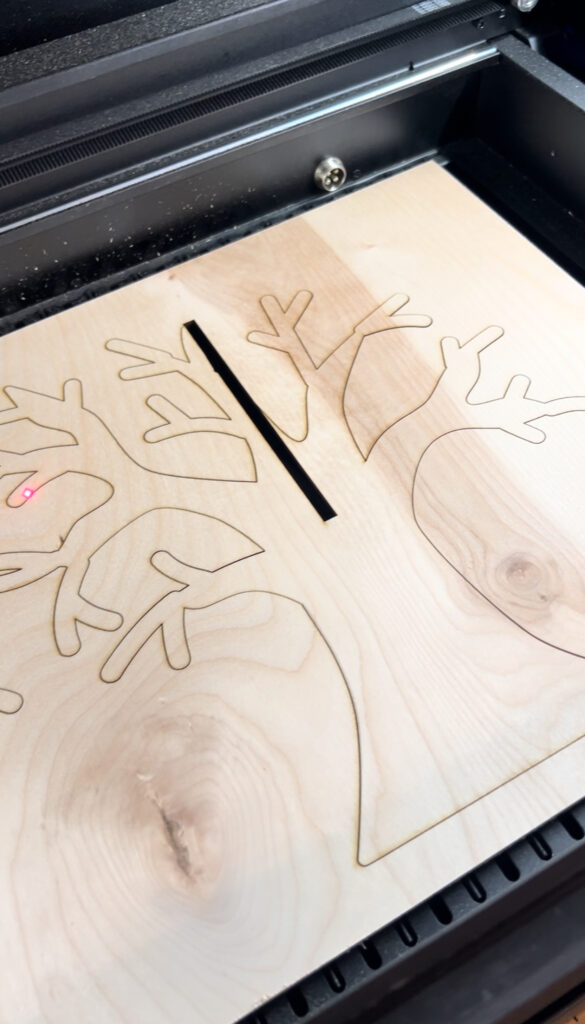
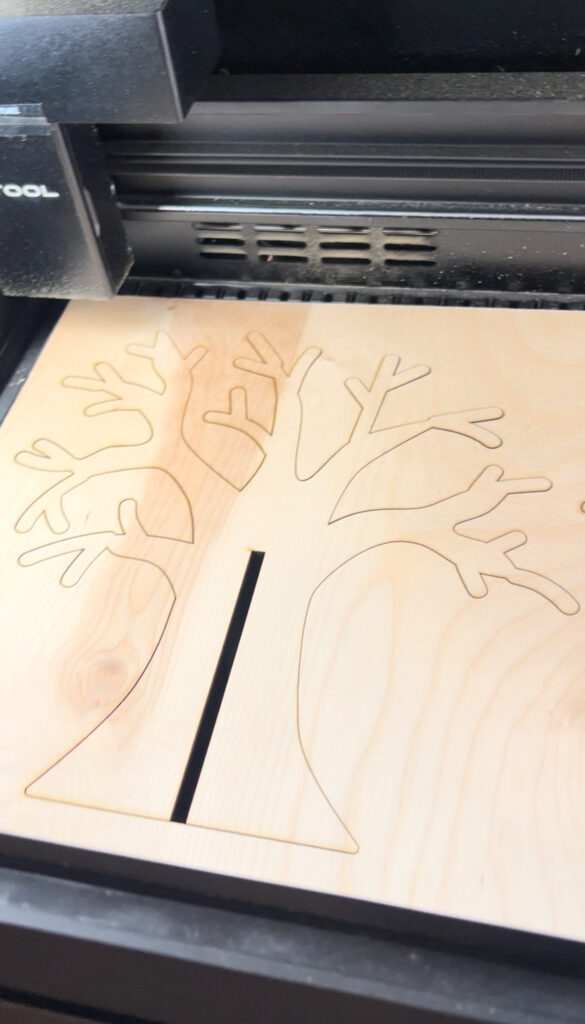
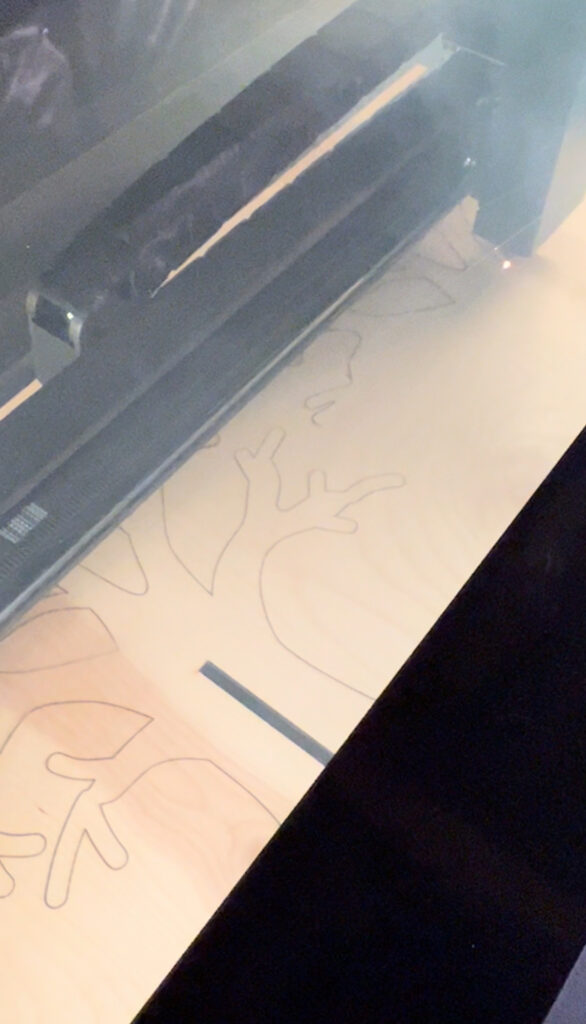
Step two: cut tree
Now that the tree design is ready, cut it out. Again, I used a laser cutter, so I just clicked go and it ran everything no problem quick and easy.
If you are cutting this yourself, use a jig saw or scroll saw to carefully cut around the edges of the design you drew. This doesn't have to be perfect, remember we're talking about tree branches here, so they can look rough. Repeat for the second tree.
Also remember to have a slit up from the bottom of one tree piece and a slit down from the top of the other piece, both cut to meet at the same height in the middle.
Step three: Assemble tree
Assemble the tree by sliding the two pieces together at the slit. They will now stand together at the base.

Step four: make leaves
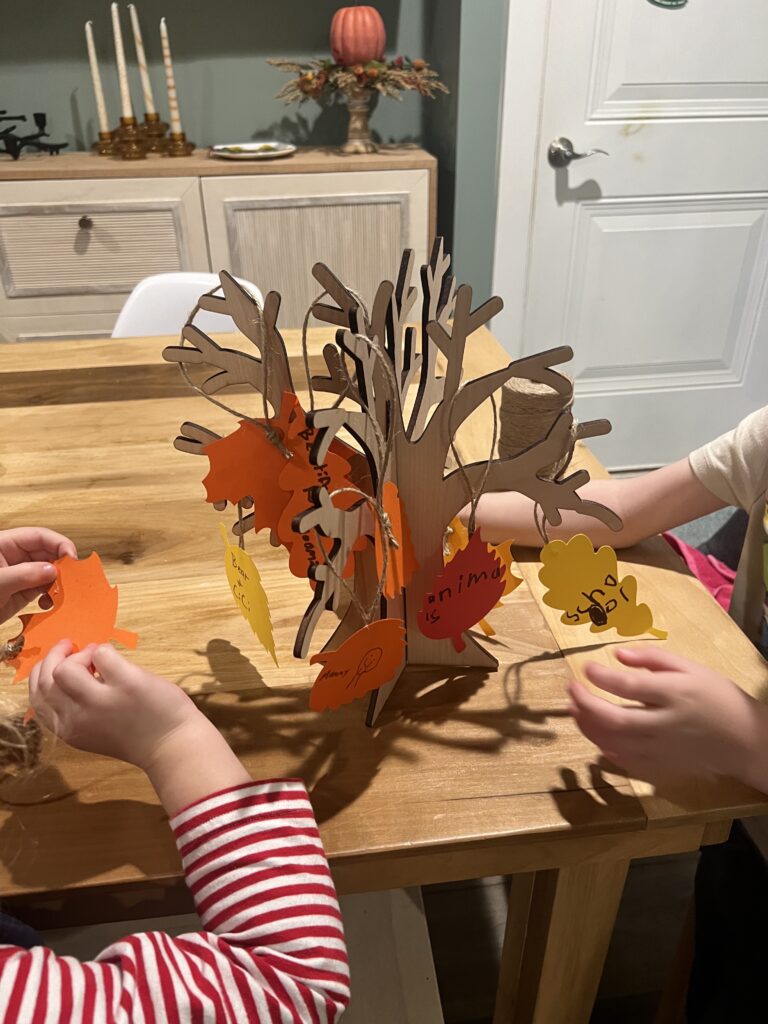
You have a couple different options to make the leaves. I preferred to buy these pre-cut punch out leaves that were really easy to pop out and write on. You could also cut your own out of construction paper or use real dried leaves (although these may crumble when written on if not careful).
Have each person write what they are thankful for on the leaves. Then, use your hot glue gun to glue a short piece of string about 2-3" long in a loop onto the back of the stem of the leaf.
You could also use a small clothes pin to attach the leaves to the tree or punch a hole instead of hot glue, but we have been loving our Dremel Hot Glue Pen that heats up quick and easy.
Step five: hang and enjoy
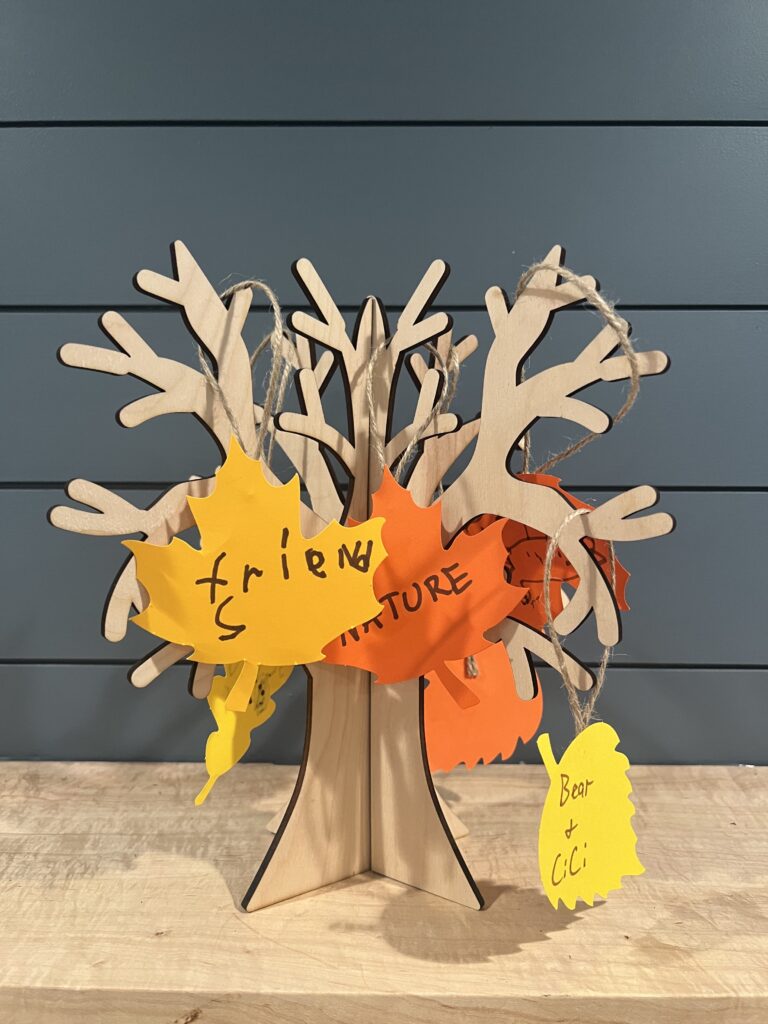
Then, add your thankful leaves onto it. Hang each one by the string and fill up the tree so it looks full and thankful!
Wooden thankful tree
This wooden DIY thankful tree is a really easy project to have ready to go for Thanksgiving. It brings the whole family together and lets everyone get involved in the process.
Plus, it's a natural decor item for the season!

DIY thankful tree laser cut file
If you do have a laser cutter and you want the SVG file to make this exact one, you can download it here!
This makes it much easier to get the exact little branches and you don't have to do much work yourself!

Looking for something?
We've been doing this since 2012 so we have a LOT of blog posts!
Search stuff like: Ceiling Projects | DIY Plant Stands | Thrift Flips

Hello, I'm Morgan, half of the creative force behind CharlestonCrafted.com! With a passion for DIY that dates back to 2012, I've transformed three homes and now I'm dedicated to helping others craft their dream spaces. Let's turn your house into a home together!