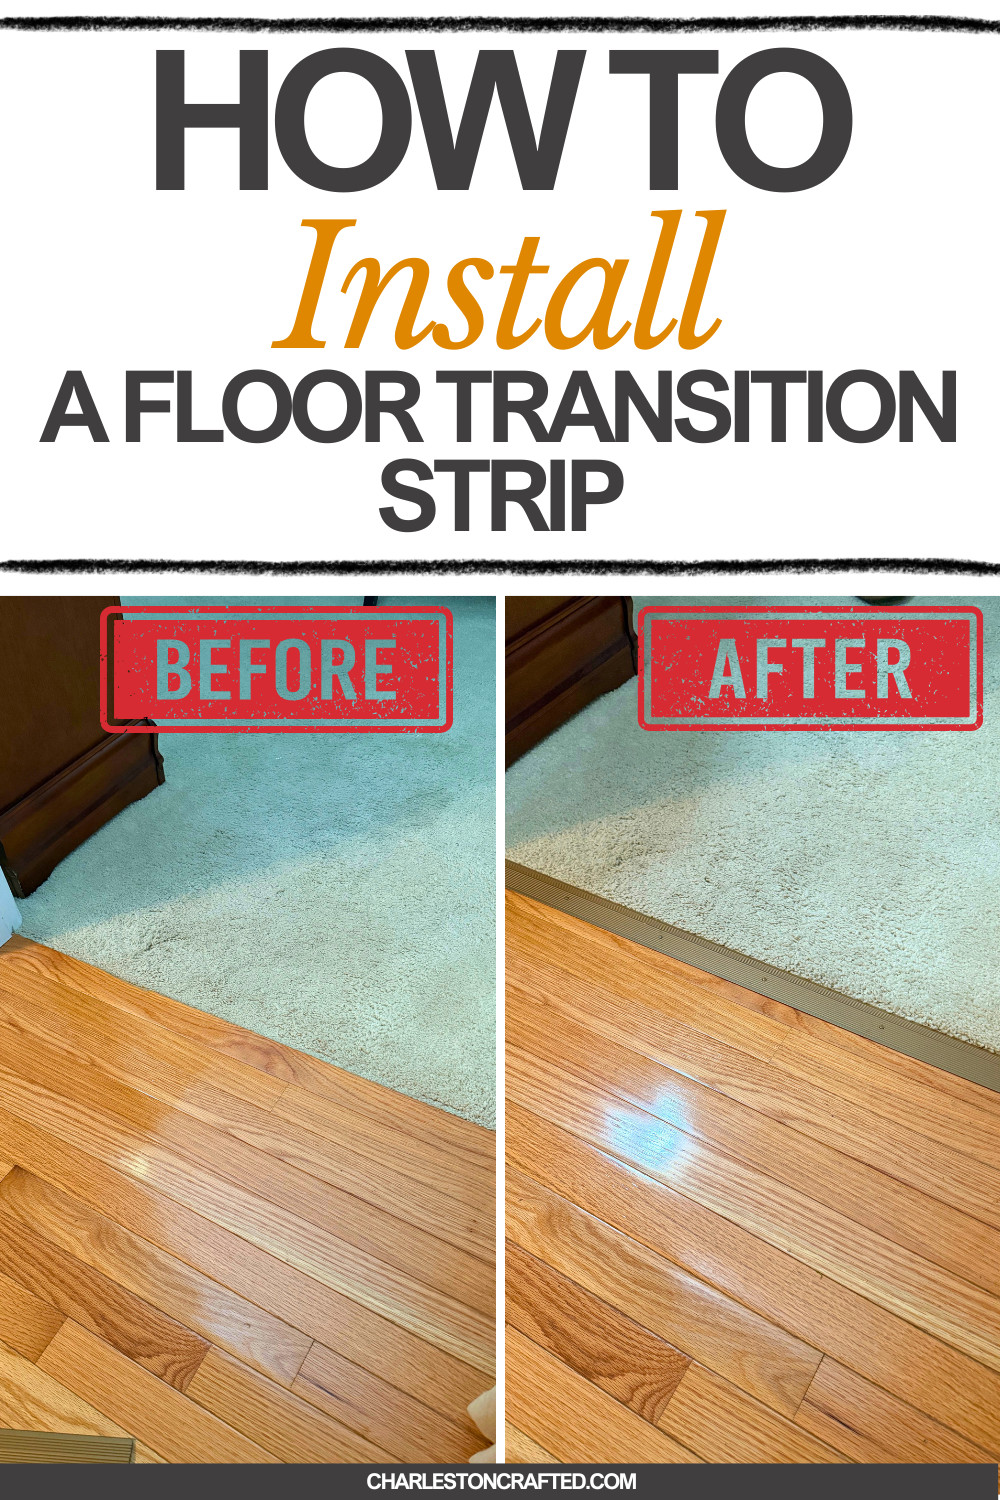
Have a gap where hardwood meets carpet and want to cover it up? Installing a floor transition strip is an easy DIY fix!
My dad was tired of stepping on the uneven strip of space where the hardwood from his living room met the carpet from his bedroom.
He bought a flooring transition piece to fix it, but that's about where the project ended. When I visited him, he asked me if I could do it for him.
He was shocked when I was finished with the entire project in five minutes.
Seriously, installing a floor transition strip is an extremely easy DIY project that anyone can do. If you have this problem in your home, you're going to hate that you haven't fixed it sooner.
Installing floor transition piece
Installing a floor transition strip is as simple as having the one product you need and three tools. All you need to install a floor transition strip is a hack saw, hammer and measuring tape.
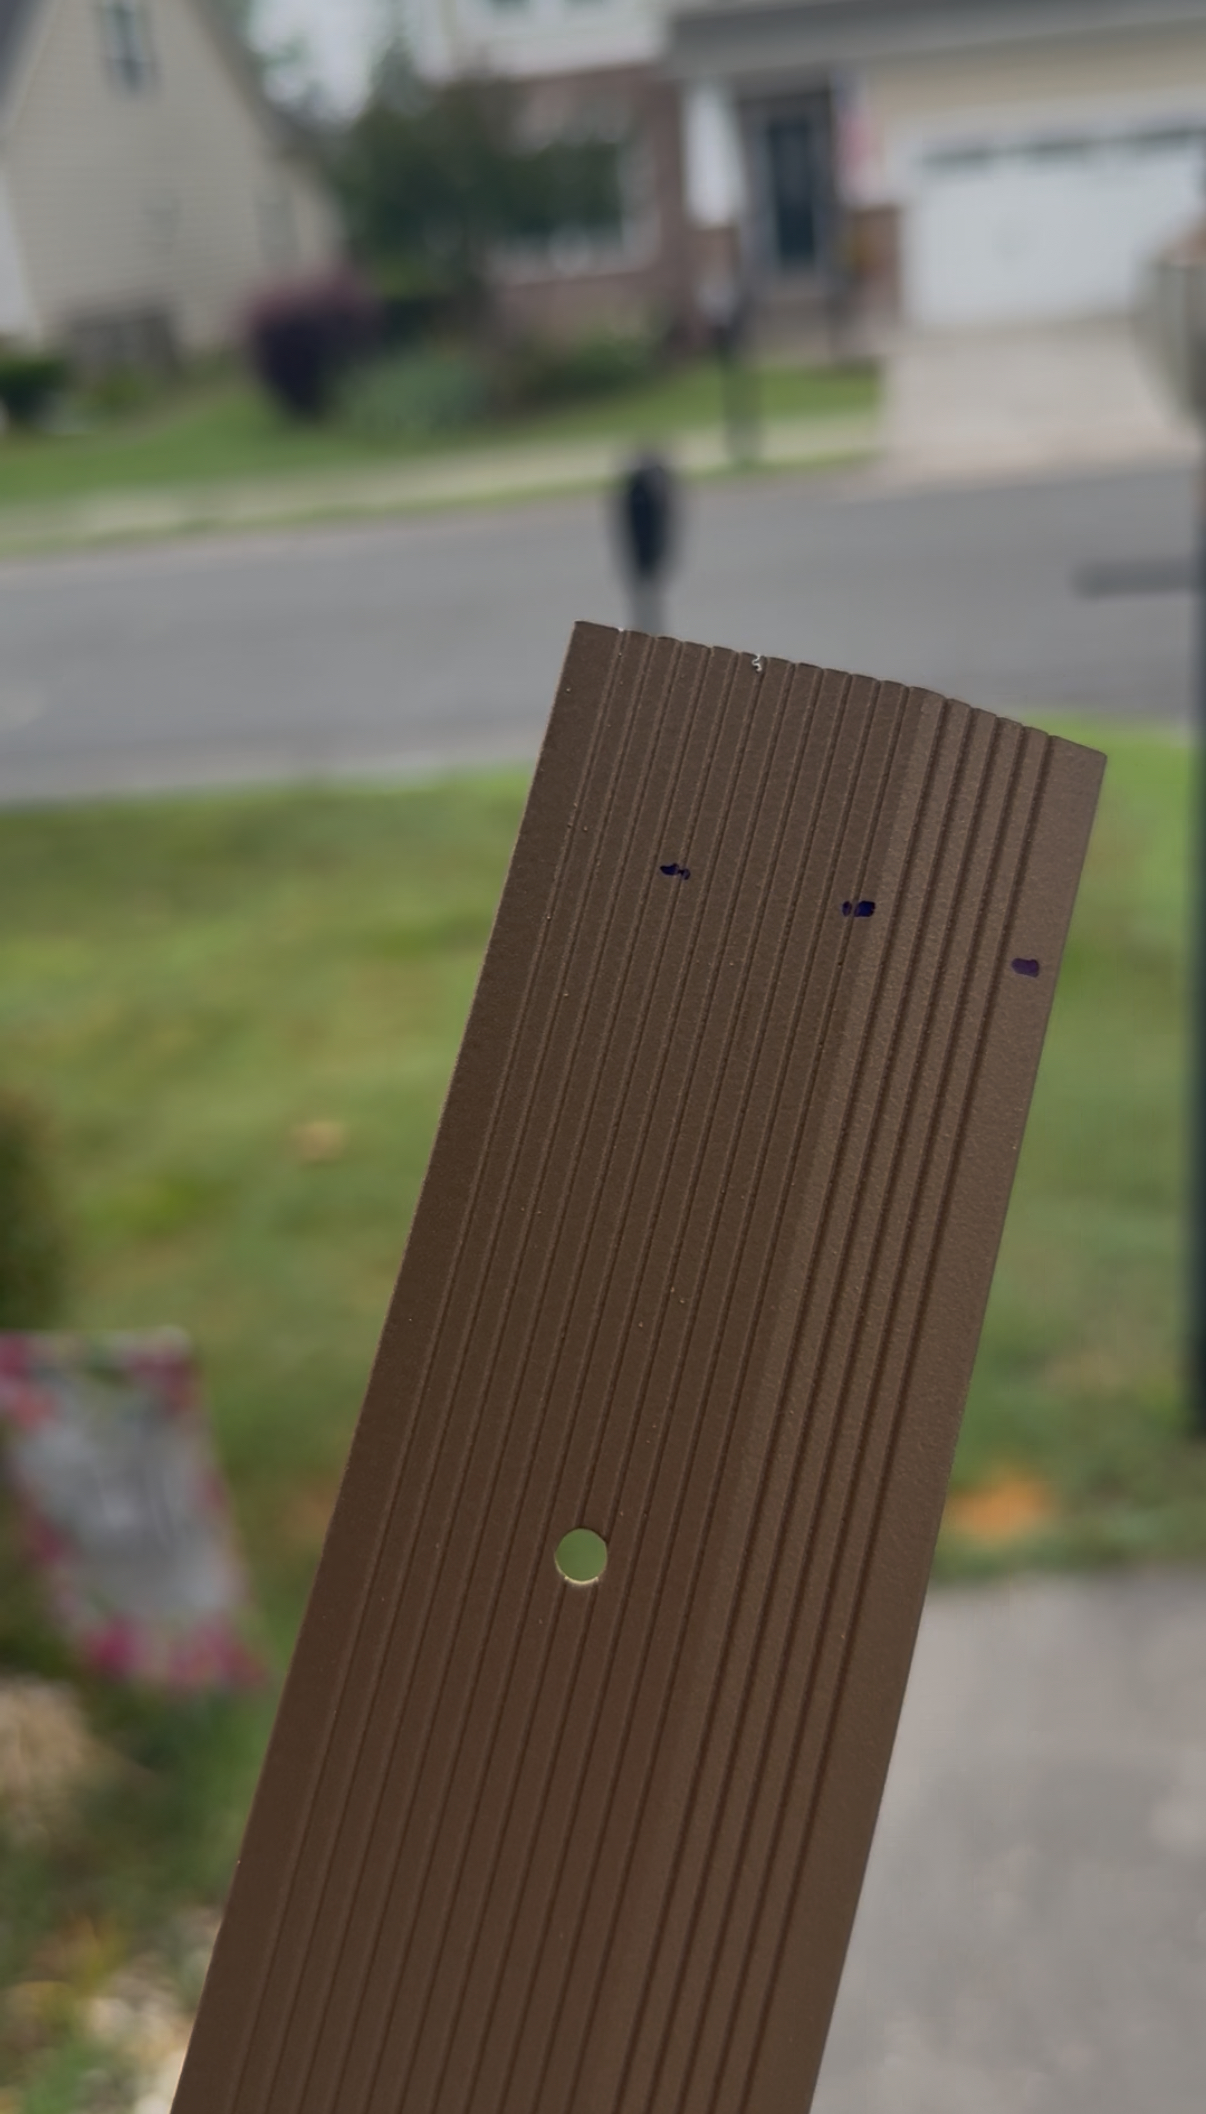
And of course, you need to buy one of these simple transition pieces as well. They are inexpensive and come in a range of colors to match what you want in your home.
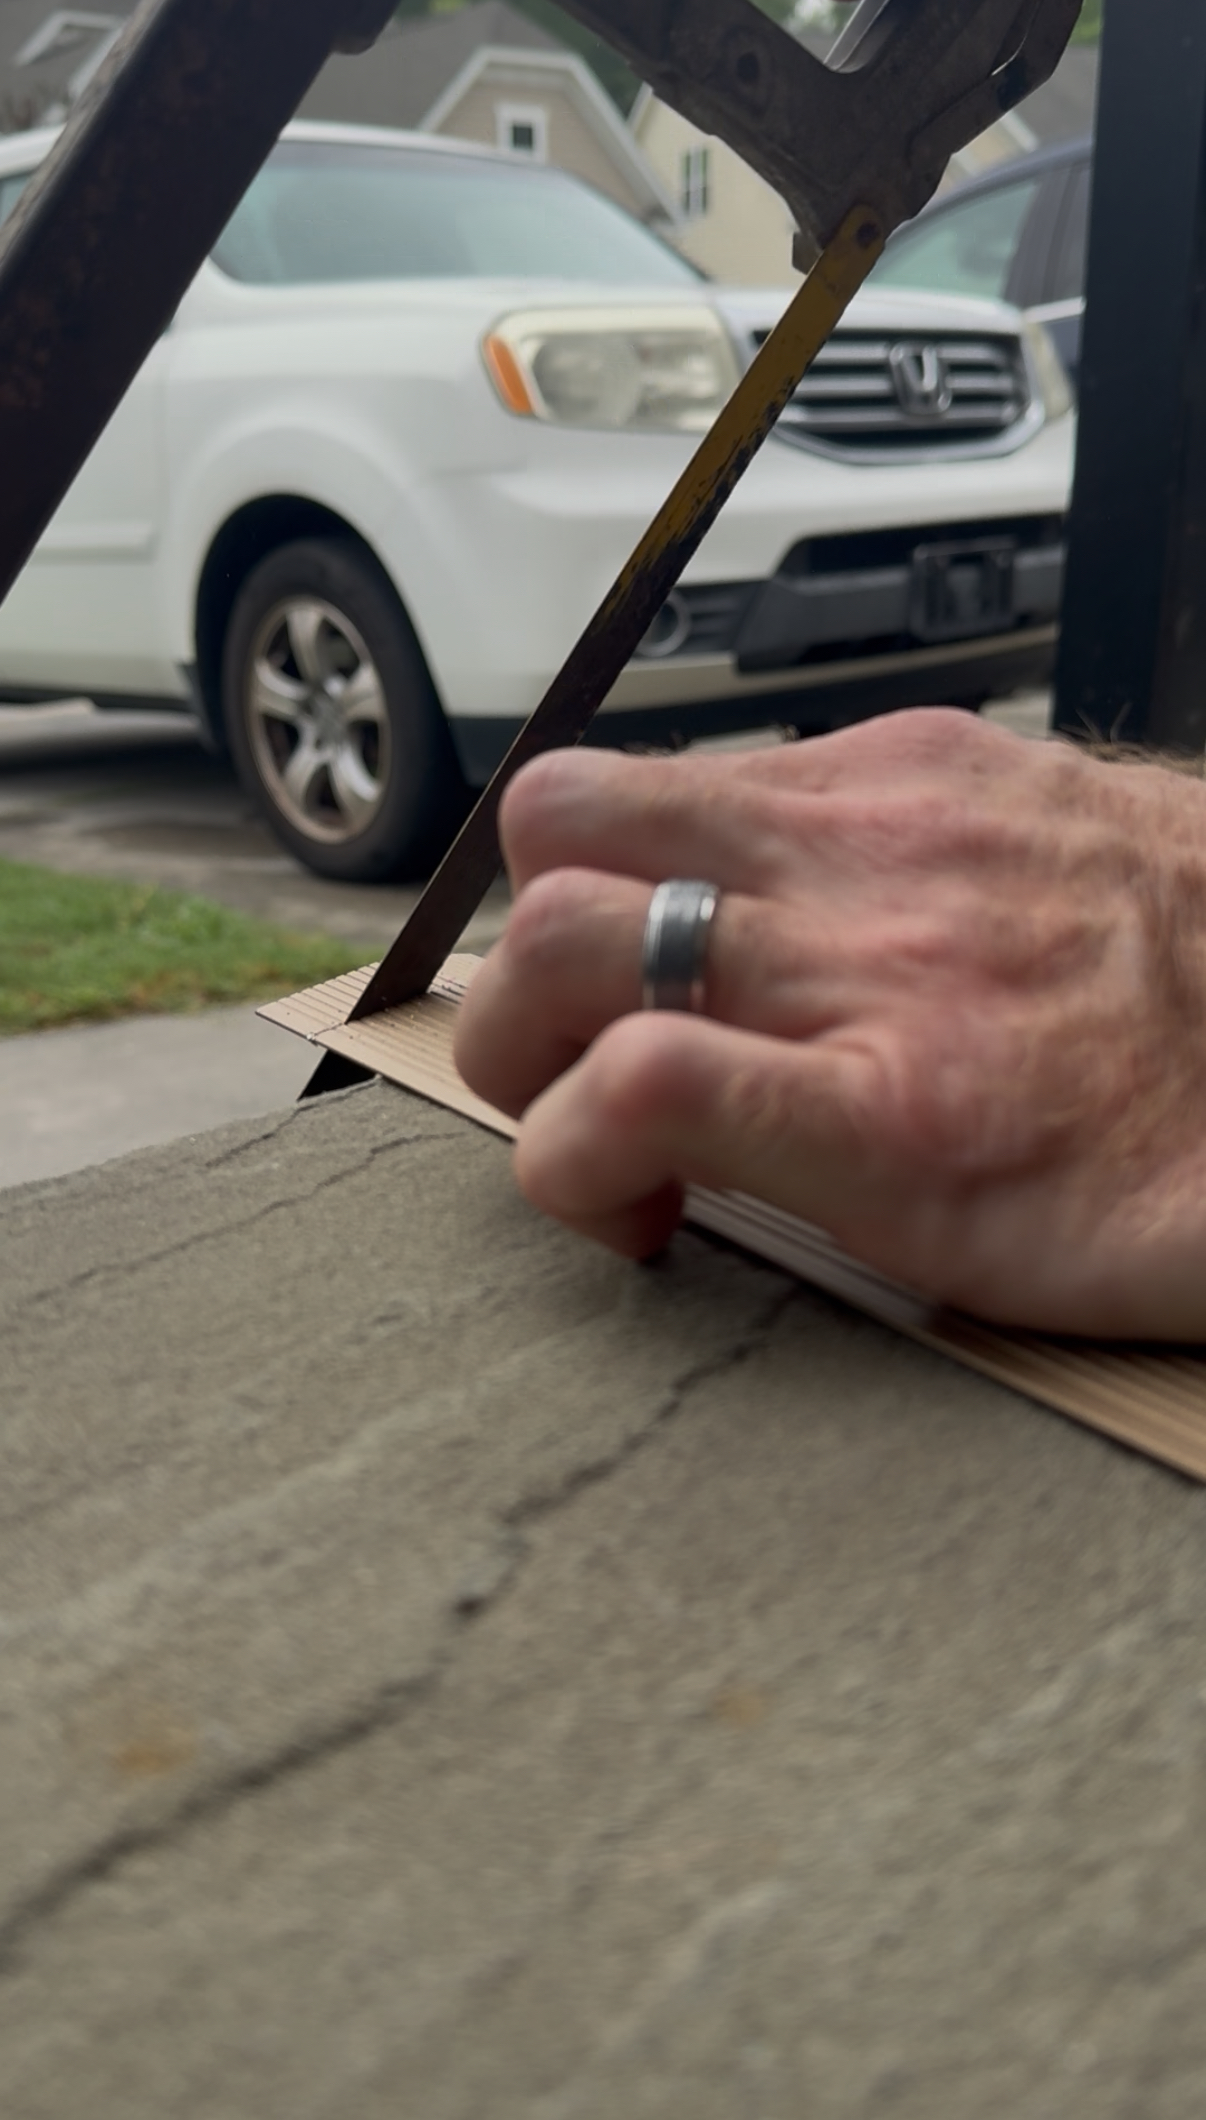
Step one: cut strip to length
Start by measuring the space between the door frame you want to install the transition from. Make sure you're measuring between the two parts of the door that stick out a bit because that's where the strip will need to fit between.
Once you have that measurement, use a marker to mark that line on the transition strip. Go all the way across so you can keep your line.
Then, use a hack saw and cut across the line. If the transition piece is made of wood, you can also use a miter saw or any saw to cut it. But if it is made of metal, you'll need the hack saw.
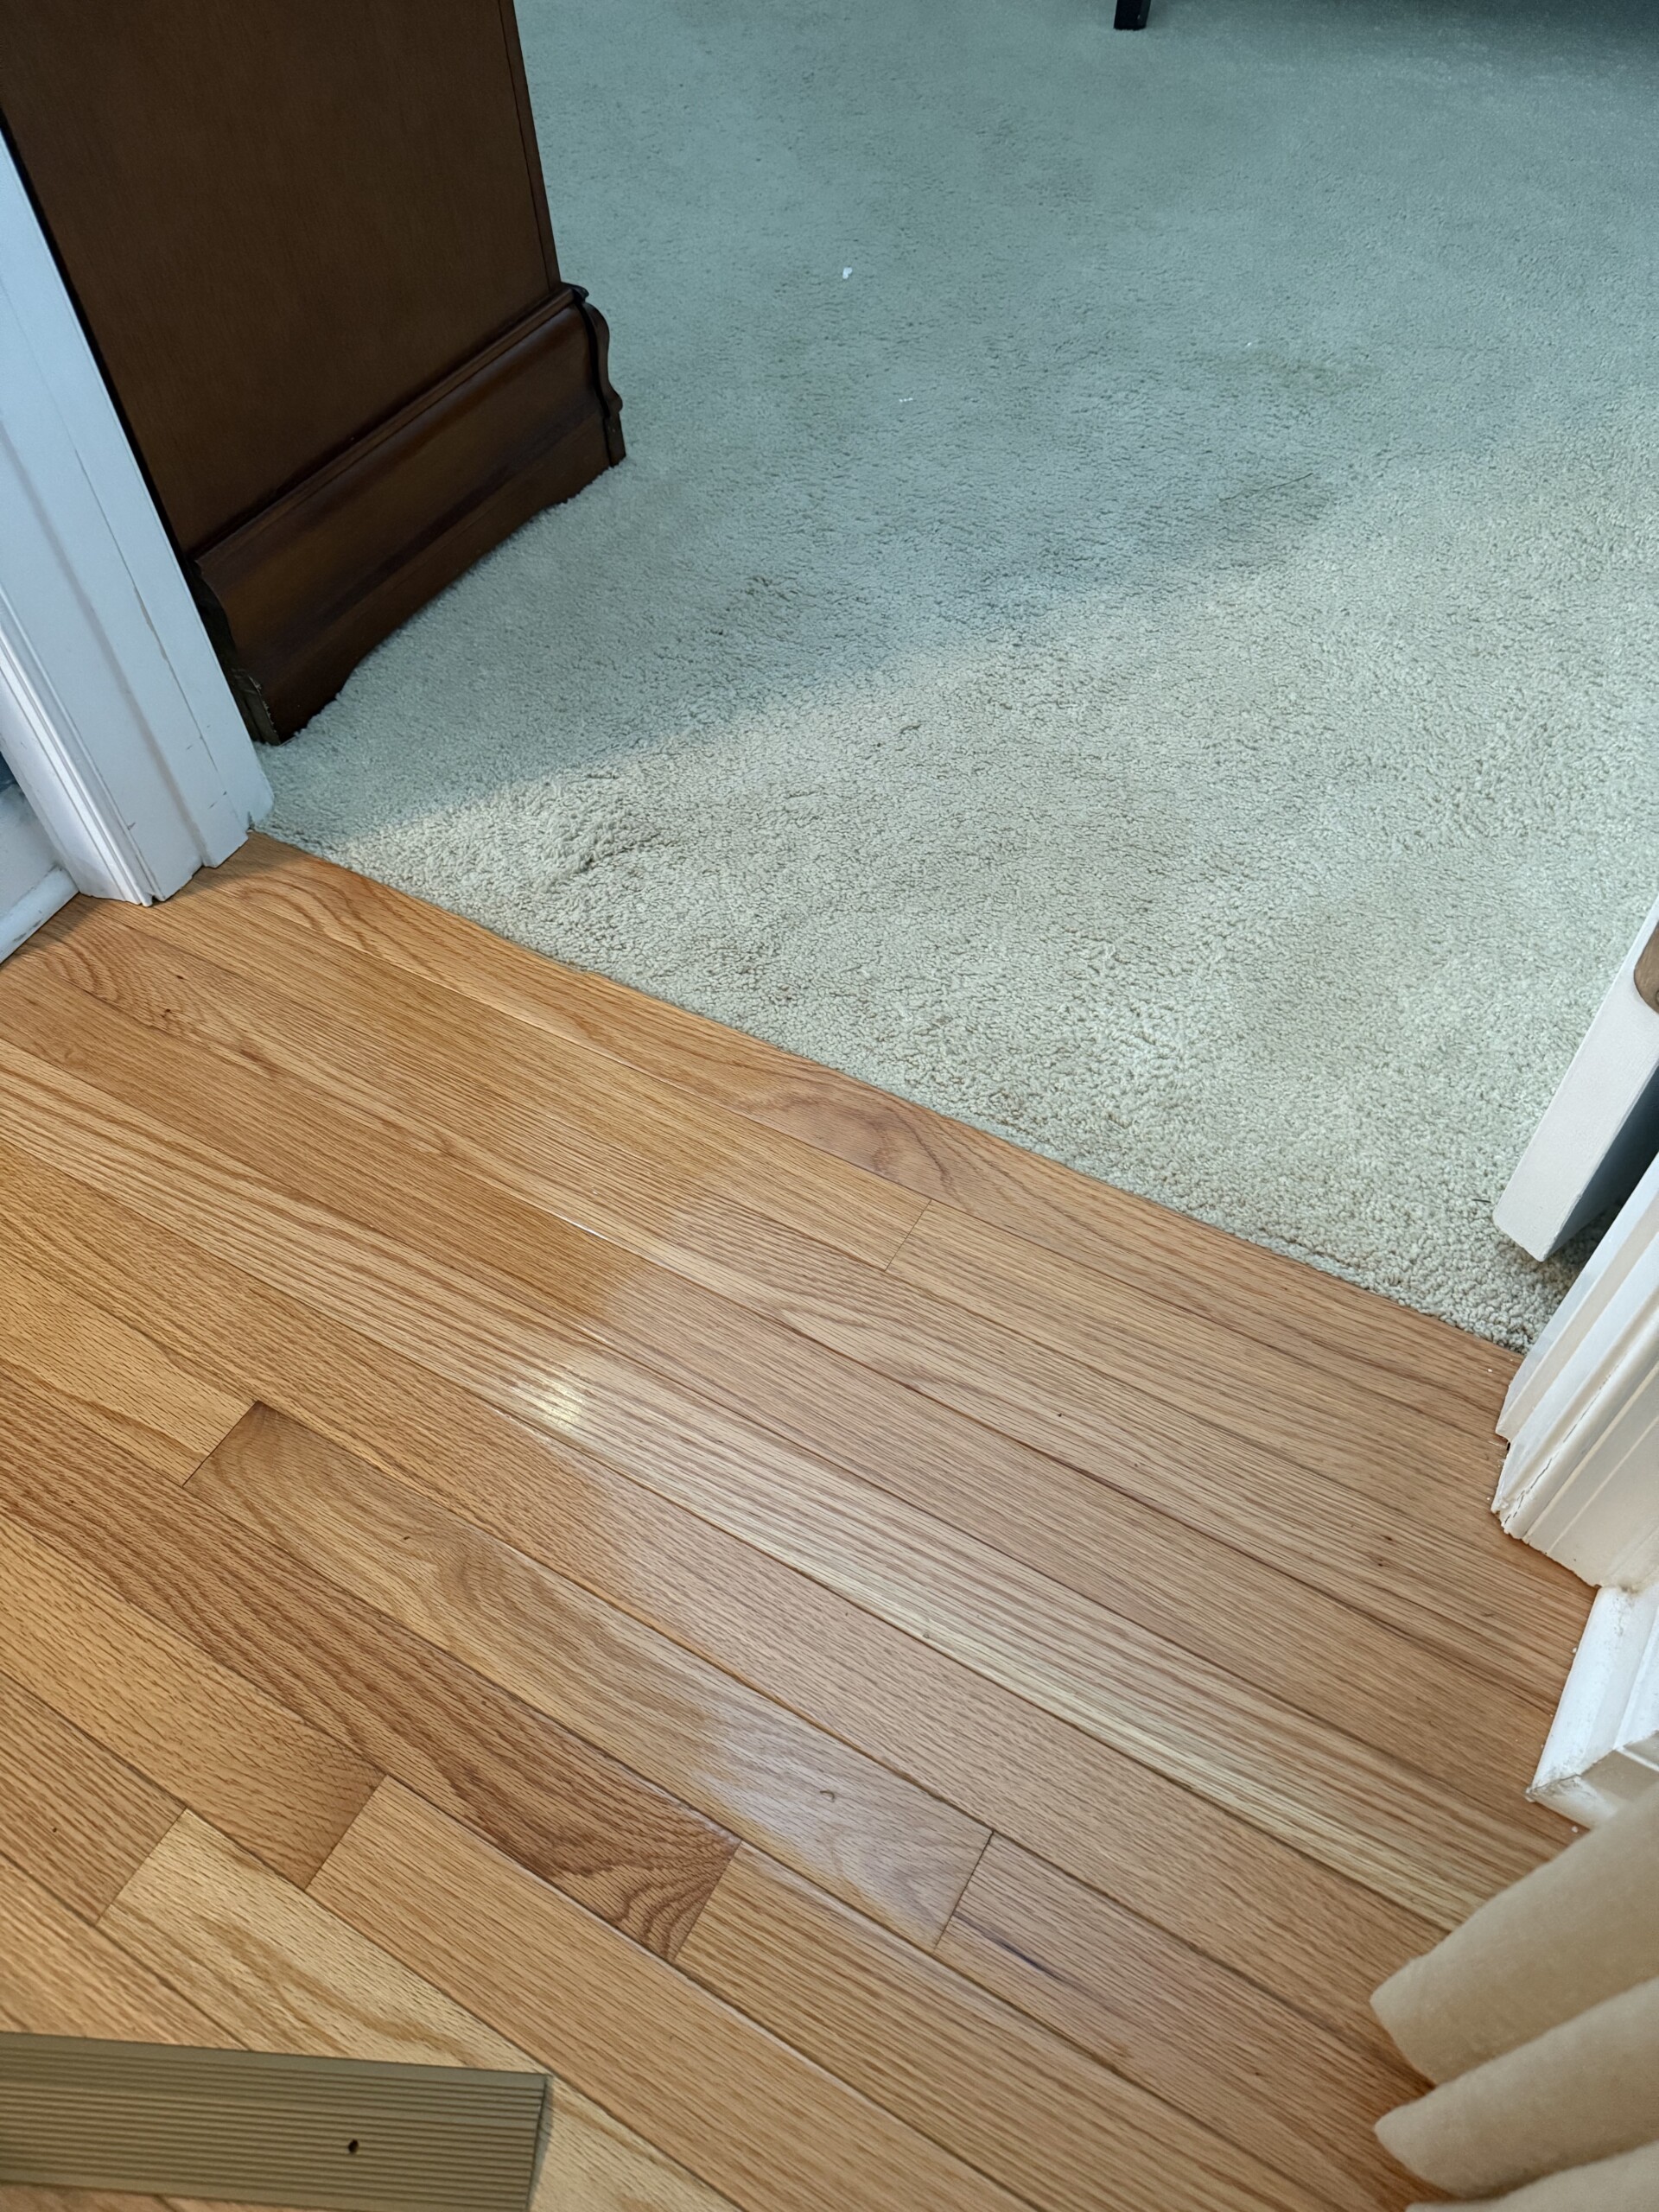
Step two: align strip on floor
Once the piece is cut to length, place it on the floor. You'll want to make sure that the wider side is on the carpet and the shorter side is on the hardwood.
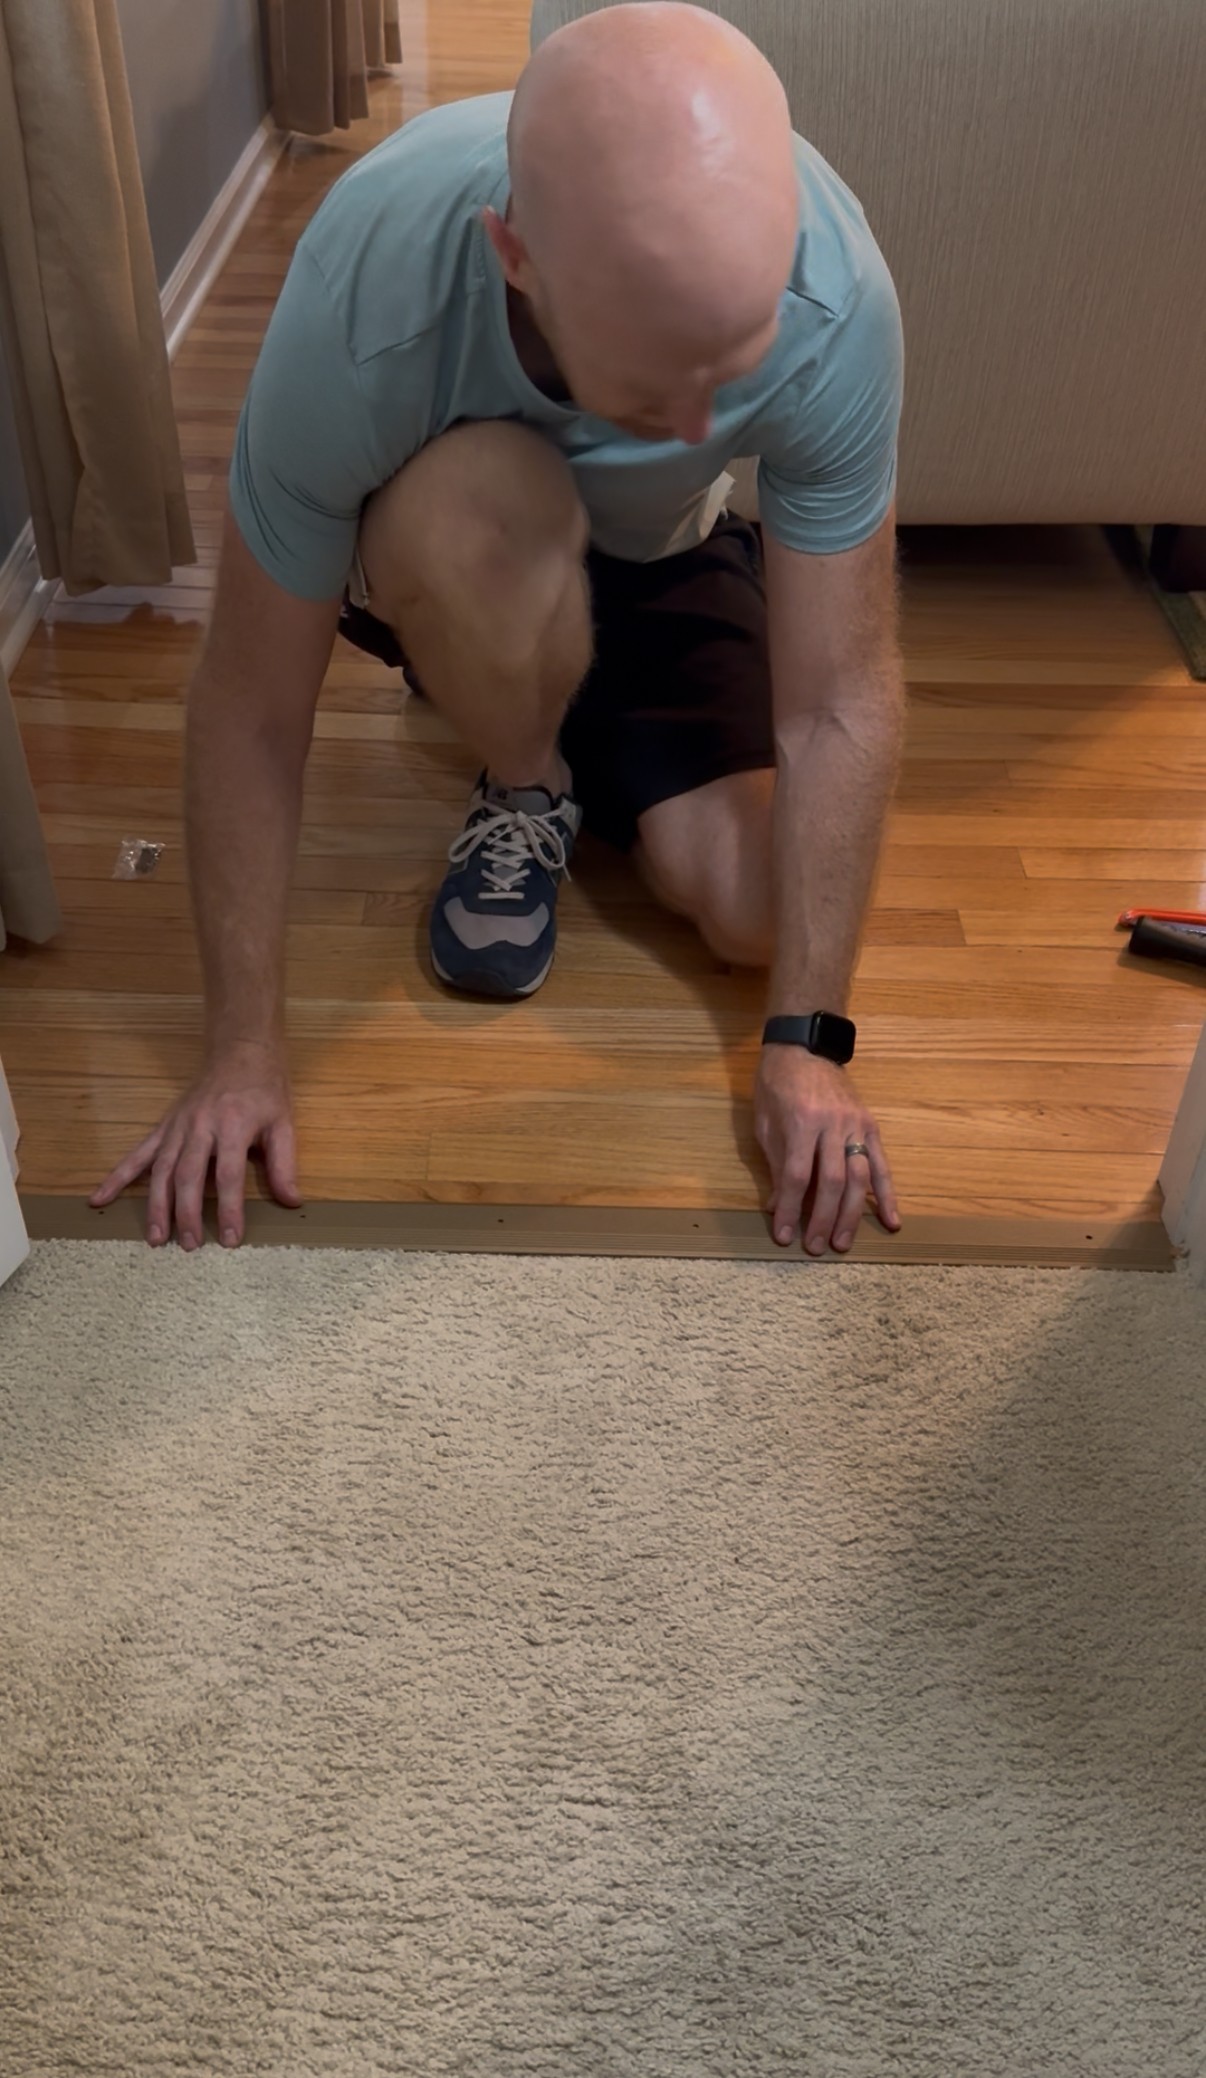
Align the humped angle in the middle of the transition with the edge of the wood.
If you have true hardwood, compared to an LVP floor or vinyl, you may want to mark the holes in the transition piece on the floor and drill very narrow holes there to make hammering a little easier. The nails usually aren't super sturdy.
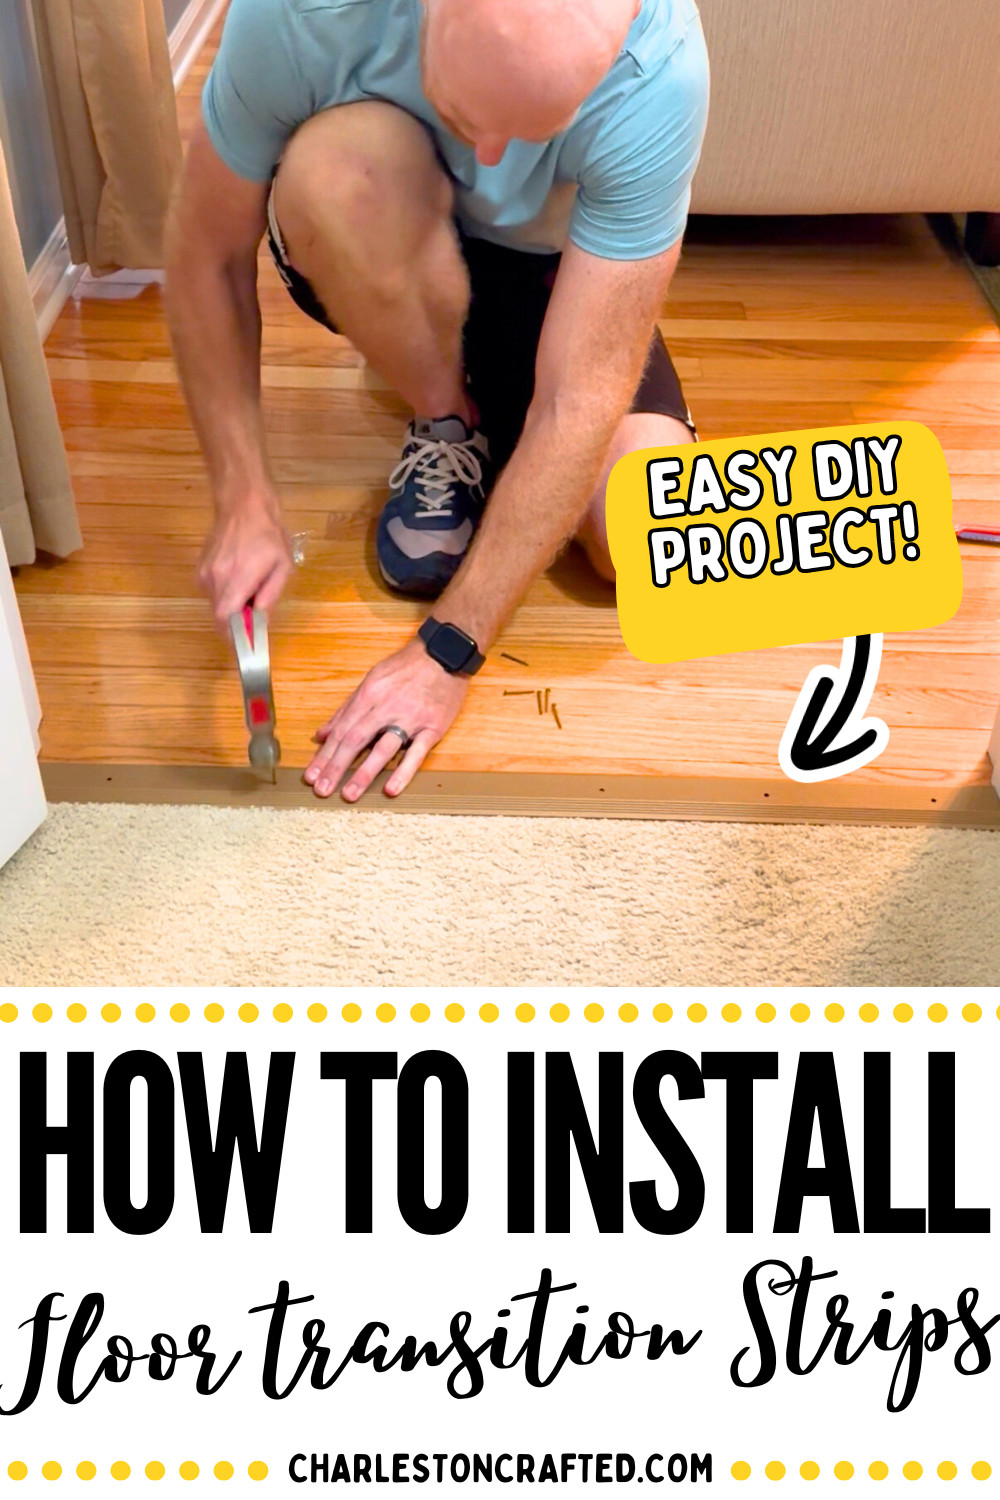
Step three: nail strip in place
Finally, nail the strip into place. Start by nailing through the two holes on the outer edges to lock the strip in place and in line.
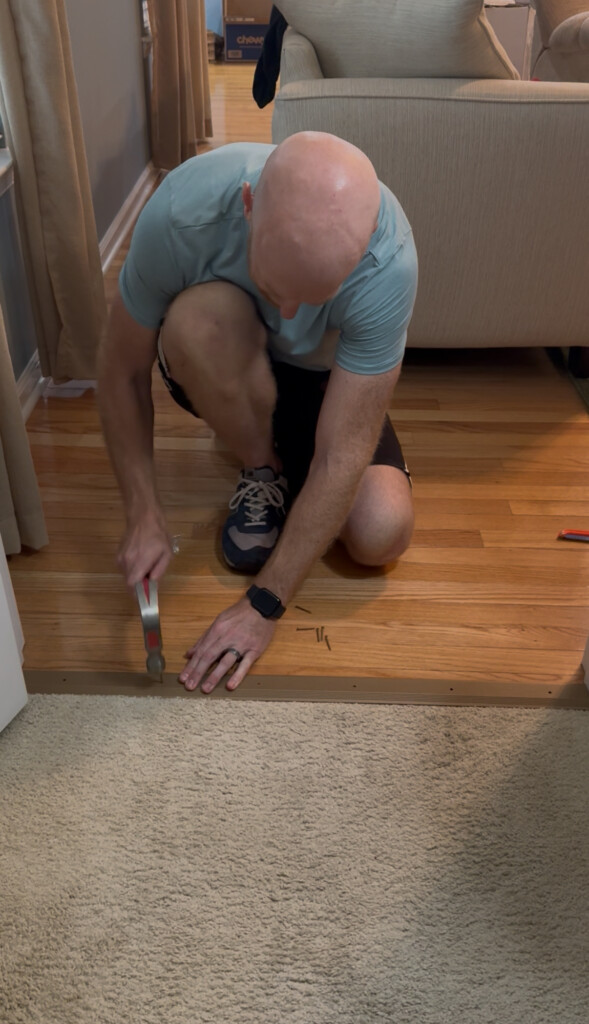
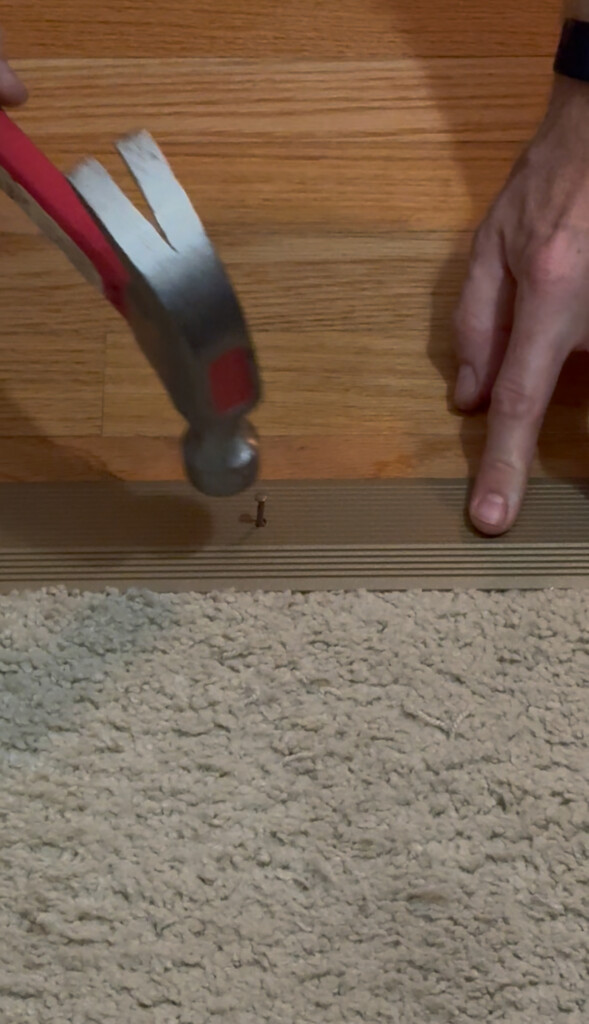
Then, work your way to the holes in between the two end holes and continue to nail in all the nails until you've filled them all.
Be very sure that you nail the nails all the way flush with the transition strip. You don't want your sock catching on these!
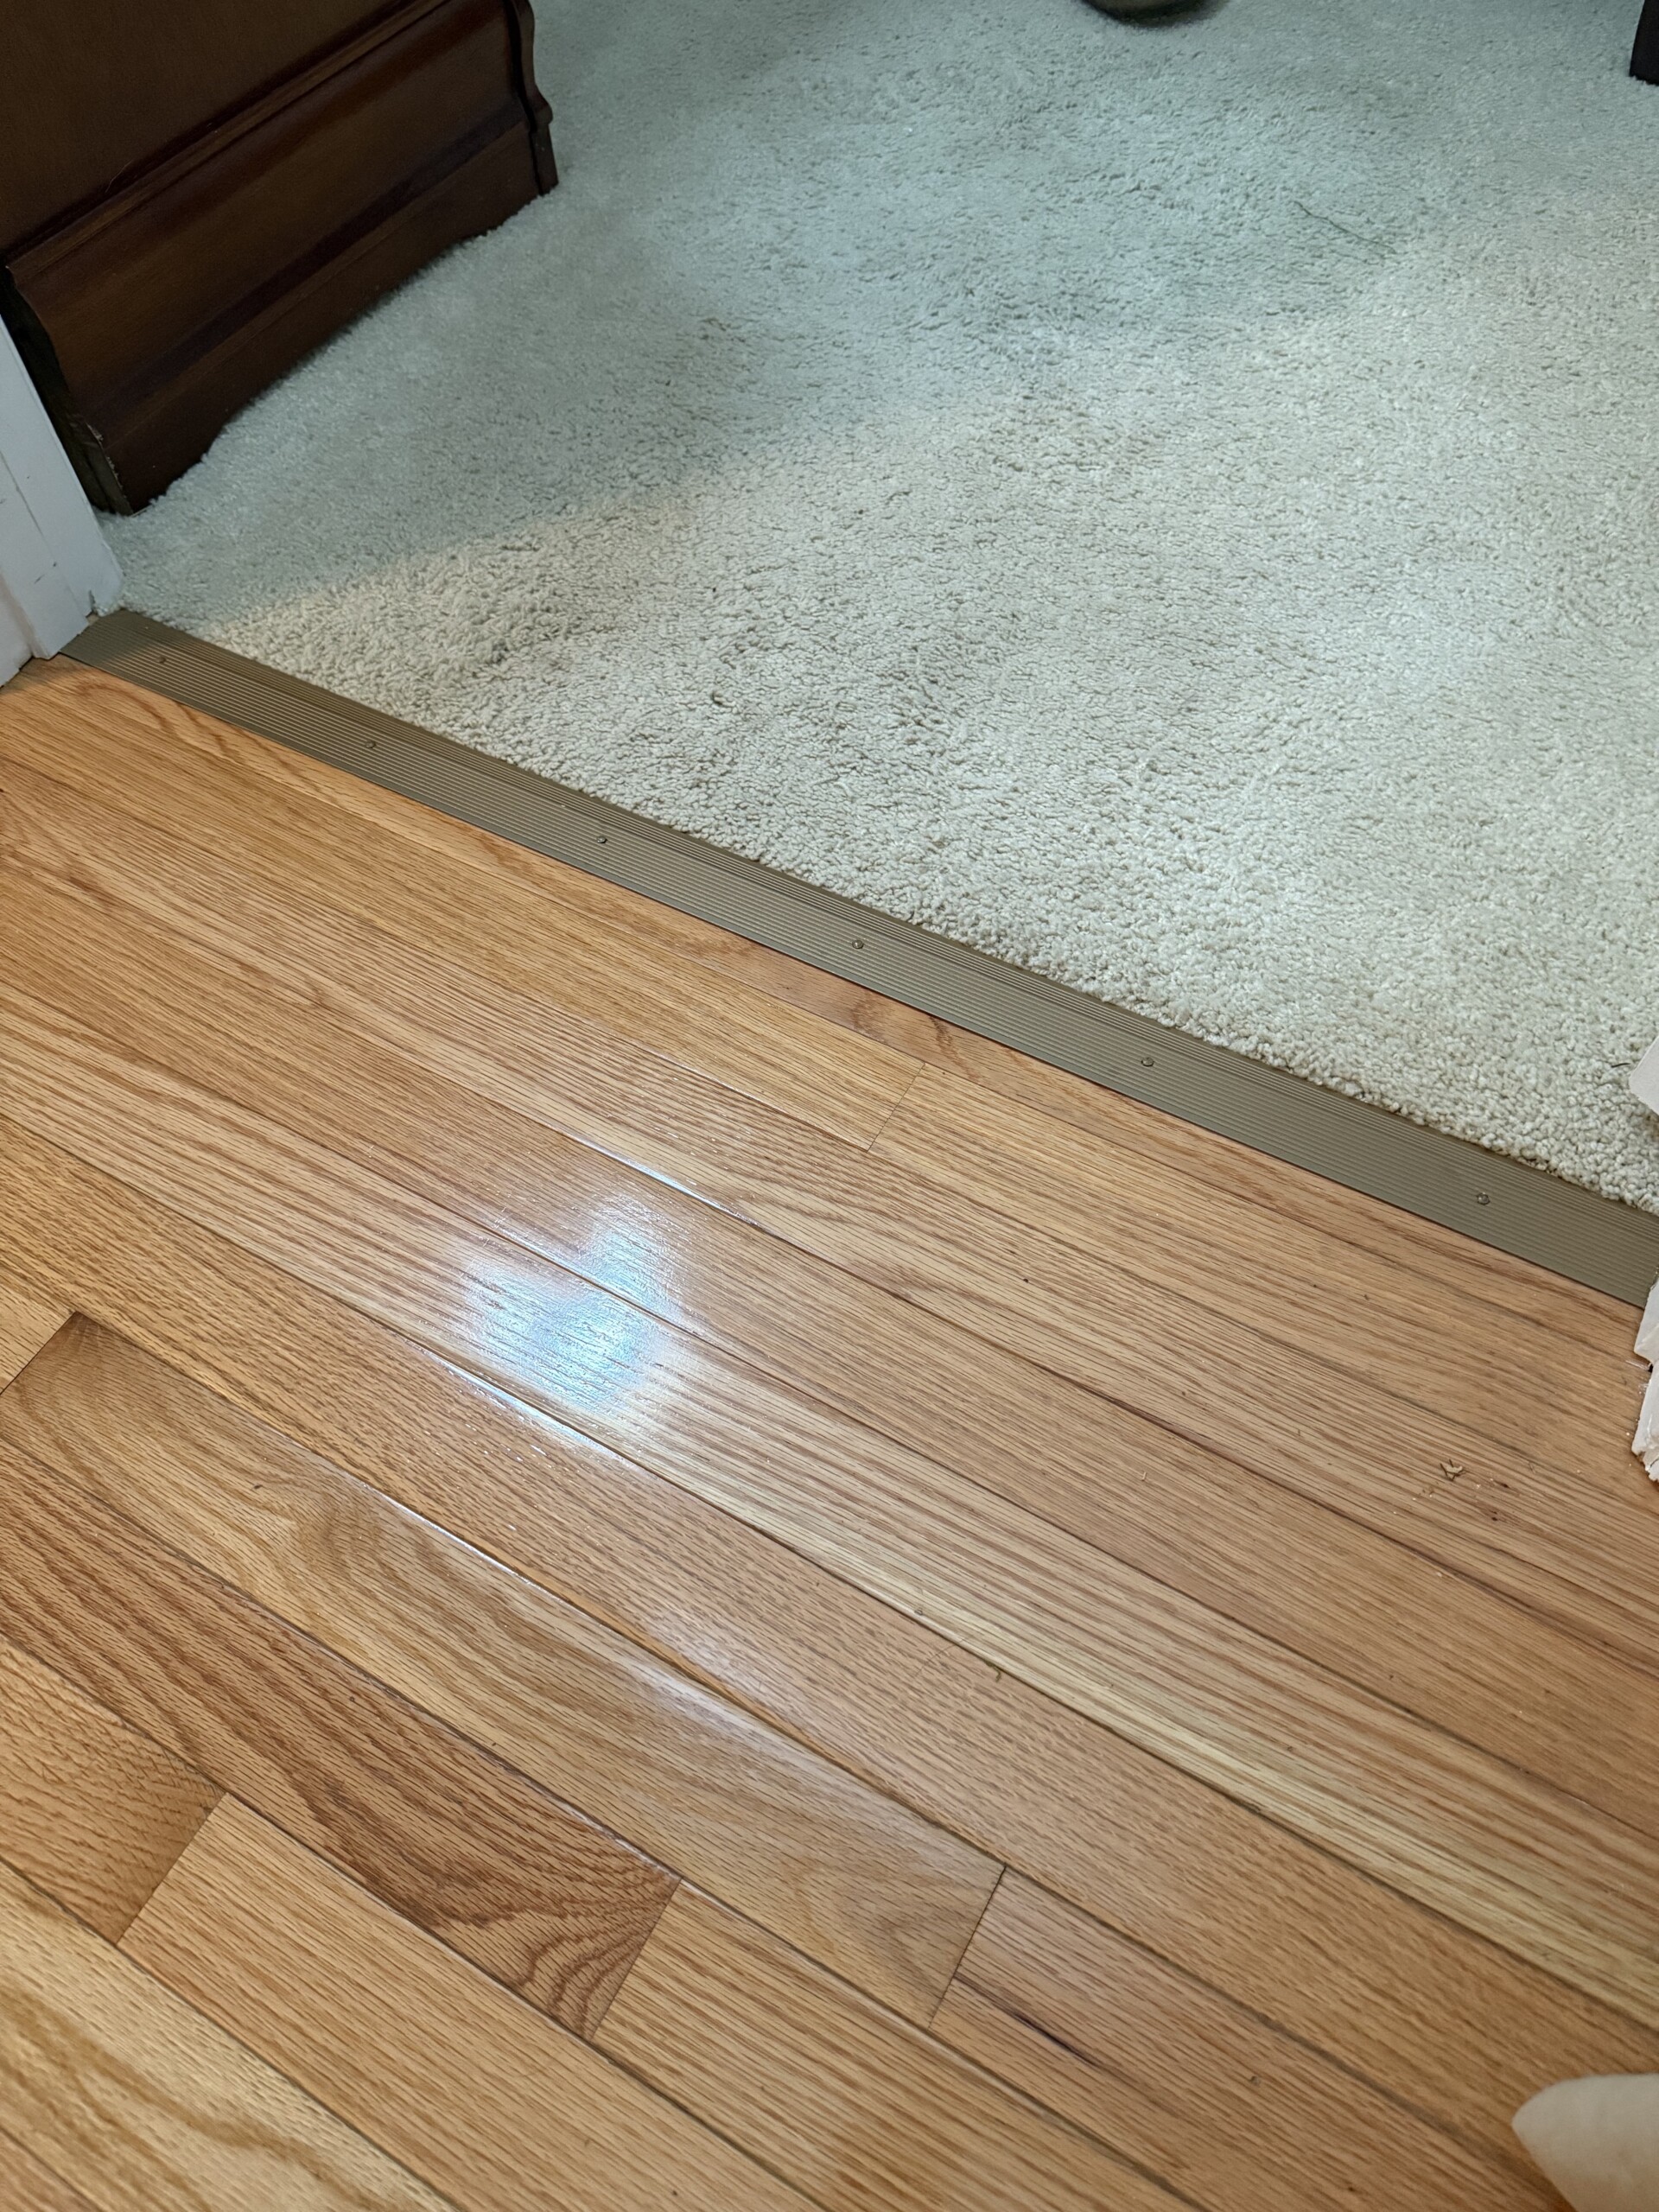
DIY installed floor transition piece
Installing a floor transition strip is an easy DIY project that you can do in a few minutes with only one product and three tools. Anyone can do this without hiring a handyman.
I hope this tutorial helped you get this project done by yourself!

Looking for something?
We've been doing this since 2012 so we have a LOT of blog posts!
Search stuff like: Ceiling Projects | DIY Plant Stands | Thrift Flips

Hey there, I'm Sean, the woodworking enthusiast and builder behind CharlestonCrafted.com! Since 2012, I've been sharing the magic of turning raw materials into beautiful creations. I love teaching others the art and satisfaction of woodworking and DIY. I try to inspire fellow crafters to make something extraordinary out of nothing at all.