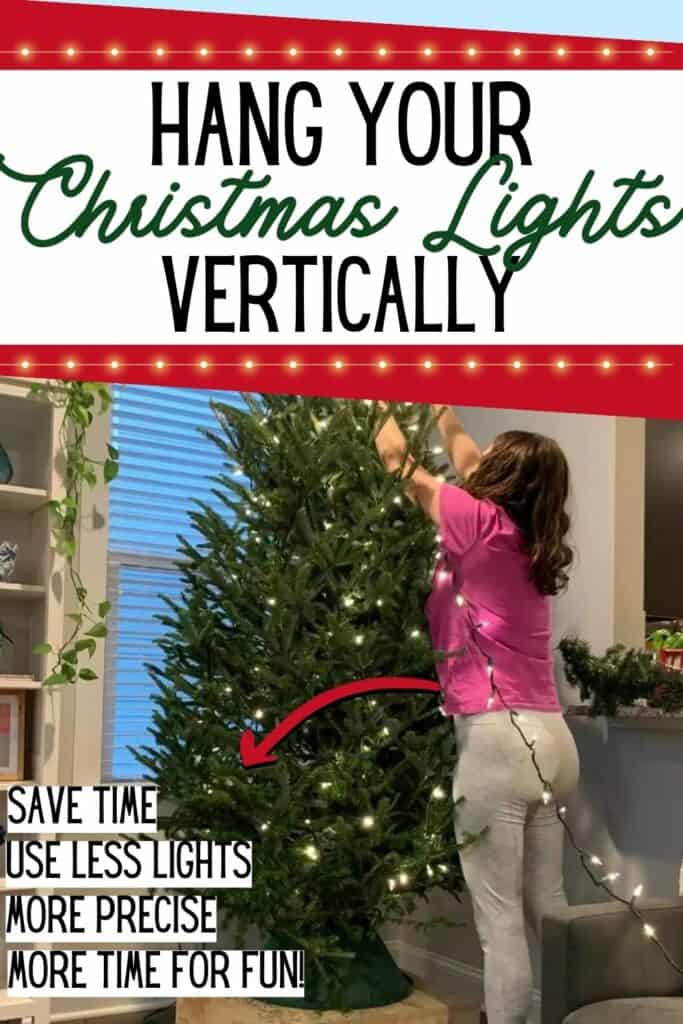
Looking for the easiest way to hang lights on your Christmas tree? Here is how to hang your lights vertically to save time and lights!
I tried something new on my Christmas tree this year and it has totally changed the way that I will decorate our tree - forever!
Let me back up a beat.
There is always a debate in our house - real tree vs. fake tree.
Sean grew up with a real tree, and really loves them.
I get it - real trees smell so good, and look... real. They are classic and beautiful.
But I love a fake tree. It's just so easy and - the best part - they come pre-lit.
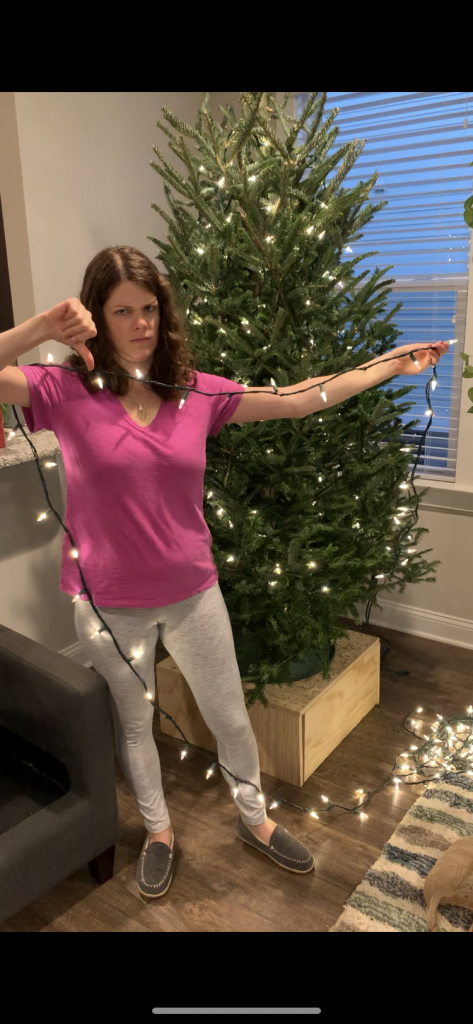
I have always hated putting lights on a tree. I spent so long going round and round and wrapping the branches.
My hands get sticky with sap and everyone wants me to hurry up so we can put on the ornaments.
Well, no more, because now I am doing vertical Christmas lights and it is so, so much easier!
Want another Christmas hack? Here's how to hang ornament clusters - for the most beautiful possible look!
Can you put on Christmas lights vertically?
Oh, absolutely! Seriously, it's like a holiday decorating hack that's both speedy and awesome-looking.
Okay, here's the scoop: when you wrap those lights vertically around your tree, it's like magic happens. You get this oh-so-even spread of glowy goodness all over your tree branches, making it look like it just stepped out of a winter wonderland dream.
And guess what? It's super easy to do. No more struggling to drape lights just right. You're in and out like a holiday decorating ninja!
But wait, there's more! You know what's rad about this vertical light show? It adds this incredible depth to your tree.
Seriously, it's like your tree suddenly gains a bunch of layers and becomes this 3D masterpiece.
Plus, when the sun sets or the lights go down, it's like your tree has its own sparkling waterfall. It's like Christmas and disco combined – can you imagine anything cooler?
Oh, and let's talk about the budget-friendly bonus. You actually end up using fewer lights with this vertical trick. Tight wrapping means less string, which equals savings for you.
So, not only are you making your tree look ah-mazing, but you're also being all eco-friendly and budget-savvy. Double win, right?
How do you hang vertical string lights?
First, start towards the back or outlet that your lights will be plugged into. I go ahead and plug in the first strand.
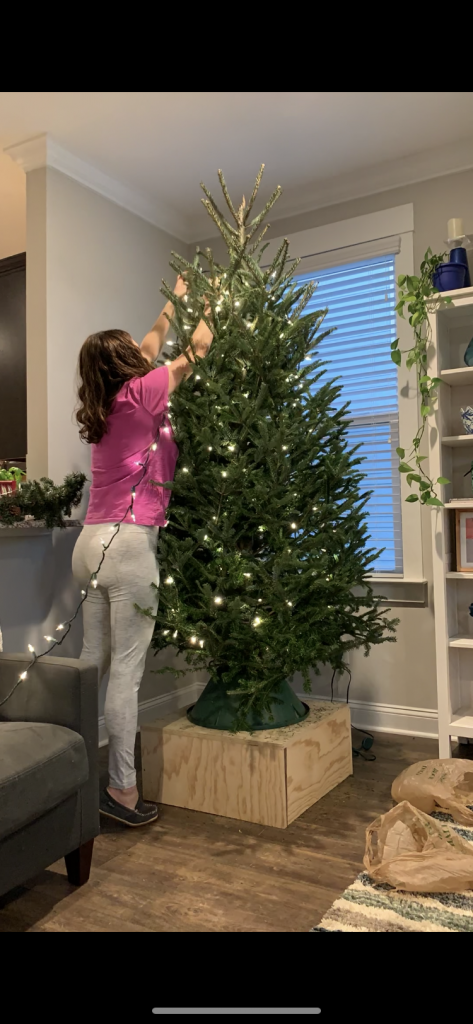
Start at the bottom of the tree at the point closest to the outlet.
Take the strand all the way up to the top of the tree, stopping before you get to the single poking up branch that is usually there.
Fold the wire and bring it back down the tree, spacing it over a few inches.
Once you reach the bottom of the tree, take a moment to decide if you want the strands further out the branches (they are more noticeable) or closer to the trunk (they look fainter but the wire is more hidden.) I like to do a mixture of the two to add dimension.
Continue until your strand runs out.
Plug in the next strand and tuck any non-lighted section of the strand deep into the tree so it's hidden.
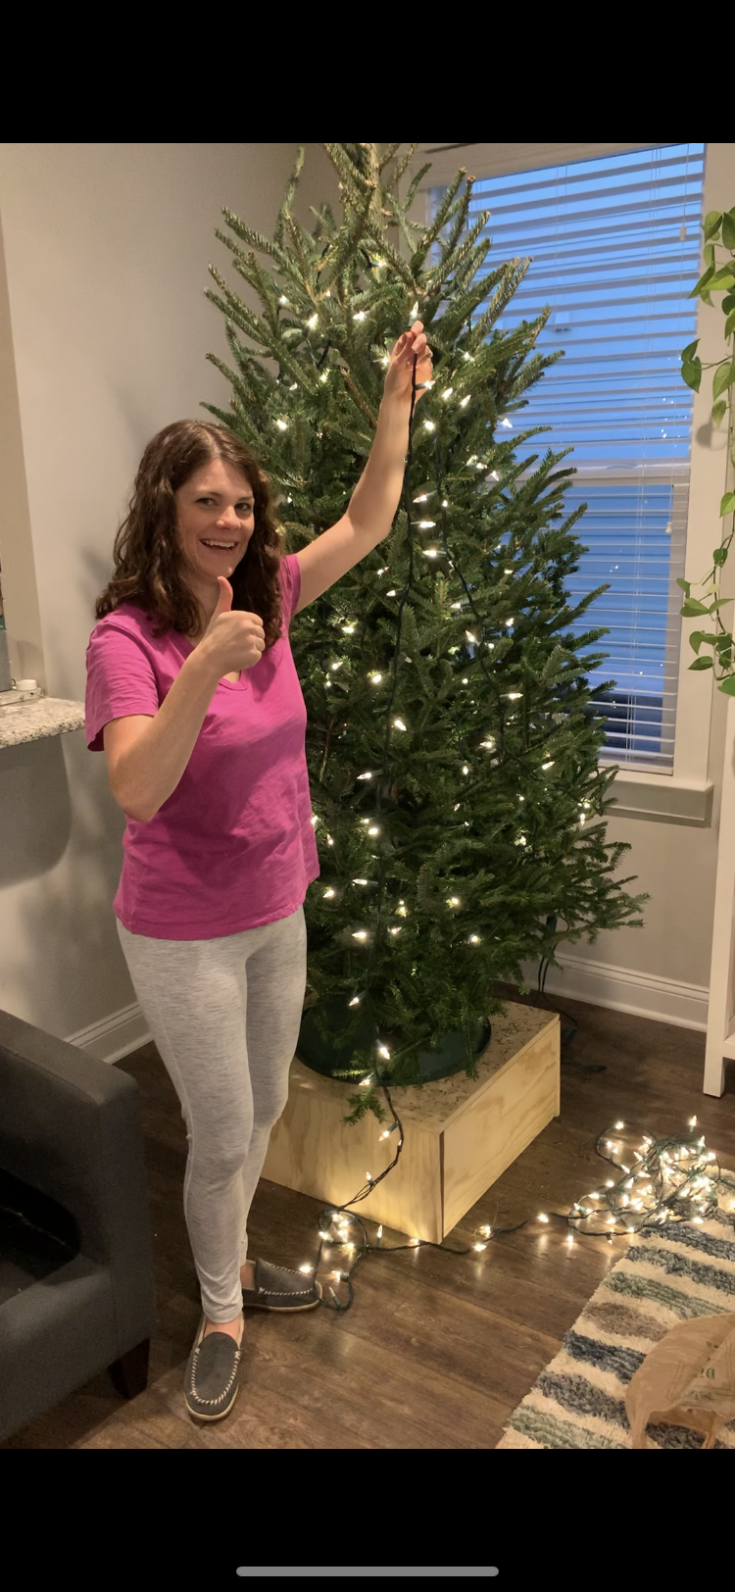
Repeat until the tree is fully lit!
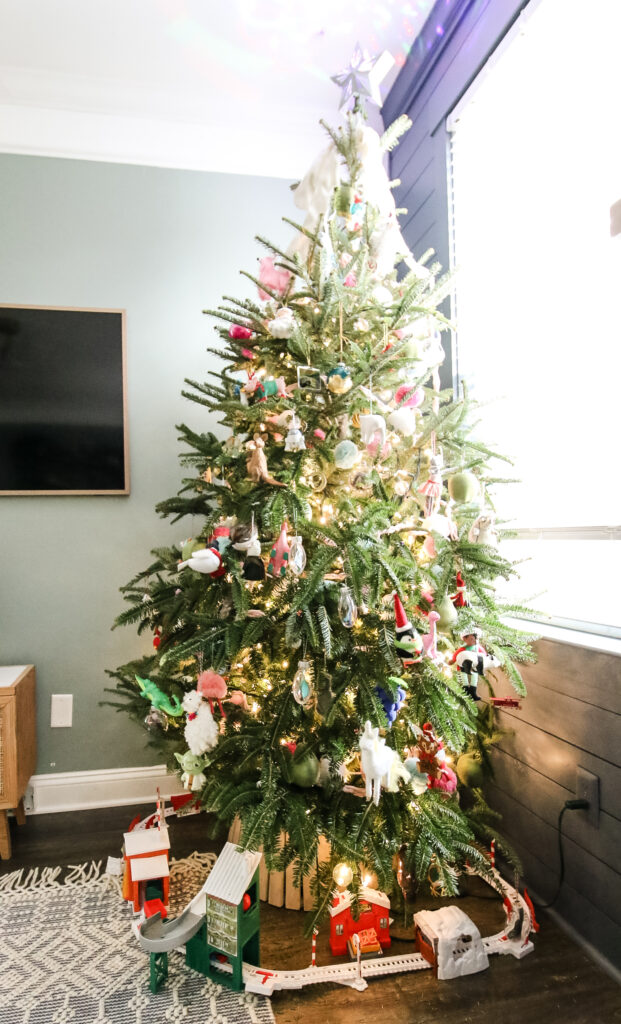
I used 3 standard strands for our 9 foot tree and then went back with two strands of globe string lights, just across the front portion of the tree (since our tree is in a corner). I love the extra pop of the globe lights!
Remember that ornaments will hide a lot of the cords, so don't get too worried about tucking it perfectly.
How to hang Christmas lights vertically
Want to light your tree quicker, easier, and with less lights? Here's how to hang your Christmas tree lights vertically!
Materials
- Christmas string lights
- Christmas tree
Tools
- Step stool or small ladder
- Extension cord, if needed
Instructions
- Plug in your first strand of lights.
- Start at the bottom of the tree at the point closest to the outlet.
- Take the strand all the way up to the top of the tree, stopping before you get to the single poking up branch that is usually there.
- Fold the wire and bring it back down the tree, spacing it over a few inches.
- Once you reach the bottom of the tree, take a moment to decide if you want the strands further out the branches (they are more noticeable) or closer to the trunk (they look fainter but the wire is more hidden.) I like to do a mixture of the two to add dimension.
- Continue until your strand runs out.
- Plug in the next strand and tuck any non-lighted section of the strand deep into the tree so it’s hidden.
- Repeat until the tree is fully lit!
Why is stringing Christmas tree lights vertically better than the traditional horizontal method?
Let's dive into why stringing Christmas tree lights vertically can be a total game-changer compared to the traditional horizontal method.
So, picture this: you're all pumped up to decorate your tree, and you're faced with the choice – do you go horizontal or vertical with those lights? Well, let me tell you, there's a whole lot of magic in choosing the vertical route.
First off, let's talk about ease. Hanging lights vertically is like a shortcut to holiday decorating awesomeness.
Why? Because you only need to do one loop around your tree. That's right, just one smooth, spiraling dance of lights, and you're already making your tree look like it stepped out of a Christmas fairytale.
Now, let's contrast that with the traditional horizontal method. You know the drill – you wind those lights round and round, like trying to tame a merry-go-round gone wild.
And what happens? It ends up taking what feels like forever, and you've got this tangle of lights that could put a puzzle to shame.
Plus, let's not forget the potential for frustration. Oops, did you miss a spot? Oh no, now you've got to backtrack and fix it. Talk about a holiday buzzkill, right?
But hold up, there's more. When you string those lights vertically, you've got something extra special in your holiday toolkit: precision.
You see, when you wrap your lights around just once, you've got a chance to step back and take a good, long look.
You can assess each section, making sure the lights are spread just right, and that every branch is getting its fair share of sparkle. It's like decorating with a keen-eyed artist's touch.
So there you have it, the lowdown on why going vertical with your Christmas lights is the ultimate decorating hack. It's faster, more precise, and leaves you with a tree that's ready to shine like it's auditioning for a Hollywood blockbuster.
This year, skip the holiday hassle and embrace the vertical magic – your tree will thank you with a dazzling performance that'll light up your holiday season!

Video tutorial
Check out this video to see exactly how I strung the lights vertically on our tree this year!
Tips for hanging Christmas tree lights
Here are some of my other best tips for lighting your tree:
Lights First, Ornaments Second: Always start with adding the lights first. It's like setting the stage for the grand performance. Once those lights are twinkling, you'll find it's a breeze to add ornaments without any tricky maneuvers.
Bulbs Galore: Let's talk math and magic. For a tree that's a foot tall, think of it as needing 100 fairy-like bulbs to light up the night. This rule of thumb is like a secret formula to create that perfect, just-right glow. So, if your tree's rockin' 6 feet of holiday spirit, aim for 600 bulbs for a spectacular show.
Testing, Testing, 1-2-3: Before you get into full decorating mode, here's the golden rule: always give your lights a test run. Think of it as a dress rehearsal before the big performance. No one wants a light show gone haywire, right?
Plug and Play – The Right Way: Trust me, this is a life (or at least a decorating) saver. Plug your strand in before you go all tree-hugging on it. Why? Because you want to make sure the plug is going in the right direction. It's like avoiding a hilarious mix-up – your tree will thank you for getting its "good side."
Weave That Magic: Imagine your tree as a secret garden, and your lights are the vines weaving their enchantment. Instead of going for the straight-and-narrow, let those lights dance among the branches. Let them wind and twist for that "just like in the forest" feel.
Hide and Seek with Plugs: Time to play hide and seek with those pesky plugs, tags, and bare parts. The trick? Tuck 'em away deep into the tree, close to the trunk.
Magic Spacing: We're not talking about a science experiment, but spacing does matter! Give your strands some breathing room, about 3-4 inches apart. It's giving each bulb its moment to shine while creating an even, dreamy glow.
Merry Christmas!

Looking for something?
We've been doing this since 2012 so we have a LOT of blog posts!
Search stuff like: Ceiling Projects | DIY Plant Stands | Thrift Flips

Hello, I'm Morgan, half of the creative force behind CharlestonCrafted.com! With a passion for DIY that dates back to 2012, I've transformed three homes and now I'm dedicated to helping others craft their dream spaces. Let's turn your house into a home together!


