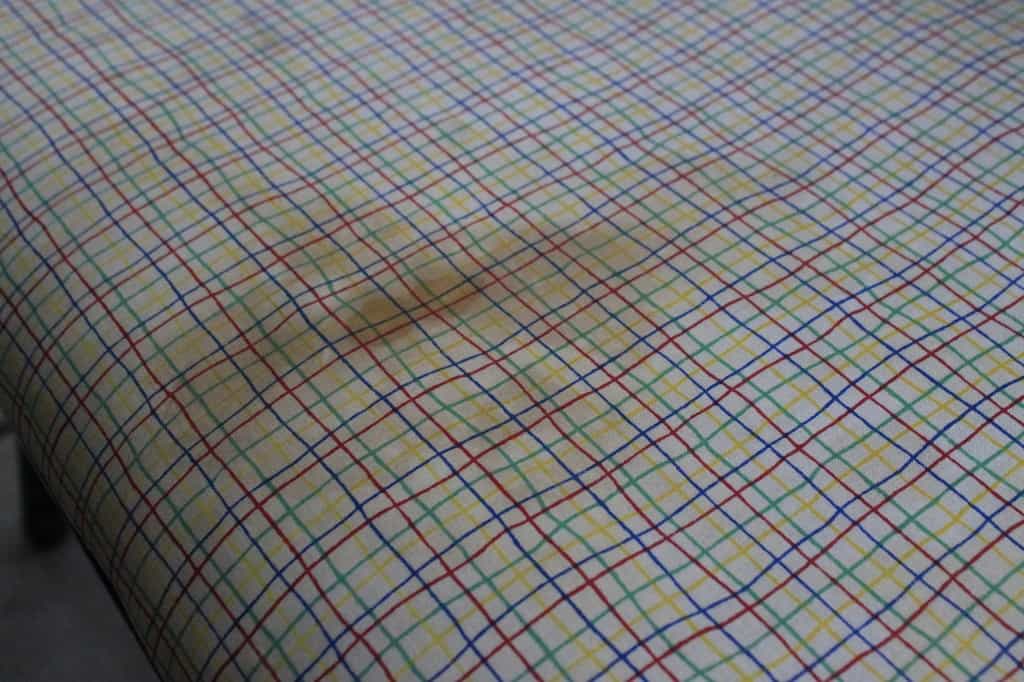
Our latest collaboration with the Palmetto Goodwill involved a bench makeover! The bench was in great shape and is solid wood, but it was doing a little worse for the wear. There were quite a few large "mystery" stains on the seat that would really deter anyone from buying it. We knew that we could use this piece to show you how simple it is to fix up furniture!
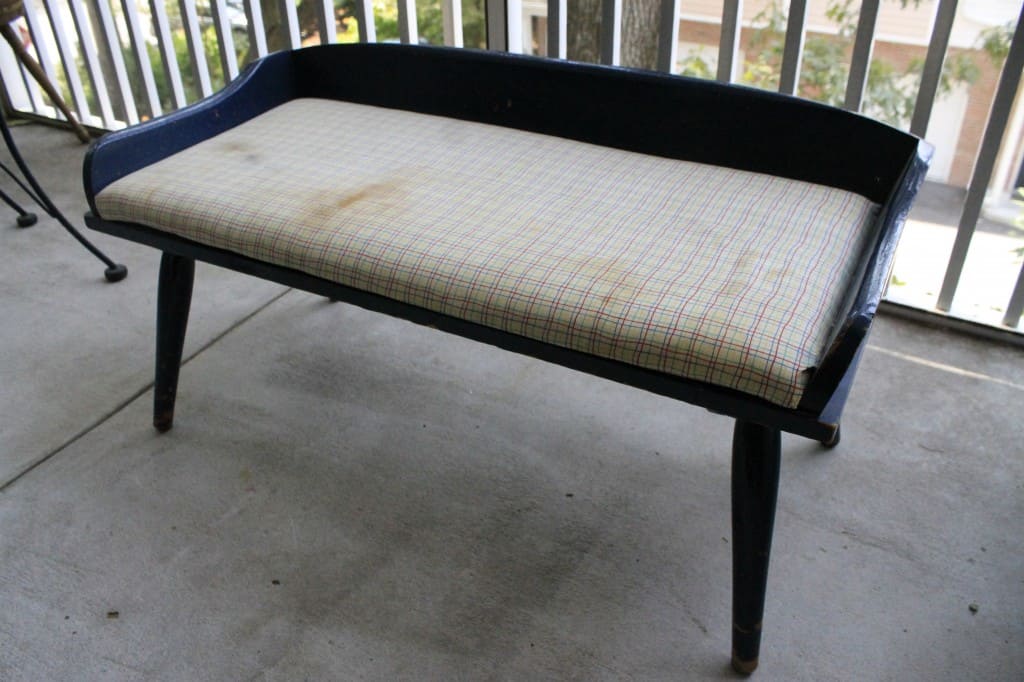

The cool thing about this bench is that, we know from the original packing slip stapled on the bottom, that it was made in 1958! That’s pretty old!
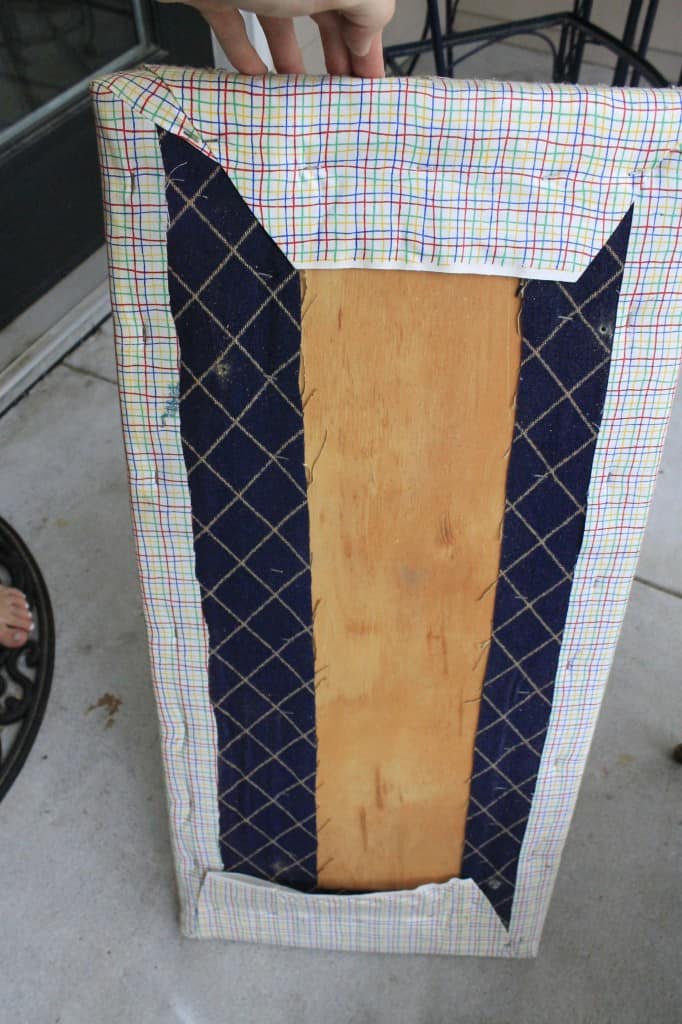
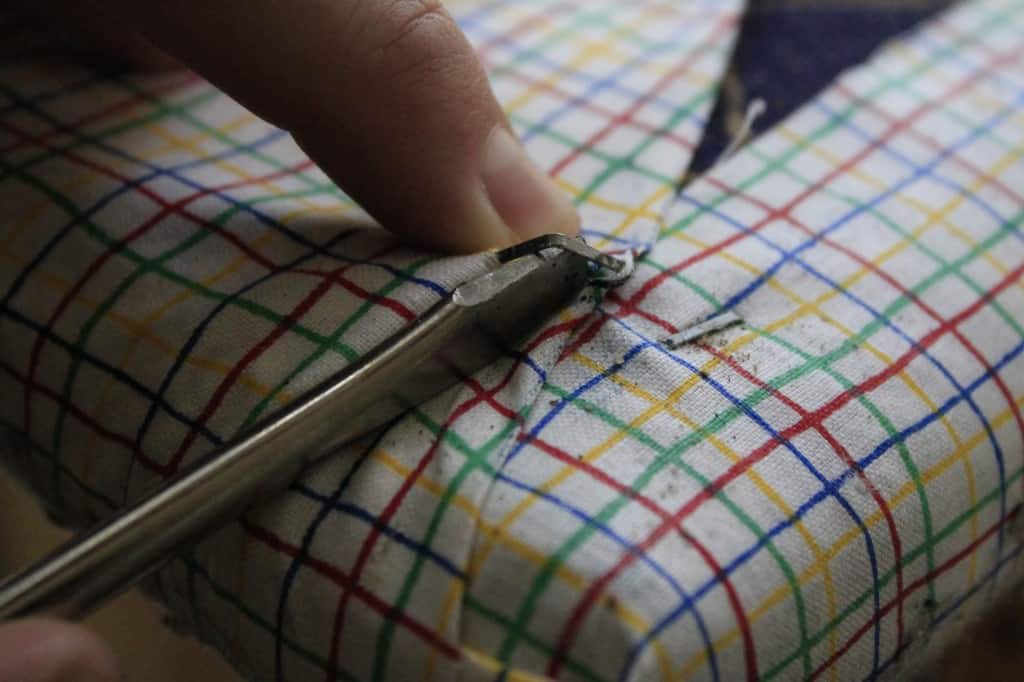
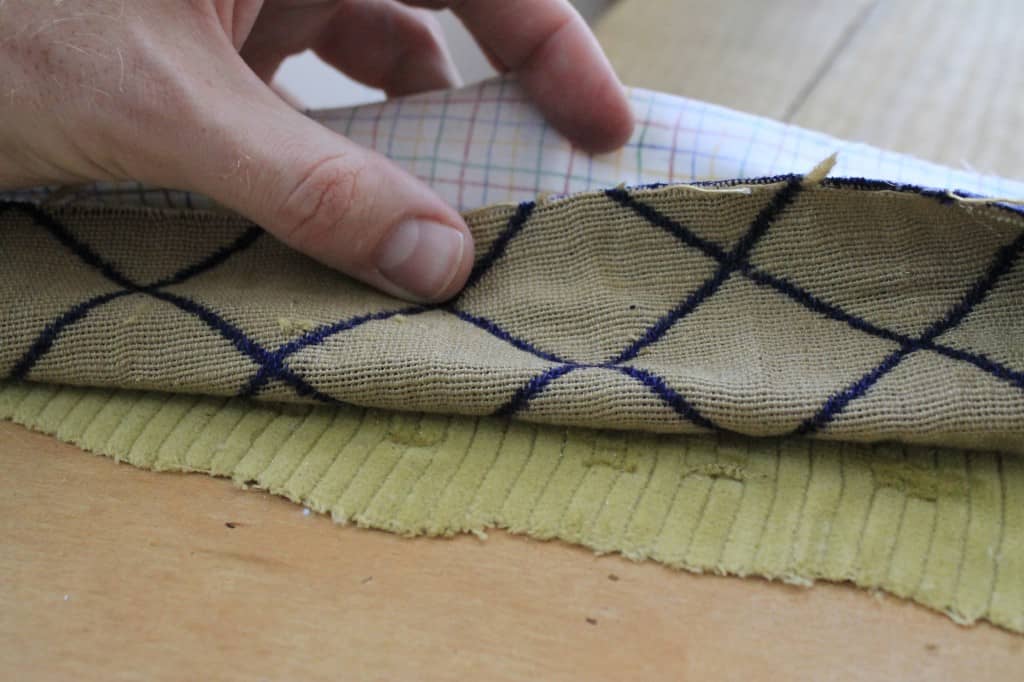
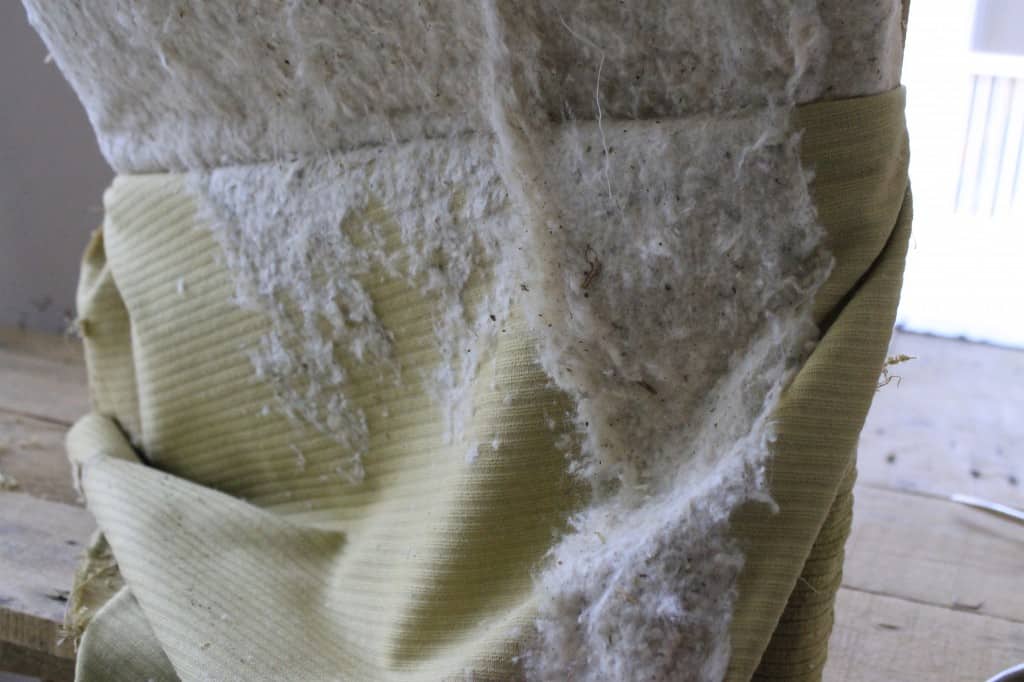
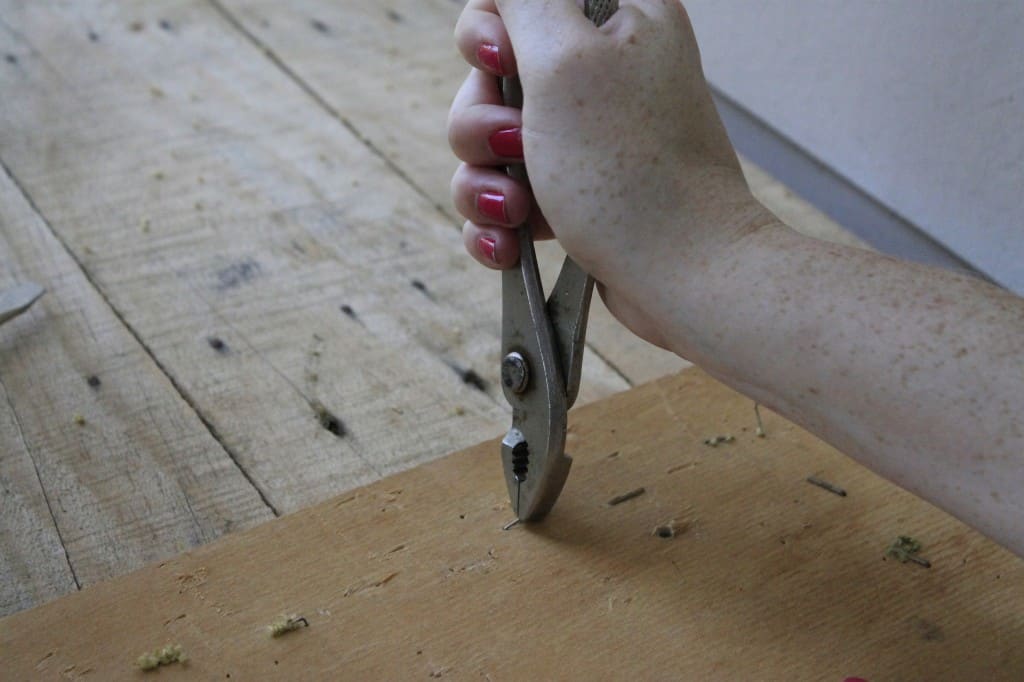
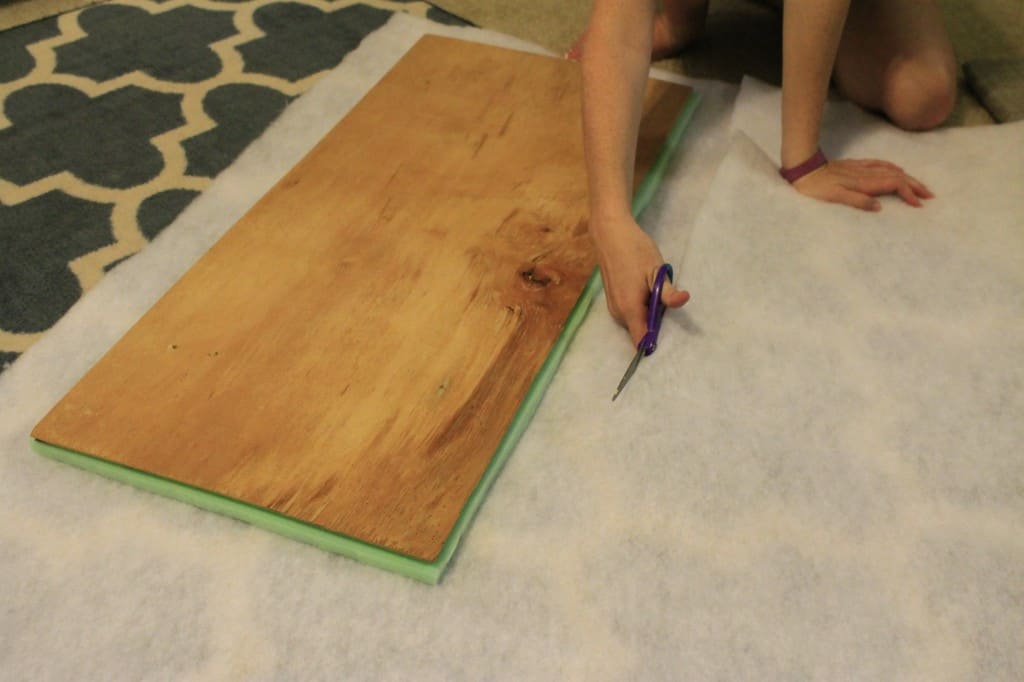
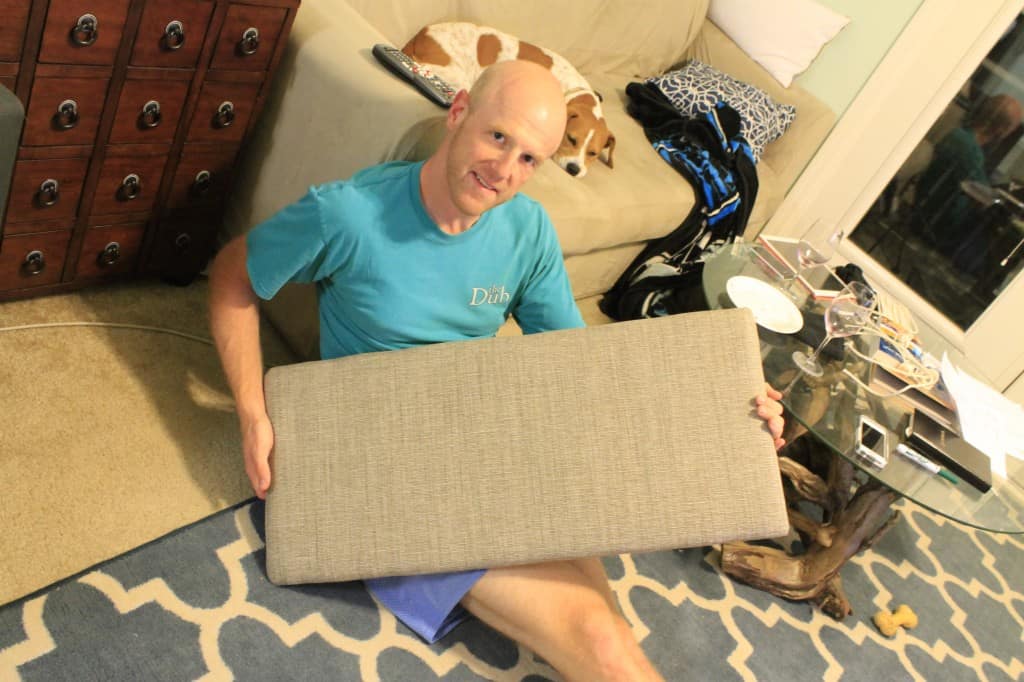
We started by unscrewing the seat from the bench itself and stripping away the old fabric. There were actually FOUR layers of fabric and hundreds of staples.
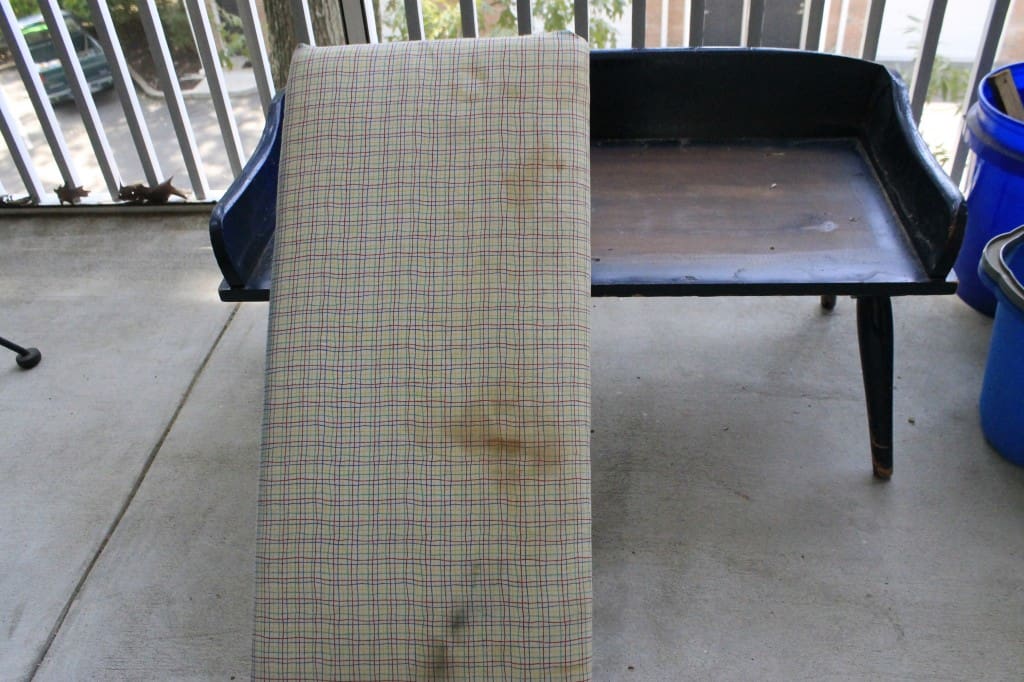
It’s cool to think of how many lives this bench has had! The problem is that people have just continued to put new sheets of fabric over the seat and haven't taken off the old, dirty ones or replaced the cushion.
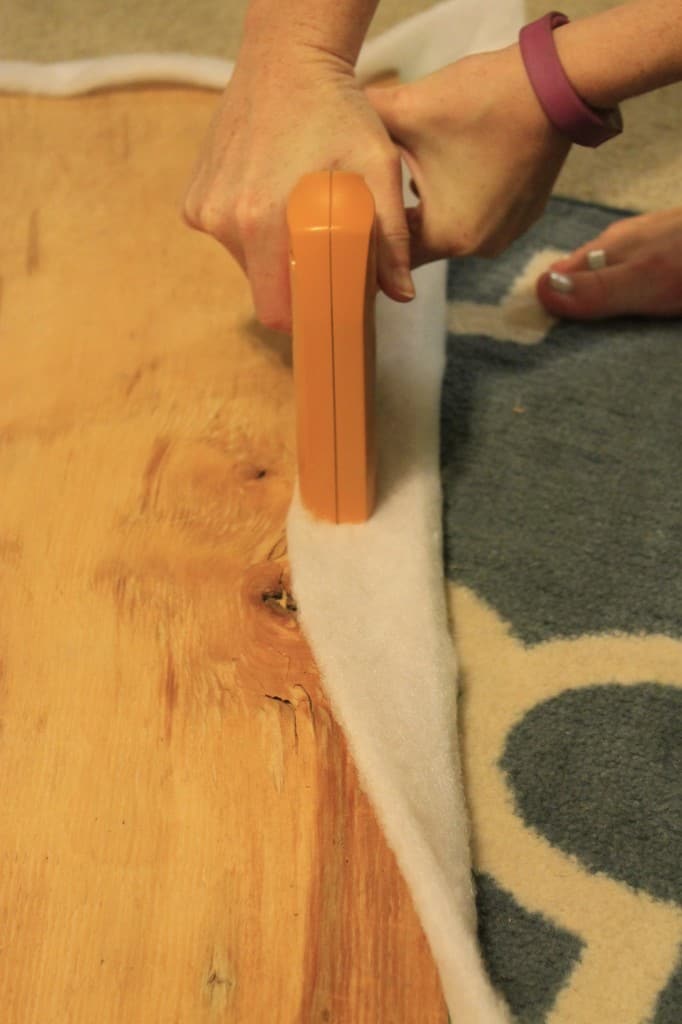
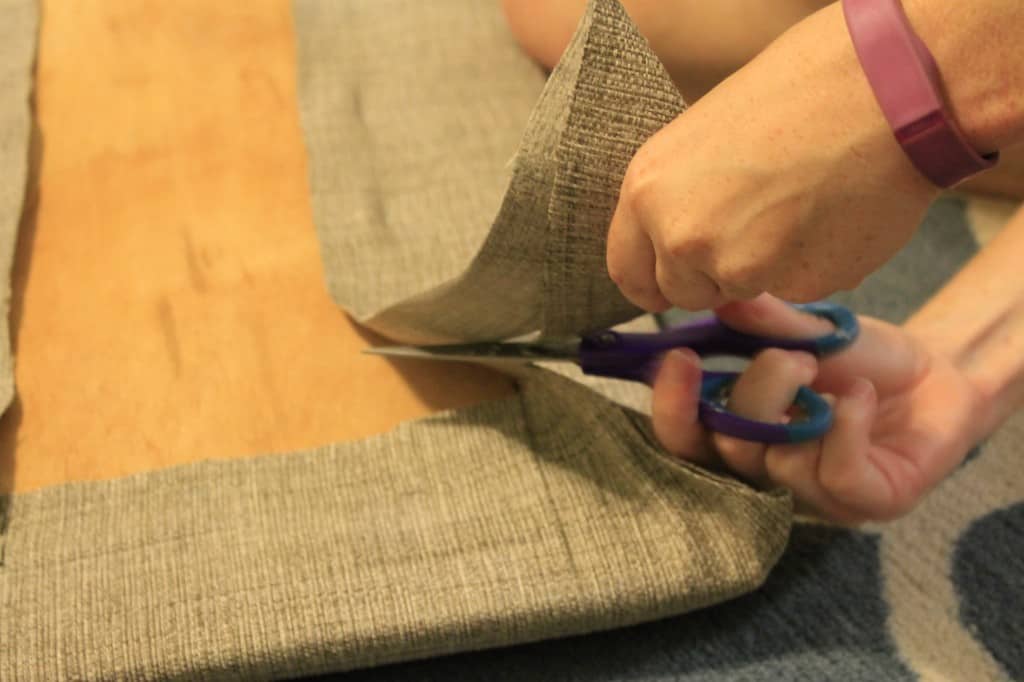
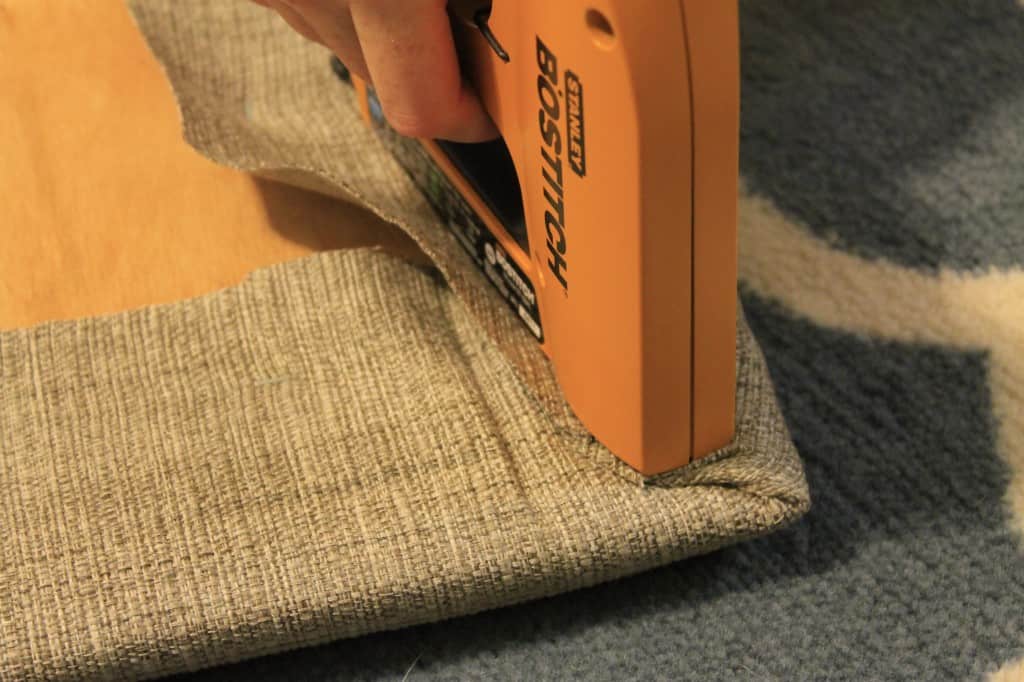
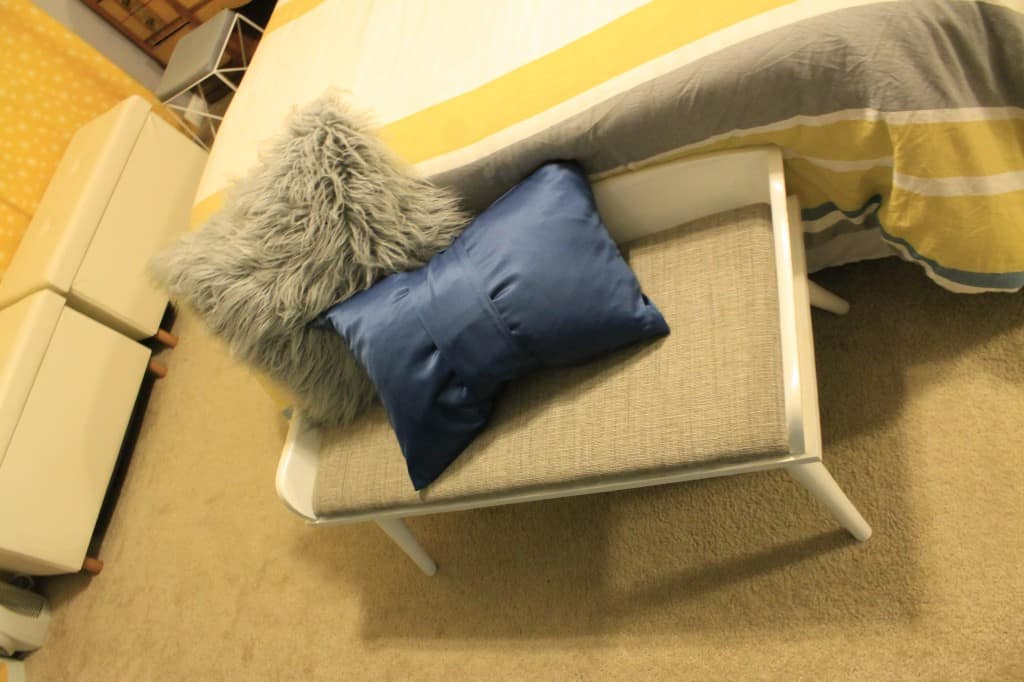
We then reupholstered the seat using a simple grey tweed fabric. Foam, batting, and fabric were stapled into place.
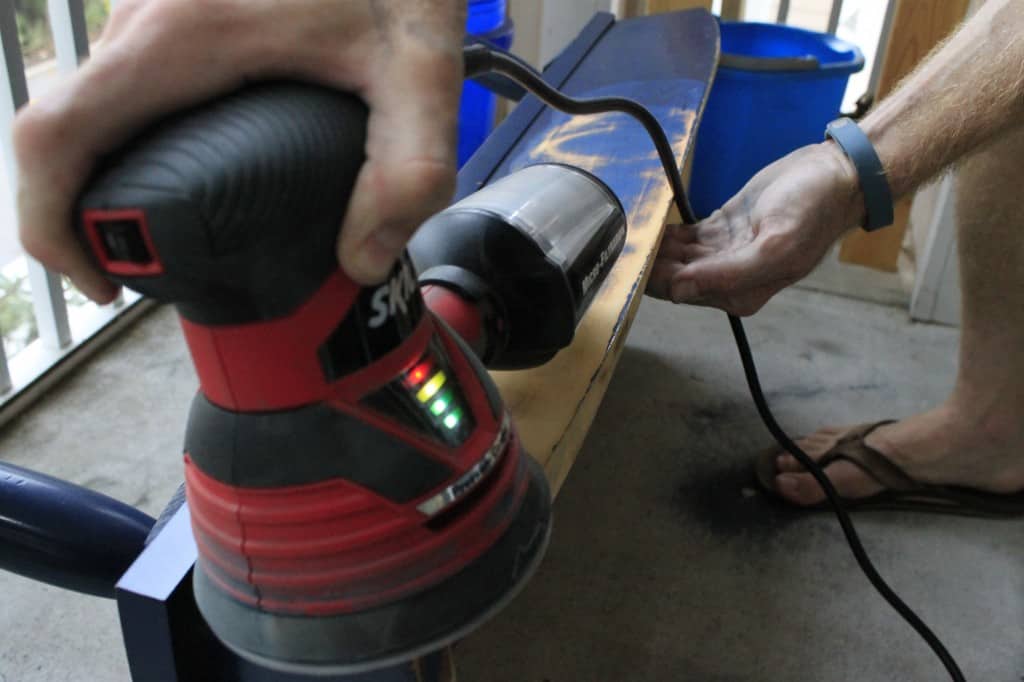
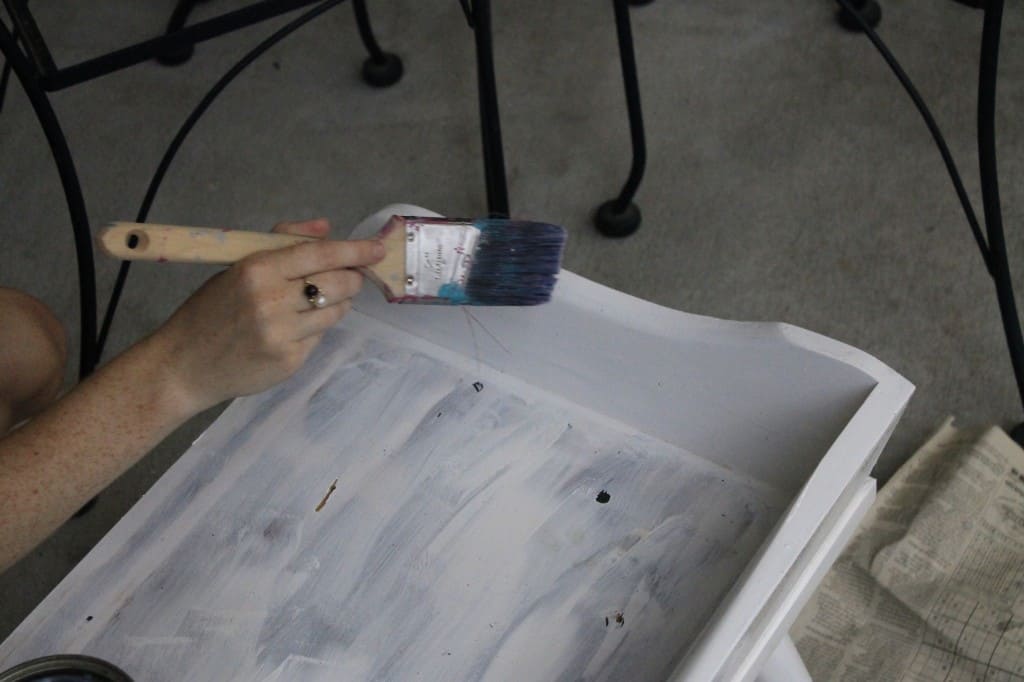
As far as the bench itself goes, Sean was excited to use his new electric sander! He rubbed off the old paint in no time.
If you don’t have an electric sander, have no fear. You can just use sandpaper to rough up the surface, but this piece had paint that was really soaked in and the electric sander made it so quick and easy.
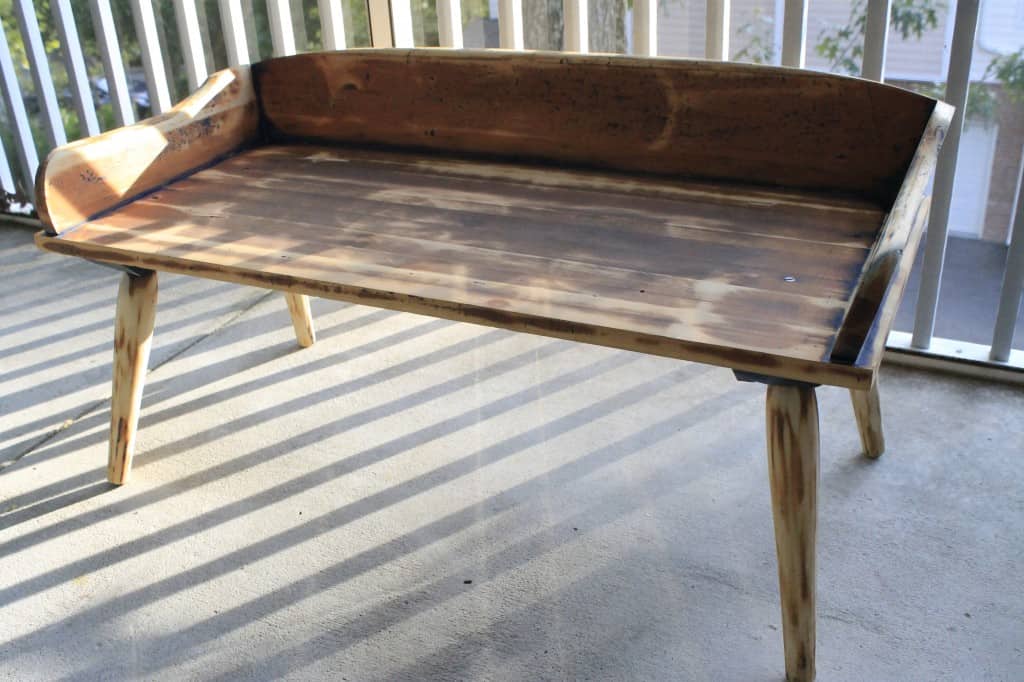
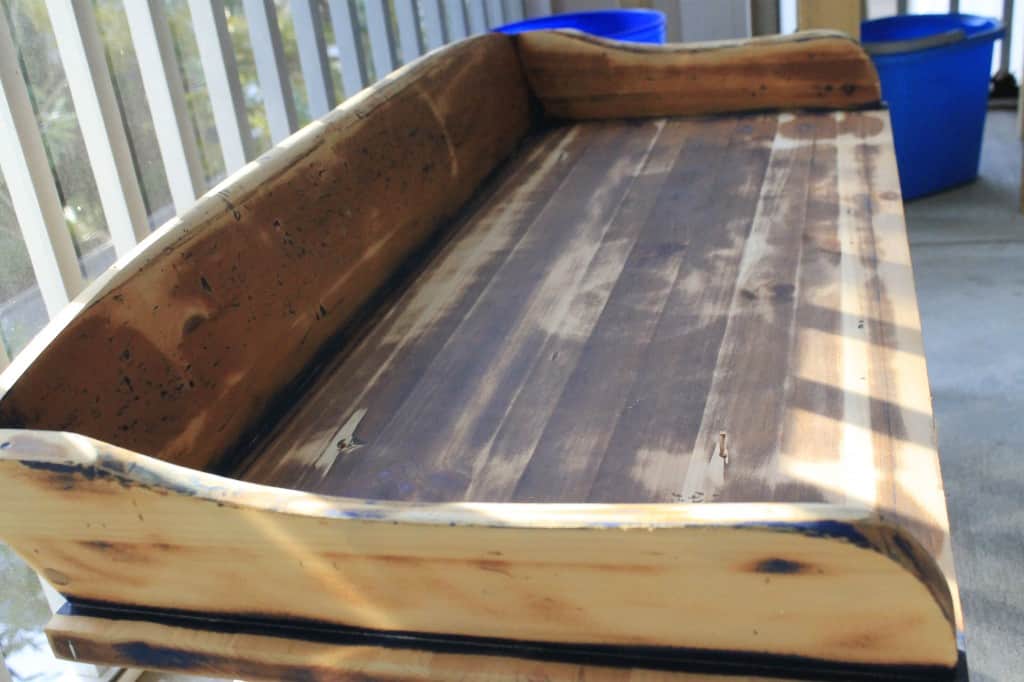
Then we coated the whole thing with white paint. I wanted to stain it and leave it wood originally, but the wood didn’t look so good close up. So, we gave it a nice, neutral white coat. My mistake was not priming first – it took so many coats! Priming seems like an extra step but it saves you time in the long run.
We finished it off with a coat of sealant.
Then, Sean screwed the seat back in and she was good to go.
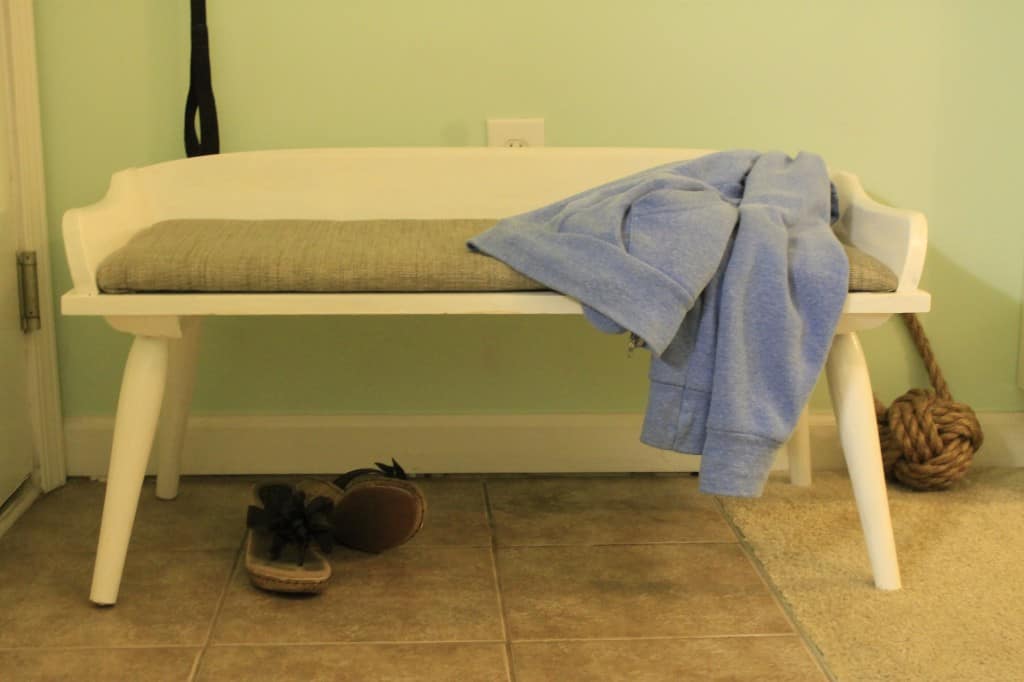
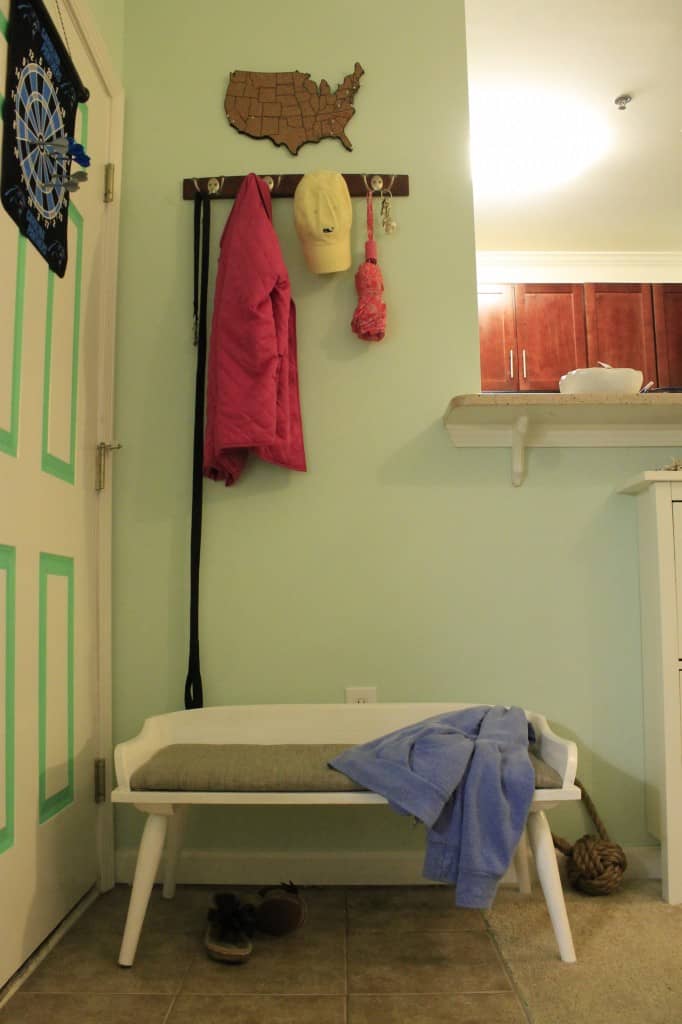
This was about the most basic makeover ever, but it really gave the bench a new life! I’d put it in an entry way under a pair of hooks for the perfect place to take your shoes off when you get home!
Want to learn to flip furniture for a profit? We have a whole resource library of files to help you get started! Sign up for free:
Have you been doing any makeovers lately??

Looking for something?
We've been doing this since 2012 so we have a LOT of blog posts!
Search stuff like: Ceiling Projects | DIY Plant Stands | Thrift Flips

Hello, I'm Morgan, half of the creative force behind CharlestonCrafted.com! With a passion for DIY that dates back to 2012, I've transformed three homes and now I'm dedicated to helping others craft their dream spaces. Let's turn your house into a home together!


Kathy says
I love what you did with this little bench. It’s so unique and it turned out so well! By the way, 1958 wasn’t that long ago, seeing as how I am the same age. Lol. I enjoy watching you create new things from old. Keep up the good work.
Morgan says
Thanks so much, Kathy! That was a really fun little furniture flip we did way back when we lived in our condo and were working on a small screened porch. Shows how much of a difference you can make!