Want to add a cute and whimsical touch to your spring decor - without spending much at all? Here's how to make faux chocolate bunny decorations for easter!!
I'm all for decorating for the holidays and seasons, but I'm also a big proponent of reusing what you already have. Sometimes just repainting some thing can give it a totally new life and help your holiday decor feel fresh.
Do you have any old bunny figurines sitting around in your Easter decor bin?
Sometimes figurines can feel dated or creepy.
Today I want to show you how to transform them with spray paint to turn them into adorable, chocolate bunnies.

How to make faux chocolate bunny decorations for easter!
It's super easy to make these chocolate bunny figurines!
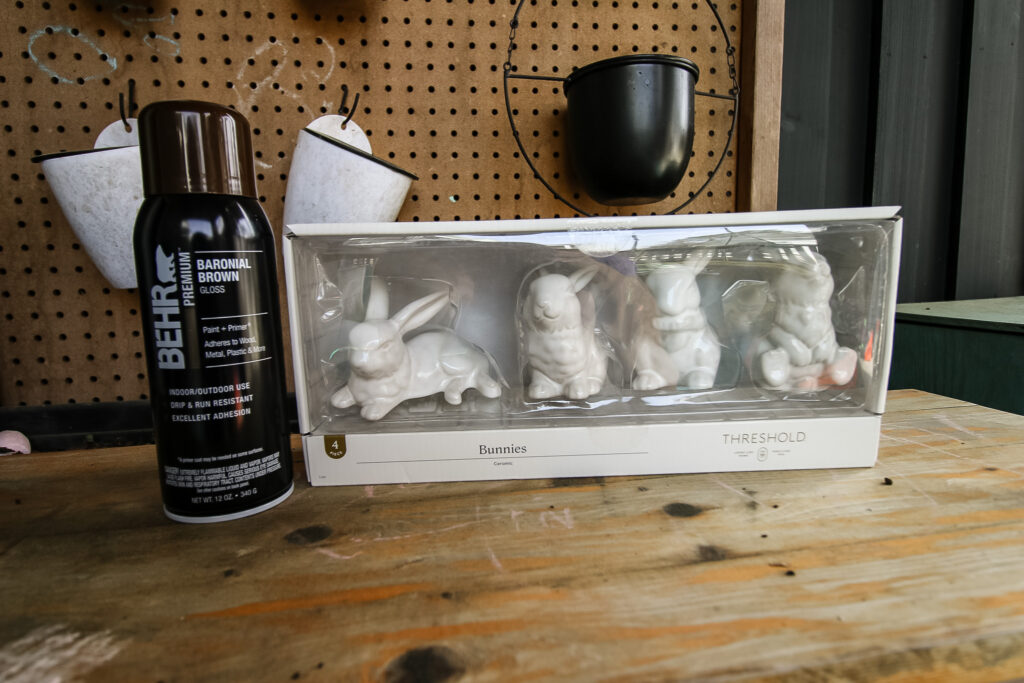
Supplies needed:
- Plastic or ceramic bunnies - I used these
- Brown glossy spray paint
- Drop cloth to protect your area
Steps to make faux chocolate bunnies:
Here's how easy it is to transform bunny figurines into chocolate bunnies.
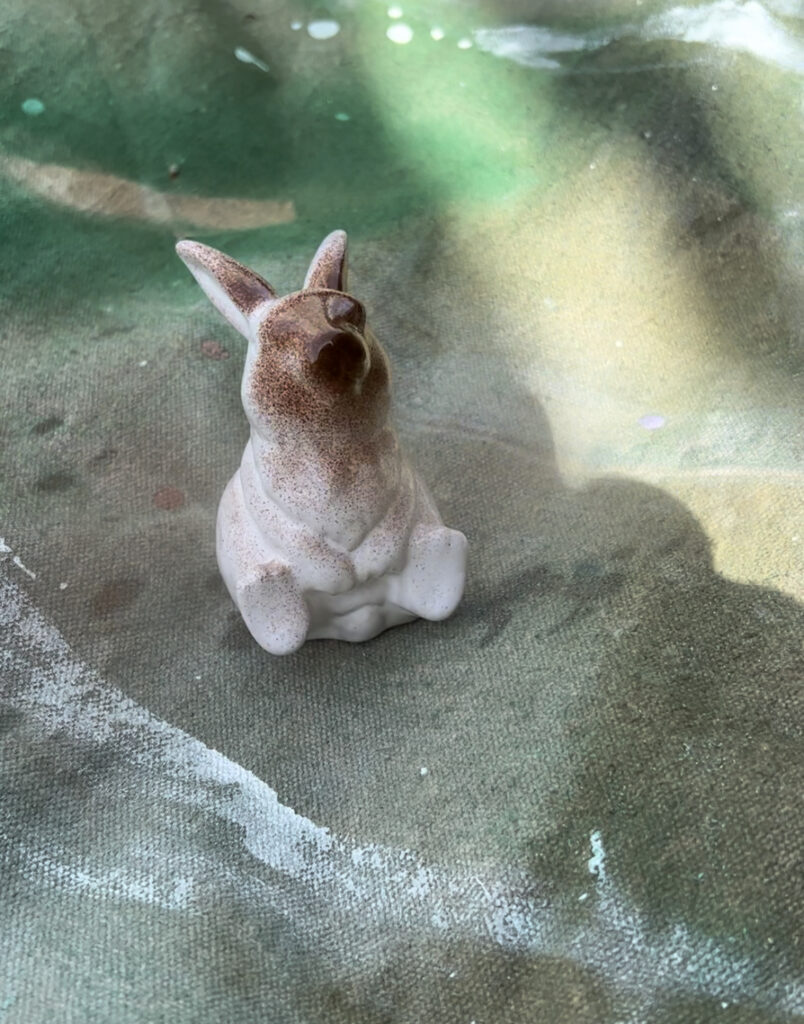
STEP 1: Gather bunnies
First, you need to find and collect the bunnies that you want to paint. They could be plastic or ceramic. Basically, any hard material.
You don't wanna be spray painting anything fabric – it won't turn out, and it certainly won't end up looking like a real chocolate bunny.
STEP 2: Clean if needed
If you were gathering old decor, take a minute to clean it.
Anything ceramic or plastic should wash off just fine in the sink. Let dry completely.
This is actually important because you don't want to be spray painting over dust or cobwebs on old decor.
Seriously, take the two seconds to rinse it off, you won't regret it.
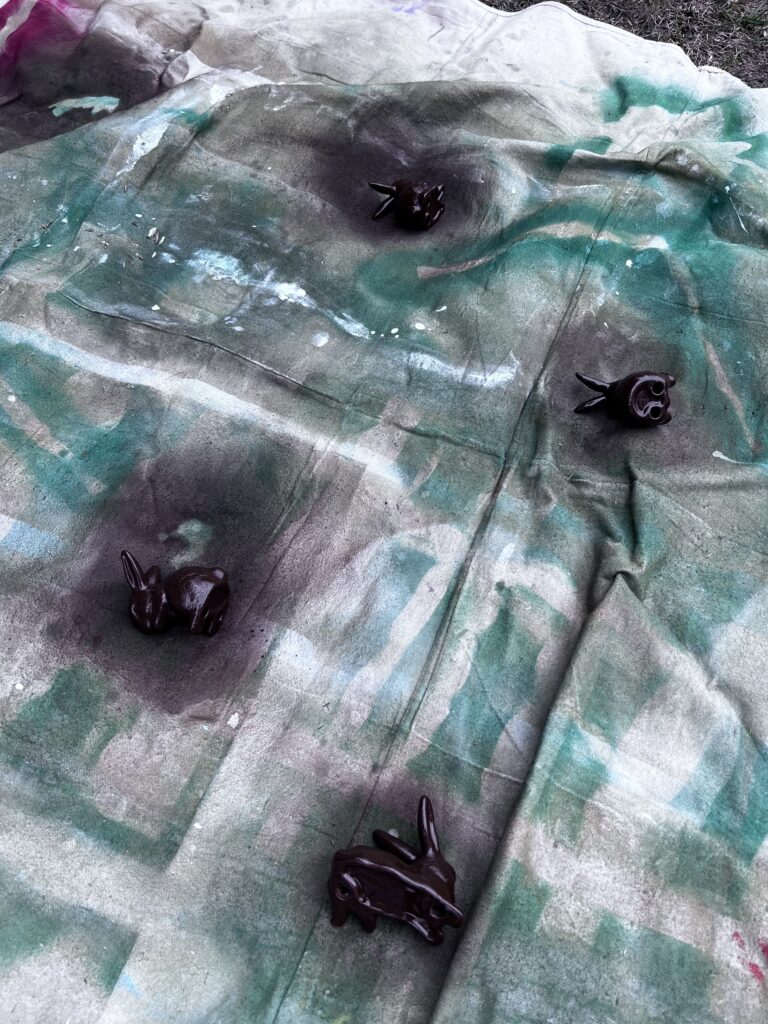
STEP 3: Set up outside
Now, get yourself set up to spray paint. You're gonna wanna lay out a tarp or drop cloth to protect the ground and choose an area that is not too windy and not under any trees. I've had trees drop leaves on my way to spray painted items one too many times to risk that.
It's important to spray paint outdoors where it is well ventilated so you don't breathe in the spray paint while you are working.
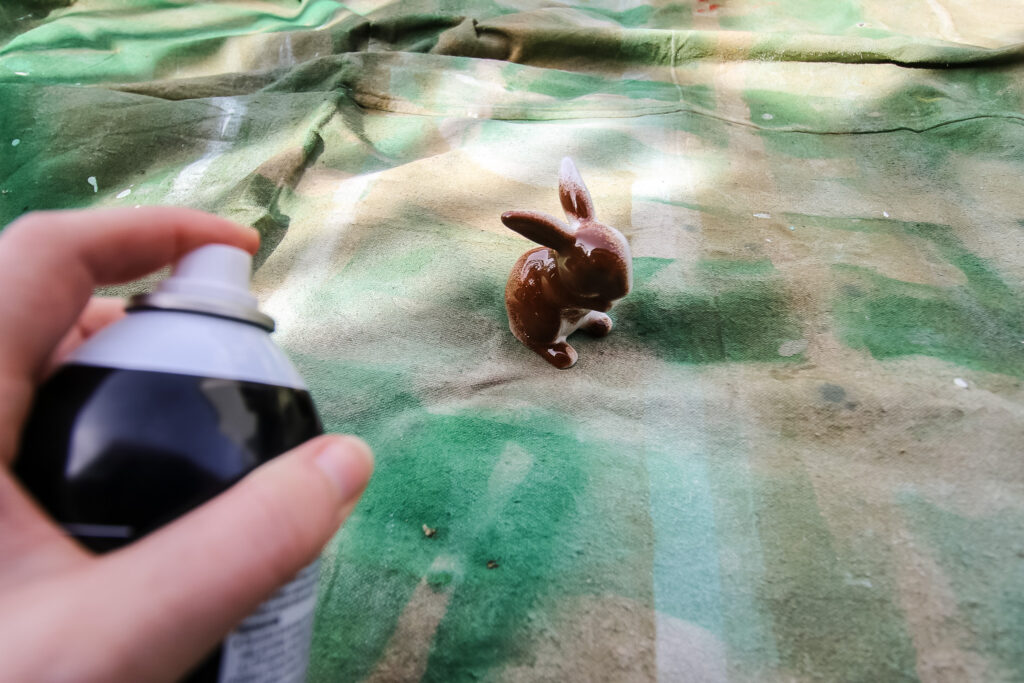
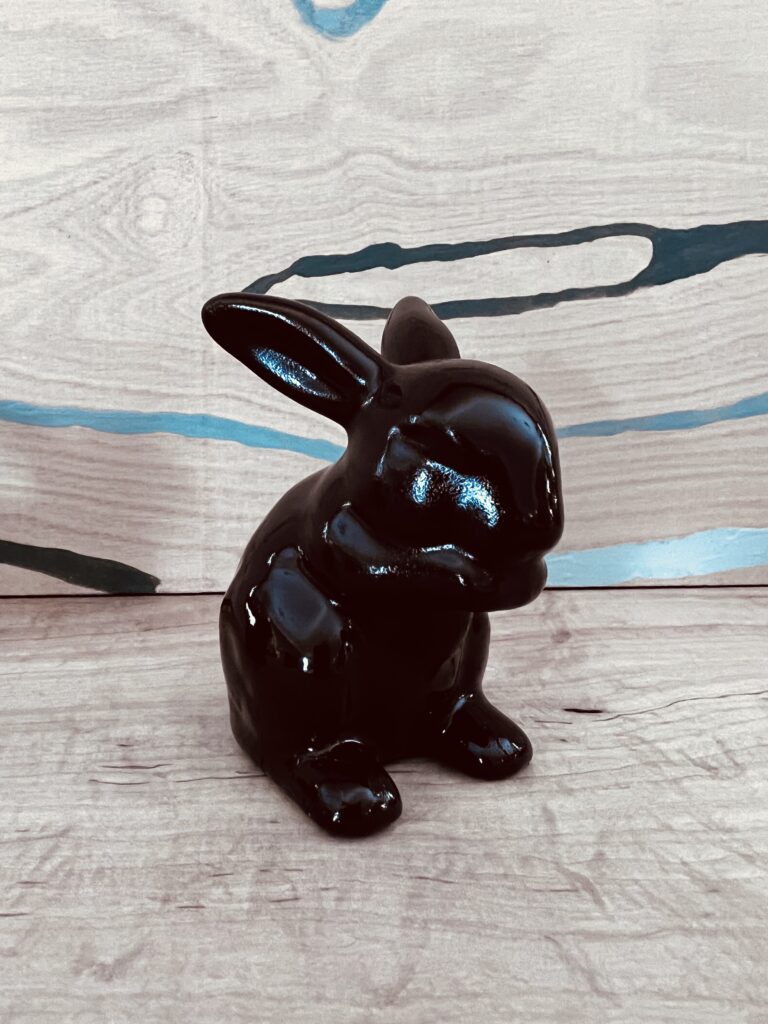
STEP 4: Spray Paint
Now, paint your bunnies. Since you're working with a dark color spray paint, you probably don't need a separate primer. The paint I used had a primer built-in.
Spray from 6 to 12 inches away and do several light coat to get full coverage.
Walk around the bunny and get him from all angles so you don't miss any spots. Under the tail and in between the ears were the hardest parts for me.
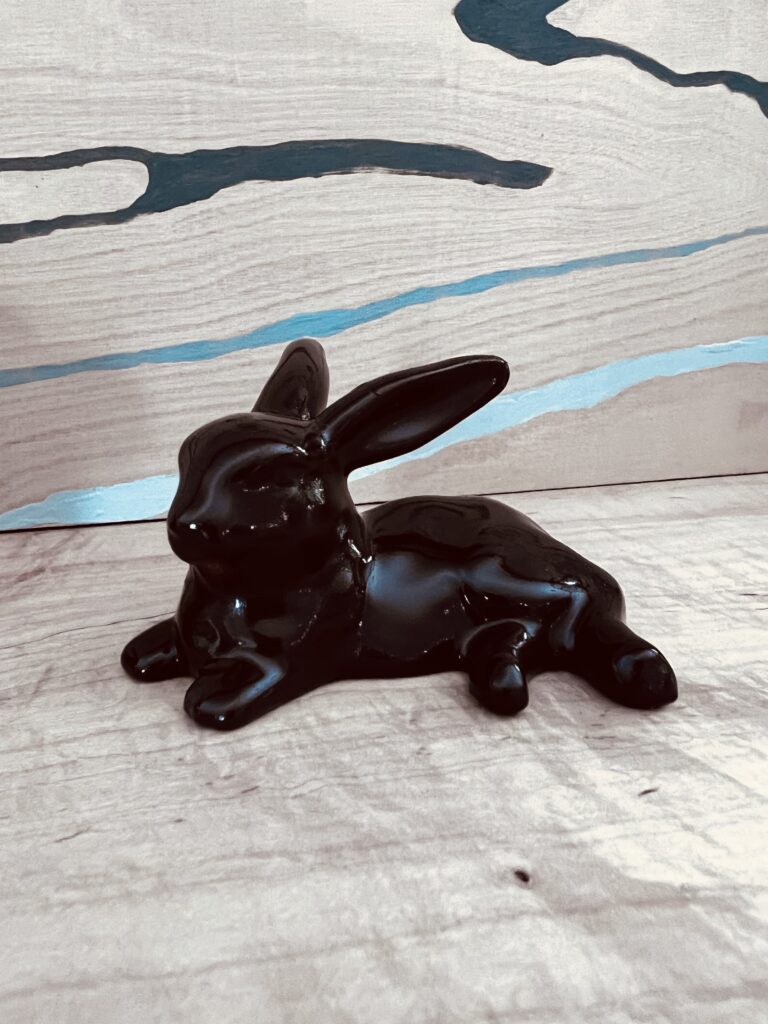
STEP 5: Flip and Repeat
Once that has dried, flip the bunny upside down and spray the bottom, too.
This is a good way to get any spots that were hard to reach previously and to make it fully look like a chocolate bunny.
It's important that it really fully dries before you do this or else it will stick to the drop cloth and mess up the paint. The moral of the story is to be patient and take your time for a really nice results.
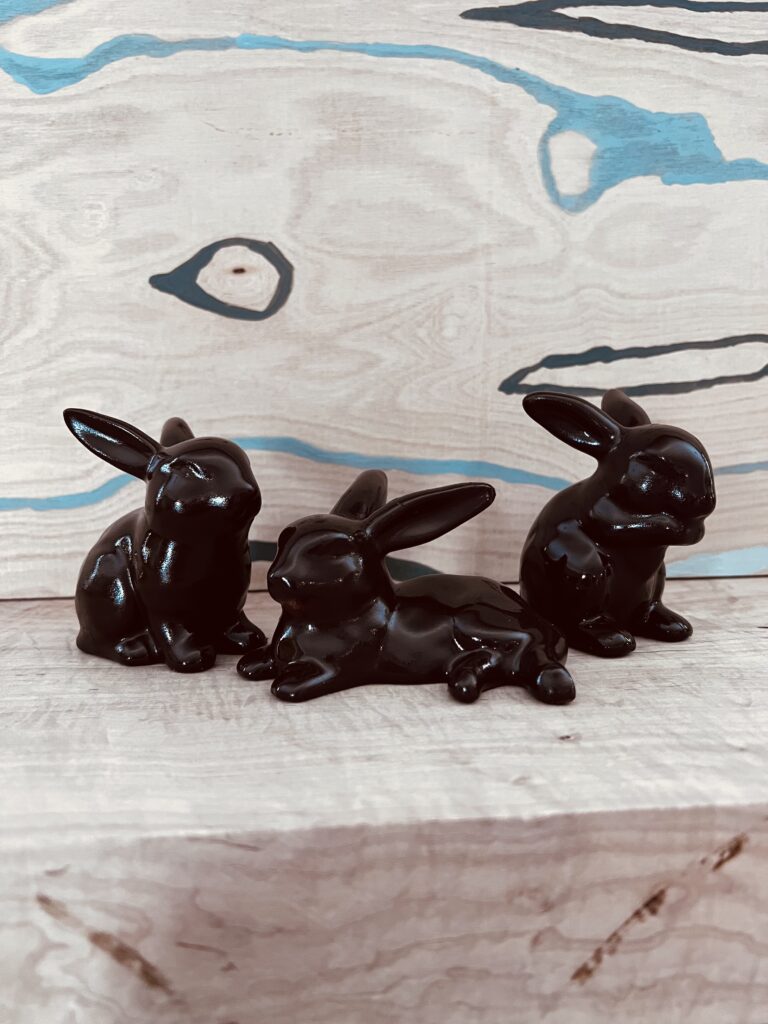
STEP 6: Decorate!
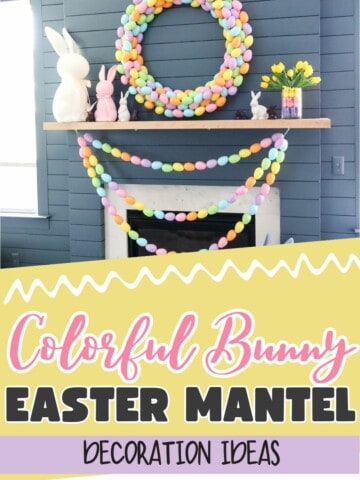
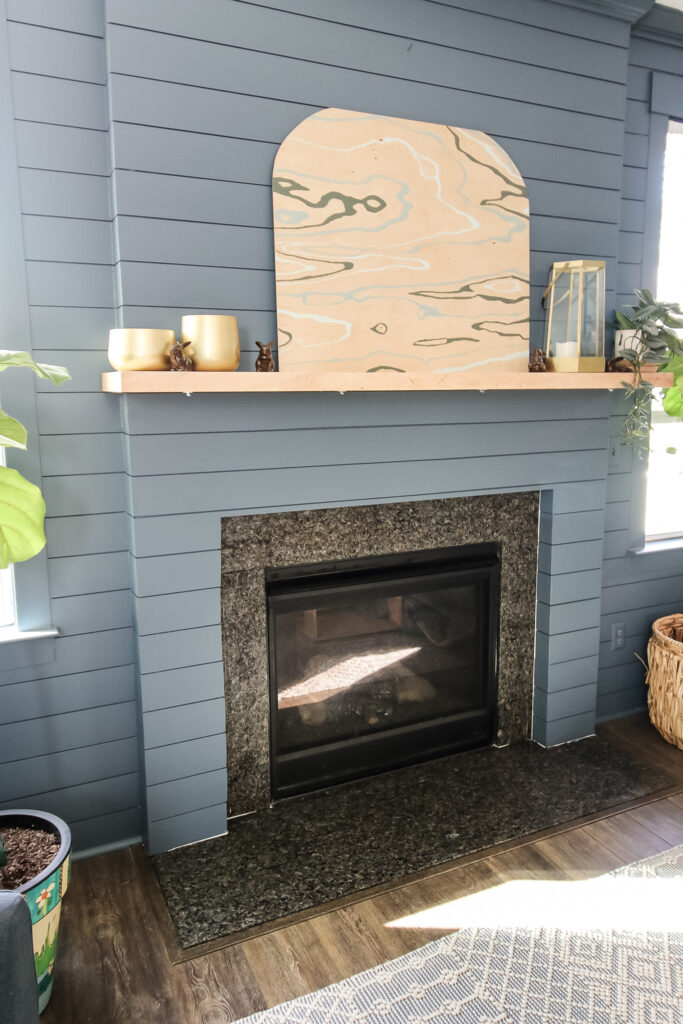
Once your bunnies have fully dried, add them to your decor. We put ours on the mantle.
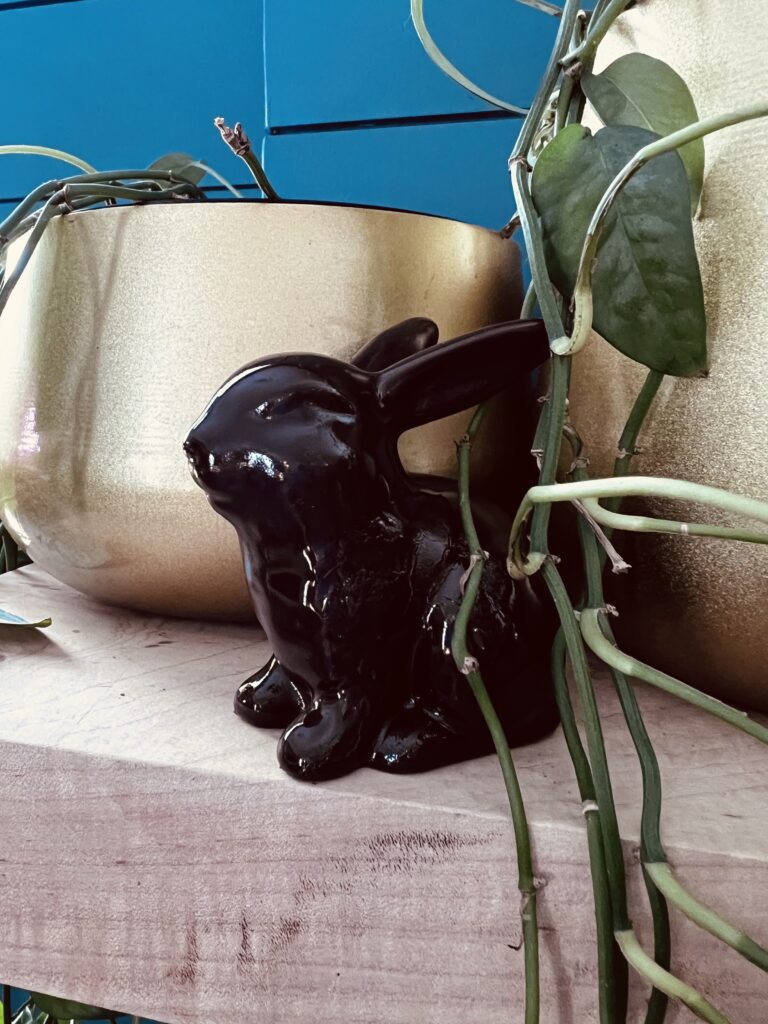
We're in the middle of the kitchen renovation right now, so I'm not pulling out a lot of decorations, but this is the perfect little festive touch for Easter.
Any questions abut this simple craft?!

Looking for something?
We've been doing this since 2012 so we have a LOT of blog posts!
Search stuff like: Ceiling Projects | DIY Plant Stands | Thrift Flips

Hello, I'm Morgan, half of the creative force behind CharlestonCrafted.com! With a passion for DIY that dates back to 2012, I've transformed three homes and now I'm dedicated to helping others craft their dream spaces. Let's turn your house into a home together!