• Skip to primary navigation
  • Skip to main content
  • Skip to primary sidebar
Charleston Crafted
  • DIY
  • Woodworking
  • Popular Posts
  • Blog
  • About
  • Shop
menu icon
go to homepage
  • DIY
  • Woodworking
  • Popular Posts
  • Blog
  • About
  • Shop
search icon
Homepage link
  • DIY
  • Woodworking
  • Popular Posts
  • Blog
  • About
  • Shop
×
Home » Building » Woodworking Plans

DIY modern angled bird house

Published: Aug 11, 2025 by Sean · As an Amazon Associate, we earn from qualifying purchases. This site contains affiliate links. ·

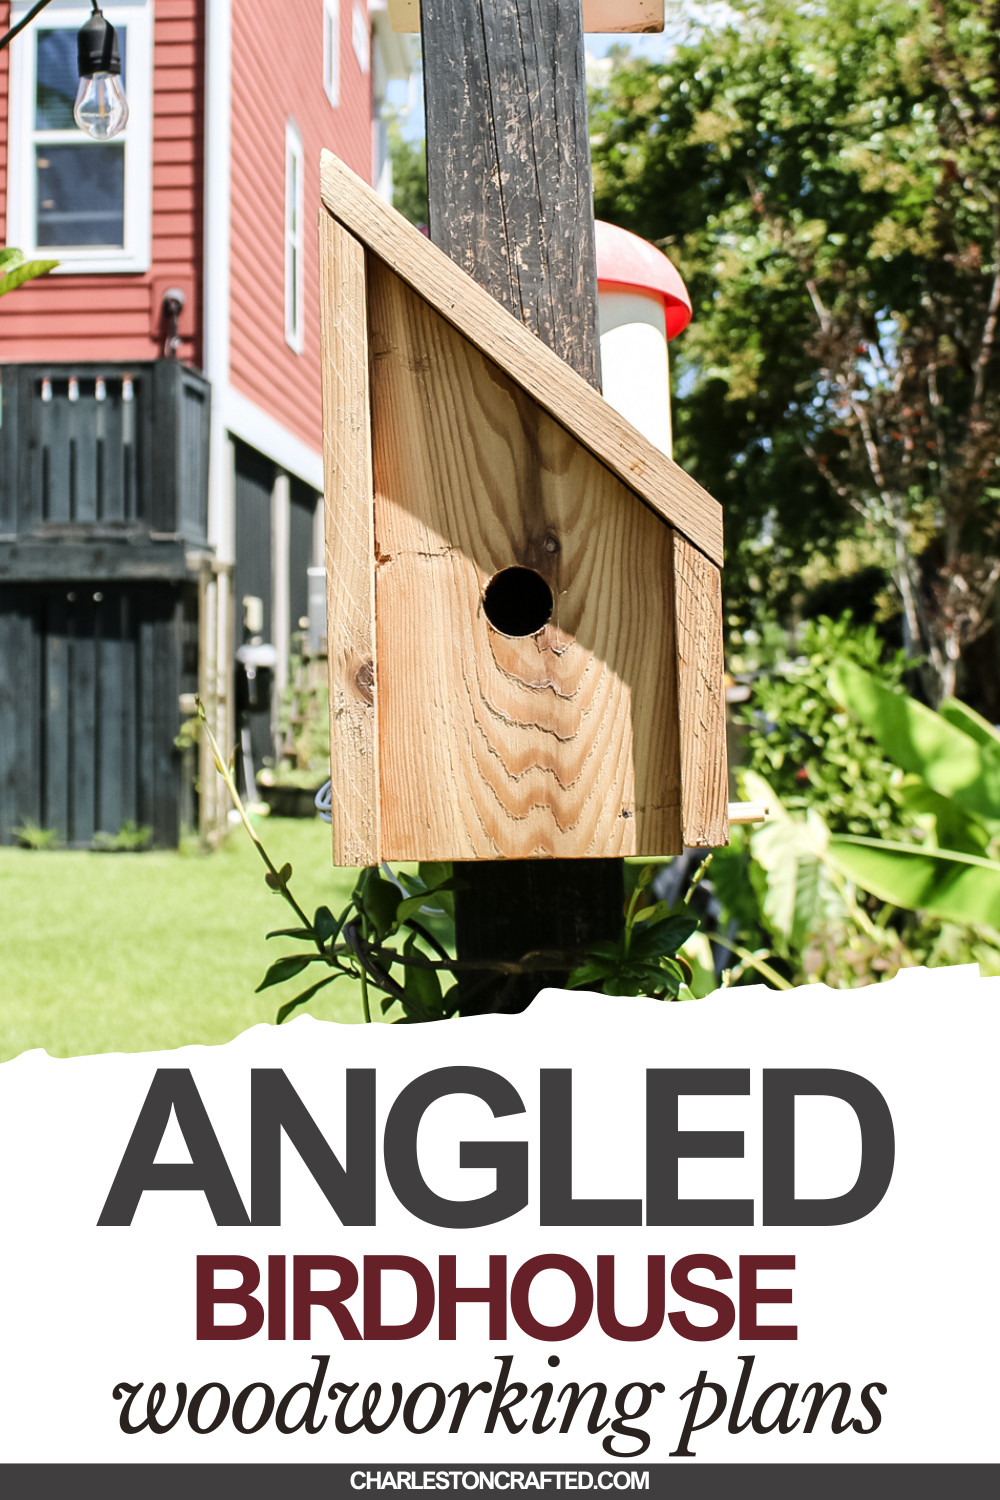
This angled bird house adds a modern twist to your yard decor. Learn how to build this bird house and get the plans!

I have a lot of birds that come through my yard, but I don't have a lot of trees for them to stay in and make a home. So, I've been working on building some different bird house designs to try to add some free pets to my yard.

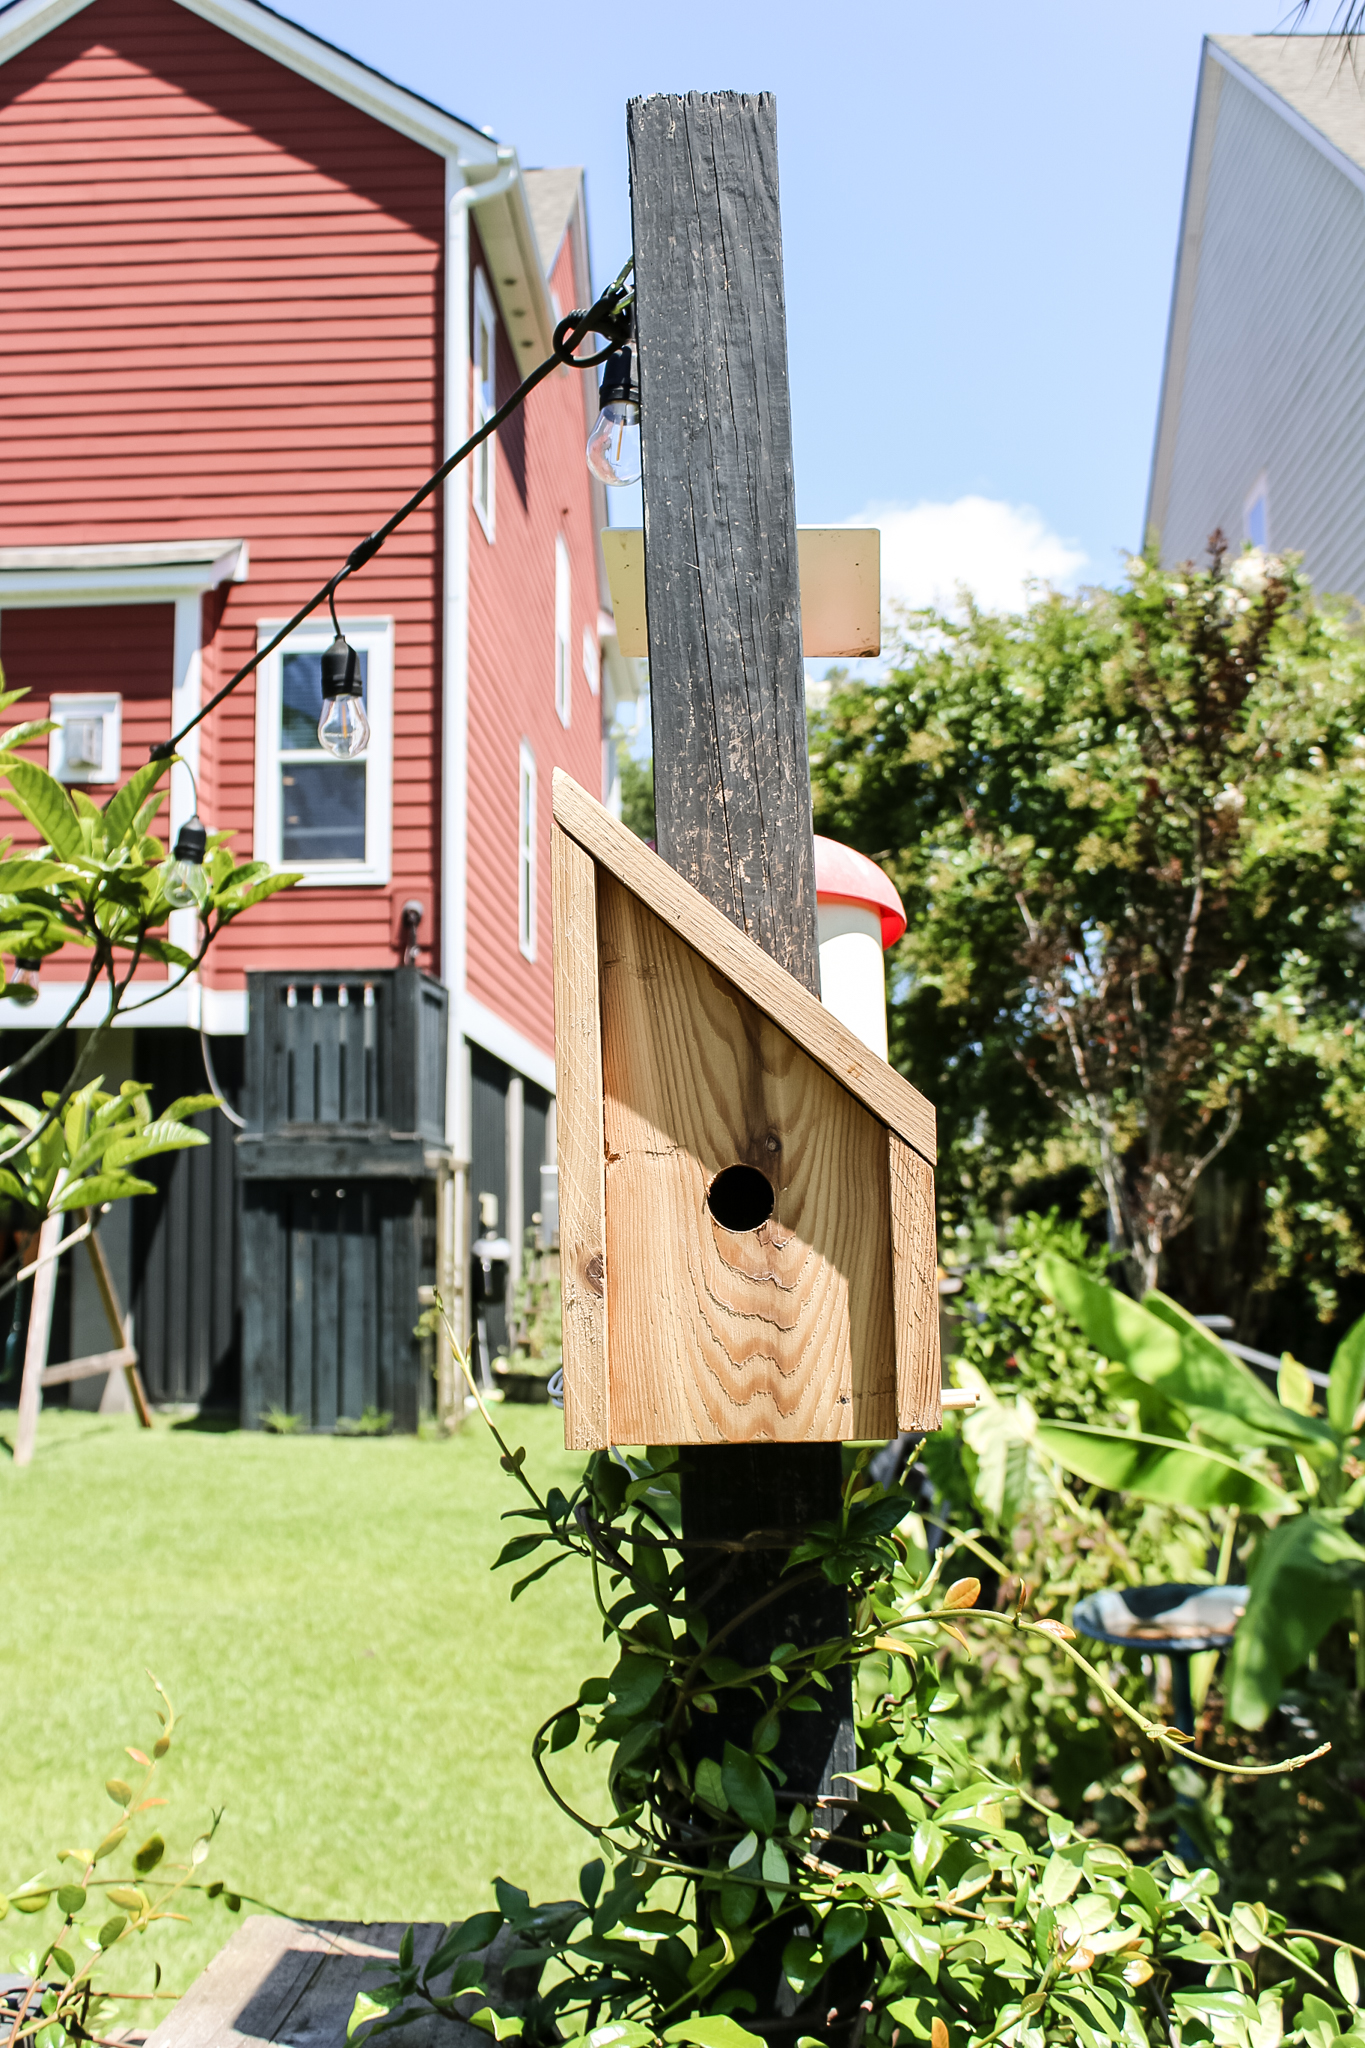
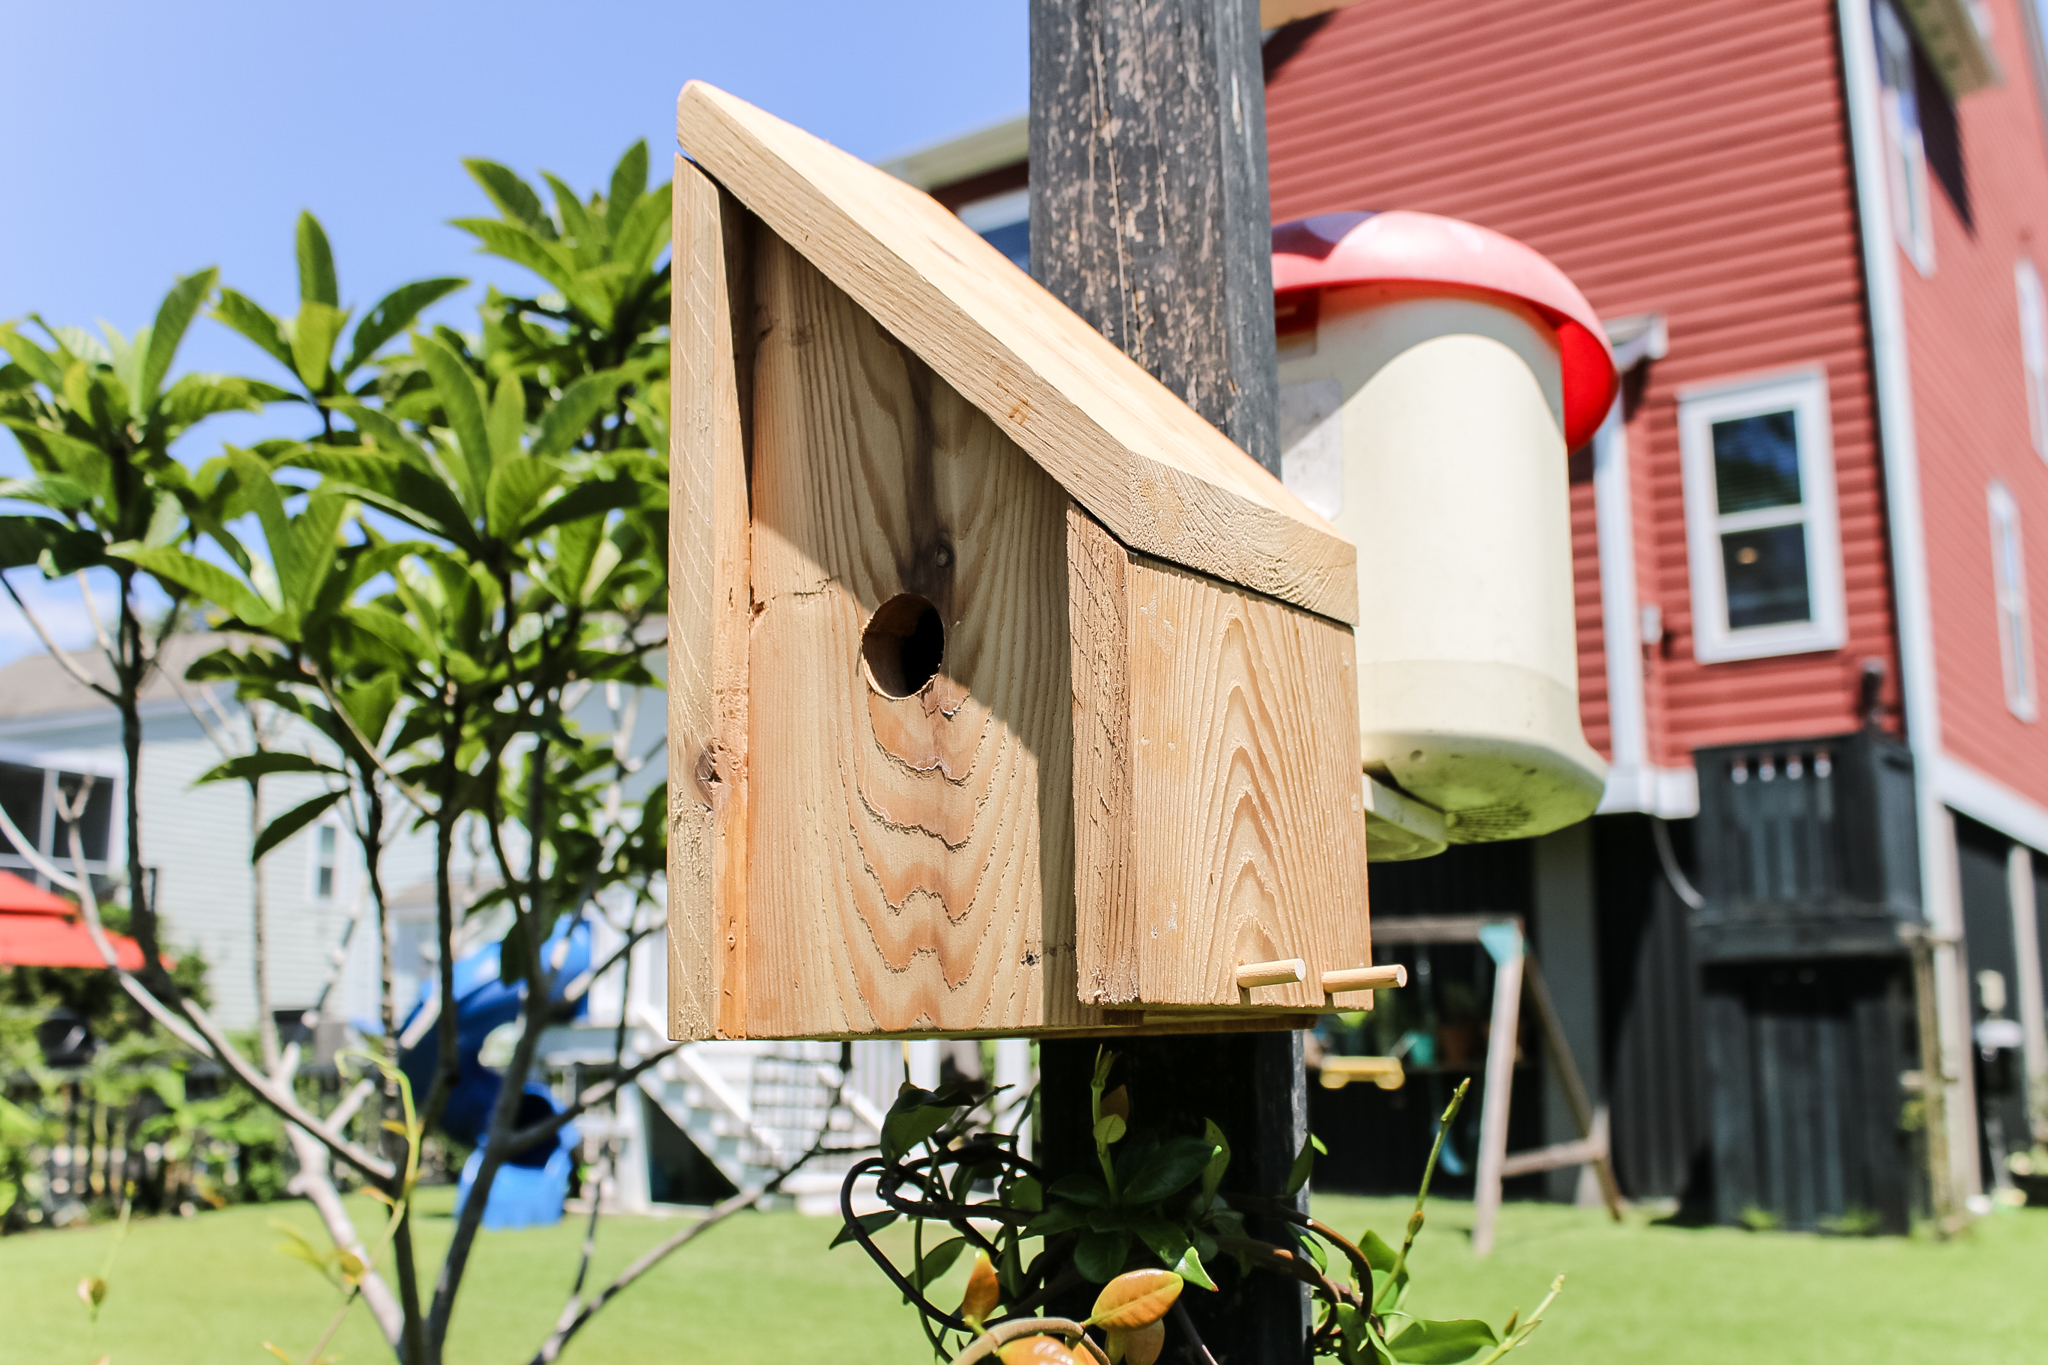
In today's style of modern angled architecture, I decided to design a bird house with an angled roof that slopes from one side to the other.

This is a really fun build that doesn't take long or require a lot of fancy cuts and knowledge. It's all pretty straightforward and birds will love it!

DIY modern angled bird house - Charleston Crafted

How to build a modern angled bird house

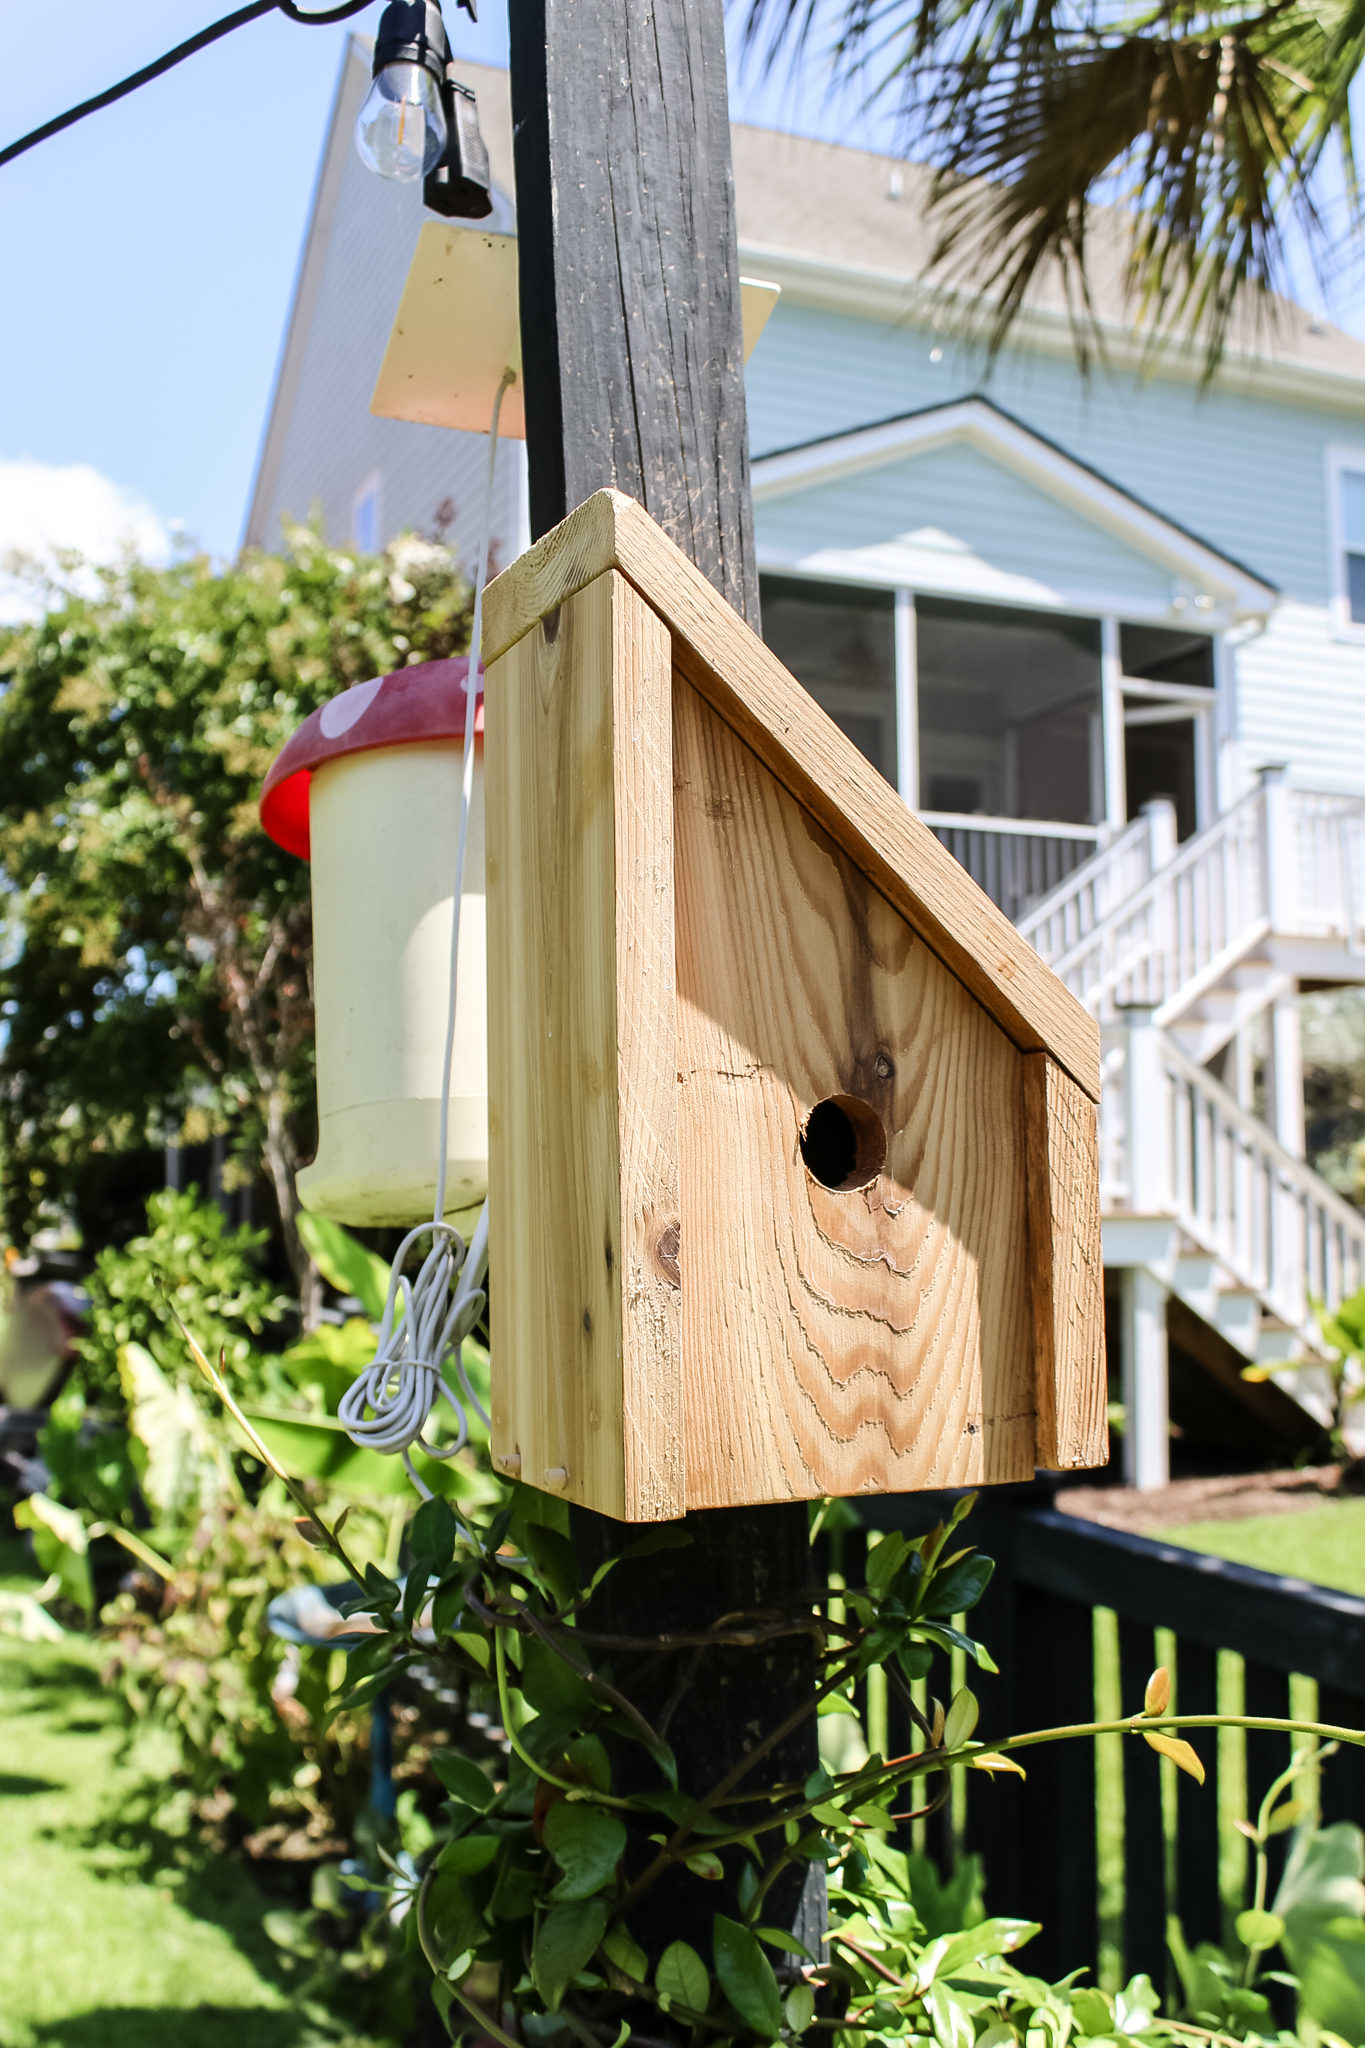
You can build this bird house with less than a single board, making it inexpensive and also fun. Add this to any tree or post in your yard and help make a home for birds!

Check out the other bird houses I've made in this series!

  • A-frame bird house
  • Two more to come!
DIY modern angled bird house - Charleston Crafted

Materials needed to build

Here's the materials and tools you'll need to build this modern angled bird house.

  • (1) 1x6 cedar board
  • Outdoor sealant
  • Miter saw
  • Brad nailer and nails
  • 1 ¼" spade bit
  • Keyhole hangers

Step one: Make cuts and sand

Start by making all the cuts outline in my printable woodworking plans for this modern angled bird house. All the cuts can be made from less than one board, so it's easiest to just make all the cuts now and then move on to construction.

When you're done making the cuts, pull out the board for the front and drill a hole in the center with a spade bit to give an opening for the birds.

After all the cuts are made, go ahead and sand everything smooth now. Don't want the birds getting splinters!

Front of angled bird house

Step two: assemble frame

Assemble the frame of the house using the back as the host point. You can keep this board flush on your work bench and shape pieces around it.

Add the sides and top first with nails, then add the front, using the bottom board as a spacer.

Sides of bird house

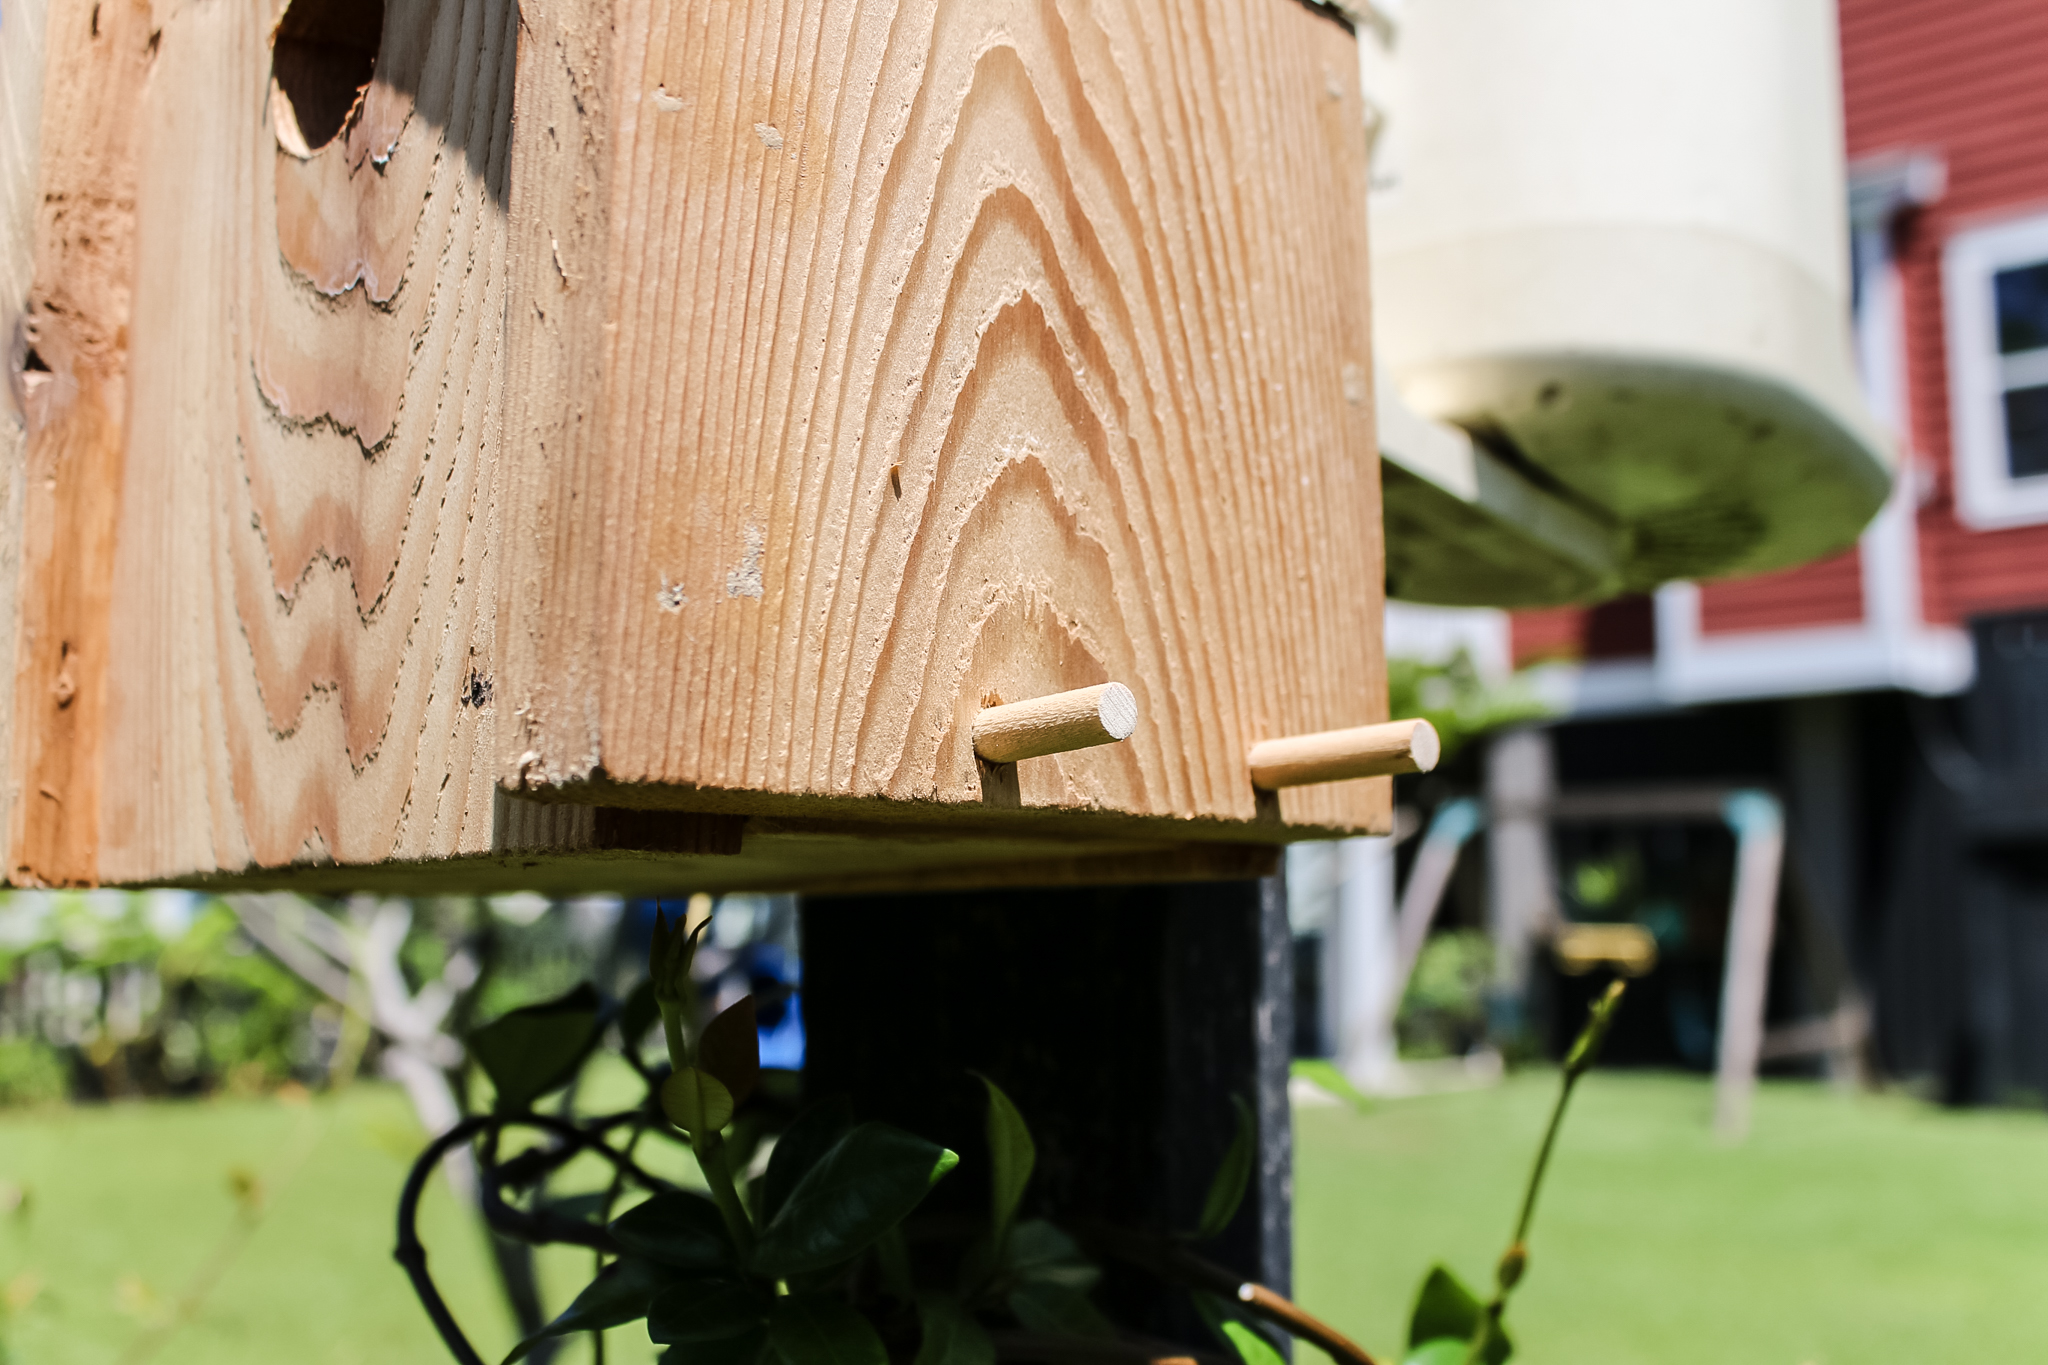
You can choose to nail in the bottom board too, or you can leave it so you can empty out the bird house. The way I did that was to drill four holes through the outside of the house into the base piece, then tap in dowels.

These dowels can be removed and the base will come out if you want to clean out the bird house between guests.

Step three: hang

On the back, add two screws 3" apart. Then, on a post or tree, attach two keyhole hangers three inches apart as well.

Hang the screws into the keyholes on the post and you'll be done!

DIY modern angled bird house - Charleston Crafted

Modern angled bird house woodworking plans

If you like this project, I've got woodworking plans for you to help you build it! My woodworking plans include the full material list, cut list and step-by-step instructions with computer model images.

DIY modern angled bird house woodworking plans

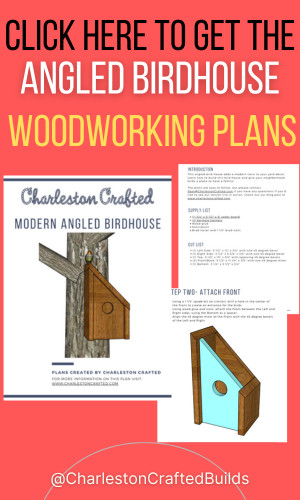
My woodworking plans are a lot more in depth than this post, with the dimensions and everything you need. They make it a lot easier to build!

Hope you enjoy building your own angled bird house!

DIY modern angled bird house - Charleston Crafted
Charleston Crafted Signature

Follow us on:
Pinterest | Instagram | TikTok | YouTube | Facebook | Amazon Storefront | LTK Shop

Looking for something?

We've been doing this since 2012 so we have a LOT of blog posts!
Search stuff like: Ceiling Projects | DIY Plant Stands | Thrift Flips

Charleston Crafted logo banner
Sean headshot cropped
Sean

Hey there, I'm Sean, the woodworking enthusiast and builder behind CharlestonCrafted.com! Since 2012, I've been sharing the magic of turning raw materials into beautiful creations. I love teaching others the art and satisfaction of woodworking and DIY. I try to inspire fellow crafters to make something extraordinary out of nothing at all.

More Woodworking Plans

  • DIY A-Frame Birdhouse - Charleston Crafted
    DIY A-Frame Birdhouse
  • How to build a DIY gate pergola- Charleston Crafted
    How to build a DIY gate pergola
  • DIY cube storage console table - Charleston Crafted
    DIY cube storage console table
  • DIY kids step stool - Charleston Crafted
    DIY kids step stool

Primary Sidebar

Charleston Crafted about us image

Hey y'all!

We are Morgan & Sean McBride and we are crafting our home together in Charleston, South Carolina.

More about us

Popular Posts

  • DIY Coffered Ceiling
    DIY Coffered Ceiling
  • How to Make DIY Concrete Pumpkins via Charleston Crafted
    How to Make DIY Concrete Pumpkins
  • How to Make a Cupid's Arrow Valentine's Day Wall Hanging with felt on the Cricut
    How to make a Cupid's Arrow Valentine's Day Wall Hanging
  • Our Tropical Oasis - A backyard Hammock area - Charleston Crafted
    Our Tropical Oasis

Recent Posts

  • Upgrade Your Home Without a Renovation
    10 Easy Weekend Wins to Upgrade Your Home Without a Renovation
  • DIY modern angled bird house - Charleston Crafted
    DIY modern angled bird house
  • Outdoor Storage Ideas That Don’t Ruin Your Vibe
    Outdoor Storage Ideas That Don’t Ruin Your Vibe
  • How to install a transition strip - Charleston Crafted
    How to install a floor transition strip

Privacy Policy

Footer

↑ back to top

Navigation

  • Home
  • Blog
  • Contact Us
  • Terms of Use
  • Disclaimer

Newsletter

  • Sign up for emails and updates
  • Follow us on Instagram
  • Work with Us

Browse by Category

  • Woodworking
  • Home Projects
  • Paint Colors
  • Room Reveals

© 2025 The Charleston Crafted Blog LLC DBA “Charleston Crafted” and “CharlestonCrafted” (also known as N/A) / All Rights Reserved.
Official Website: (Charleston Crafted)
Registered in USA (Co. Reg. No.: 565586)
Address: Charleston, USA 29414, South Carolina
Contact Phone: Not applicable — contact is via email: sean@charlestoncrafted.com

DISCLAIMER: The content on this website is provided for general informational purposes only and is not intended as professional advice. The Charleston Crafted Blog LLC and The Charleston Crafted Blog LLC make no representations or warranties—express or implied—regarding the accuracy, completeness, or suitability of the information contained herein. Any reliance you place on this information is strictly at your own risk. In no event shall The Charleston Crafted Blog LLC or The Charleston Crafted Blog LLC be liable for any loss or damage, including without limitation, indirect or consequential loss or damage, arising from the use or inability to use this website. This website is the official website of The Charleston Crafted Blog LLC.

AFFILIATE DISCLOSURE: This website contains affiliate links. If you click through and make a purchase, we may earn a commission at no extra cost to you.

As an Amazon Associate, I earn from qualifying purchases.

Site Editor: Morgan Smith McBride

Copyright © 2025 Charleston Crafted