• Skip to primary navigation
  • Skip to main content
  • Skip to primary sidebar
Charleston Crafted
  • DIY
  • Woodworking
  • Popular Posts
  • Blog
  • About
  • Shop
menu icon
go to homepage
  • DIY
  • Woodworking
  • Popular Posts
  • Blog
  • About
  • Shop
search icon
Homepage link
  • DIY
  • Woodworking
  • Popular Posts
  • Blog
  • About
  • Shop
×
Home » Building » Woodworking Plans

DIY hanging bird house

Published: Aug 18, 2025 by Sean · As an Amazon Associate, we earn from qualifying purchases. This site contains affiliate links. ·

This hanging bird house is a traditional take to your yard decor. Learn how to build this bird house and get the plans!

I've been working on a series of bird houses and this is the first one that I have done that hangs FROM something, instead of ON something.

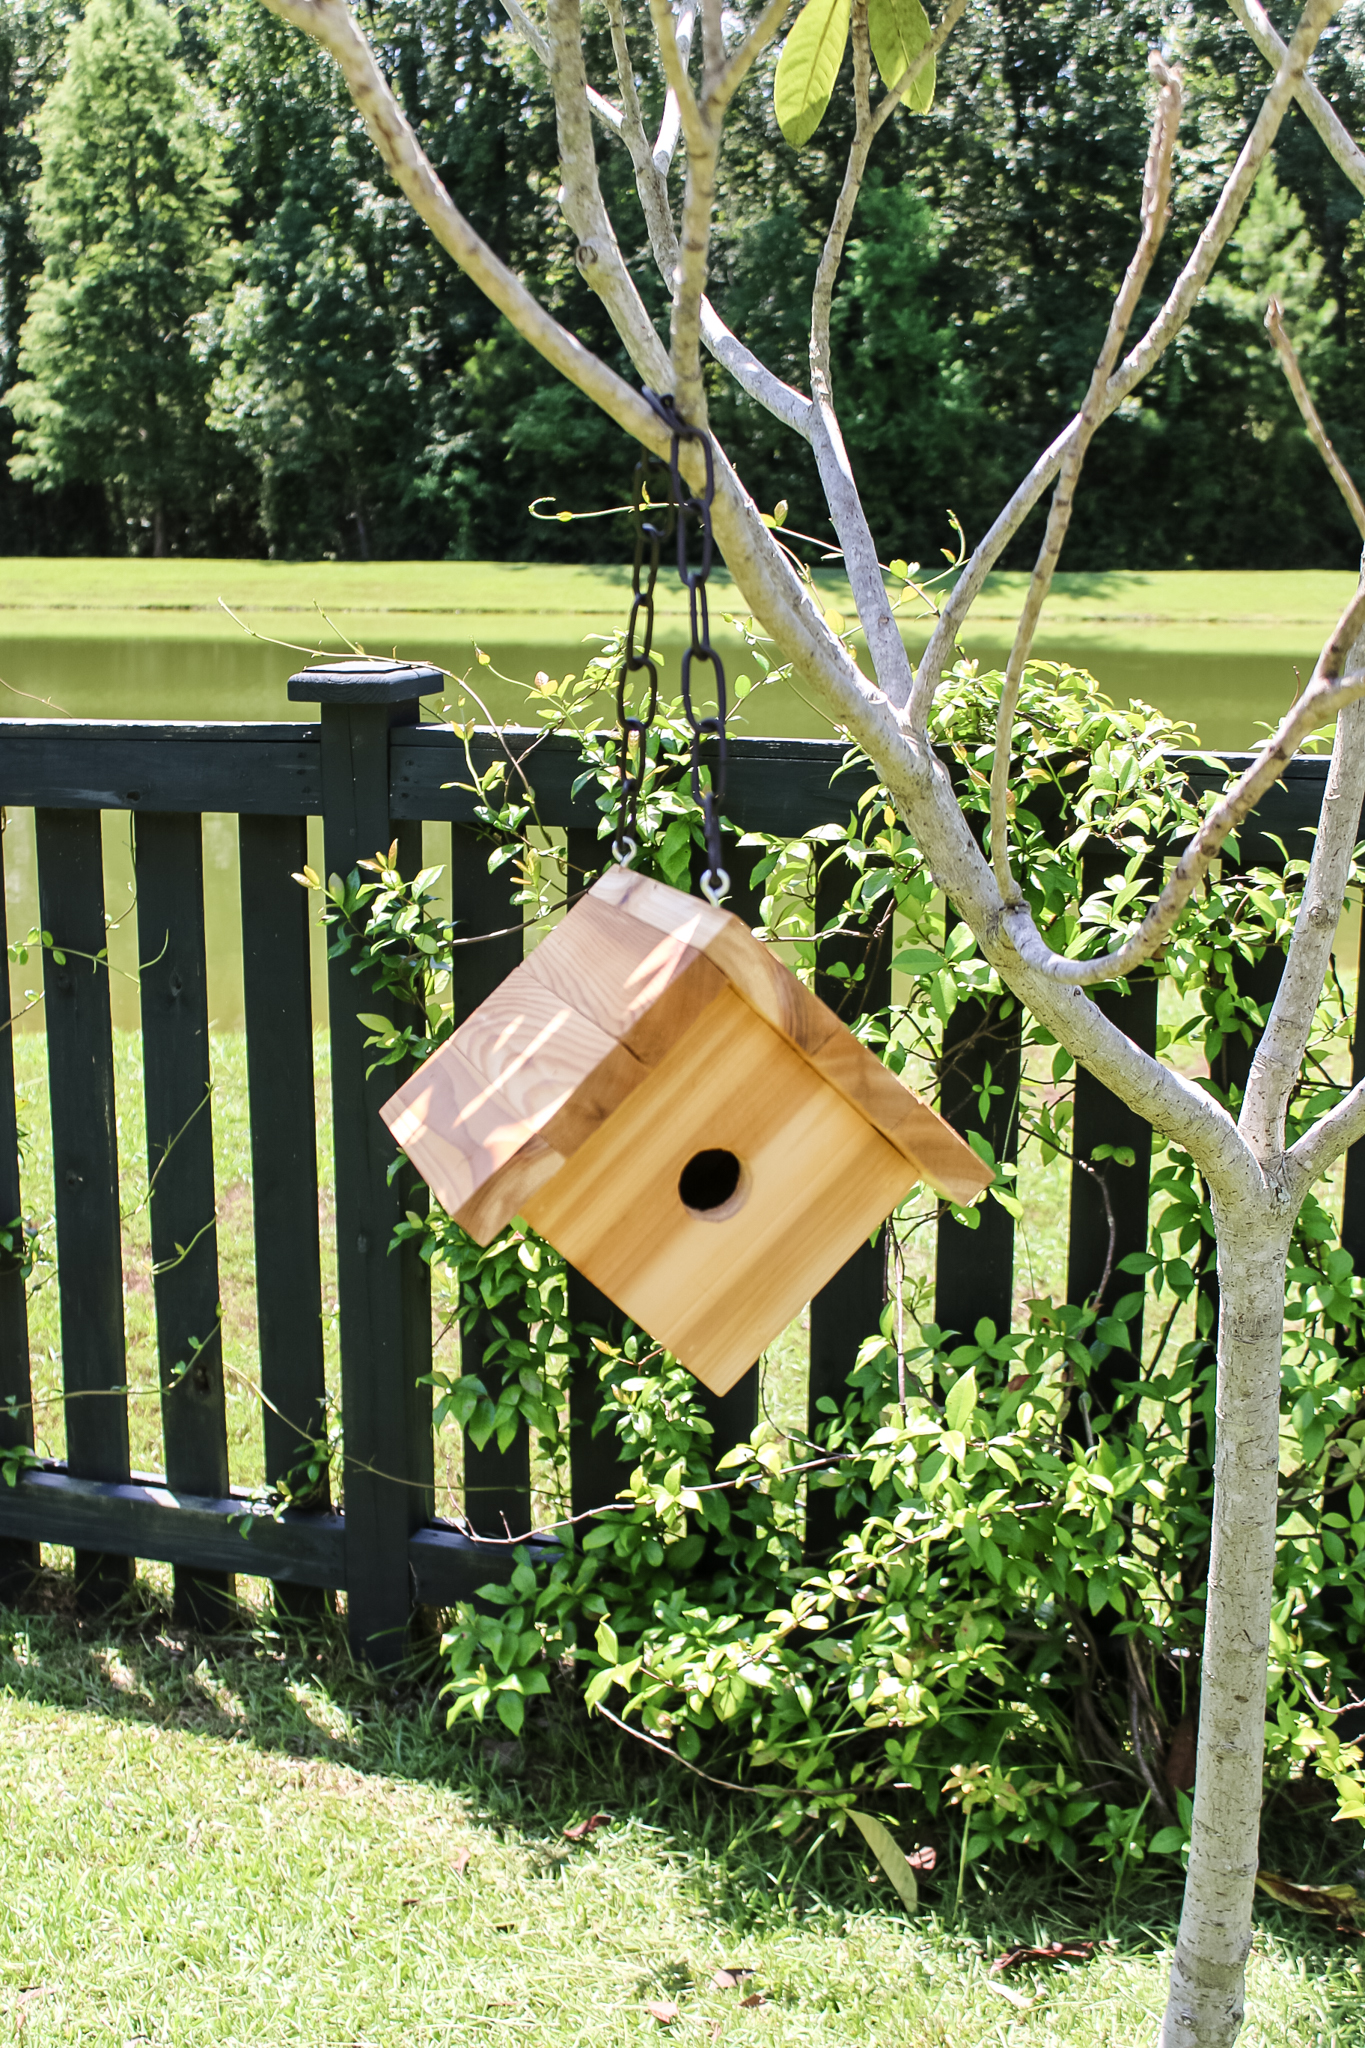
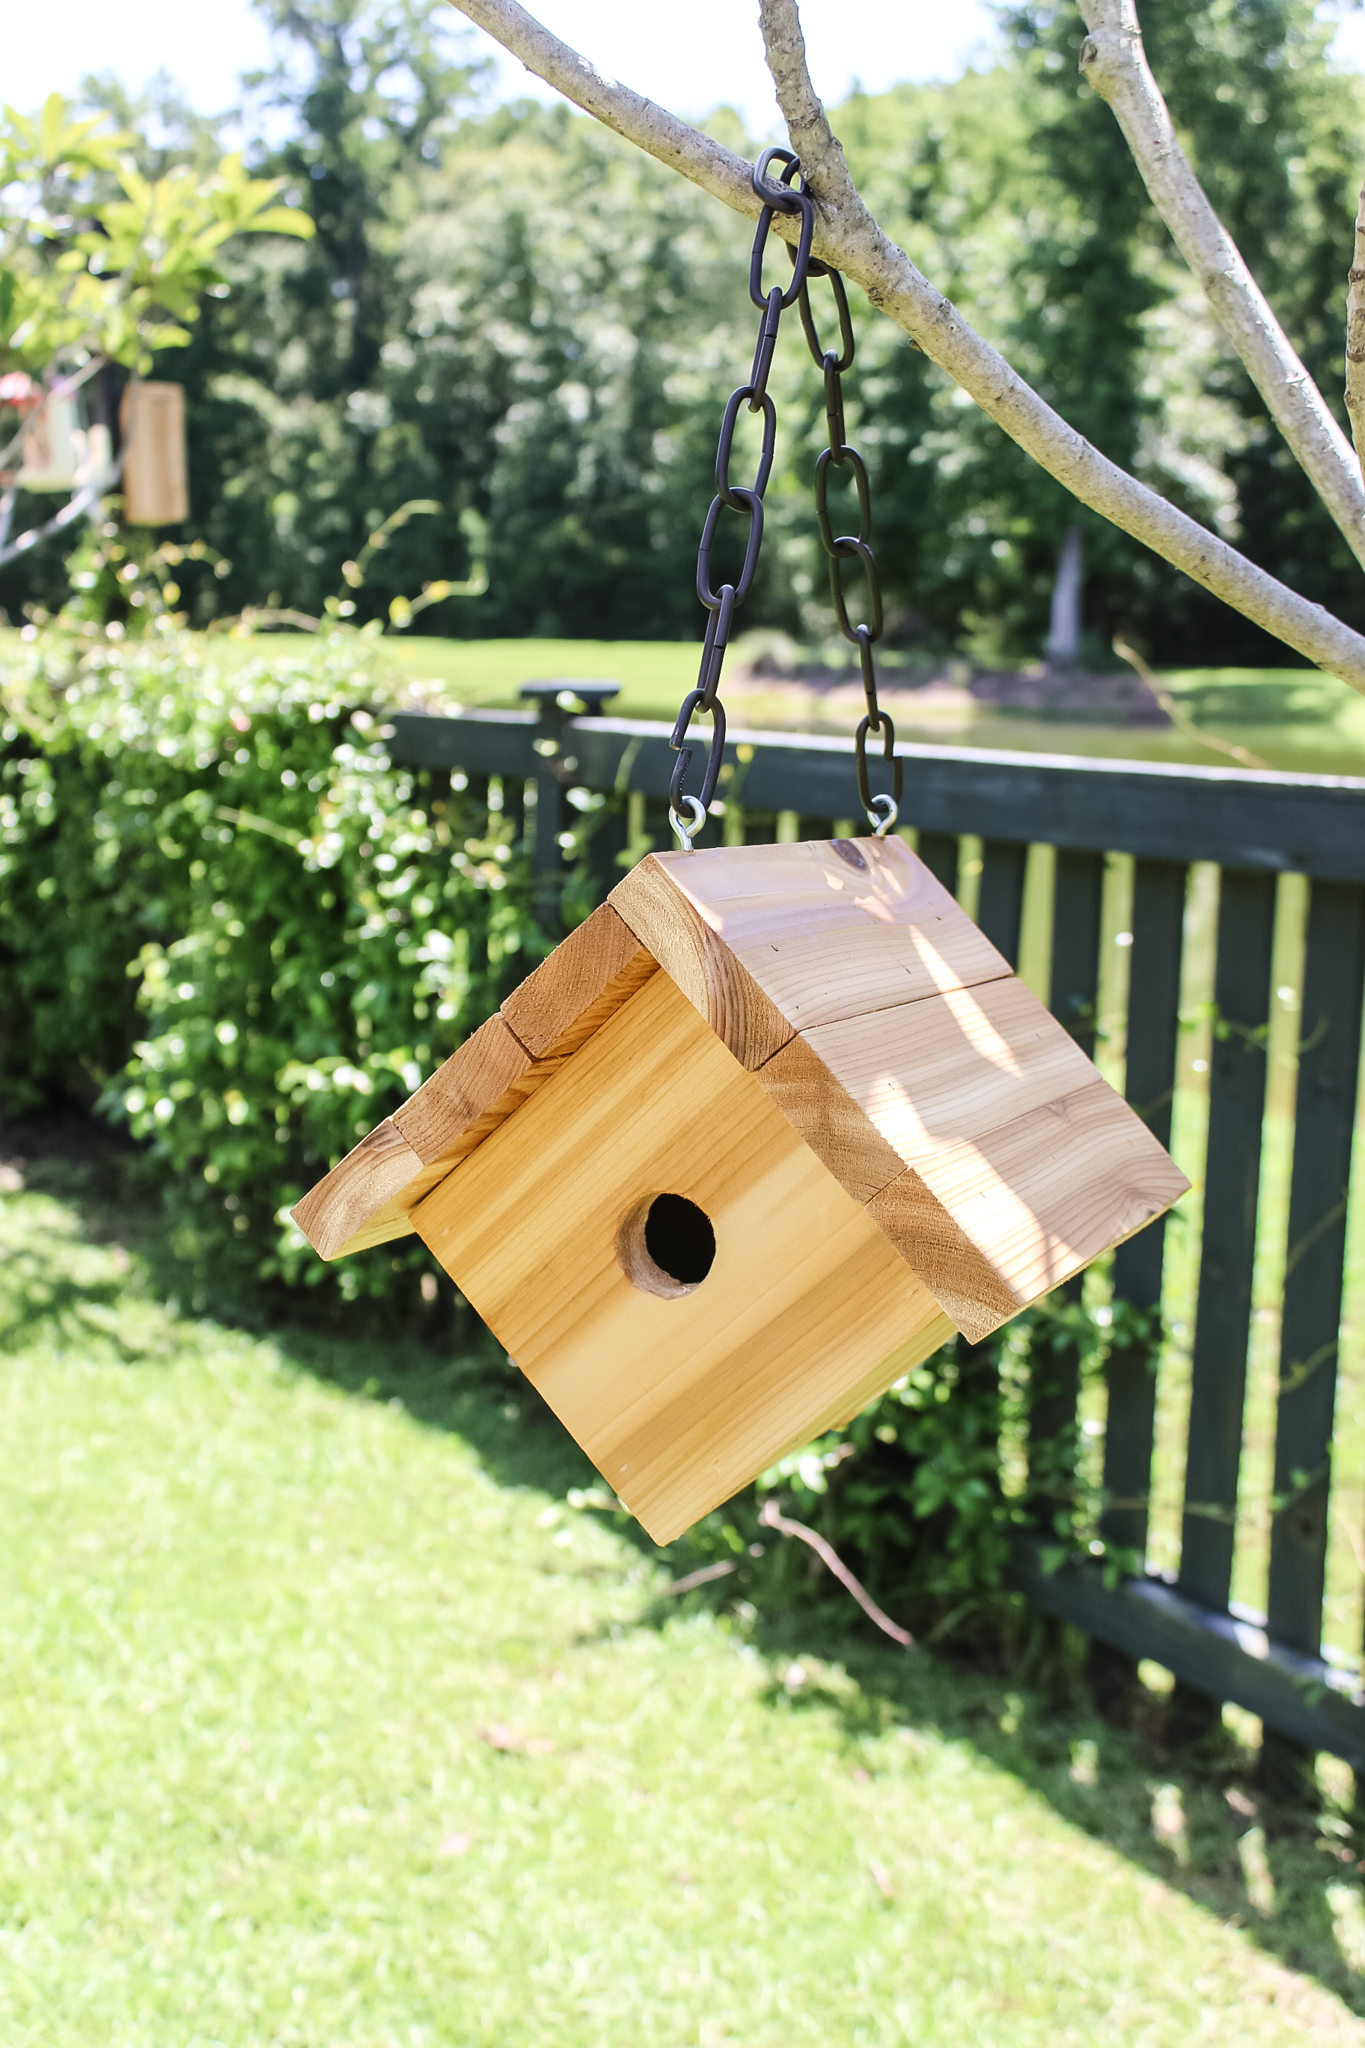
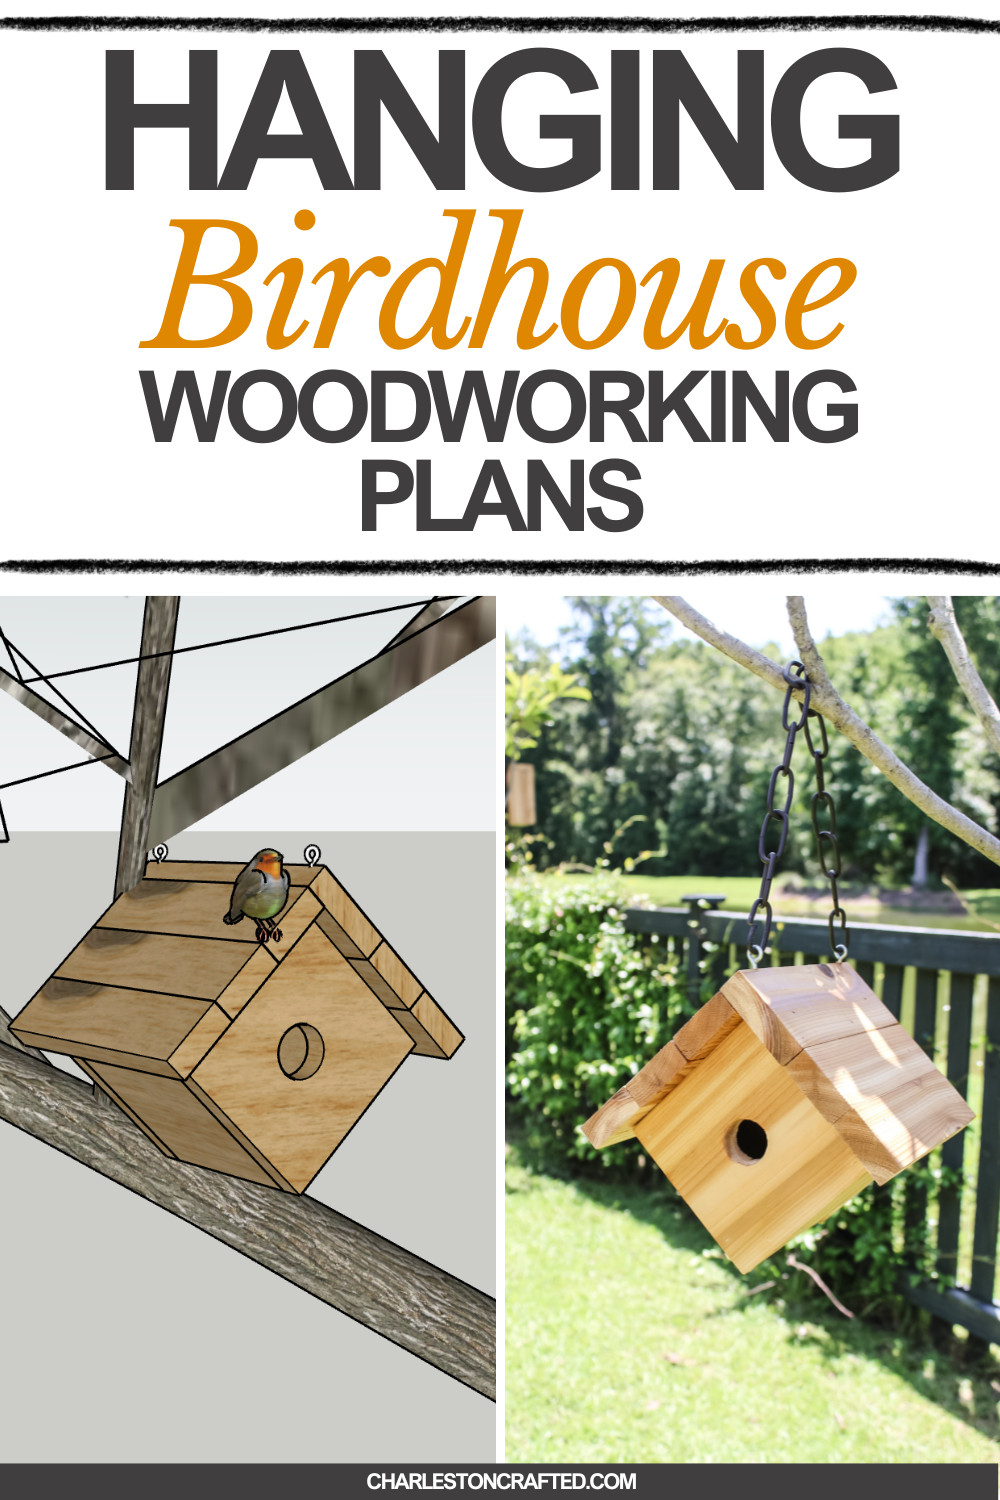
This bird house hangs on a chain, so it can be hung from a branch, hook or whatever you want!

I actually really love the look of this house the most and I think it's my most traditional style bird house. It's easy to make and can be replicated in an hour!

DIY hanging birdhouse - Charleston Crafted

How to build a hanging bird house

I've got full woodworking plans to make this hanging bird house, so make sure you grab those. Then, follow along with my tutorial below to see how it's done!

Check out the other bird houses I've made in this series!

  • A-frame bird house
  • Modern angled bird house
DIY hanging birdhouse - Charleston Crafted

Materials needed to build

Here's the materials and tools you'll need to build this hanging bird house.

  • (1) 1x6 cedar board
  • Outdoor sealant
  • Saw
  • Brad nailer and nails
  • 1 ¼" spade bit
  • Wood glue
  • Keyhole hangers
  • Eye hooks
  • Chain

Step one: Make cuts and sand

Using a single board, you can rip down all the cuts you need from the cut list in my woodworking plans.

A lot of these cuts can be made on a miter saw, but this bird house would definitely benefit from having a table saw on hand.

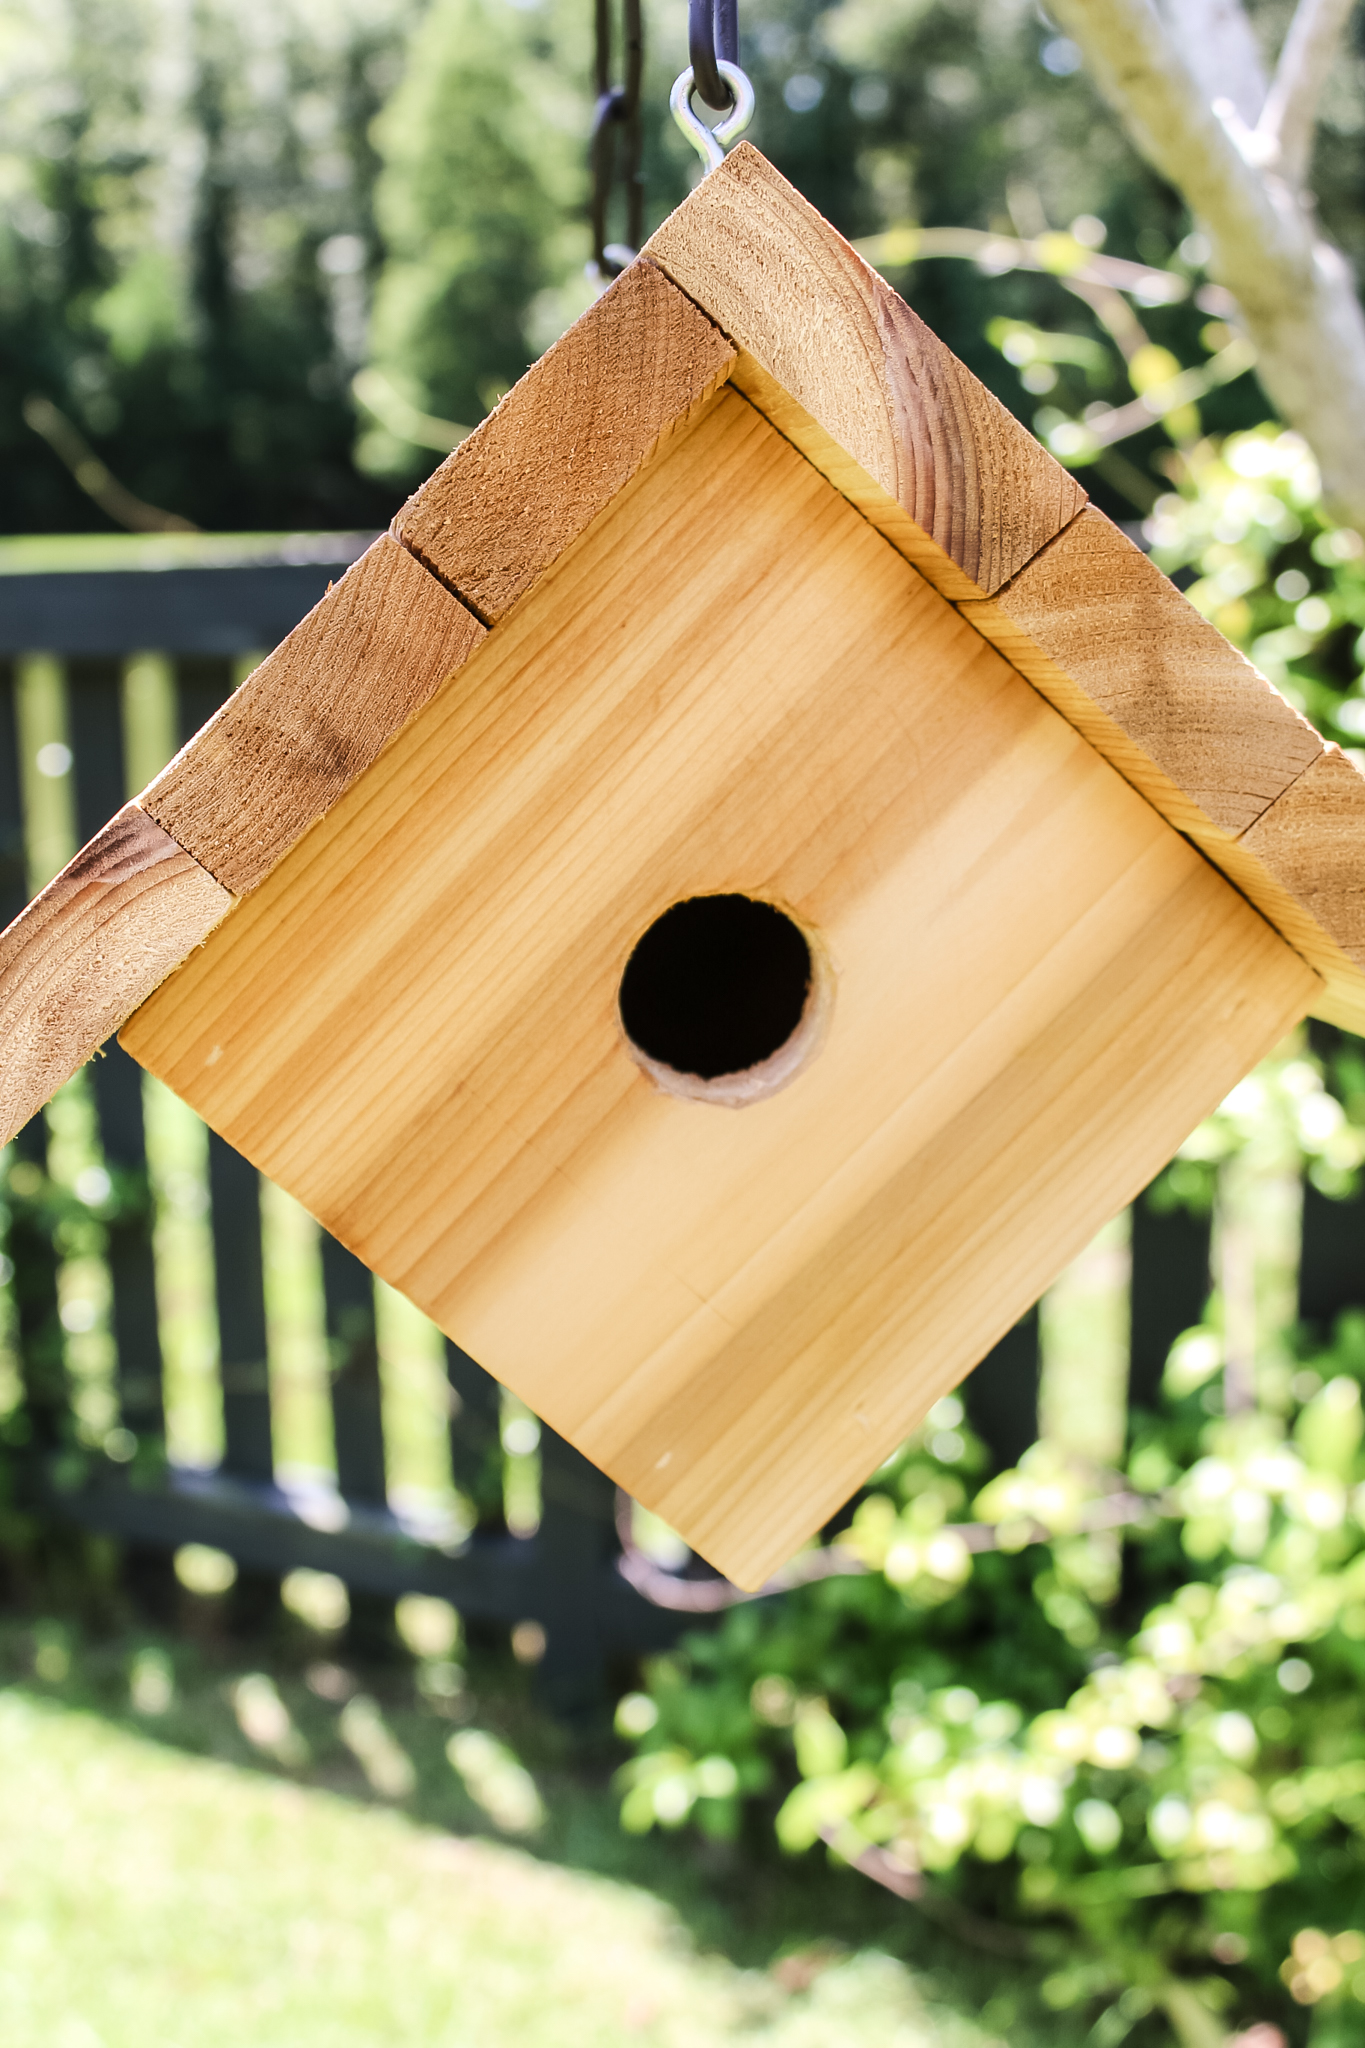
After making the cuts, drill a hole in the front piece for the entrance, then sand all the pieces down.

Hole entrance for birdhouse

Step two: assemble body

With everything ready, use wood glue and nails to attach all the body parts together.

There's a front and back, which are pretty easy to distinguish once you've drilled the hole, and then two side pieces. One fits perfectly edge to edge and the other needs to be cut down slightly.
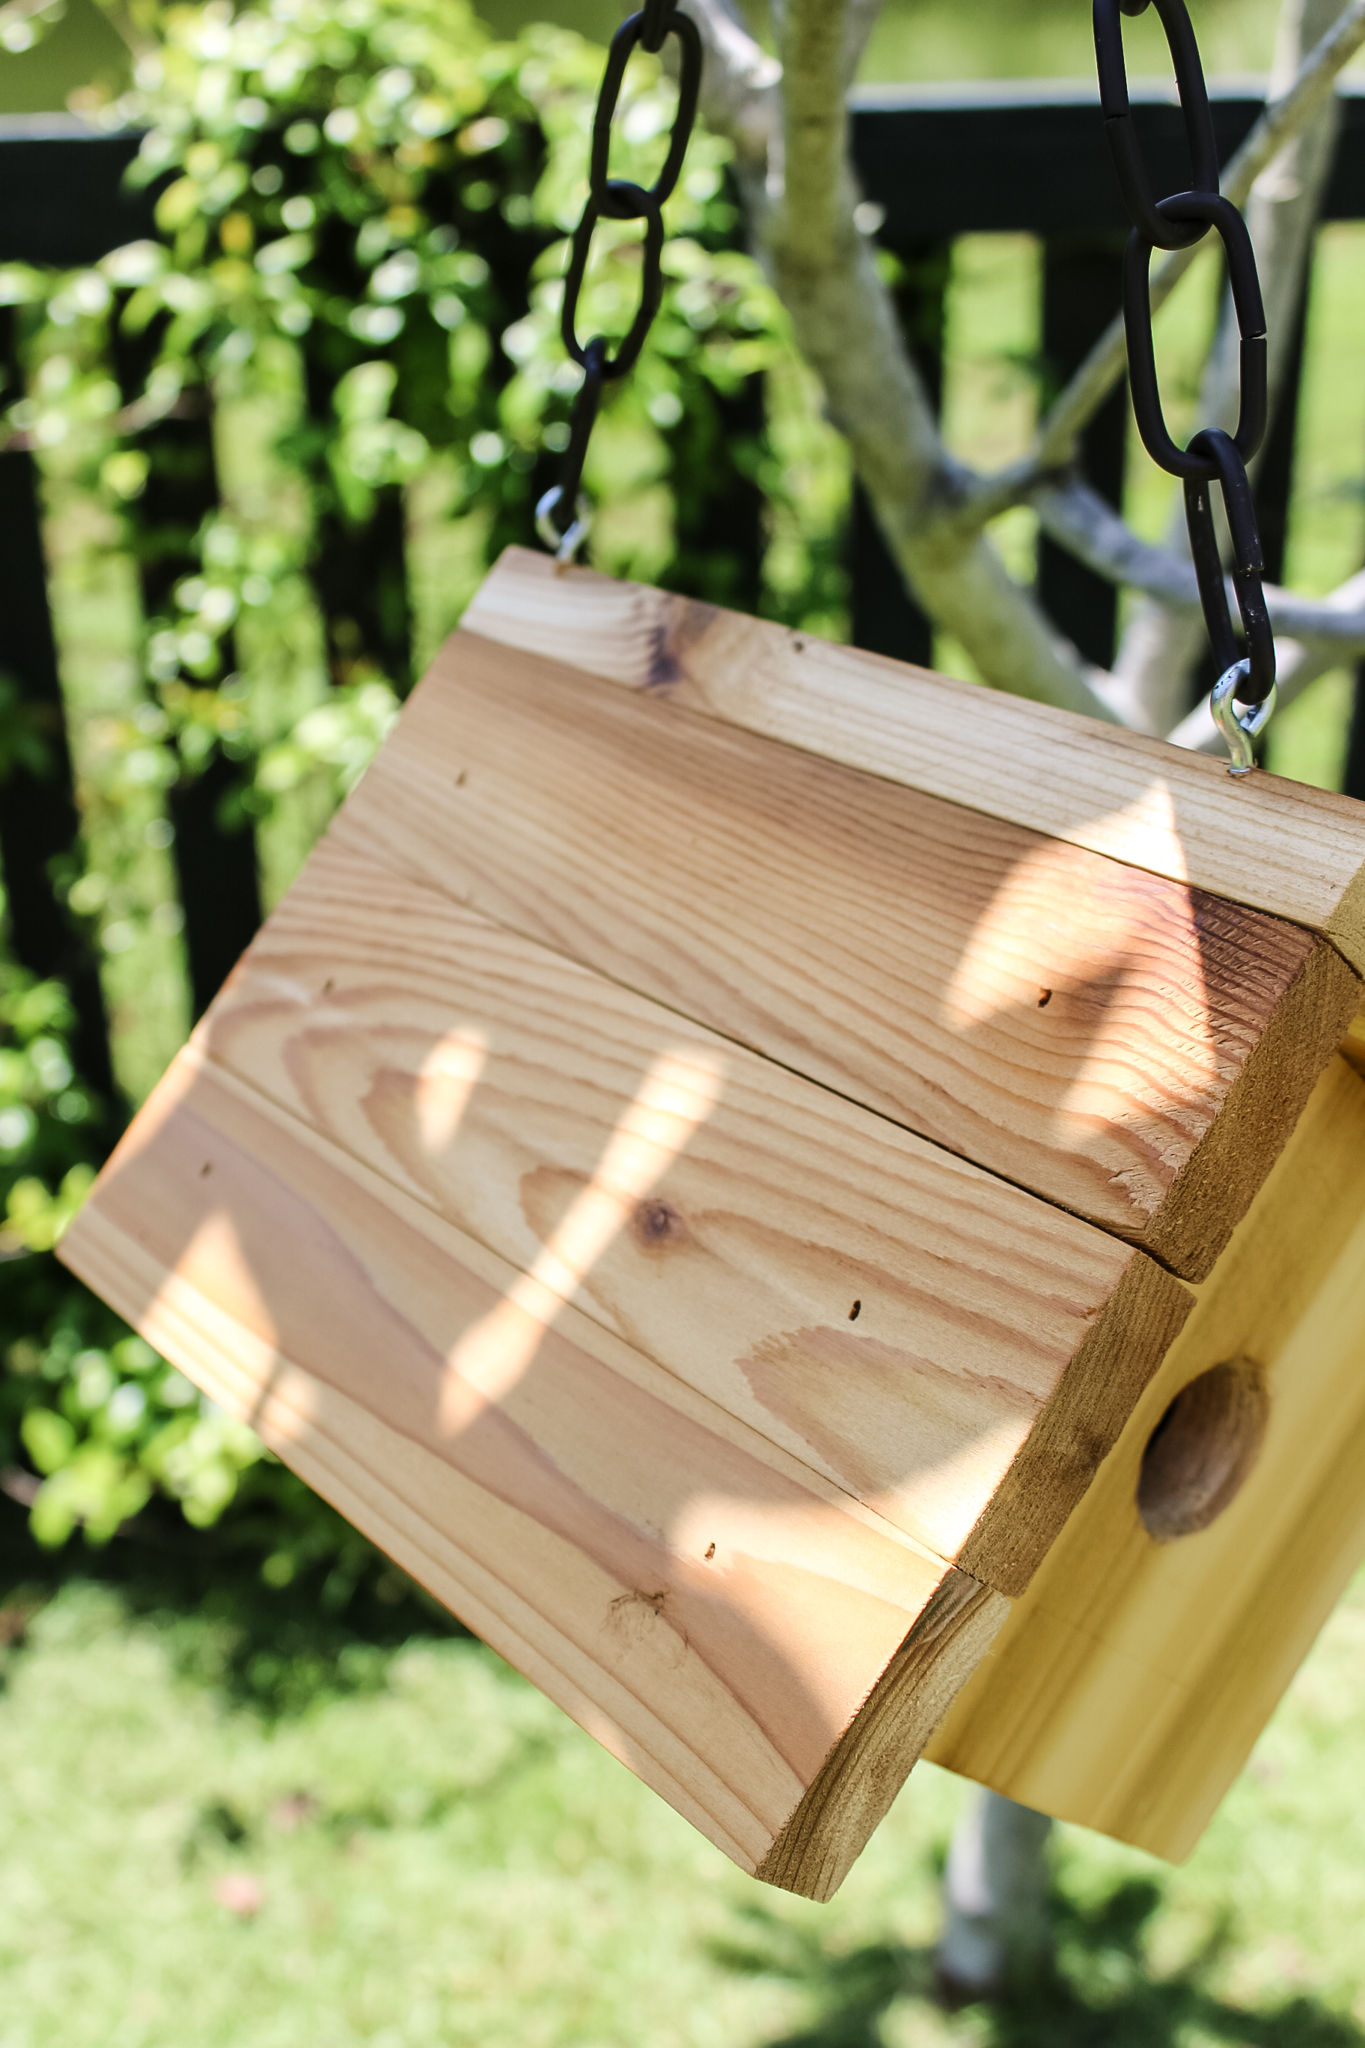
Side of birdhouse

Step three: add top

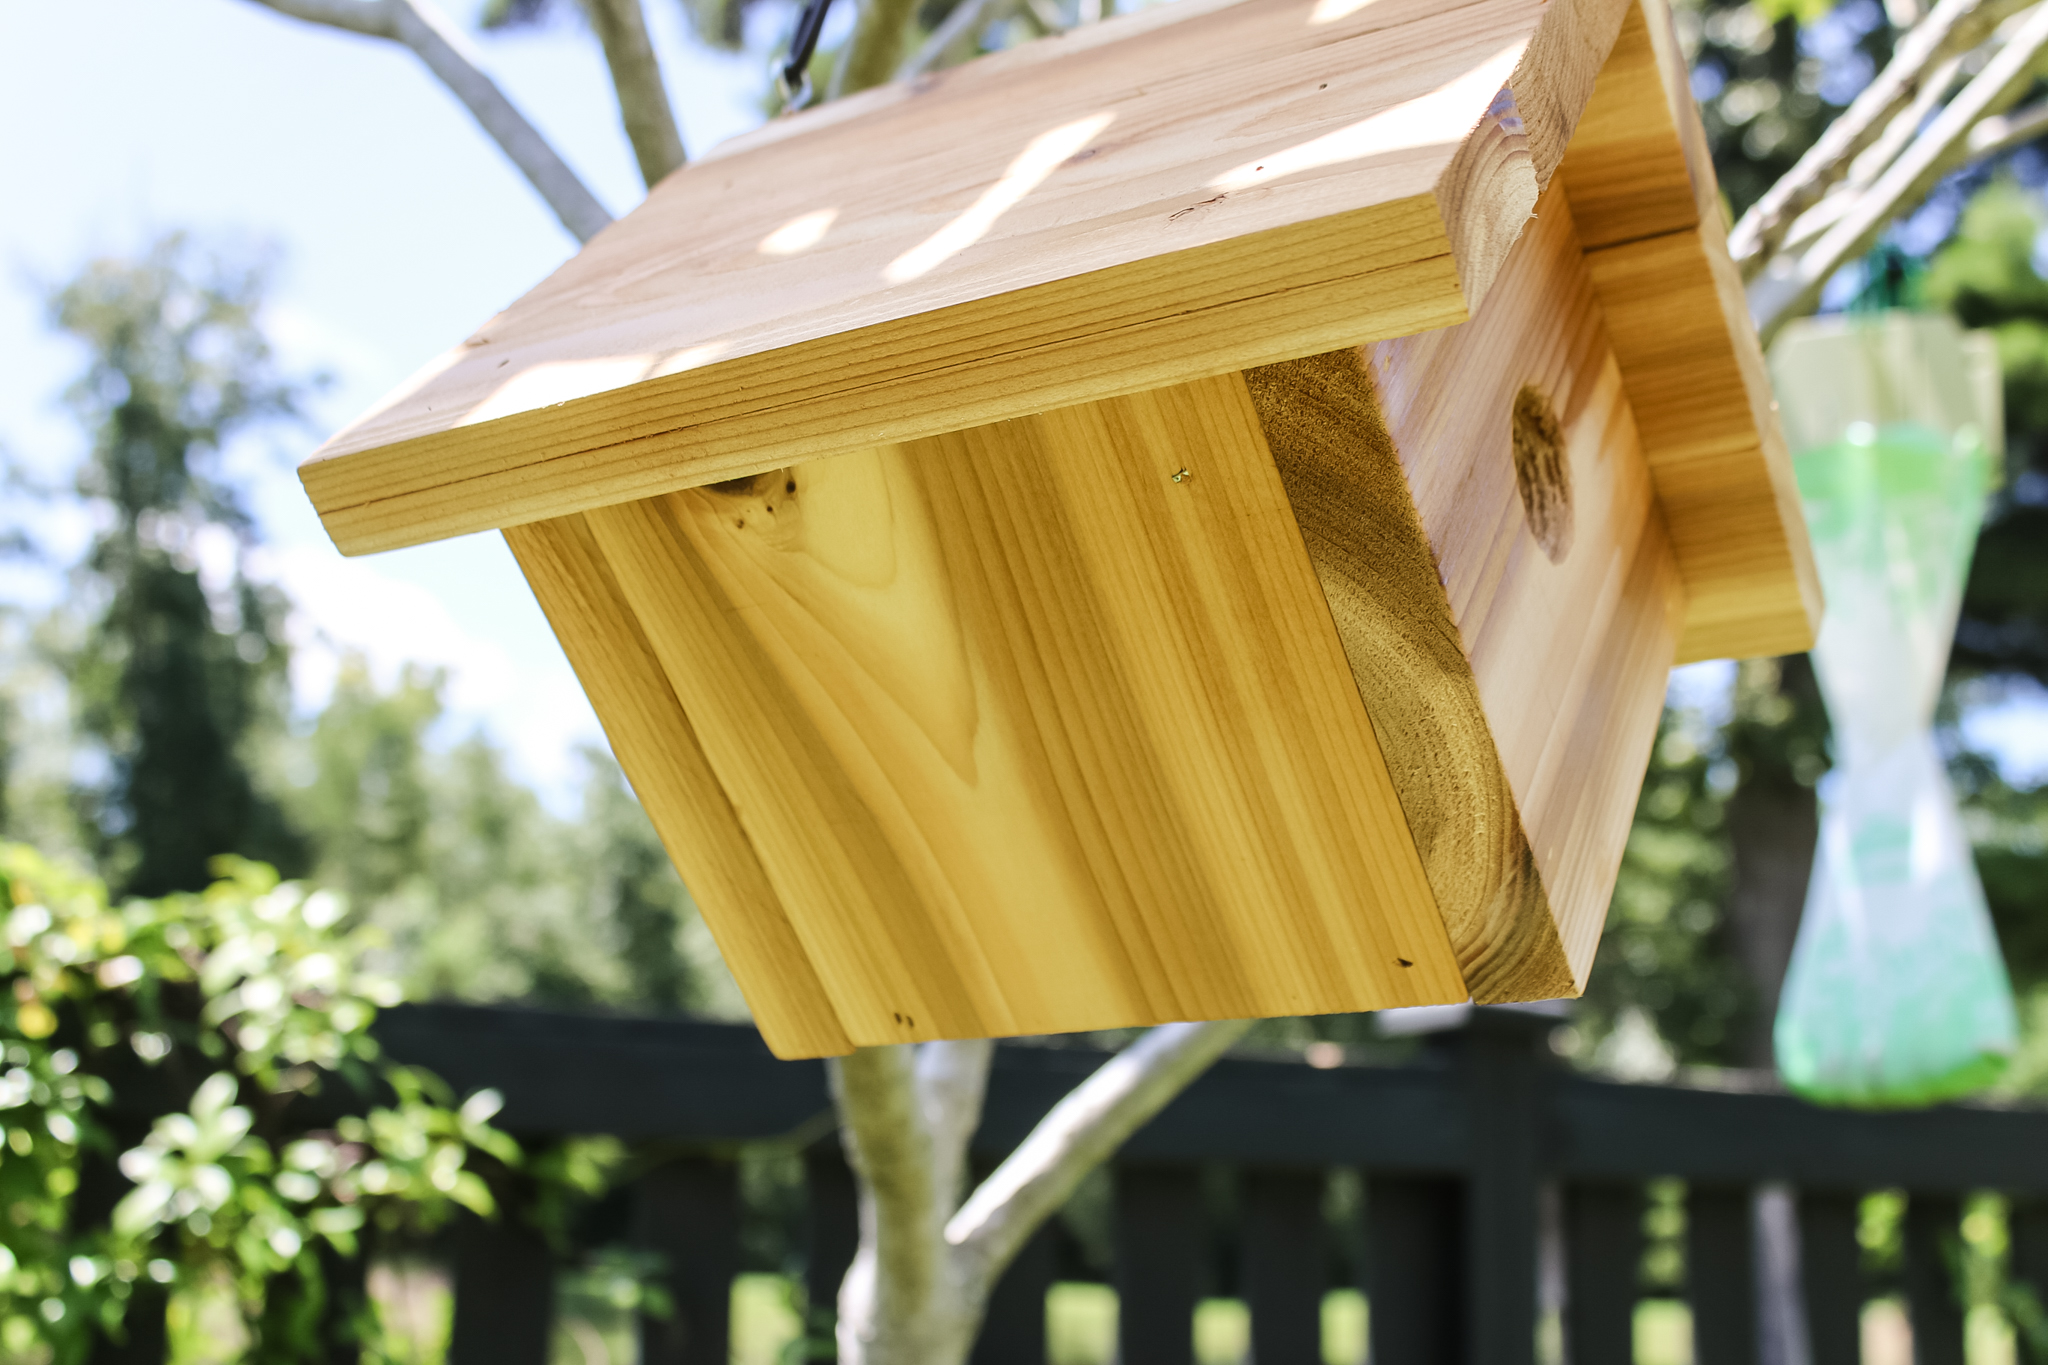
After the body is done, add the top pieces. I started by attaching one of the slats to the top peak of the house and working my way down that side.

Then, I used a slightly wider top piece and met it at the peak for the first side and worked down the second side.

Top of birdhouse

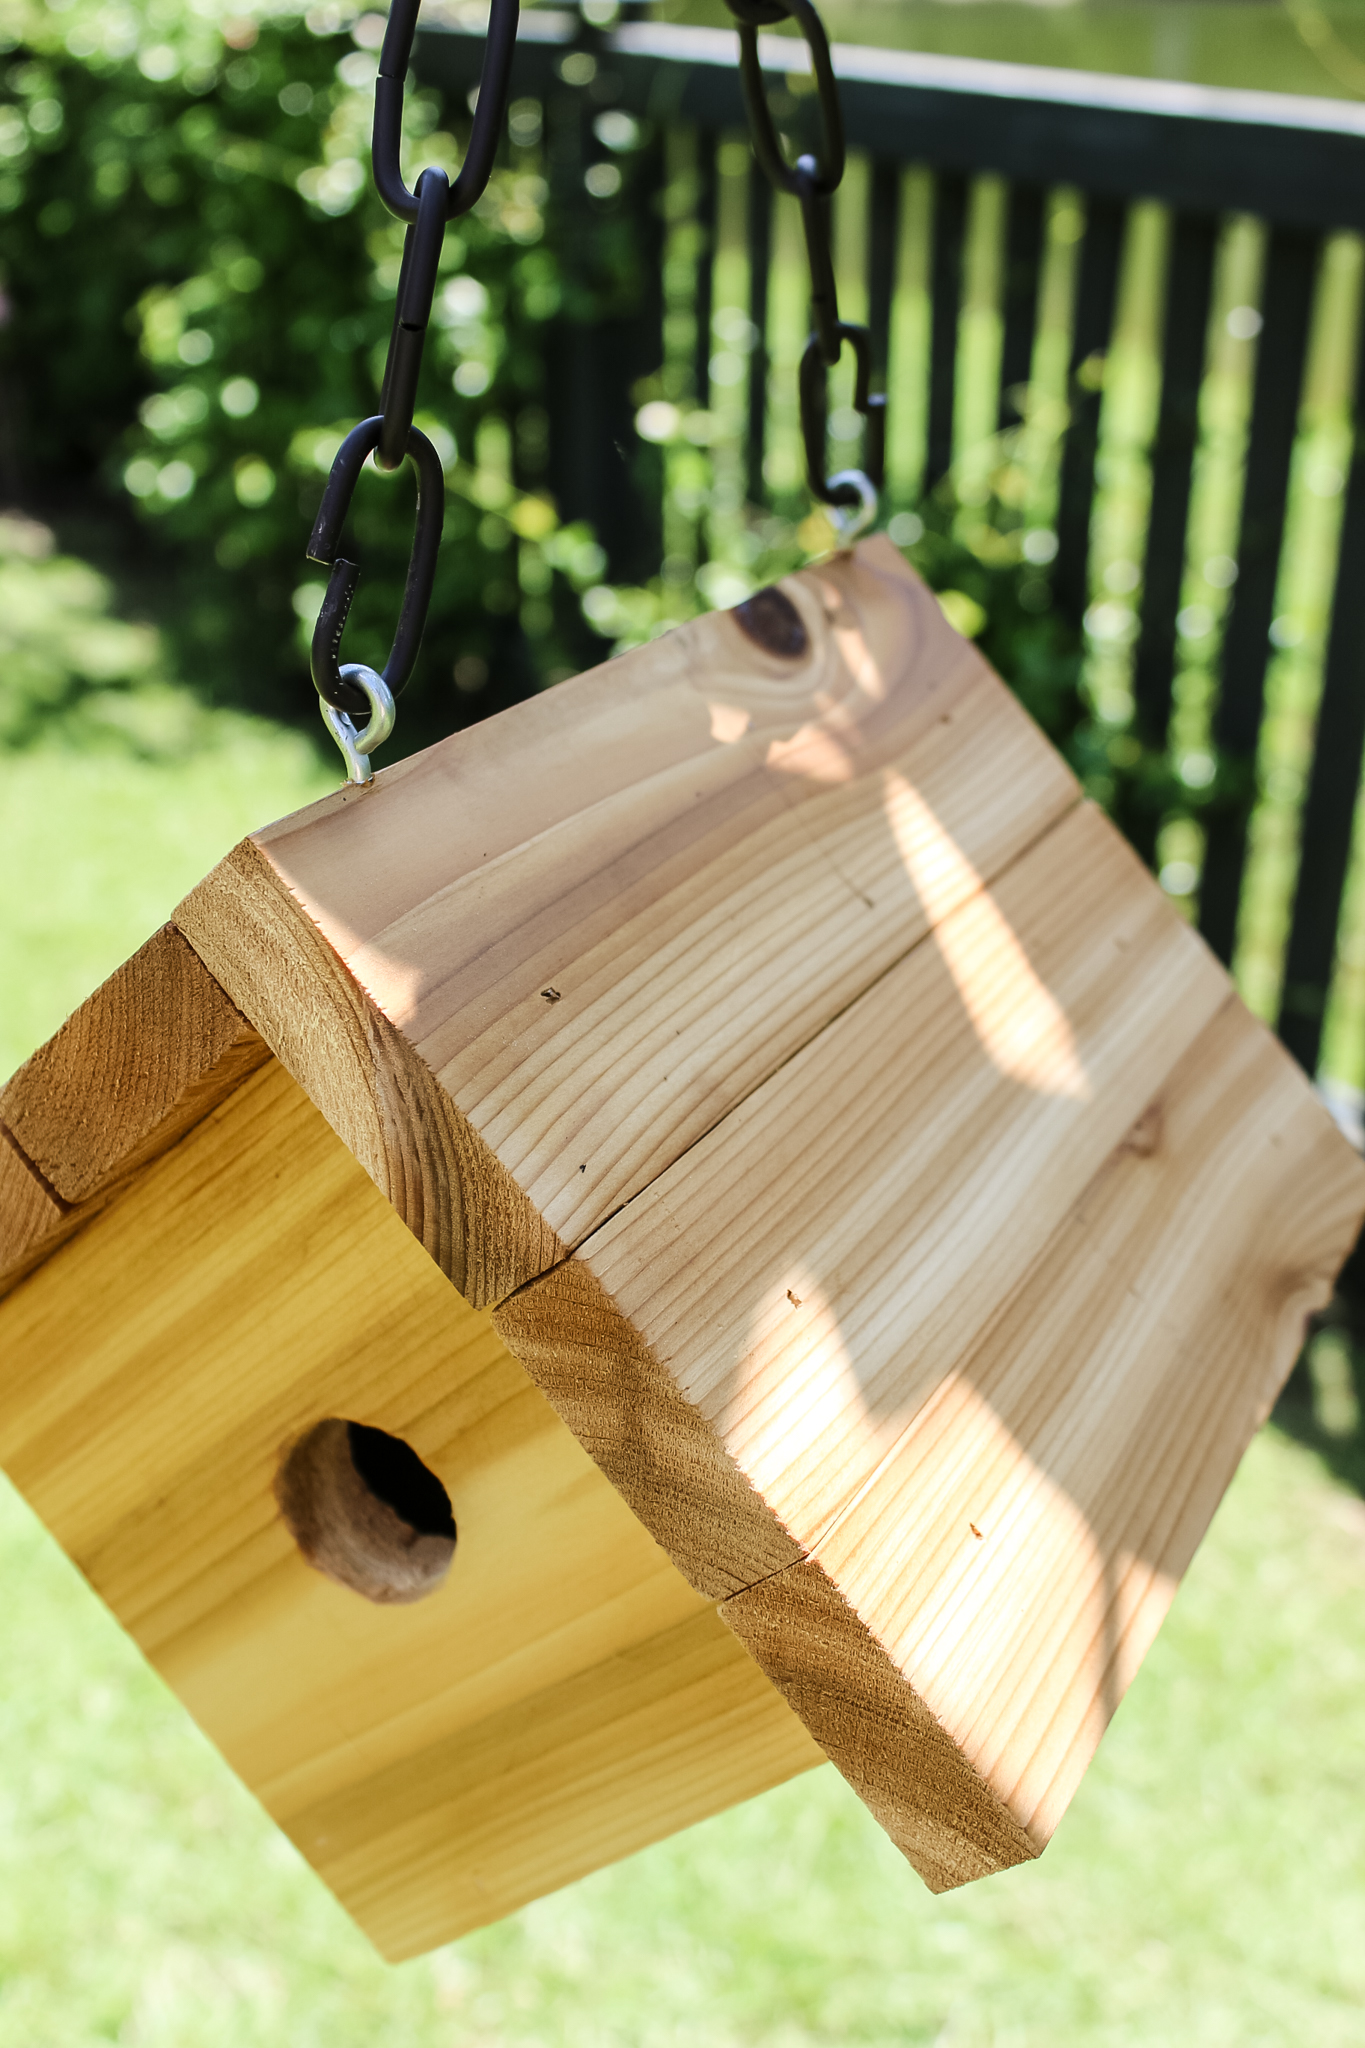
Step four: attach hangers

Once the house is built, screw in two eye hooks on each end of the peak for the top. Pre-drill the holes because it will be difficult to screw these in straight otherwise.

Then, attach a chain between the two hooks. Make sure that there is some slack so it isn't too tight and can move in the wind.

Hangers and chain on birdhouse

Step five: hang

Finally, find a place to hang the bird house. You can add a hook into a tree, loop it over a branch, or hang it down from somewhere else. It's really up to you and where you can see it best!

DIY hanging birdhouse - Charleston Crafted

Hanging bird house woodworking plans

If you like this project, I've got woodworking plans for you to help you build it! My woodworking plans include the full material list, cut list and step-by-step instructions with computer model images.

DIY hanging birdhouse woodworking plans

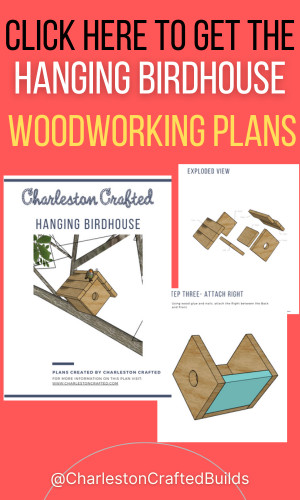
My woodworking plans are a lot more in depth than this post, with the dimensions and everything you need. They make it a lot easier to build!

Hope you enjoy building your own hanging bird house!

DIY hanging birdhouse - Charleston Crafted
Charleston Crafted Signature

Follow us on:
Pinterest | Instagram | TikTok | YouTube | Facebook | Amazon Storefront | LTK Shop

Looking for something?

We've been doing this since 2012 so we have a LOT of blog posts!
Search stuff like: Ceiling Projects | DIY Plant Stands | Thrift Flips

Charleston Crafted logo banner
Sean headshot cropped
Sean

Hey there, I'm Sean, the woodworking enthusiast and builder behind CharlestonCrafted.com! Since 2012, I've been sharing the magic of turning raw materials into beautiful creations. I love teaching others the art and satisfaction of woodworking and DIY. I try to inspire fellow crafters to make something extraordinary out of nothing at all.

More Woodworking Plans

  • DIY modern angled bird house - Charleston Crafted
    DIY modern angled bird house
  • DIY A-Frame Birdhouse - Charleston Crafted
    DIY A-Frame Birdhouse
  • How to build a DIY gate pergola- Charleston Crafted
    How to build a DIY gate pergola
  • DIY cube storage console table - Charleston Crafted
    DIY cube storage console table

Primary Sidebar

Charleston Crafted about us image

Hey y'all!

We are Morgan & Sean McBride and we are crafting our home together in Charleston, South Carolina.

More about us

Popular Posts

  • DIY Coffered Ceiling
    DIY Coffered Ceiling
  • How to Make DIY Concrete Pumpkins via Charleston Crafted
    How to Make DIY Concrete Pumpkins
  • How to Make a Cupid's Arrow Valentine's Day Wall Hanging with felt on the Cricut
    How to make a Cupid's Arrow Valentine's Day Wall Hanging
  • Our Tropical Oasis - A backyard Hammock area - Charleston Crafted
    Our Tropical Oasis

Recent Posts

  • DIY hanging birdhouse - Charleston Crafted
    DIY hanging bird house
  • Upgrade Your Home Without a Renovation
    10 Easy Weekend Wins to Upgrade Your Home Without a Renovation
  • Outdoor Storage Ideas That Don’t Ruin Your Vibe
    Outdoor Storage Ideas That Don’t Ruin Your Vibe
  • How to install a transition strip - Charleston Crafted
    How to install a floor transition strip

Privacy Policy

Footer

↑ back to top

Navigation

  • Home
  • Blog
  • Contact Us
  • Terms of Use
  • Disclaimer

Newsletter

  • Sign up for emails and updates
  • Follow us on Instagram
  • Work with Us

Browse by Category

  • Woodworking
  • Home Projects
  • Paint Colors
  • Room Reveals

© 2025 The Charleston Crafted Blog LLC DBA “Charleston Crafted” and “CharlestonCrafted” (also known as N/A) / All Rights Reserved.
Official Website: (Charleston Crafted)
Registered in USA (Co. Reg. No.: 565586)
Address: Charleston, USA 29414, South Carolina
Contact Phone: Not applicable — contact is via email: sean@charlestoncrafted.com

DISCLAIMER: The content on this website is provided for general informational purposes only and is not intended as professional advice. The Charleston Crafted Blog LLC and The Charleston Crafted Blog LLC make no representations or warranties—express or implied—regarding the accuracy, completeness, or suitability of the information contained herein. Any reliance you place on this information is strictly at your own risk. In no event shall The Charleston Crafted Blog LLC or The Charleston Crafted Blog LLC be liable for any loss or damage, including without limitation, indirect or consequential loss or damage, arising from the use or inability to use this website. This website is the official website of The Charleston Crafted Blog LLC.

AFFILIATE DISCLOSURE: This website contains affiliate links. If you click through and make a purchase, we may earn a commission at no extra cost to you.

As an Amazon Associate, I earn from qualifying purchases.

Site Editor: Morgan Smith McBride

Copyright © 2025 Charleston Crafted