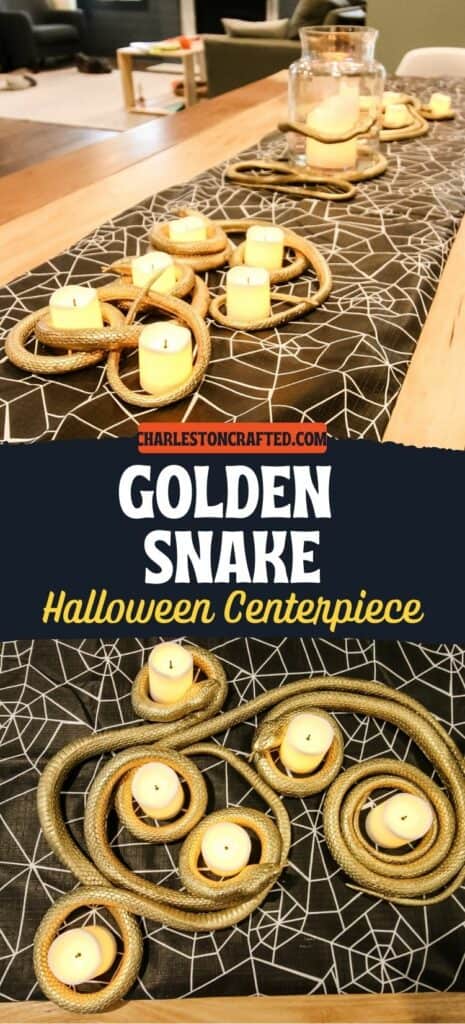
Transform your Halloween decor with our DIY Gold Snake Halloween Centerpiece tutorial. Inspired by chic designs from West Elm's Halloween collection, this easy-to-follow guide shows you how to create a spooky yet stylish centerpiece using rubber snakes, metallic gold spray paint, and battery-operated candles.
Halloween is a super fun holiday to decorate for. You can really go wild with things that would be absolutely strange the rest of the year.
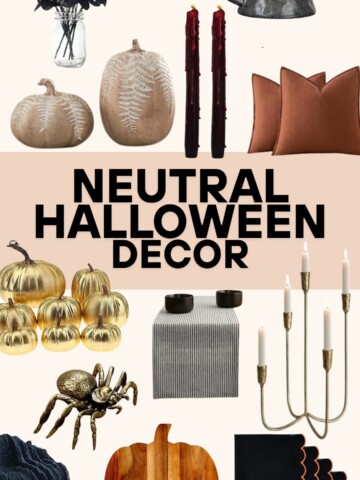
This year I was inspired by West Elm's Halloween collection. They have a ton of spooky decor with a chic twist.
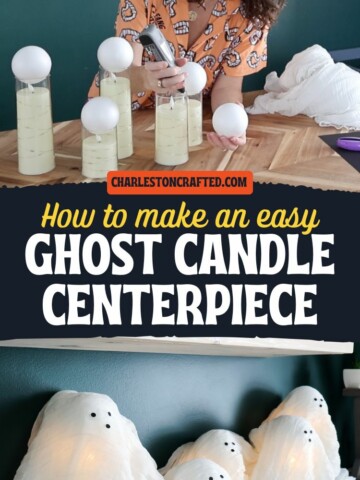
Today I am going to share how I made a gold snake centerpiece!
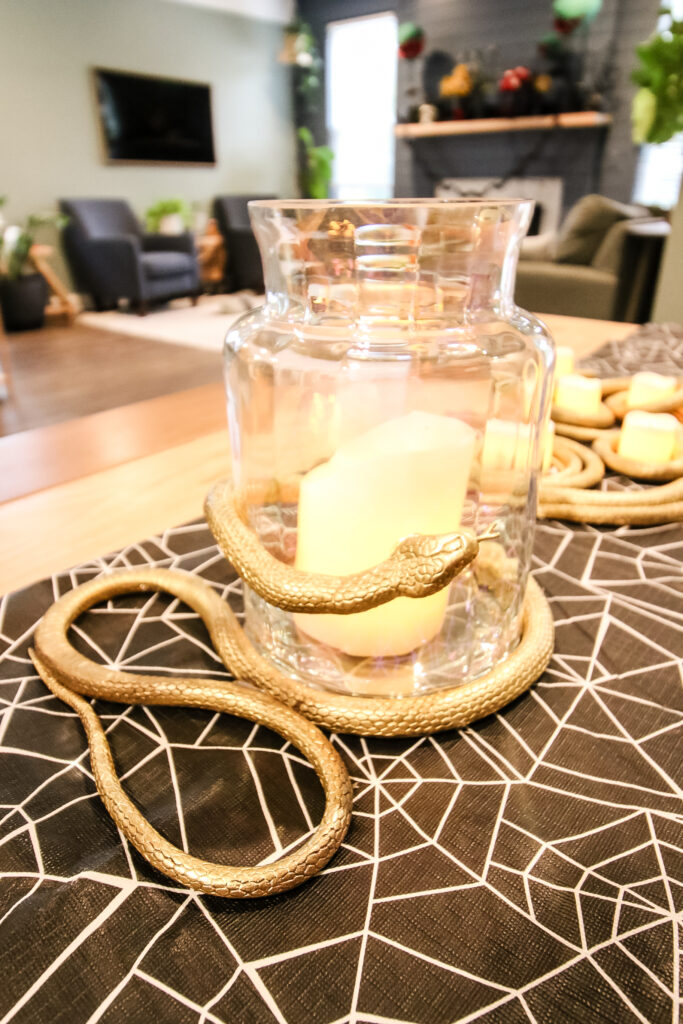
I was inspired by their snake candle holder collection, which includes a hurricane pillar candle and a votive display.
The items in this collection range from $26 to $129 each, and I knew I could get the look for less!
I made this centerpiece just for fun, but I think that it would be a great decoration for a fancy Halloween dinner party - or any Halloween party!
DIY Gold Snake Halloween Centerpiece
Here's how easy it is to make this Gold Snake Halloween centerpiece!
Supplies needed:
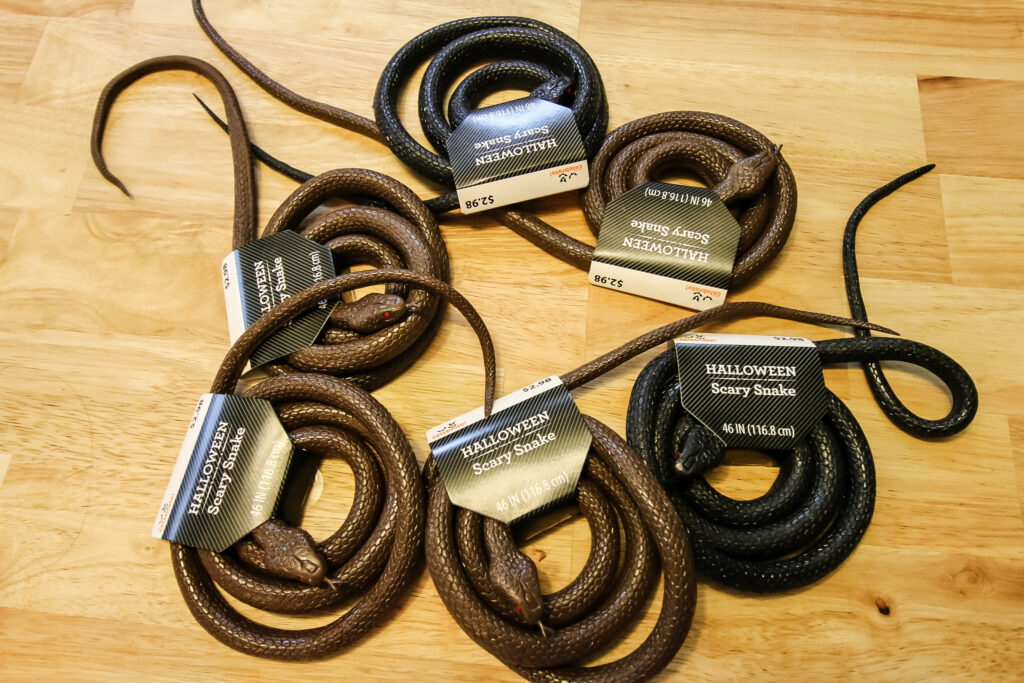
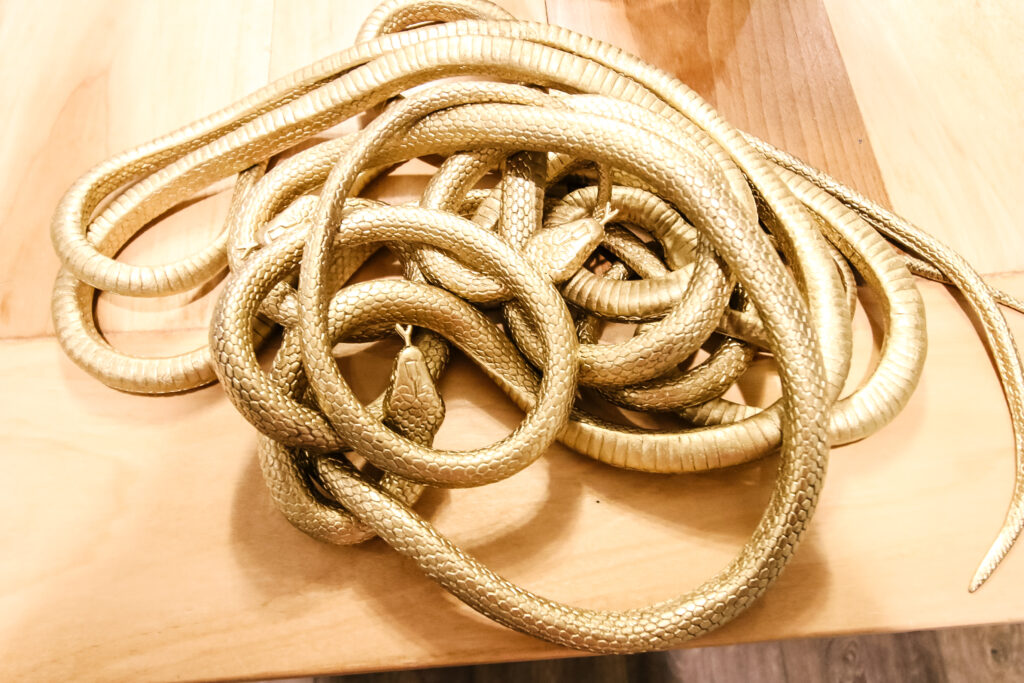
- Rubber snakes
- Gold metallic spray paint - see all of the best gold spray paints here
- Hot glue
- Battery votive candles
- Battery pillar candle
- Pillar candle hurricane jar (or vase)
Steps to make it:
Here are the simple steps to make this gold snake Halloween centerpiece.
STEP 1: Prep
Remove ay tags or adhesive from the snakes.
Lay out a drop cloth in an outdoor space where you can paint.
STEP 2: Paint
Shake your can of spray paint according to the can's instructions and paint the snakes. Do a few light coats to avoid drips.
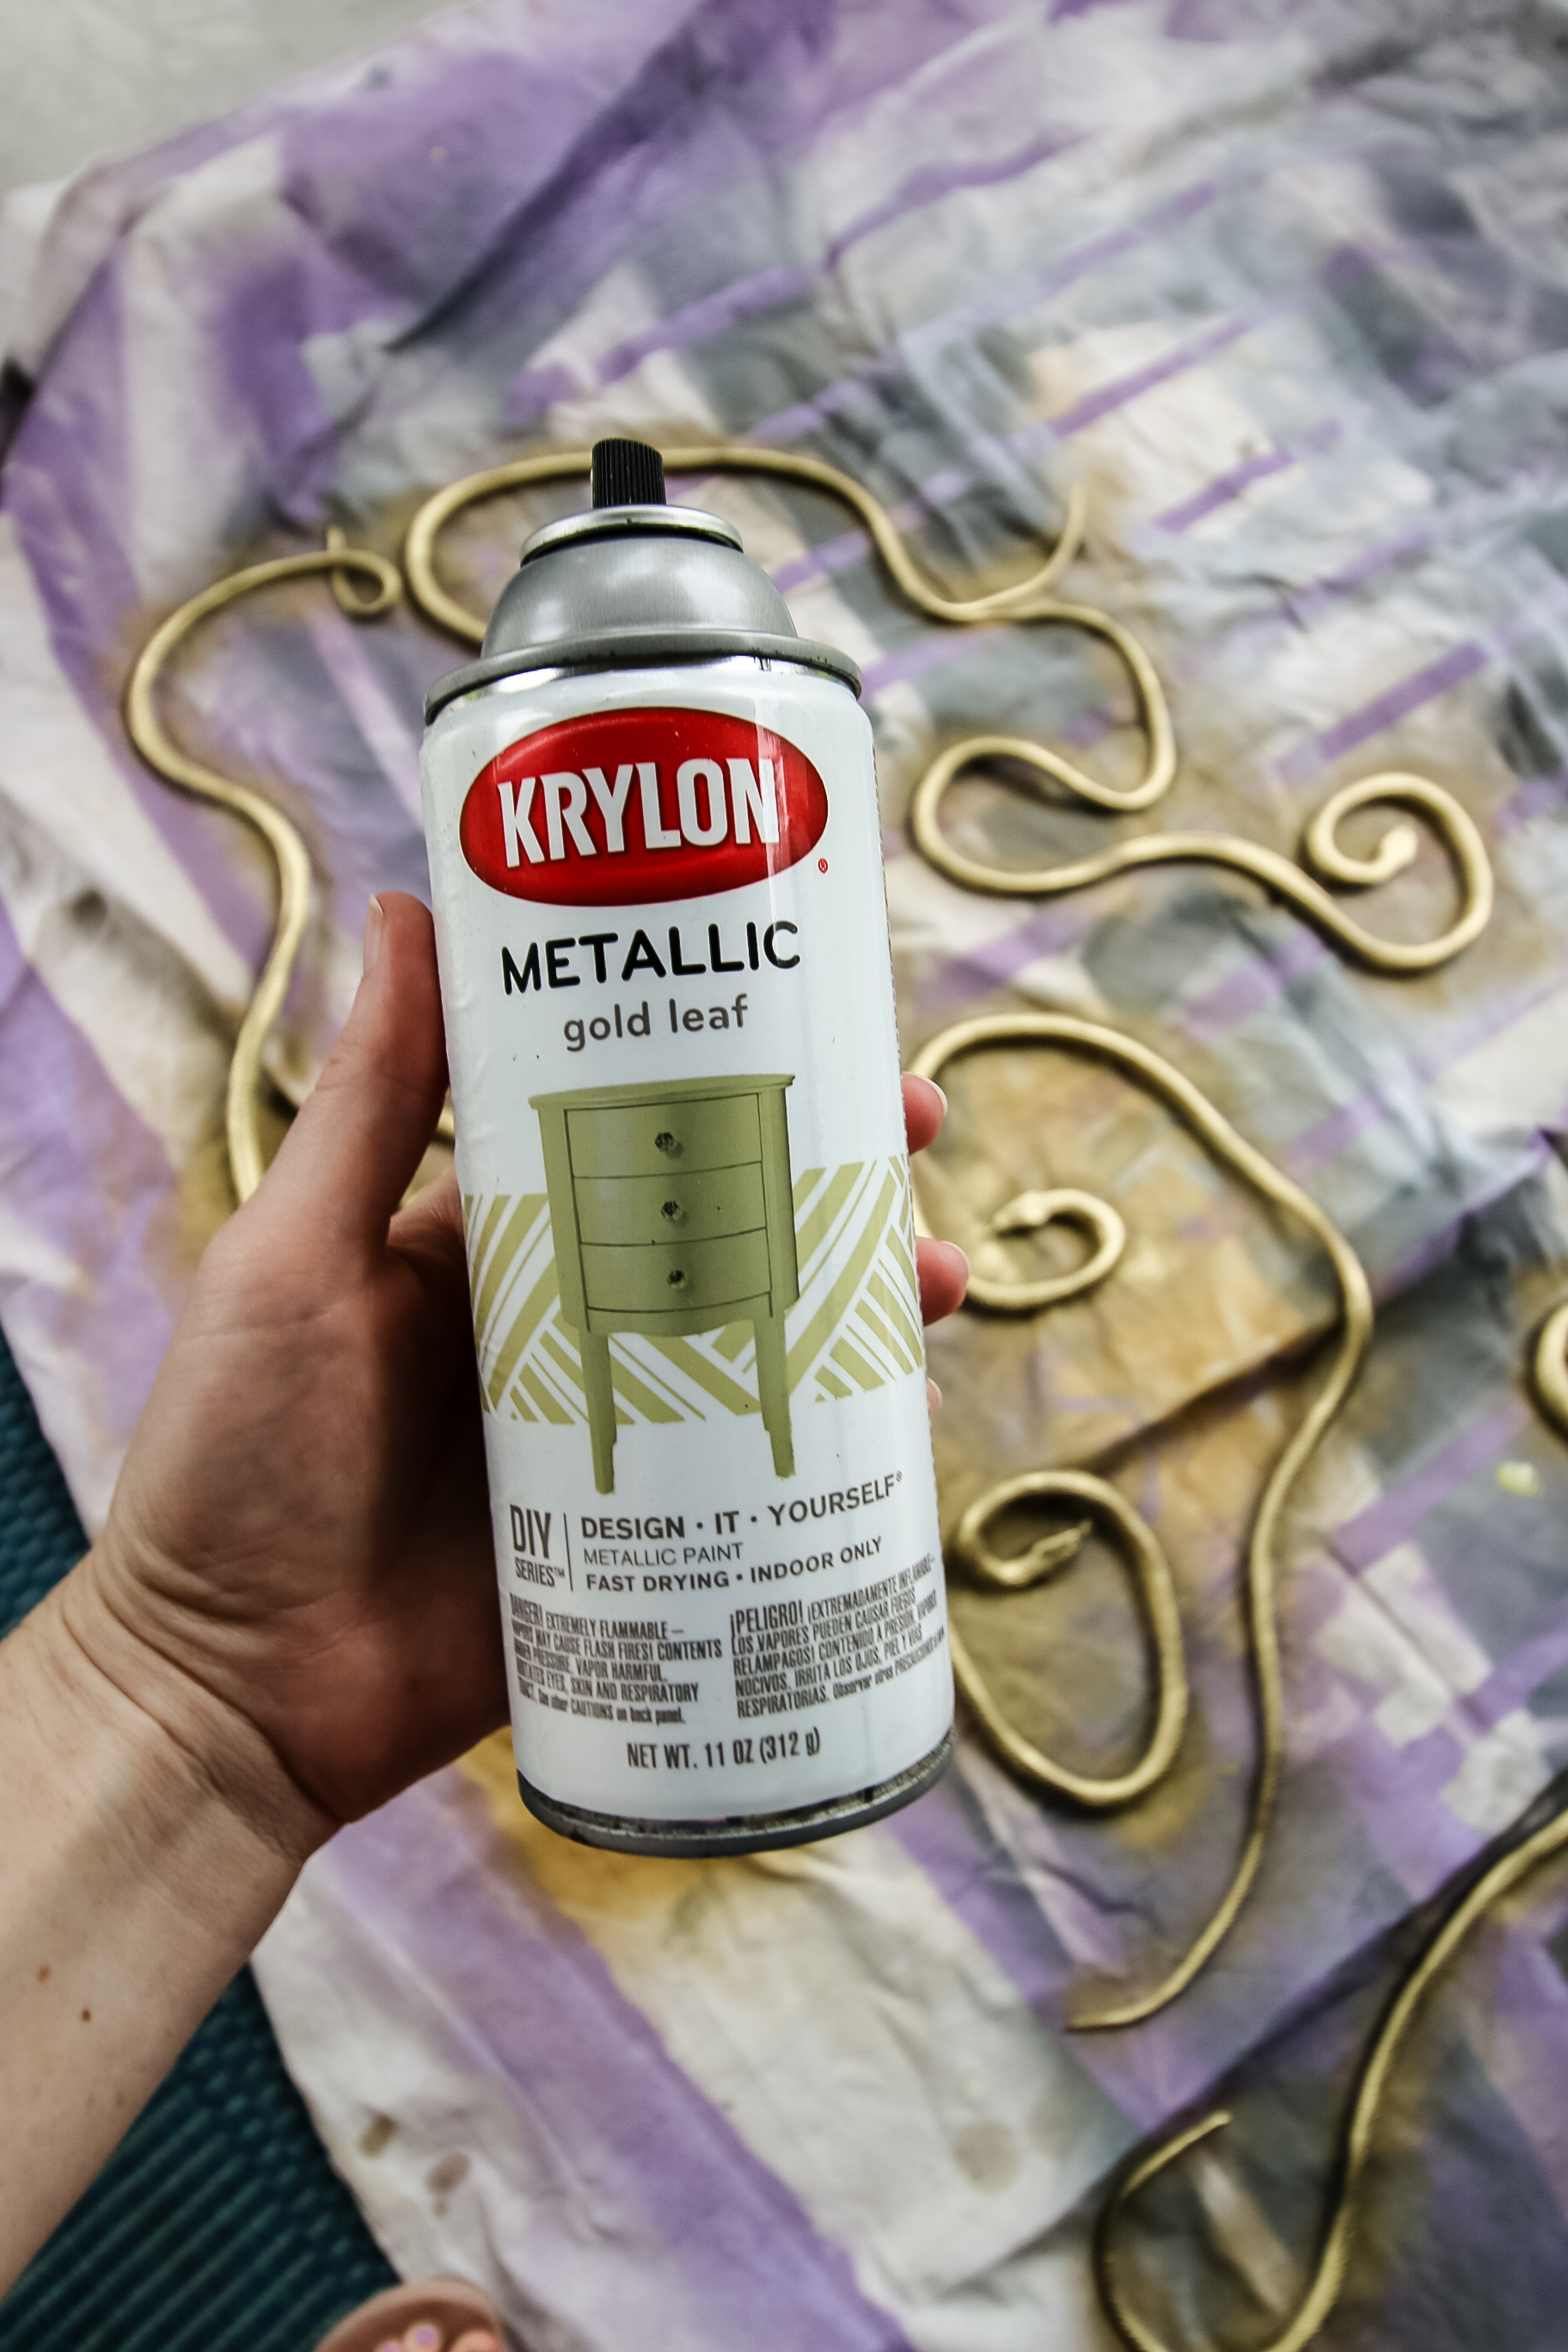
I waited 15 minutes between coats and flipped or rotated the snakes each time. They were honestly really annoying to paint because they kept turning and twisting!
Take your time and give it as many coats as it needs to not miss a spot.
Let dry completely.
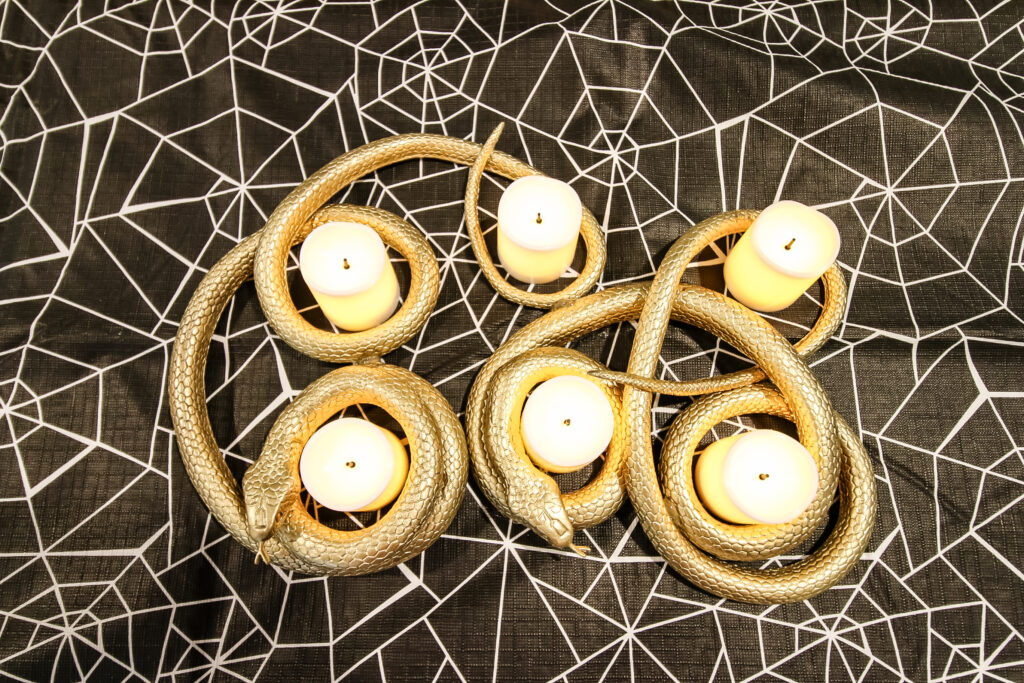
STEP 3: Design
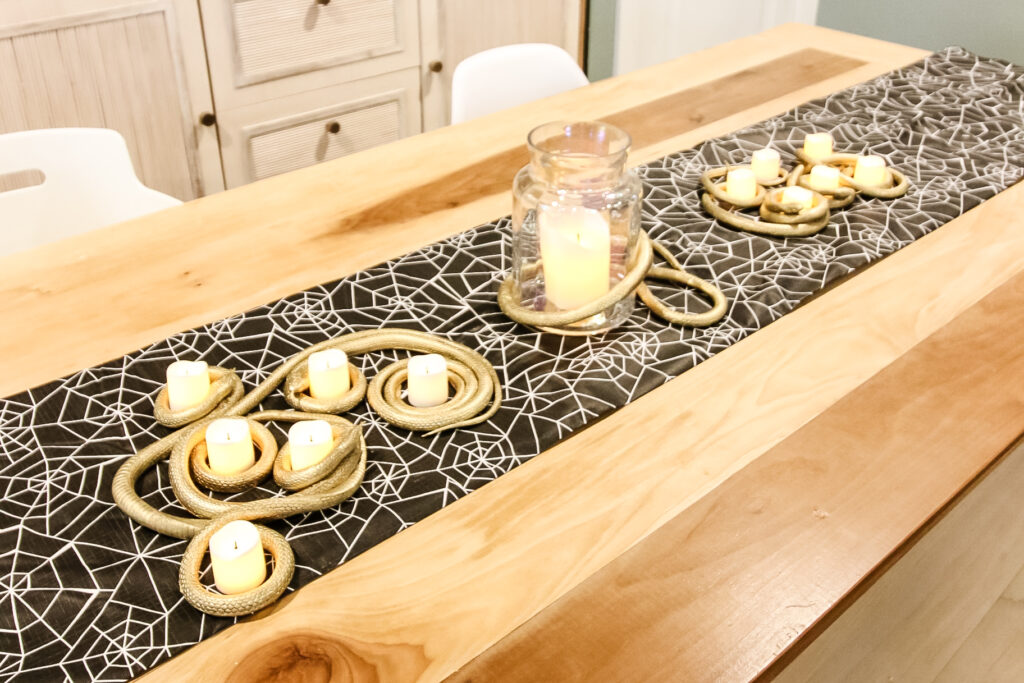
Lay out your snakes on your table surface. I suggest working where you plan to display them.
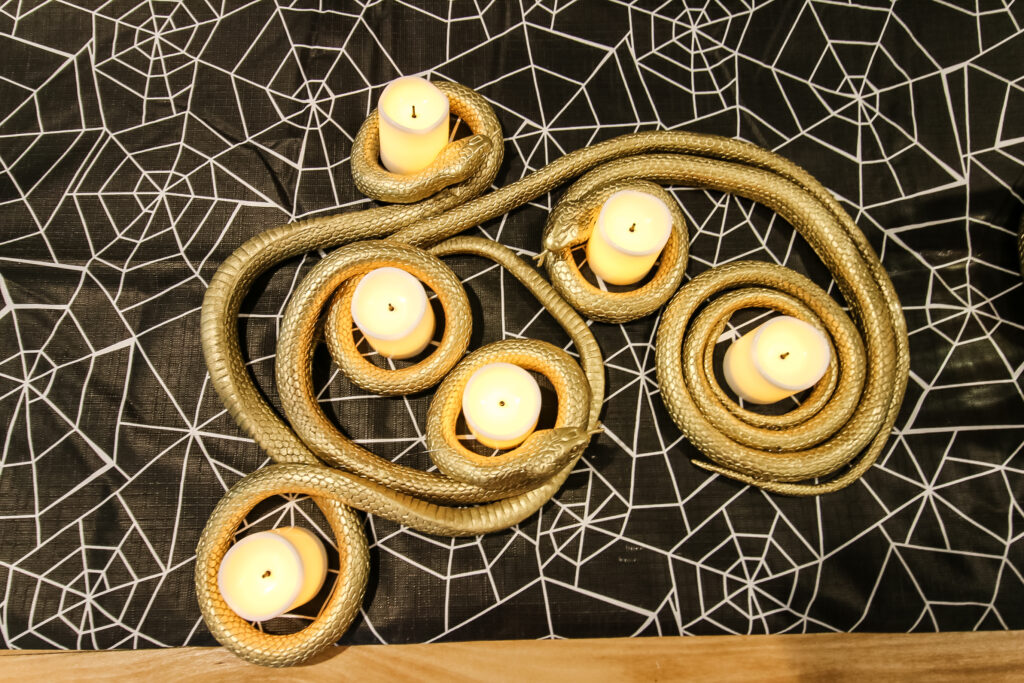
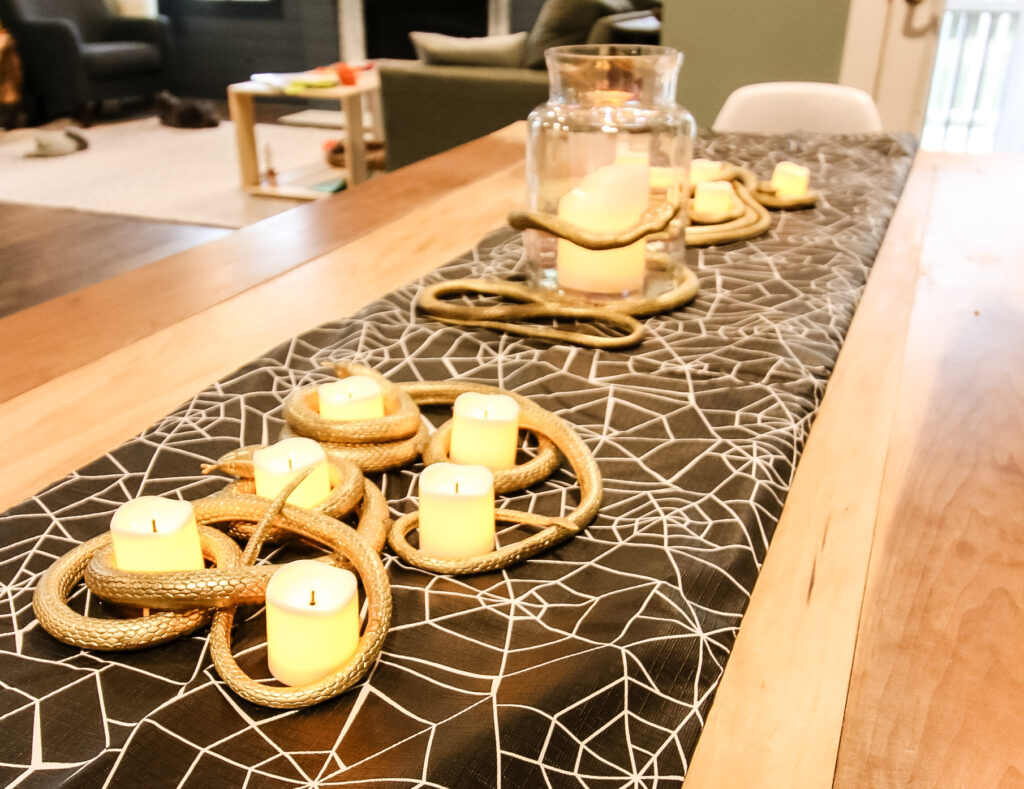
Layout and rearrange the snake shapes to get the desired effect. I like lots of curls and to stack the heads up, raised on itself.
For the hurricane, wrap the snake around the vase, but leave some tail off at the end so you can twist it for an S effect. I think this looks cooler and more obvious compared to wrapping it 100% around the jar.
STEP 4: Glue
Once you decide on your plan, glue it in any places where it touches, especially under the head.
Remember that it is still going to be floppy - glue won't make it stiff. Glue just holds the touch points together. That's why you need to assemble it in place.
If you are having trouble with the glue holding, put something like a heavy glass or jar up against the snake to hold the glue tight and flush until it has fully cooled and dried - up to 5 minutes.
If you just apply the glue then let go, often it does not hold. That snake wants to get back in its spiral!
STEP 5: Add candles
Insert the candles in their place and turn on their flickering lights.
Adjust anything that doesn't look quite right with the candles in place.
STEP 6: Enjoy!
Step back and enjoy your spooky centerpiece!
How are you decorating for Halloween?

Looking for something?
We've been doing this since 2012 so we have a LOT of blog posts!
Search stuff like: Ceiling Projects | DIY Plant Stands | Thrift Flips

Hello, I'm Morgan, half of the creative force behind CharlestonCrafted.com! With a passion for DIY that dates back to 2012, I've transformed three homes and now I'm dedicated to helping others craft their dream spaces. Let's turn your house into a home together!