Last year when we took our holiday photo at West Elm, I was really inspired by the Merry Christmas garland they had hanging behind the couch. I knew that I wanted to make my own but never got around to it. Well, this year I made it a priority to give this little project my own twist!
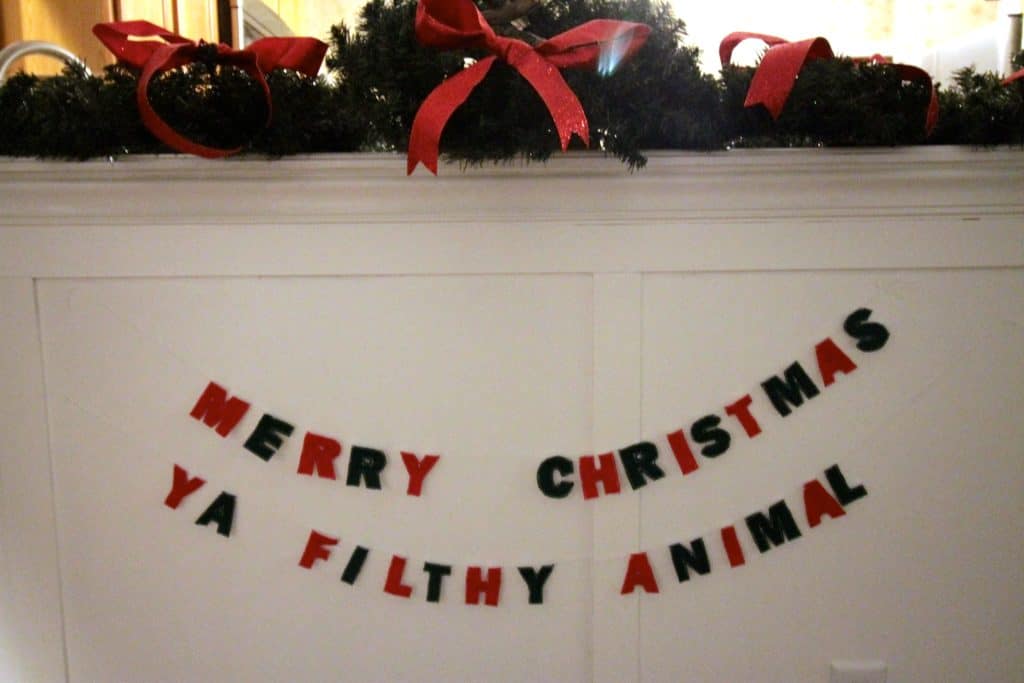
I made this simple DIY felt letter garland using only 4 sheets of felt - well under $2 worth! I also used a sewing machine and white thread though you could hand sew these if you had the time. Here's how I did it.
What you need: 2 sheets white felt, 1 sheet green felt, 1 sheet red felt, printer, paper, straight pins, sewing machine, white thread, white thin rope or ribbon
First, I printed the text that I wanted to make into a banner. I've included that word document as a downloadable printable below!
Merry Christmas Ya Filthy Animal Garland Free Printable - Charleston Crafted
I cut out each letter as a block - not around the actual text, just a rectangle. I labeled each one alternately red - green to be sure that I didn't mess up the pattern.
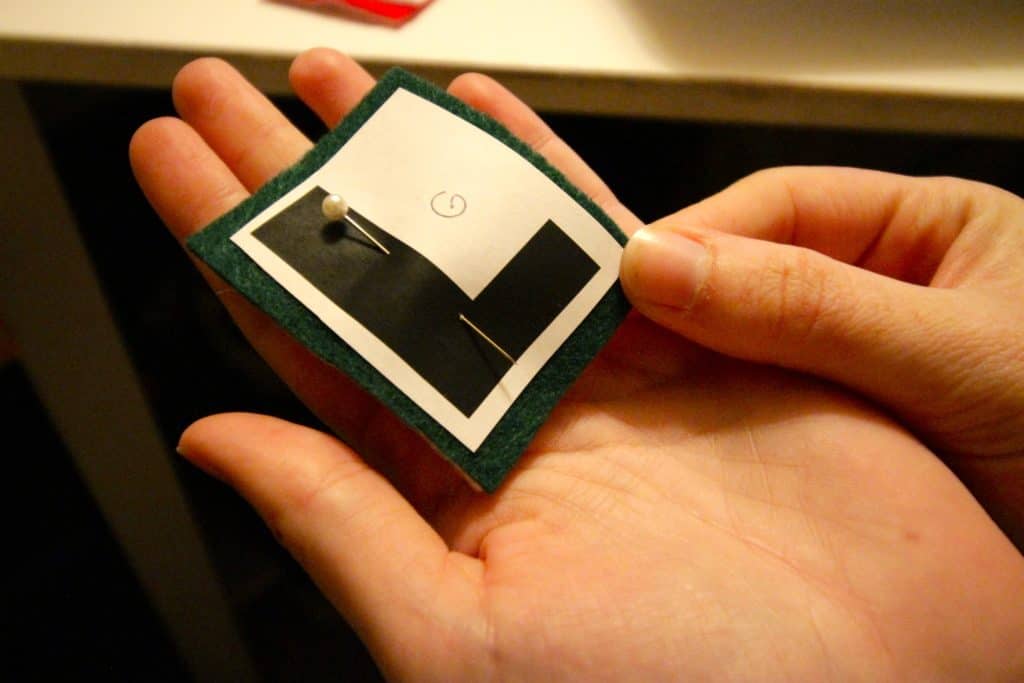
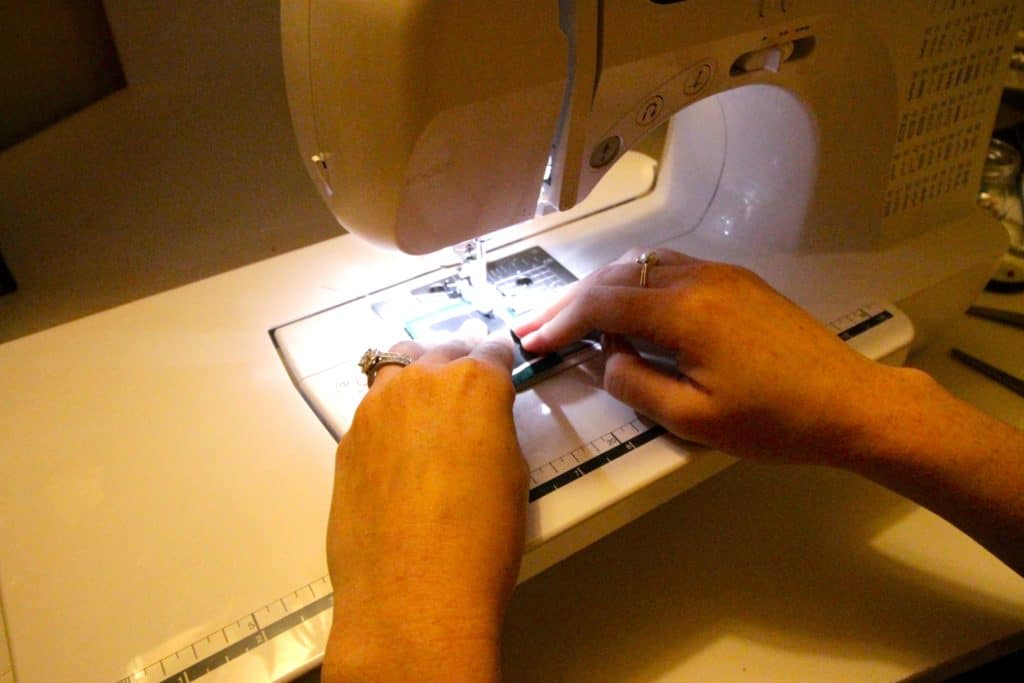
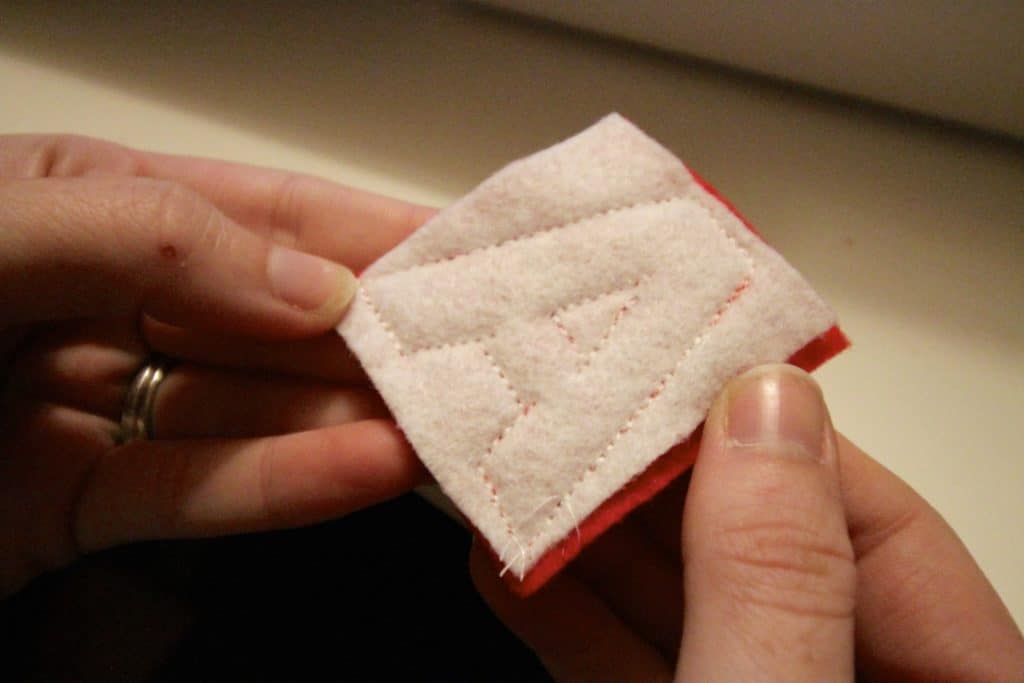
I layered a sheet of green felt over a sheet of white felt, and then separately a sheet of red felt over white felt. I then cut out a stacked rectangle the size of the first letter. I pinned the letter on top and used my sewing machine to sew along the letter line. I used the triple straight stitch which is the #2 on my brother machine. This made it take longer but the needle goes over each stitch 3 times so it was extra thick stitching. My best tip is to just go slowly (really slowly!) and follow the edge of the letter as best as you can.
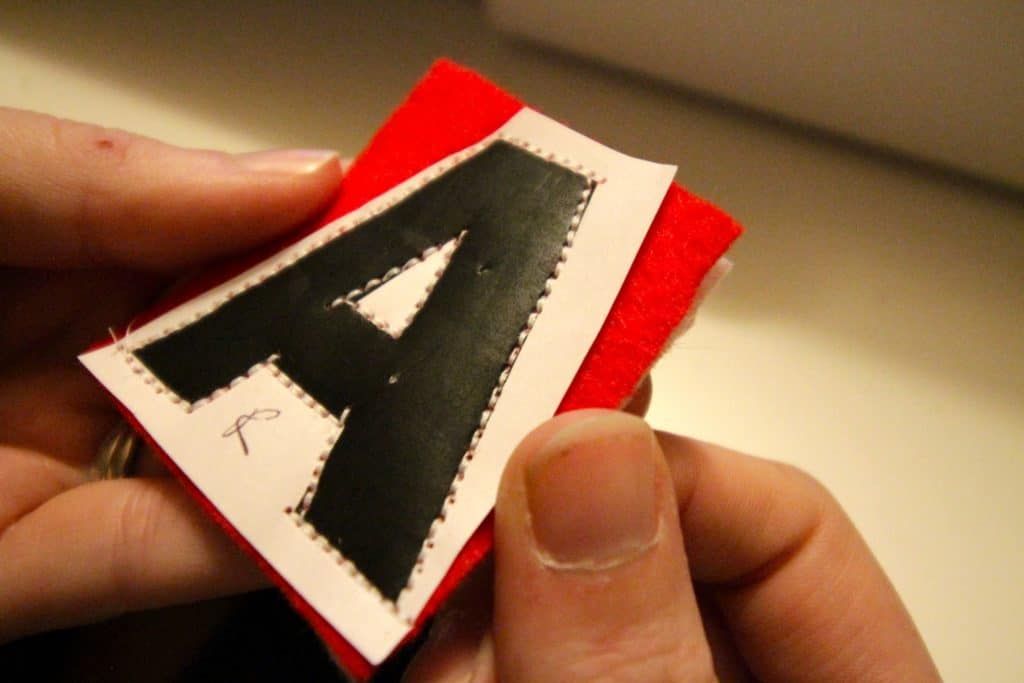
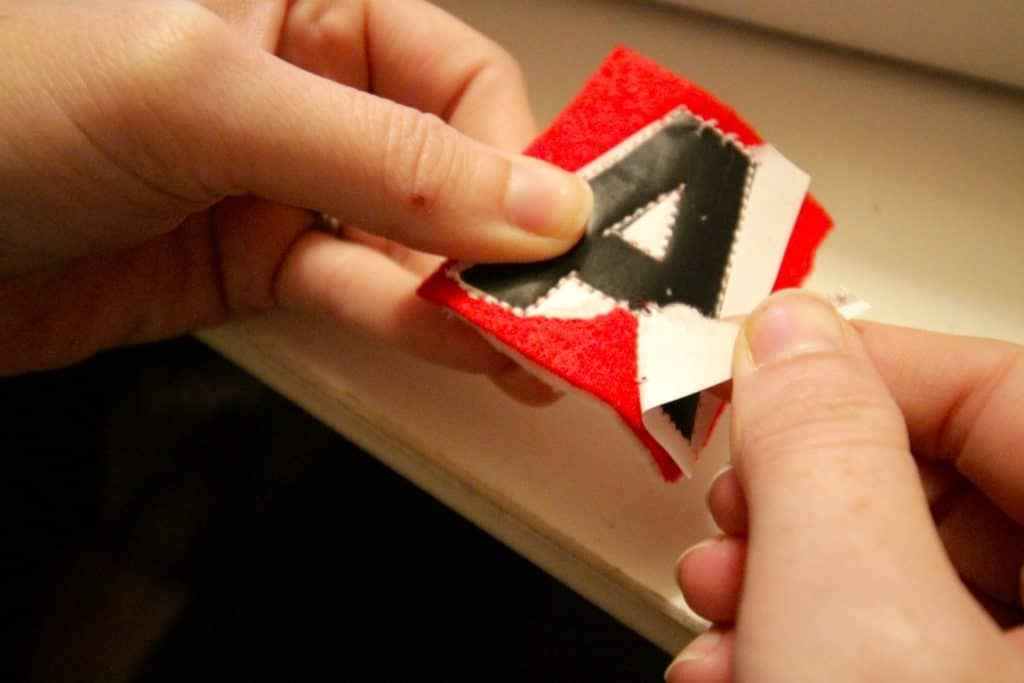
After I finished sewing the letter, I snipped the threads. I then carefully tore away the paper template. It should rip off easily, thought you might have to gently pull at small pieces near the stitching.
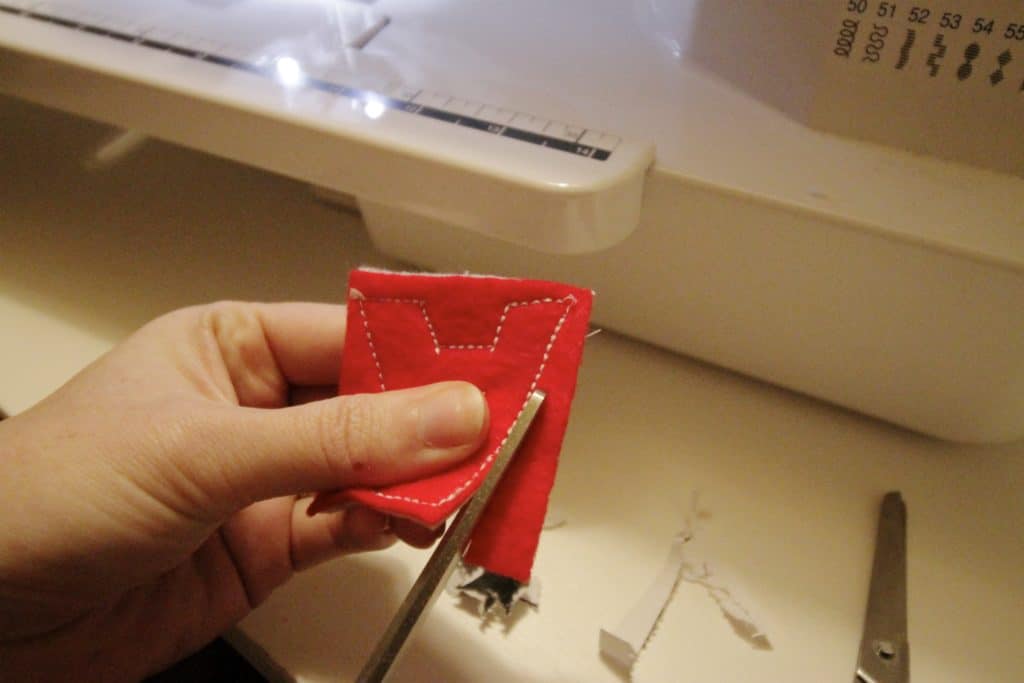
Then, I used scissors to cut out each letter just outside the stitching. A great thing about felt is that it won't unravel!
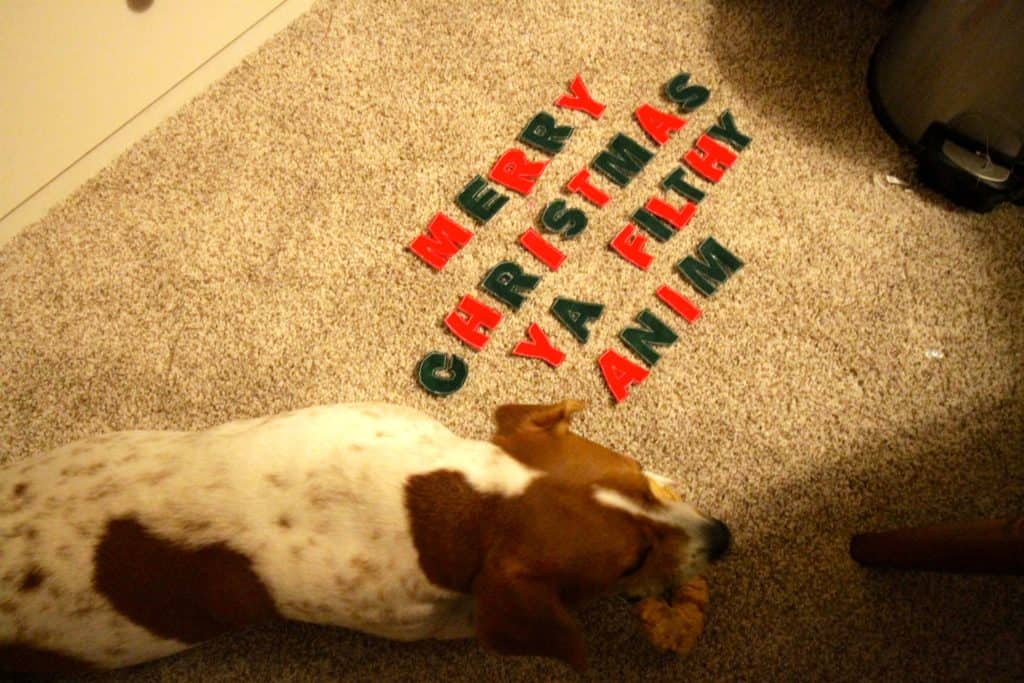
I just used a needle and very thin white rope to string the letters together. I think that they add a fun amount of whimsy to our holiday decor!
What are you DIYing this holiday season?
| |
|||
| |
|
|
|

Hello, I'm Morgan, half of the creative force behind CharlestonCrafted.com! With a passion for DIY that dates back to 2012, I've transformed three homes and now I'm dedicated to helping others craft their dream spaces. Let's turn your house into a home together!
Bobbie says
I just came across your garland “ Merry Christmas ya filthy animal” and I
laugh-cried. I want that on my wall just for laughs.......