This DIY project is a great mix of crafting and woodworking for Halloween! Make these wood crate jack-o-lanterns today!
Not everyone wants a rotting pumpkin sitting on their porch all month long. So why not come up with an alternative!
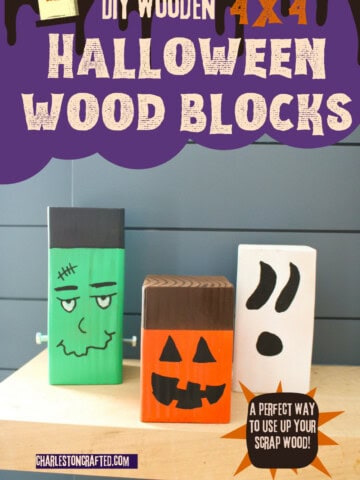
Last year, I made these DIY wooden jack-o-lanterns that perfectly light up the porch at night and look just as good as a real pumpkin.
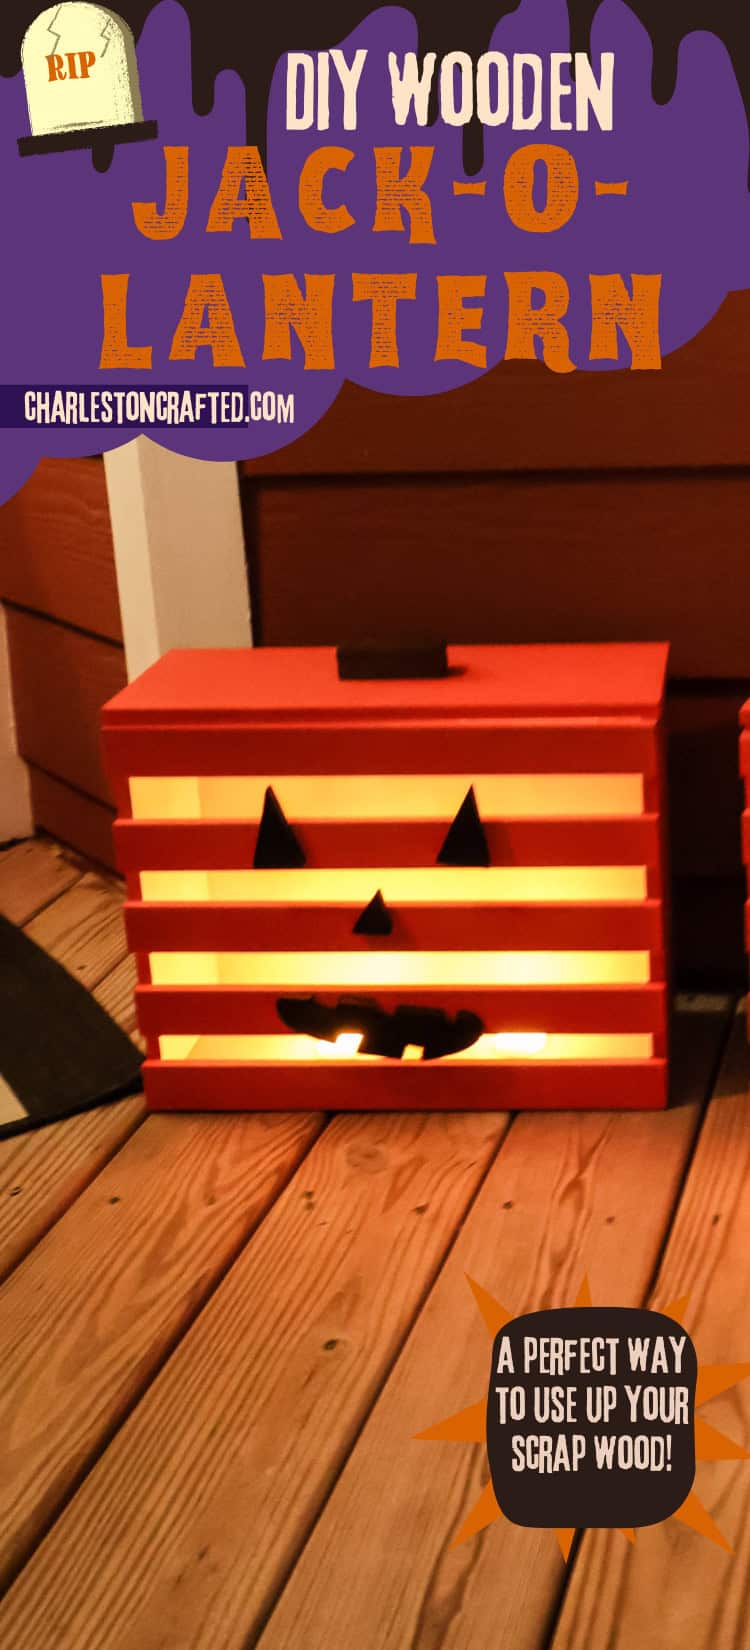
But this year, I wanted to try something a little different. So, I made wooden jack-o-lanterns that look like a wooden crate!
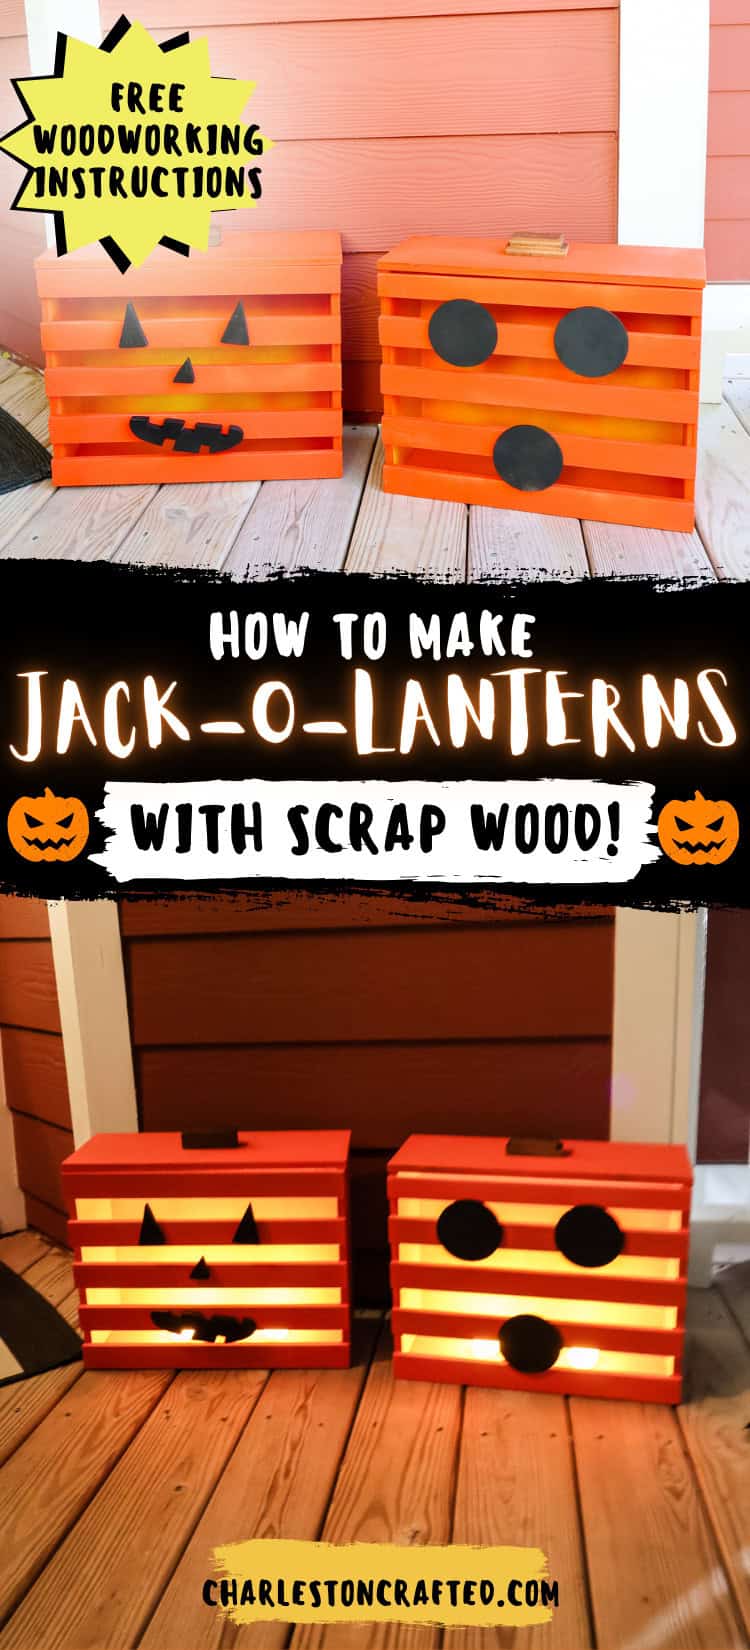
DIY crate Jack-O-Lanterns
You could make these from an actual crate if you have one and rip that down to make the same shape and style. However, I didn't have a crate, so I used up some scrap wood to make my own!
These are a fun project to make your own, so don't feel like you have to copy everything exactly, but if you do want to, make sure you grab my free printable woodworking instructions here!
Materials needed:
Here's everything you need to make these wood crate Jack-o-lanterns for Halloween!
- ½" plywood
- Wood glue
- Brad nails and nailer
- Orange spray paint
- Black spray paint
- Brown spray paint
- Battery powered candles
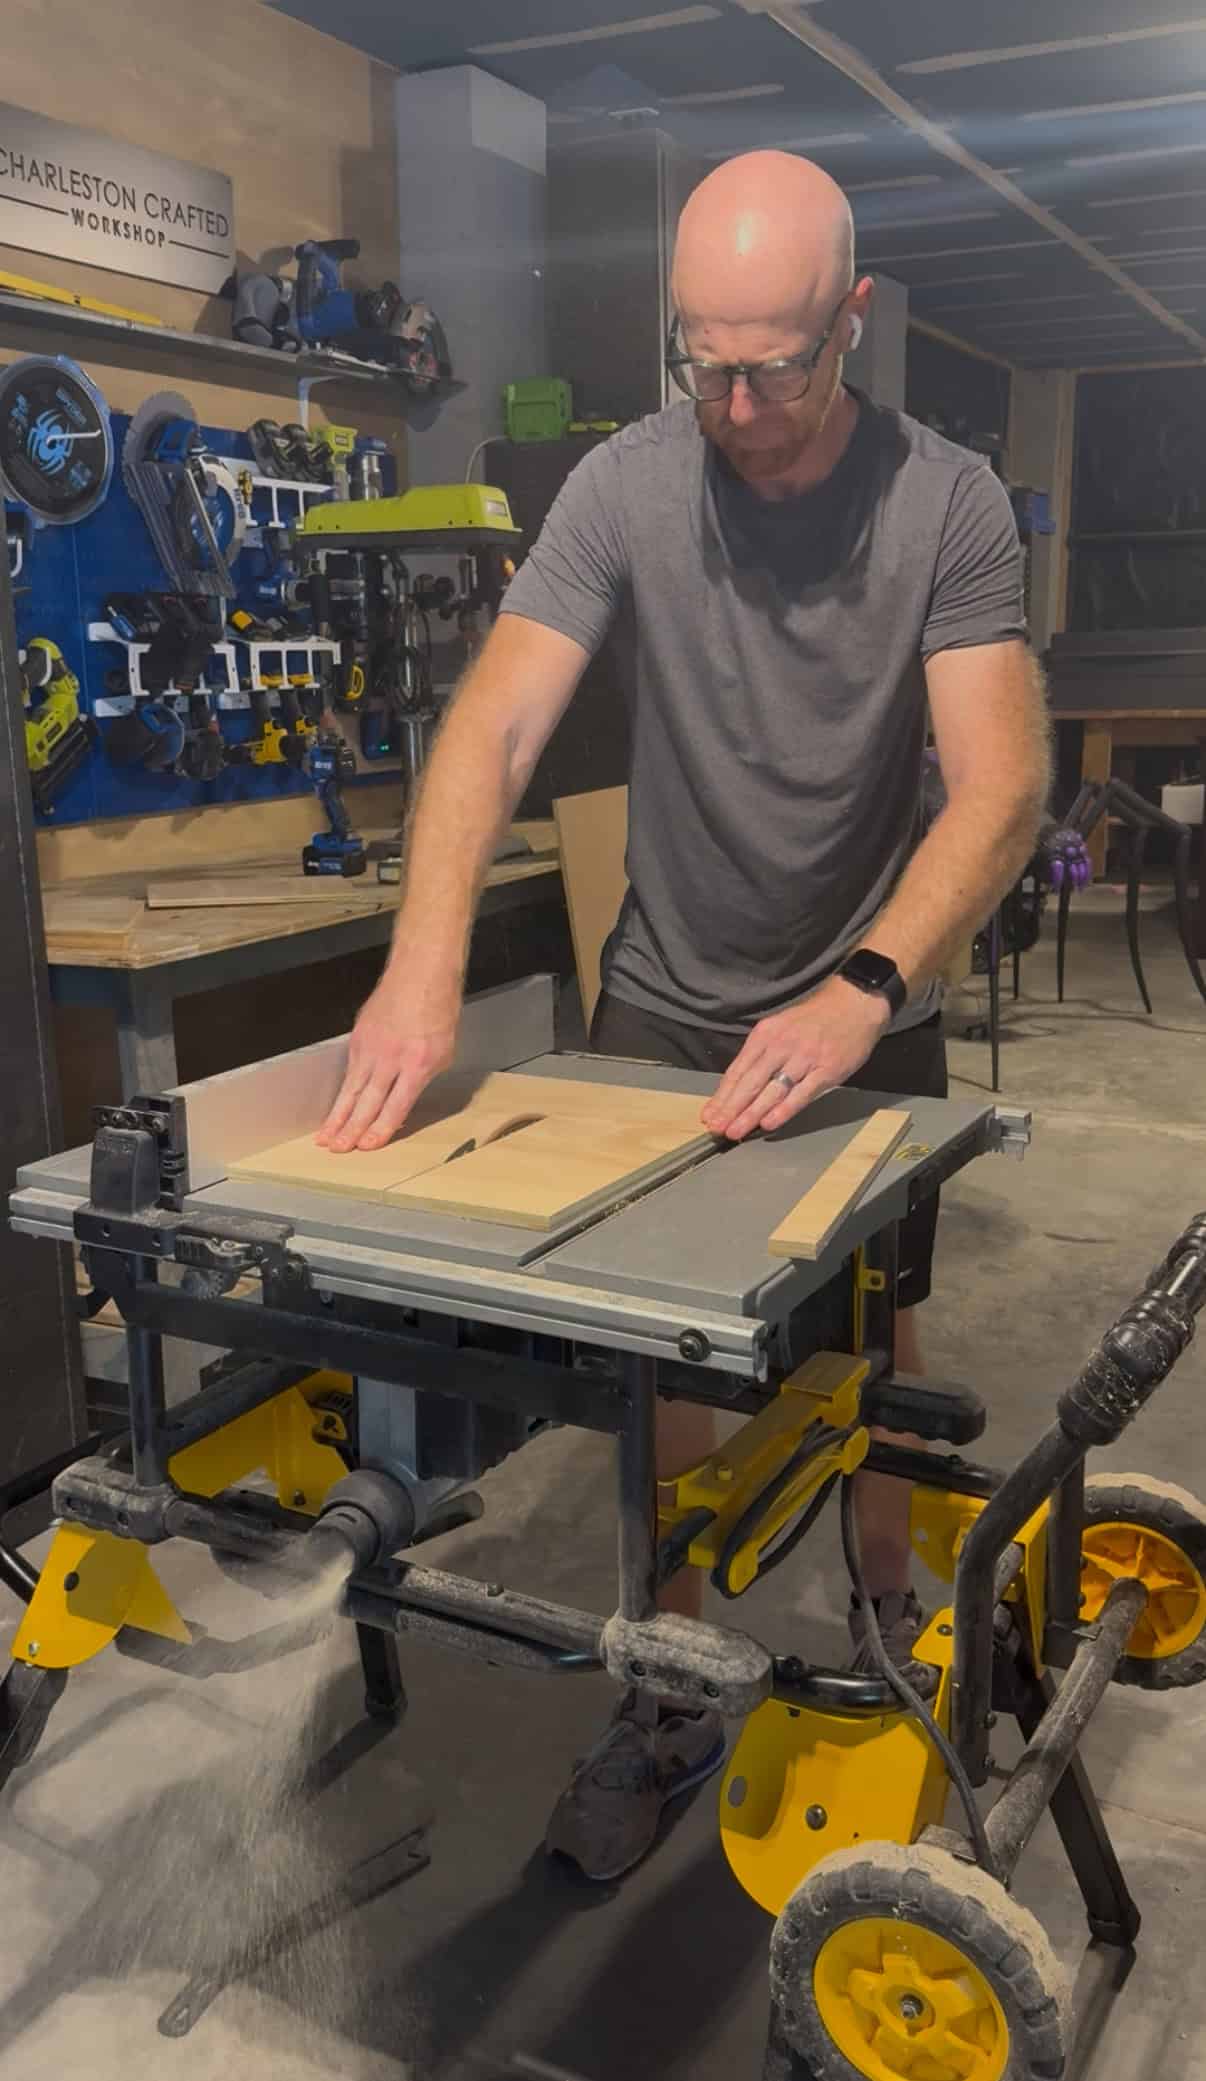
Step one: make cuts
Start by making all the cuts. I have all the exact cuts to make these laid out in my printable woodworking plans that you can download, but you also can freestyle this.
Since I wasn't using an actual crate, I made solid sides, top and bottom and only did slats for the front. So that cut down on all the little cuts that had to be made.
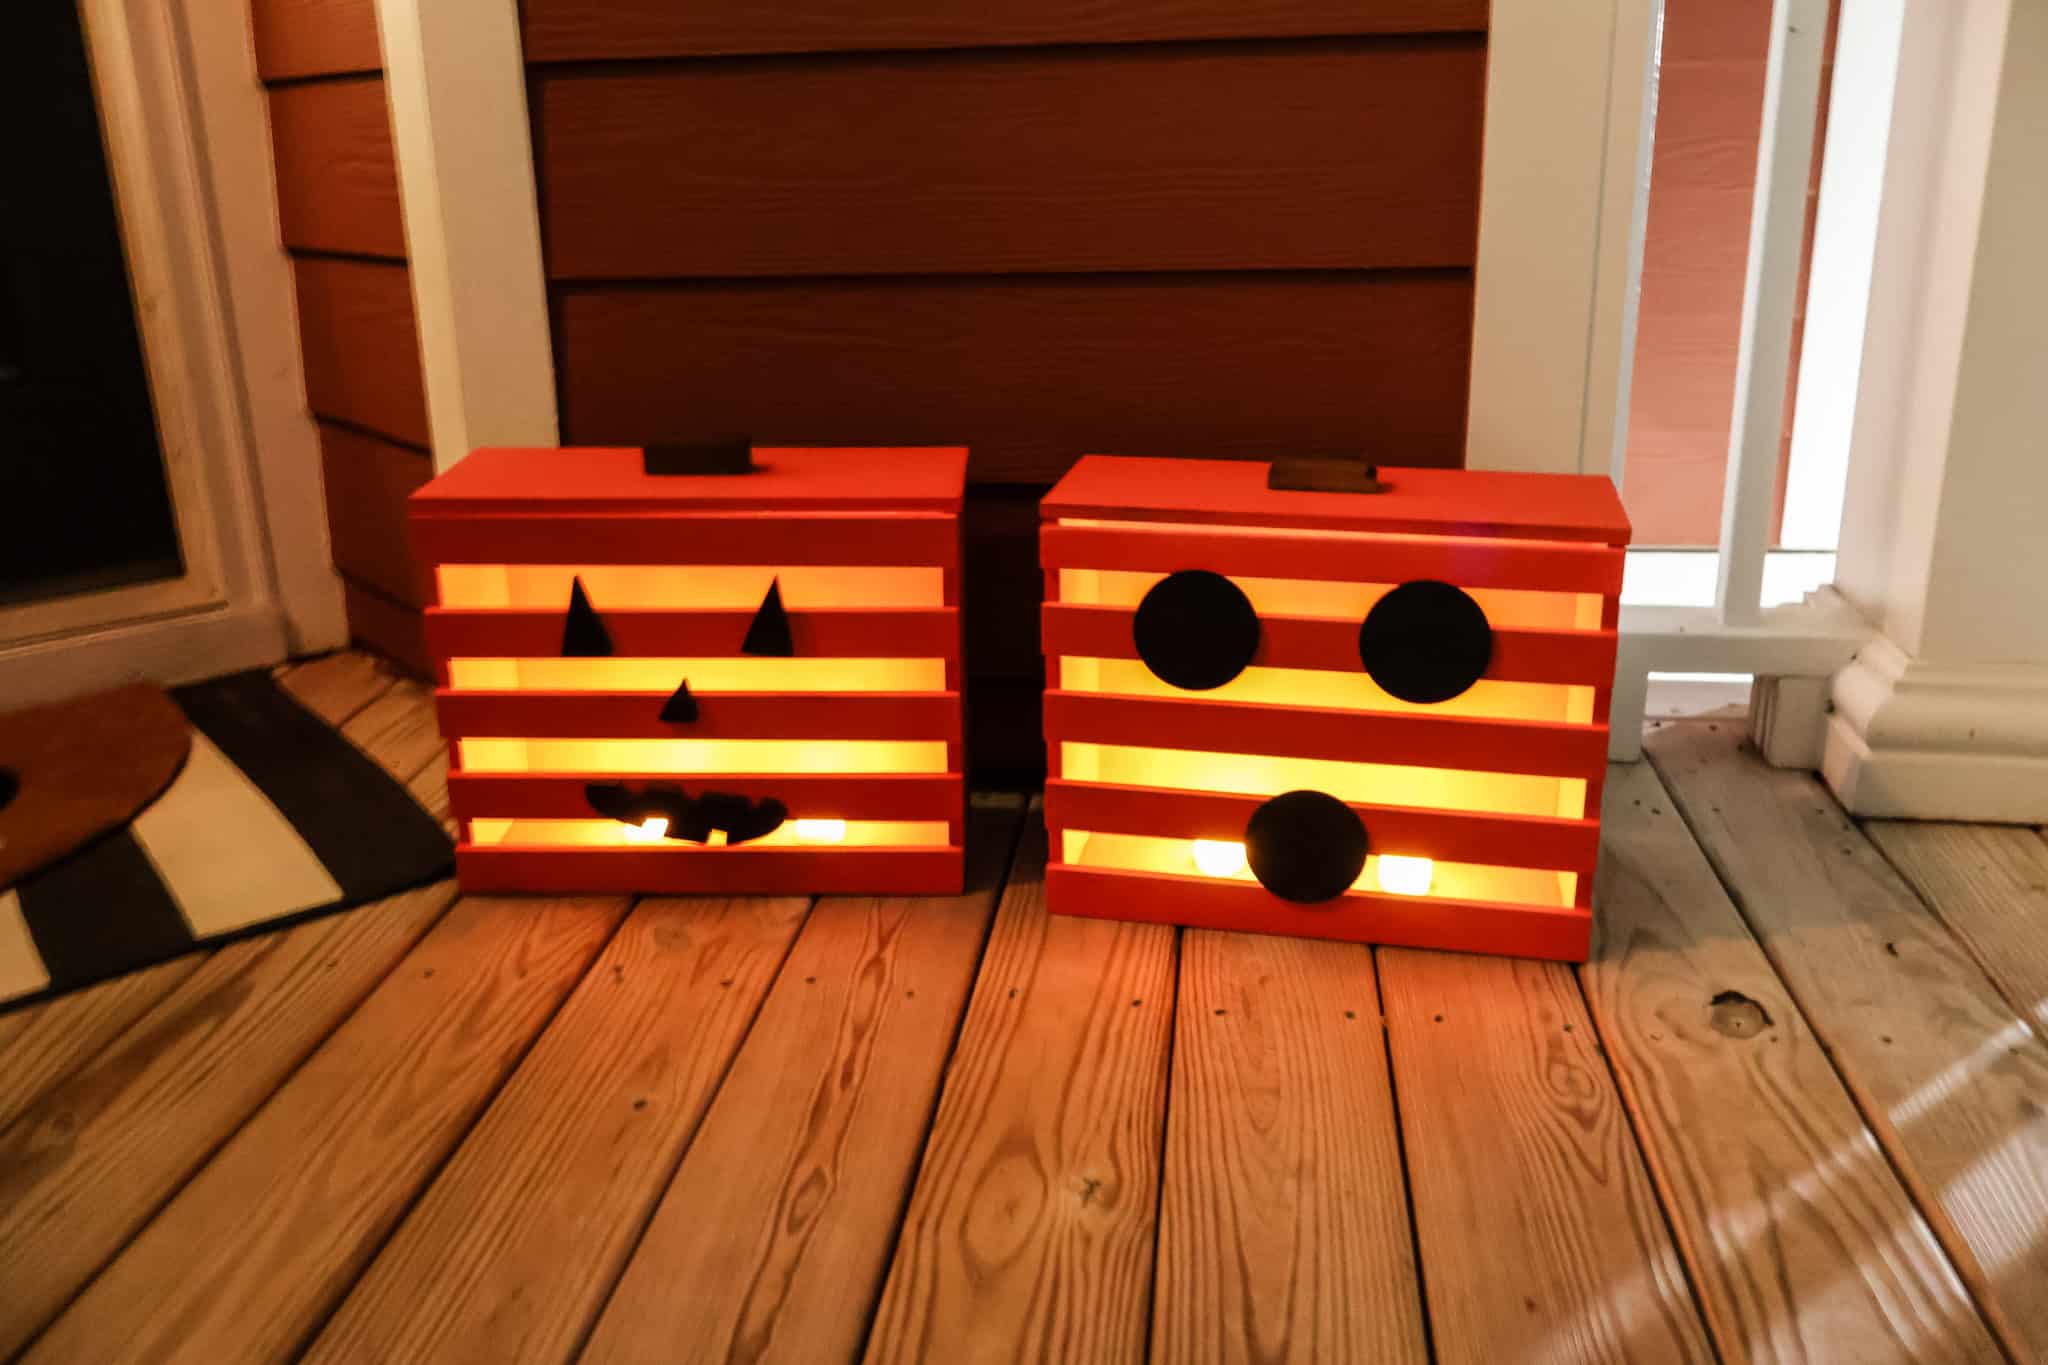
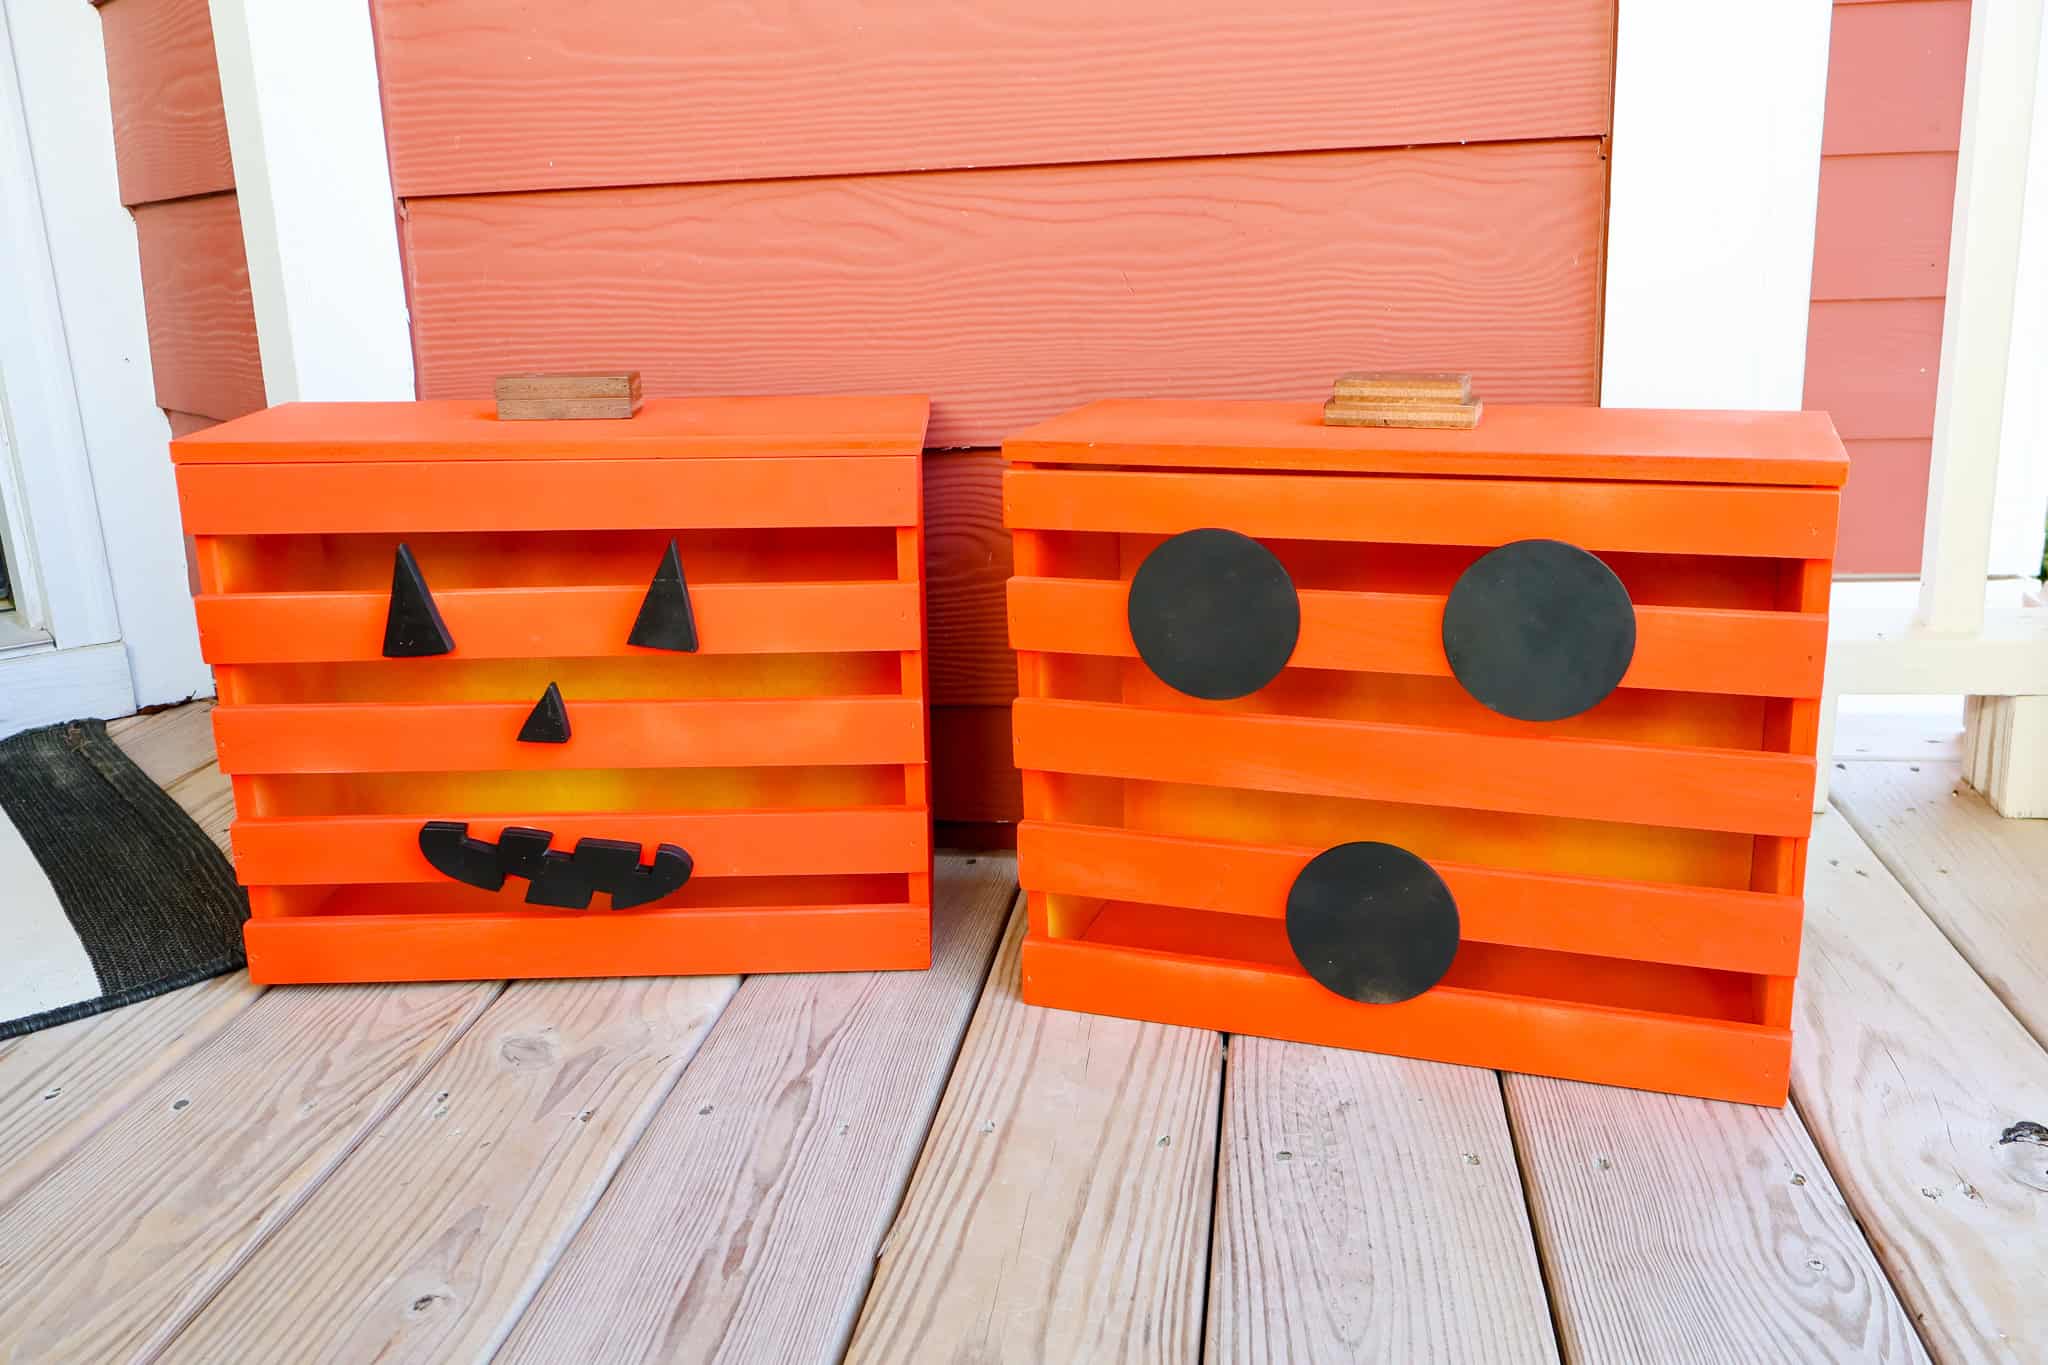
I also cut out shapes for the faces. I made two pumpkins, one with old cut off rounds for the eyes and mouth, then one with more traditional triangle eyes and a creepy smile.
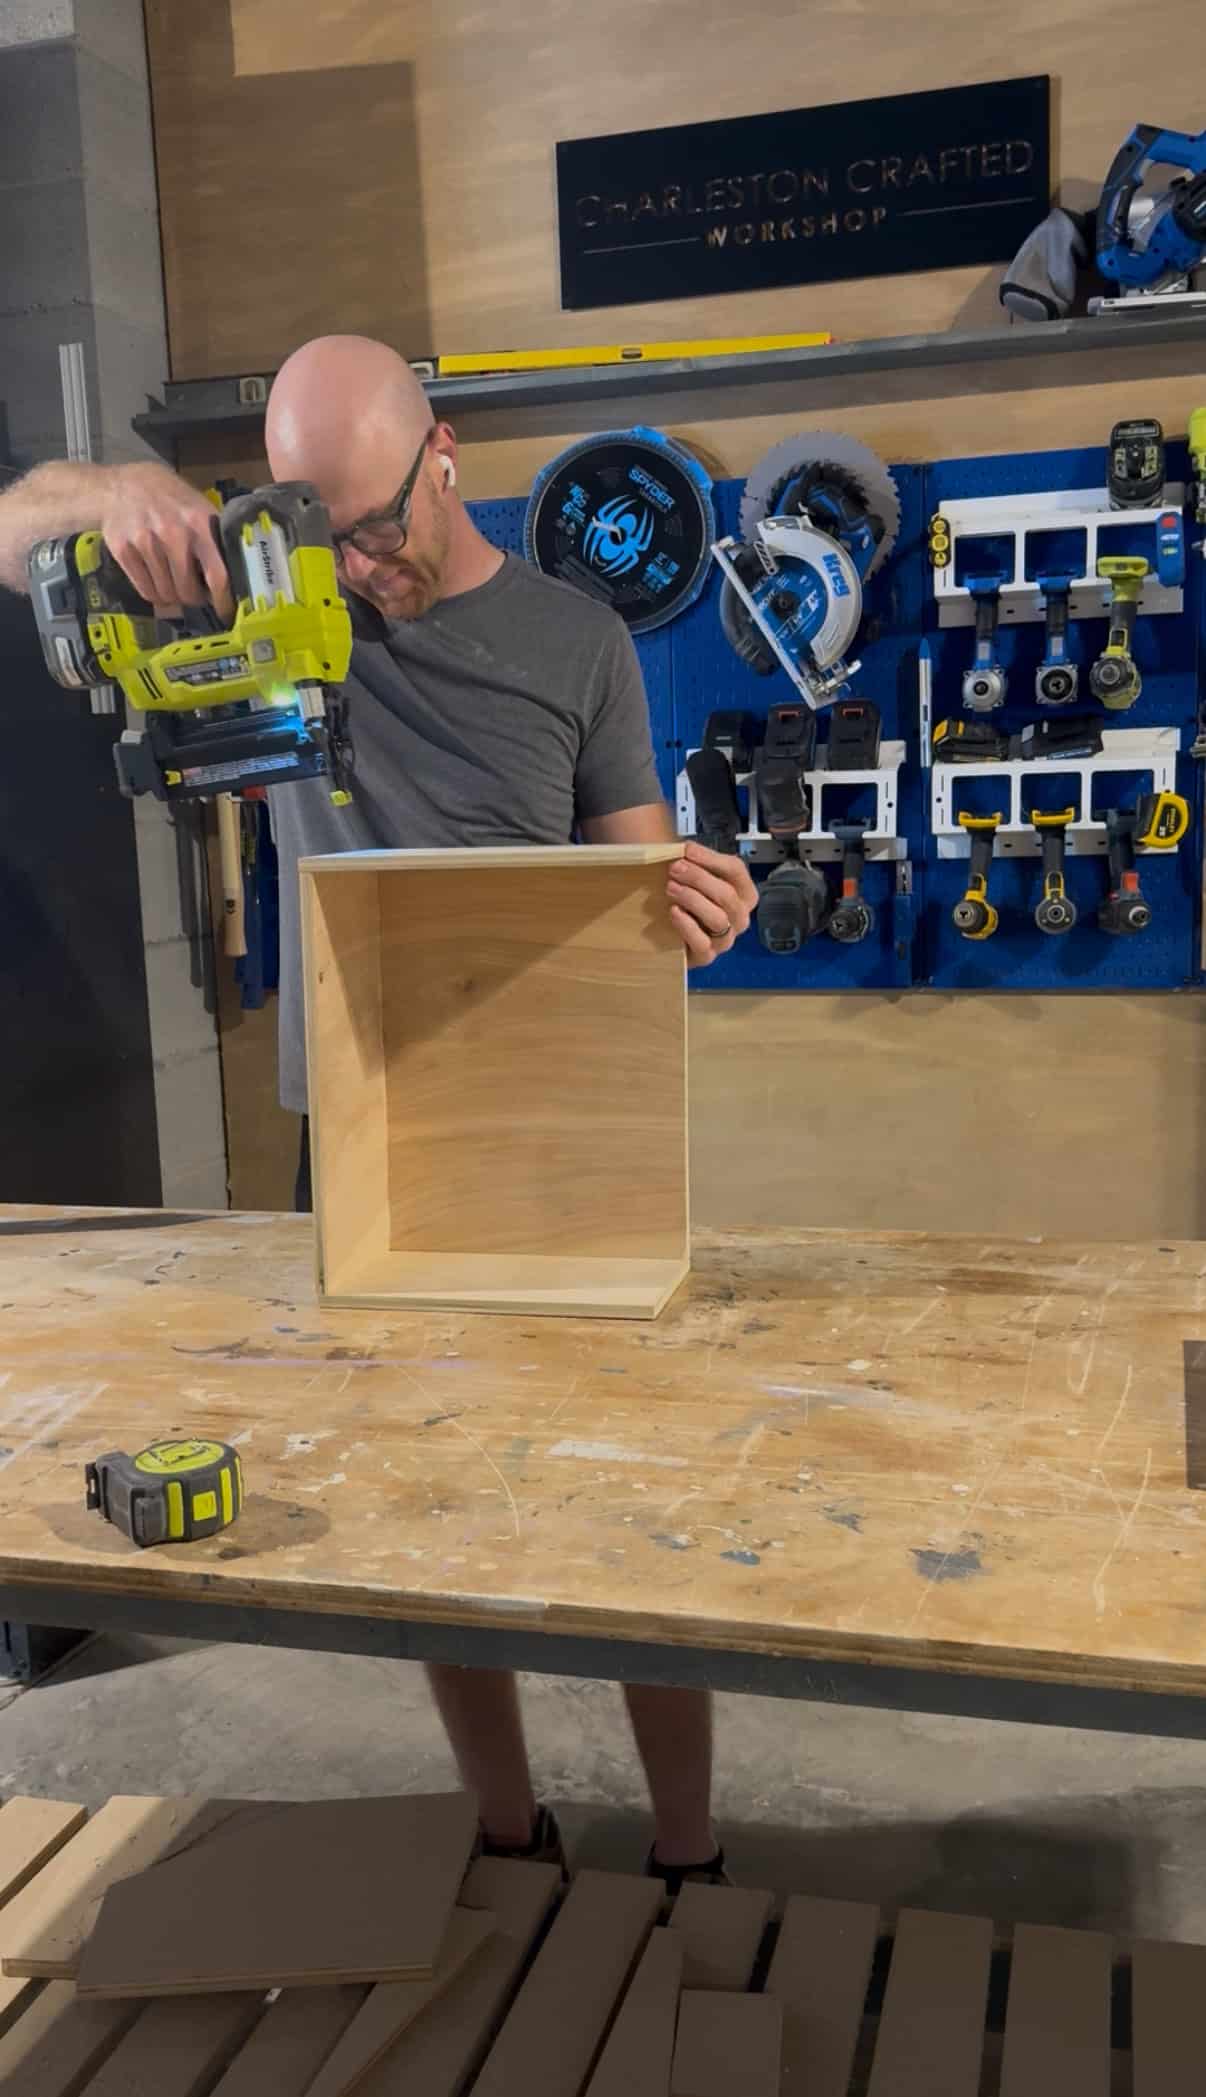
Step two: assemble box
Next, I assembled the box together. This included the back, sides and bottom all being nailed and glued together. I wasn't worried about tiny nail holes showing since this is a rustic outdoor project.
Step three: paint
Once everything is ready, laid out a tarp and prepare to paint. Paint the eyes and mouth with black spray paint, the stem piece with brown and everything else orange.
I added a bit of yellow spray paint inside the box for mine to help amplify the glow of the light, but that's optional if you don't have it.
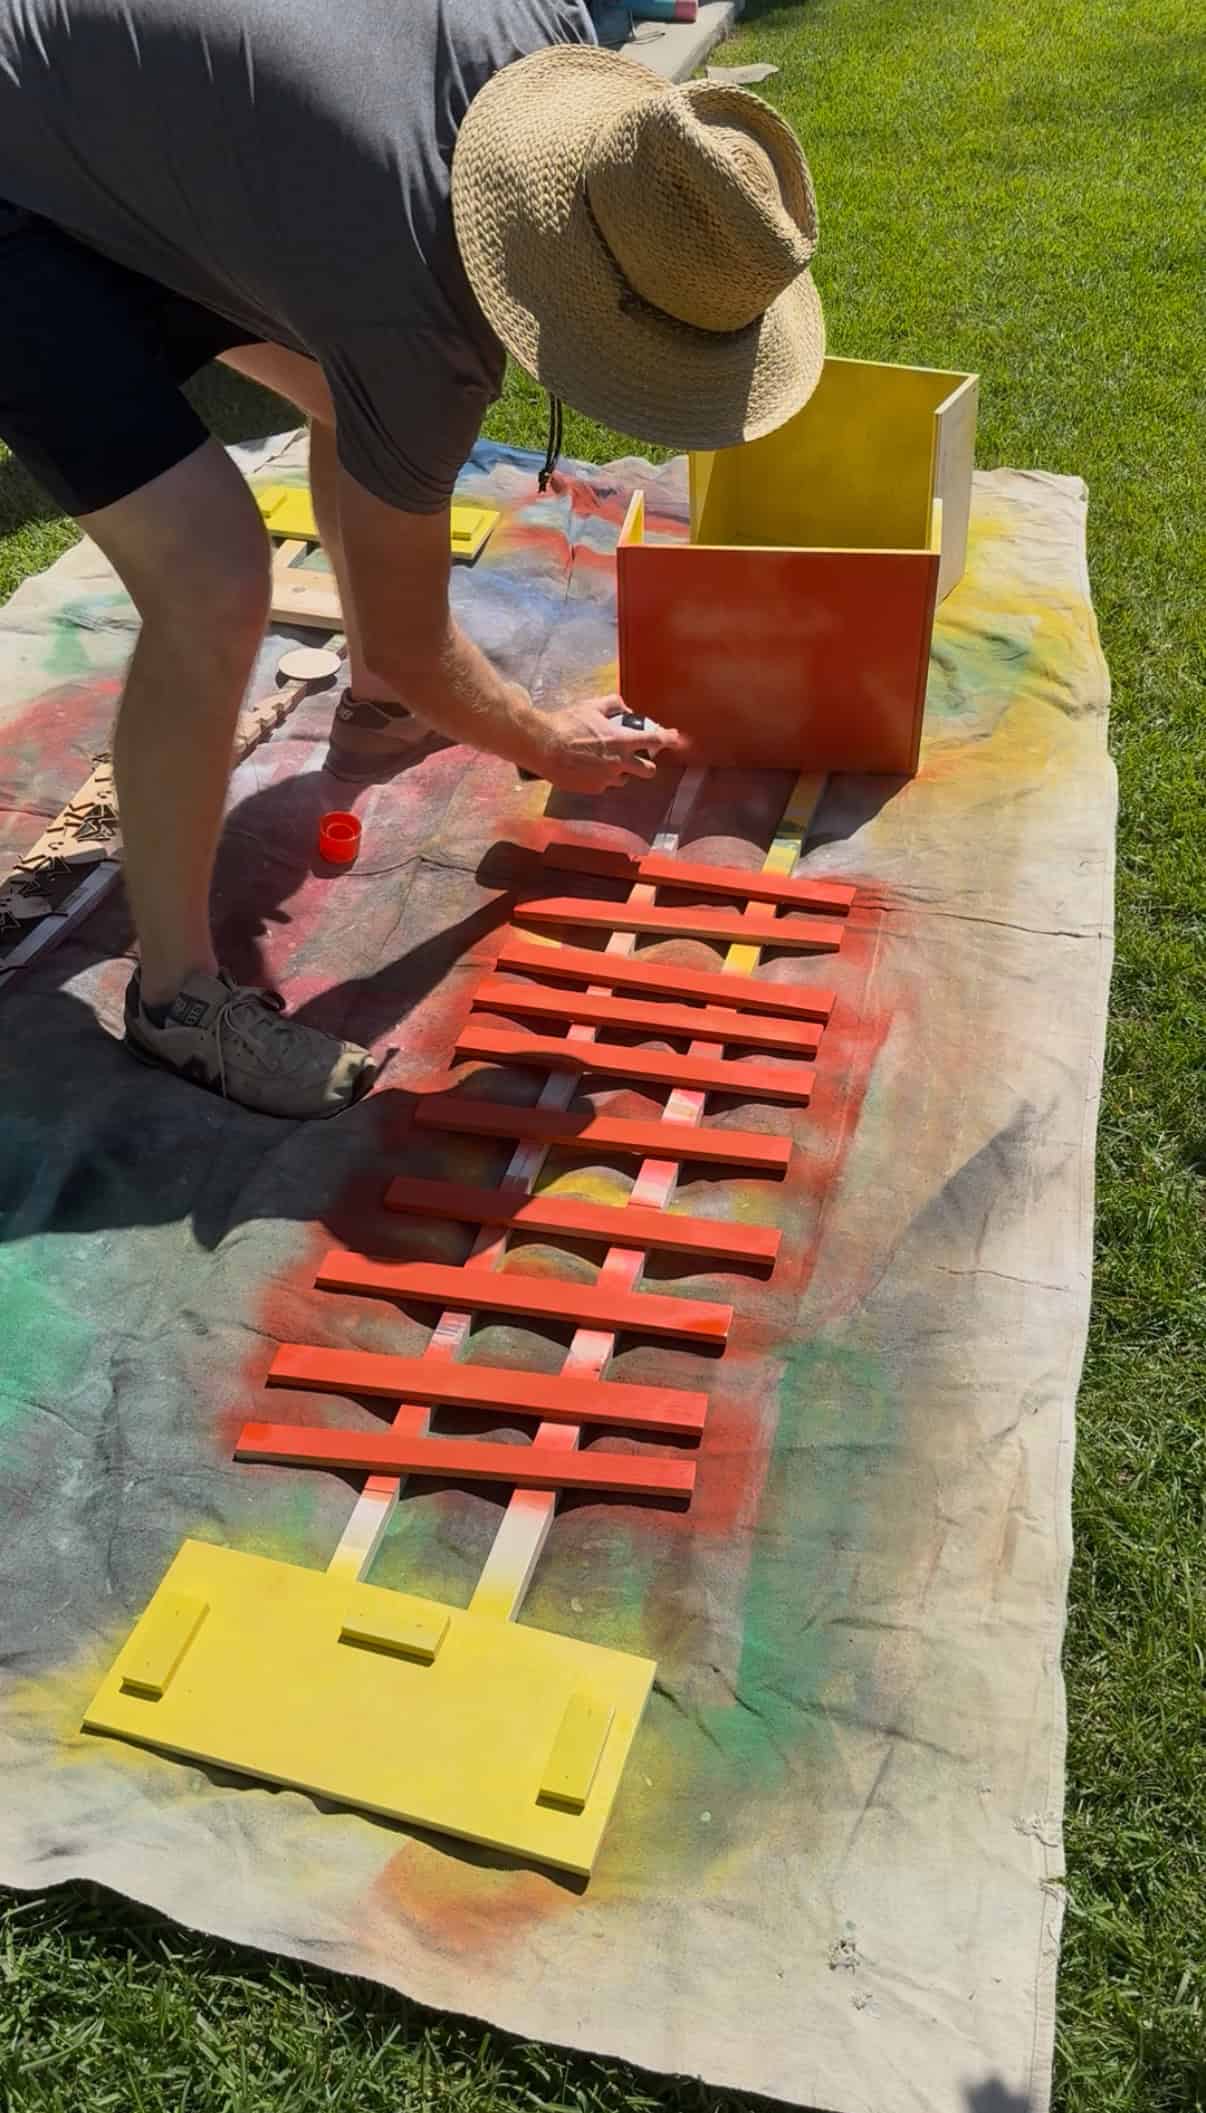
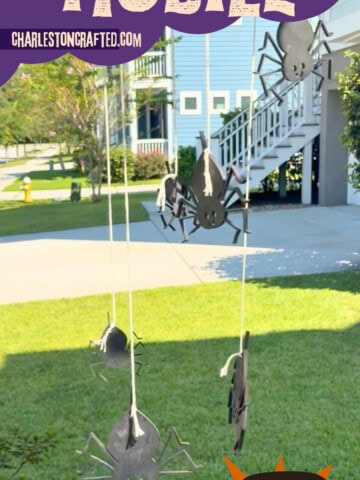
I was also spray painting my candy corn yard stakes at the same time!
Step four: attach slats
After all the paint is dry, attach the slats to the front of the box, spacing them out evenly. I just used the brad nails for these and didn't worry about glue. They aren't going anywhere.
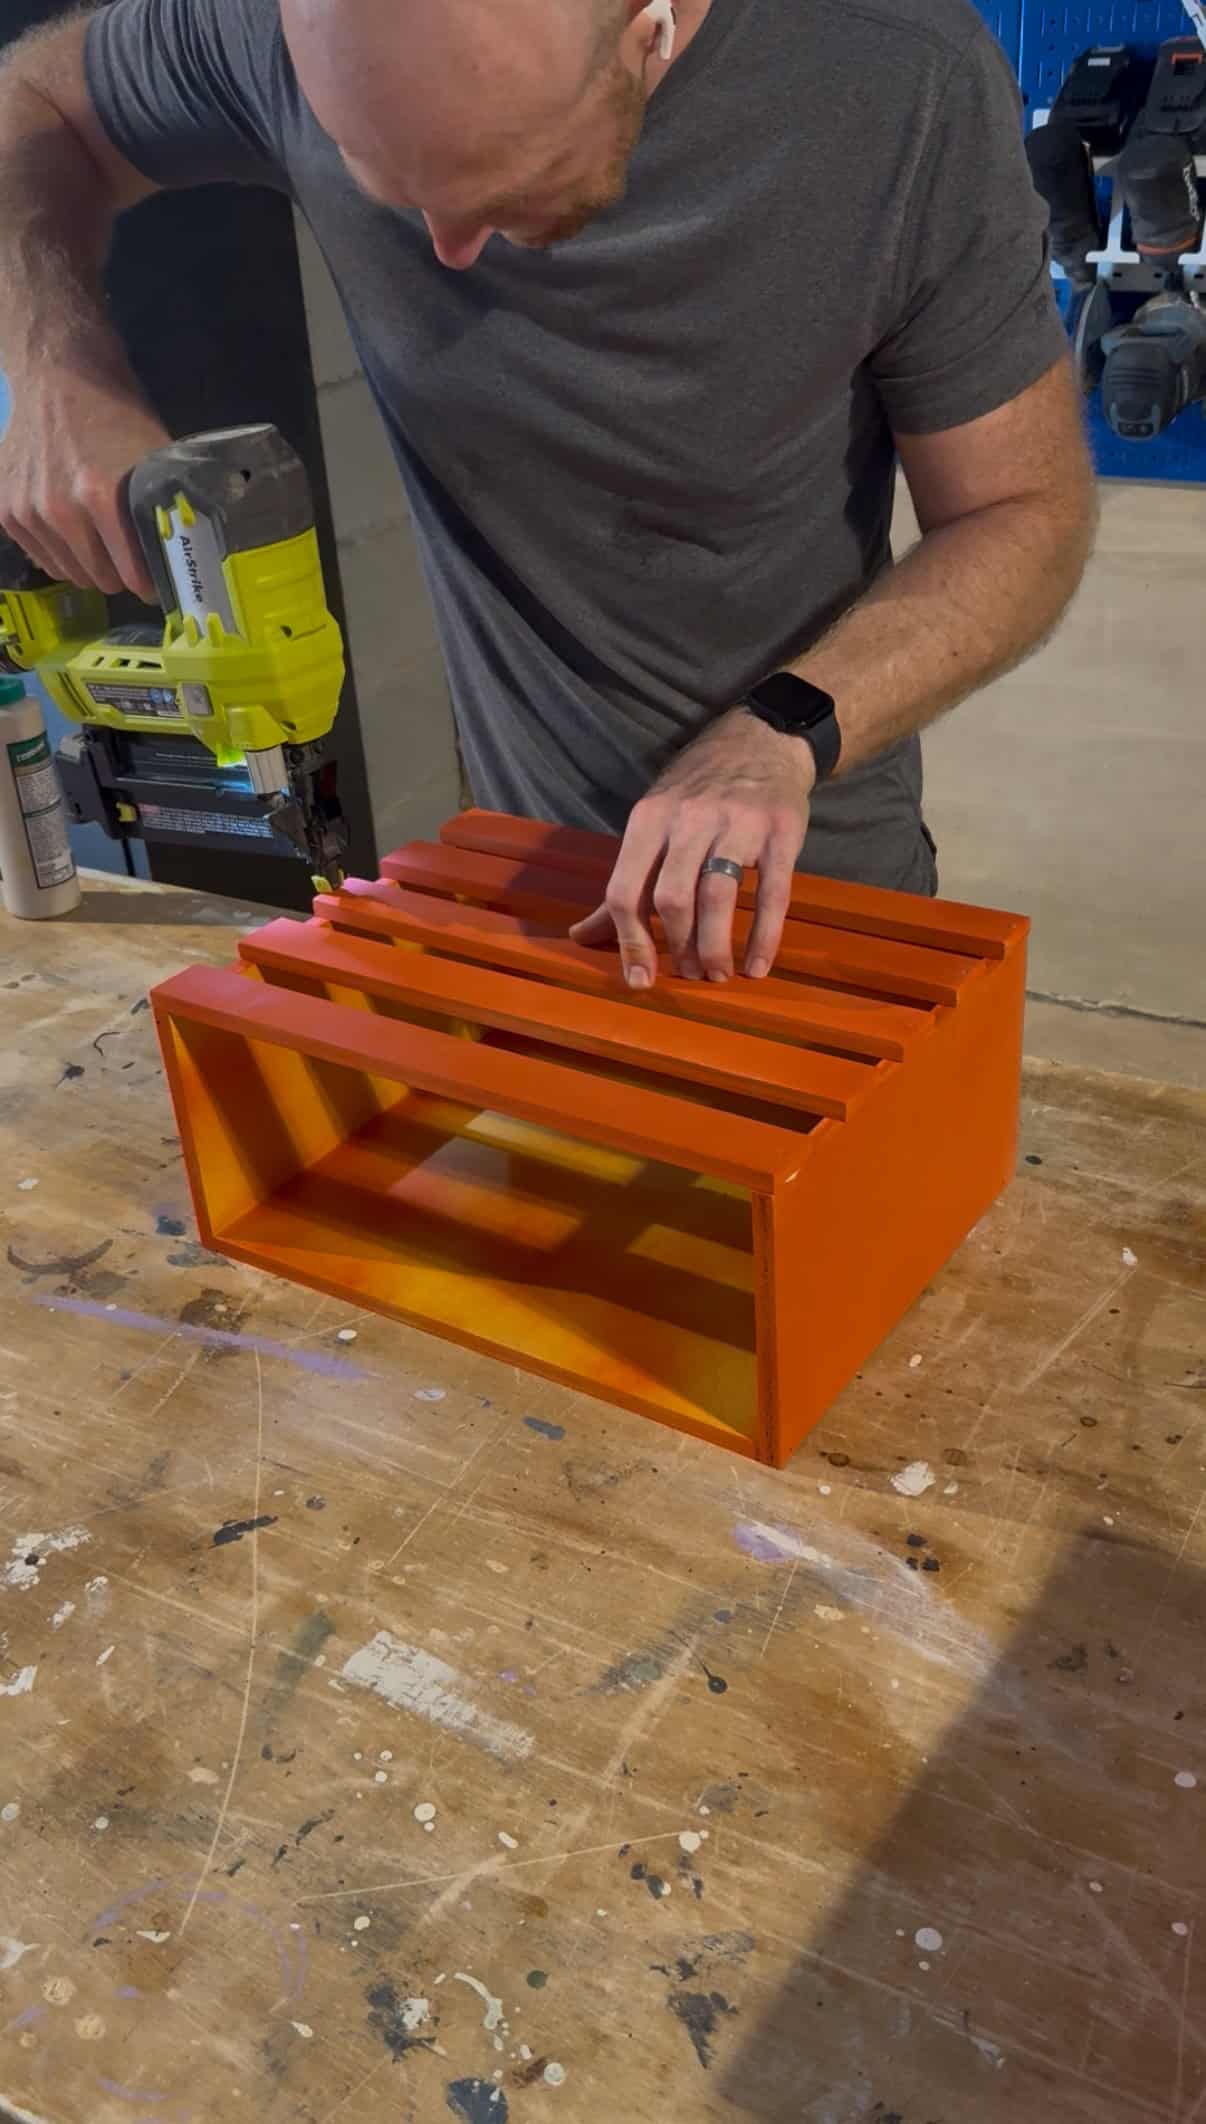
Then I assembled the top by nailing the stem pieces to the middle of the top board to be the removable top of the pumpkin.
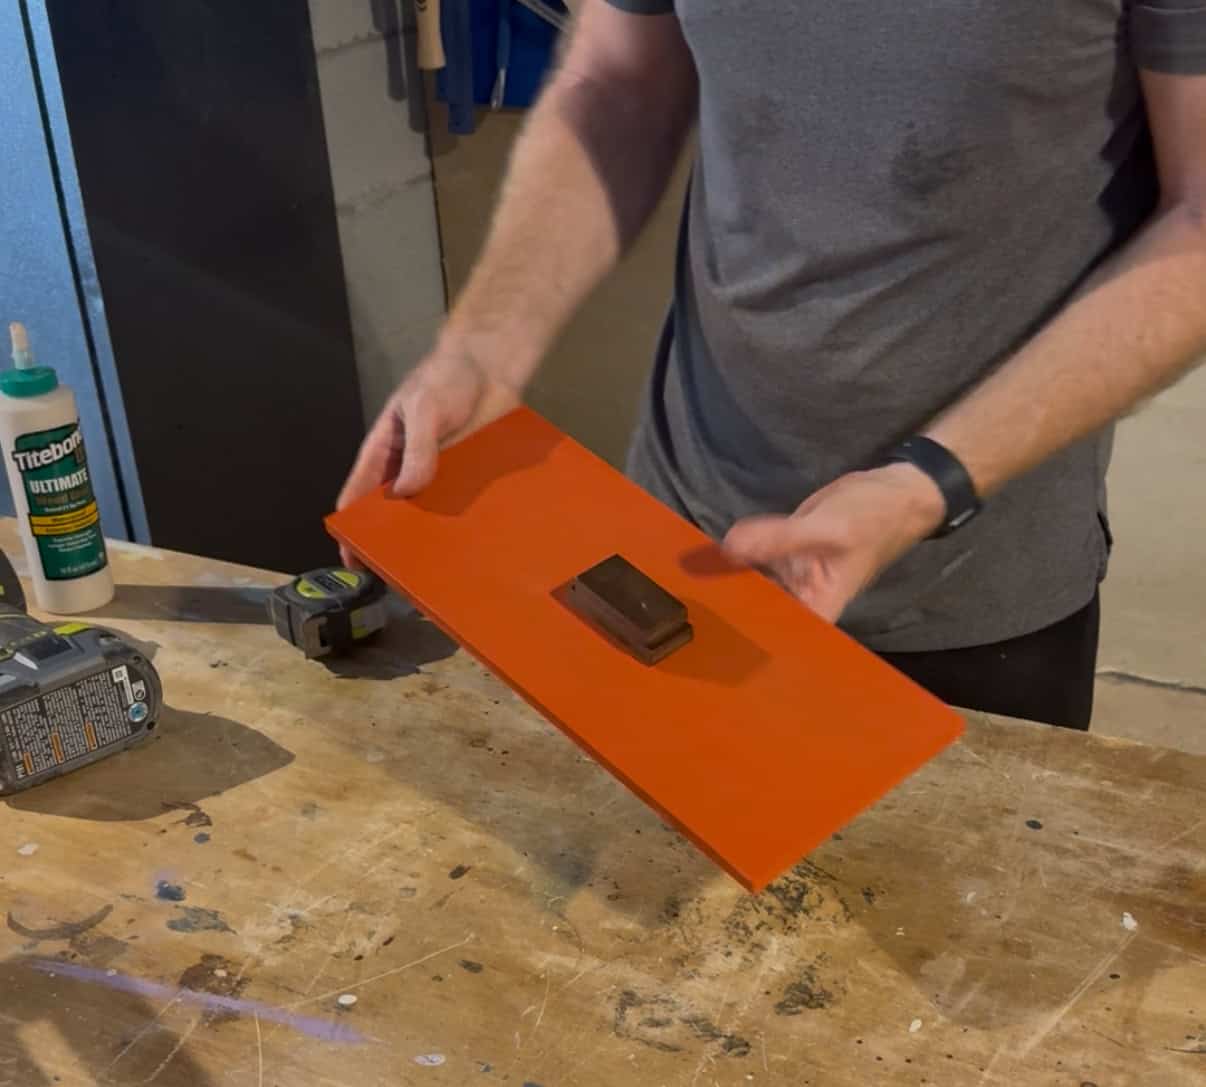
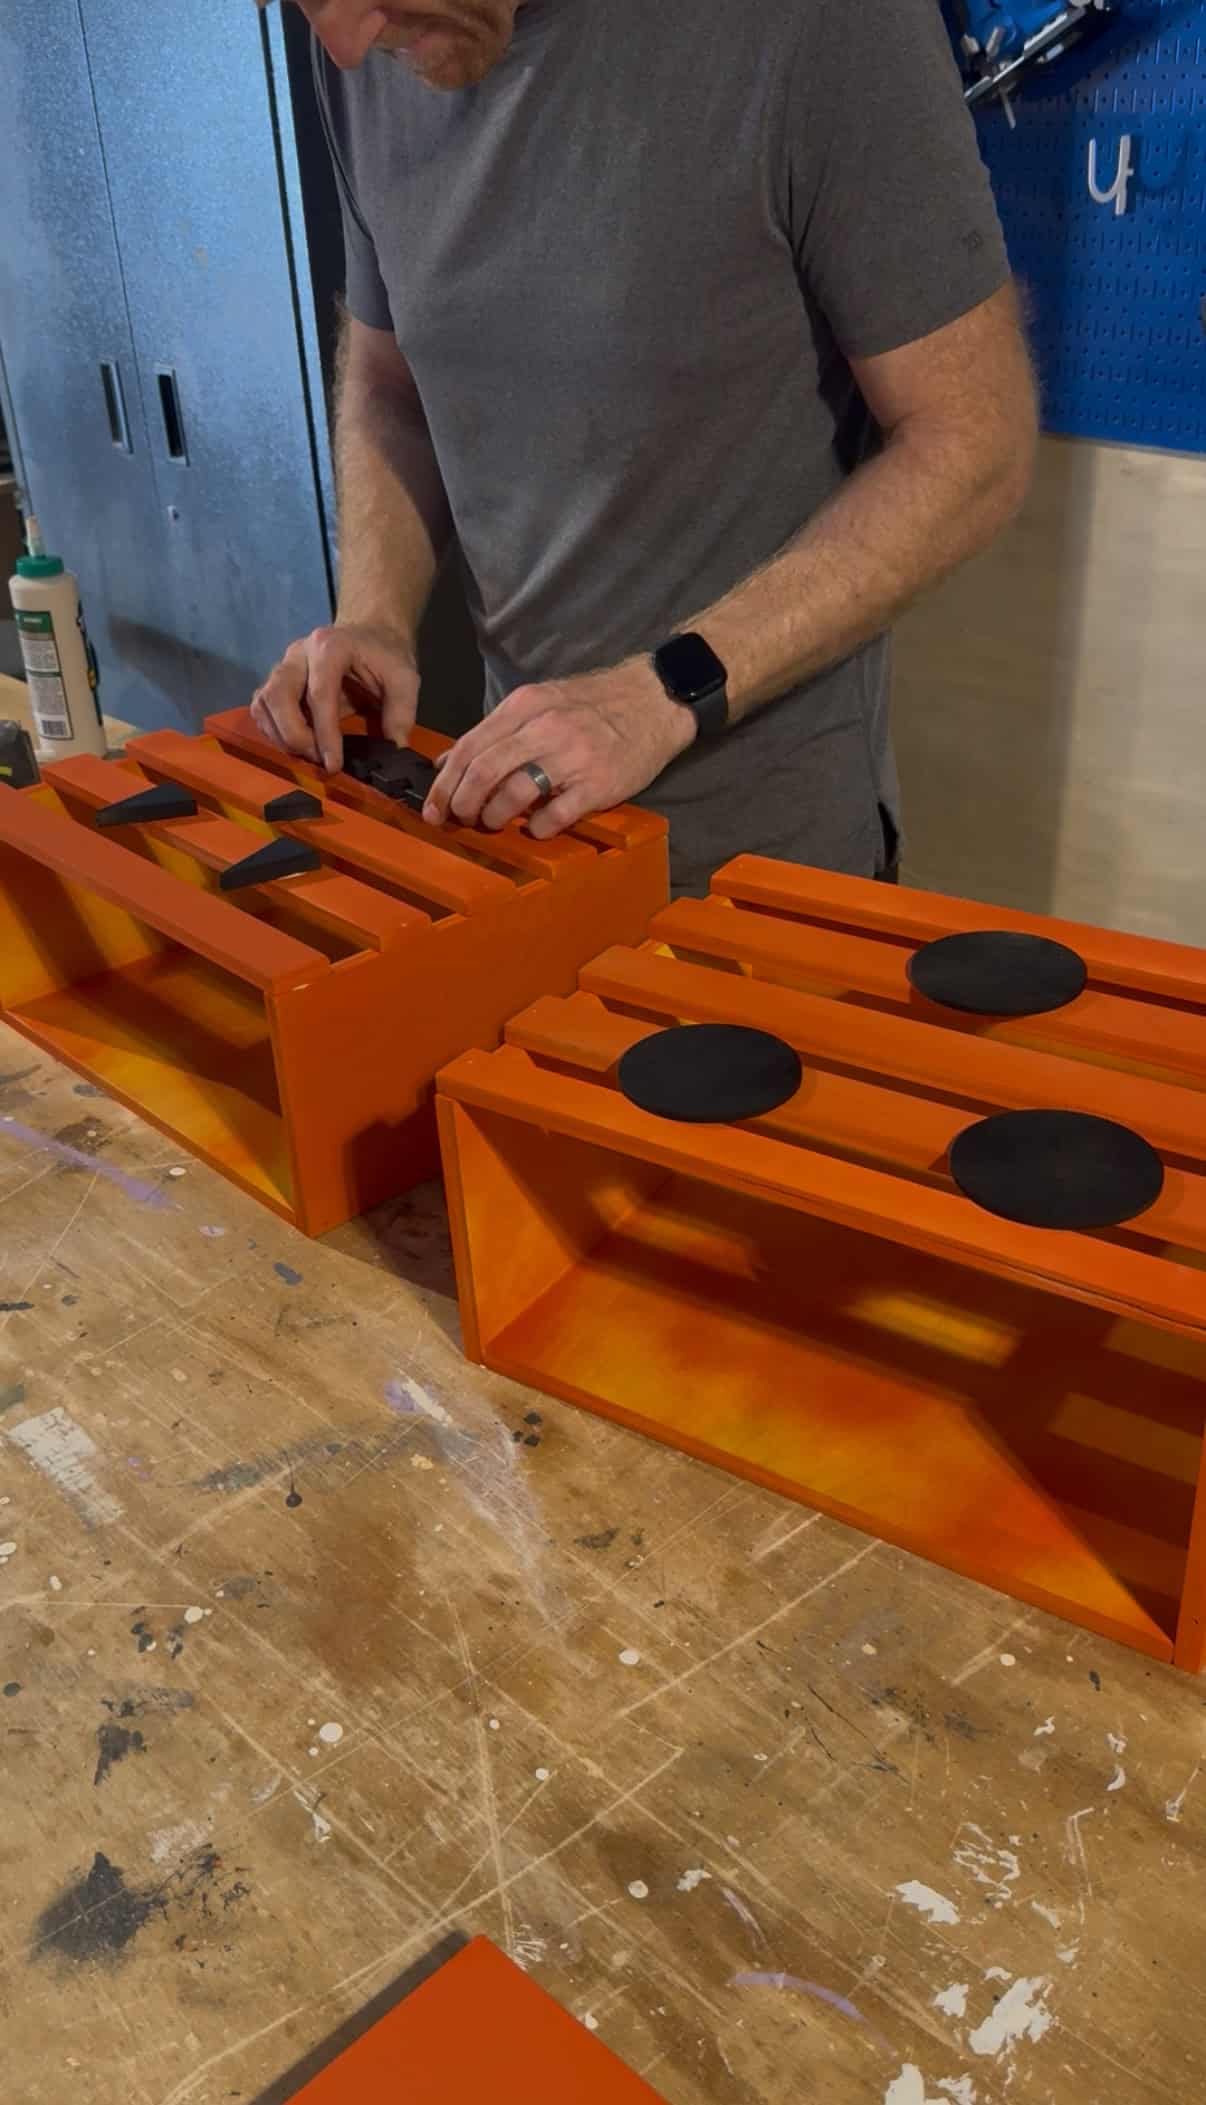
Step five: create face
Finally, I used wood glue to attach the face pieces I described before. These can just be glued on and let dry for 24 hours and don't really need to be nailed or clamped. I didn't want to nail for risk of the nail poking through the back.
Step six: display
Set out the wood crate jack-o-lanterns on your porch or by your candy bowl for a perfect accent to greet trick or treaters! These wooden jack-o-lanterns are a much safer alternative to having a real lit flame inside of a pumpkin sitting on your porch, plus they can be reused!
DIY crate jack-o-lantern woodworking plans
If you love the look of this style Jack-o-lantern, I've got downloadable woodworking plans for you!
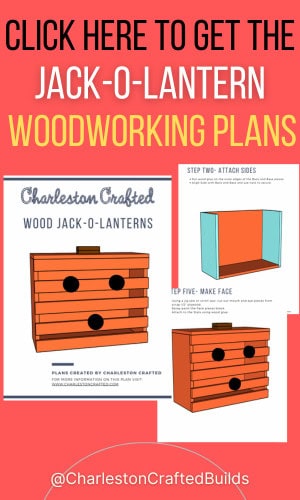
You can grab these to get the full cut list, material list and step-by-step instructions to make this yourself! Make these for your Halloween porch decor and light up the night!

Looking for something?
We've been doing this since 2012 so we have a LOT of blog posts!
Search stuff like: Ceiling Projects | DIY Plant Stands | Thrift Flips

Hello, I'm Morgan, half of the creative force behind CharlestonCrafted.com! With a passion for DIY that dates back to 2012, I've transformed three homes and now I'm dedicated to helping others craft their dream spaces. Let's turn your house into a home together!