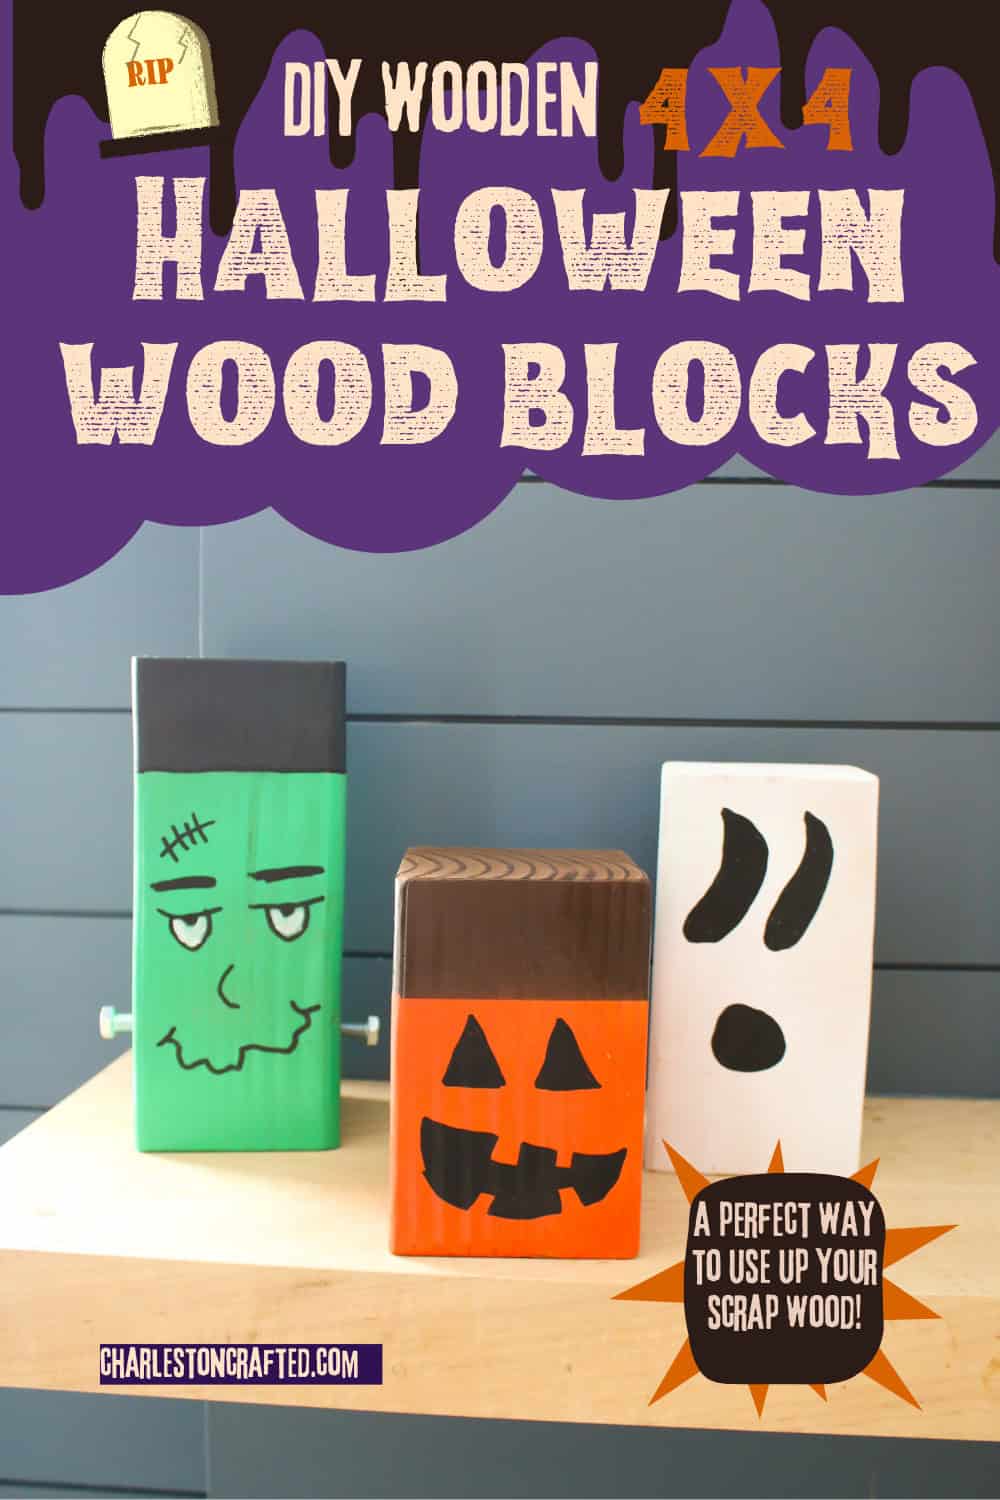
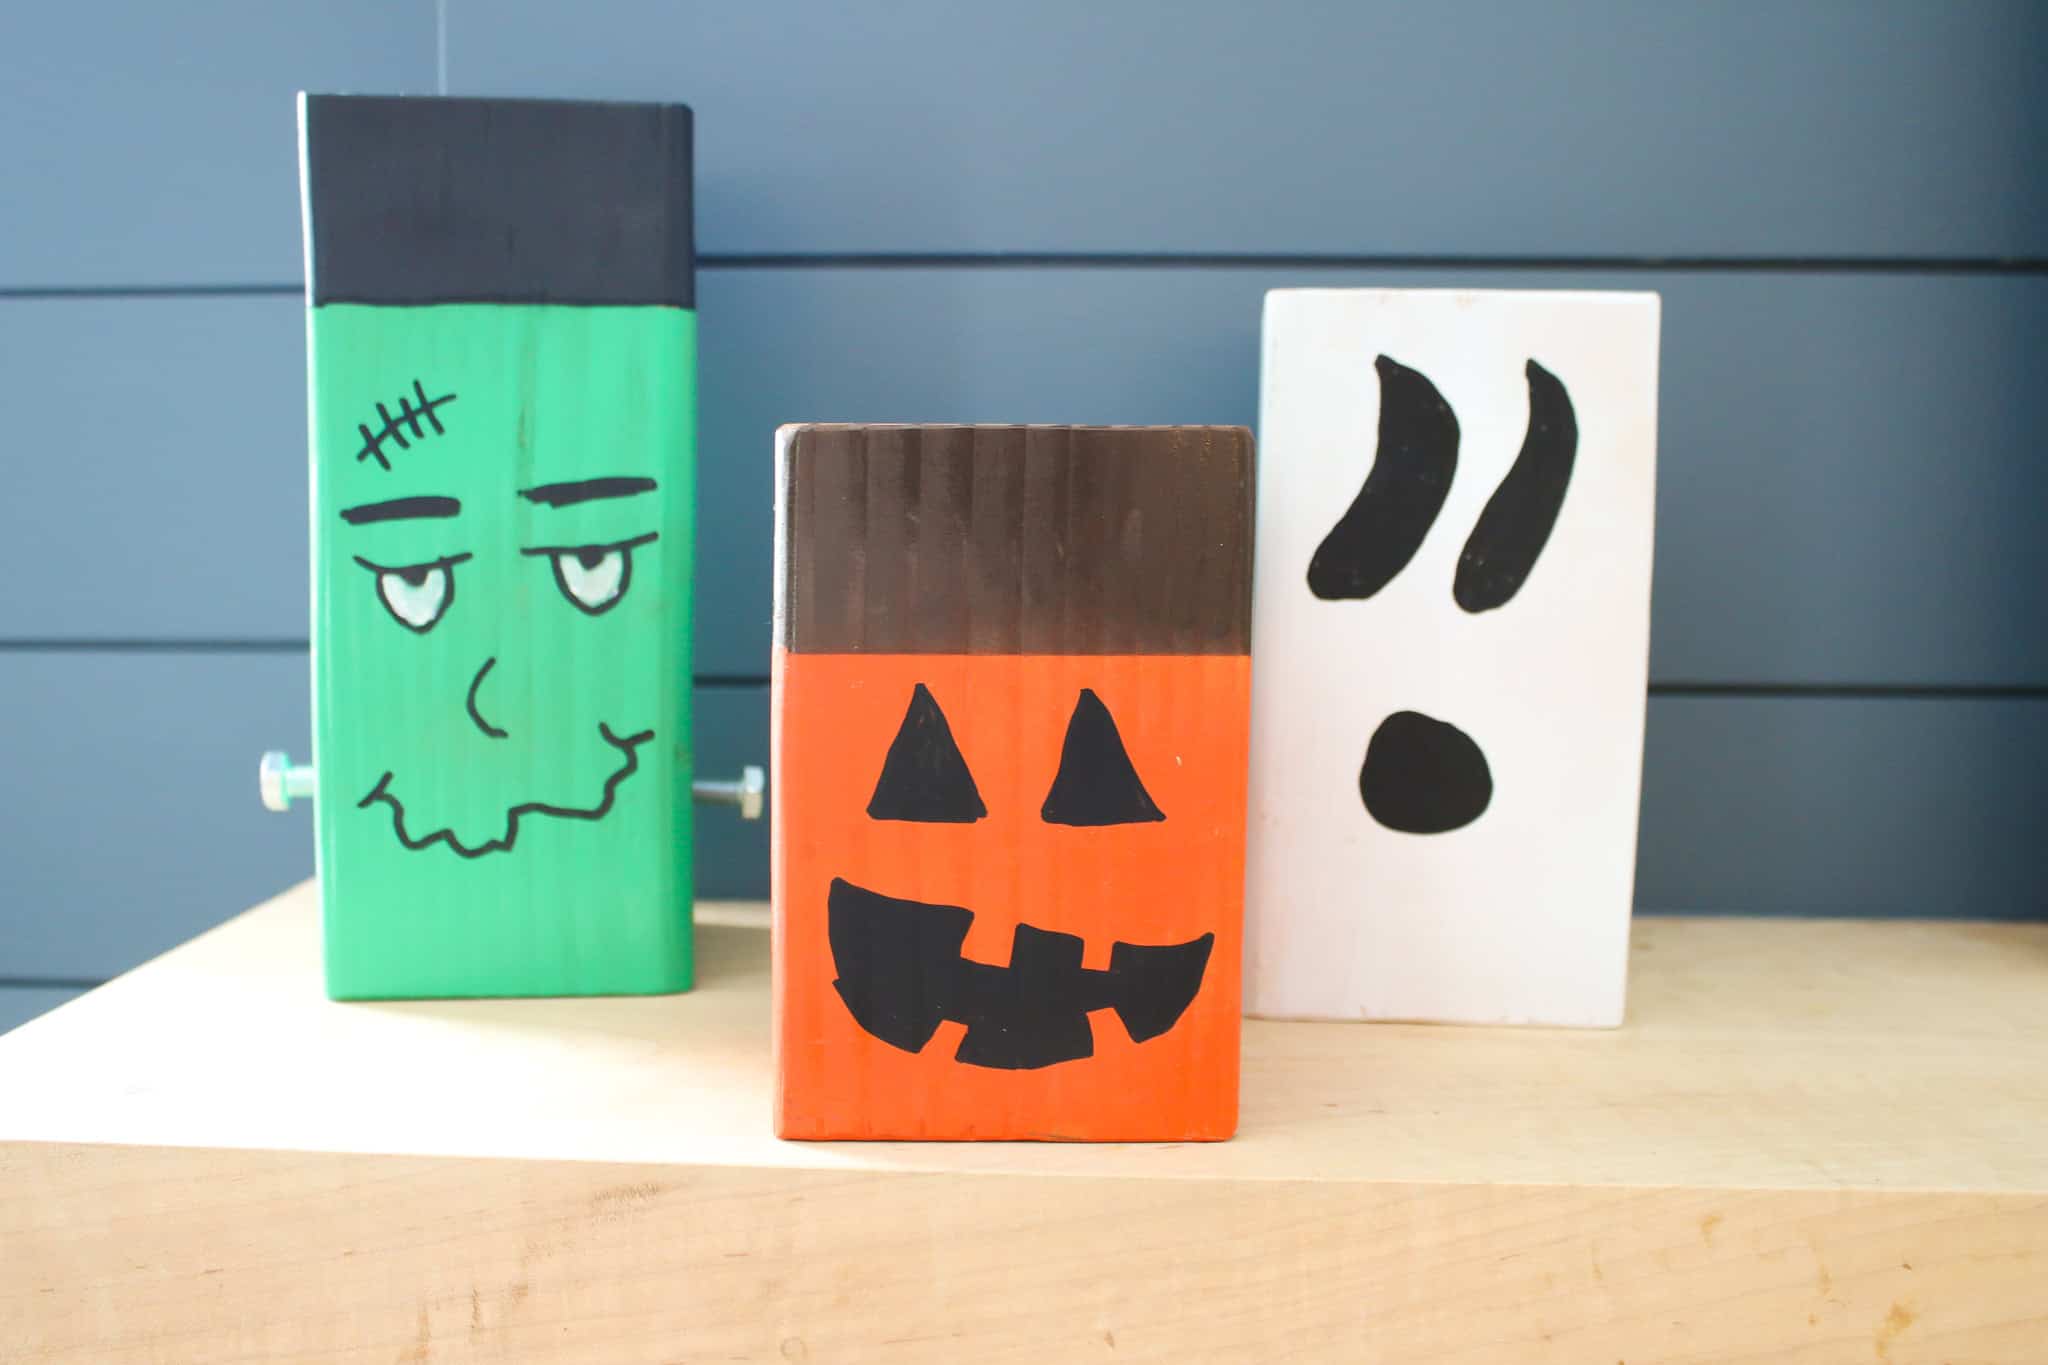
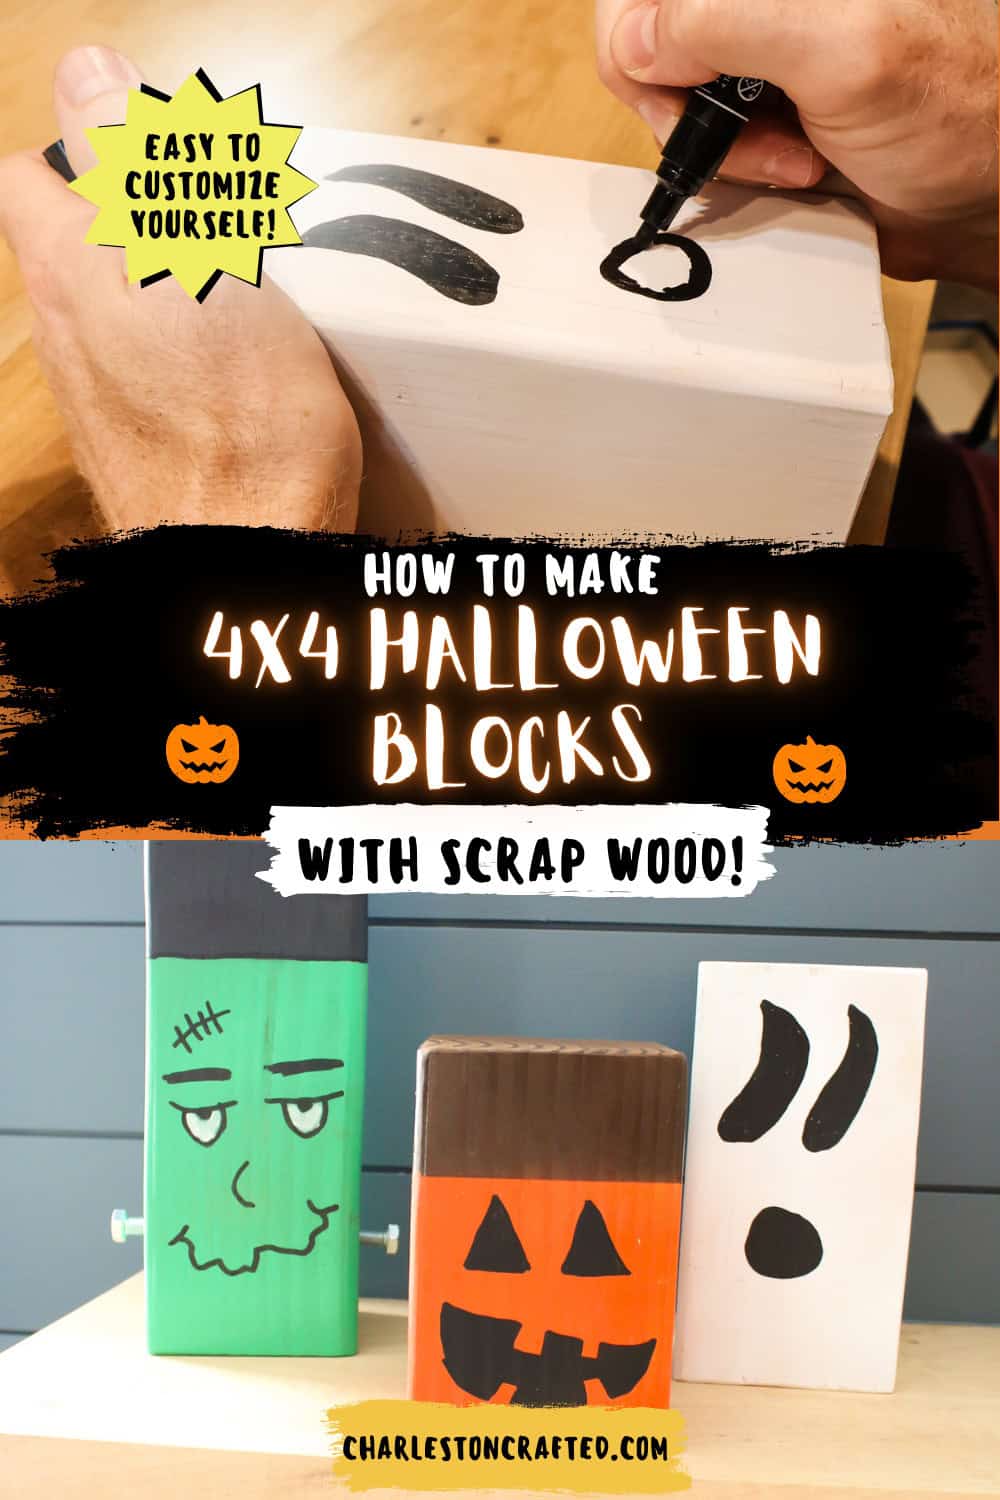
Get creative with your Halloween decor by using scrap 4x4 boards to make these fun Halloween character wood blocks!
We love to make fun Halloween projects and crafts in this house and this one is one of the easiest!
If you have some scrap 4x4 blocks (you can even use 2x4s exactly the same), you can make these custom Halloween wood blocks for your spooky season decor.
These make for a great display on your mantel and are a great project to do with kids who love to draw!
DIY Halloween wood blocks
This is a very easy project to make and doesn't require many materials. I recommend cutting any wood yourself, then if you want to get the kids involved, have them work with the painting process.
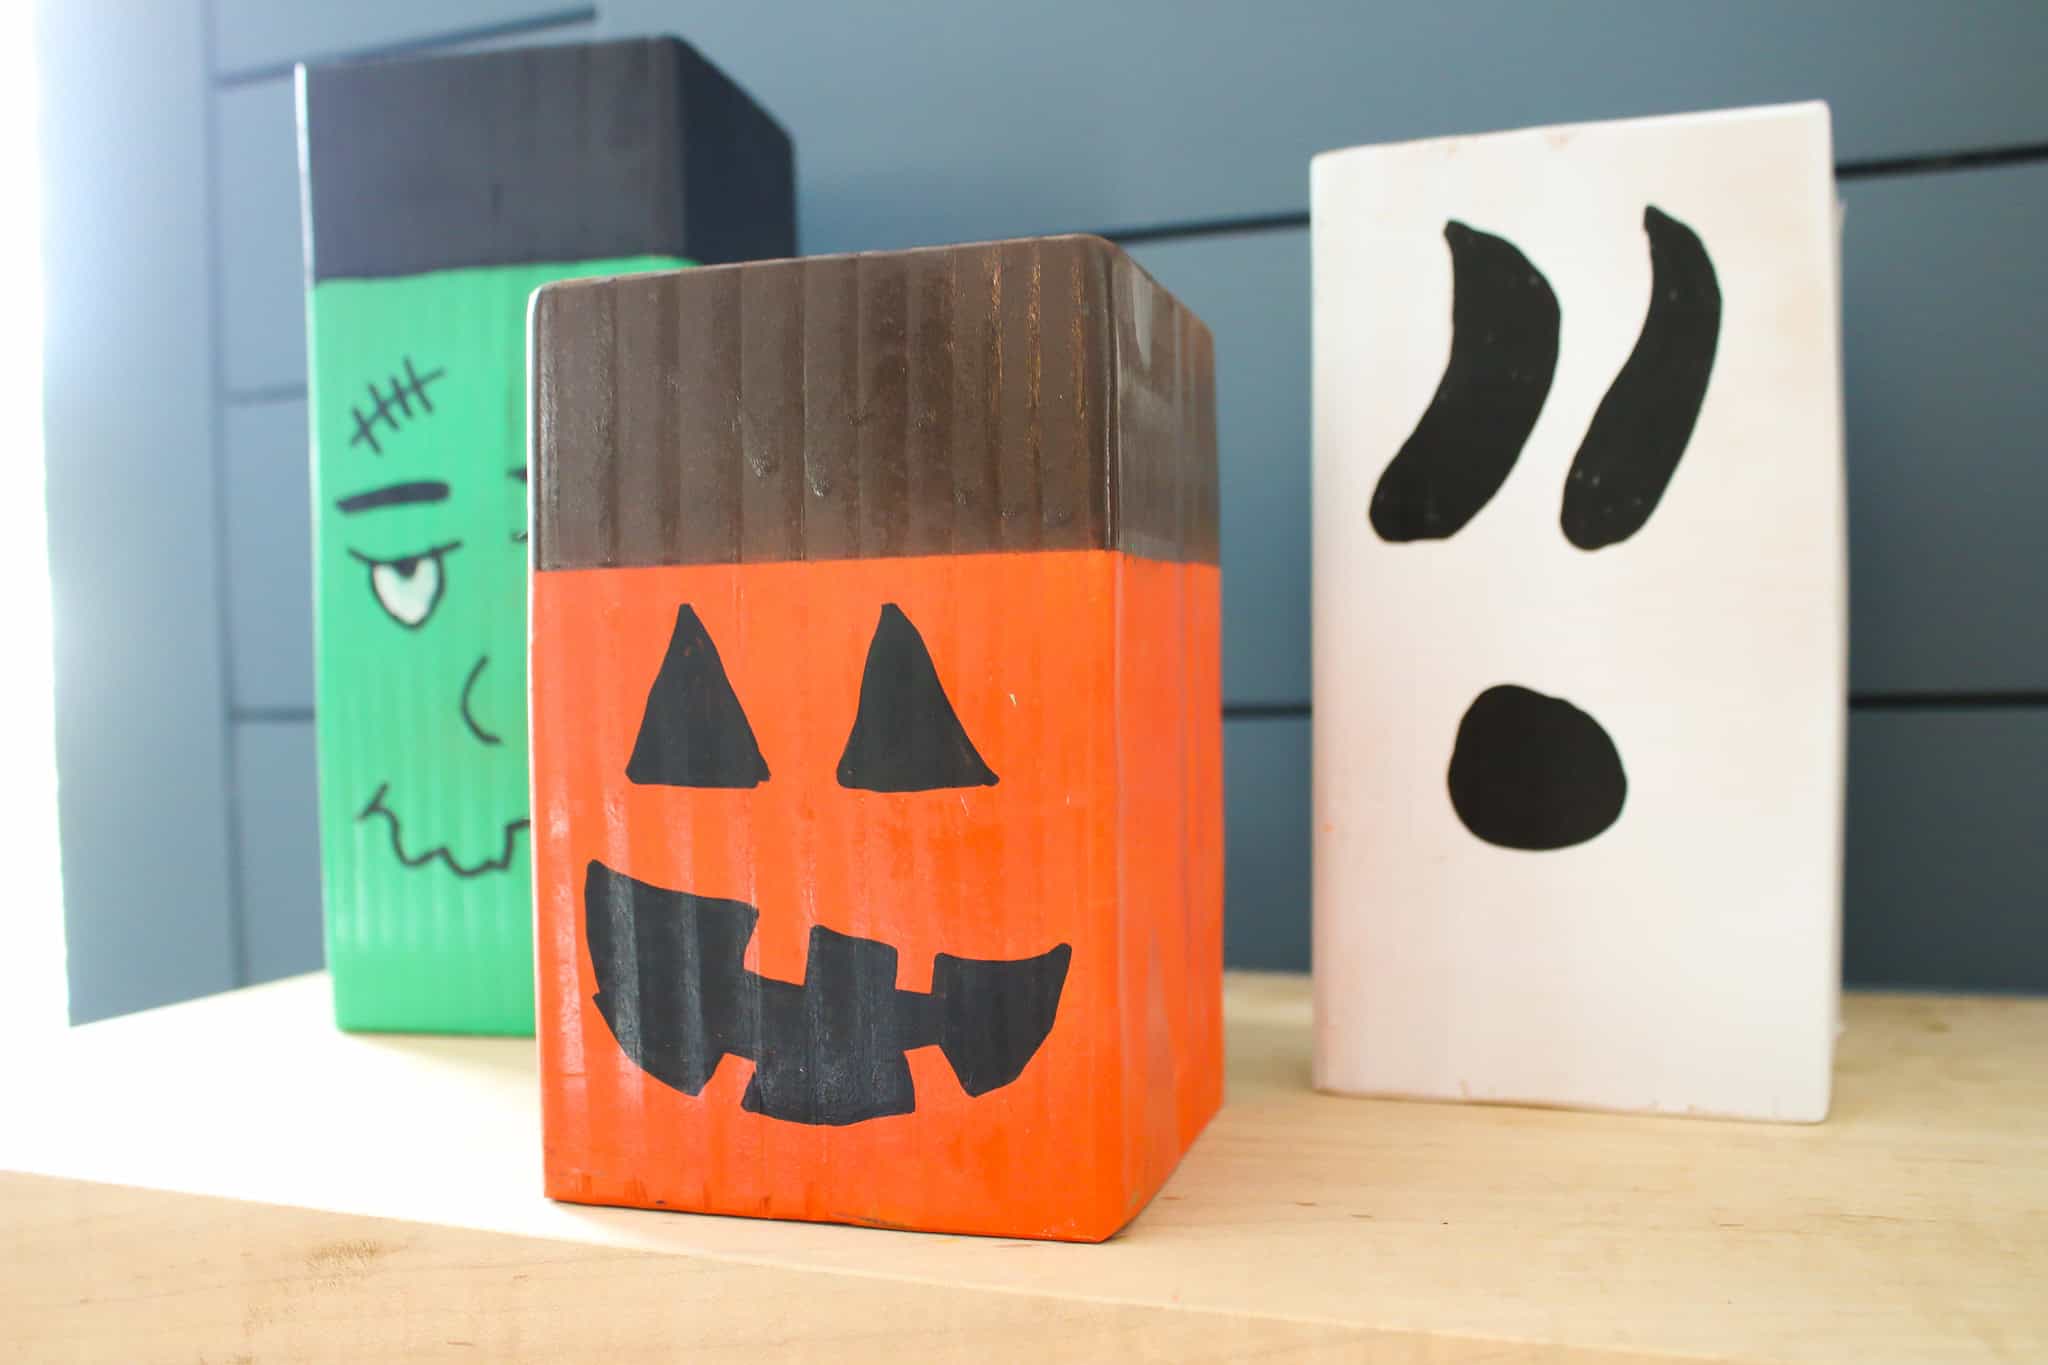
Keep in mind that you can make any Halloween type characters, such as the Frankenstein, ghost and pumpkin that I made, but also could do a mummy, witch, zombie, black cat or anything else!
Check out this fun 2x4 wood scrap pumpkin craft!
Materials needed
Here's the materials you need to do this crafty DIY project:
- 4x4 wood scraps
- Spray paint to match characters (orange, white, green, black, brown)
- Small bolts (if doing Frankenstein)
- Painter's tape
- Craft paint or paint pens
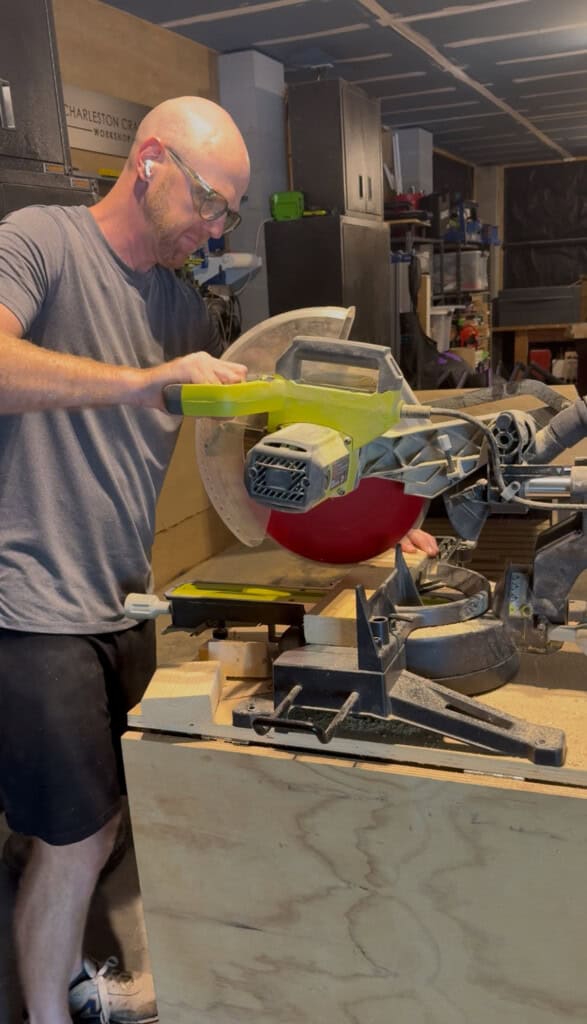
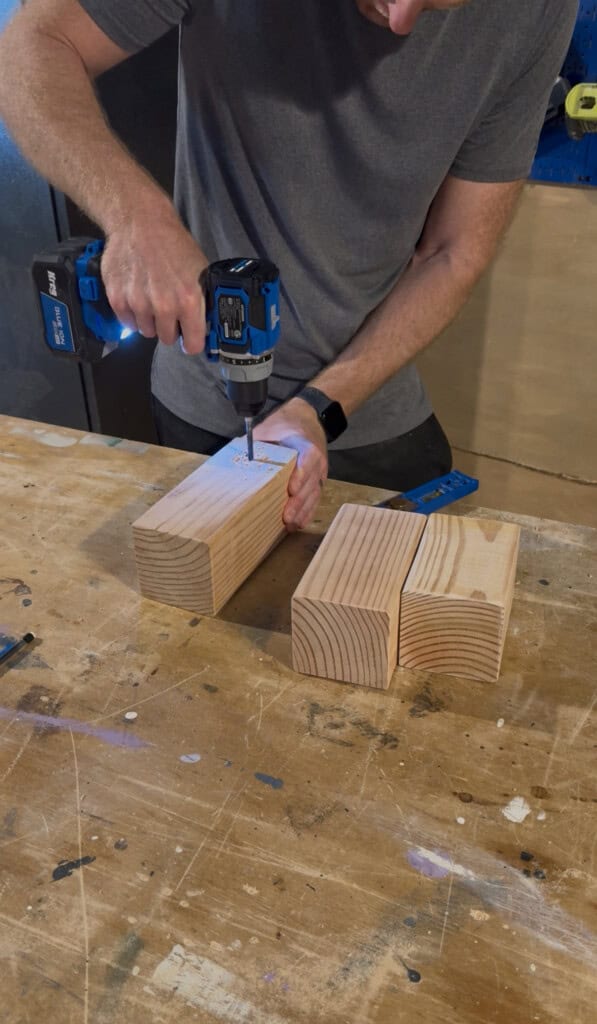
Step one: cut and prepare blocks
Start by cutting down the blocks to the sizes you want. You can make them all the same size, or make them vary by small amounts. We did three sizes, about 5", 6" and 7".
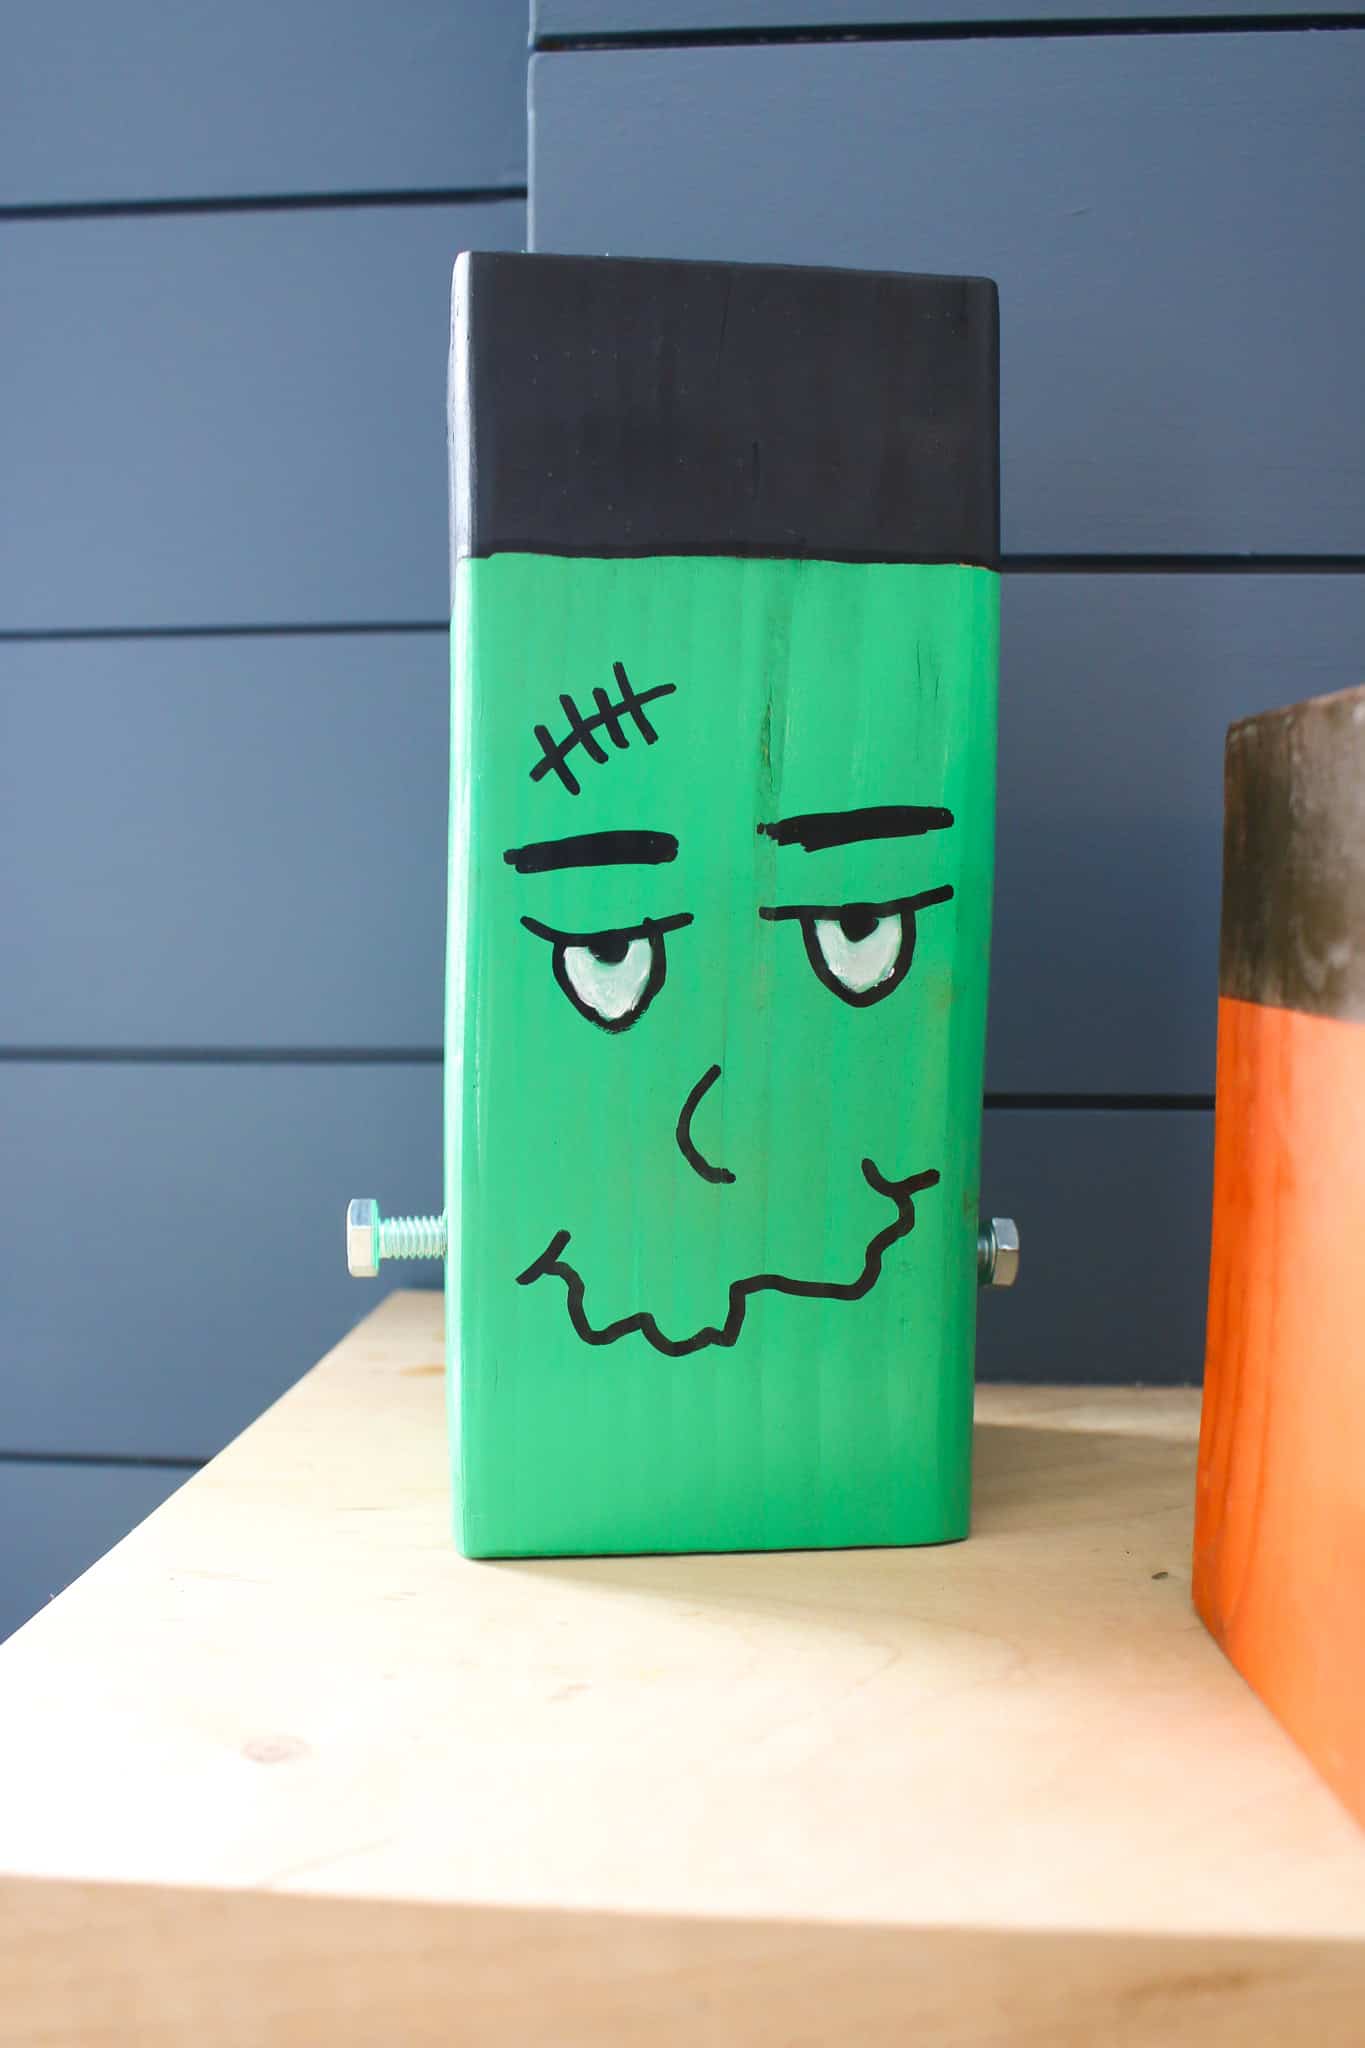
If you're going to make a Frankenstein, drill a small hole near the base on two opposing sides of one of the blocks.
Finish by sanding everything down smooth.
Step two: paint base
Using spray paint, paint the base of each character. If going for a ghost or mummy, paint the base white, or a cat can be all black.
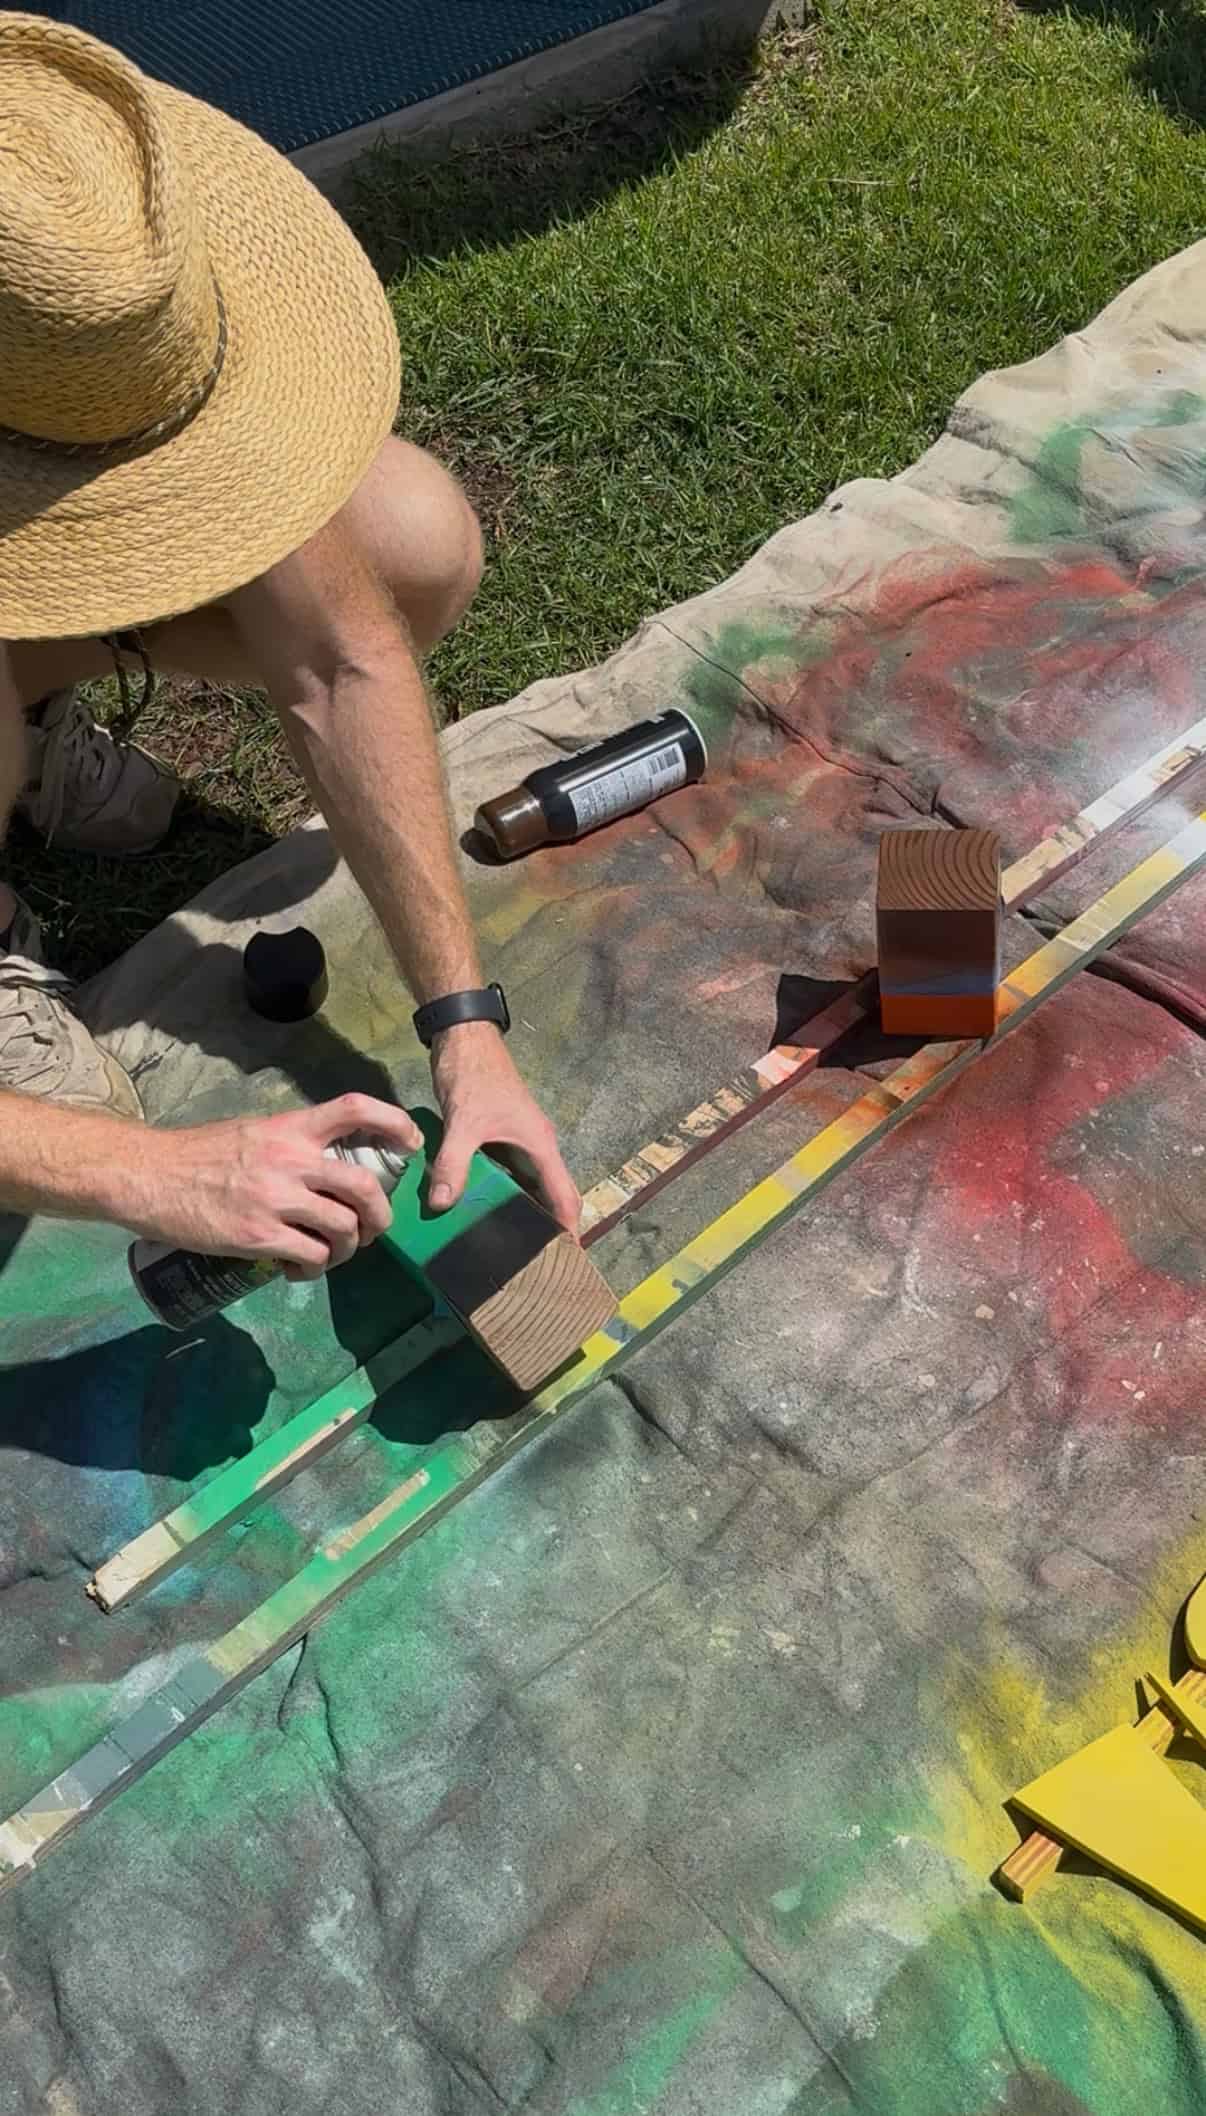
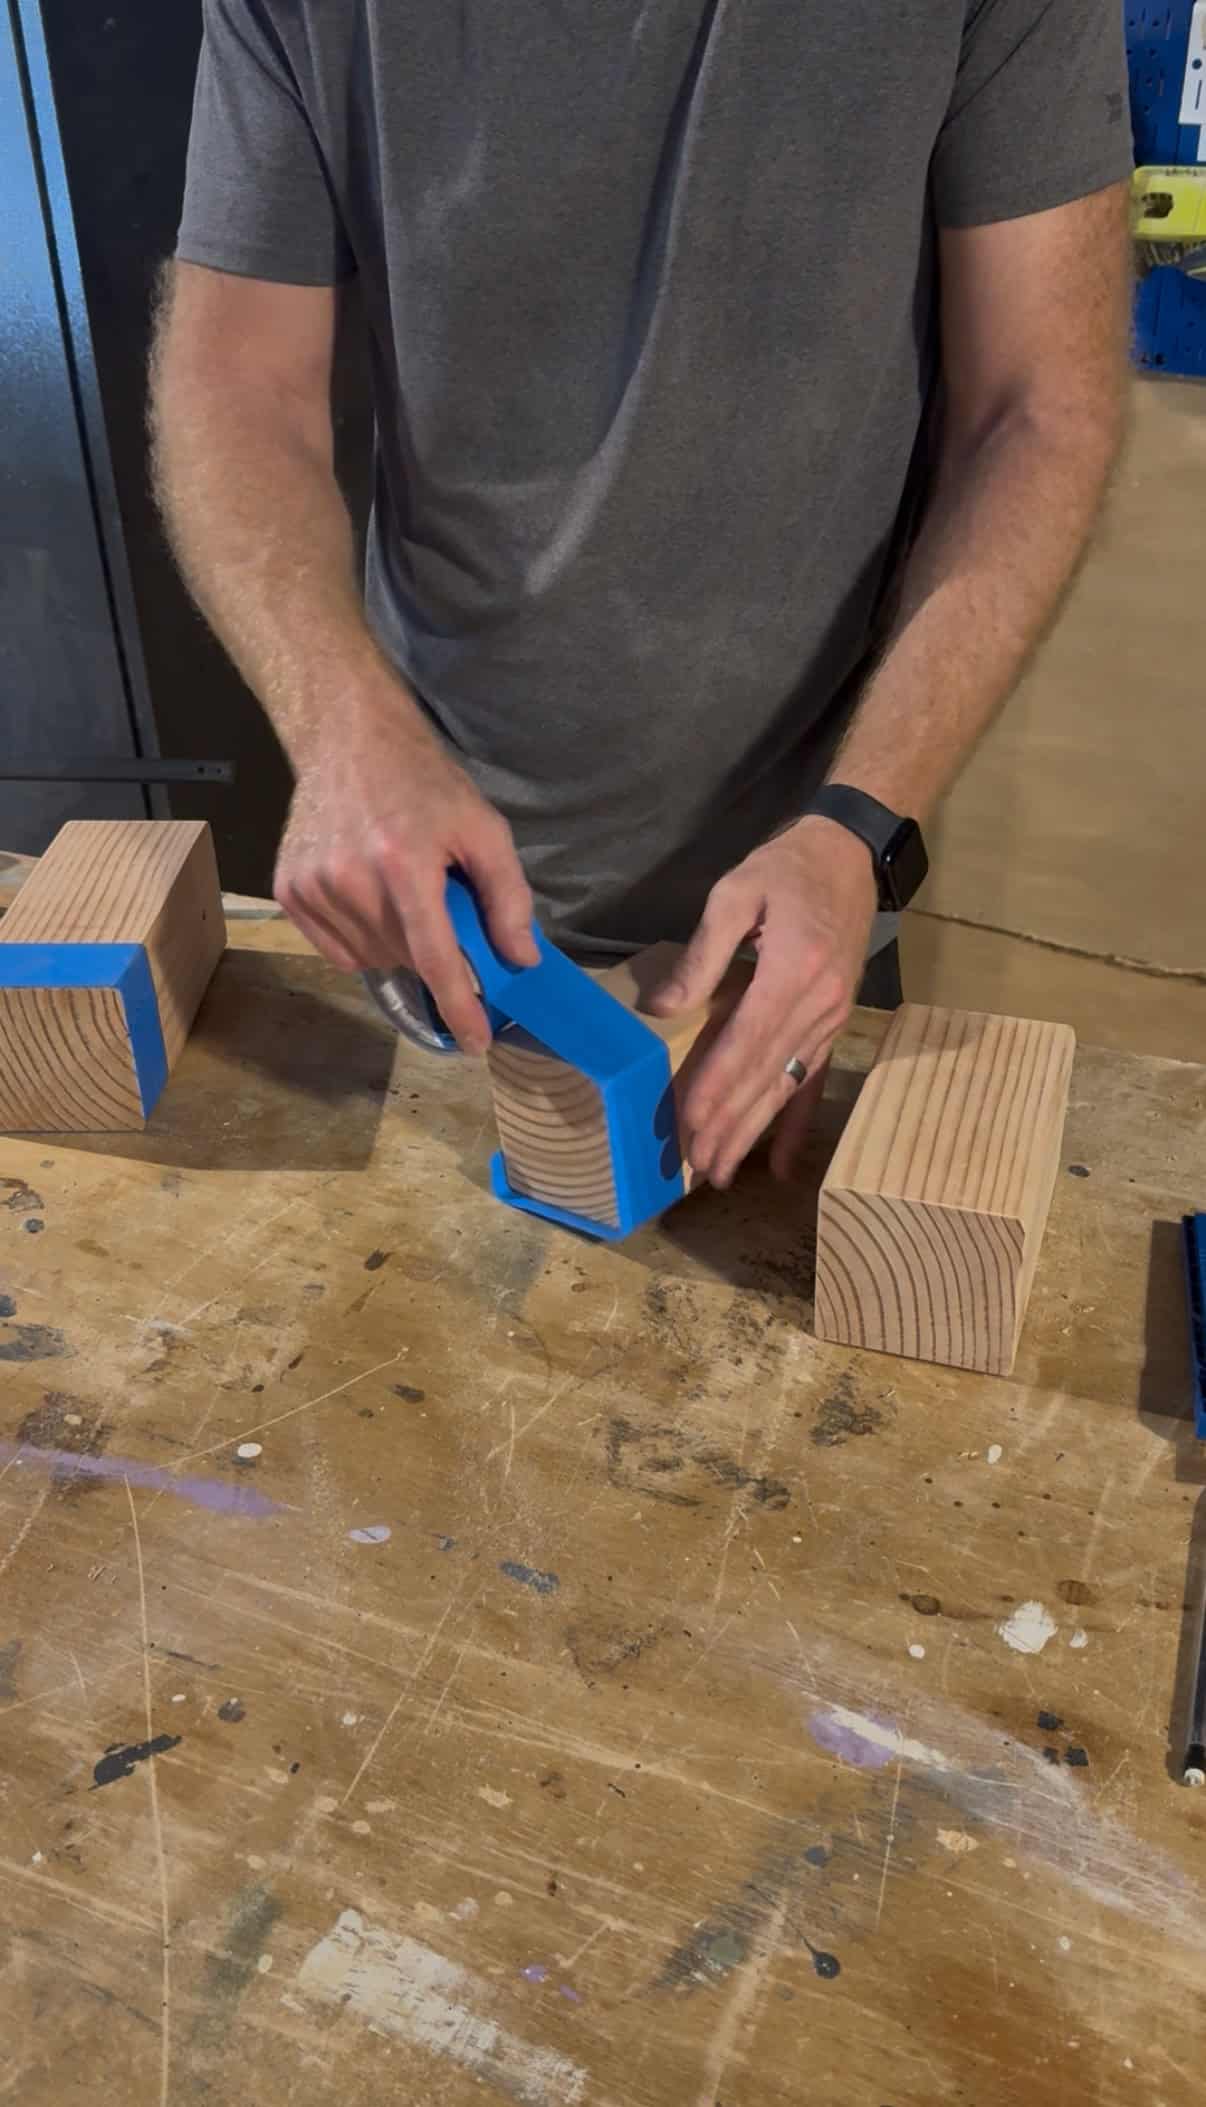
If doing something that requires two colors, tape off the top section of the block and paint the base, then switch the tape when the paint is dry and paint the top.
So, for instance, for a pumpkin I taped off the top and painted the base orange, then switched and painted the top section brown. Then for Frankenstein, I did the same for green and black.
Step three: draw character designs
Once all the paint is dry, bring the blocks inside and paint designs and faces onto them. I used black paint pens for drawing the designs on mine because I'm not a particularly good artist and didn't want to get too involved.
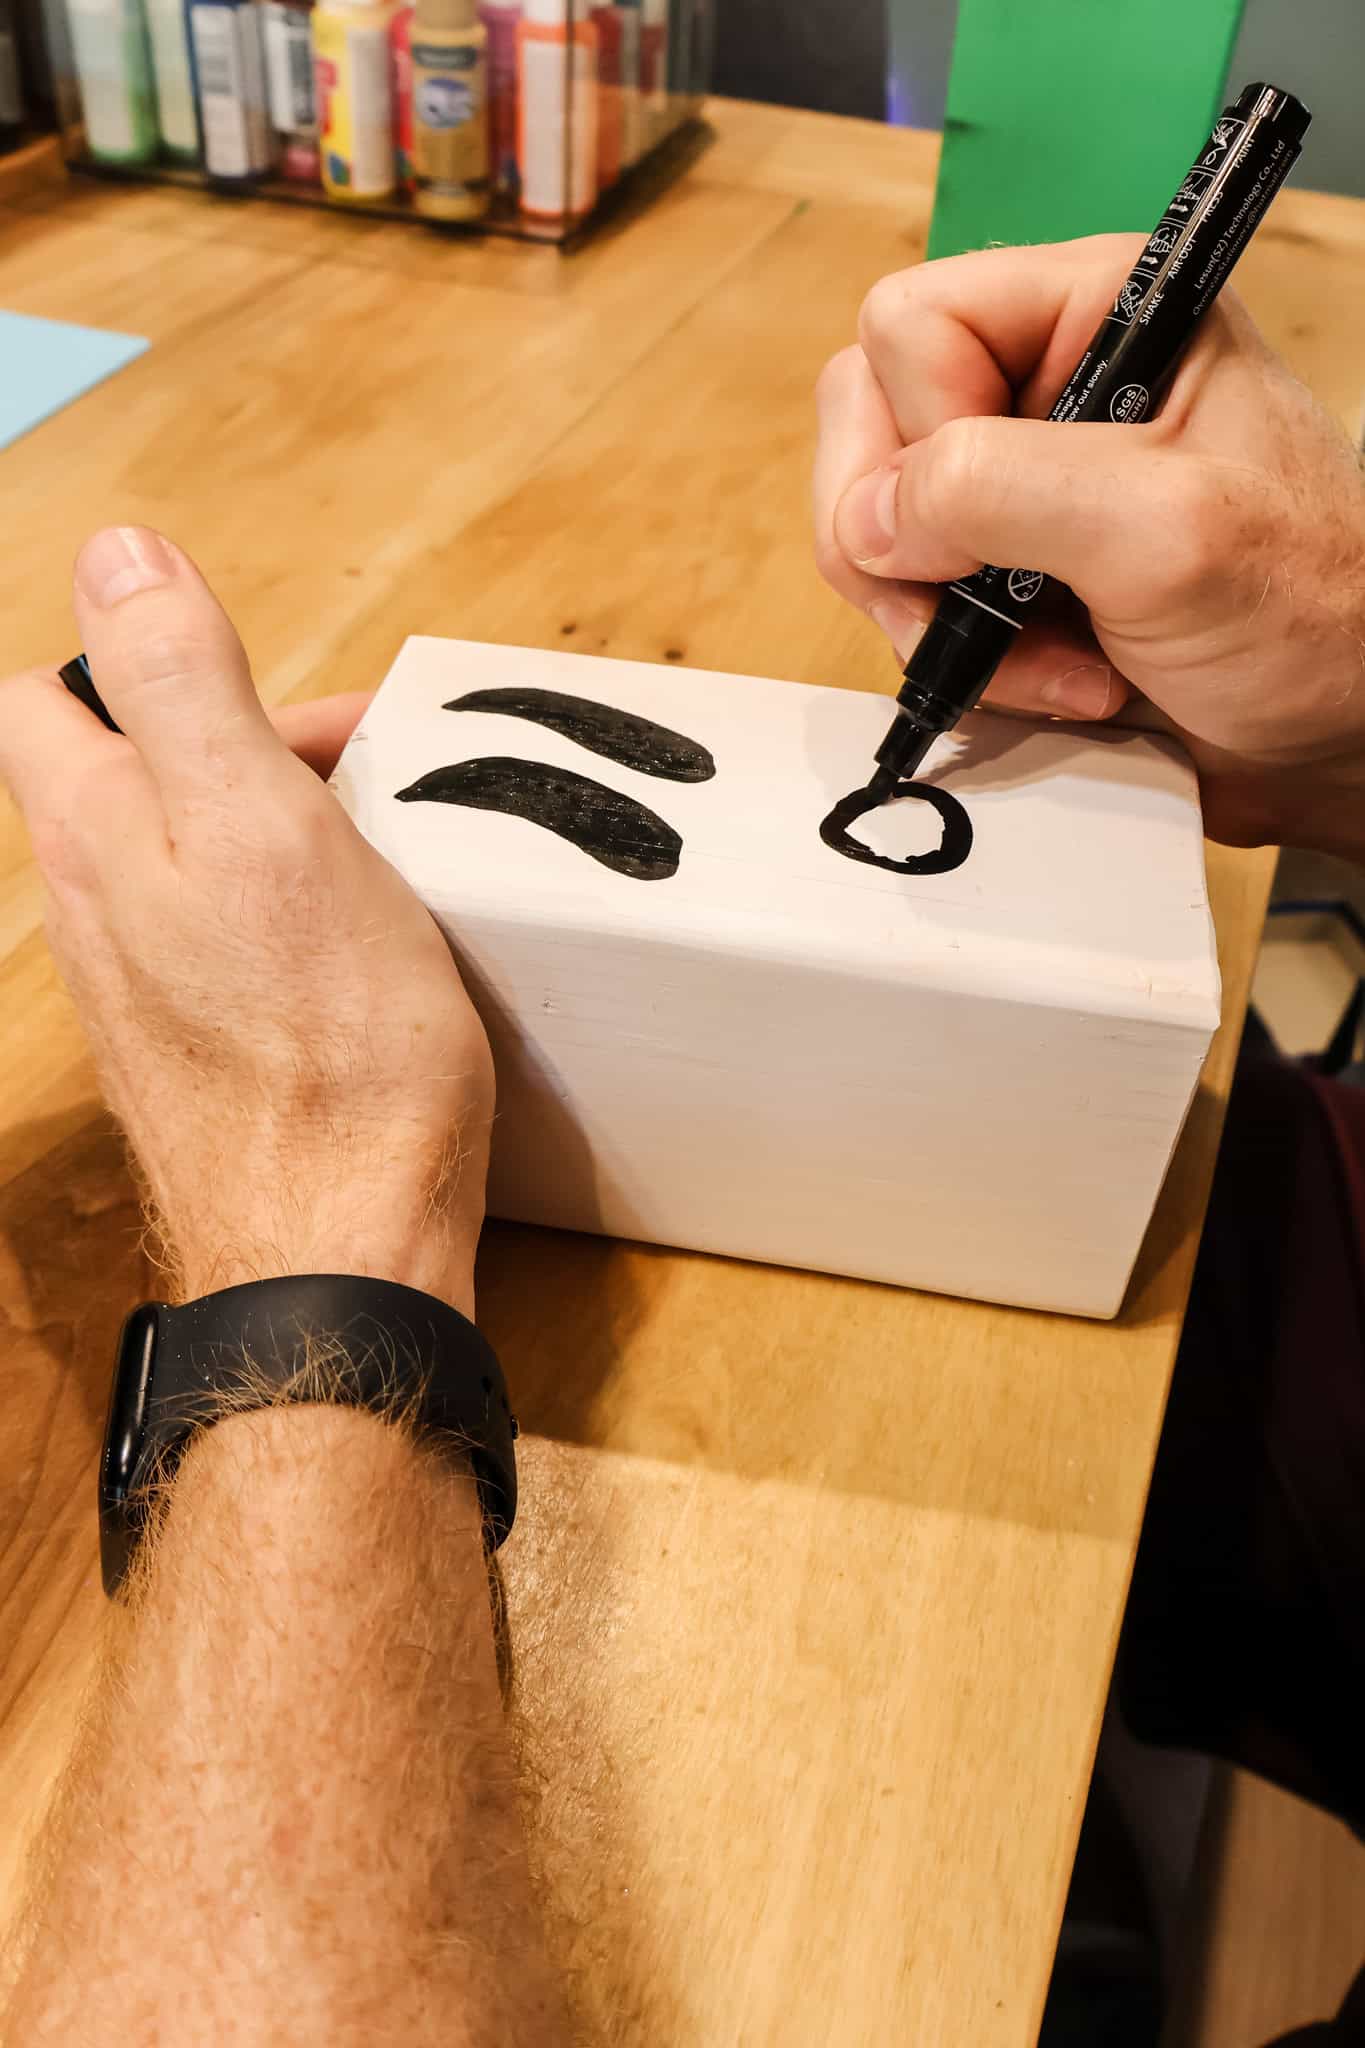
If you're a better artist than me, use craft paint or paint pens to add more detail to the designs.
Finally, if you do a Frankenstein, screw in the two bolts into the small holes on the sides.
Step four: display
Put the blocks out on display! The look great on a mantel, or side table, or even as a dining table centerpiece. Arrange them to be in mismatched pattern so like look intentional.
I did a similar project for Santas at Christmas!
Wooden Halloween blocks craft
This was a fun and easy Halloween craft to make. I love how customizable these are and how simple they were to put together. Go make these DIY Halloween wood blocks and show off your creative side!

Looking for something?
We've been doing this since 2012 so we have a LOT of blog posts!
Search stuff like: Ceiling Projects | DIY Plant Stands | Thrift Flips

Hello, I'm Morgan, half of the creative force behind CharlestonCrafted.com! With a passion for DIY that dates back to 2012, I've transformed three homes and now I'm dedicated to helping others craft their dream spaces. Let's turn your house into a home together!