• Skip to primary navigation
  • Skip to main content
  • Skip to primary sidebar
Charleston Crafted
  • DIY
  • Woodworking
  • Popular Posts
  • Blog
  • About
  • Shop
menu icon
go to homepage
  • DIY
  • Woodworking
  • Popular Posts
  • Blog
  • About
  • Shop
search icon
Homepage link
  • DIY
  • Woodworking
  • Popular Posts
  • Blog
  • About
  • Shop
×
Home » Crafts

DIY Pine Cone Vase Candle Holder

Published: Aug 8, 2024 by Morgan · As an Amazon Associate, we earn from qualifying purchases. This site contains affiliate links. ·

Want to make a super simple fall-inspired centerpiece or table decor? Here's how to make a DIY Pine Cone Vase Candle Holder!

I love decorating seasonally and switching up natural elements and accents in my space to give just a slight seasonal feel.

In the fall and winter, I love decorating with pine cones.

Check out some of my favorite pine cone projects:

  • DIY pine cone trees
  • How to make pine cone accents for a Christmas tree

I have been feeling like making centerpieces and decor for the top of our dining hutch lately, so this weekend I decided to make a pine cone vase candle holder. Ha, I wish I had a better name for it than that, but that's what it is!

It was super easy to make, and I love the final look!

pine cone candle vase centerpiece

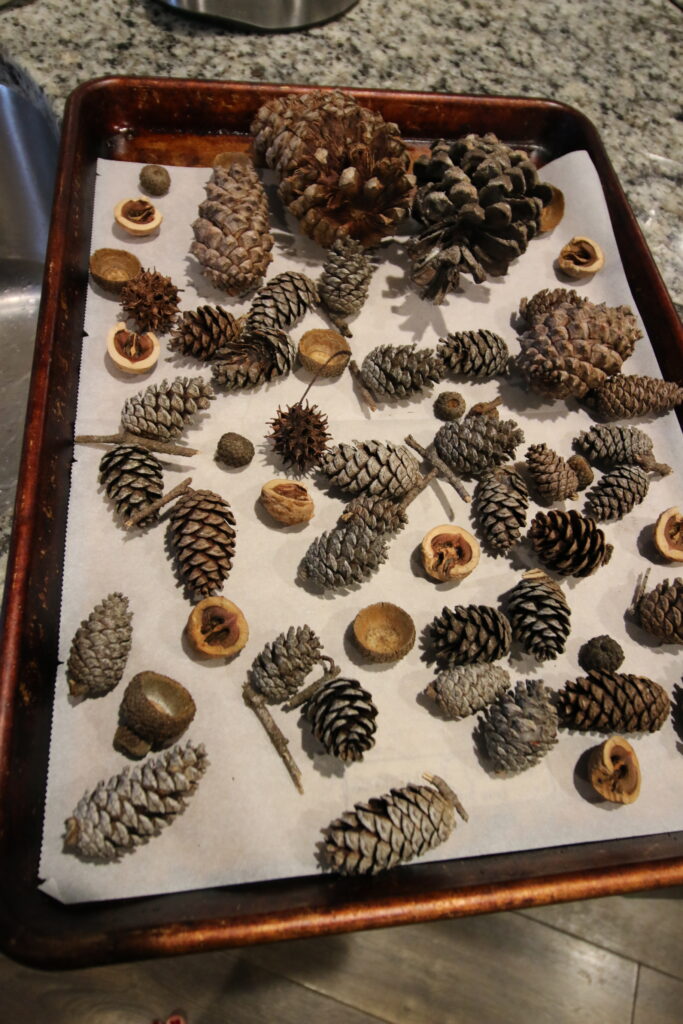
How to clean pine cones

Unless you bought your pinecones from the craft store (like these!) you will probably want to clean or at least dry them.

Here are some simple steps to clean them completely:

  1. Only select pine cones that are in nice condition. Don't pick up any that are mushy or rotten or buggy.
  2. Start by brushing or shaking off visible dirt or debris.
  3. Optional: soak in a bowl with 2 parts water 1 part white vinegar for 15-30 minutes. Let air dry on towels or paper towels for several hours.
  4. To kill anything that might be living on or in the cones, bake in the oven at 250 degrees for one hour. Watch them carefully and check often. Flip halfway through for even drying.
baking pine cones in the oven

These steps are optional but will ensure your cones are clean and bug-free, which is important if you want to use them for indoor decor.

pine cone candle vase centerpiece

How to make a DIY Pine Cone Vase Candle Holder

Here's how easy it is to make this pine cone centerpiece!
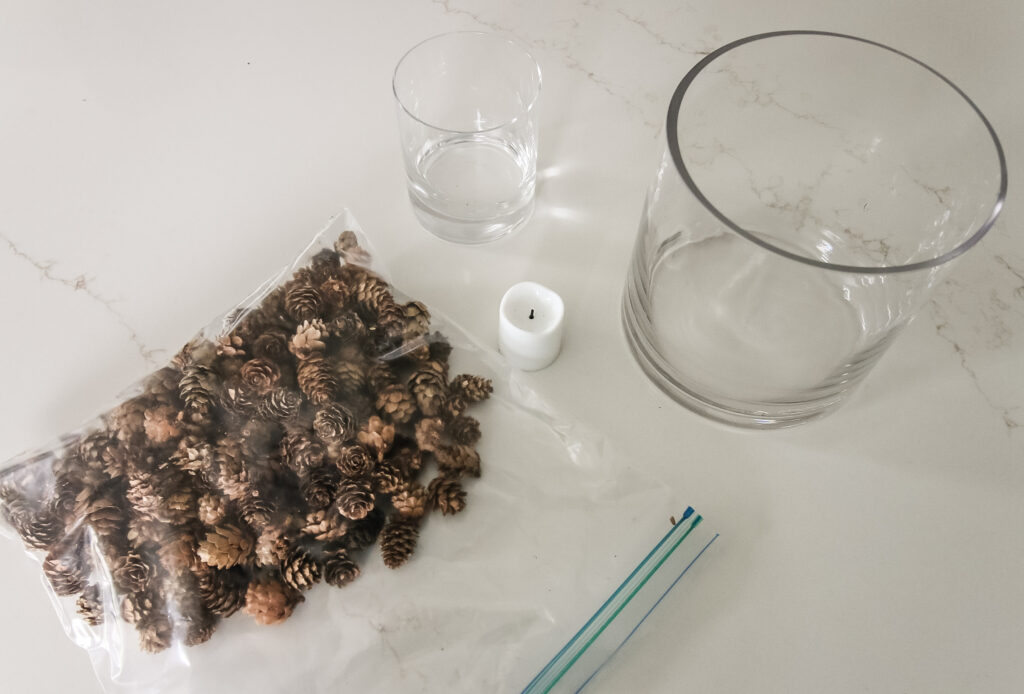
Supplies needed:

  • Mini pine cones
  • Large glass vase
  • Small glass vase
  • Battery powered votive candle
  • Sandwich plastic bag (optional)

Steps to make it:

Here's how easy it is to make this pine cone vase!

STEP 1: Pick the right vases

The most important part of this project is having 2 vases that fit inside each other with atleast 1 inch of space all the way in between.

This means that your outer vase needs to be at LEAST 2 inches wider than the smaller vase, and about the same heights.

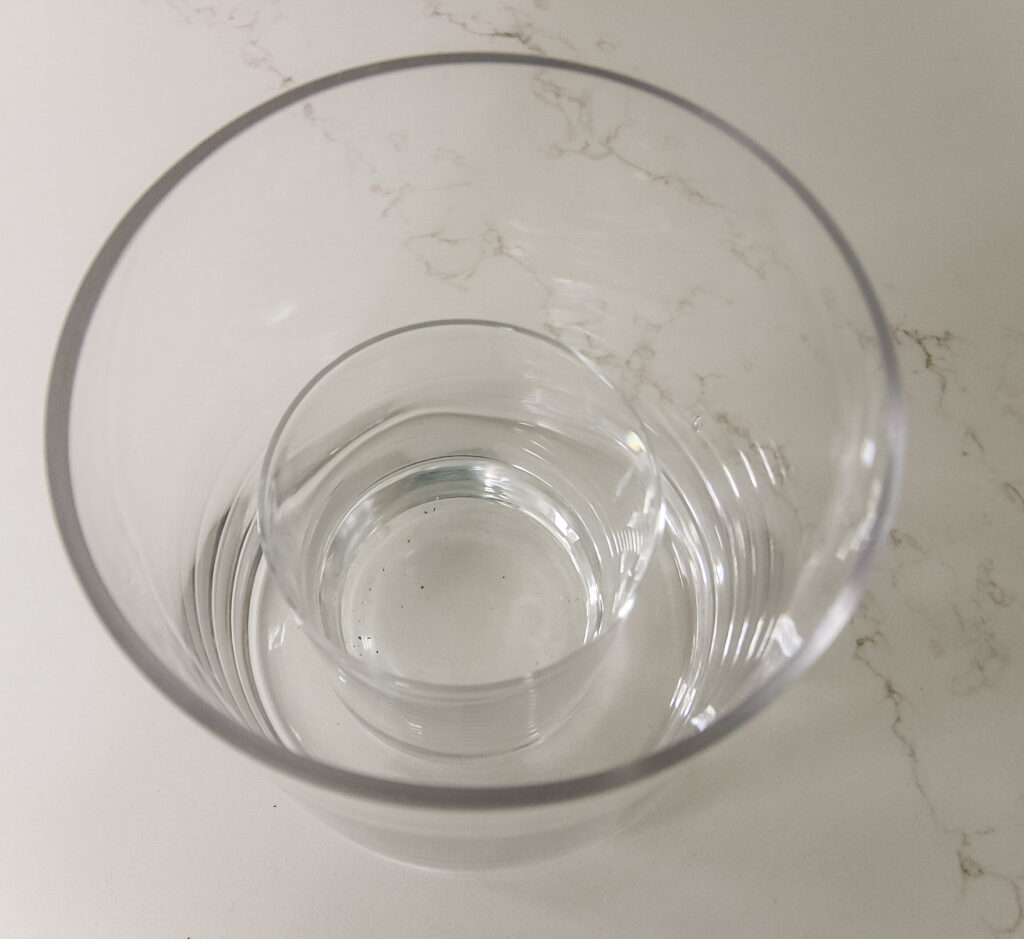
My larger vase is 6" across and the smaller one (actually a low ball juice glass) is 3" across.

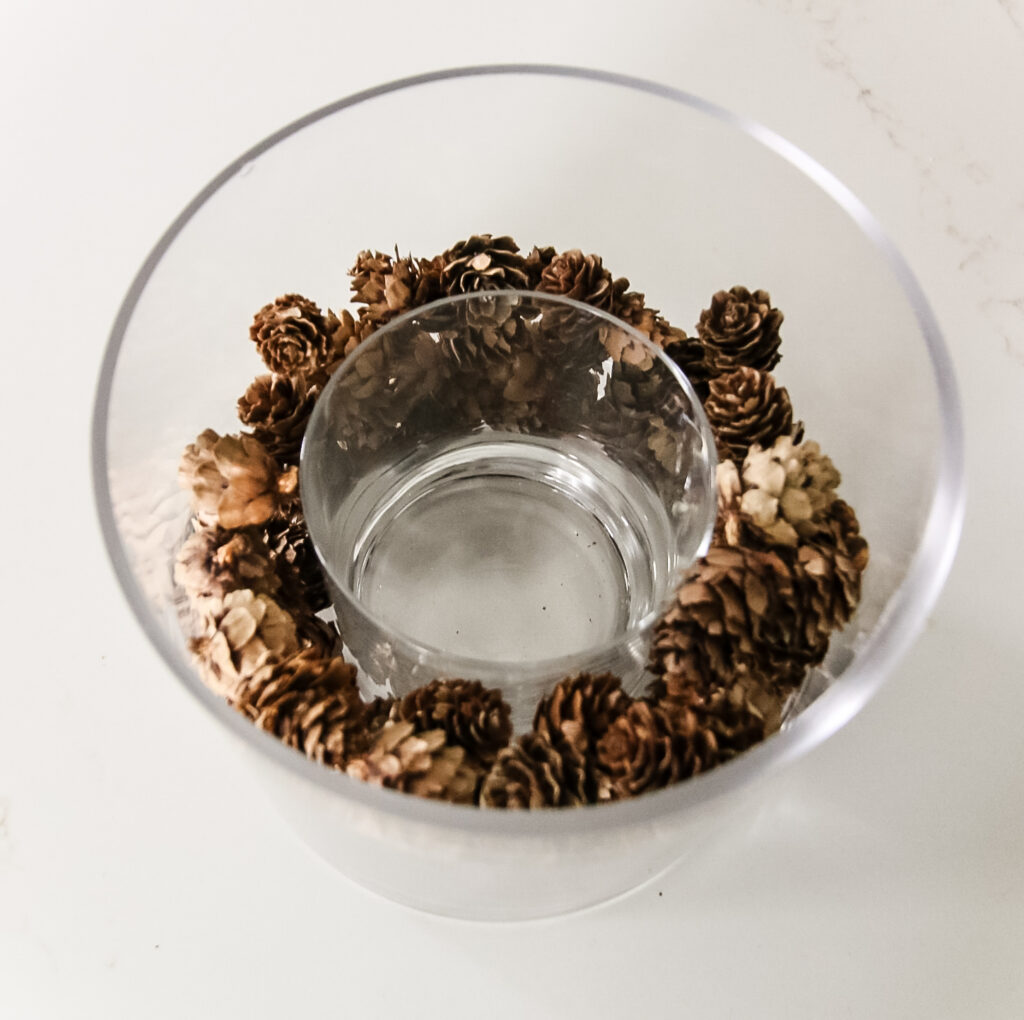
This allows space for the pine cones to fit in all the way around!

supplies for pine cone vase project

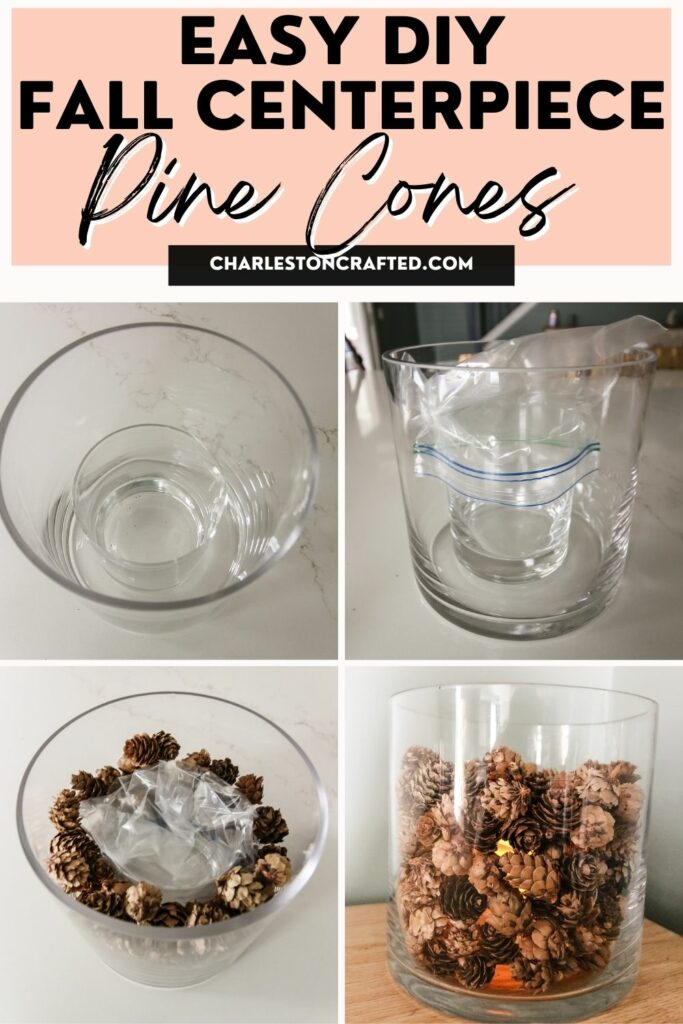
STEP 2: Layer the vases

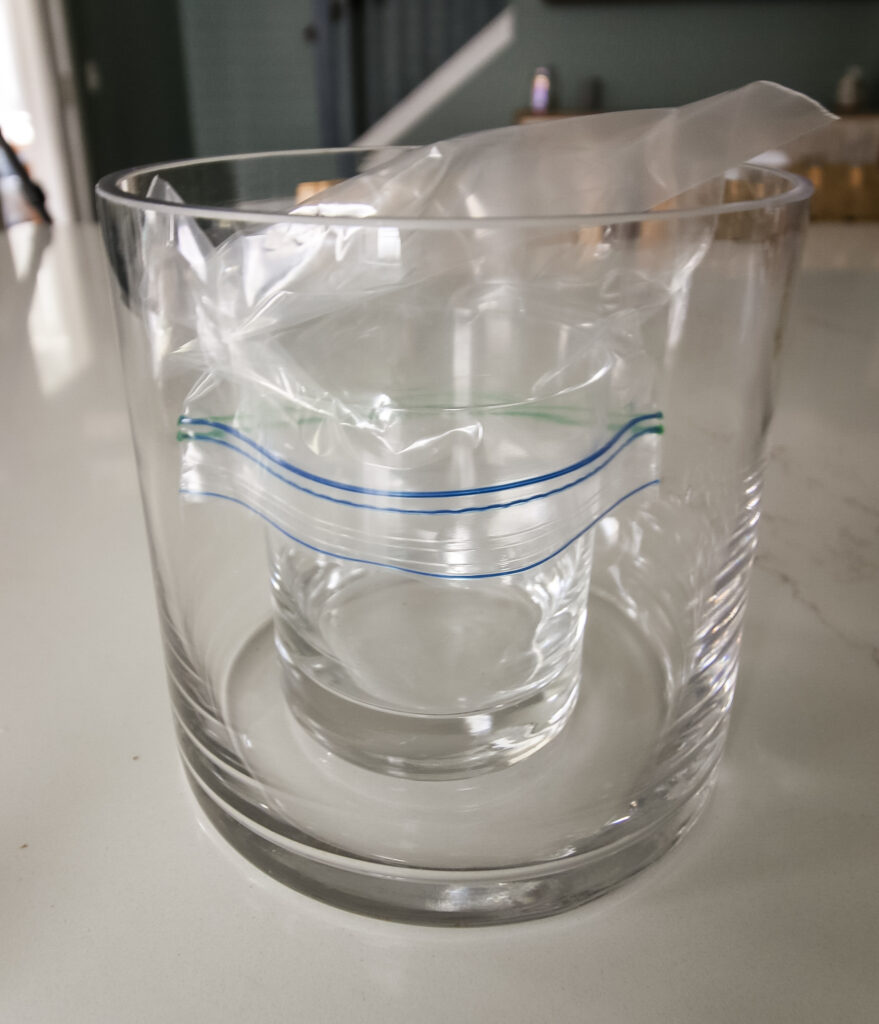
Place the smaller glass centered inside the larger one.

I took a sandwich bag plastic bag and put it upside down over the inner glass. This is just temporary, but it keeps pine cones from falling into the inner glass and cuts down on frustration!

vase inside a vase
vase inside a vase covered with a plastic bag

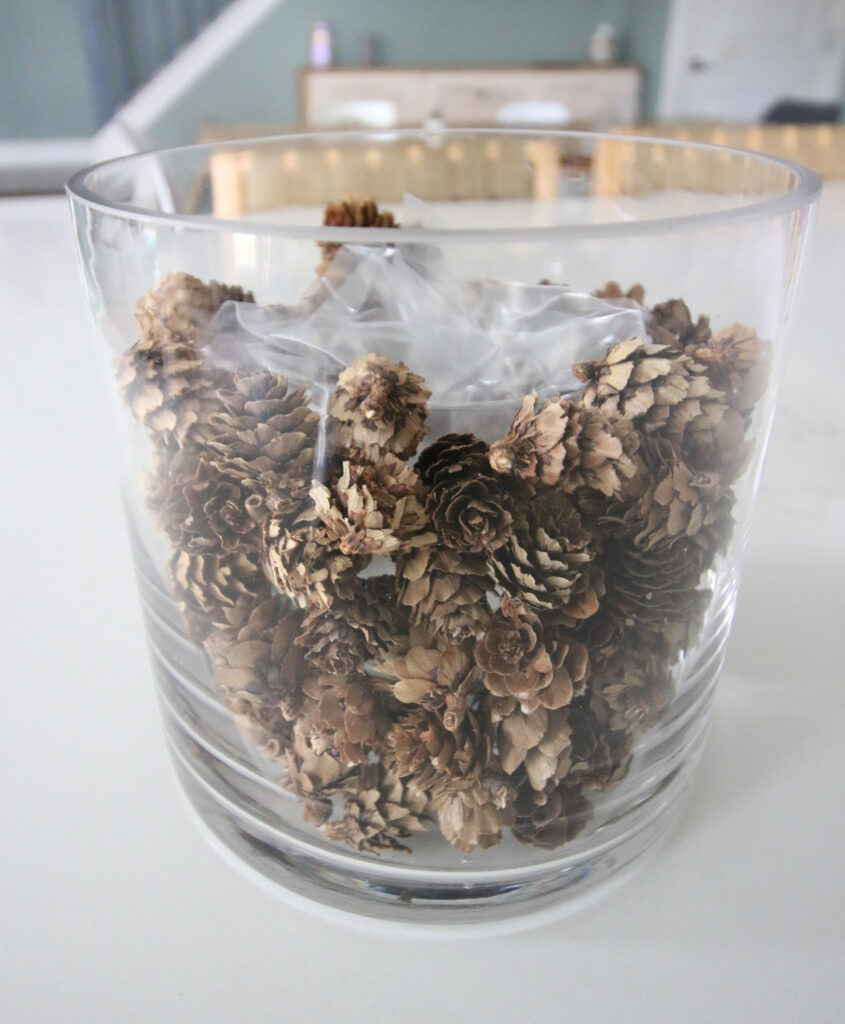
STEP 3: Add pine cones

Add pine cones between the 2 vases. Work around the vase to get it even.

Every so often, give the vase a good (but gentle) shake. This works the pine cones down so you can fit more in for a denser look, without having to push them and potentially break them.

pine cone vase centerpiece

STEP 4: Add candle

Remove the plastic bag if you used it. Add a battery powered candle to the inner vase.
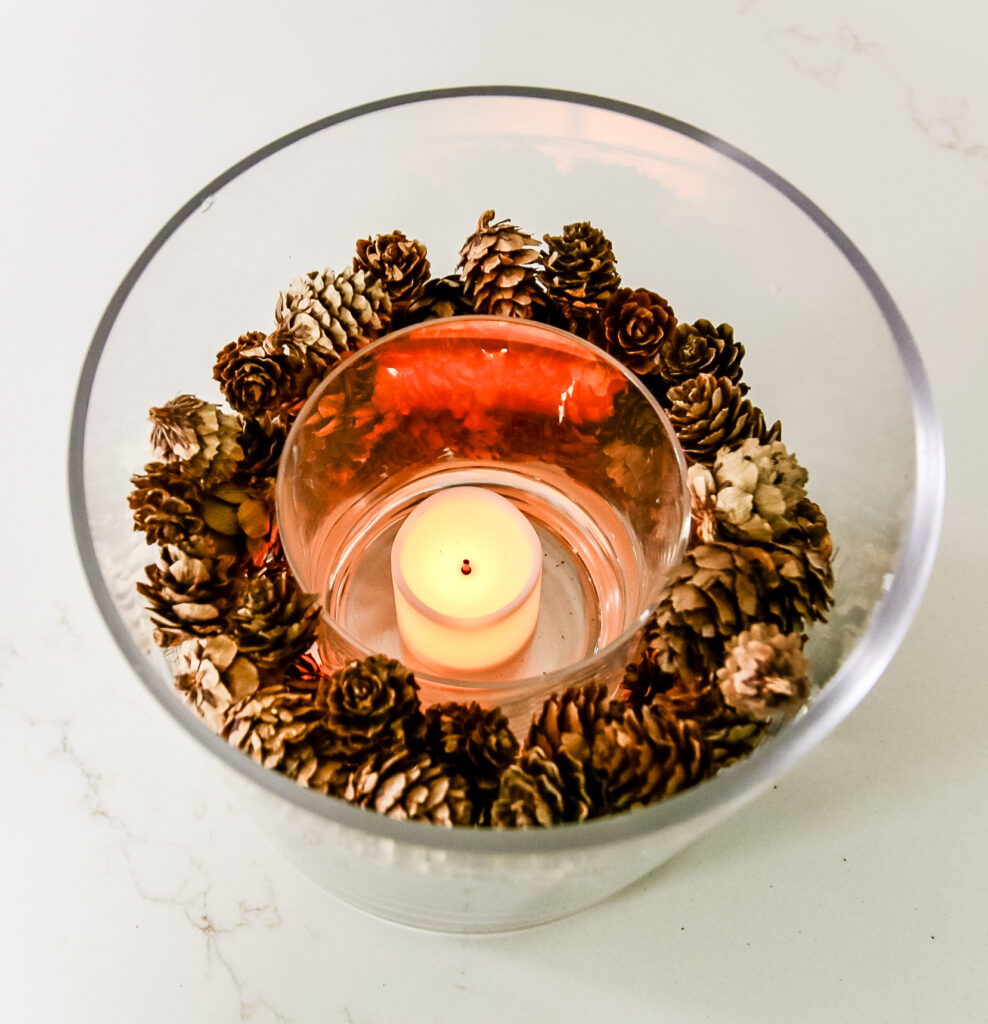
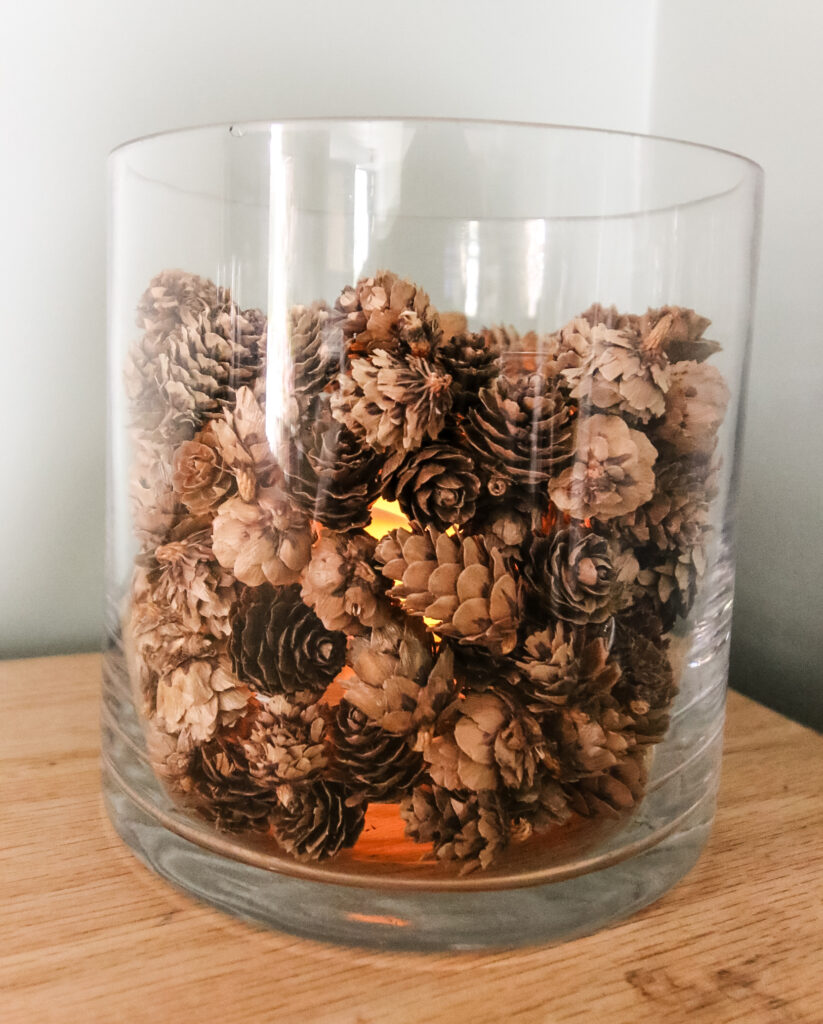
pine cone vase centerpiece

STEP 5: Enjoy!

Add to your mantel, dining table, or tabletop. Enjoy the cozy glow and fall vibes!

pine cone vase centerpiece

Video tutorial

Prefer to learn via video? Click below to watch my step by step guide!

Charleston Crafted Signature

Follow us on:
Pinterest | Instagram | TikTok | YouTube | Facebook | Amazon Storefront | LTK Shop

Looking for something?

We've been doing this since 2012 so we have a LOT of blog posts!
Search stuff like: Ceiling Projects | DIY Plant Stands | Thrift Flips

Charleston Crafted logo banner
Morgan headshot cropped
Morgan

Hello, I'm Morgan, half of the creative force behind CharlestonCrafted.com! With a passion for DIY that dates back to 2012, I've transformed three homes and now I'm dedicated to helping others craft their dream spaces. Let's turn your house into a home together!

More Crafts

  • DIY flocked easter bunny wreath
    DIY Flocked Bunny Easter Wreath
  • how to make an oversized easter egg wreath
    DIY Oversized Easter Egg Wreath
  • how to make an easter peeps centerpiece
    The EASIEST Easter Peeps Flower Centerpiece!
  • How to make a giant pool noodle Easter basket
    How to make a giant pool noodle Easter basket

Primary Sidebar

Charleston Crafted about us image

Hey y'all!

We are Morgan & Sean McBride and we are crafting our home together in Charleston, South Carolina.

More about us

Popular Posts

  • DIY Coffered Ceiling
    DIY Coffered Ceiling
  • How to Make DIY Concrete Pumpkins via Charleston Crafted
    How to Make DIY Concrete Pumpkins
  • How to Make a Cupid's Arrow Valentine's Day Wall Hanging with felt on the Cricut
    How to make a Cupid's Arrow Valentine's Day Wall Hanging
  • Our Tropical Oasis - A backyard Hammock area - Charleston Crafted
    Our Tropical Oasis

Recent Posts

  • fisherman aesthetic home inspiration
    Fisherman Aesthetic Decor for Your Home
  • Senix Tools Review- Charleston Crafted
    Are Senix power tools any good?
  • Your Weekend To-Do List: 15 Things to Do for Summer Home Upkeep
    Your Weekend To-Do List: 15 Things to Do for Summer Home Upkeep
  • How to build a DIY gate pergola- Charleston Crafted
    How to build a DIY gate pergola

Privacy Policy

Footer

↑ back to top

Navigation

  • Home
  • Blog
  • Contact Us
  • Terms of Use
  • Disclaimer

Newsletter

  • Sign up for emails and updates
  • Follow us on Instagram
  • Work with Us

Browse by Category

  • Woodworking
  • Home Projects
  • Paint Colors
  • Room Reveals

© 2025 The Charleston Crafted Blog LLC DBA “Charleston Crafted” and “CharlestonCrafted” (also known as N/A) / All Rights Reserved.
Official Website: (Charleston Crafted)
Registered in USA (Co. Reg. No.: 565586)
Address: Charleston, USA 29414, South Carolina
Contact Phone: Not applicable — contact is via email: sean@charlestoncrafted.com

DISCLAIMER: The content on this website is provided for general informational purposes only and is not intended as professional advice. The Charleston Crafted Blog LLC and The Charleston Crafted Blog LLC make no representations or warranties—express or implied—regarding the accuracy, completeness, or suitability of the information contained herein. Any reliance you place on this information is strictly at your own risk. In no event shall The Charleston Crafted Blog LLC or The Charleston Crafted Blog LLC be liable for any loss or damage, including without limitation, indirect or consequential loss or damage, arising from the use or inability to use this website. This website is the official website of The Charleston Crafted Blog LLC.

AFFILIATE DISCLOSURE: This website contains affiliate links. If you click through and make a purchase, we may earn a commission at no extra cost to you.

As an Amazon Associate, I earn from qualifying purchases.

Site Editor: Morgan Smith McBride

Copyright © 2025 Charleston Crafted