Ready to get rid of adhesive peel and stick tile in your home? Here's how to remove peel & stick tiles!
Peel and stick tile is a popular option for renters and people who want to redecorate on a budget without having to do demolition.
But, what happens when you want to remove that peel and stick tile?
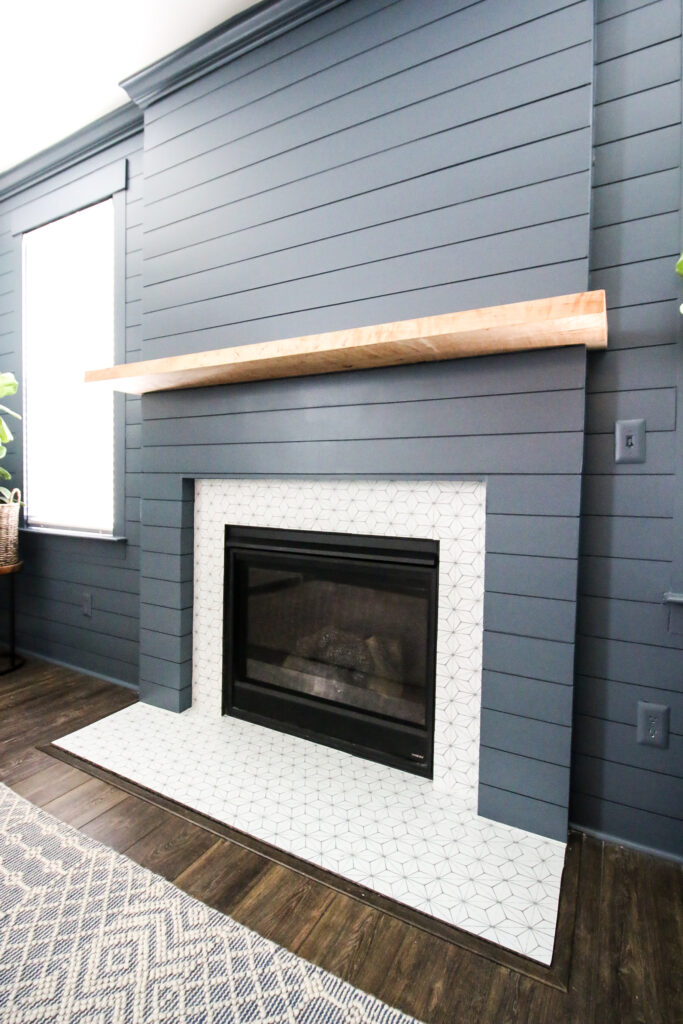
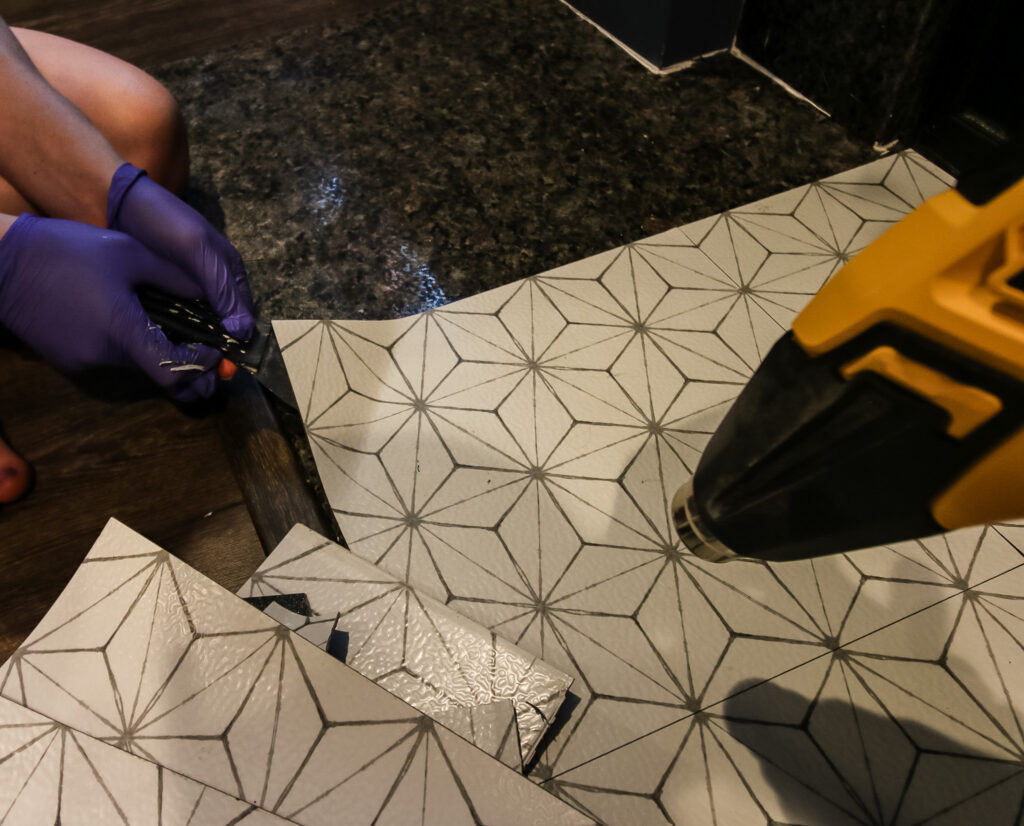
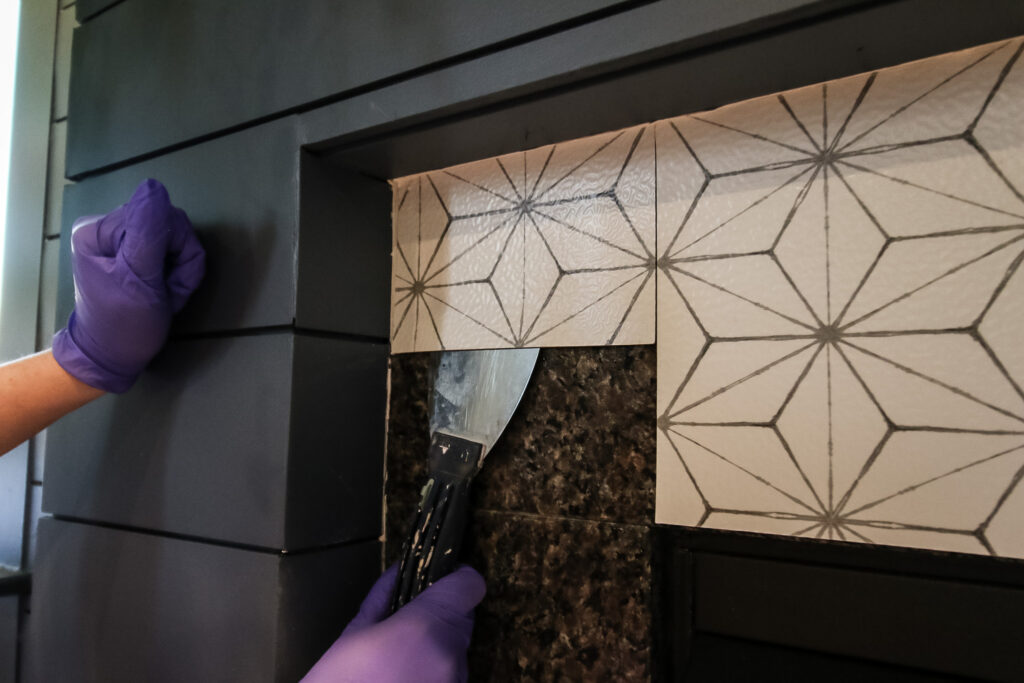
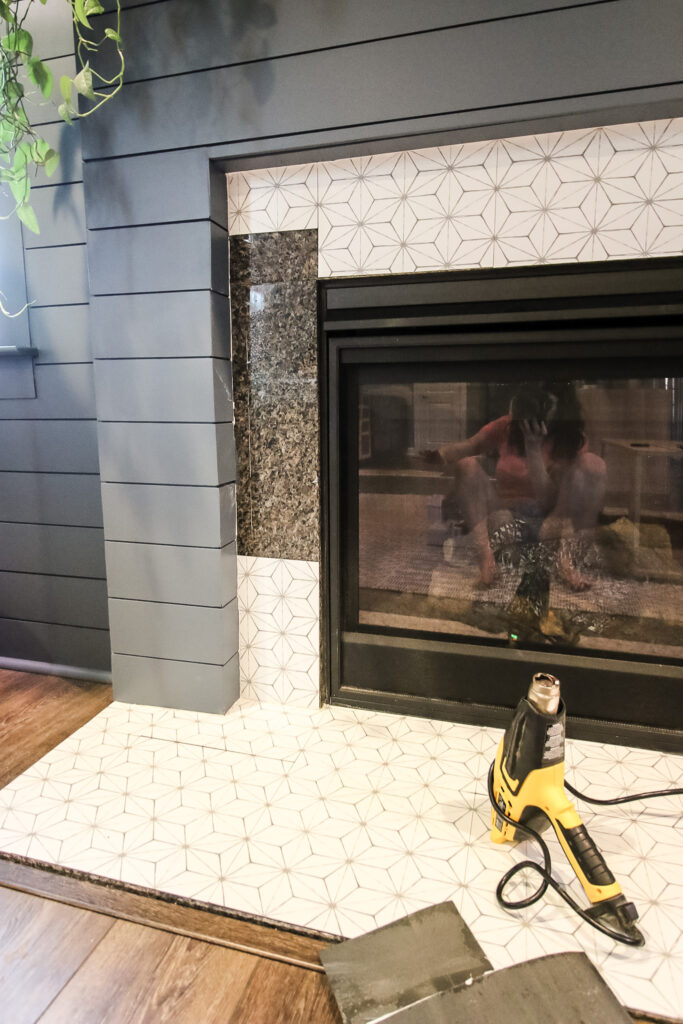
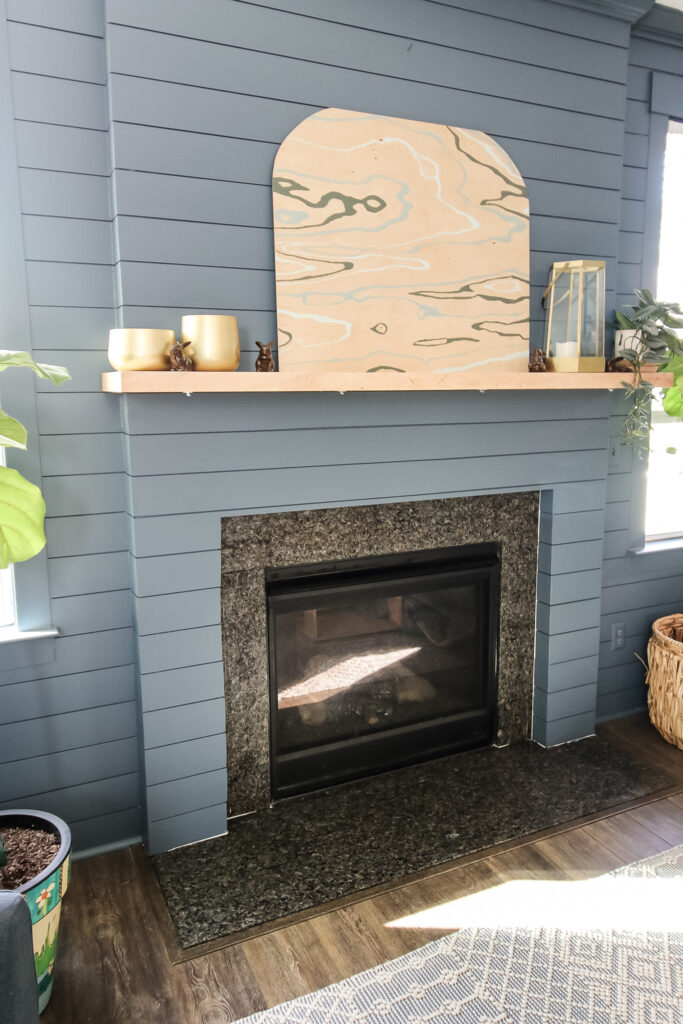
We put peel and stick vinyl tile over the granite fireplace surround in our living room.
We knew this was a temporary solution. When we did it, I just couldn't stand the black granite. Now that we are renovating our kitchen, we are actually having the countertop guys match the fireplace stone to our new countertops since the living room is open to the kitchen.
So, we needed to remove the tile to get ready for demolition.
Today I'm excited to show you how easy it is to remove peel, and stick tile that is on top of stone or other tile.
What surfaces can you remove peel & stick tile from?
It is easiest to remove stick tile from hard surfaces like stone or tile. However, it's not going to remove cleanly from drywall. Drywall is covered with a paper and it just rips.
If you have your peel and stick tile on drywall, you will need to cut out and replace the drywall to remove it.
Note: if you used a sticker-like, super removable tile (more like contact paper), it may remove from drywall. But, the super sticky, meant-to-be-permanent tiles will not remove cleanly.
How to remove peel & stick tiles
It's pretty easy to remove peel and stick tiles, especially from hard surfaces.
Tools/Supplies needed:
- Heat gun (or hair dryer that gets very hot)
- Scraper tool or putty knife
- Trash can or trash bag
- Gloves
- Rag & soapy water
- Optional: Goo Gone
Steps to remove peel and stick tiles:
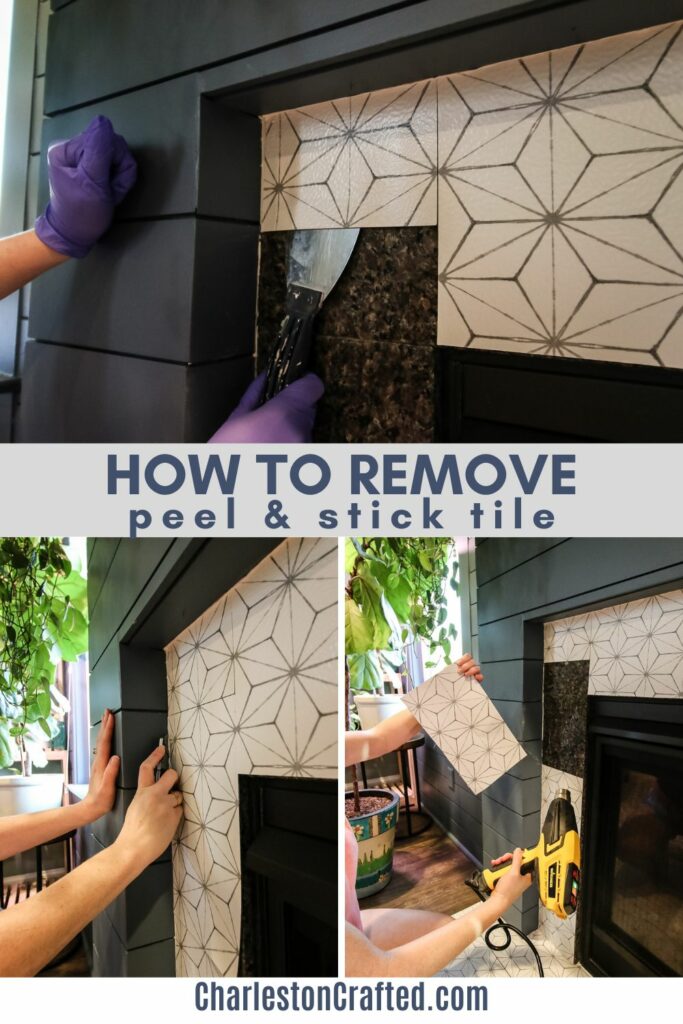
Here's how easy it is to remove peel and stick tiles. Wear gloves while doing this or get sticky fingers!
STEP 1: Examine the tile
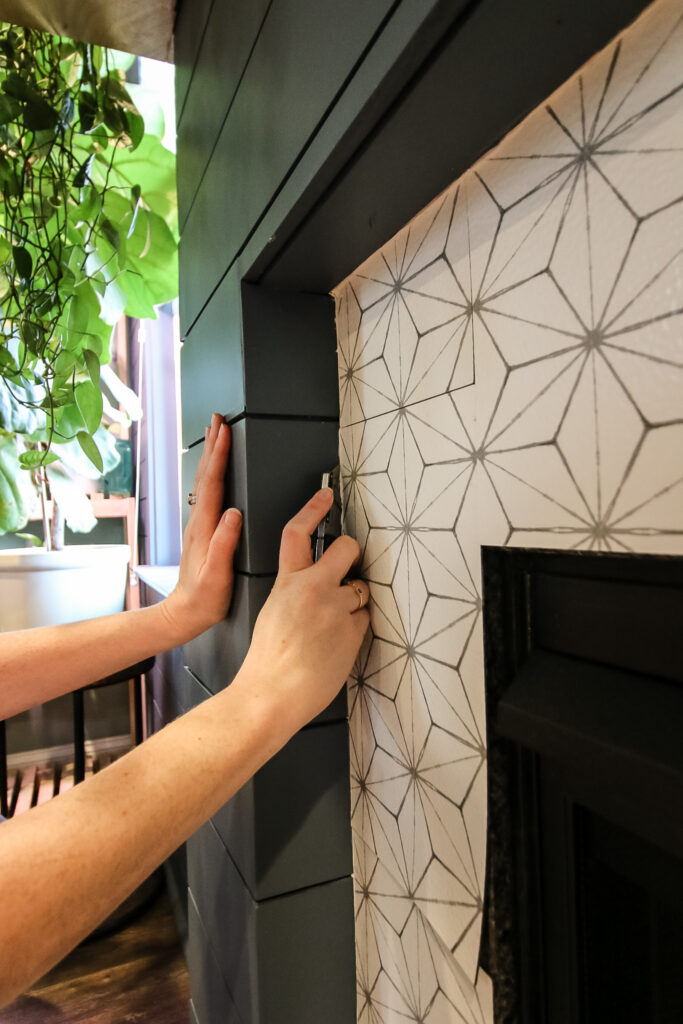
Start by taking a look at your tile. Is it loose or peeling anywhere? That's a natural place to start.
If you have caulk around the tile like we did, use a box cutter or simple knife to cut it. Otherwise, you might rip the surrounding wall!
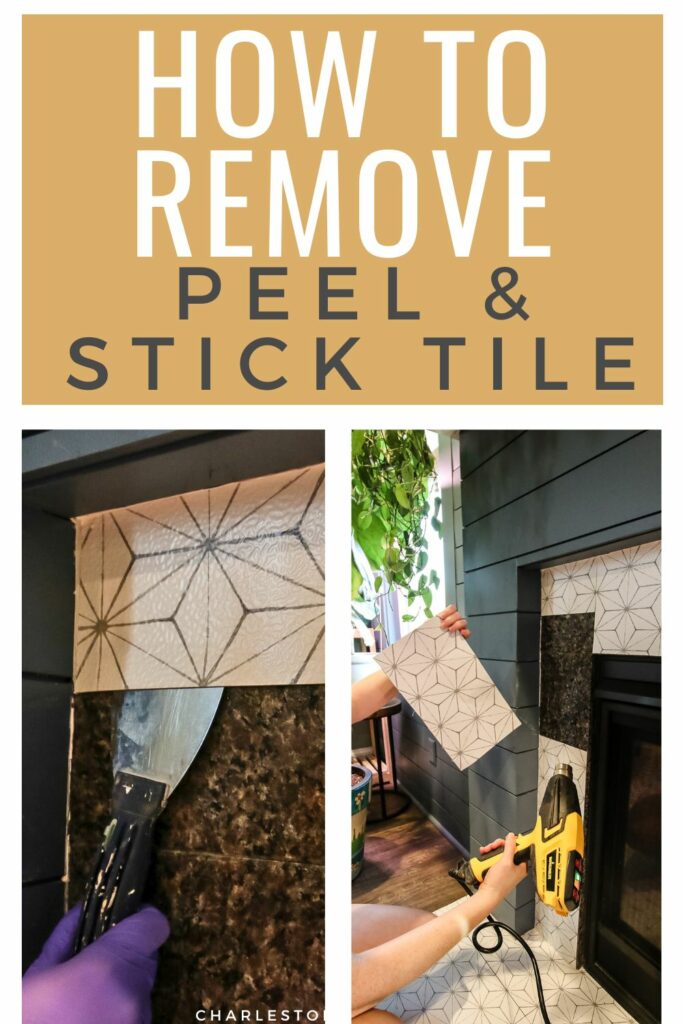
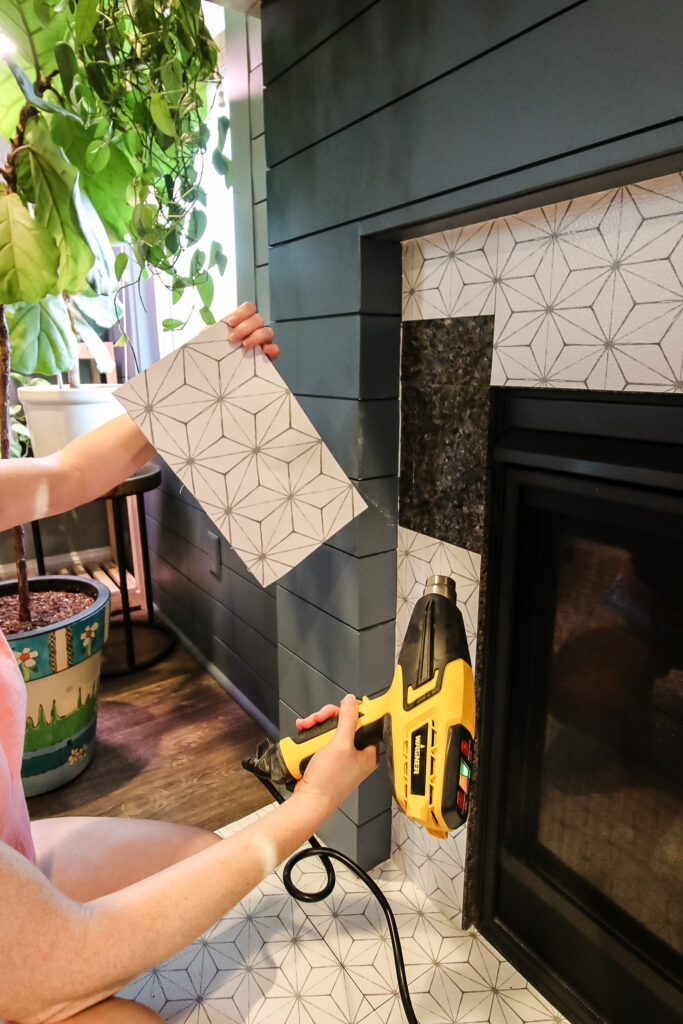
STEP 2: Apply heat
Plug in your heat gun and let it warm up. Hold it about 6 inches away from your tile until it heats up. This will warm and soften the adhesive, making it easier to peel off.
Warning - the tile can get super hot. I tried to wear disposable latex gloves and they literally melted from the heat. So, plan accordingly and be very careful as you work not to burn yourself.
STEP 3: Insert scraper
We found it easiest to use a paint scraper and push it between the tile and the stone surface underneath. This, combined with the heat gun, made it easy to get off.
STEP 4: Pull
Once the tile is ⅓ to ½ off, use your hands to just peel it. It's a tough pull, but I am not particularly strong and got them all off without issue.
The hardest part is getting the adhesive back of the tile off your gloves! I suggest having a trash bag handy. Fold the tile in half, sticky sides in, before trashing it to avoid a sticky mess.
STEP 5: Repeat
Repeat for each tile. We did our whole fireplace in less than 15 minutes - including taking pictures of the process!
STEP 6: Clean
I cleaned the whole space with a mixture of dish soap and water. Depending on the type of adhesive your tile used, this might get it off or might not.
We actually are demo-ing the granite here, so it didn't need to be too clean. But, for the purpose of this blog post, I wanted to get it cleaner.
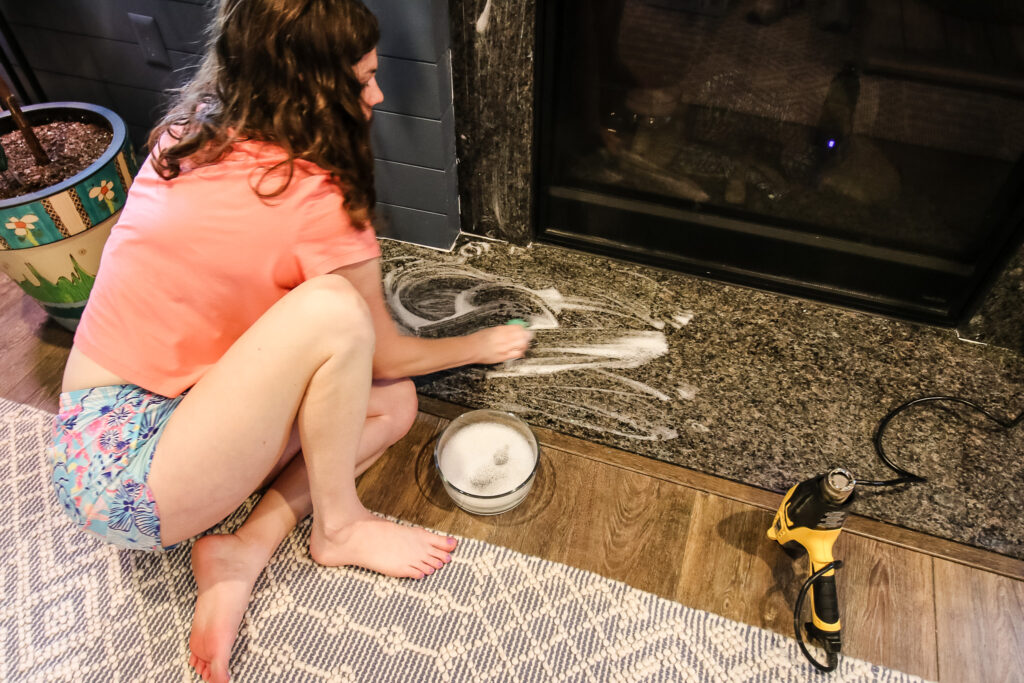
STEP 7: Goo Gone
If there is still a sticky residue. Apply Goo Gone. We have the spray but there's also a gel-like bottle.
Let it sit for 5 minutes - this is important to break down the stickiness - and then scrape off. We used the paint scraper again and that got the sticky off!
You might have to repeat this 2 times to get it all the way clean.


STEP 8: Clean again
Wipe down with soapy water. Enjoy your clean tile!
Any questions about this process?

Looking for something?
We've been doing this since 2012 so we have a LOT of blog posts!
Search stuff like: Ceiling Projects | DIY Plant Stands | Thrift Flips

Hello, I'm Morgan, half of the creative force behind CharlestonCrafted.com! With a passion for DIY that dates back to 2012, I've transformed three homes and now I'm dedicated to helping others craft their dream spaces. Let's turn your house into a home together!


